funkyhunk
Part of things
 Old Ford's R Us
Posts: 265
|
|
Aug 22, 2016 15:19:55 GMT
|
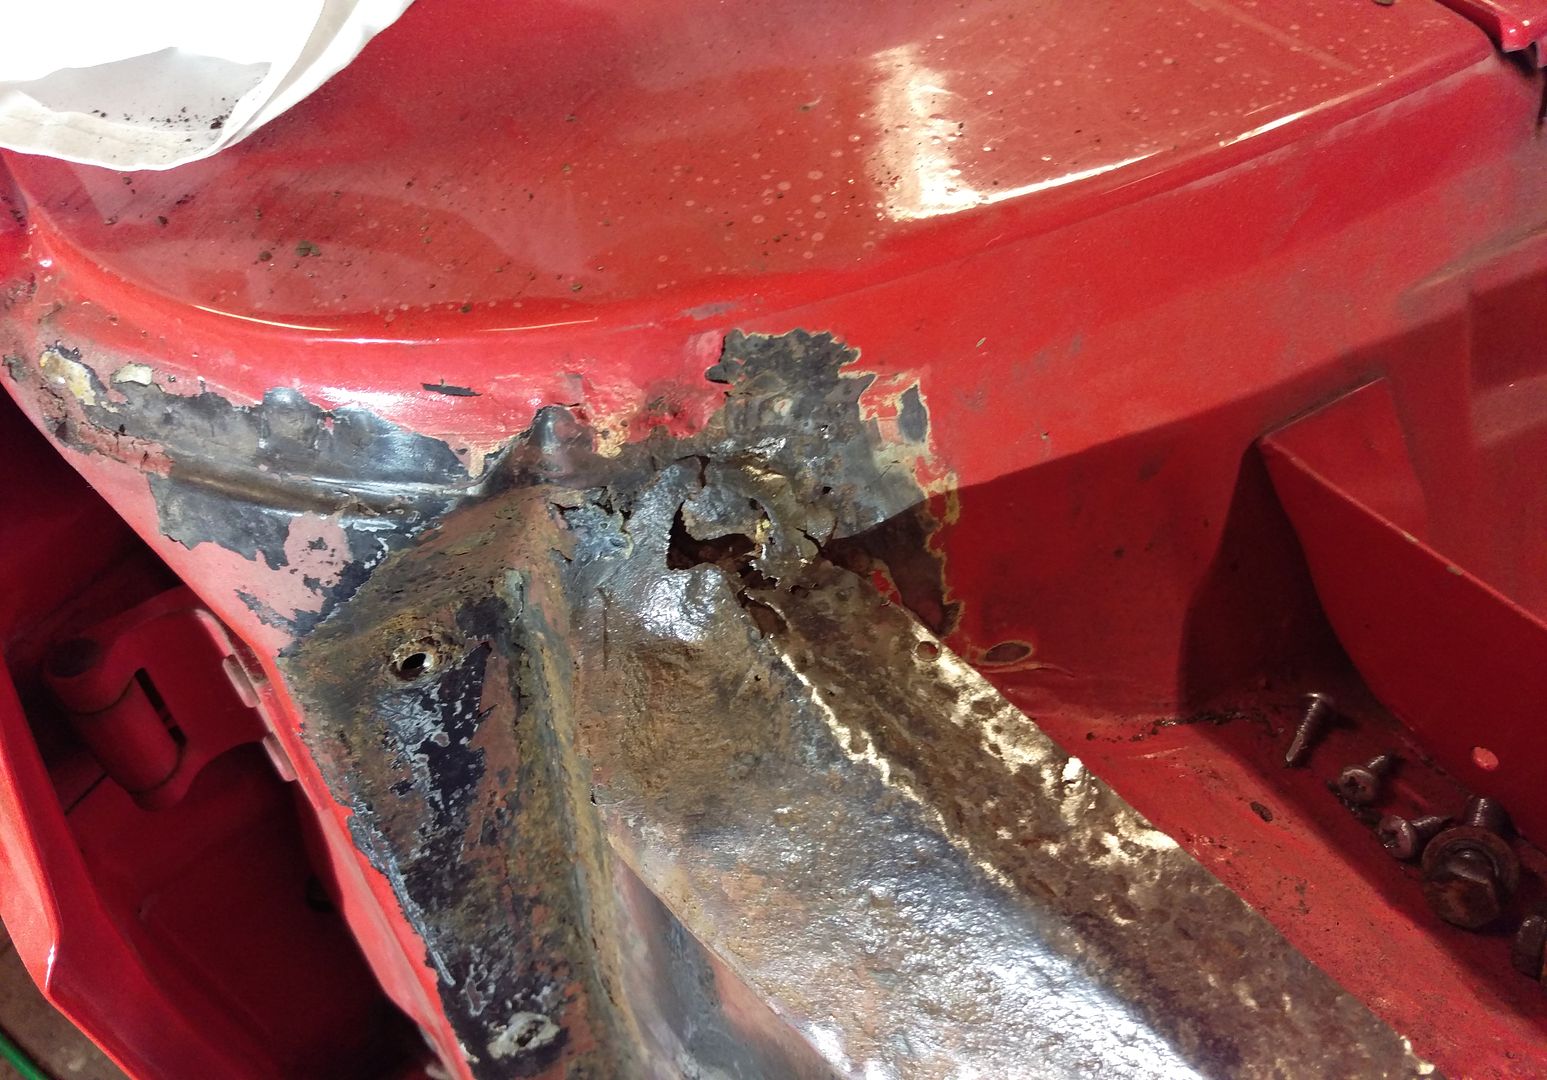
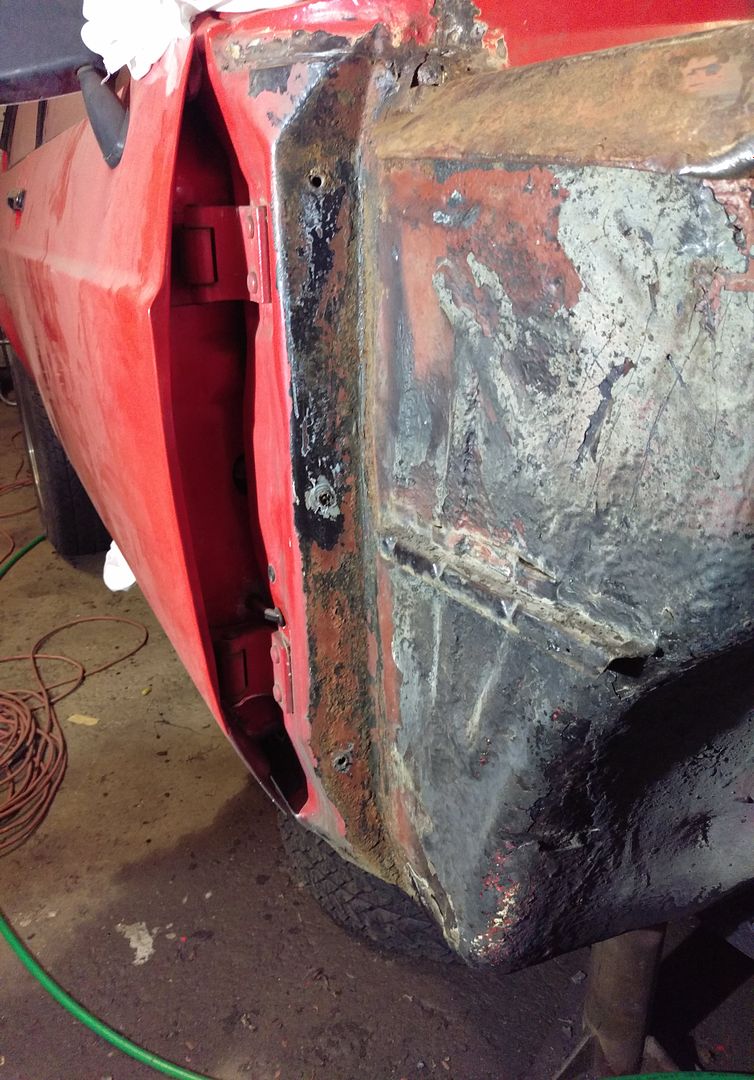
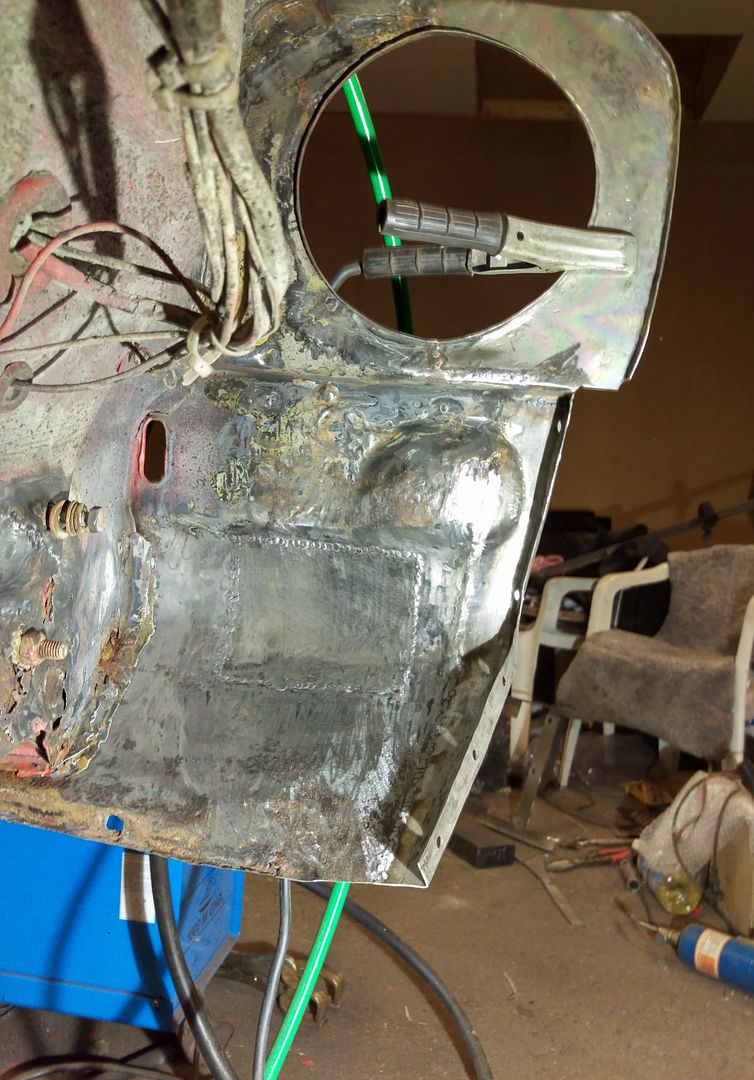
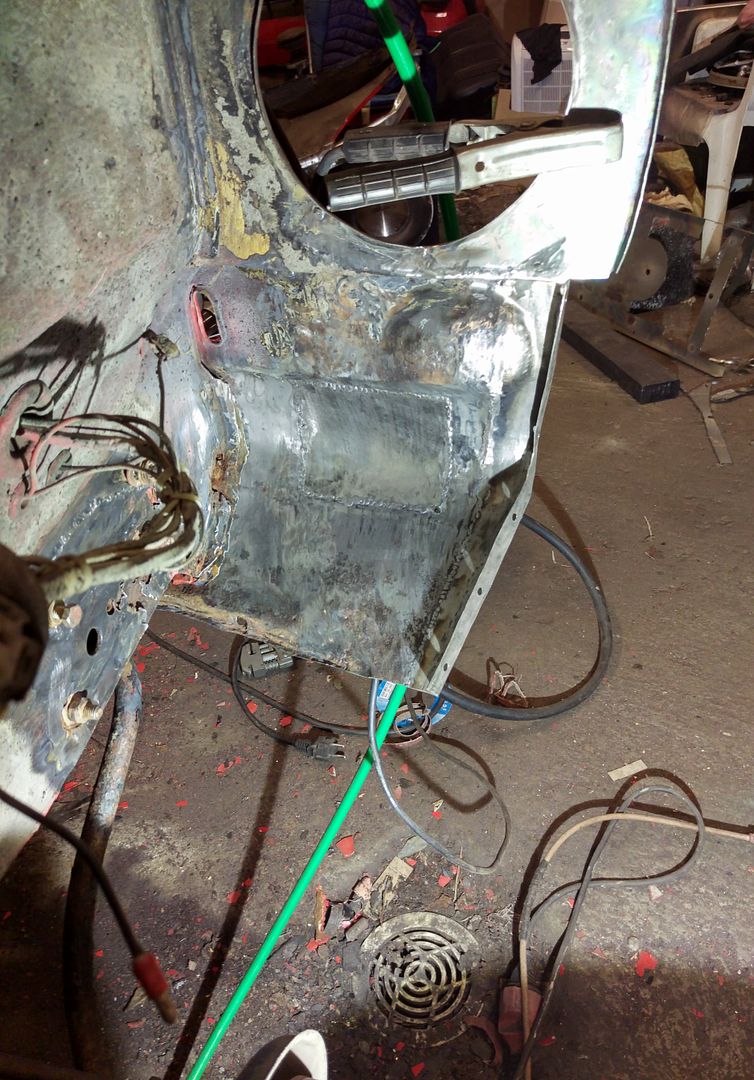
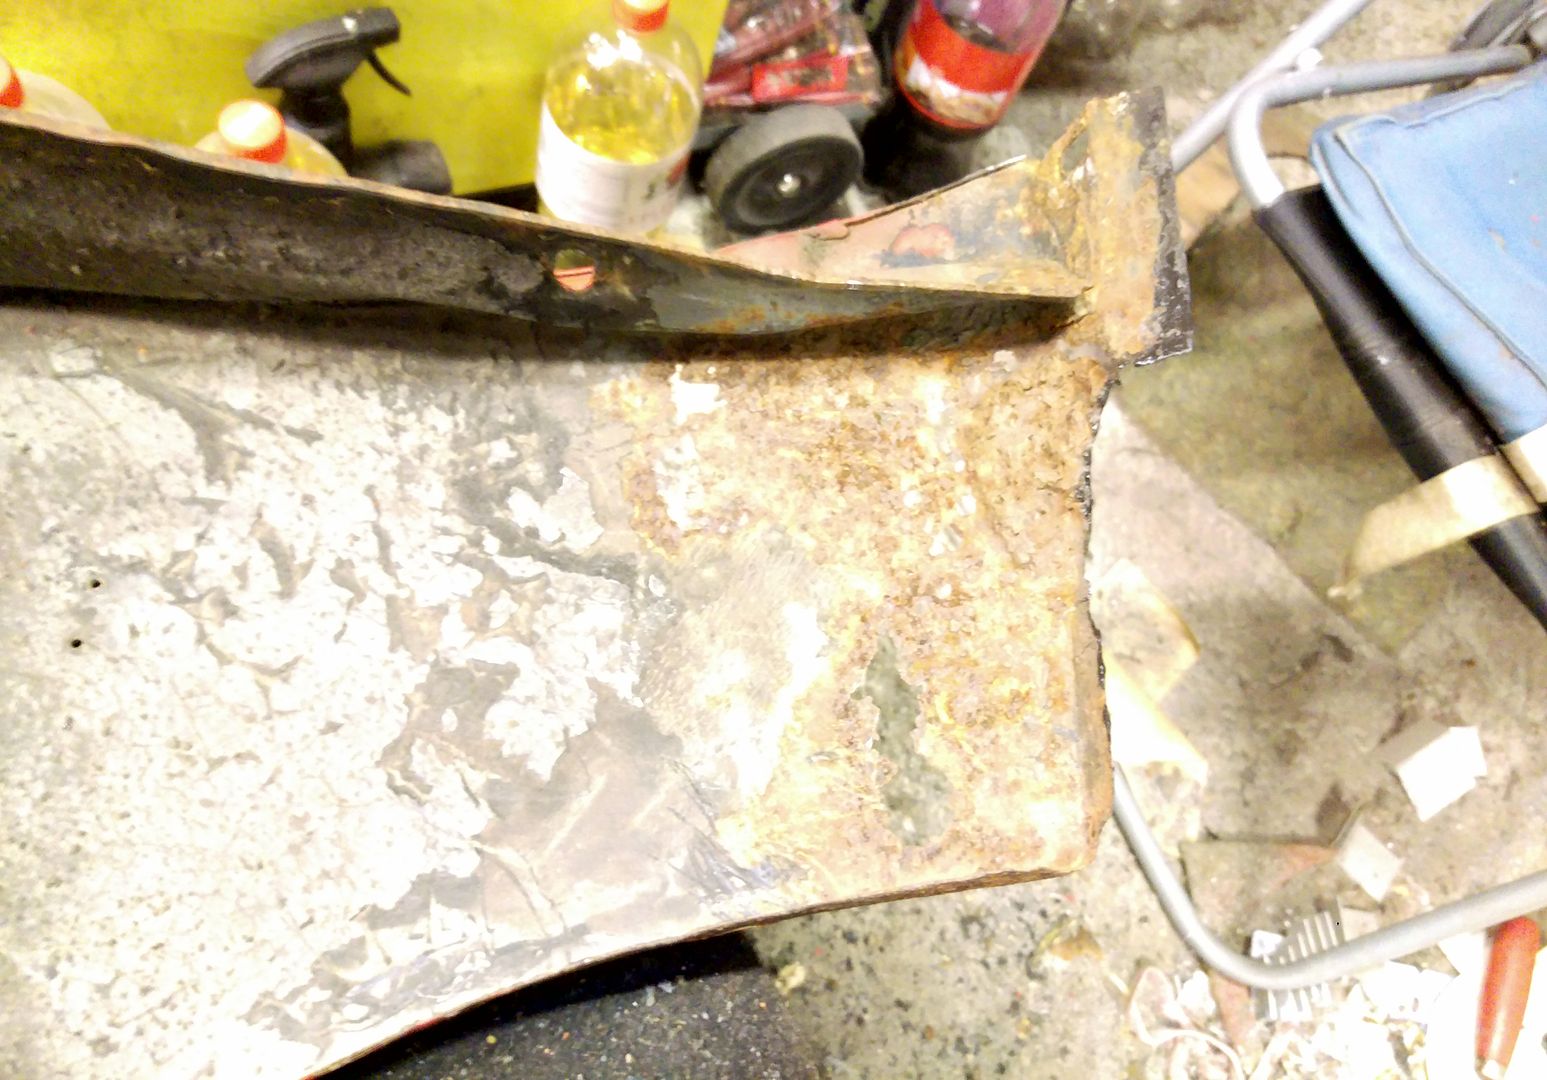
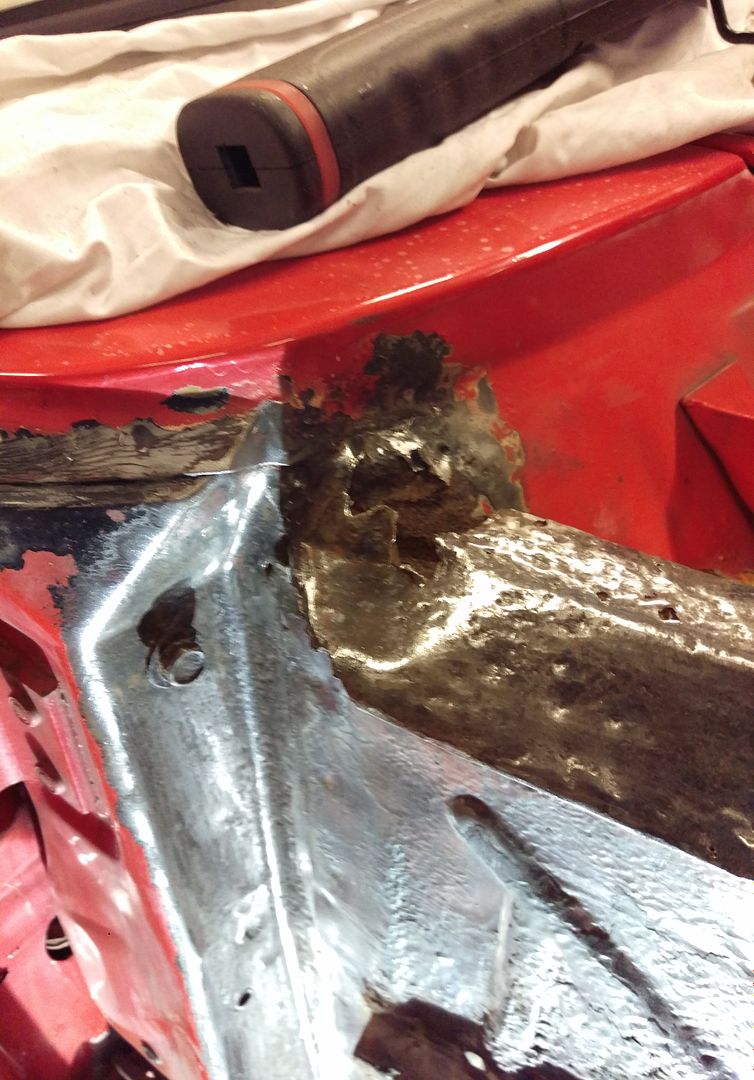
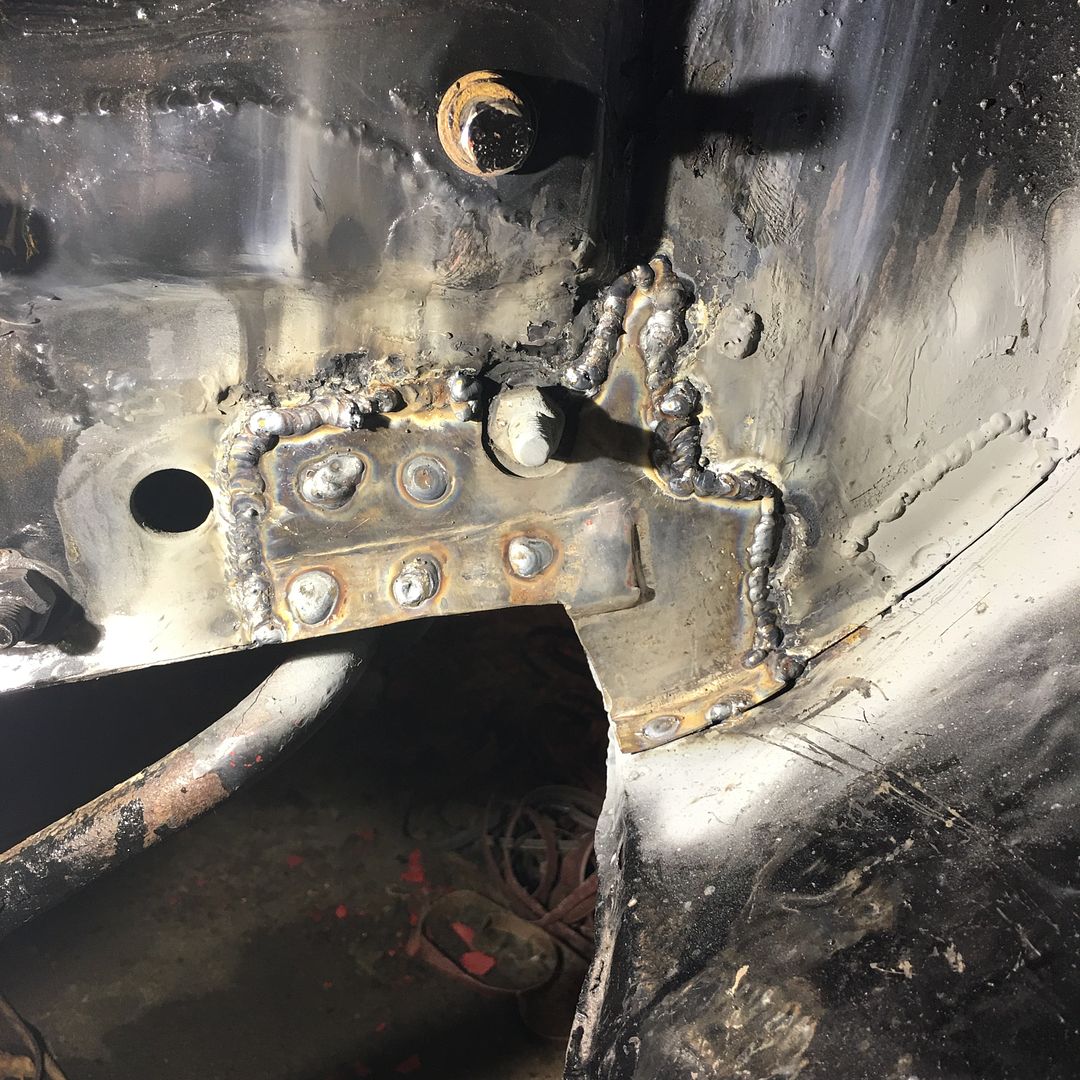
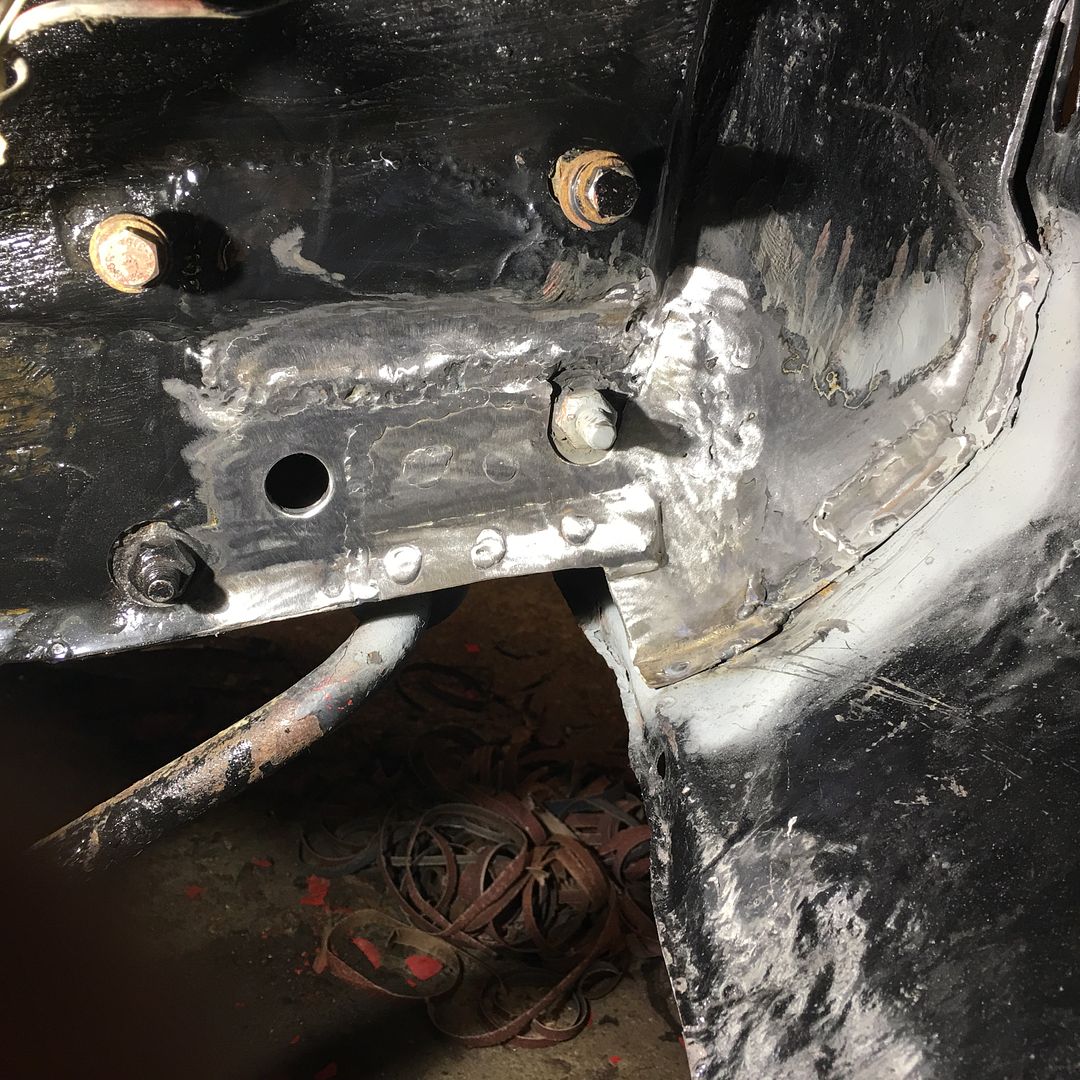
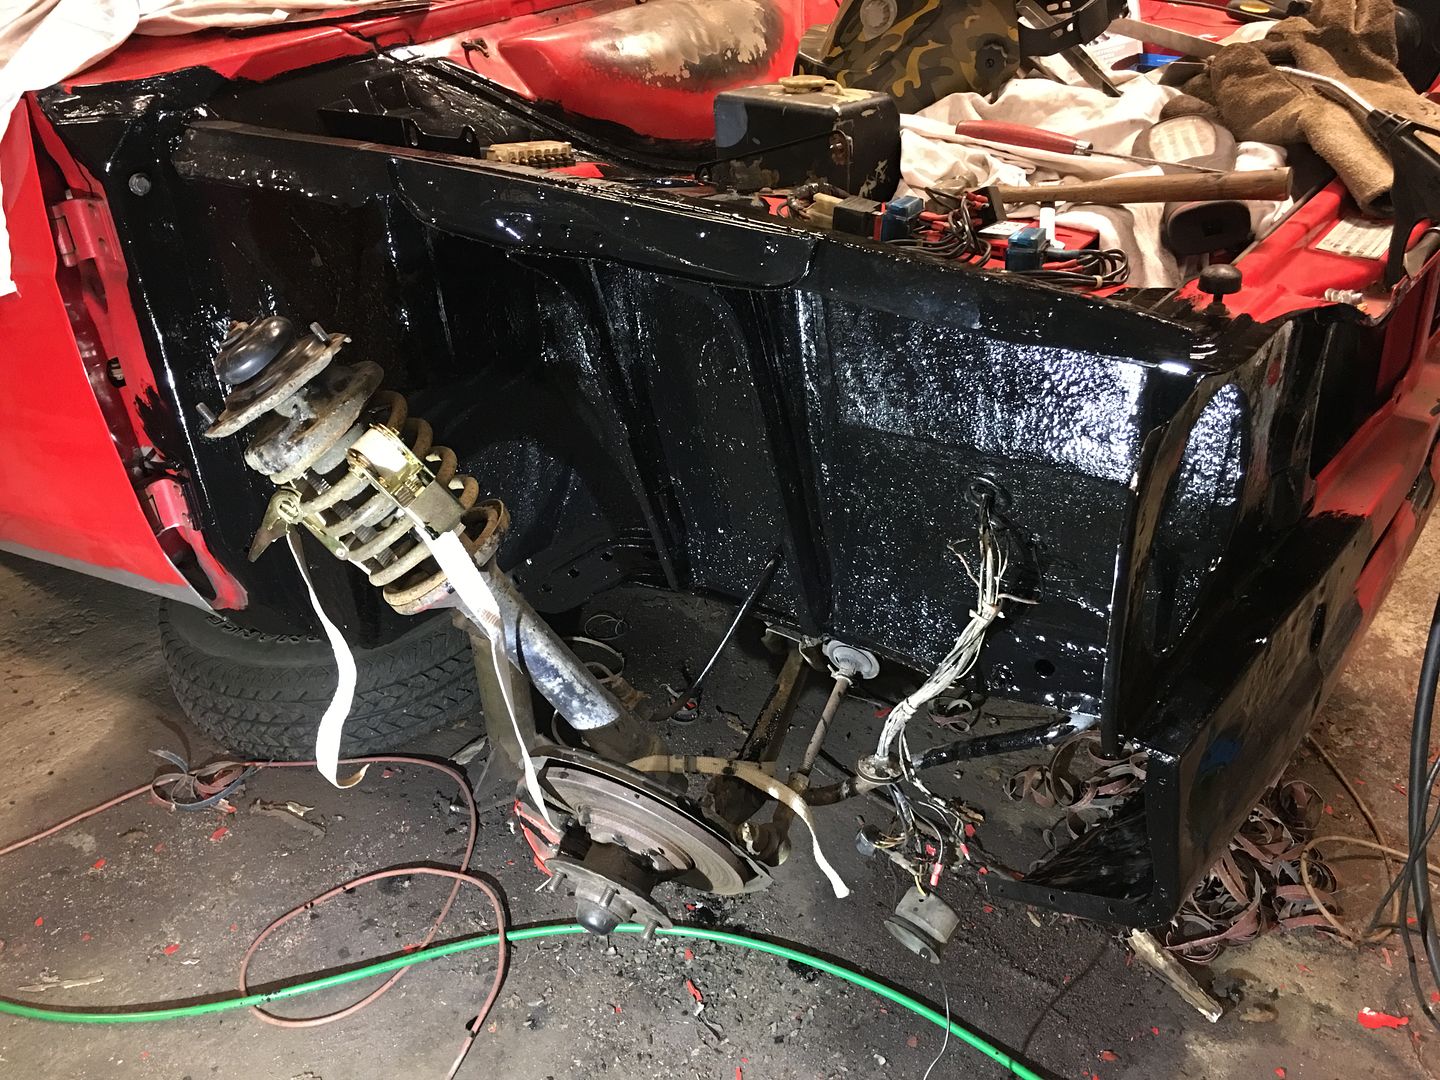
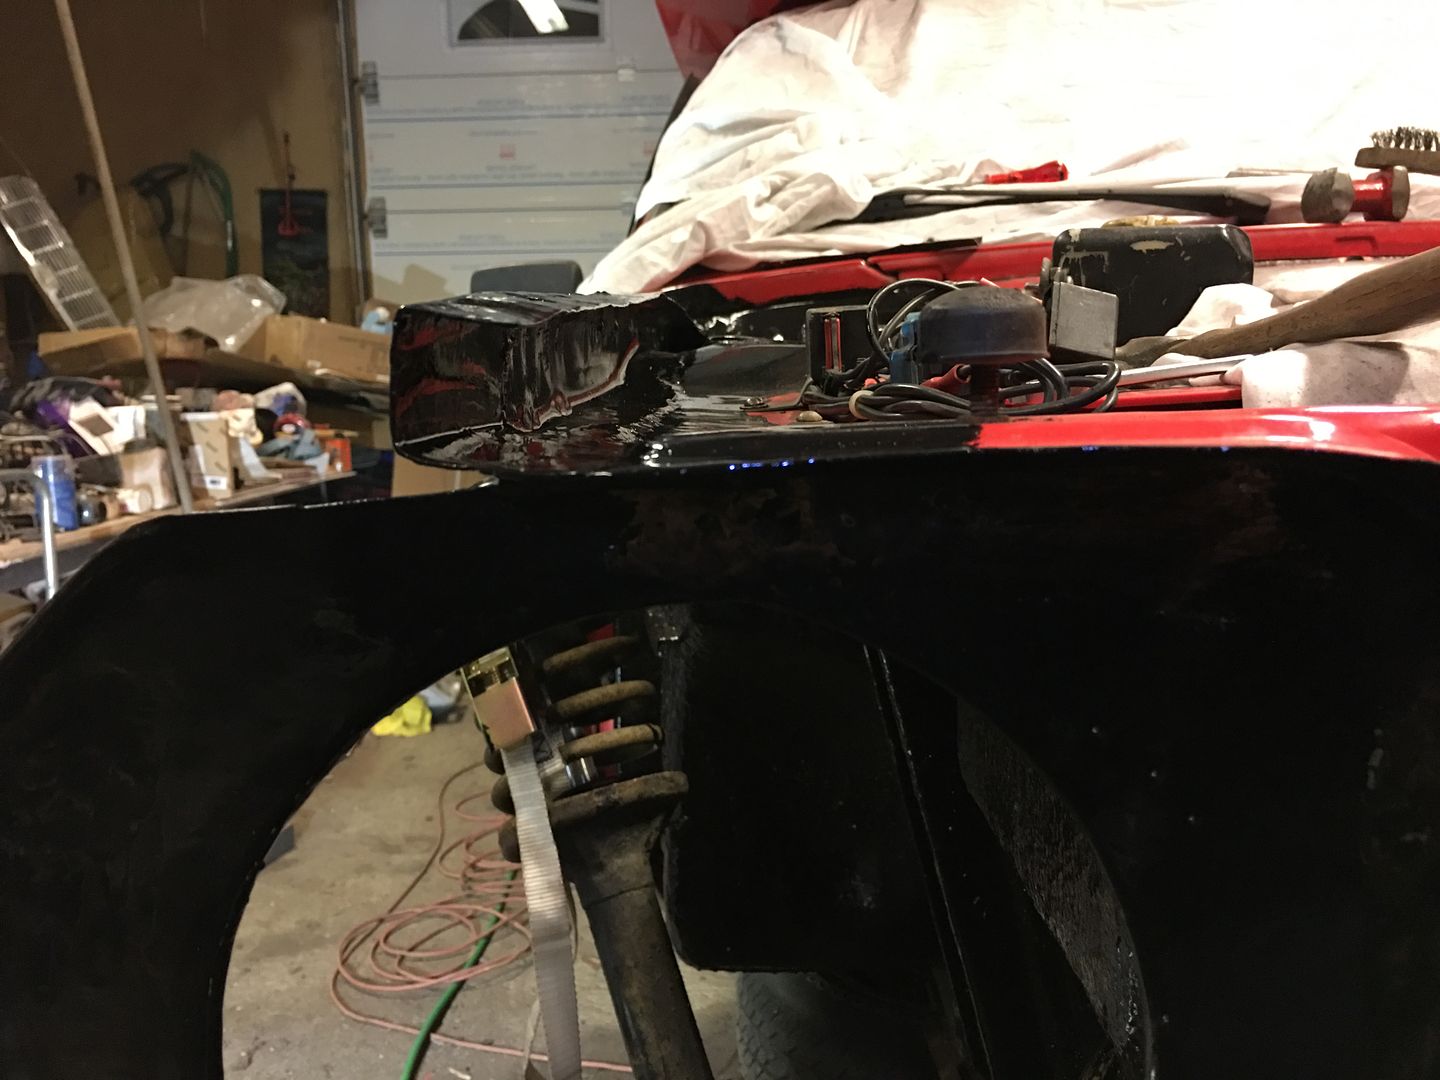
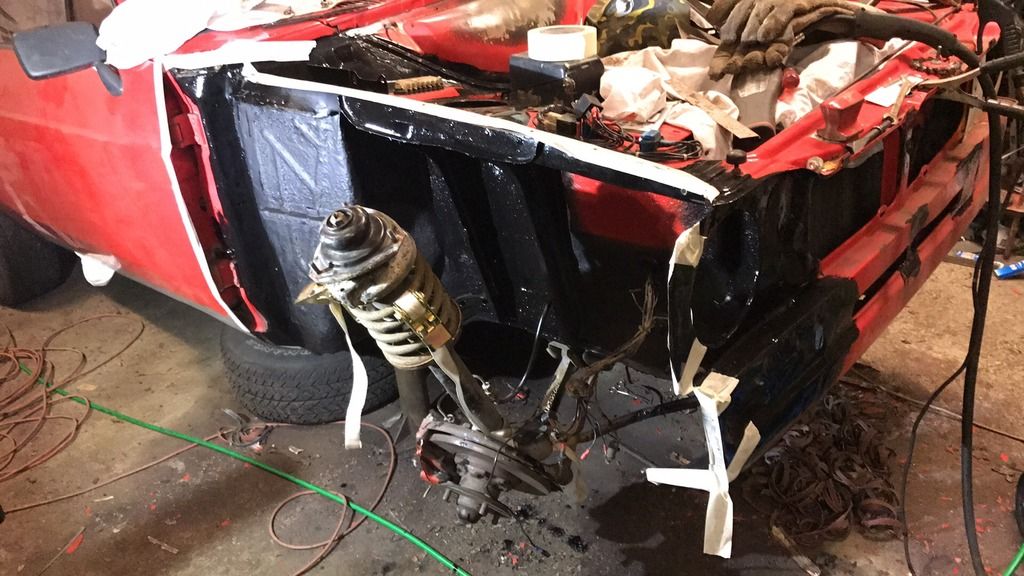
This is a great build and I'm enjoying your work very much, keep it up. Thanks m8! Time for a large(ish) update I think. Stuff has happened because reasons, since last update. Among other things my daily a '99 Seat Toledo 1.6 petrol decided to start eating conrod bearings and knocking like it was no tomorrow. I bought the car for dirt cheap to use in the mean time until I got the RS ready for the road, and I understand now why it was so cheap. I changed the conrod bearings, and shimmed them a bit so the play was kept to a minimum, chucked some SAE50 oil in it and it kept on running. Hopefully it'll last until the RS is ready  Over to the update. The bottom of the skidplate got a lick of paint, one coat primer, and one thick topcoat. 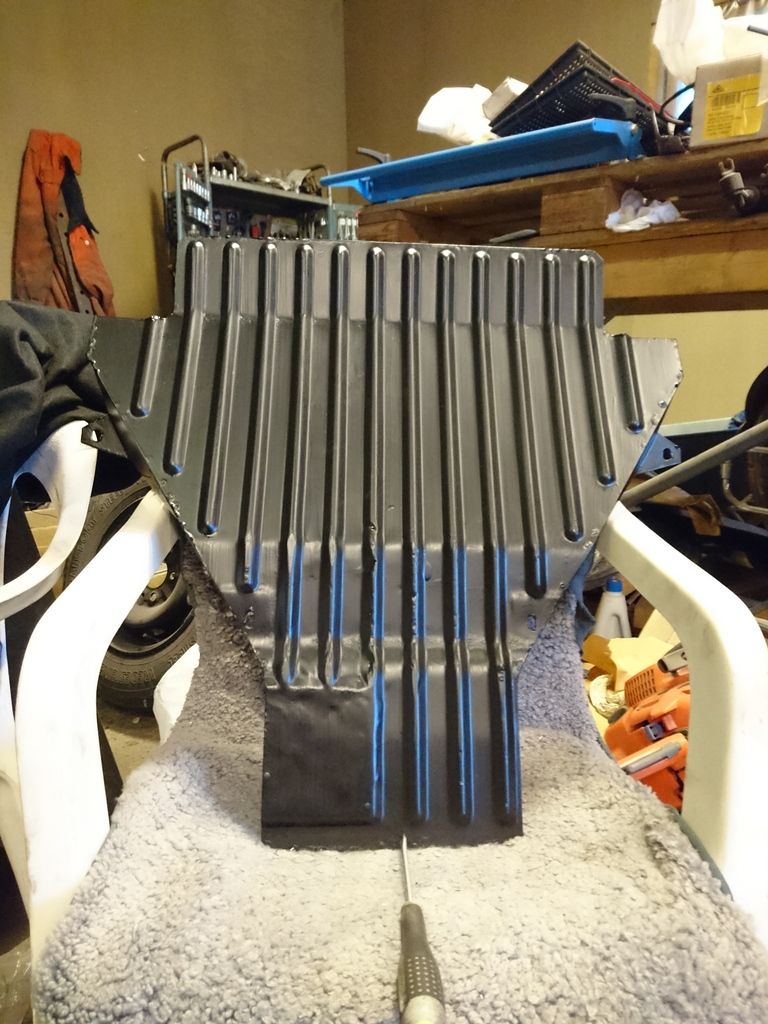 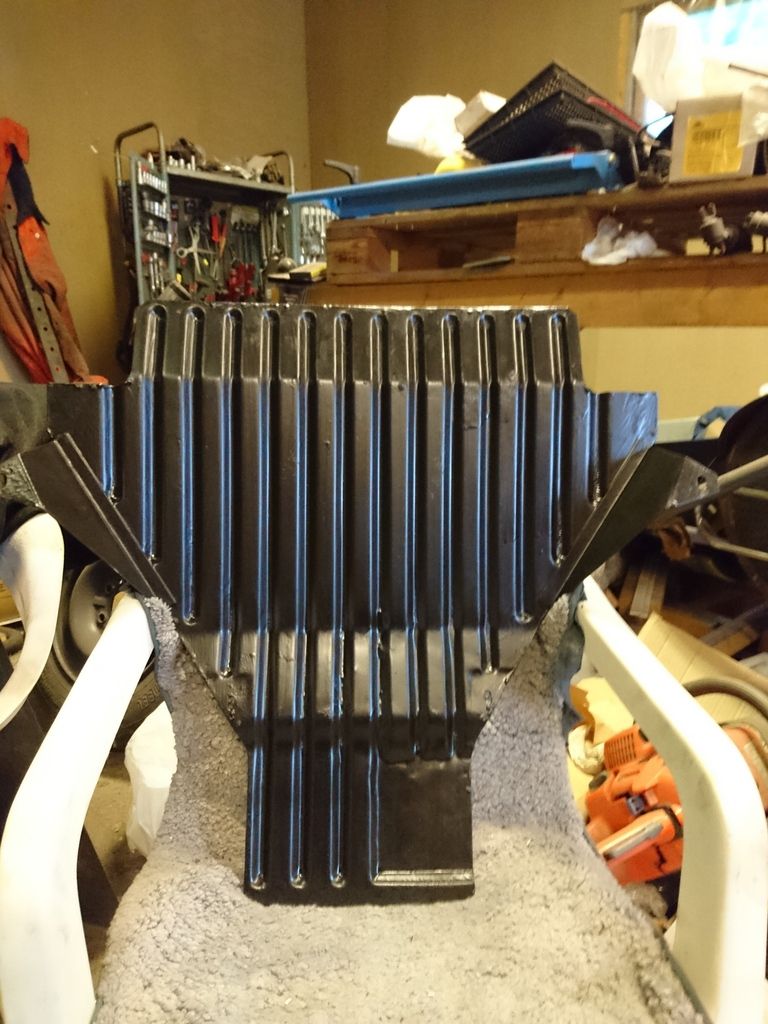 Then I painted around the sunroof opening before assembly. At the same time I made a small paint-trial of the rattle can paints I am planning to use. The results was pretty good. 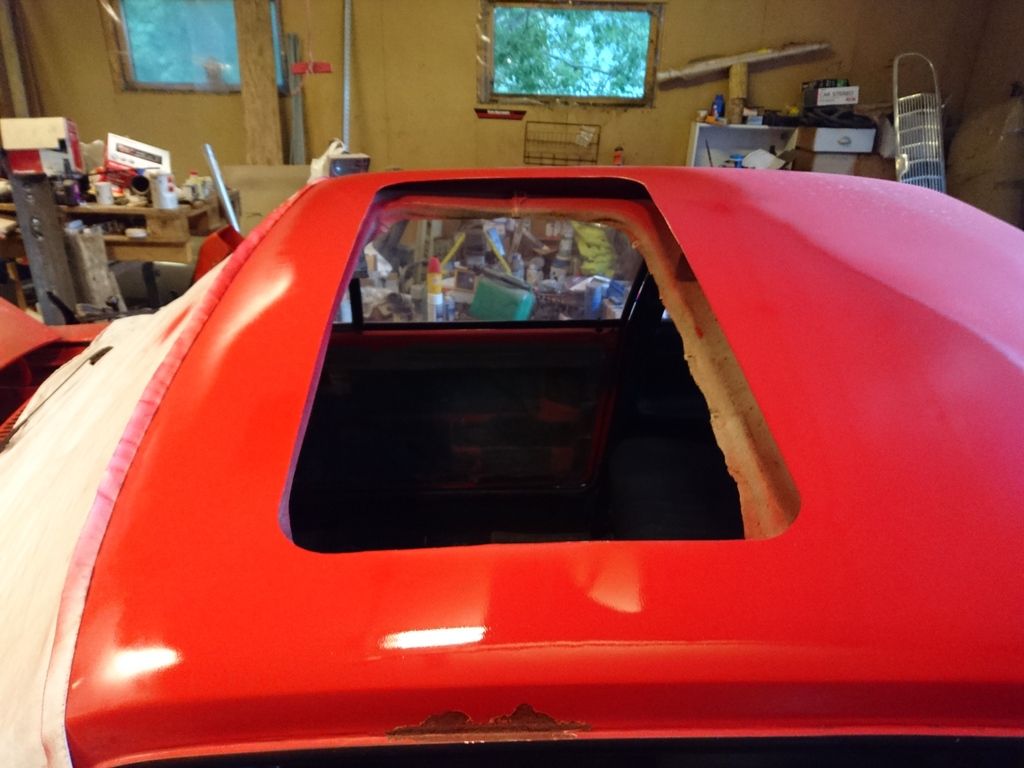 Tec 7 should do the job I think. 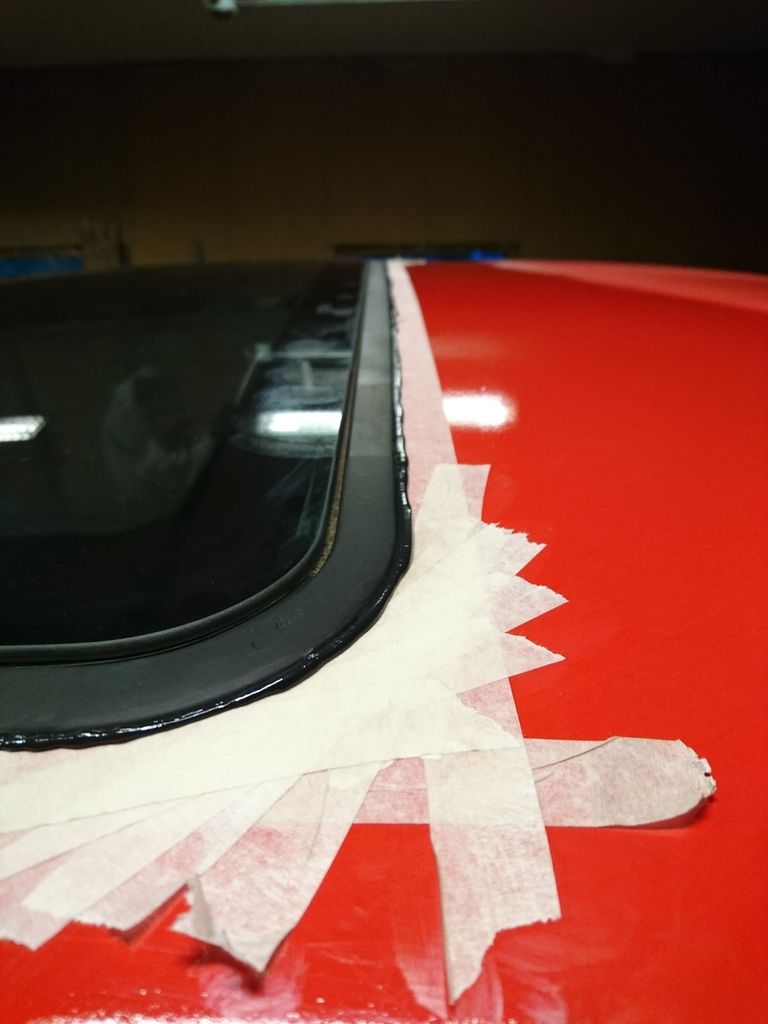  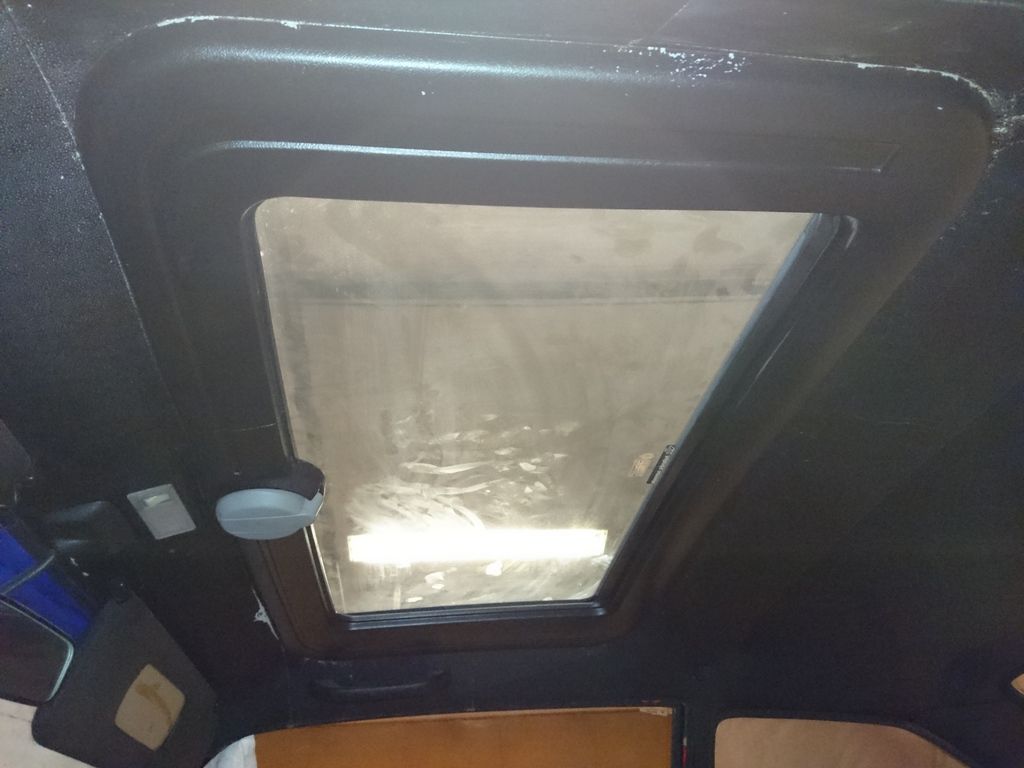 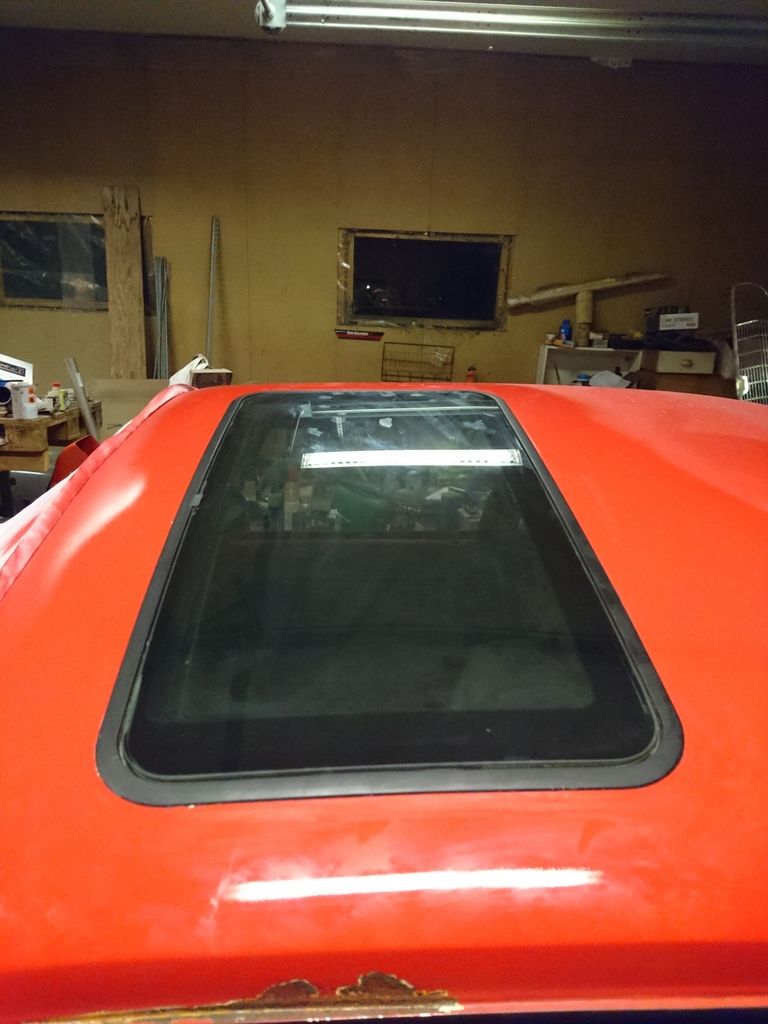 Stonechip in the rear arches: 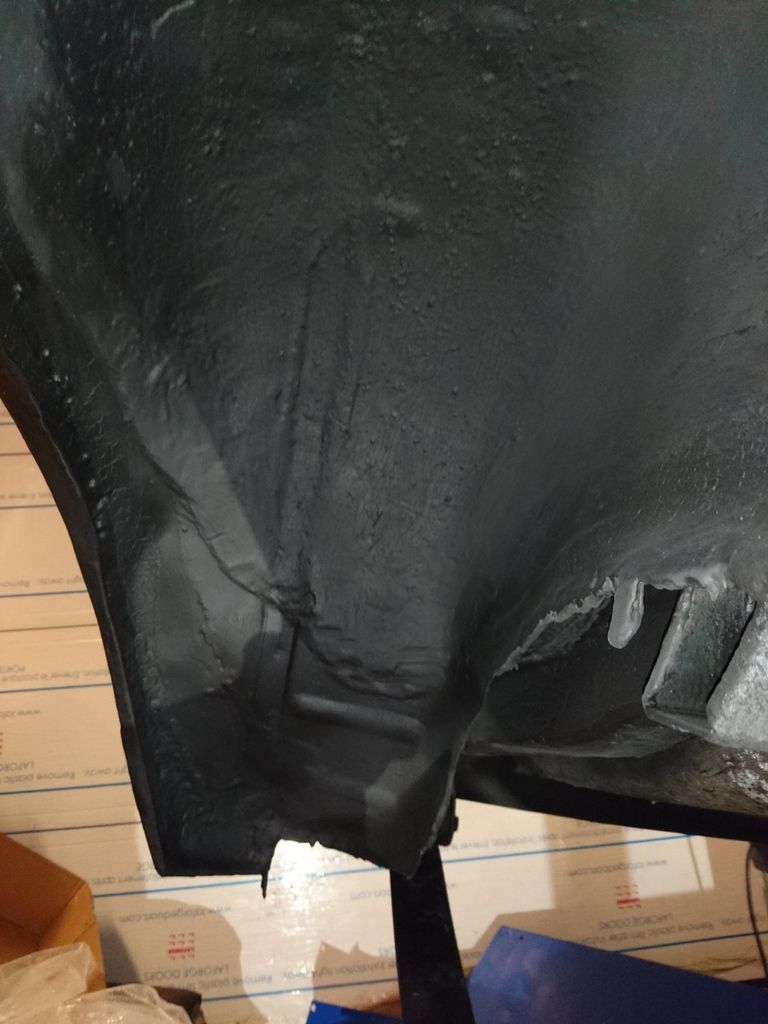  Underbody protection: 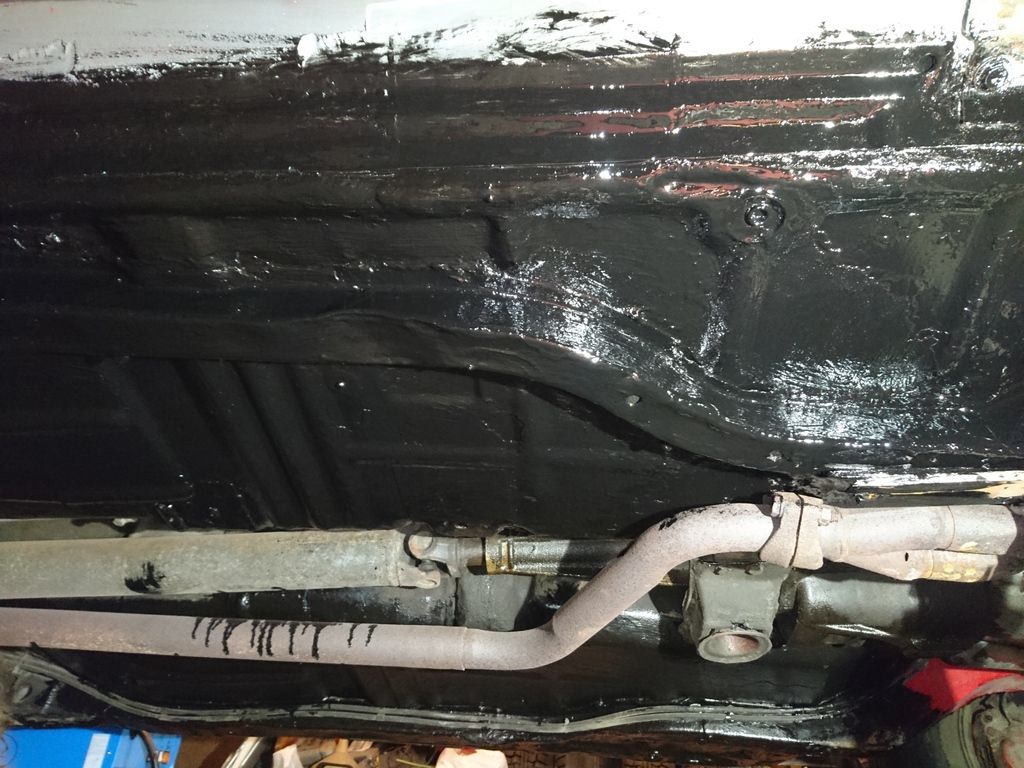 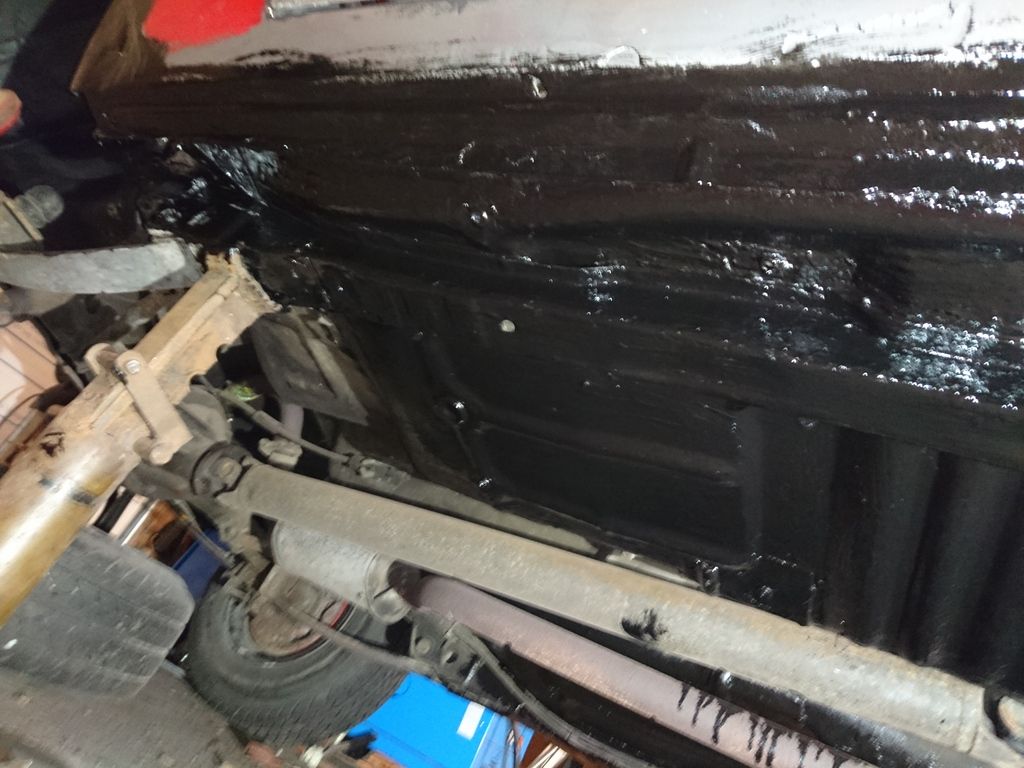 Taking The car outside while I changed the conrod bearings.    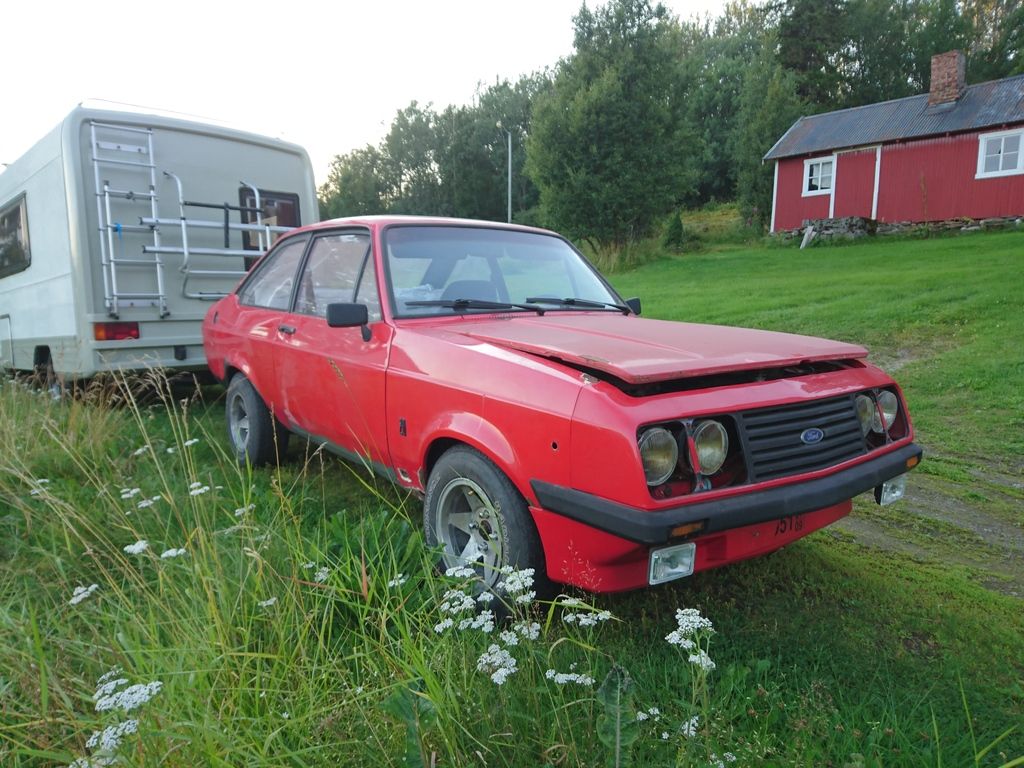 Then it was time to start with the front of the car. The job I had dreaded since the beginning of this project. The last time it was restored somebody had figured out that rubber underbody protection was the shiznit, and promptly used rubber sealant in ALL the joints/flanges to ensure that trapped moisture would have nothing to do but to eat away at the metal. Everywhere under where the rubber sealant had been was covered with rust, and every join was dissolved. Fun fact: only 2 screws had to be cut to get the front off the car!! Some pictures of the misery: 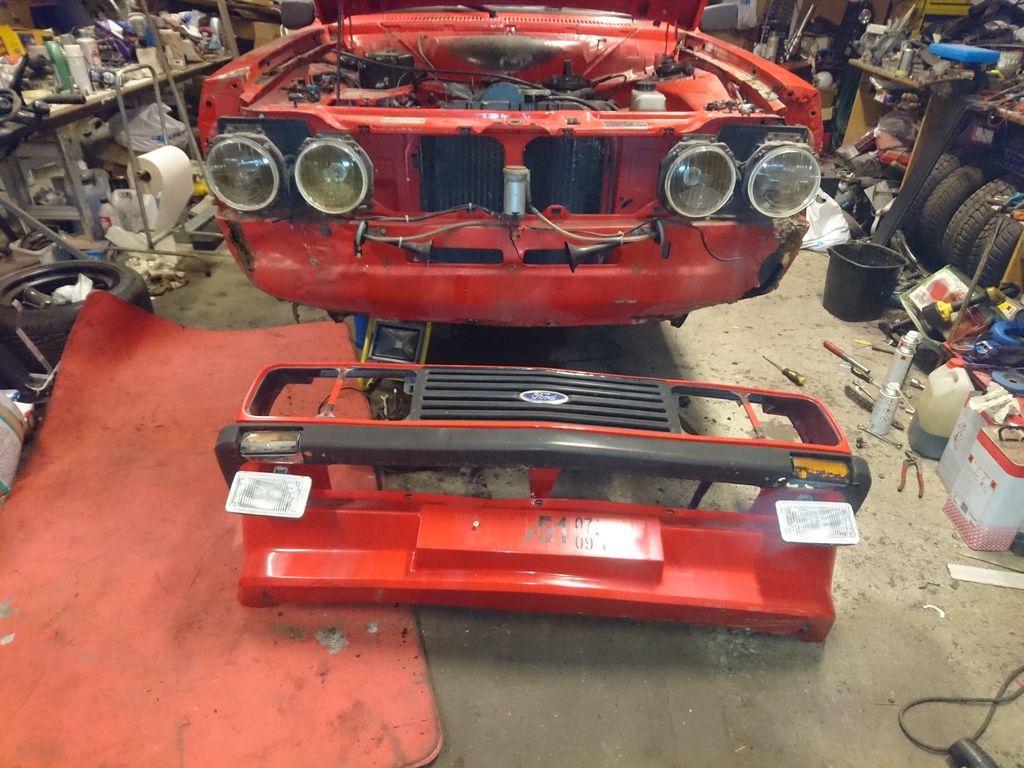 more work: 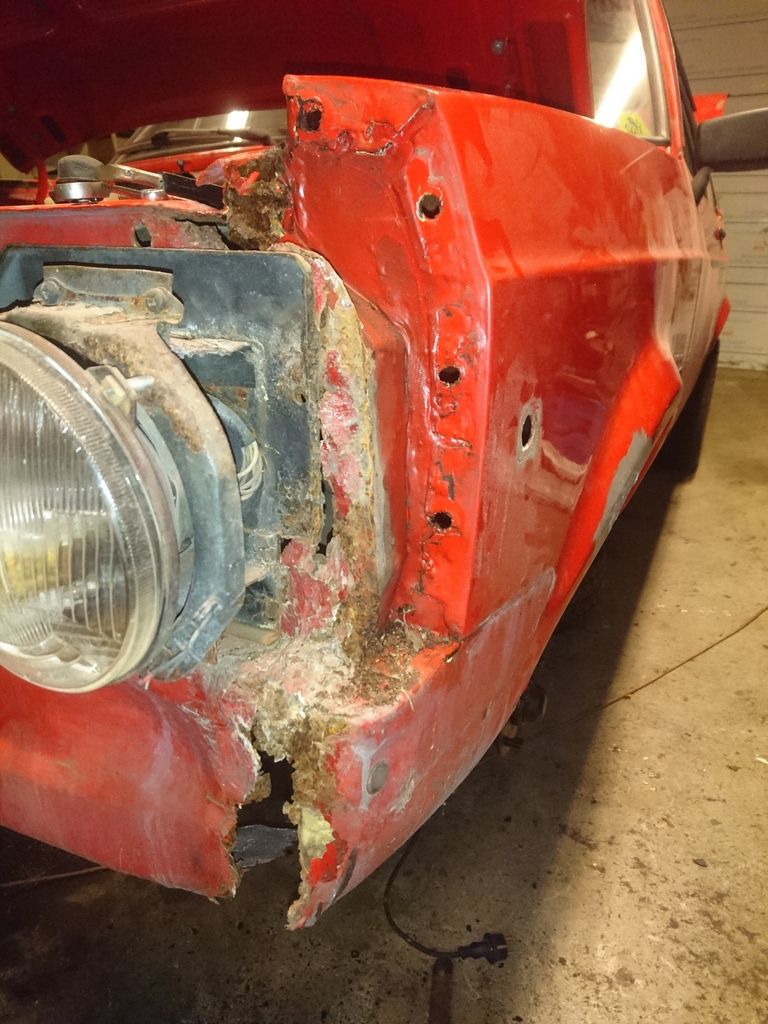   Fendermounts was rusted the entire length  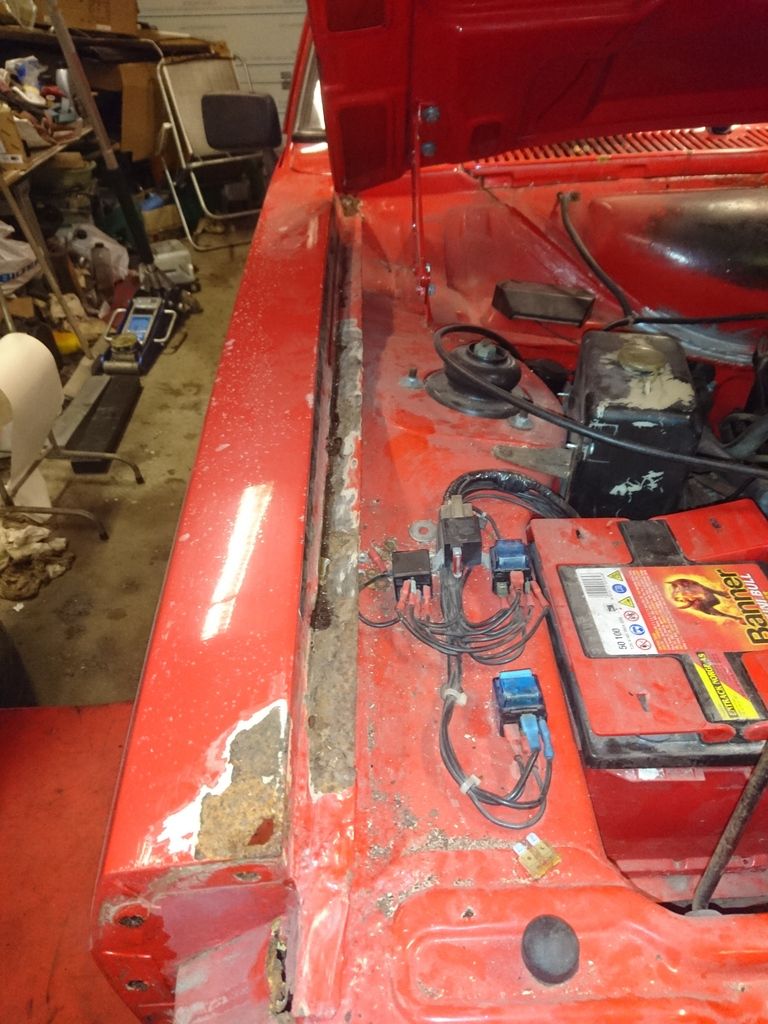 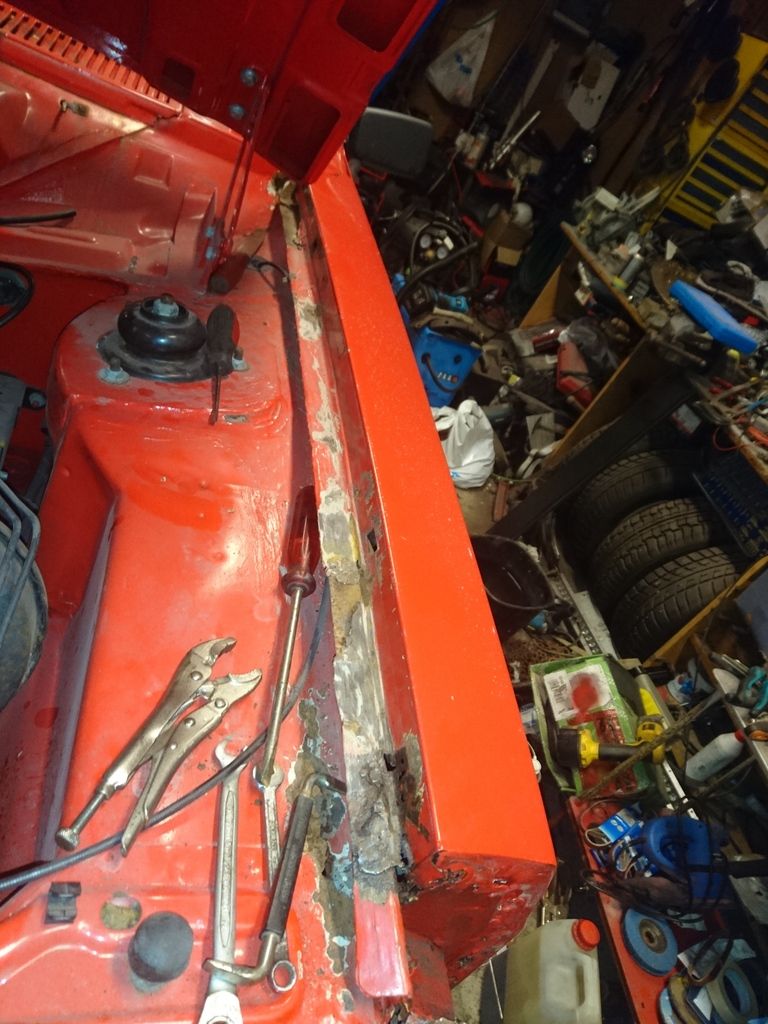 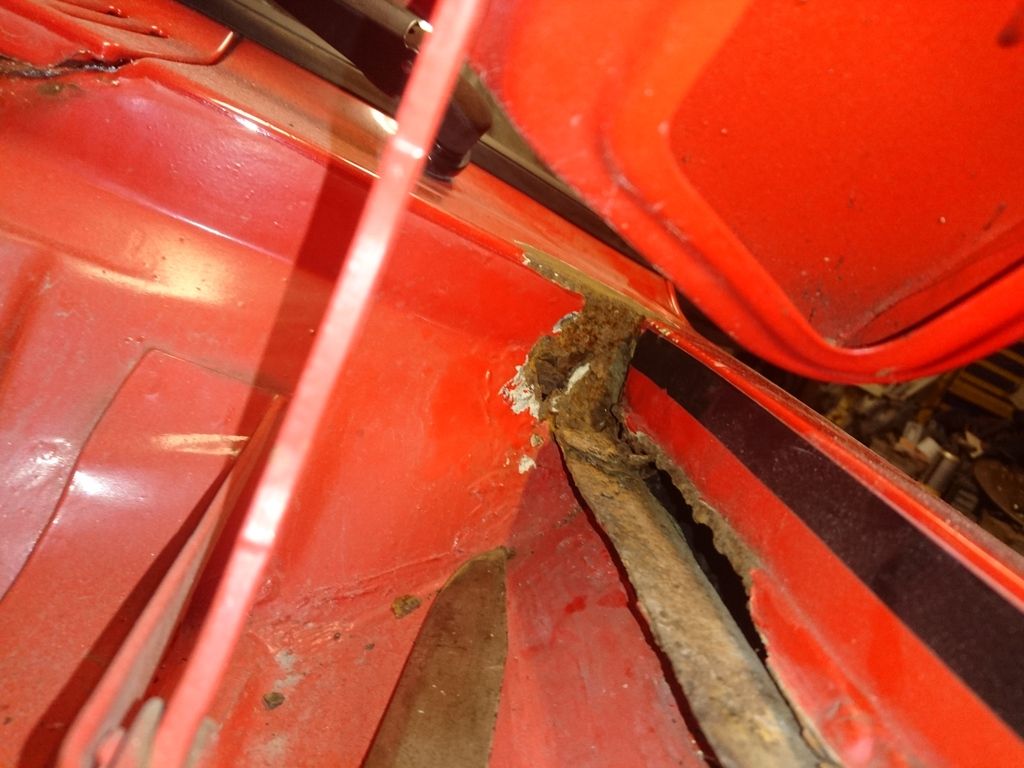 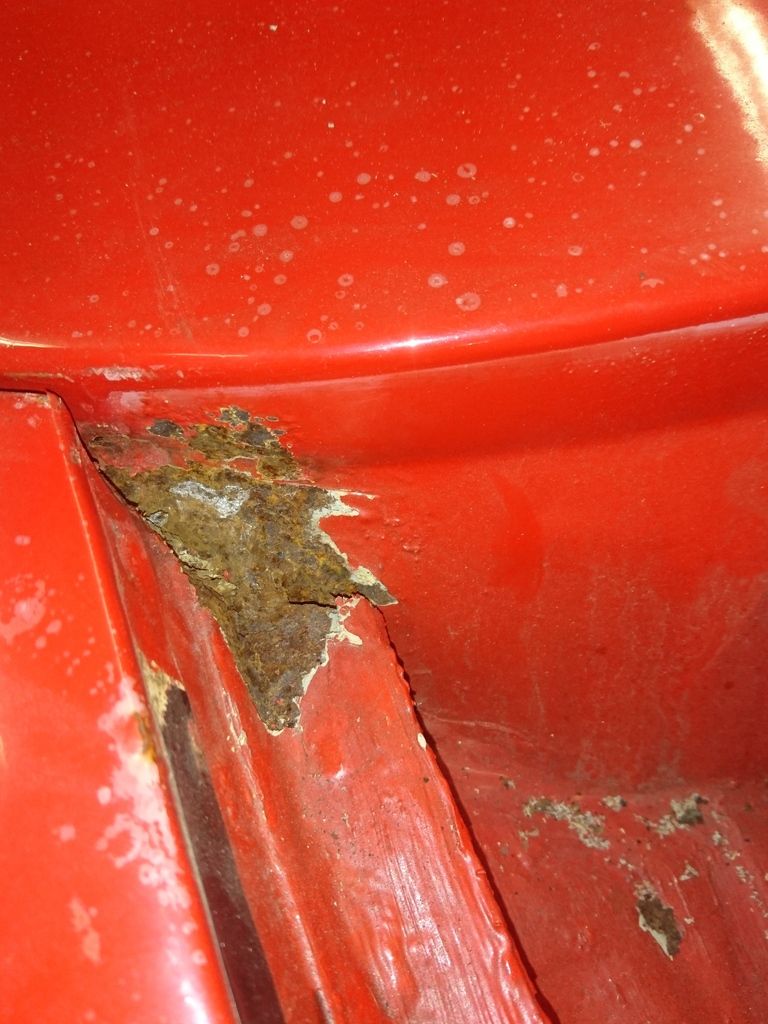 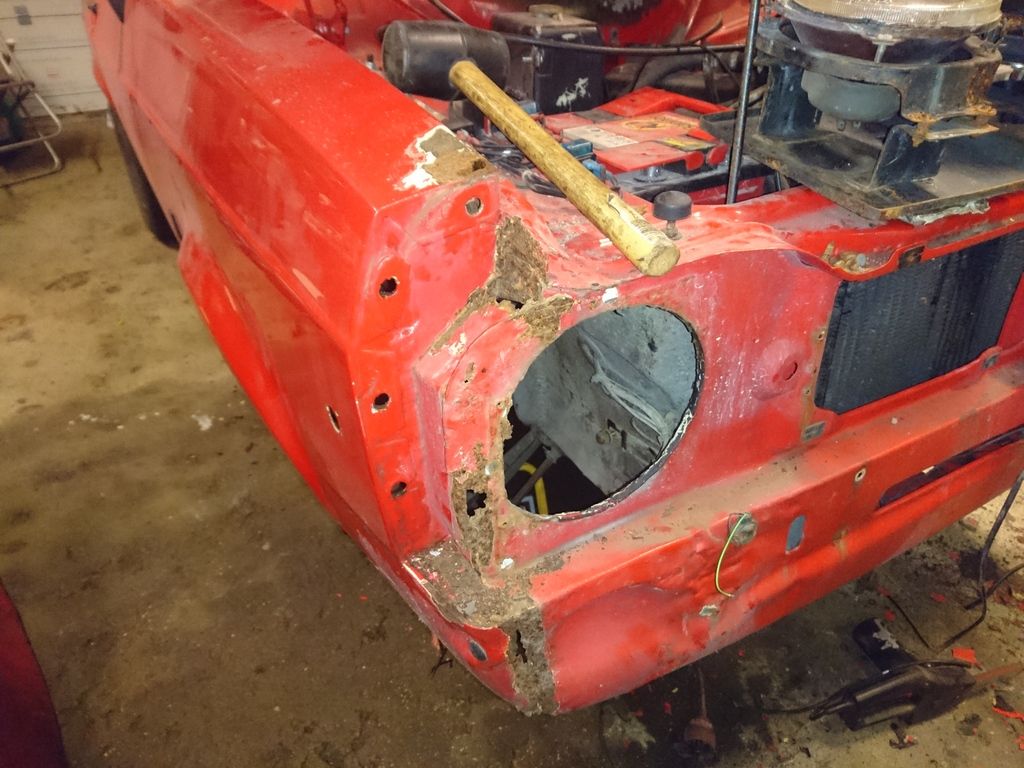 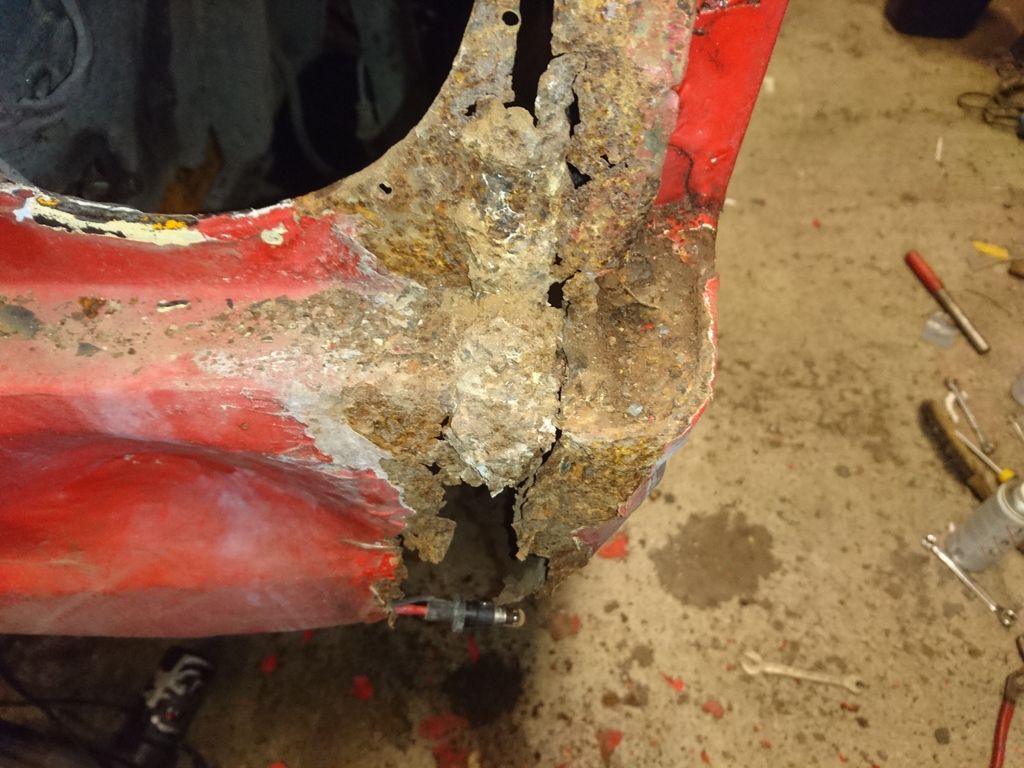 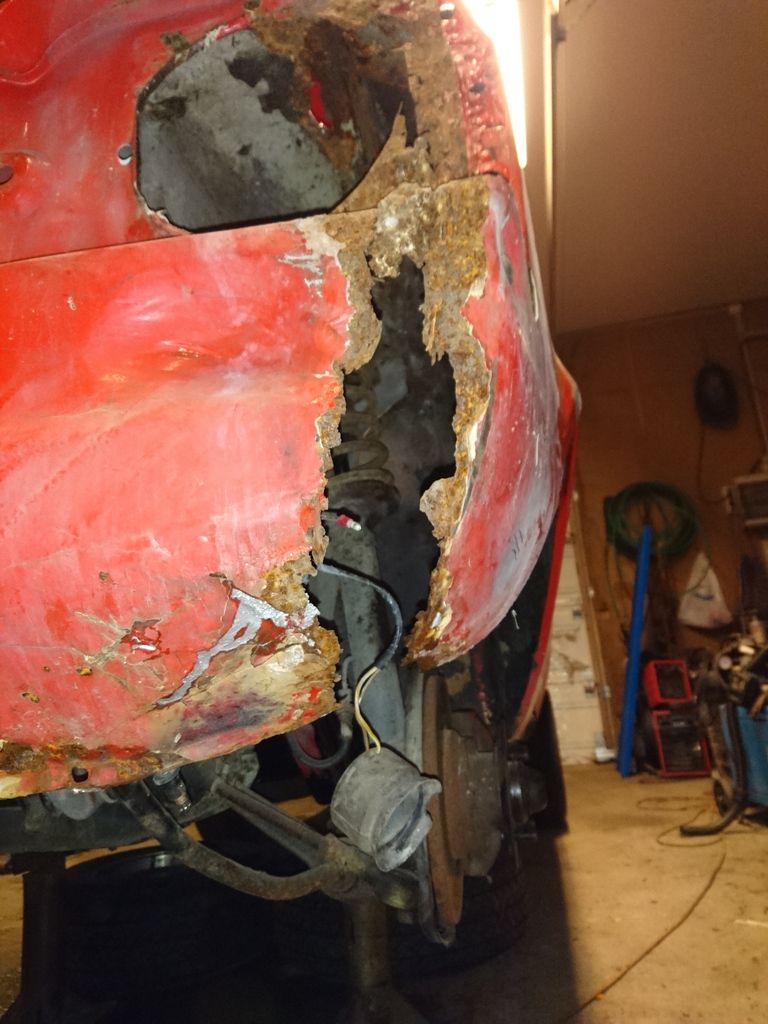 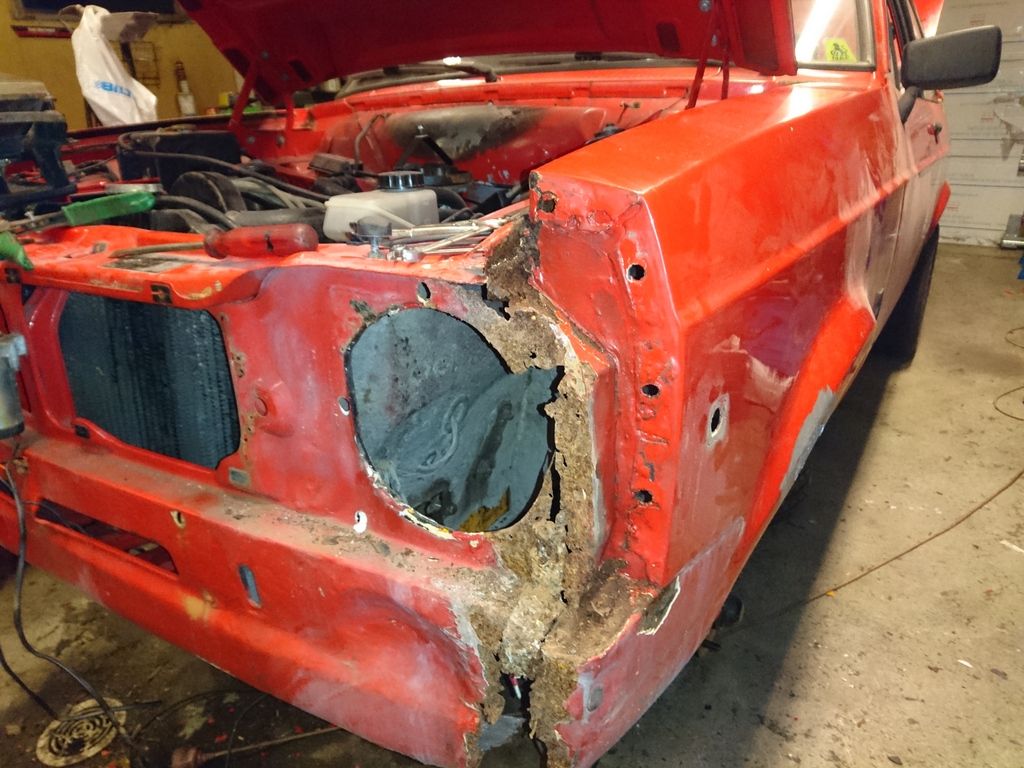 Headlight mounts is bad. Luckily I have better lights and mounts lying around waiting. 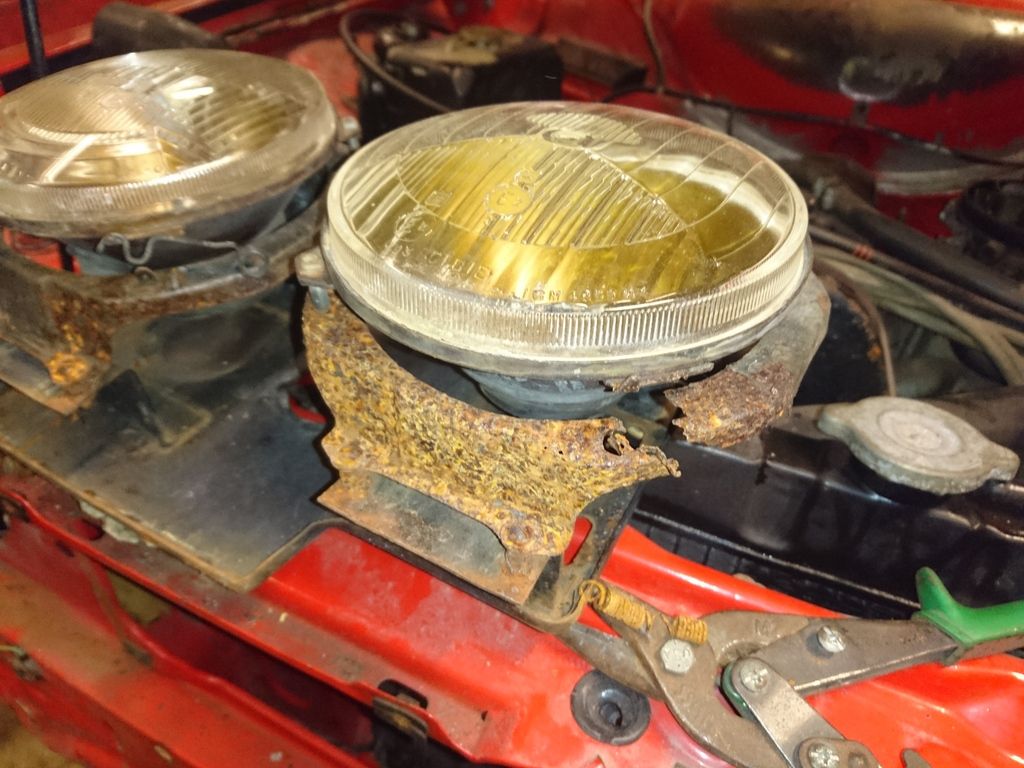 New fendermouts in production. 1mm stainless. 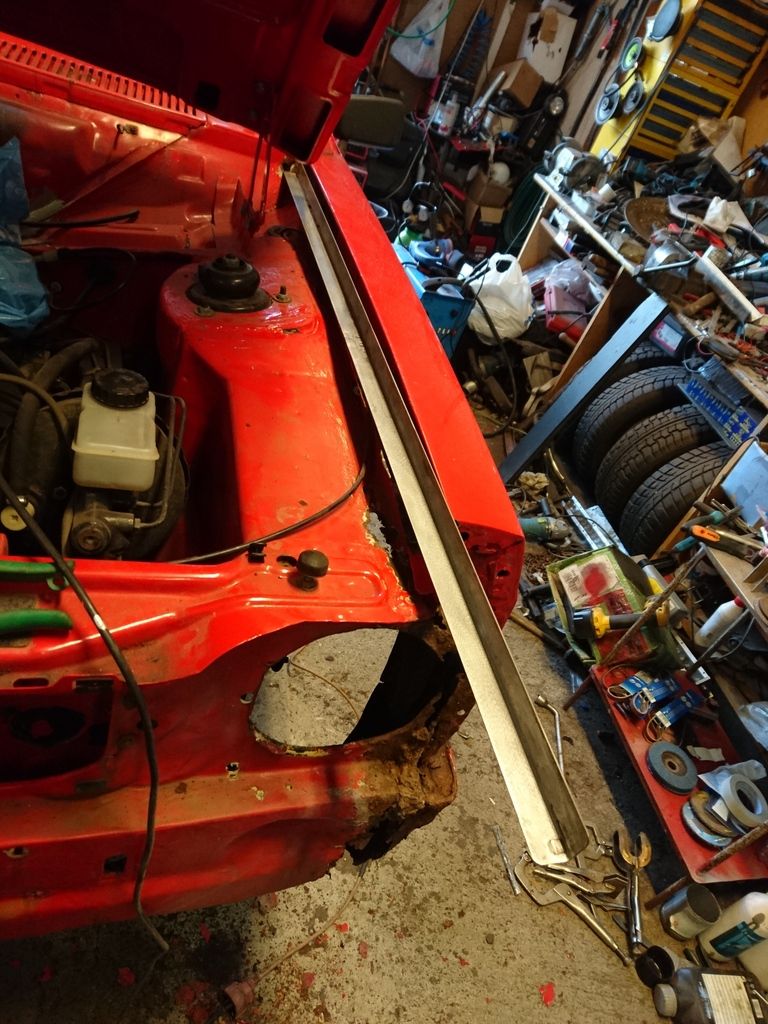 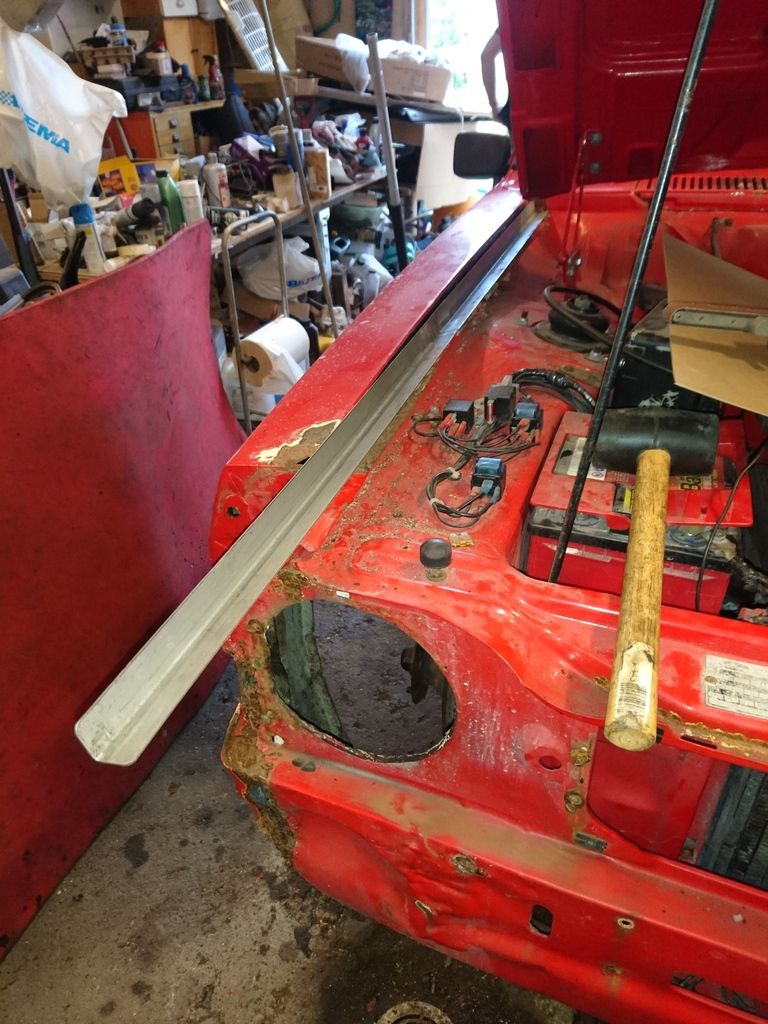 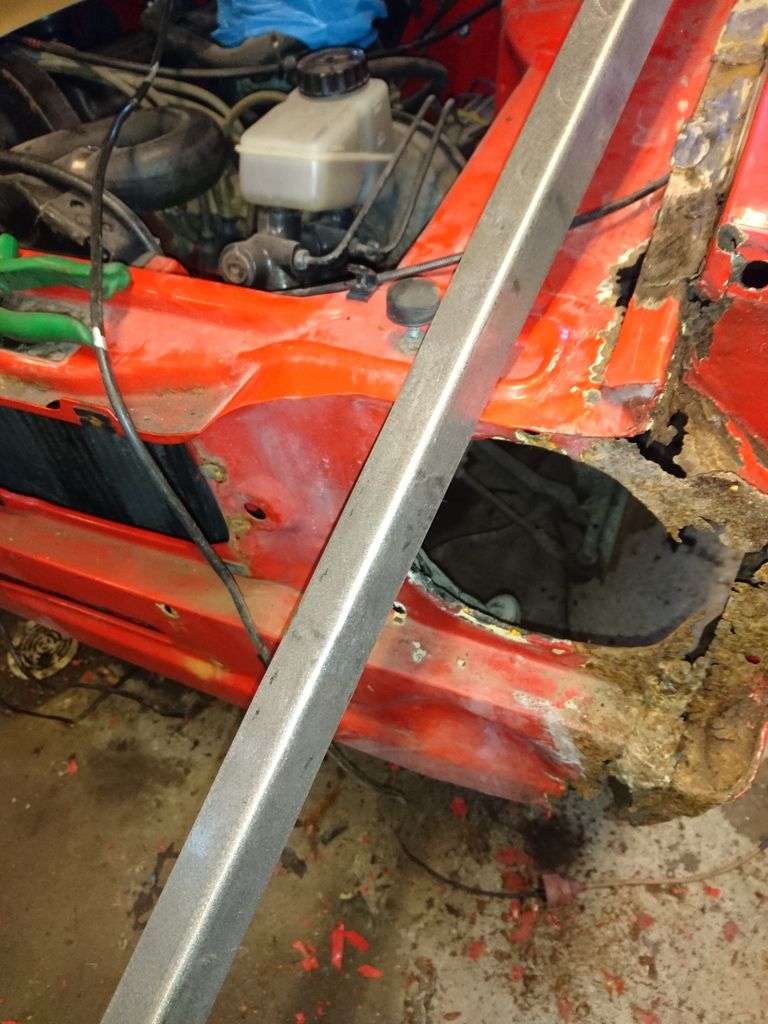 Banging, pounding bending and swearing: 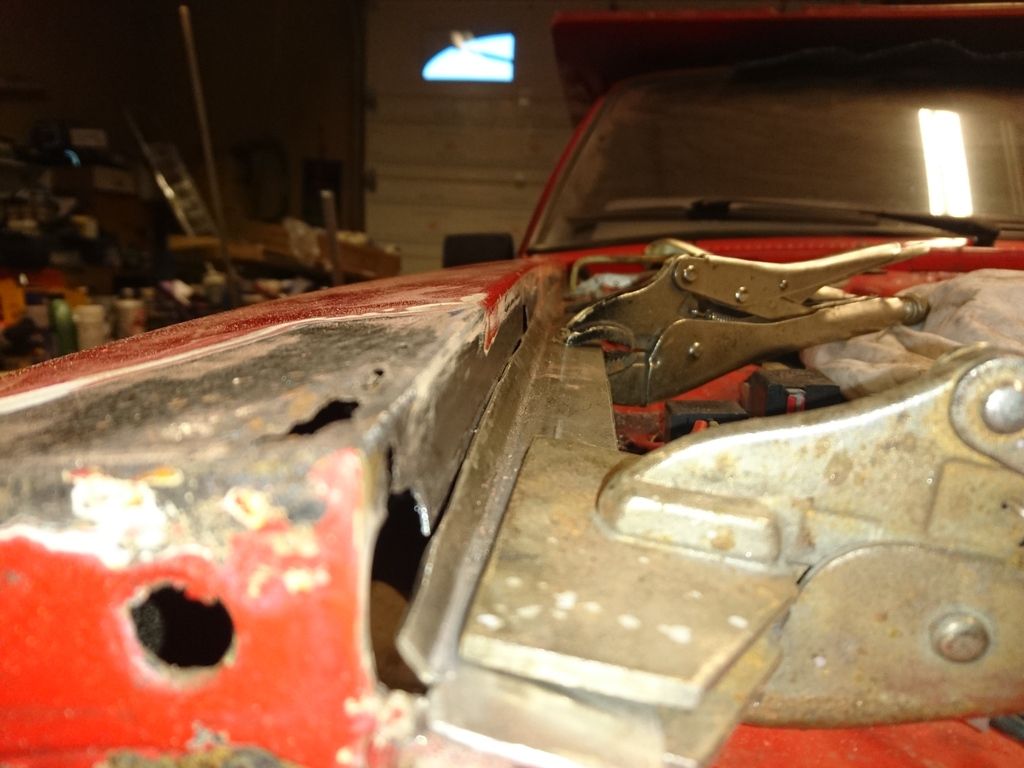 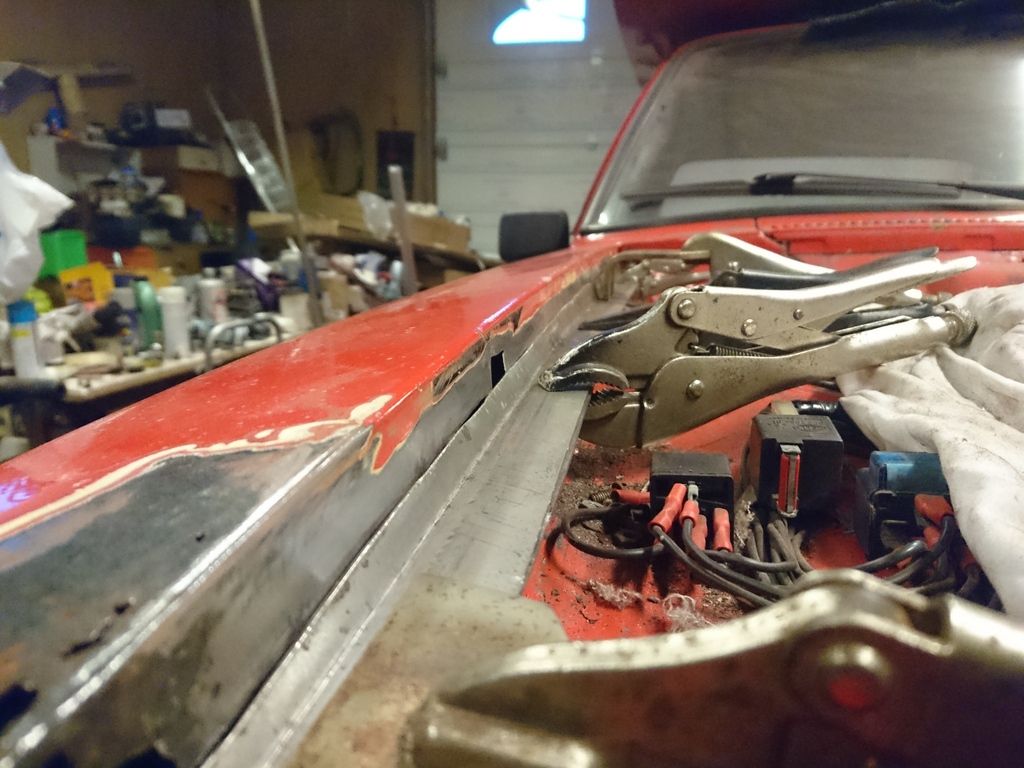 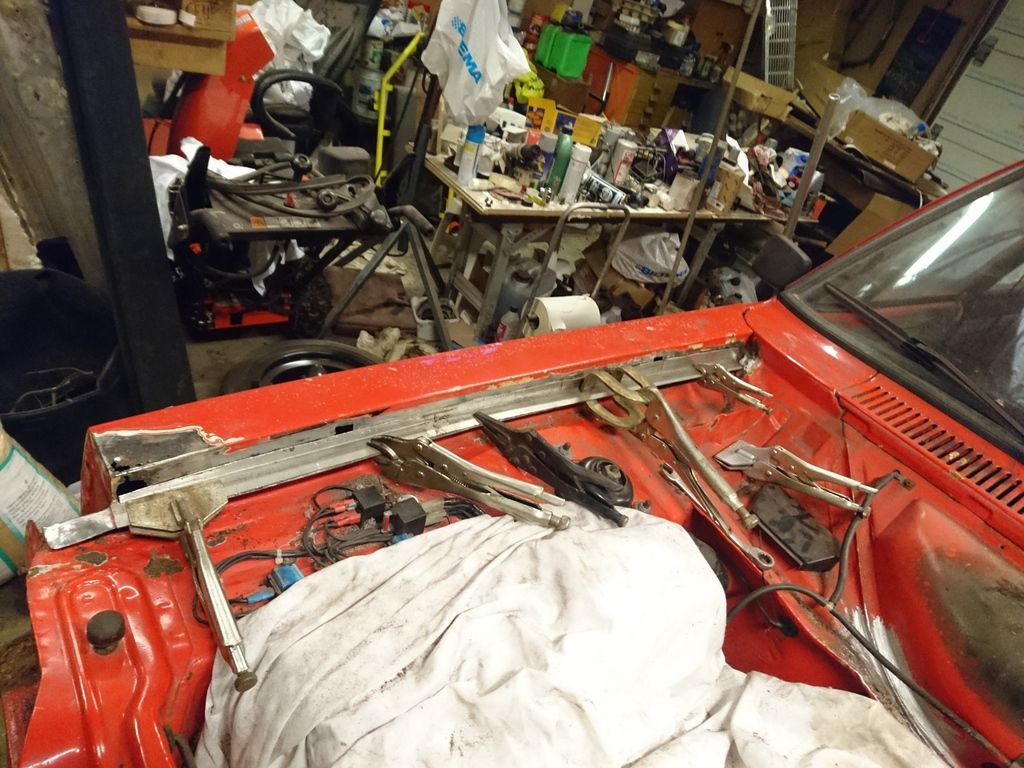 One and a half hours later: 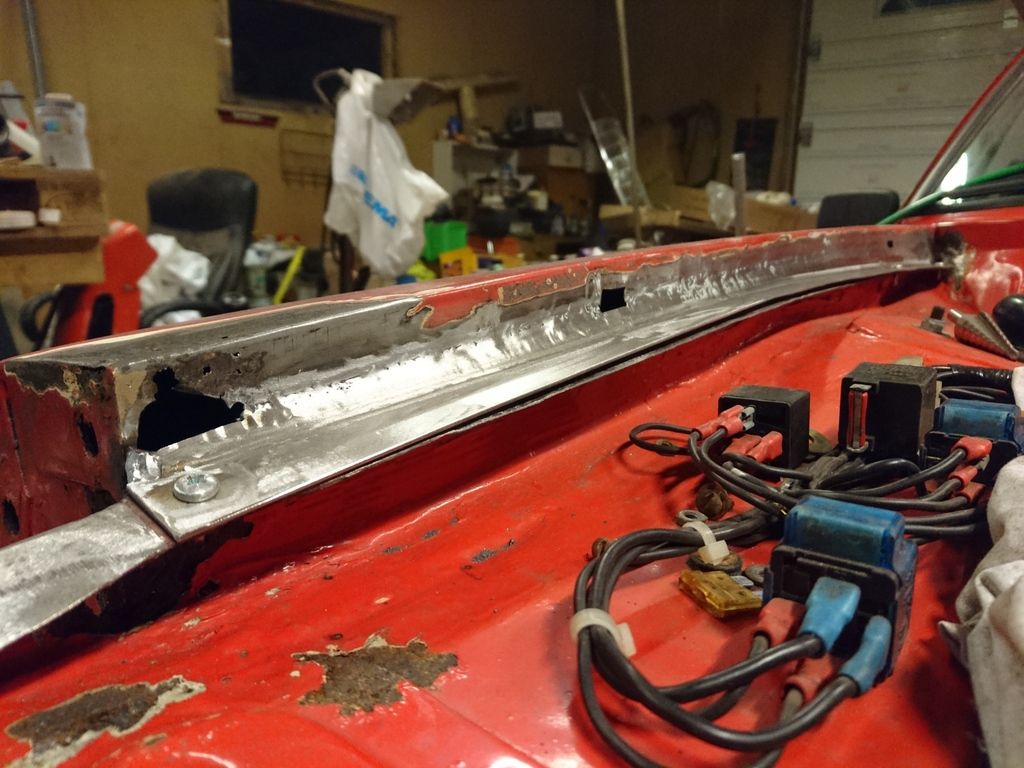 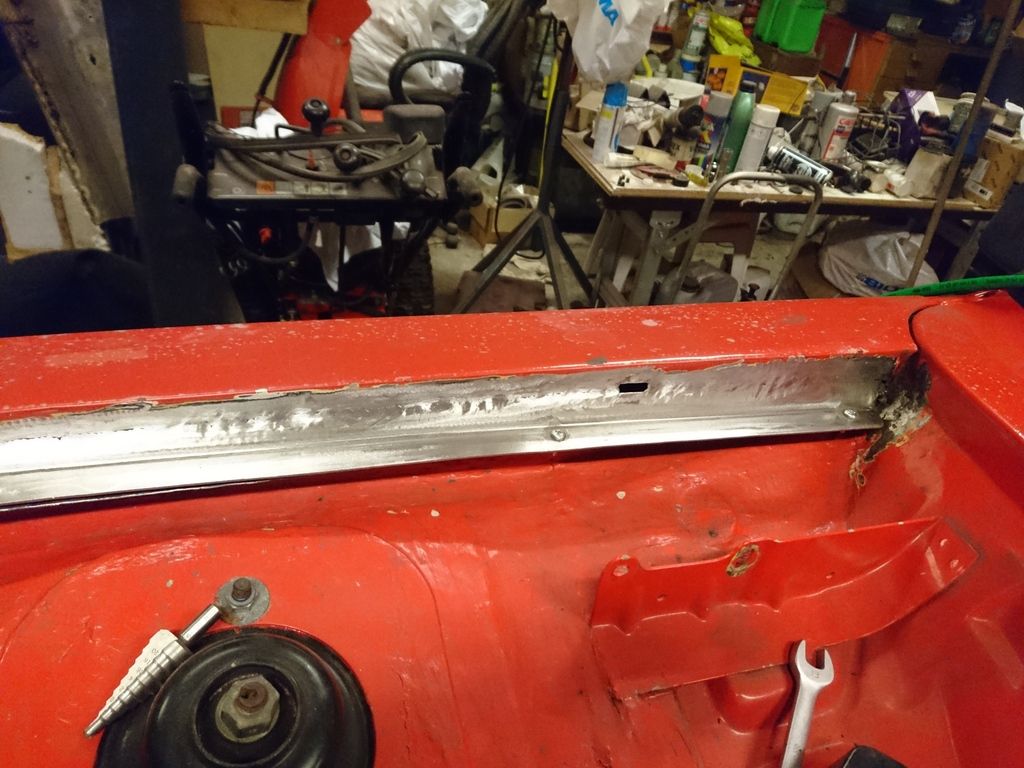 Next piece to be welded: 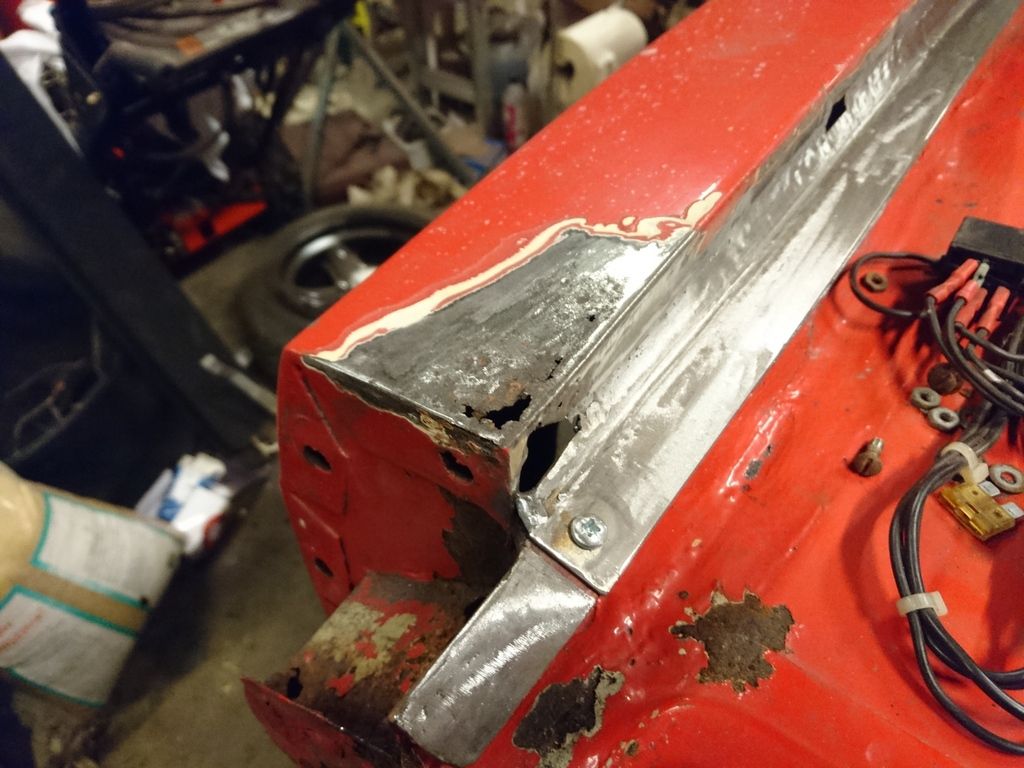 Slowly but surely it progresses. Thanks for reading |
| |
|
|
|
|
funkyhunk
Part of things
Old Ford's R Us
Posts: 265
|
|
Aug 22, 2016 23:16:00 GMT
|
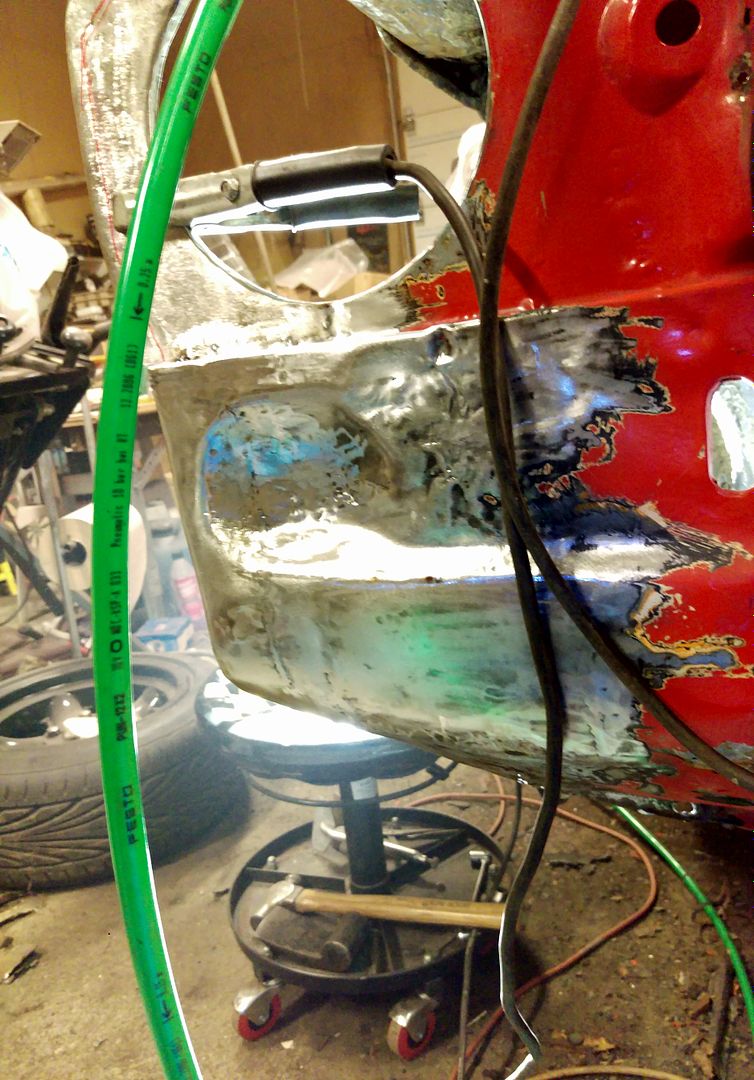
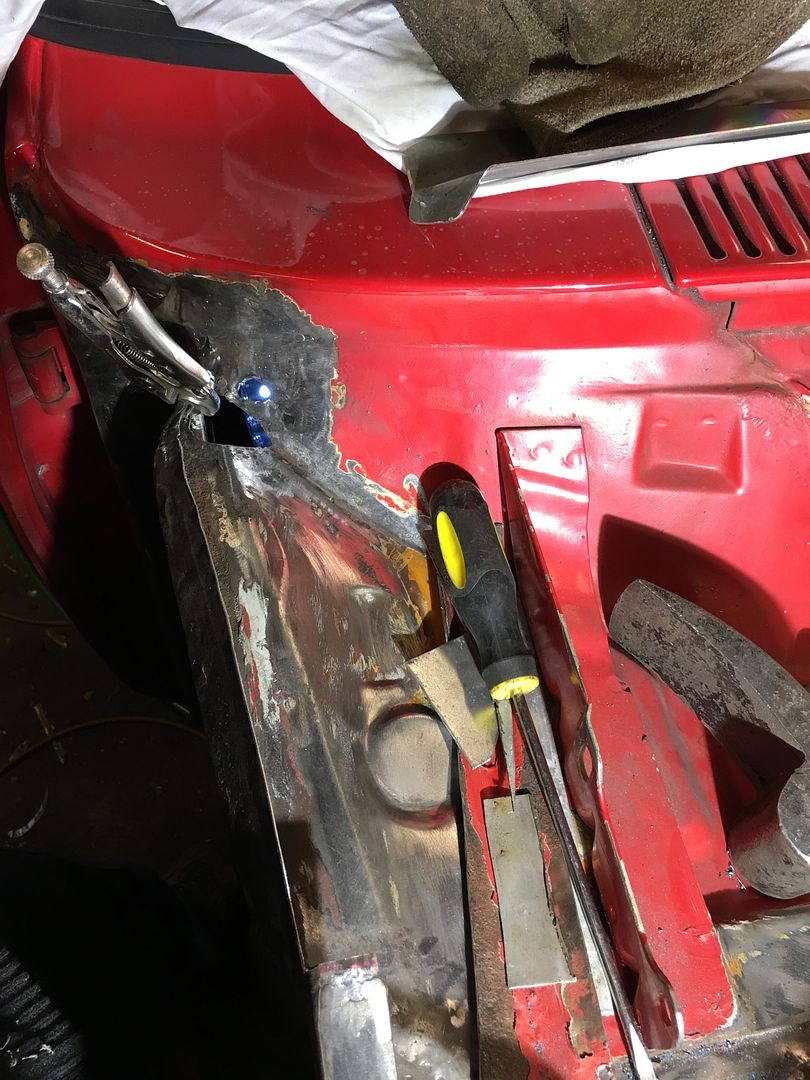
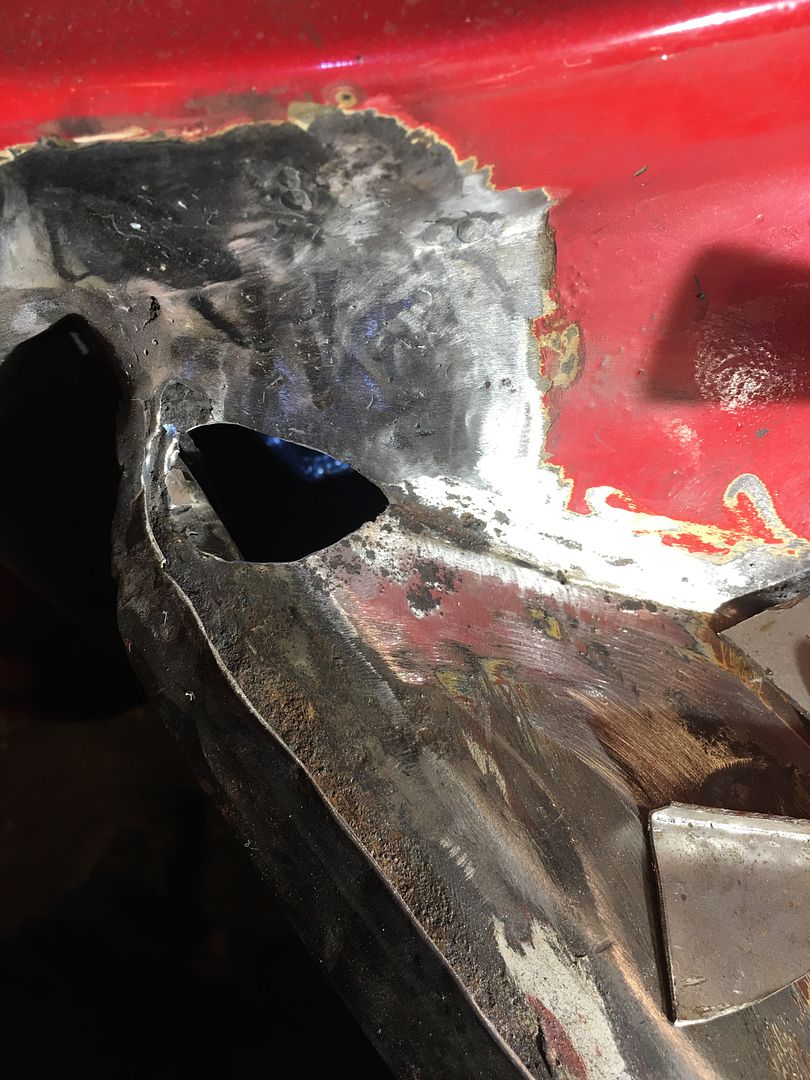
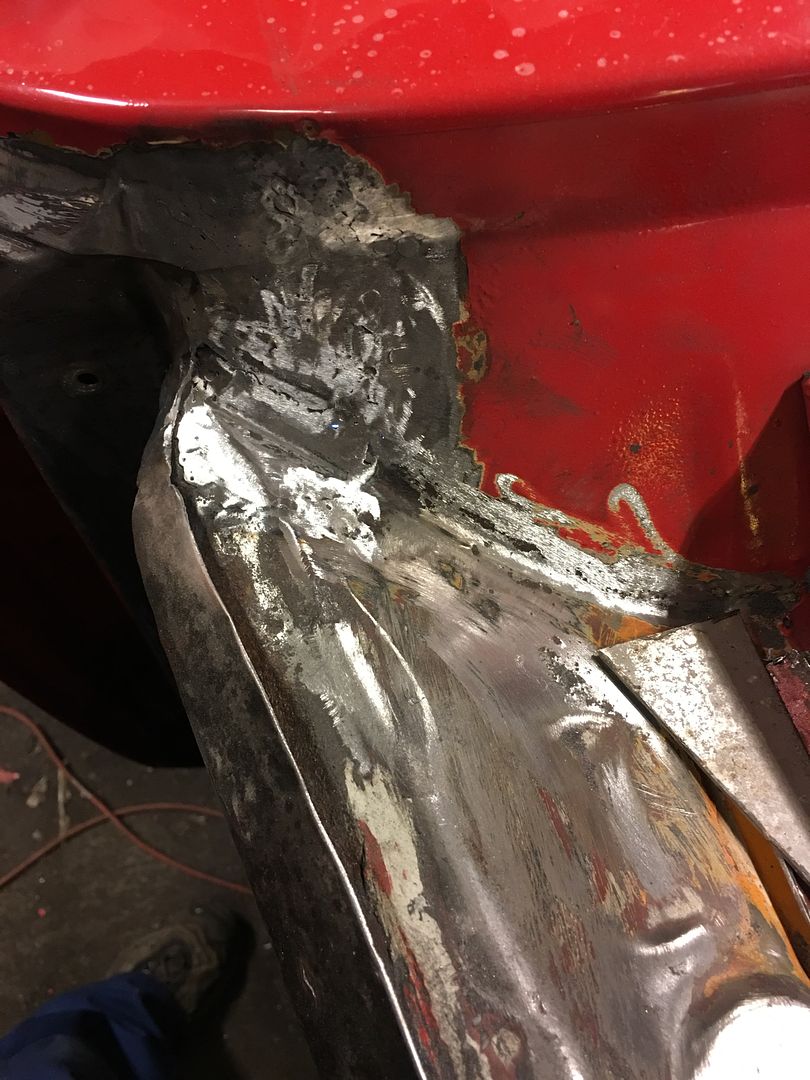
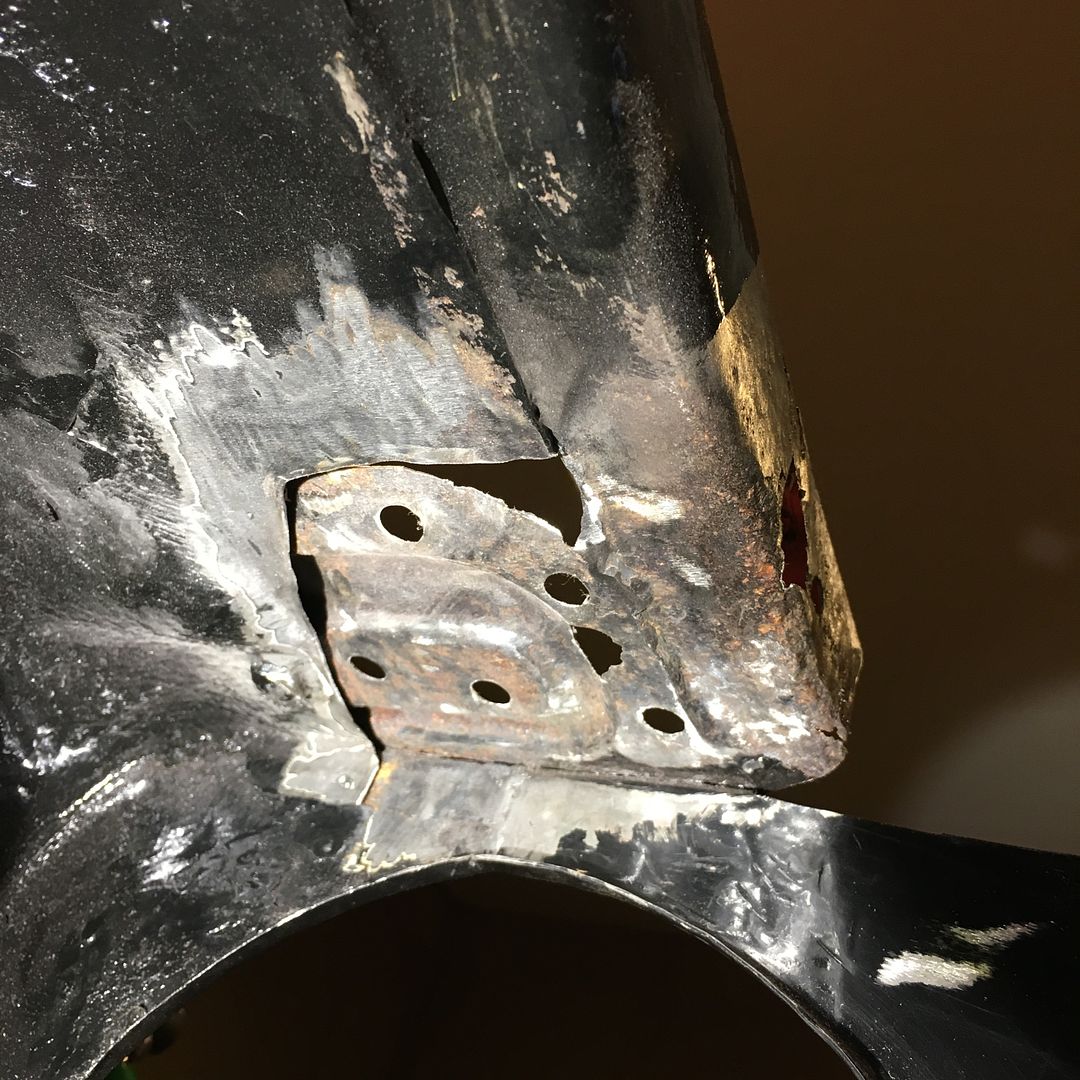
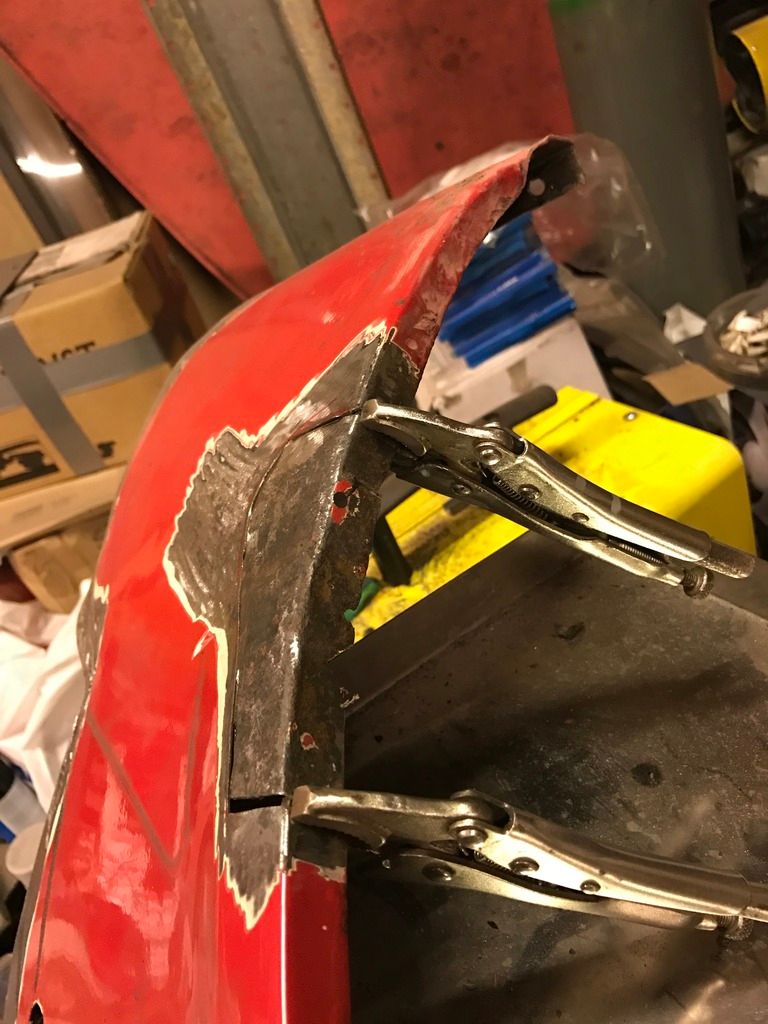
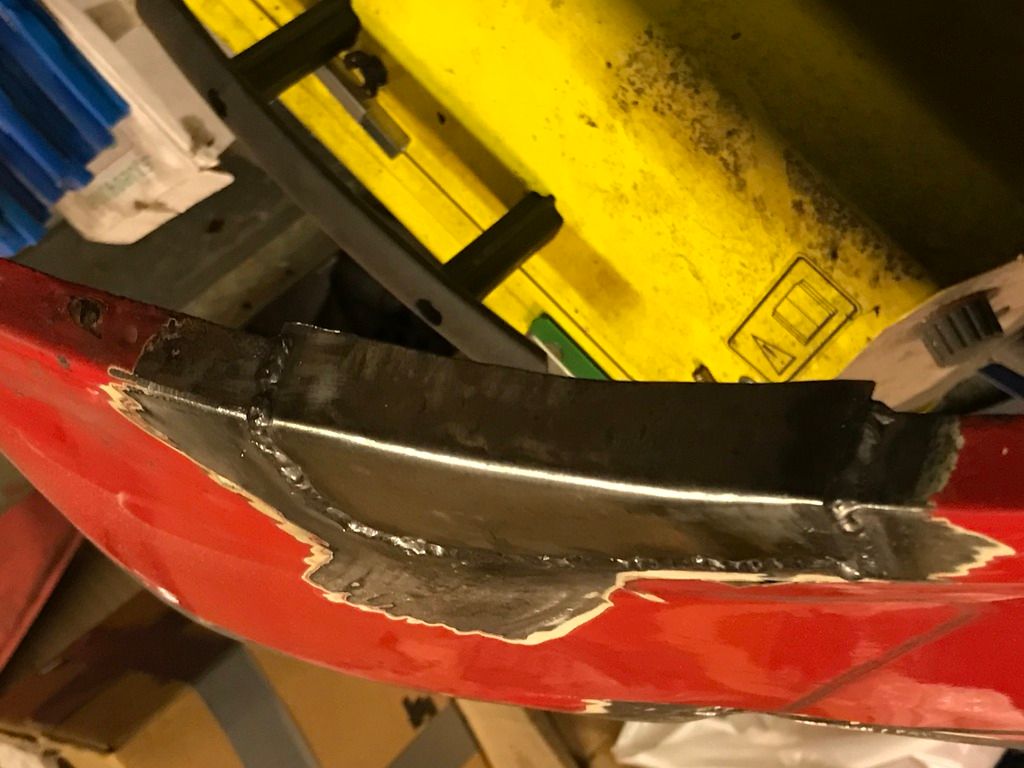
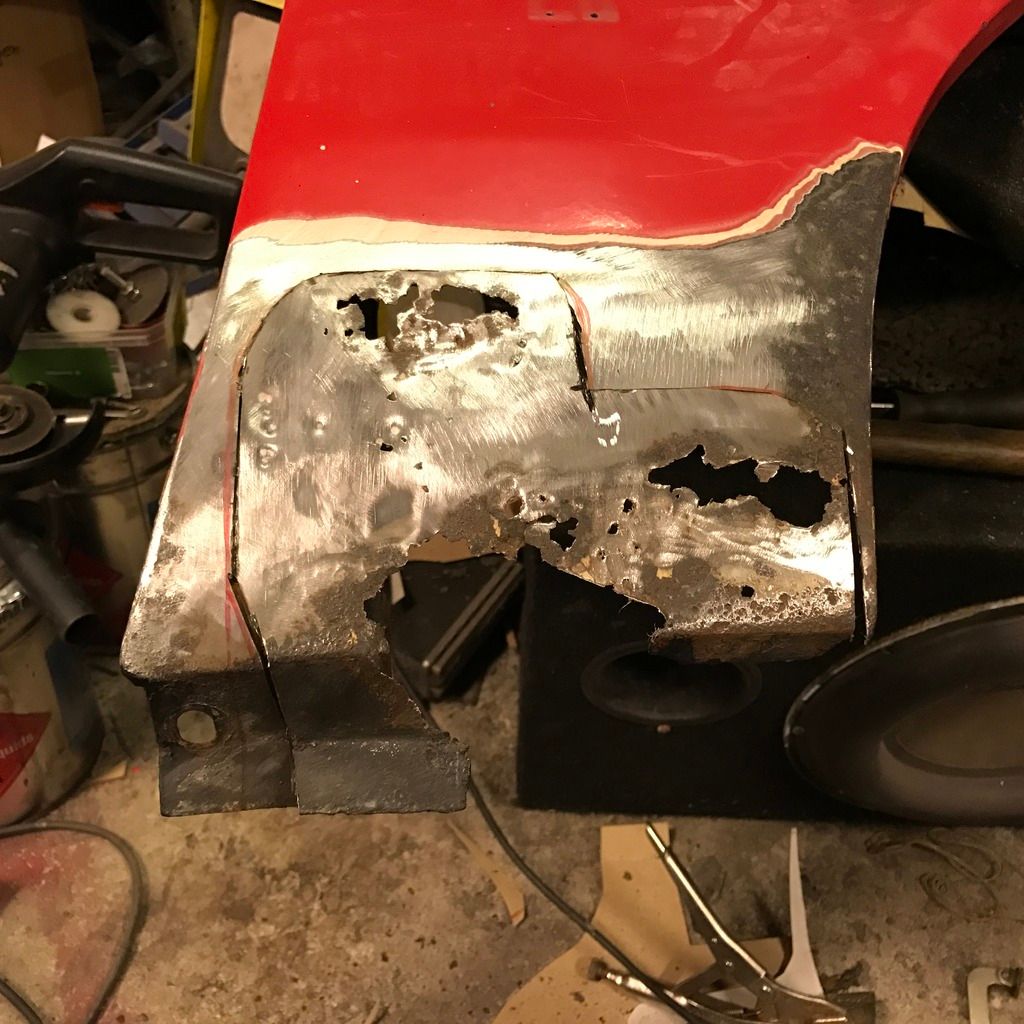
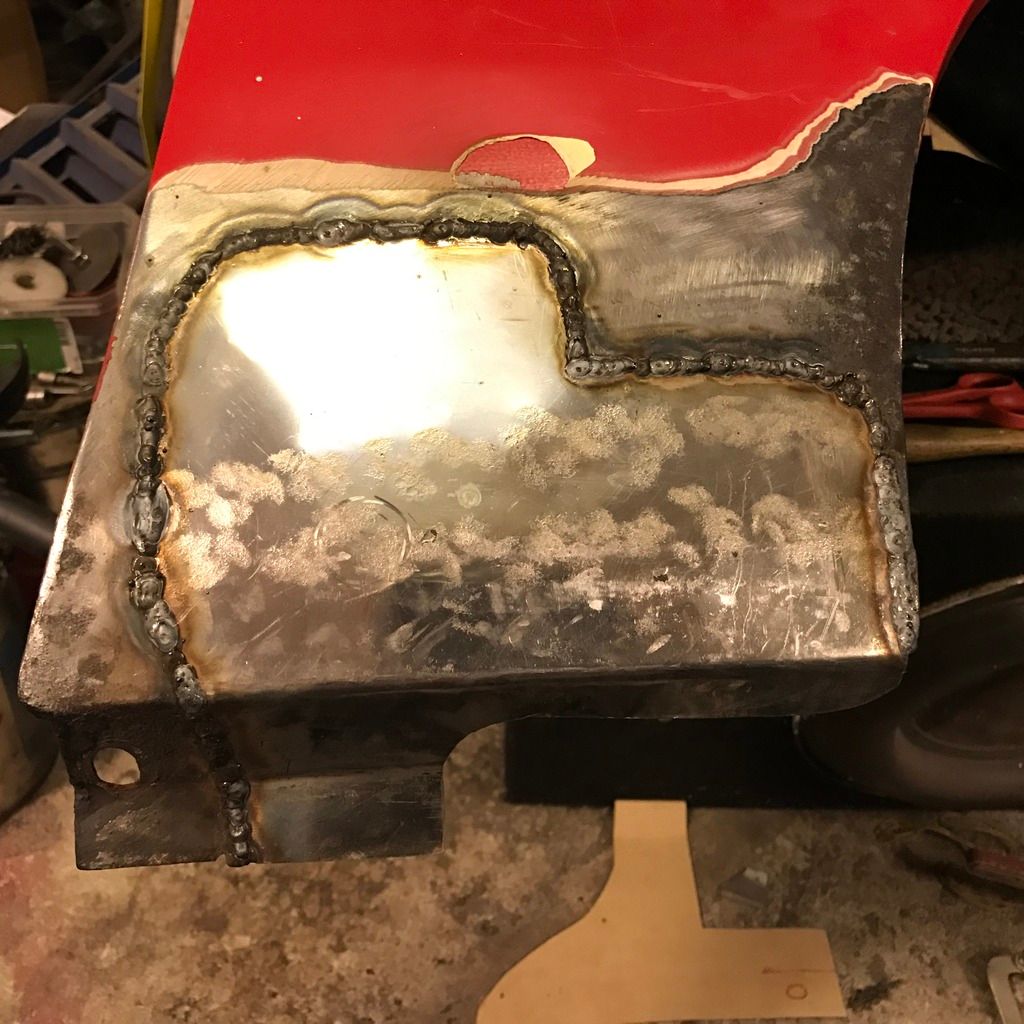
Tiny update today. Check above picture from my previous post. The right fender had a hole in the front. Cut a little away here: 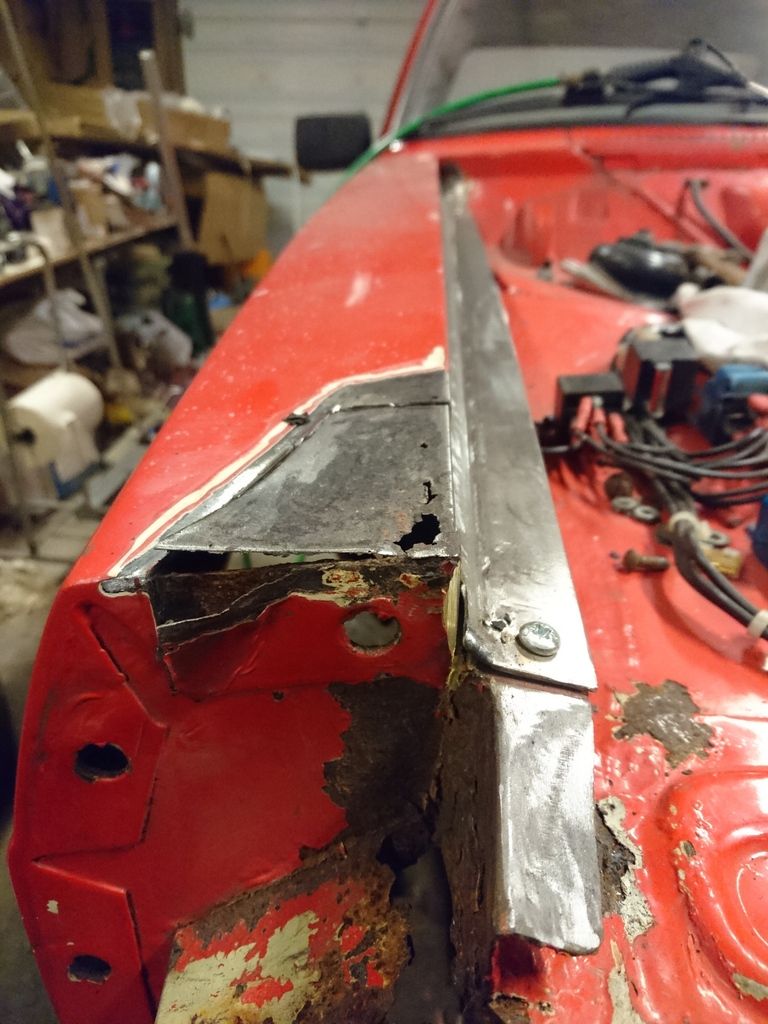 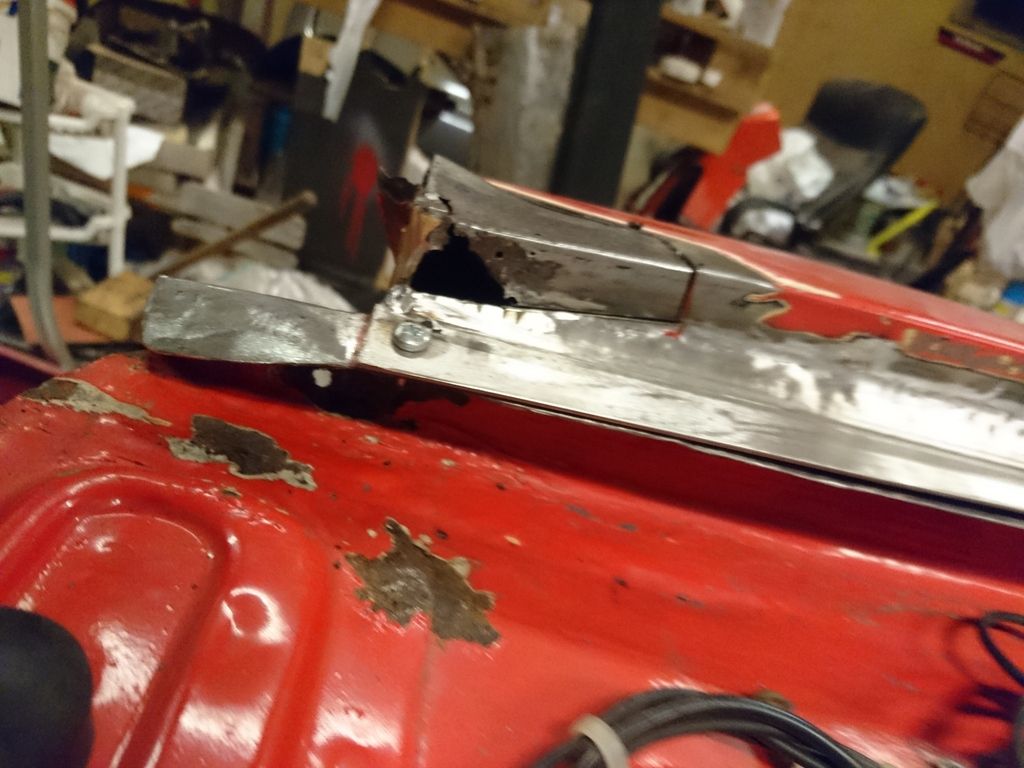 This is the material donor, stainless steel gathered from the scrap bin at the Solar Cell factory I used to work at: 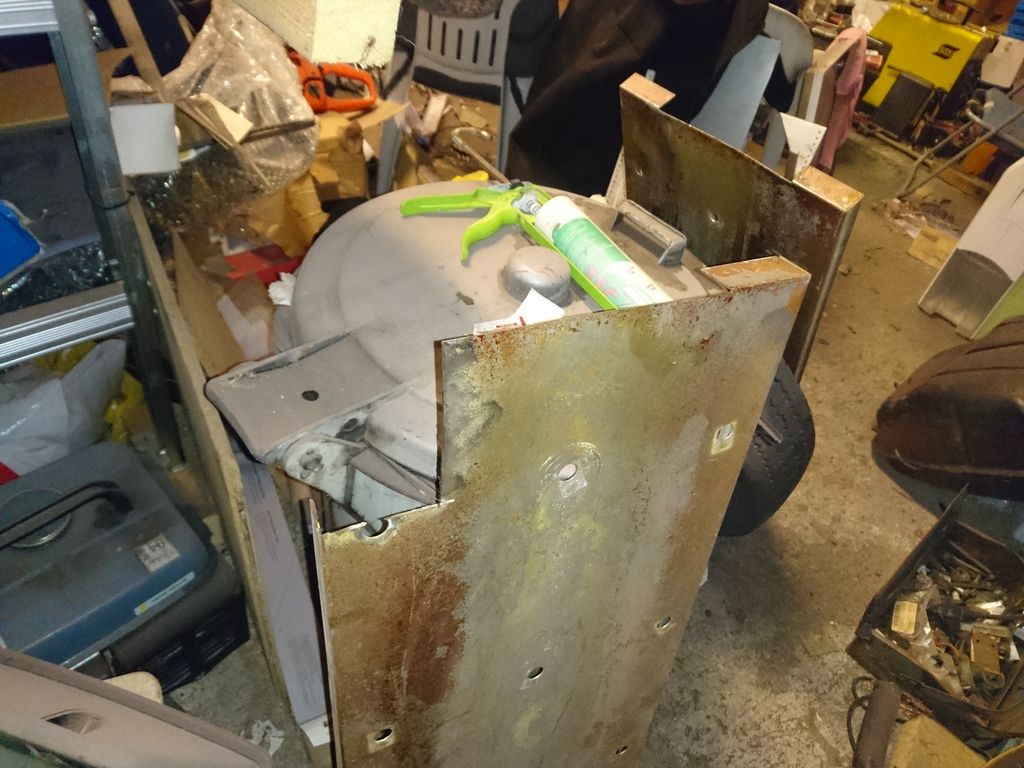 After some banging, adapting, grinding, swearing, welding and smoking it looked like this: 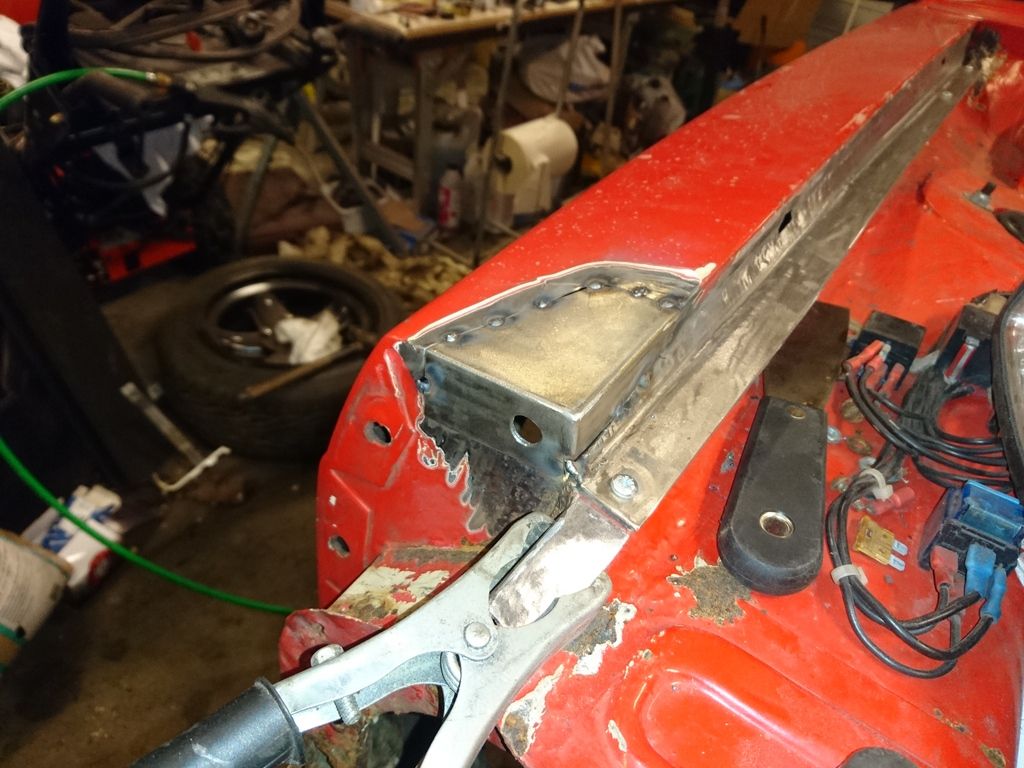 Here it is fully welded. I weld a spot at a time, cooling it with air between spots to keep the warp to a minimum. 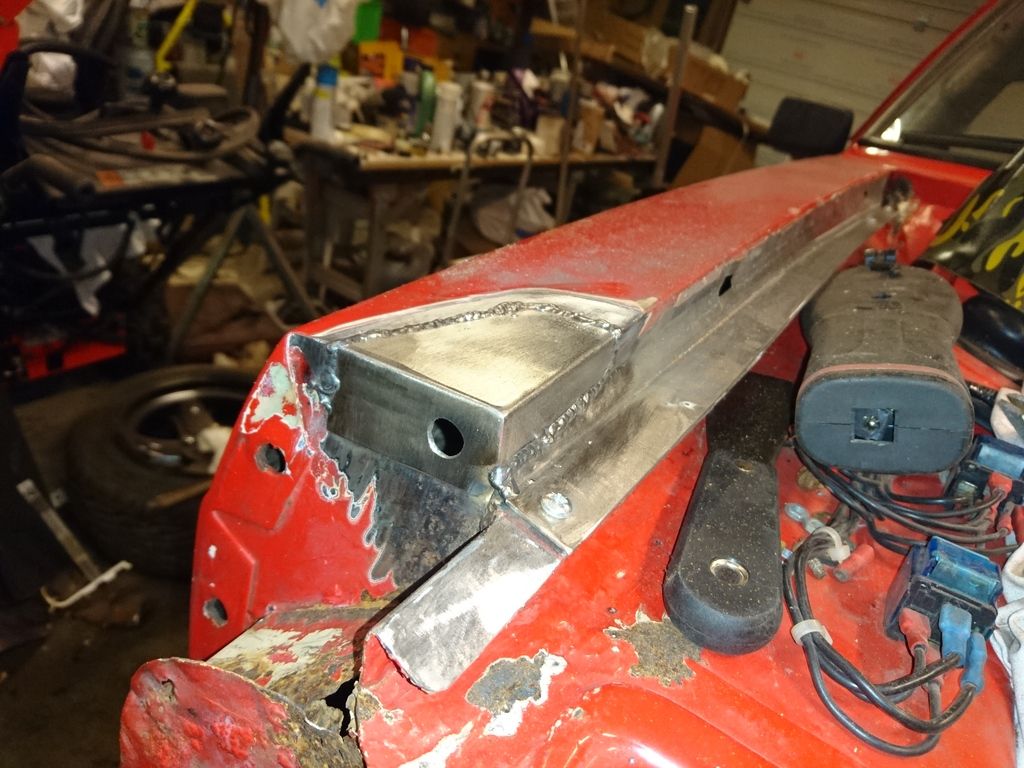 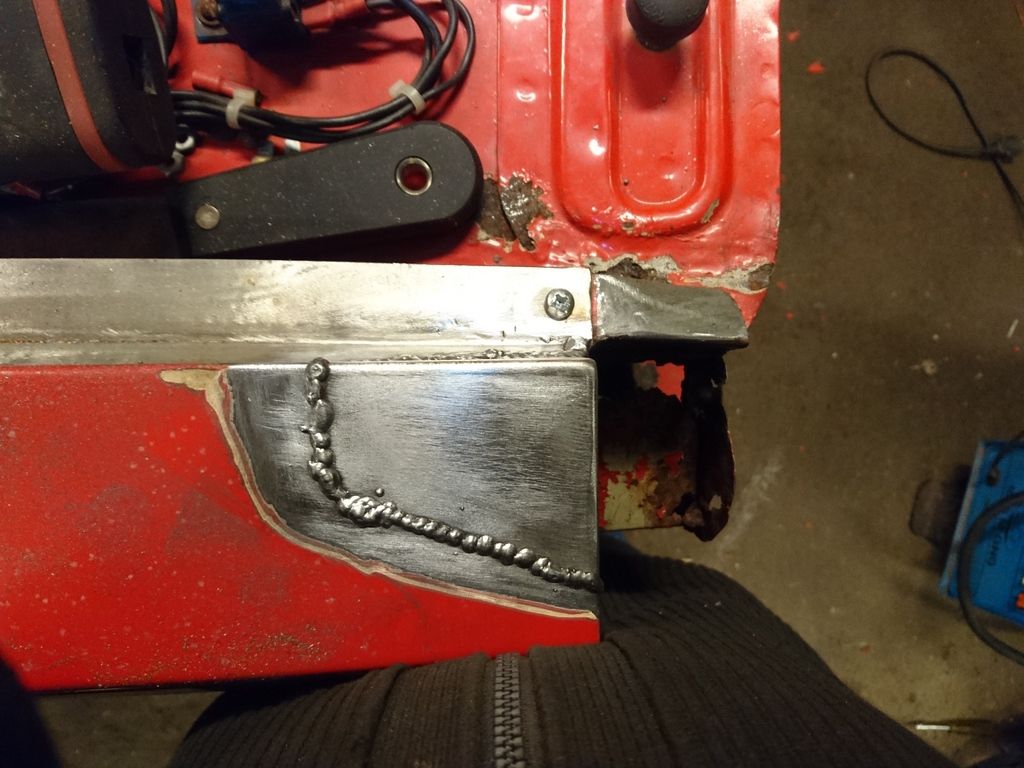 About three hours on that little piece I think. Still hadn't got the time to grind down the welds before I had to go home. I have a life you know. Honest! |
| |
|
|
funkyhunk
Part of things
Old Ford's R Us
Posts: 265
|
|
Aug 28, 2016 23:18:18 GMT
|
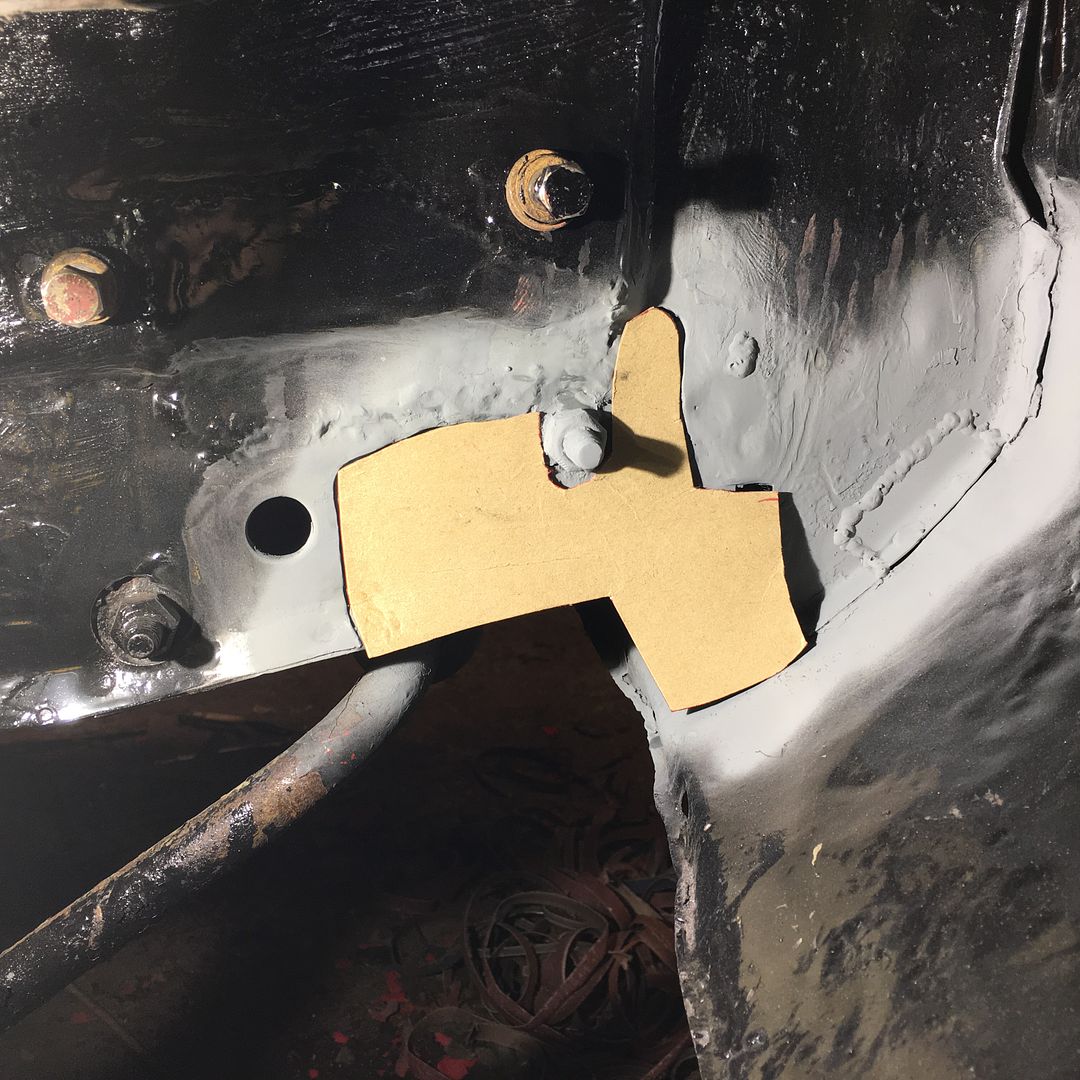
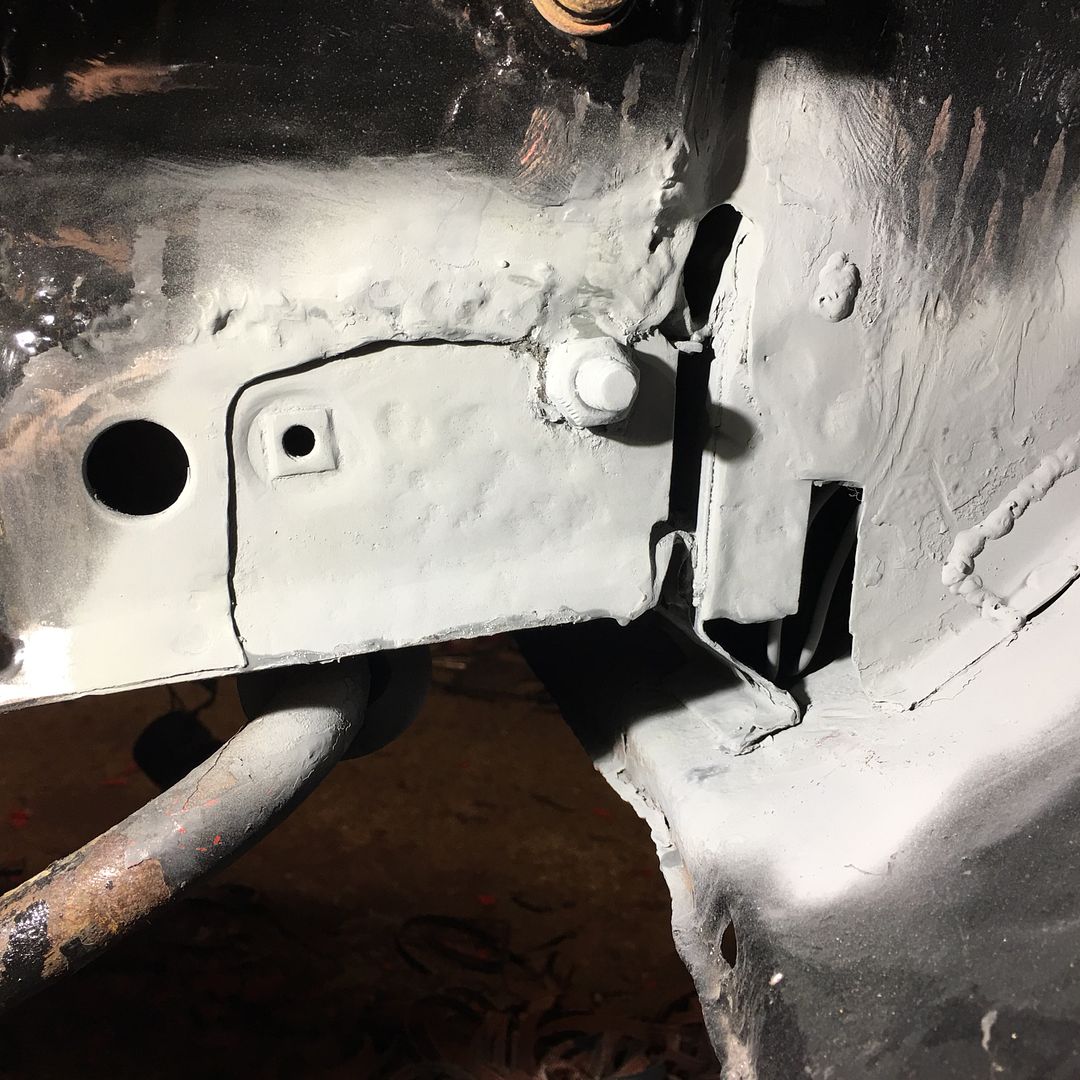
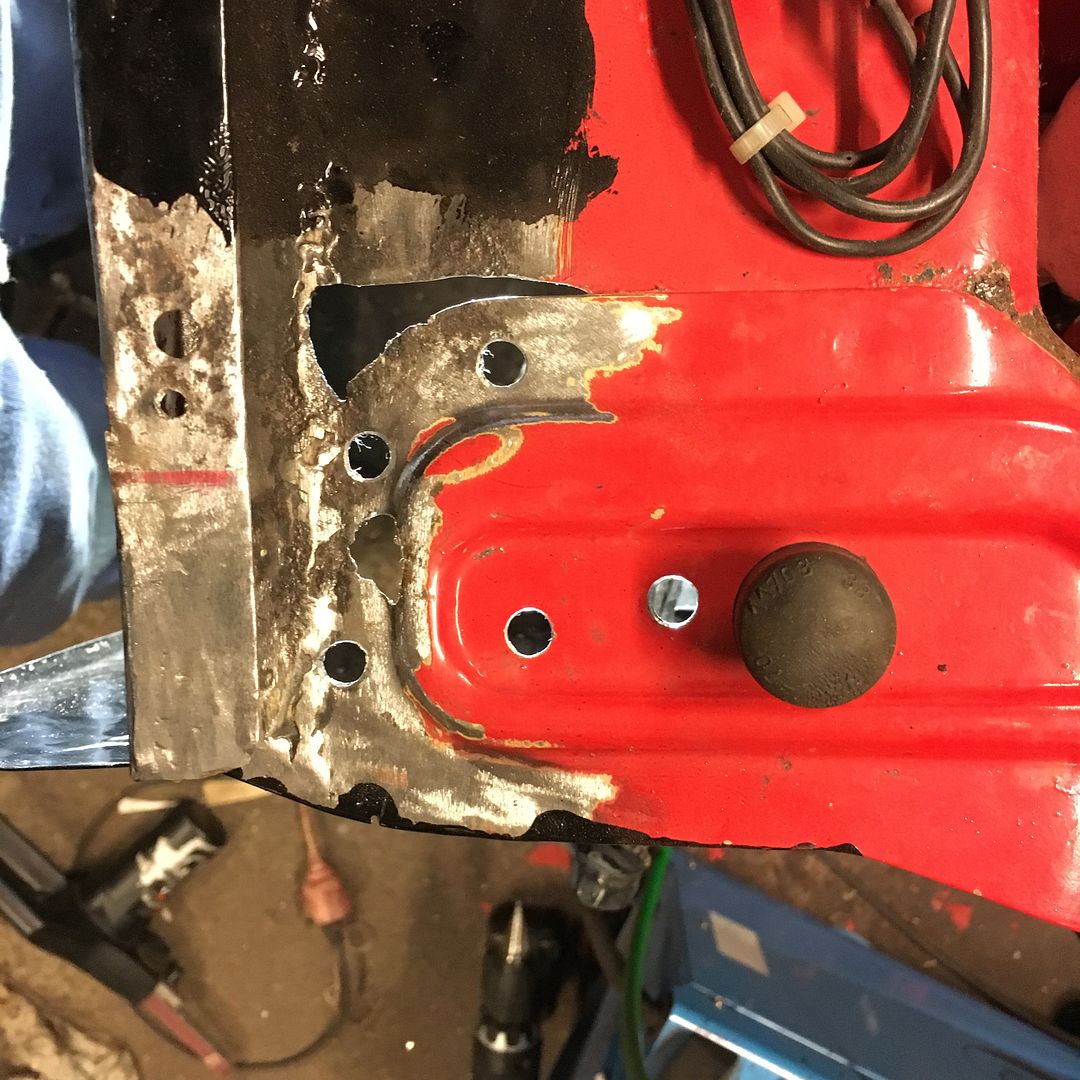
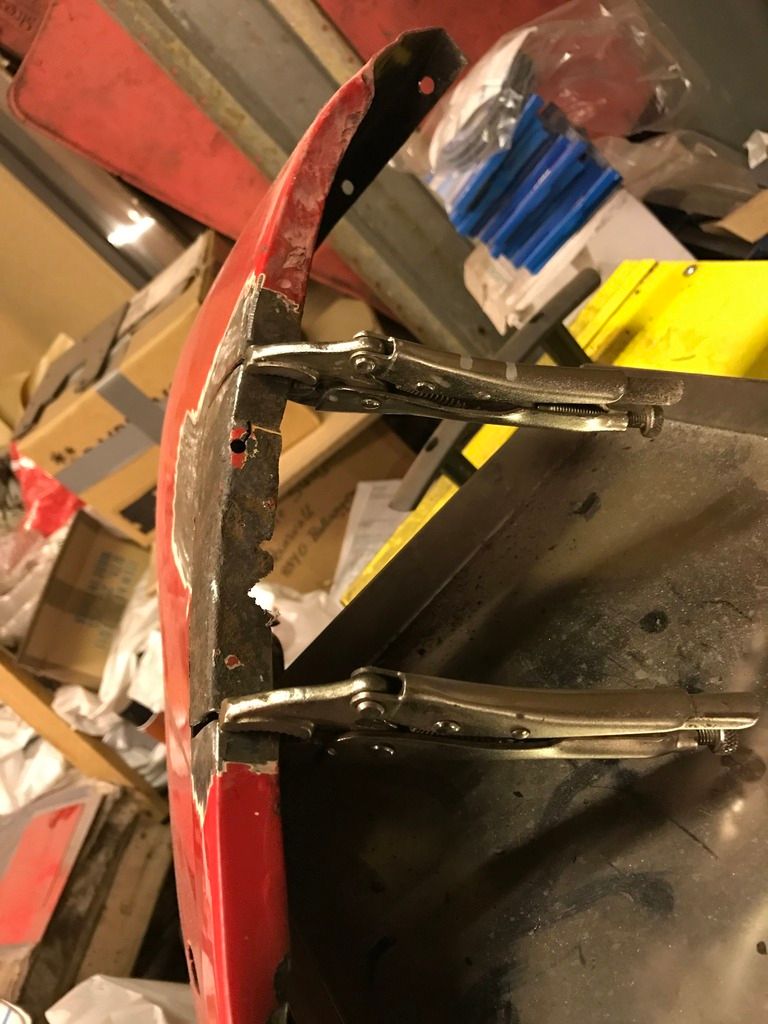
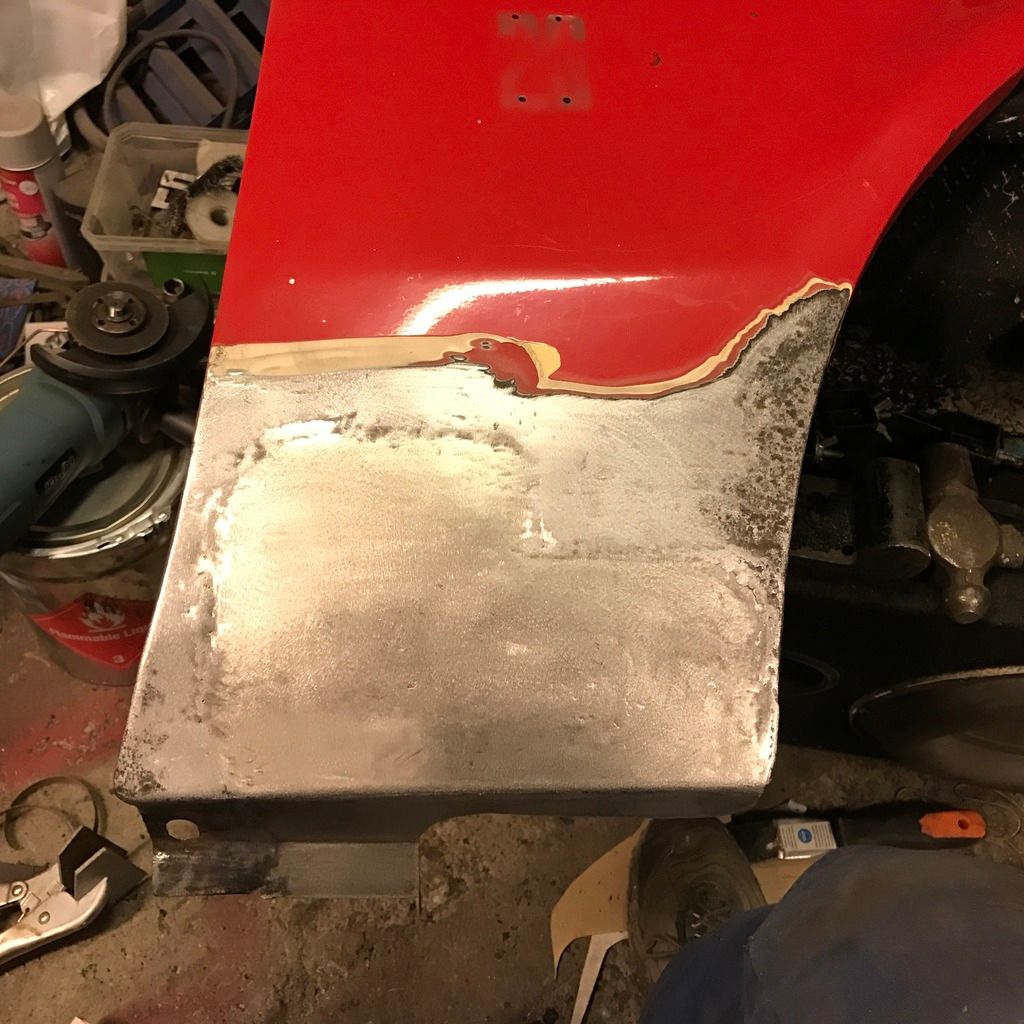
Some more work done to the old shed. I ground down the welds on the new piece of the corner of the fender as well as could be. 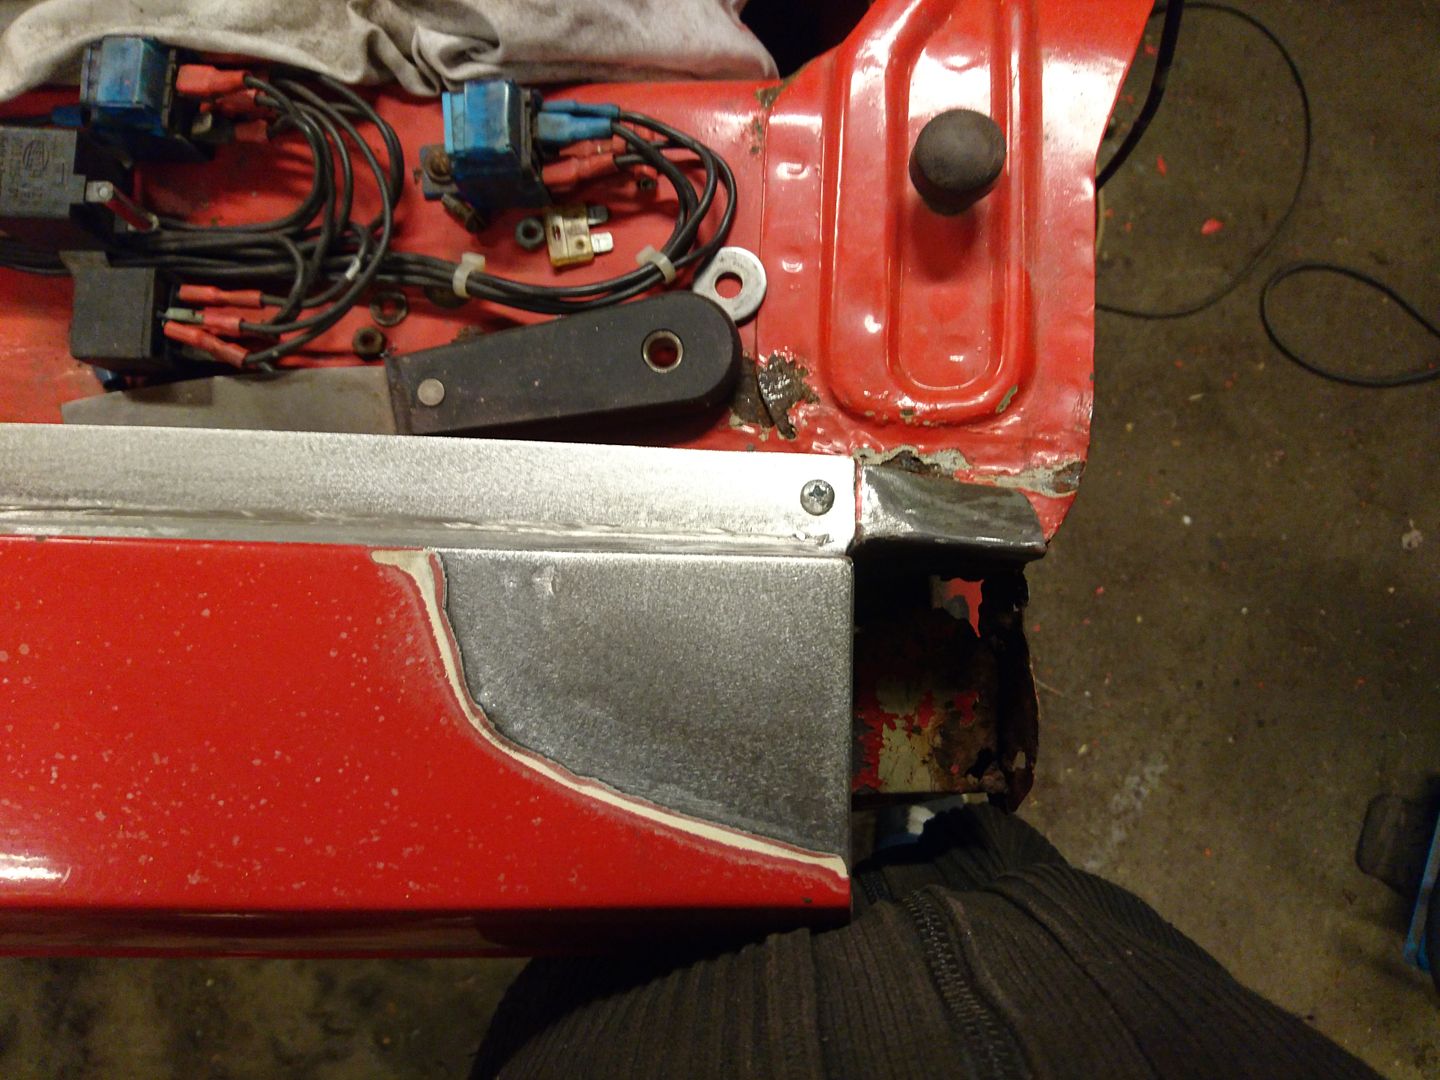 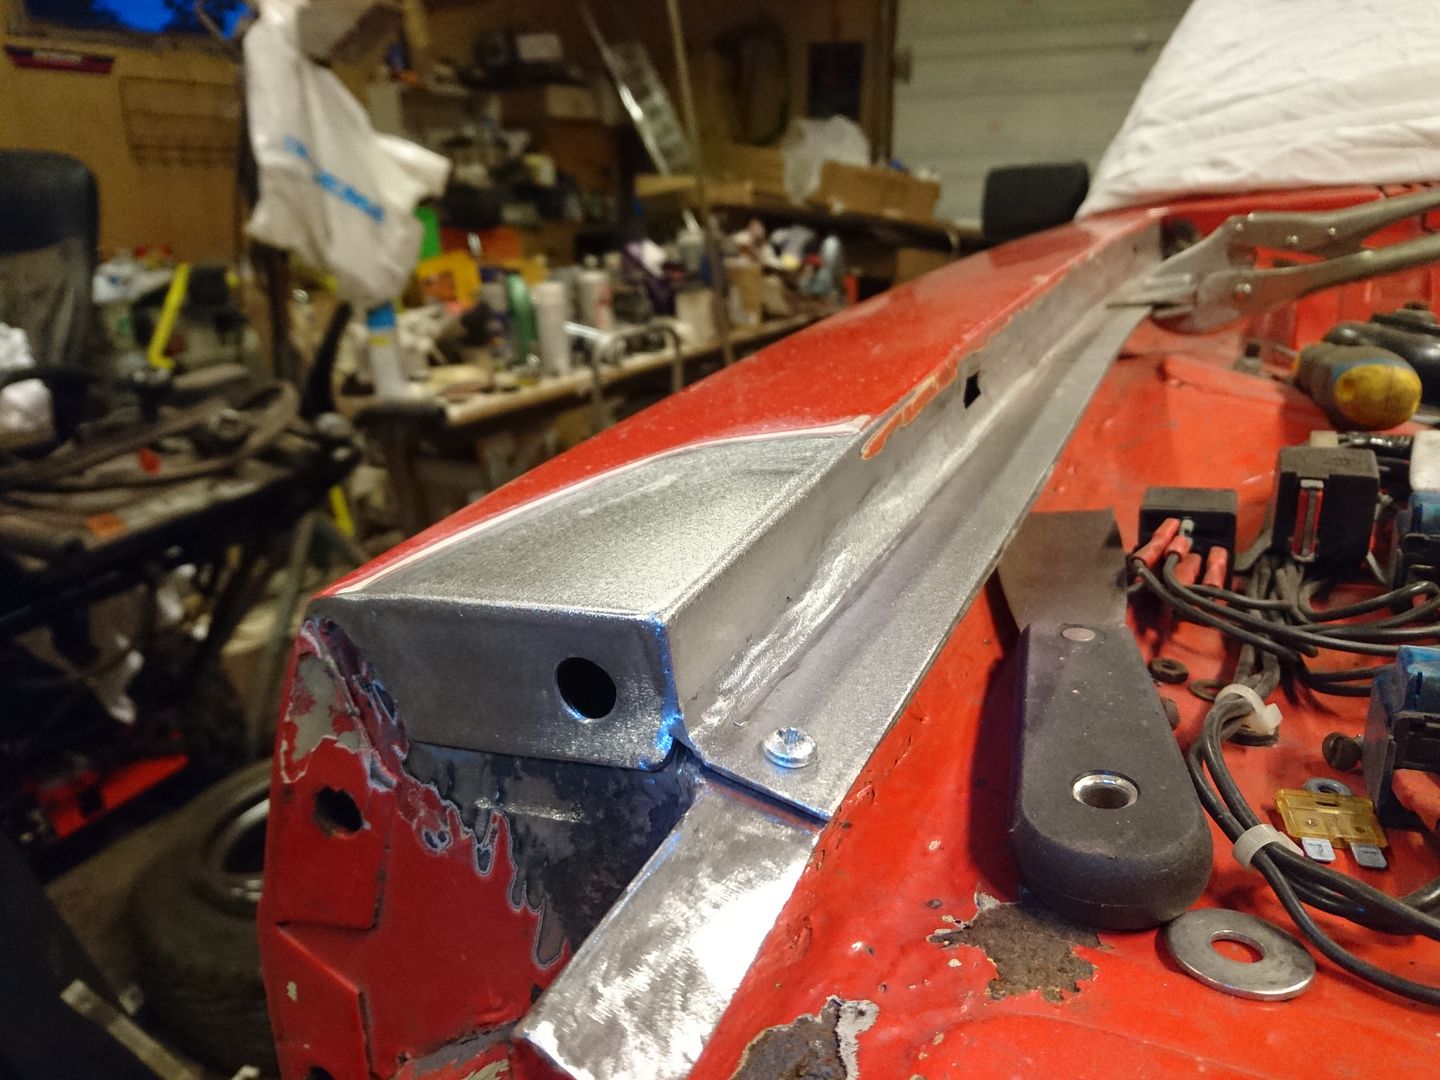 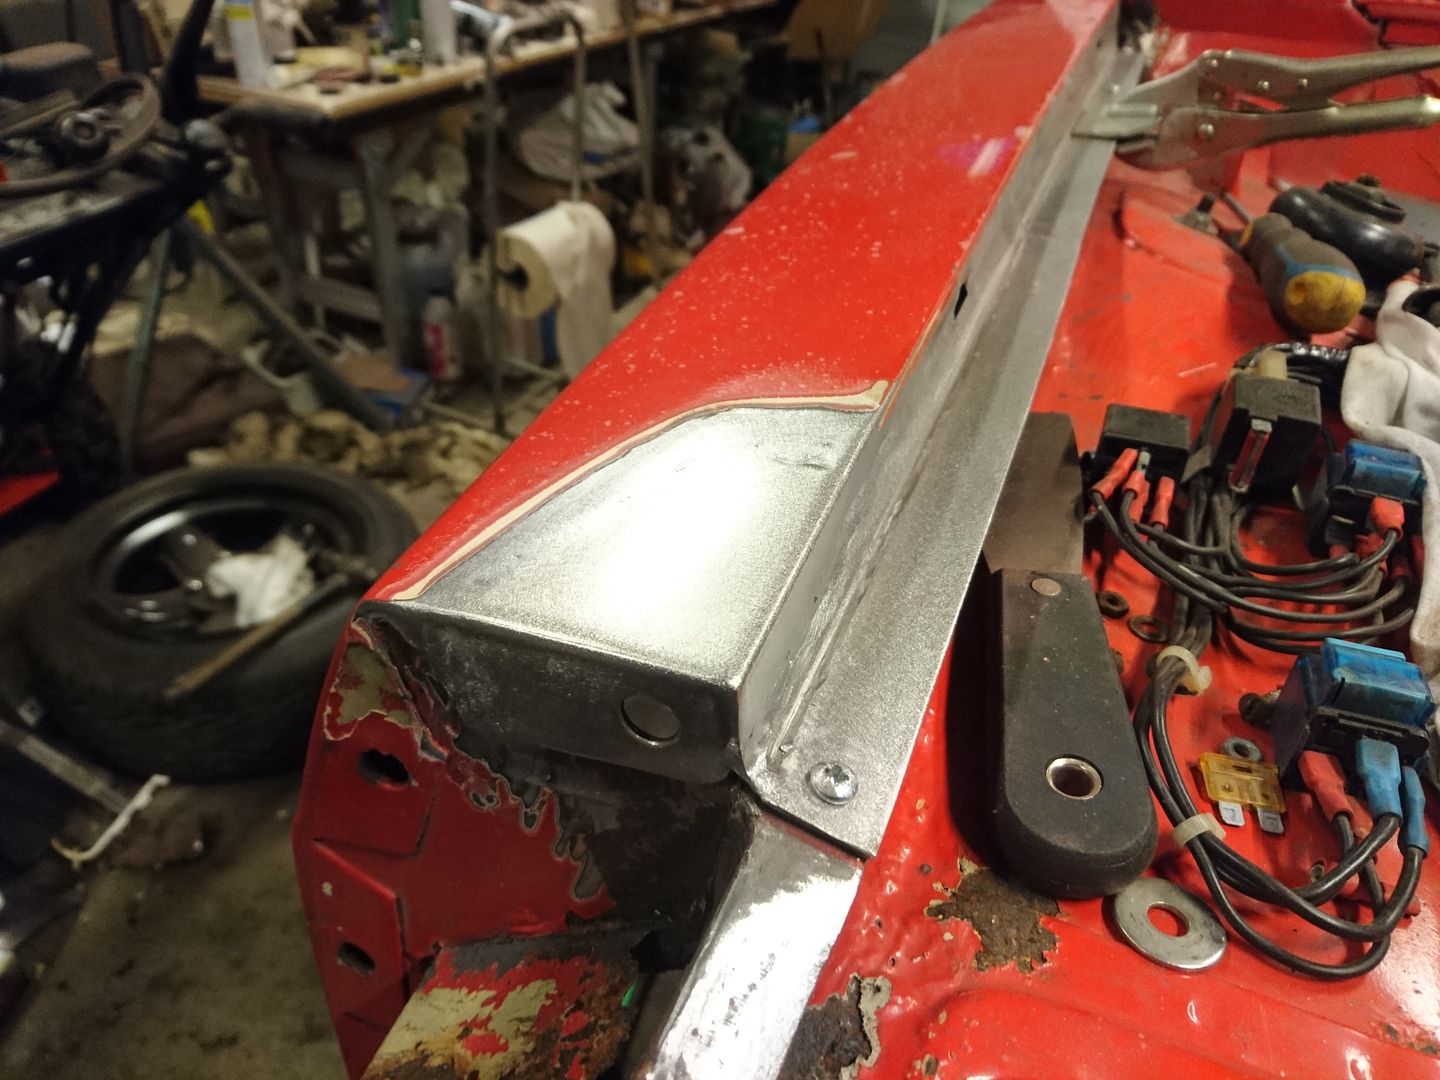 Then to try to recreate the flange between the front and the fenders. Witch had seen better days. Both sides. 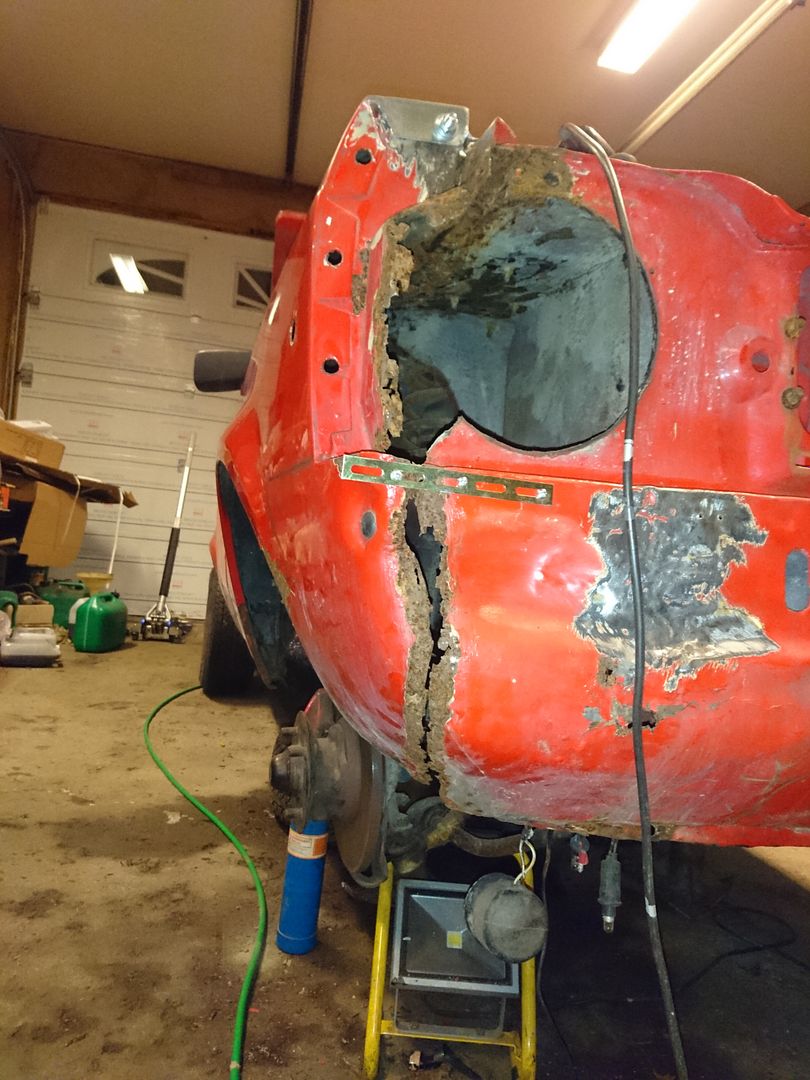 CAD in practice: Out with the cardboard, scissors, the permanent marker, draw, cut, measure, cut steel, bend, beat, hammer, curseword, and so on. One of the flanges in steel, other in cardboard: 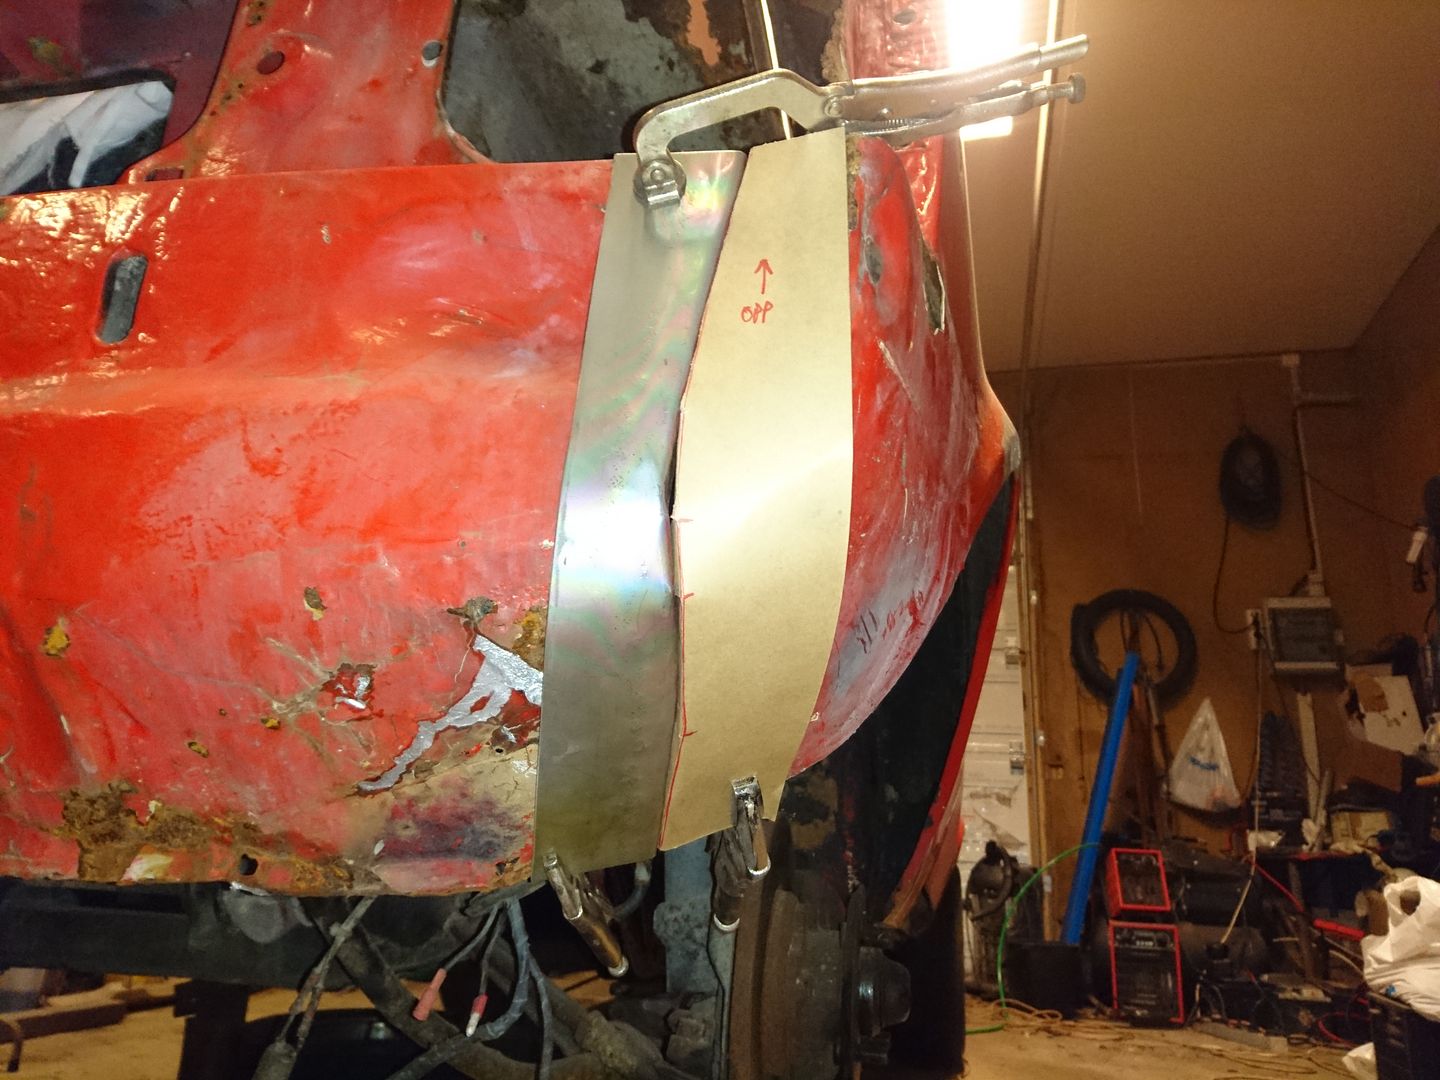 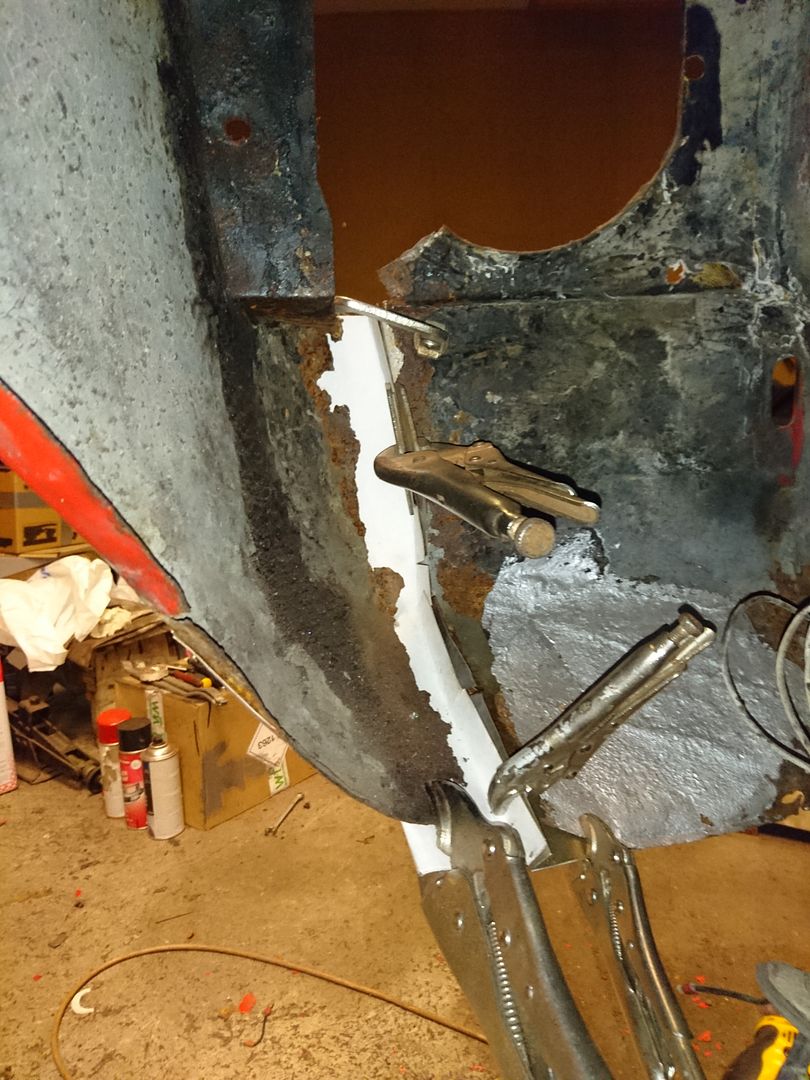 Since I was on a roll with the CAD I had brought with me a template taken from the MK2 1600 Sport in my garden: 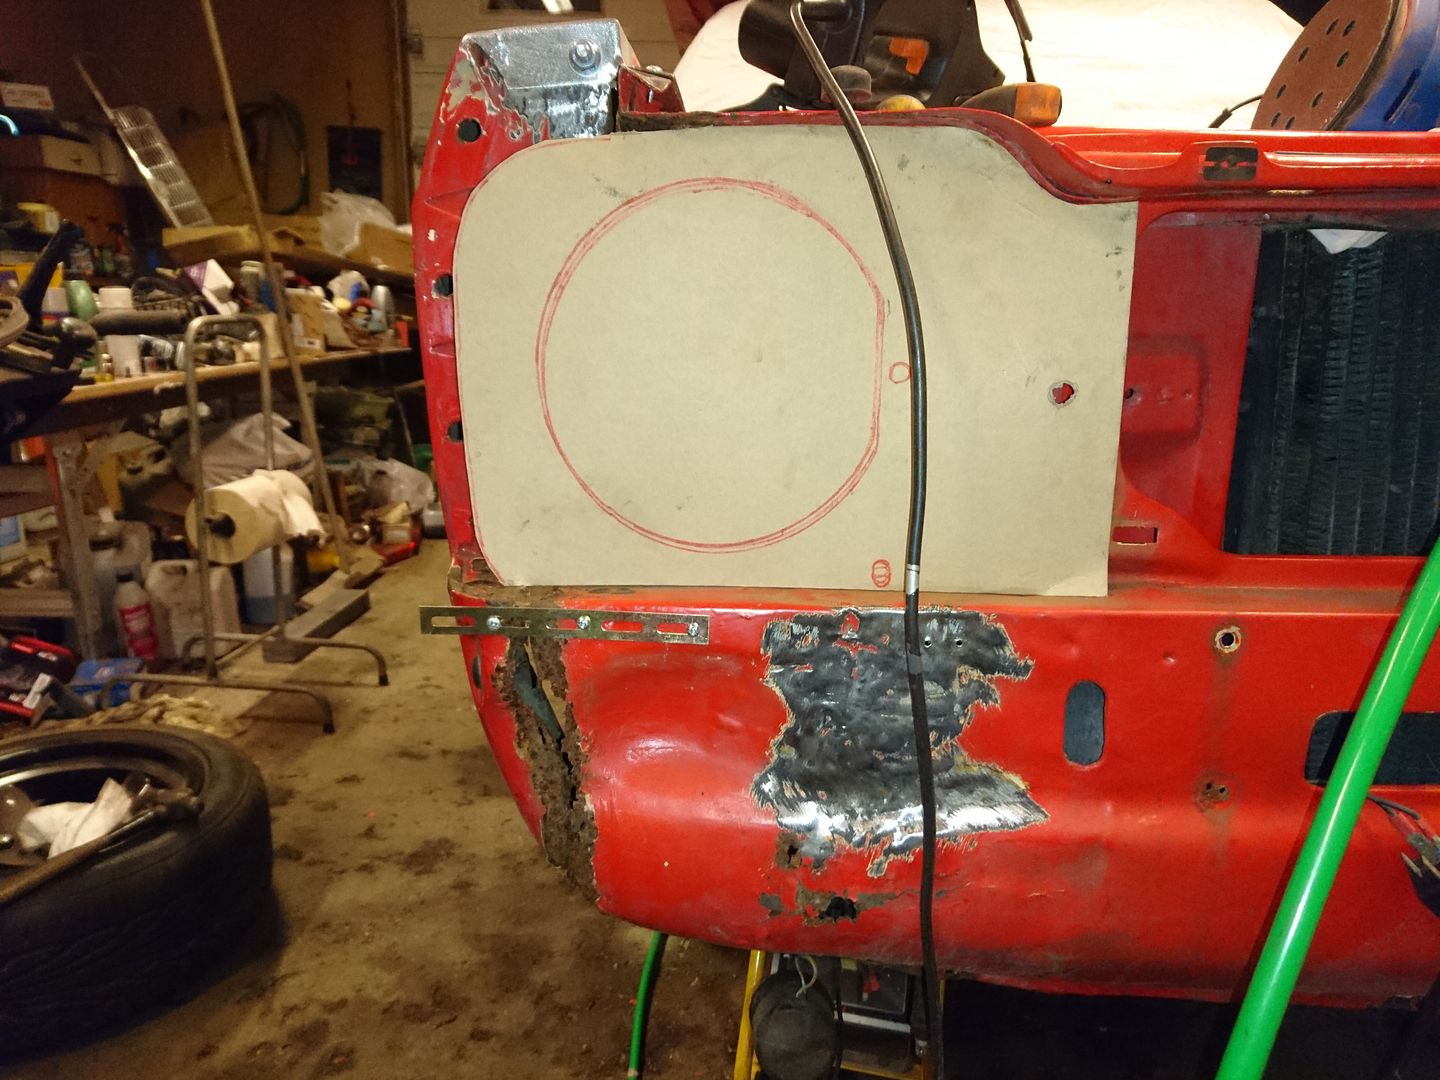 Complete flange for the right side, and offered up to the car: 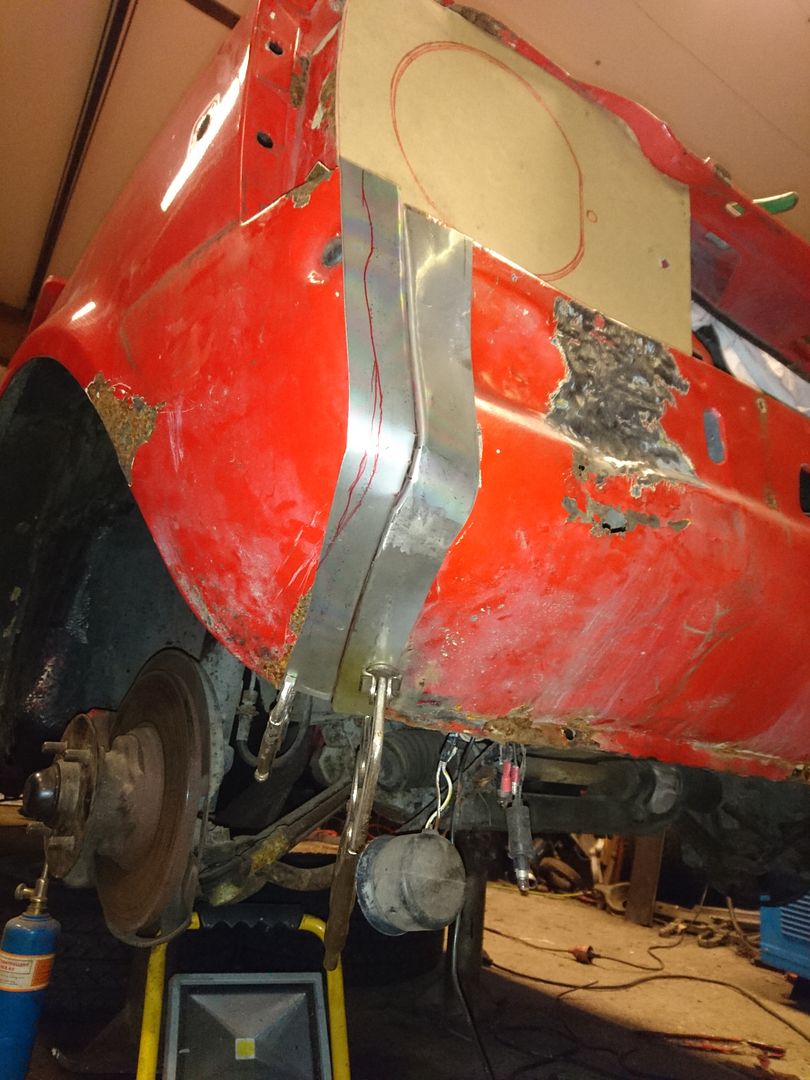 Both sides ready for more adapting, fettling, cursing and assemblage: 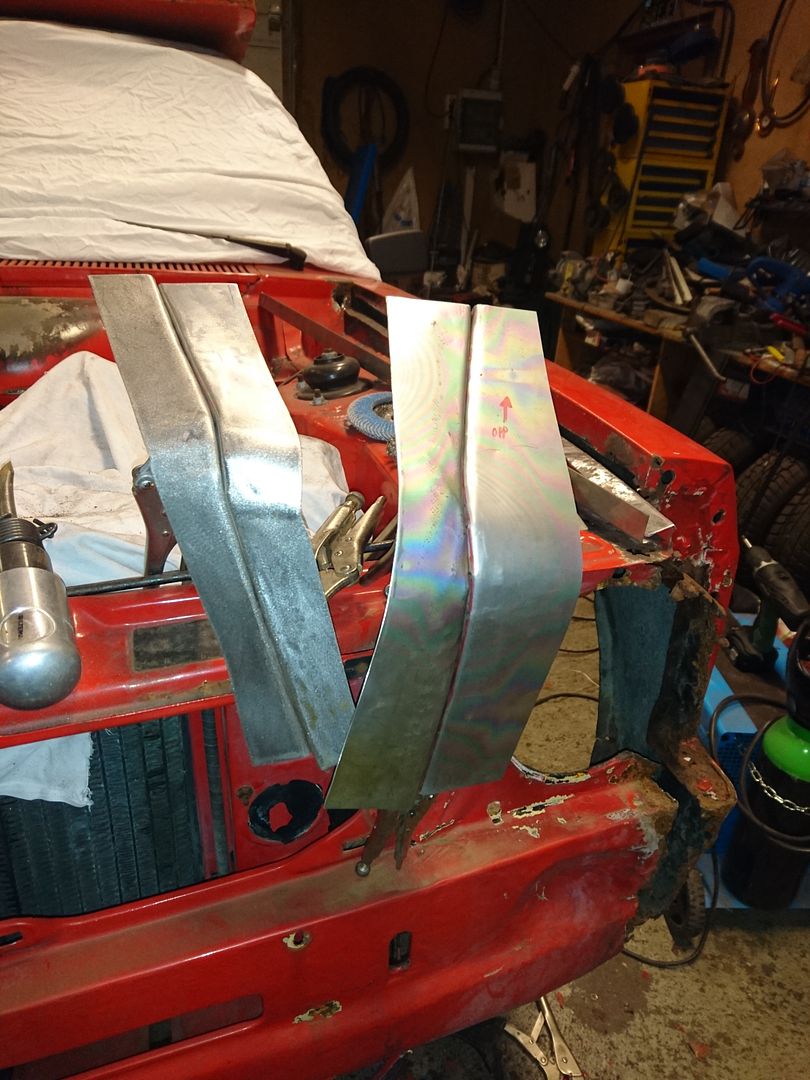 Comments? |
| |
|
|
cap78
Part of things
Posts: 96 
|
|
Aug 29, 2016 16:05:26 GMT
|
|
Nice work Ståle :-)
|
| |
|
|
luckygti
Posted a lot
I need to try harder!
Posts: 4,912
|
|
Aug 31, 2016 19:51:48 GMT
|
|
Yep, very tidy. Glad to see the RS getting some love, really must get back onto mine now the Gathering is over for another year!
|
| |
|
|
funkyhunk
Part of things
Old Ford's R Us
Posts: 265
|
|
Sept 4, 2016 23:40:39 GMT
|
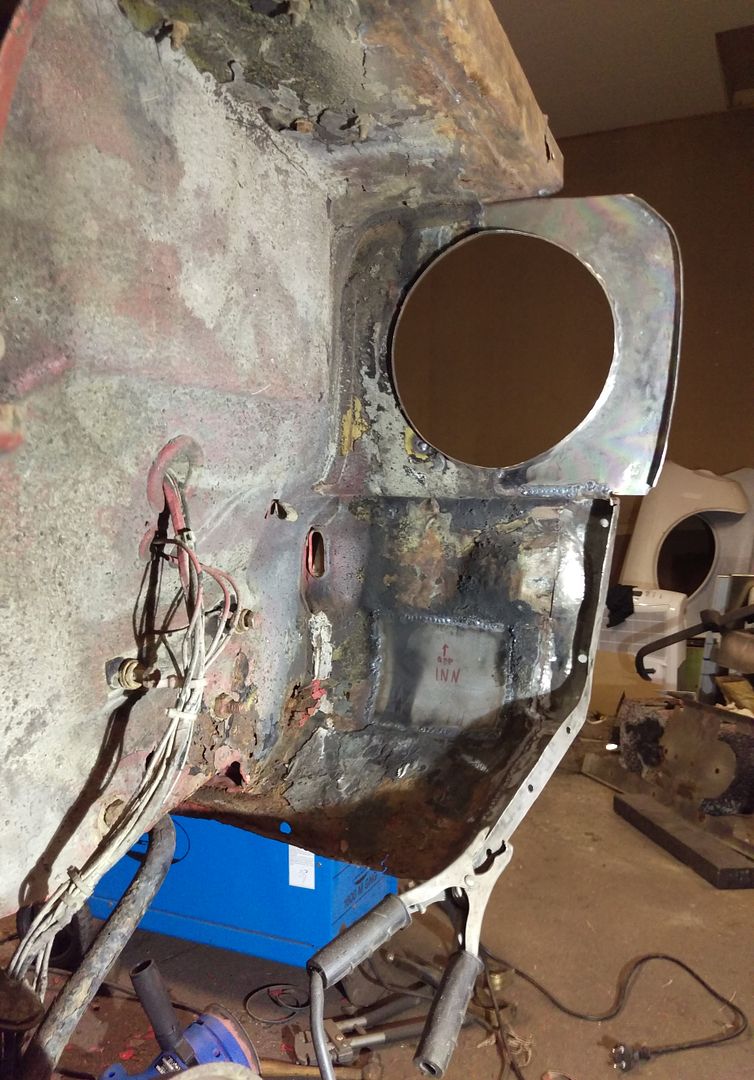
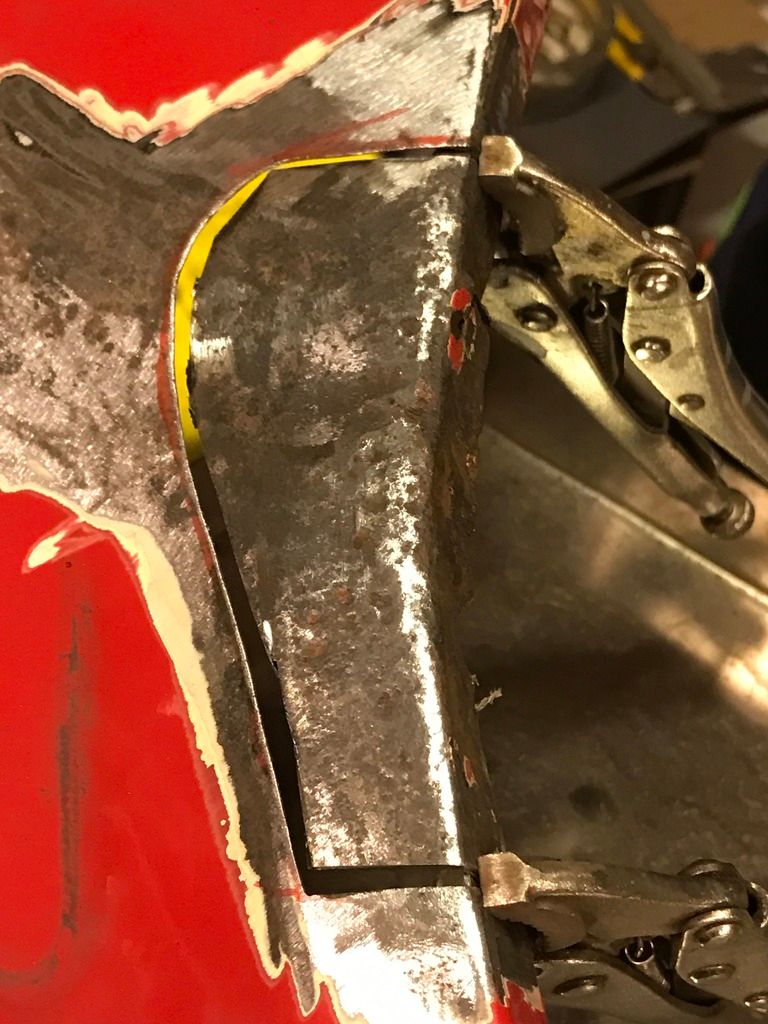
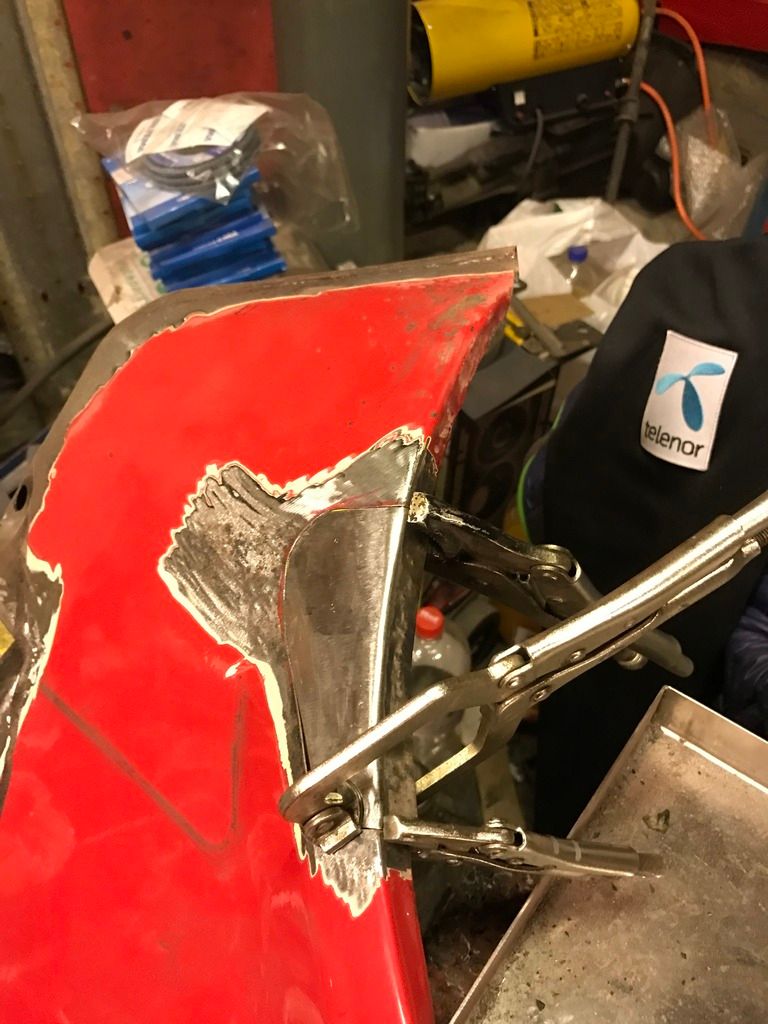
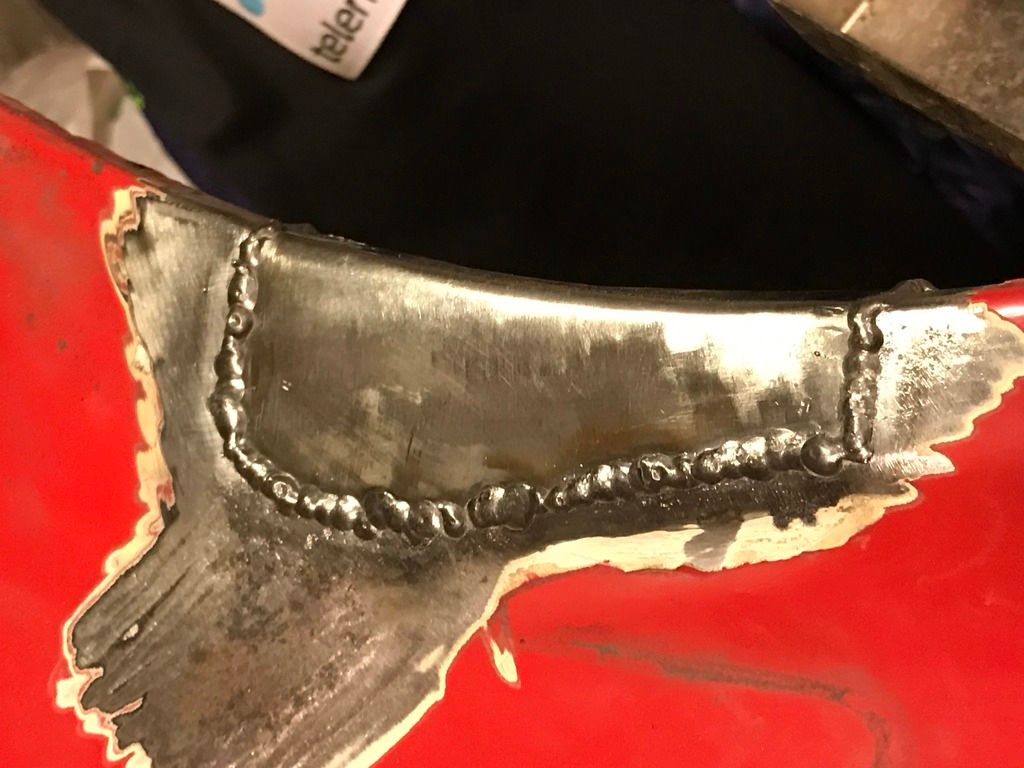
Thanks Richard Yep, very tidy. Glad to see the RS getting some love, really must get back onto mine now the Gathering is over for another year! My RS is quite in need of some love, some would even call it high maitenance or needy at times Time for another update. Another week has passed, and monday through thursday I was working late, so when friday evening and the weekend came I had some time left over. First step was to get the fender and the front together again, so I started with the flange on the front valance. Attached before welding with my homemade intergrips: 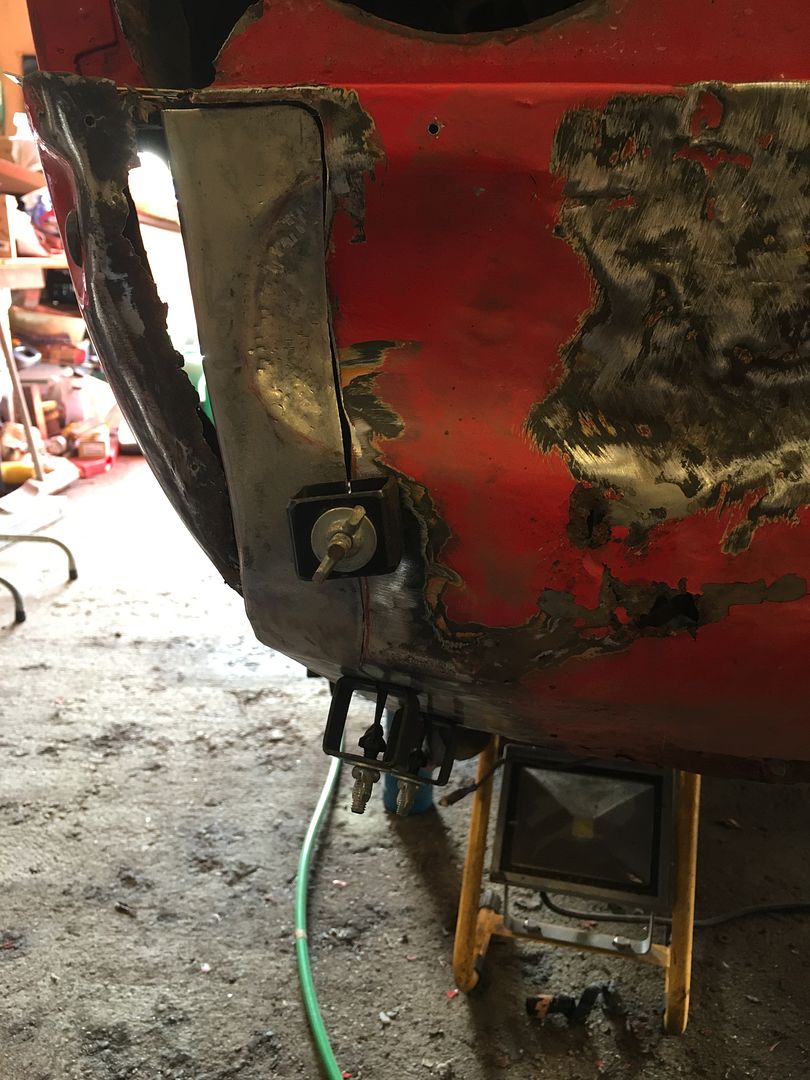 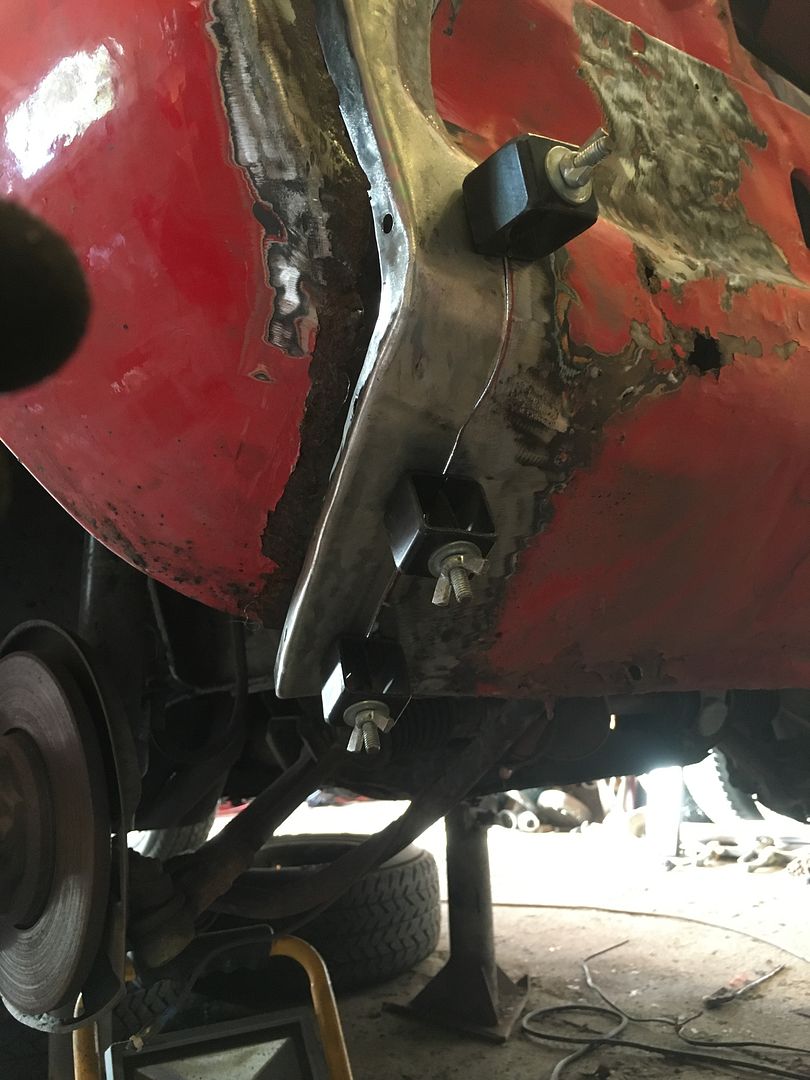 Welded: 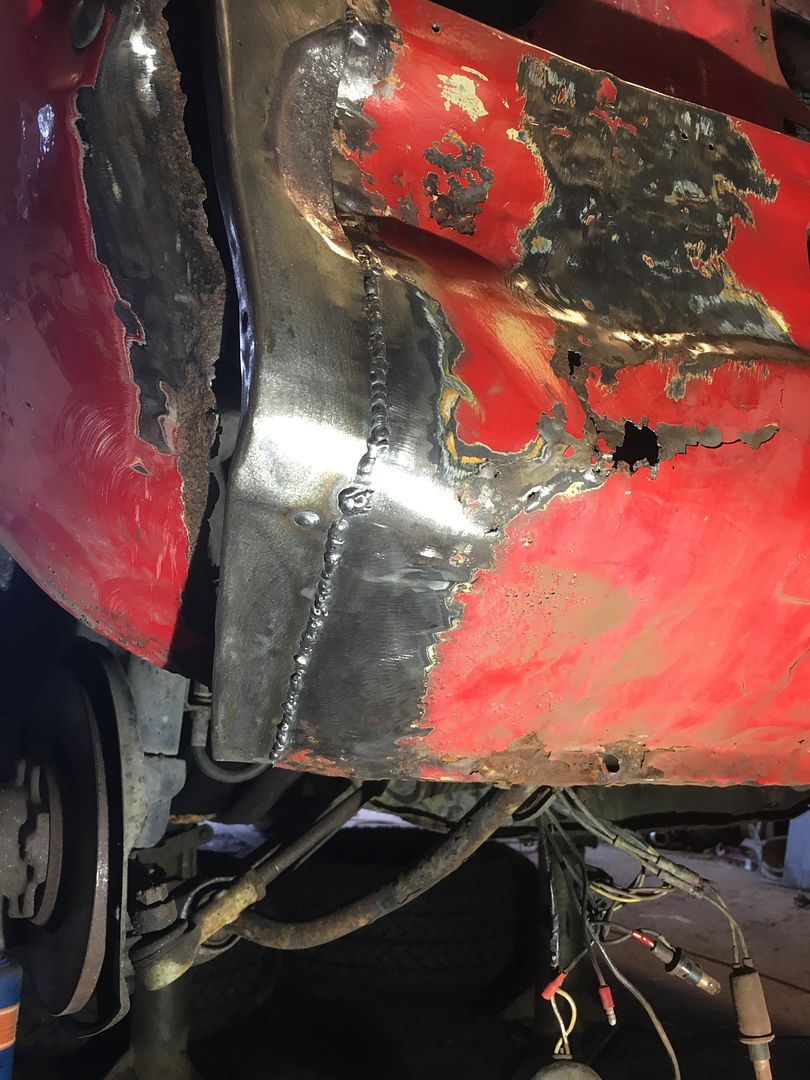 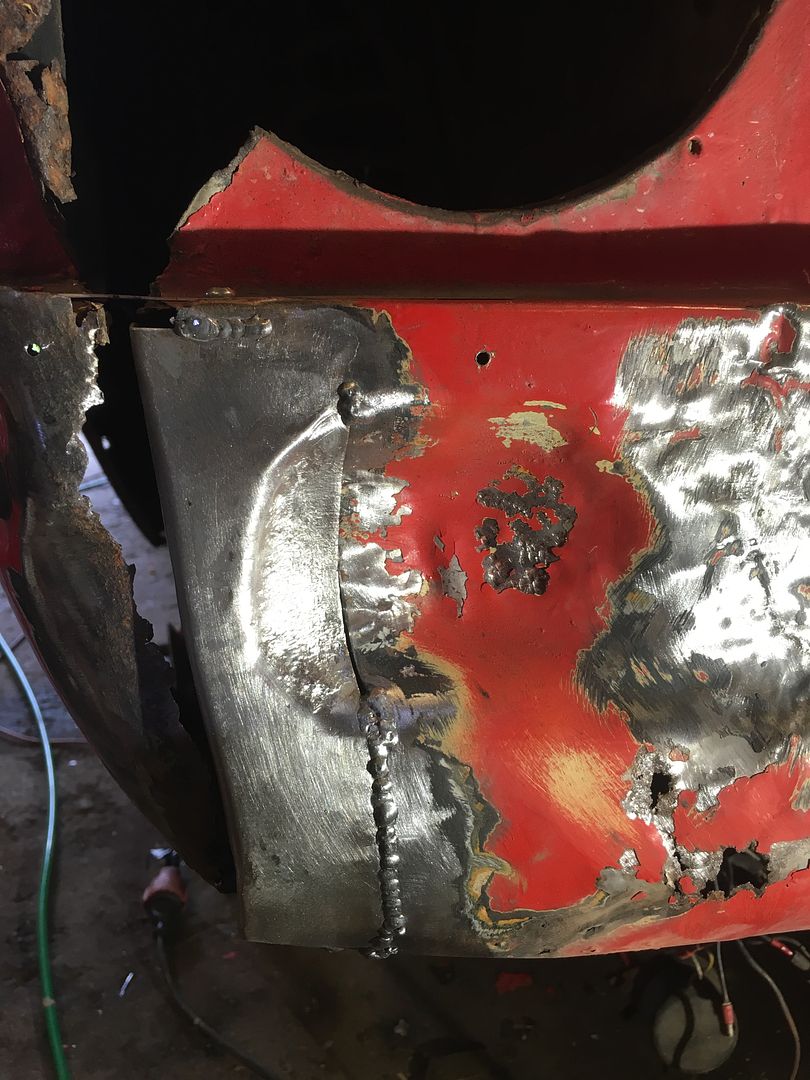 And suddenly both sides were welded and ground down. If I was thinking of using filler/bondo on the front piece I would have done with a very thin layer. Chuffed with that 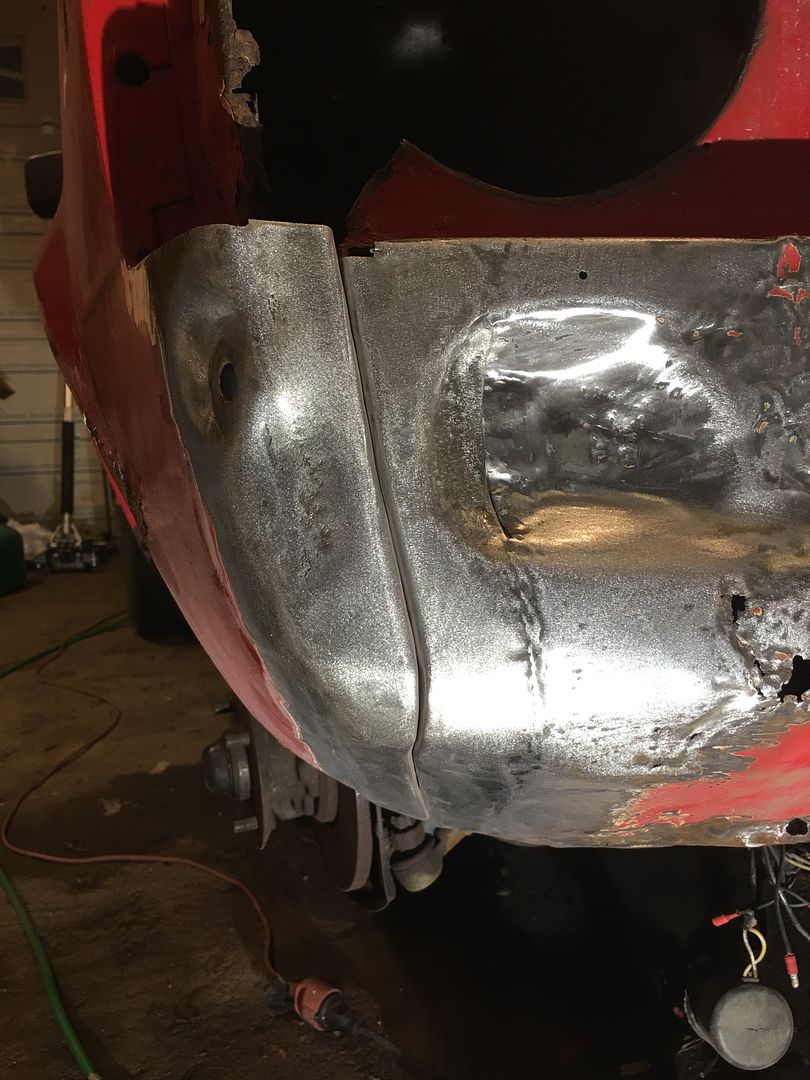  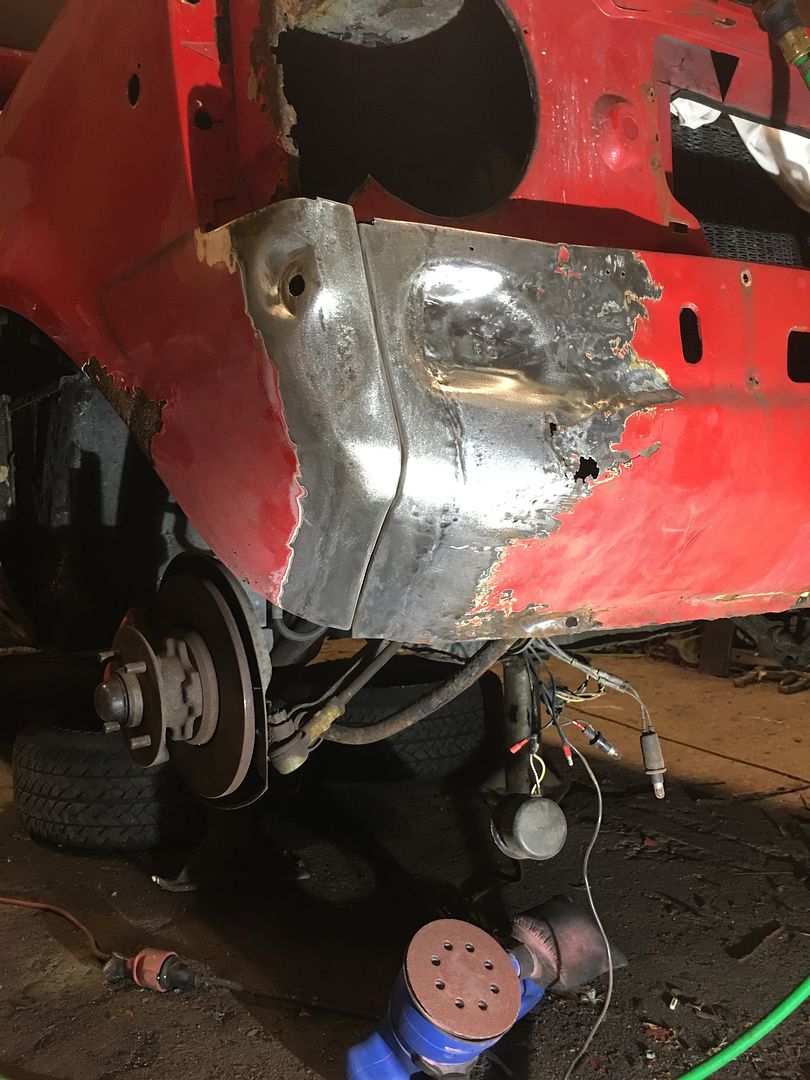 So, it was time for the headlight surround, or the area connected to that. I removed the old piece with an air chisel: 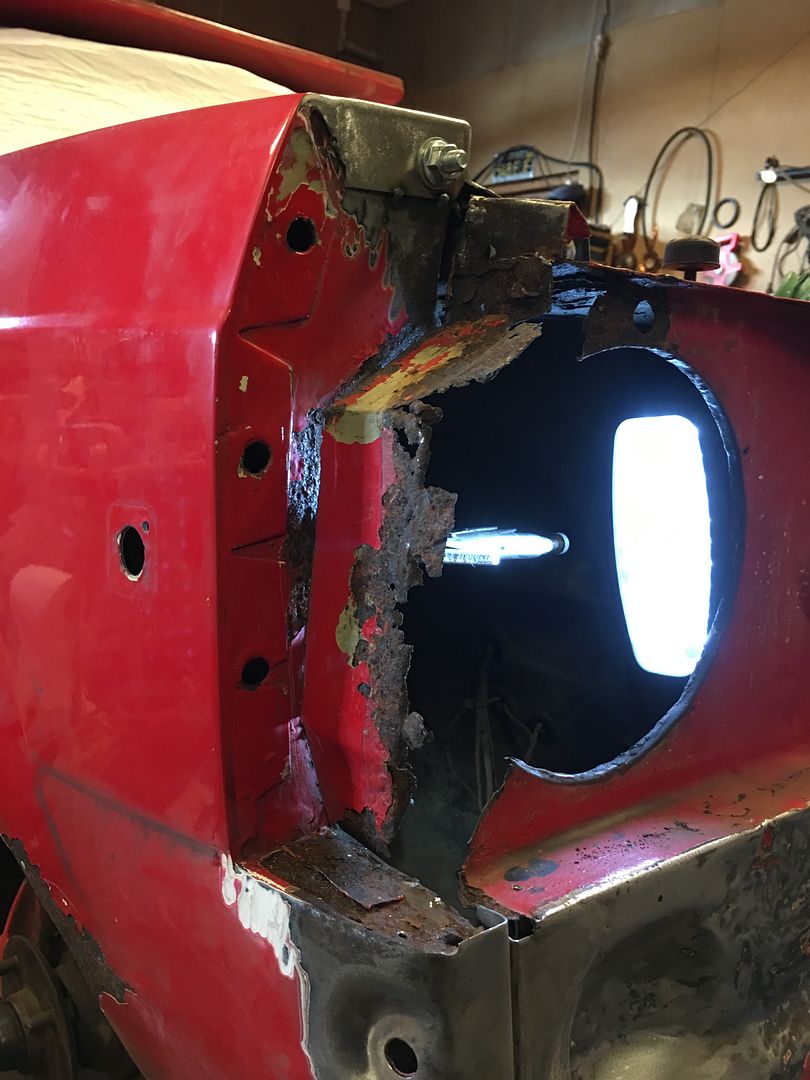 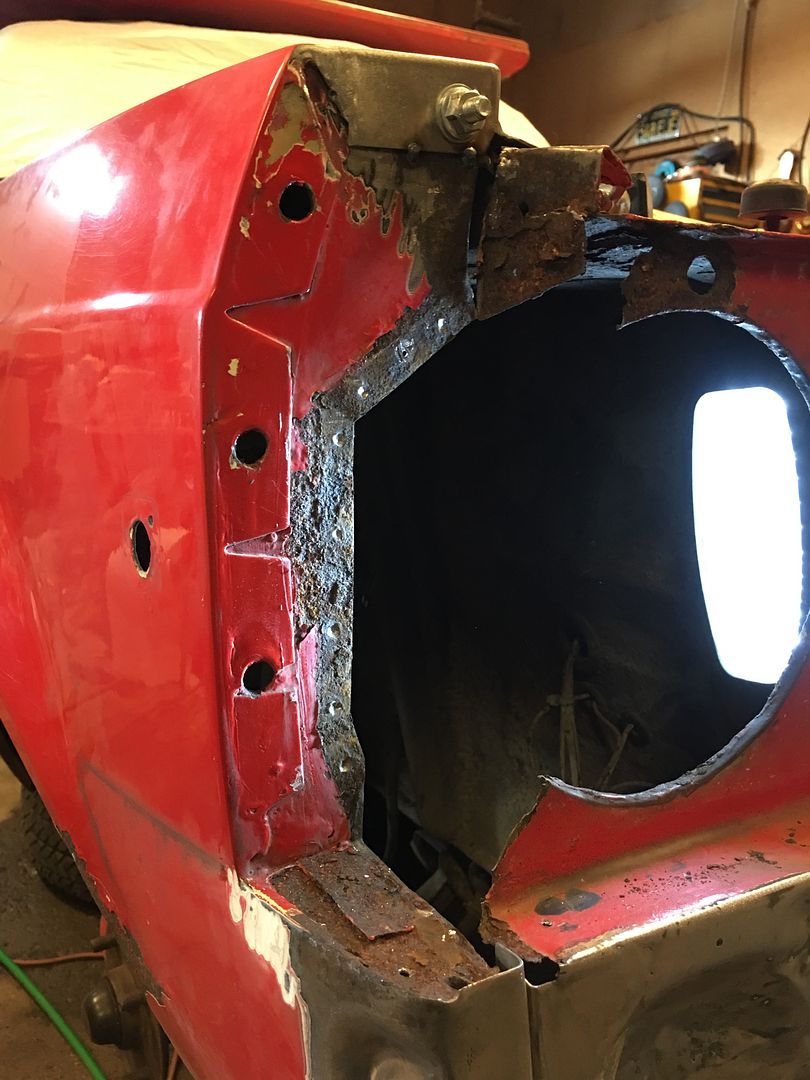 CAD: 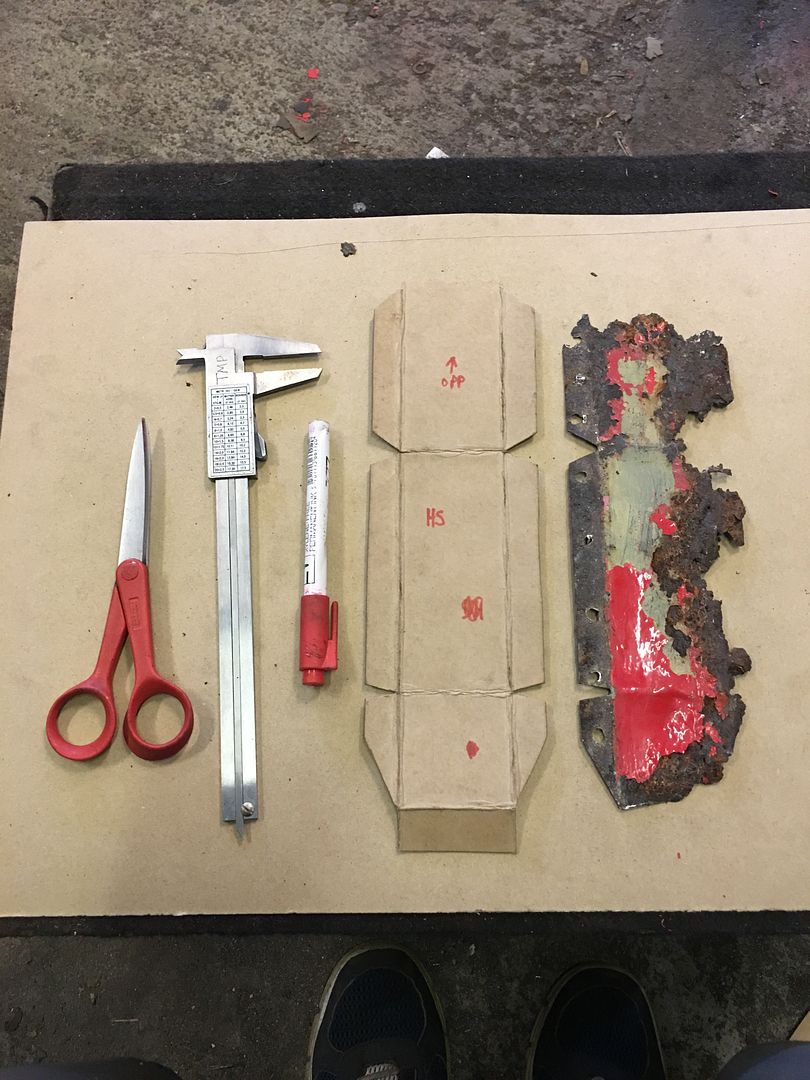 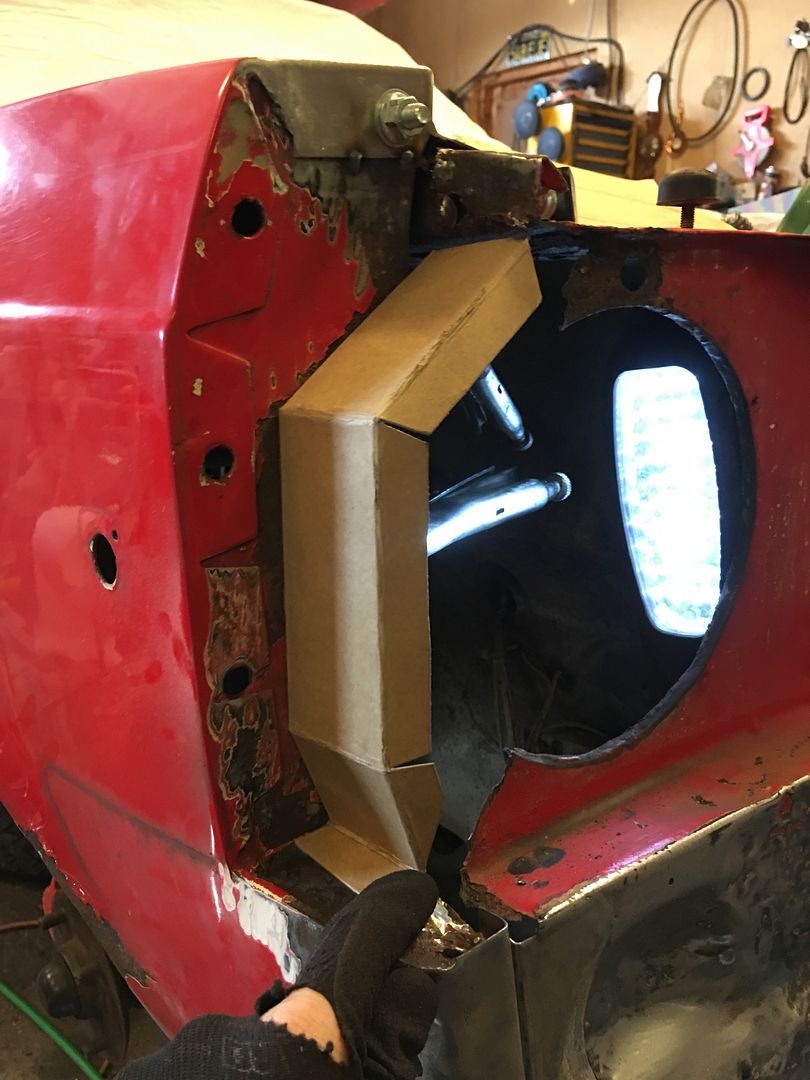 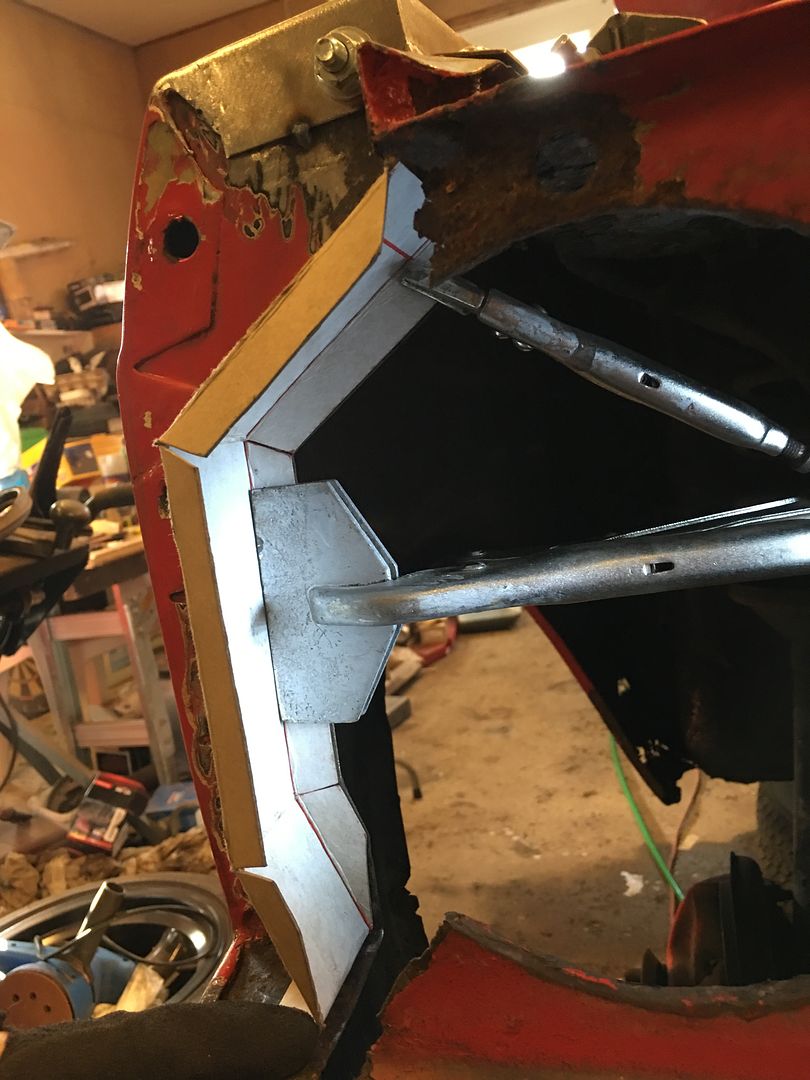 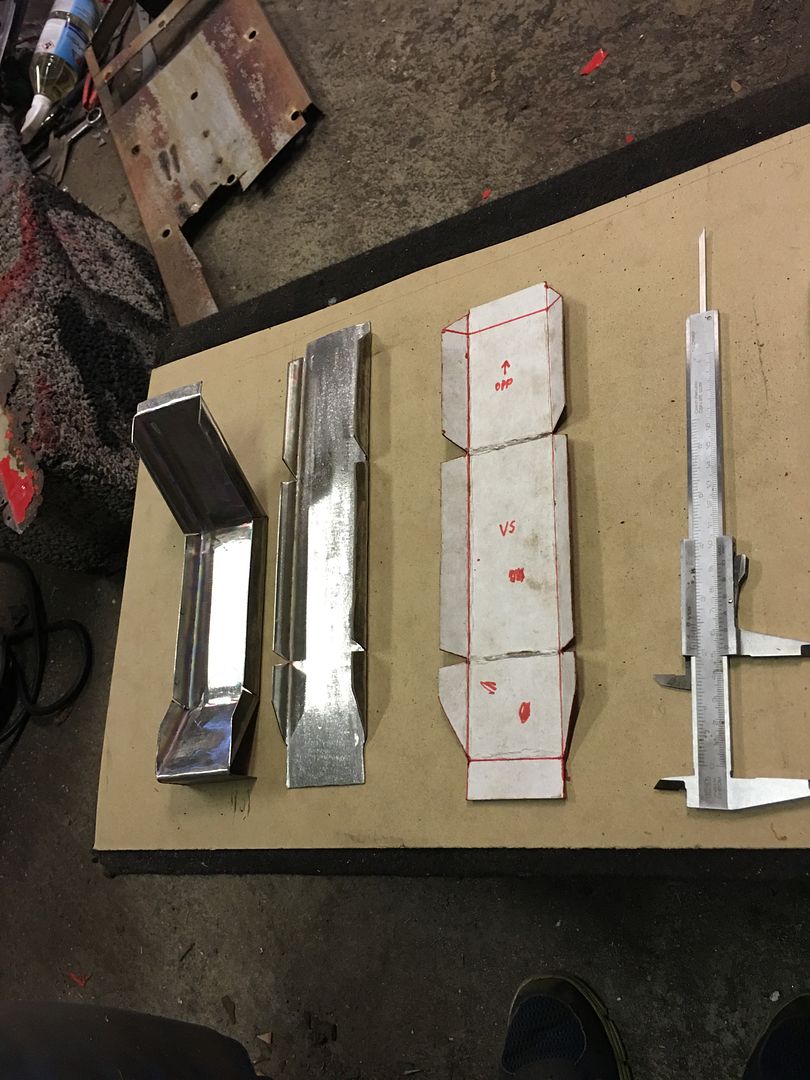 Finished result: 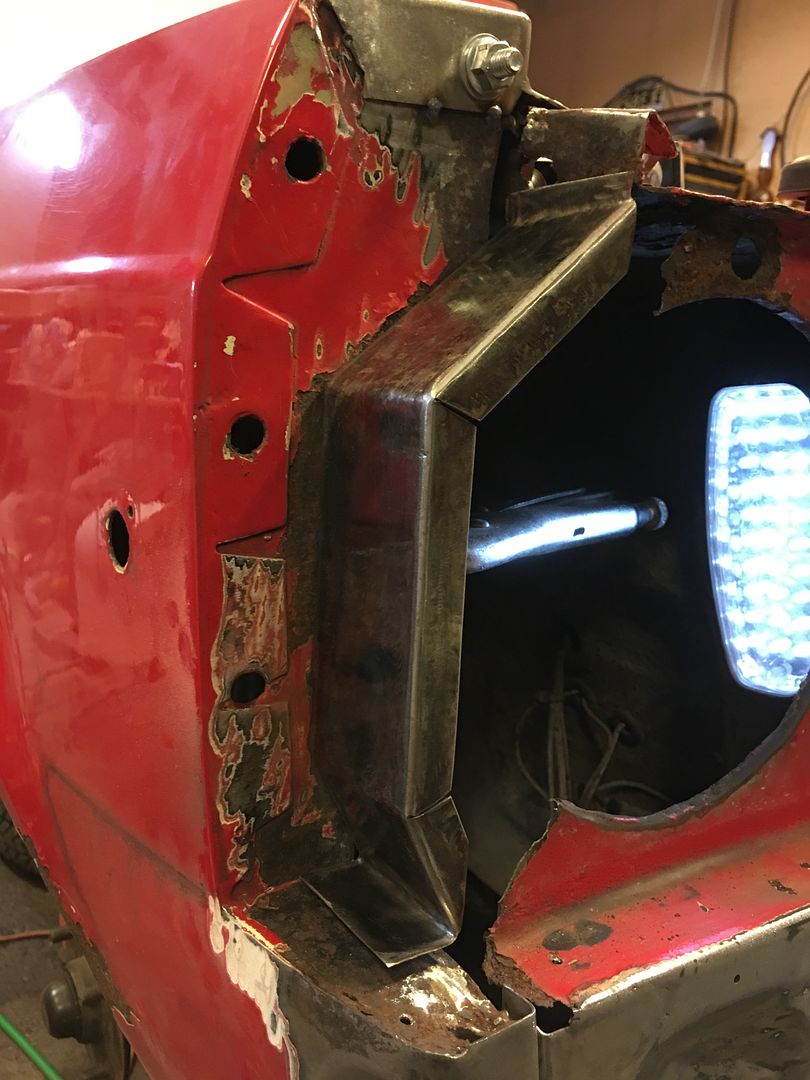 Of course I had to make two, since they were equally bad both sides: 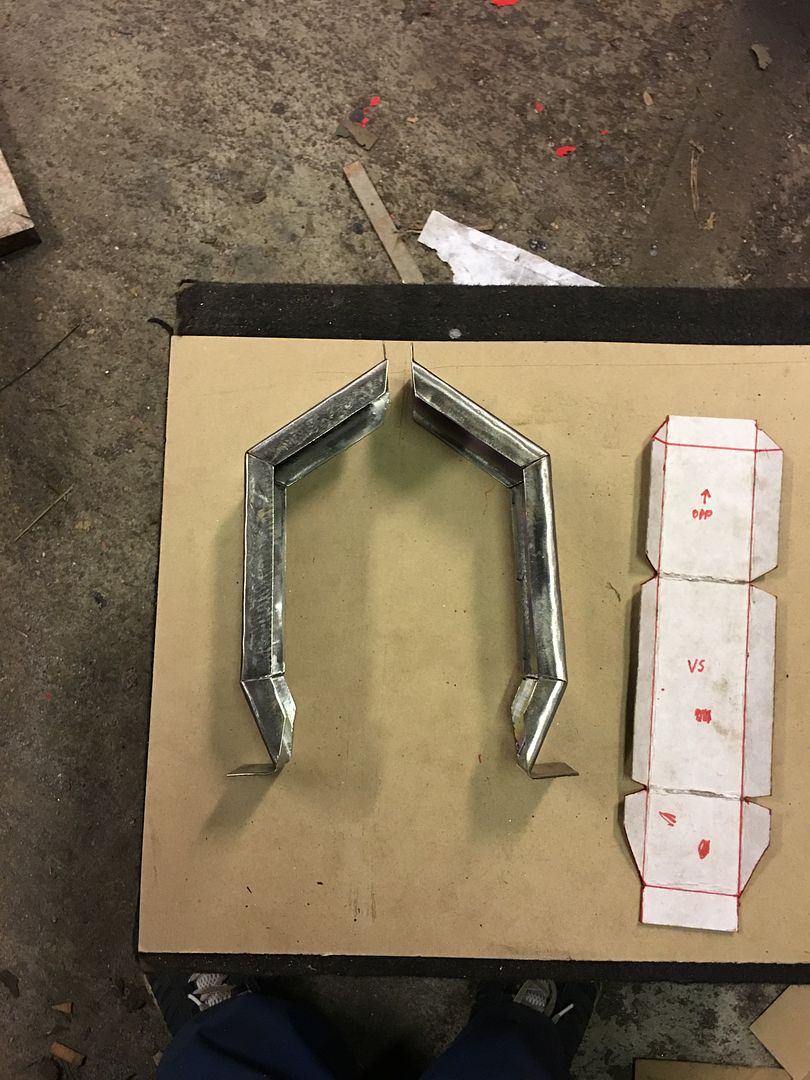 But, I had to have something to weld them to, so out with the old: 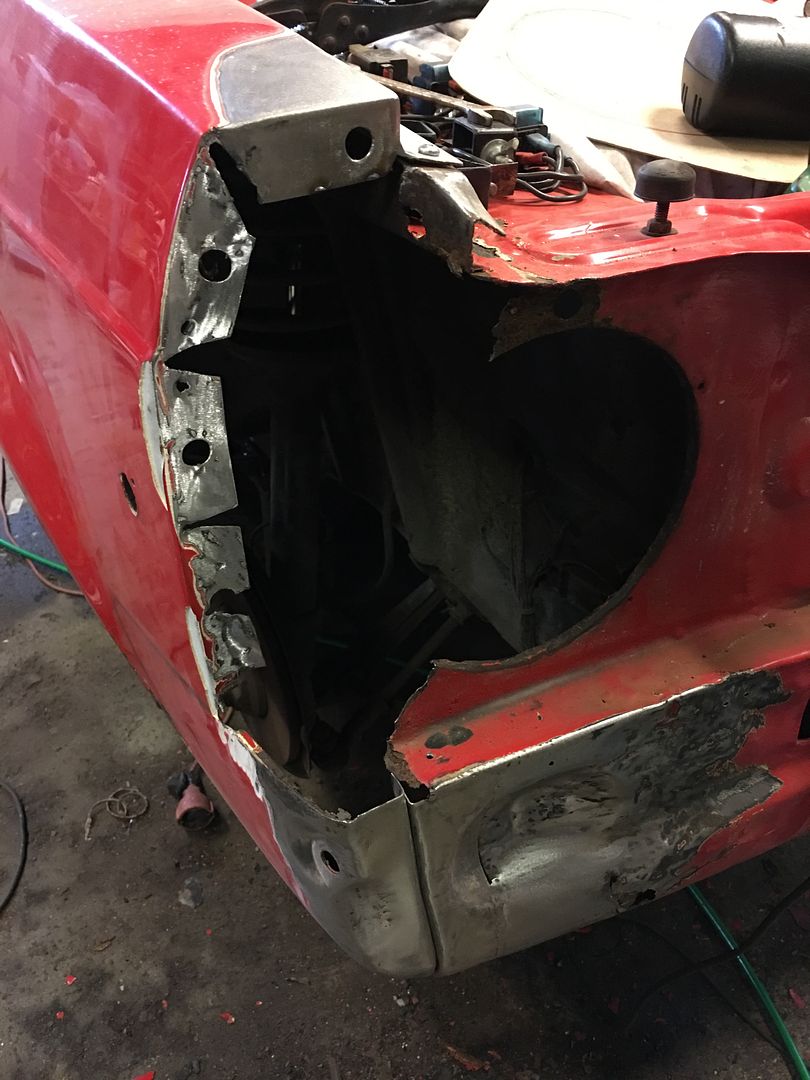 Testing new vs old: 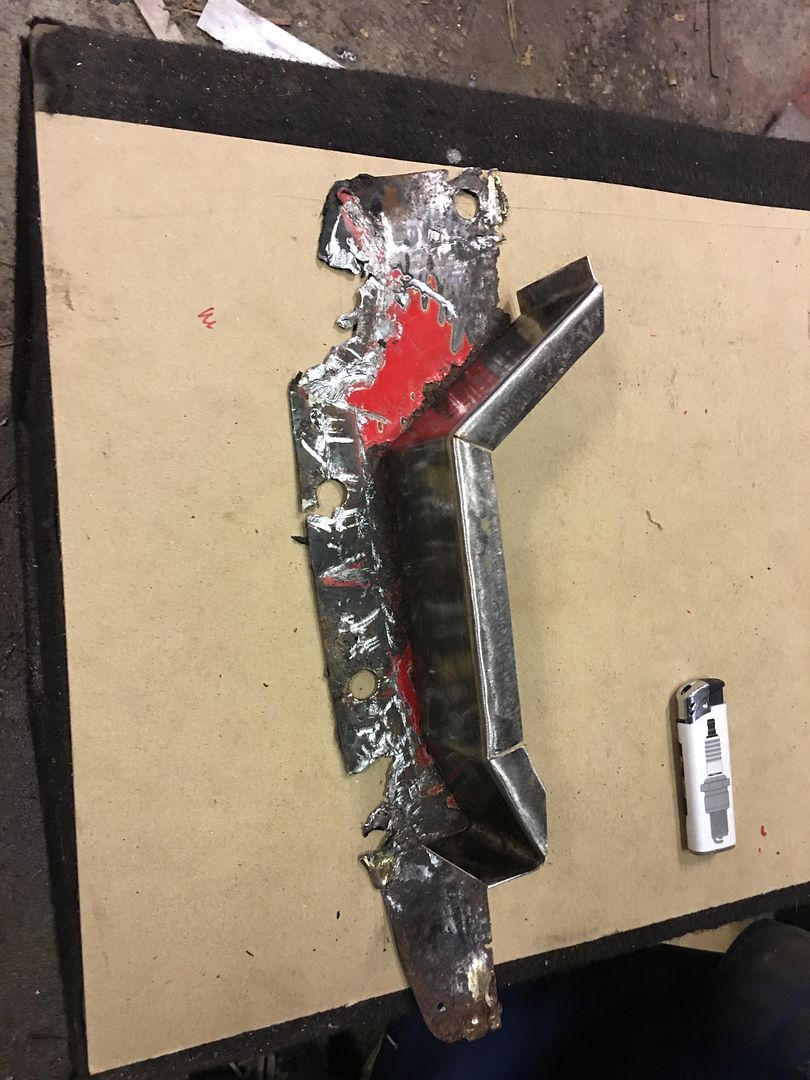 CAD in progress. I made two of those as well. 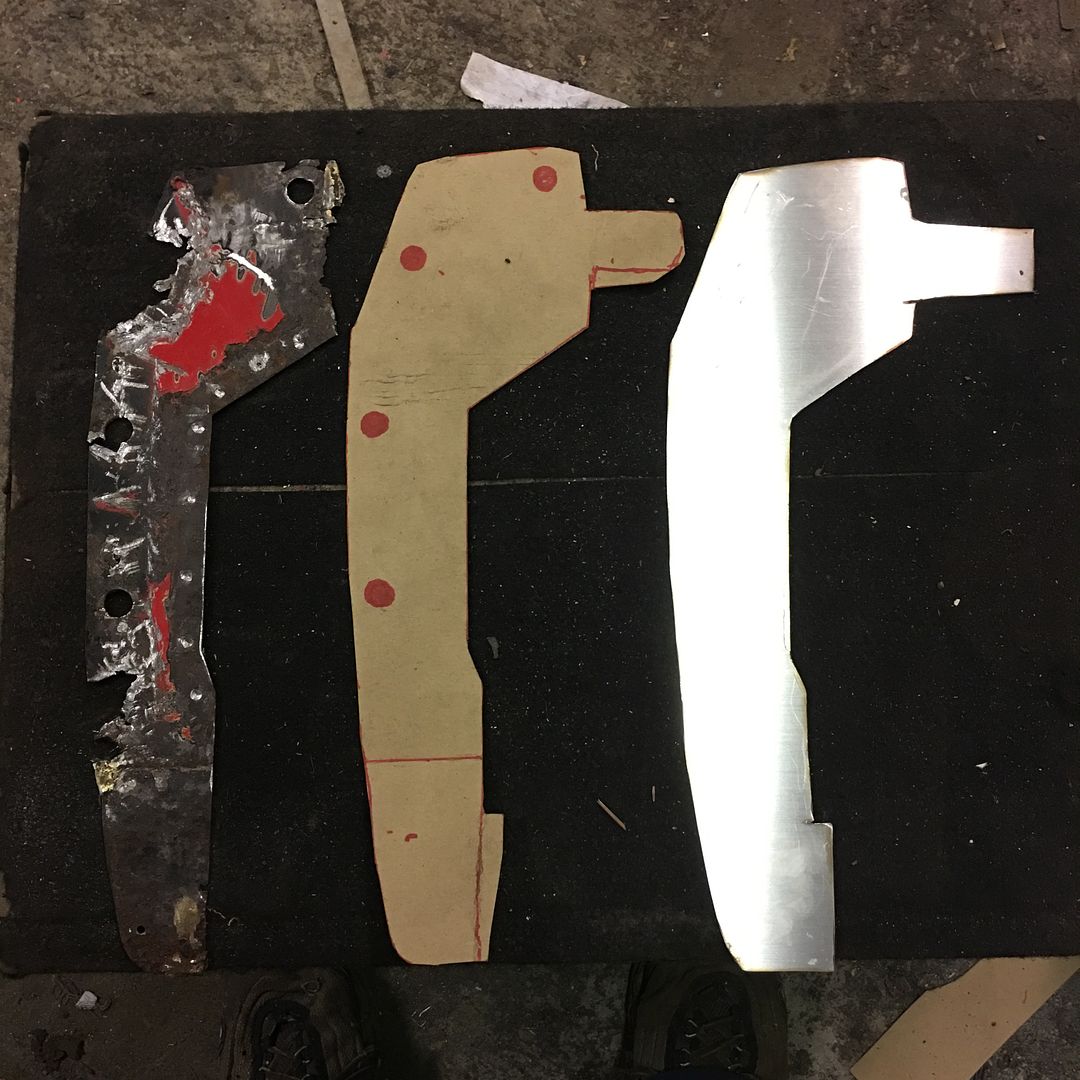 Result: 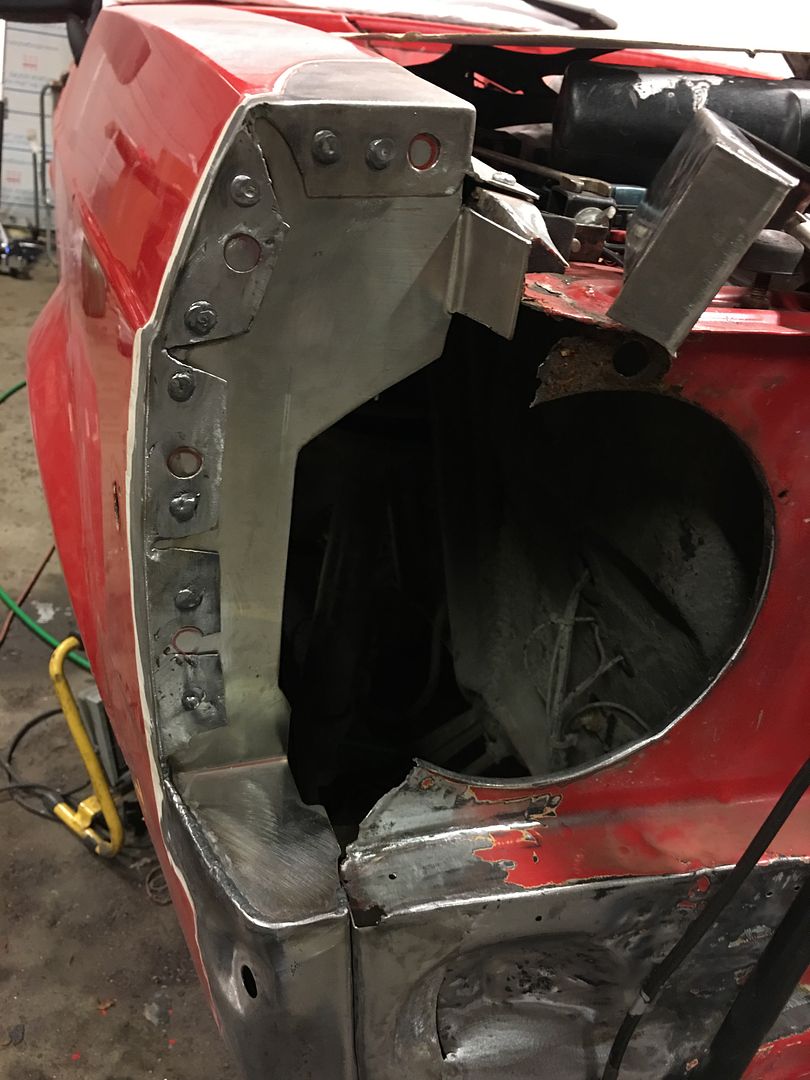 Testing for fitment: 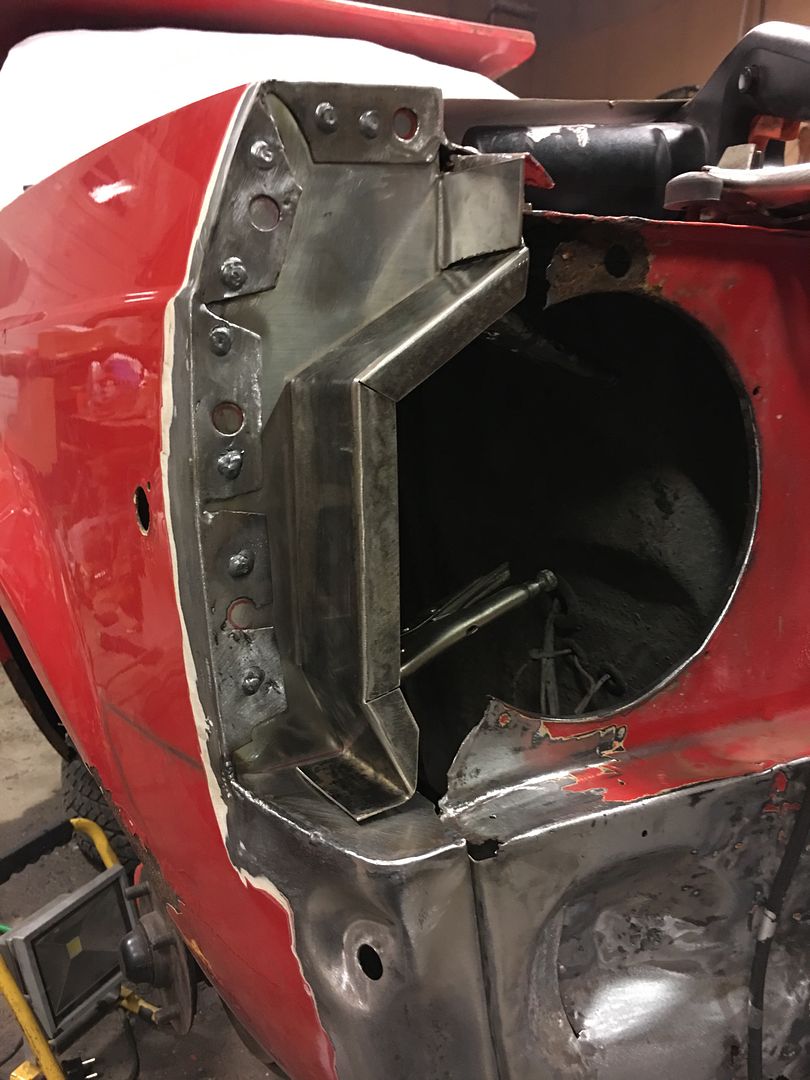 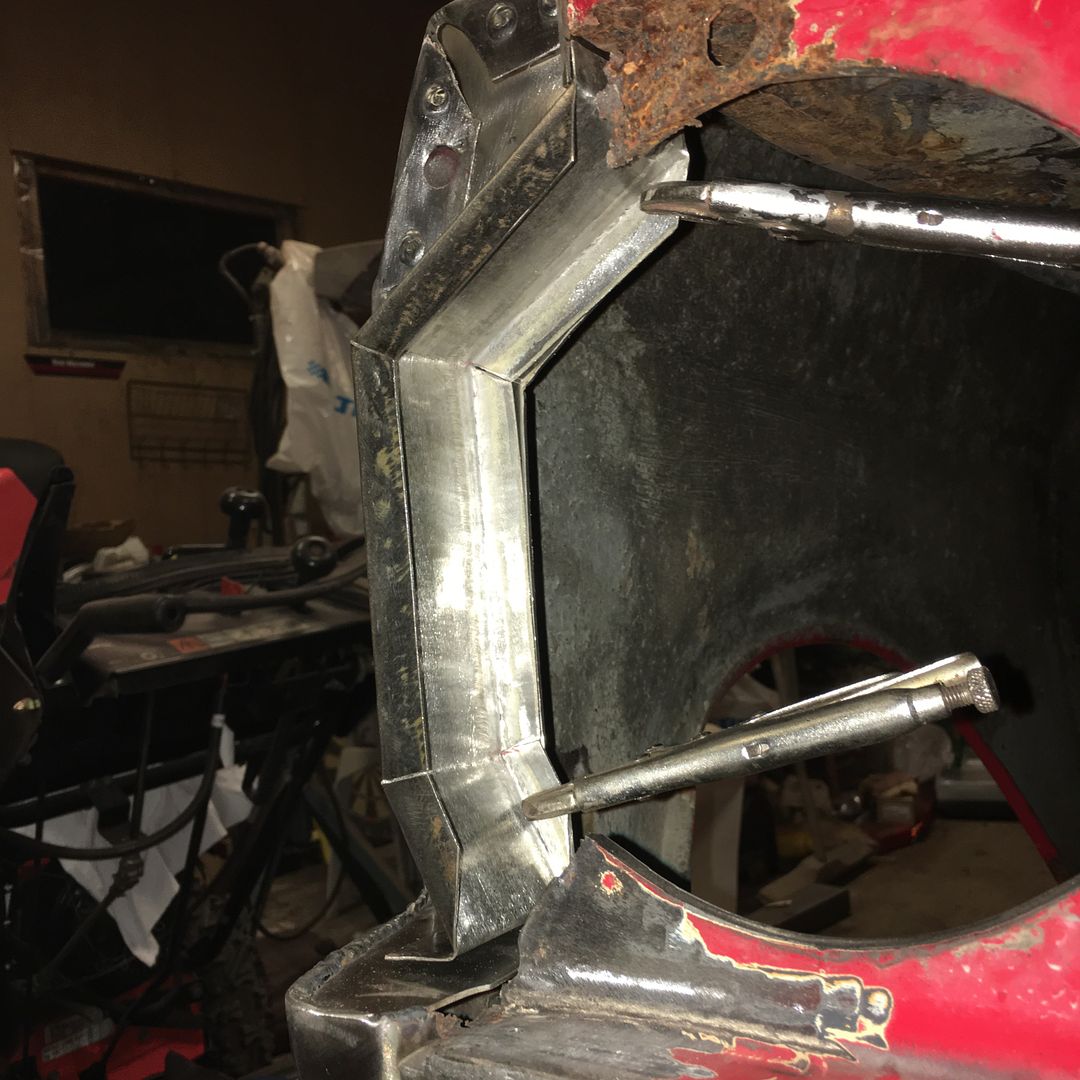 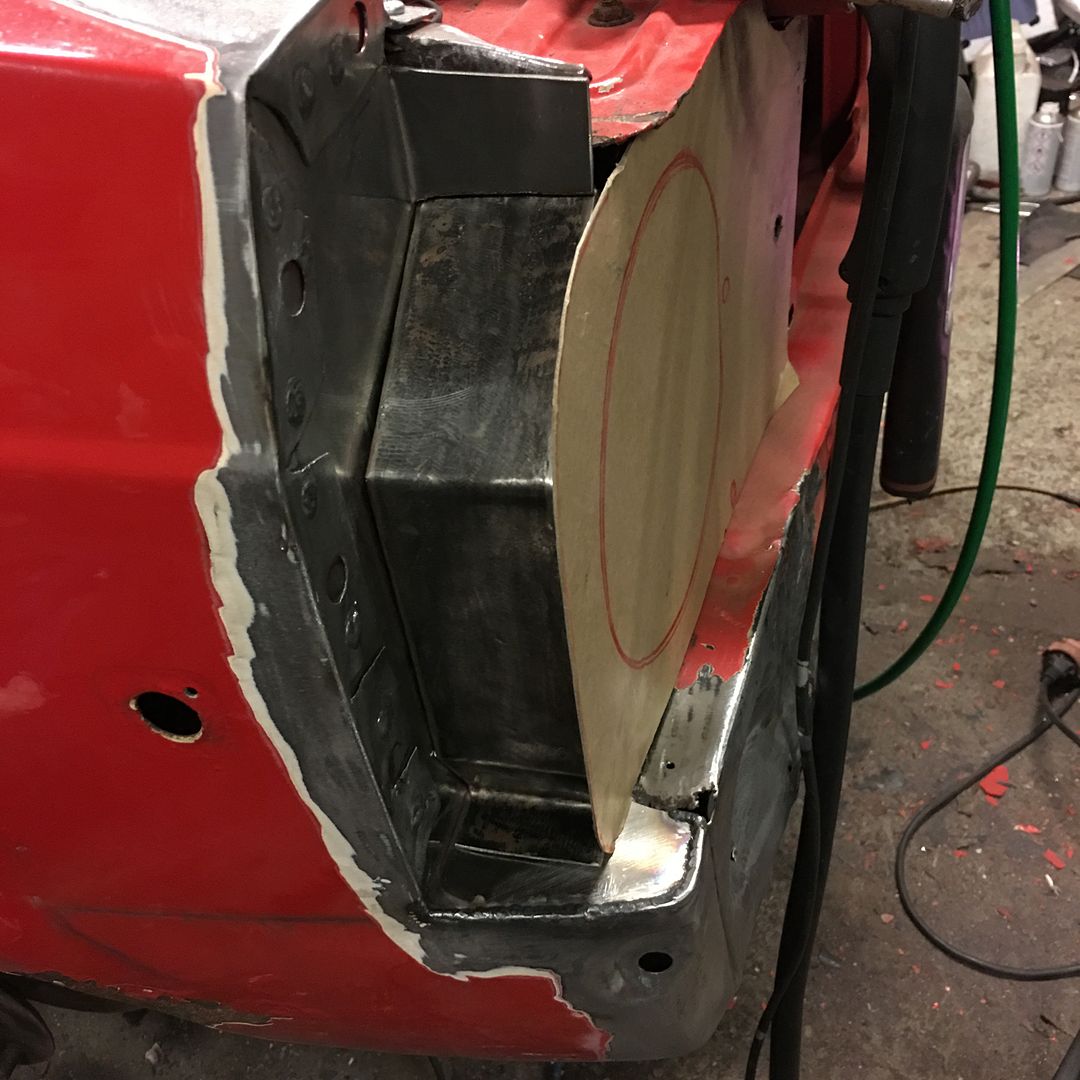 Not much work done for three days work, but I'm slowly working my way towards a finished car. Fabrication like this always takes longer than just buying the parts, but as I am on a limited budget I cannot afford even the smallest patch panels. Anyways I think that none of the parts are available in stainless steel, as all the parts I make is made of Thanks for reading, and have a great day! |
| |
|
|
79cord
Posted a lot
Posts: 2,608
|
|
Sept 5, 2016 13:13:17 GMT
|
|
Good to see the progress. I guess by Ford standards the RS2000 had a cheap custom nose job anyway.
|
| |
|
|
funkyhunk
Part of things
Old Ford's R Us
Posts: 265
|
|
Sept 11, 2016 23:09:07 GMT
|
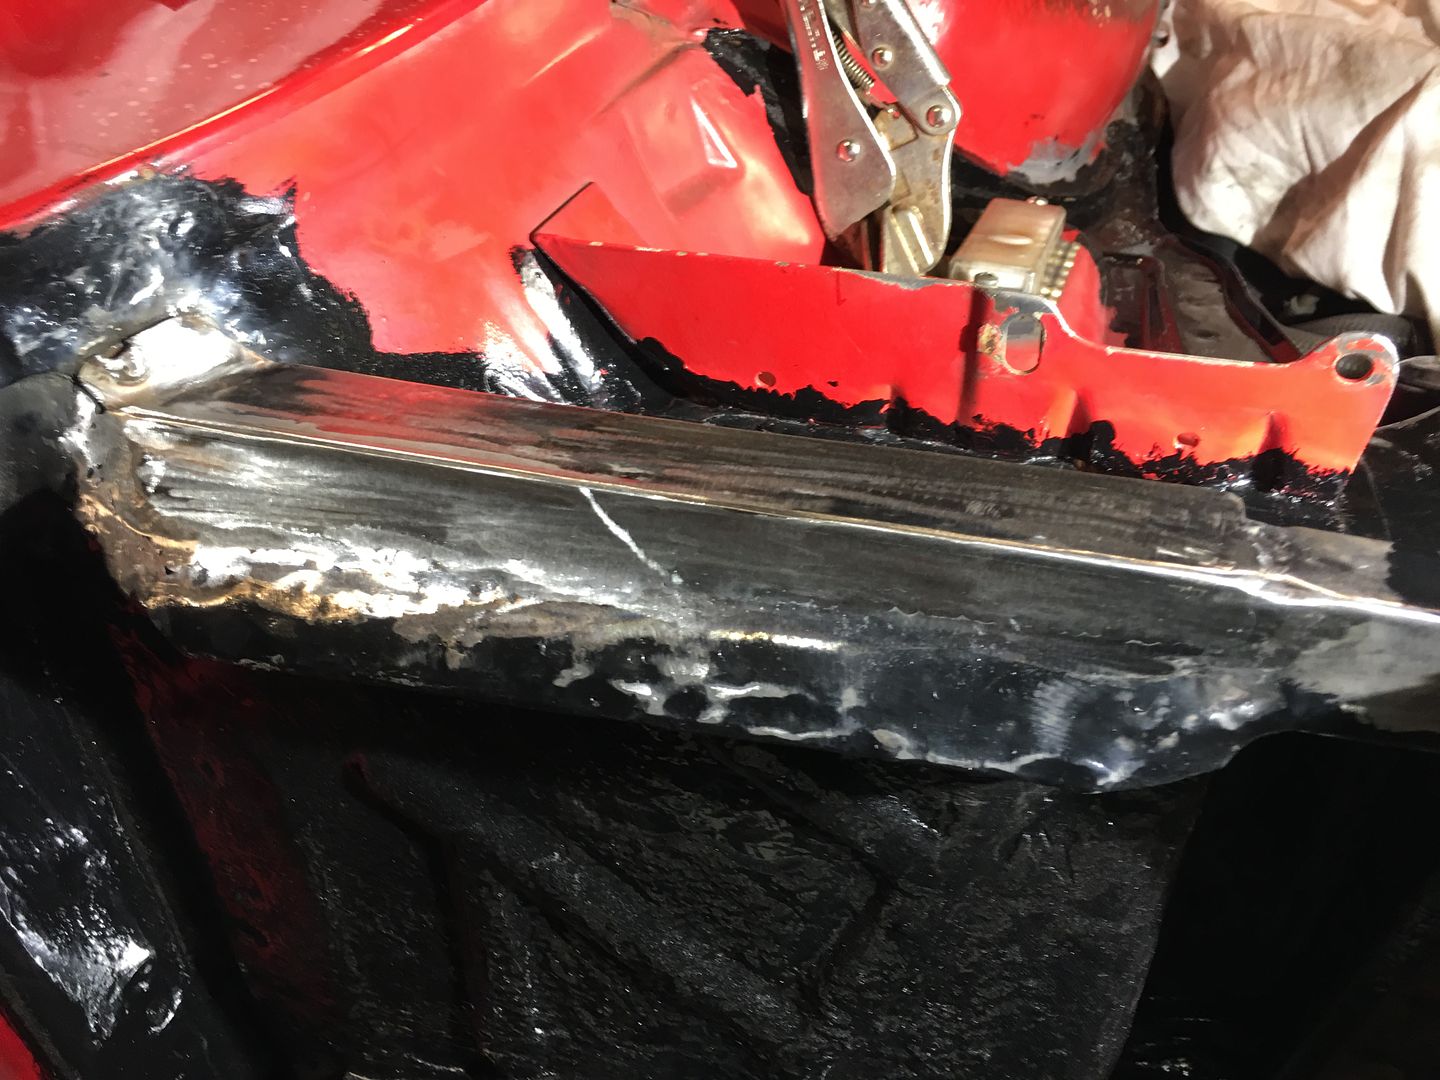
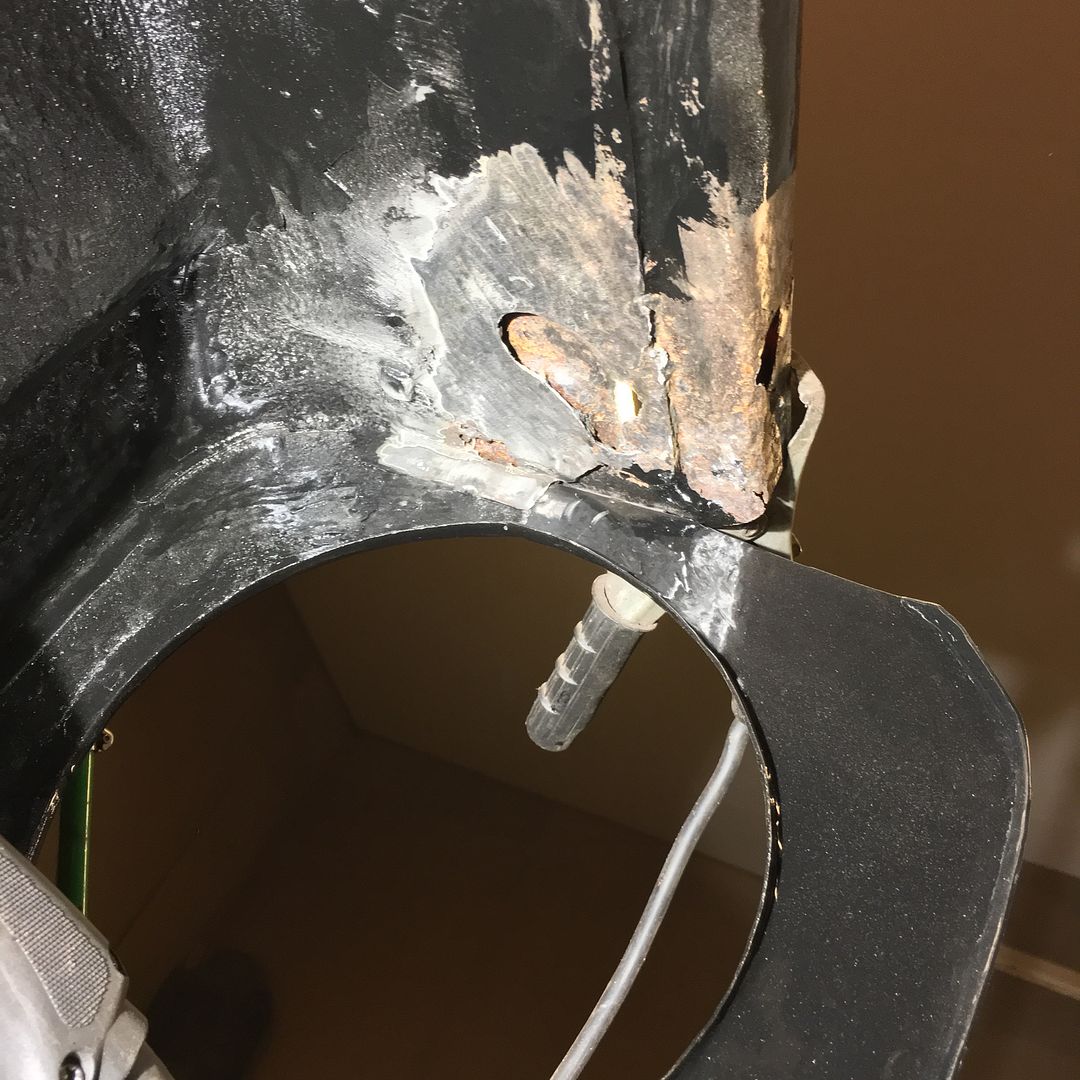
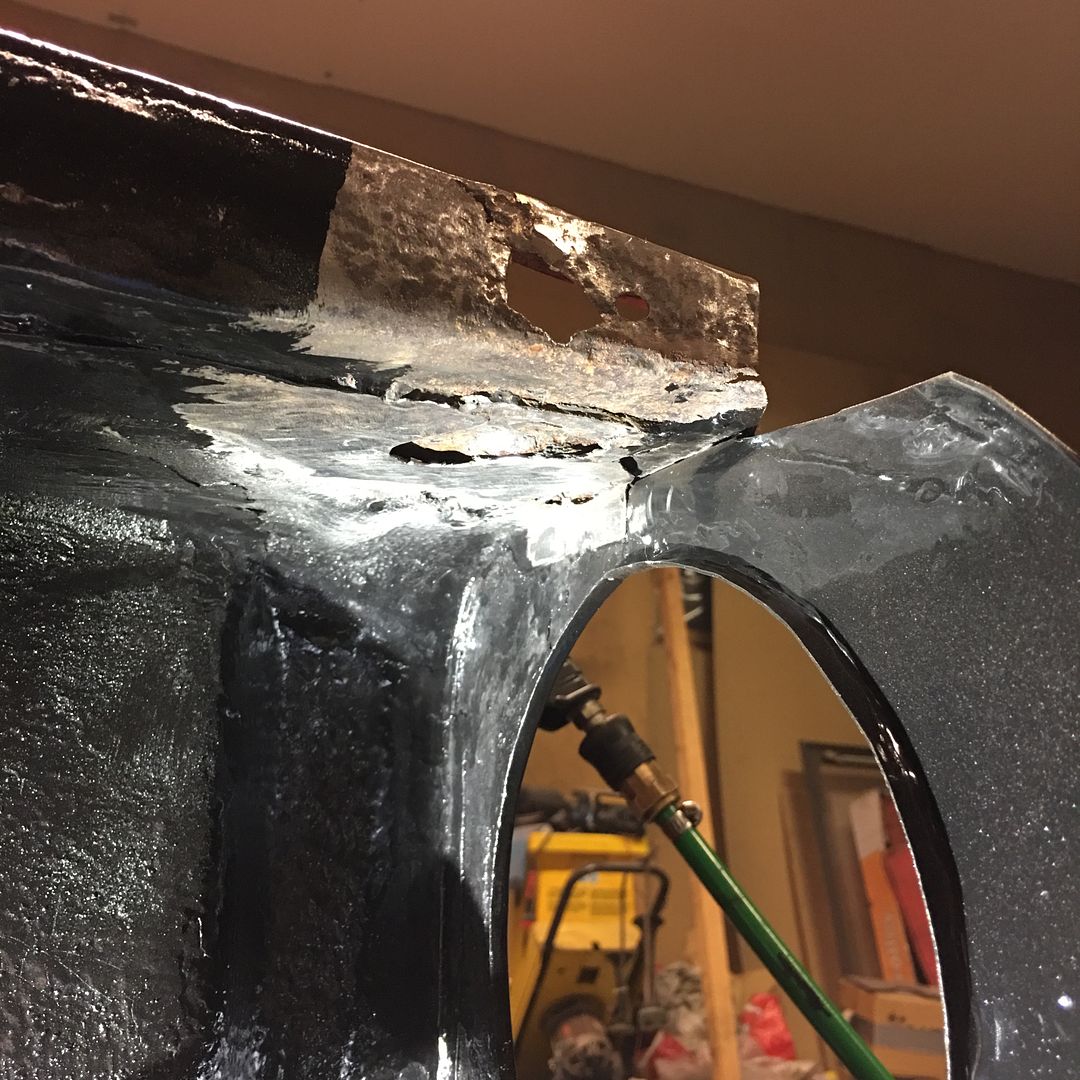
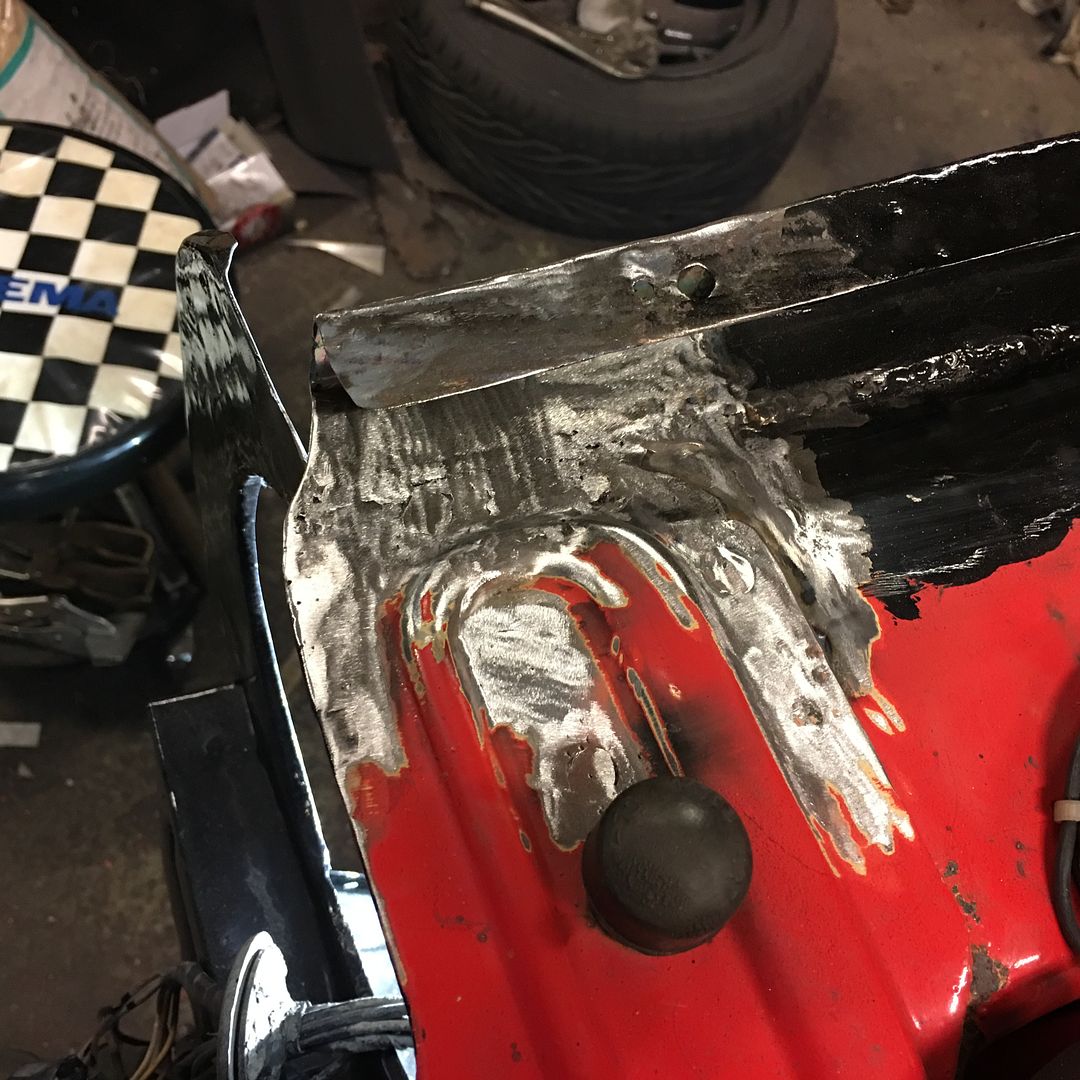
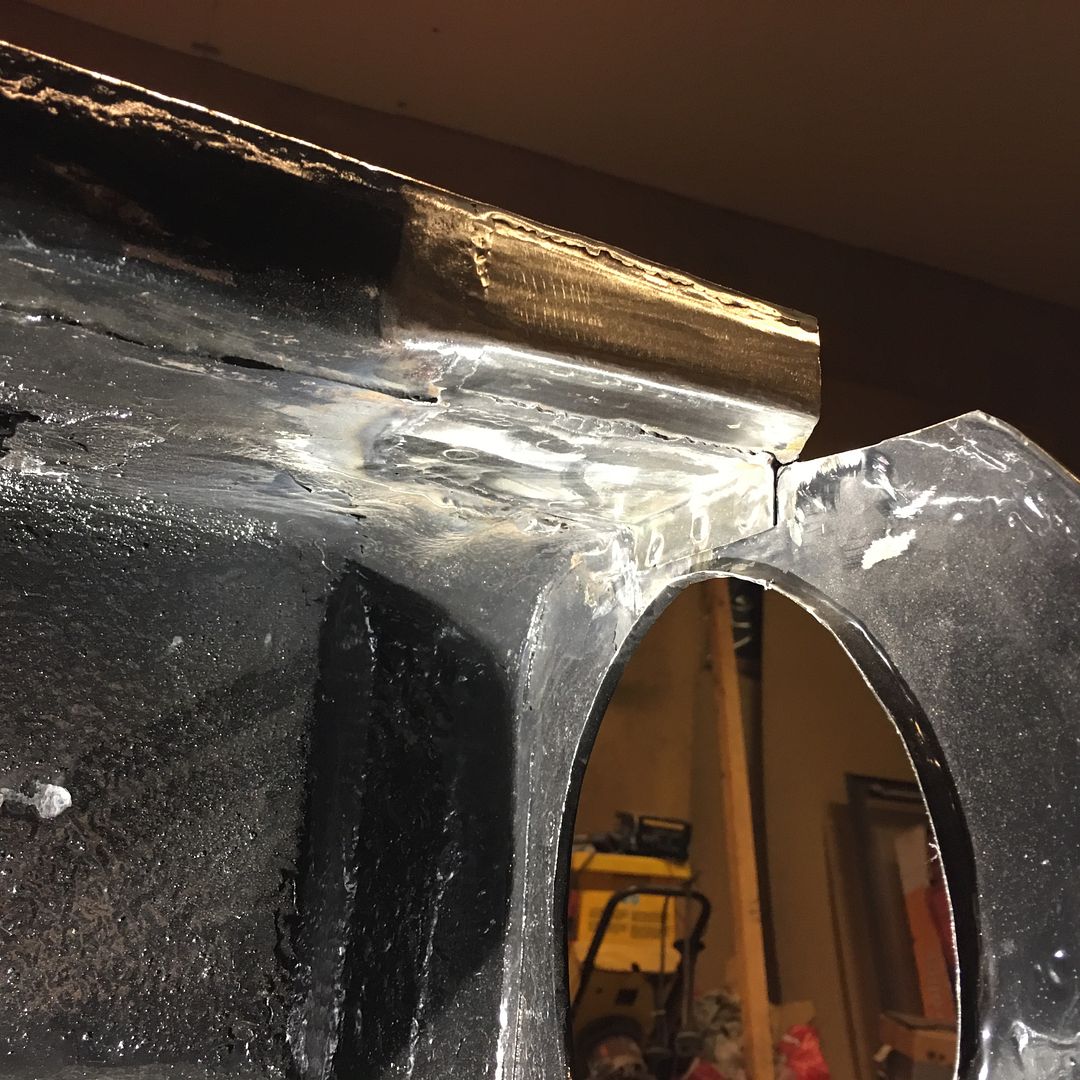
Good to see the progress. I guess by Ford standards the RS2000 had a cheap custom nose job anyway. I guess, ford was pretty cheap when it came to steel quality then as well Time for the weekly update! Progress is sorta slow since a fulltime job, the kid, welding on my uncles car, a birthday and a christening get in the way of some quality garage time. But I got a little done though. I finished off and welded the piece to the fender: 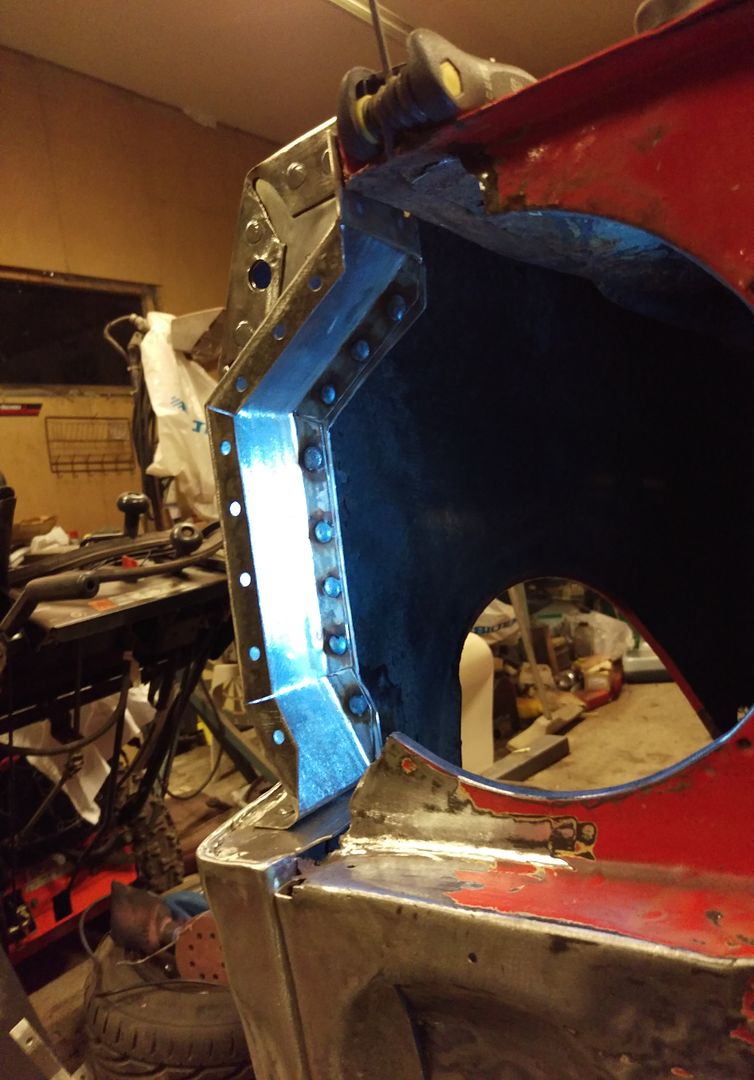 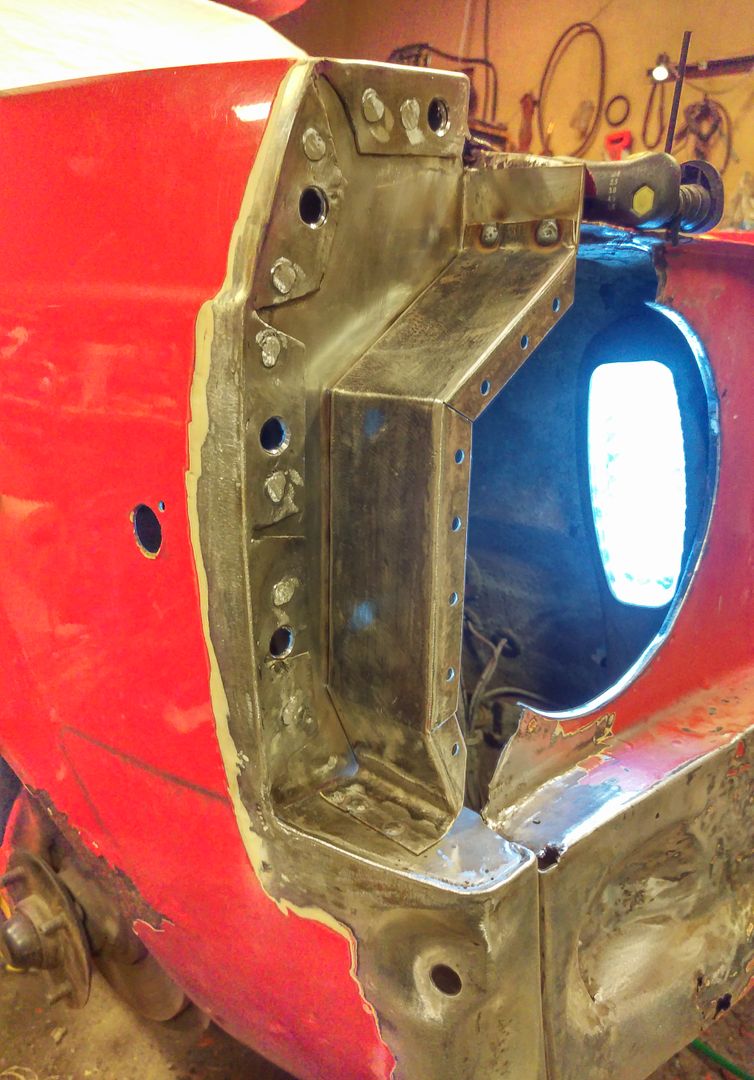 Then a few hours passed with making the headlight surround fit the front piece. The CAD template from my other MK2 helped very much in the making. Sorry for the fuzzy pics, HTC M9's don't take as good pics as my Iphone 6s Plus. Welded: 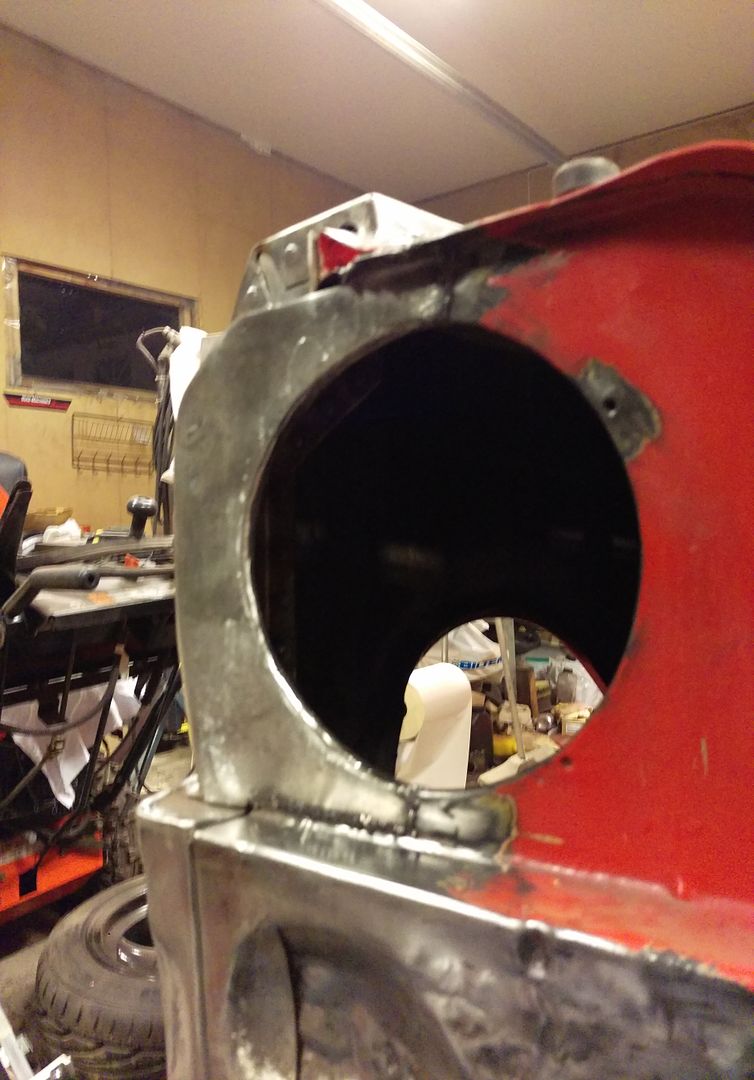 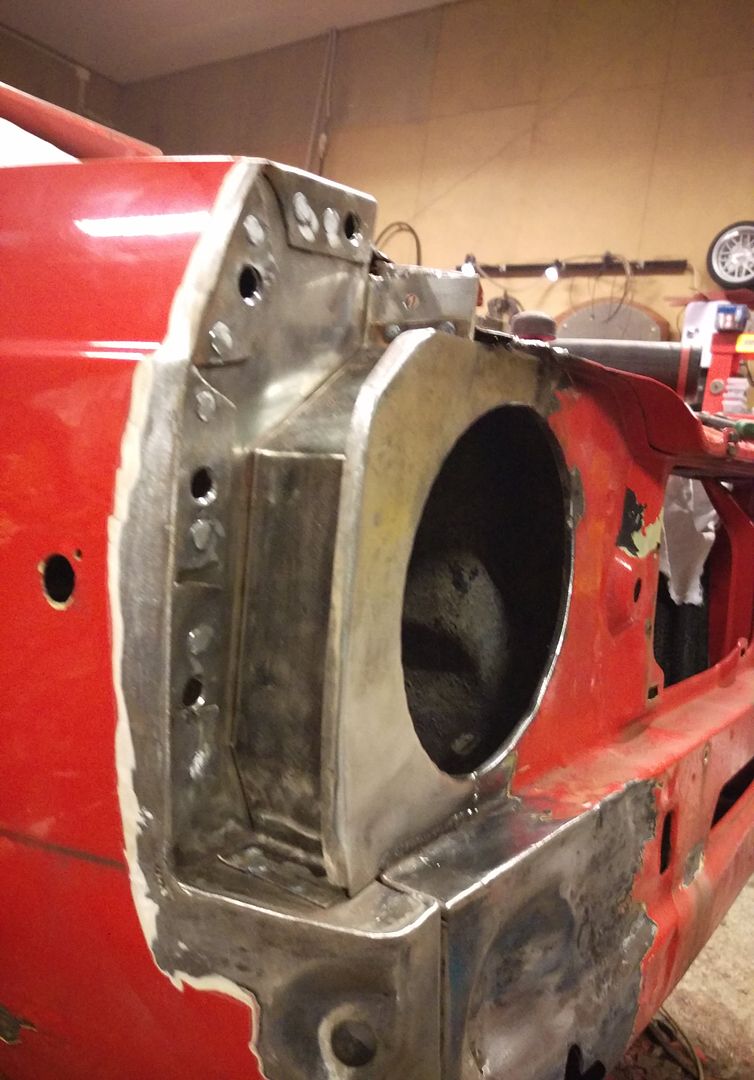 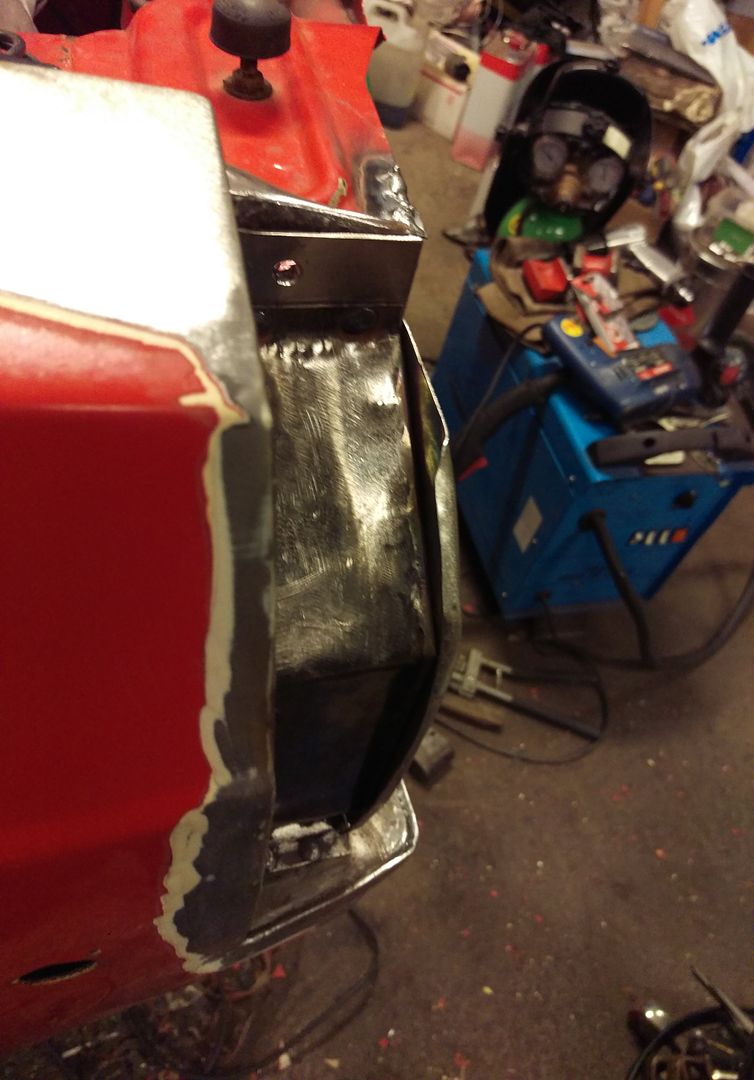 I also made a closing piece to the fender flange: 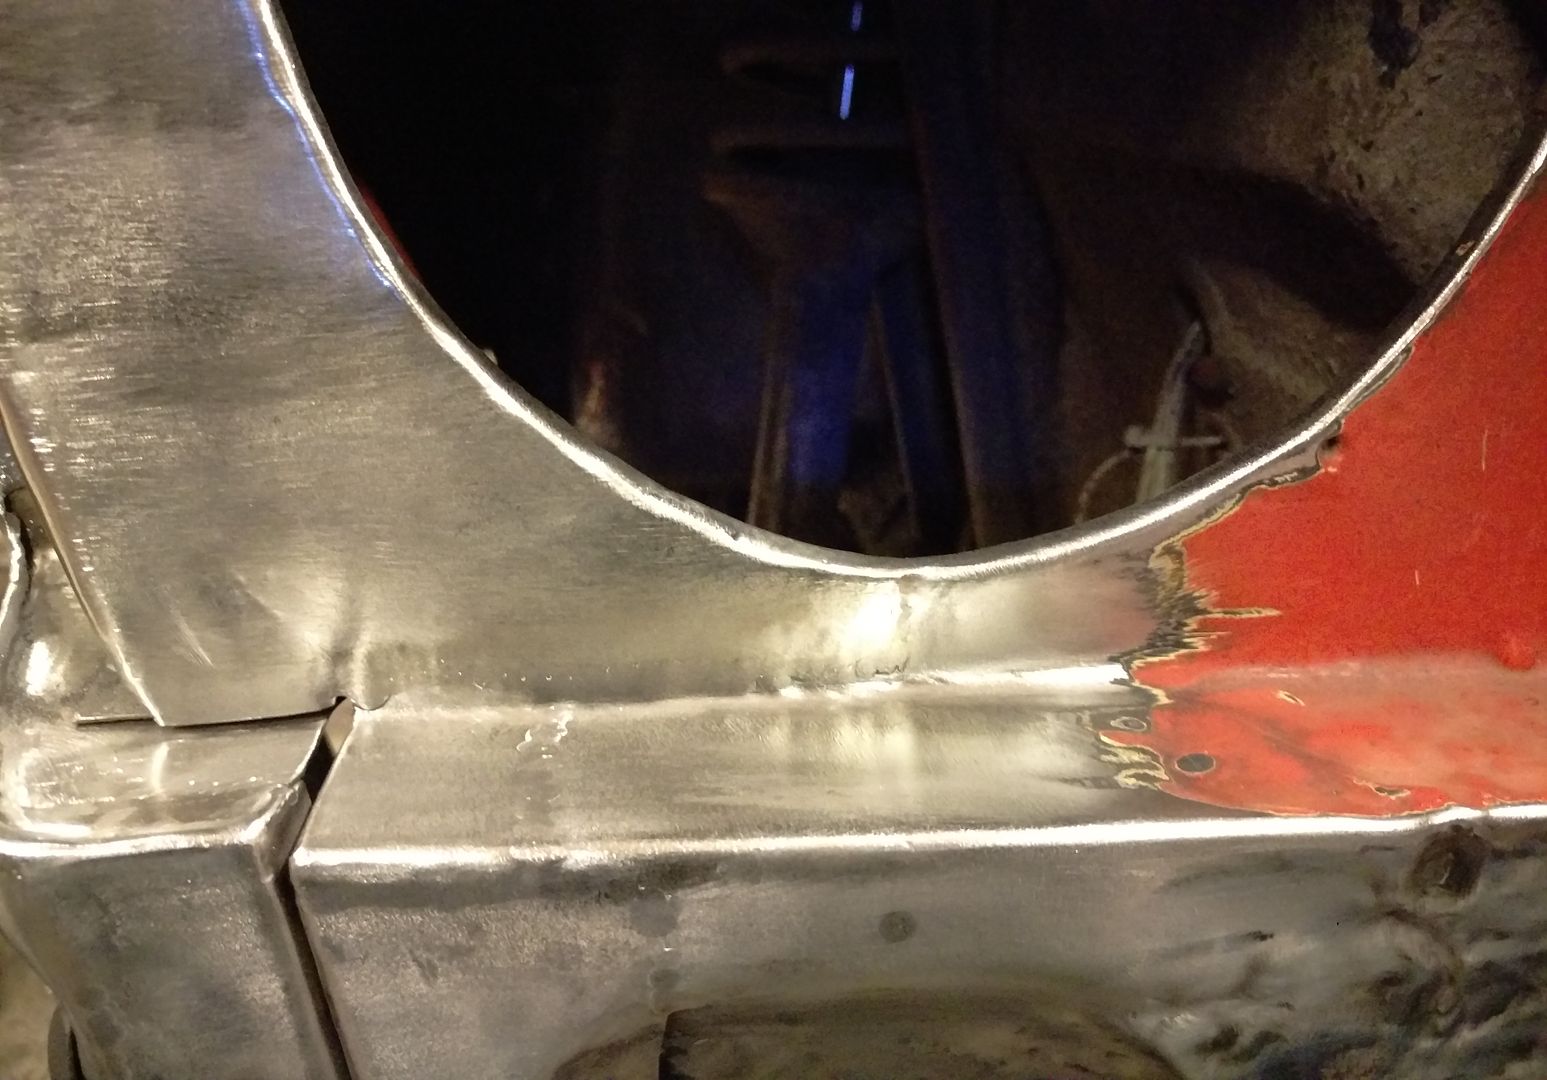 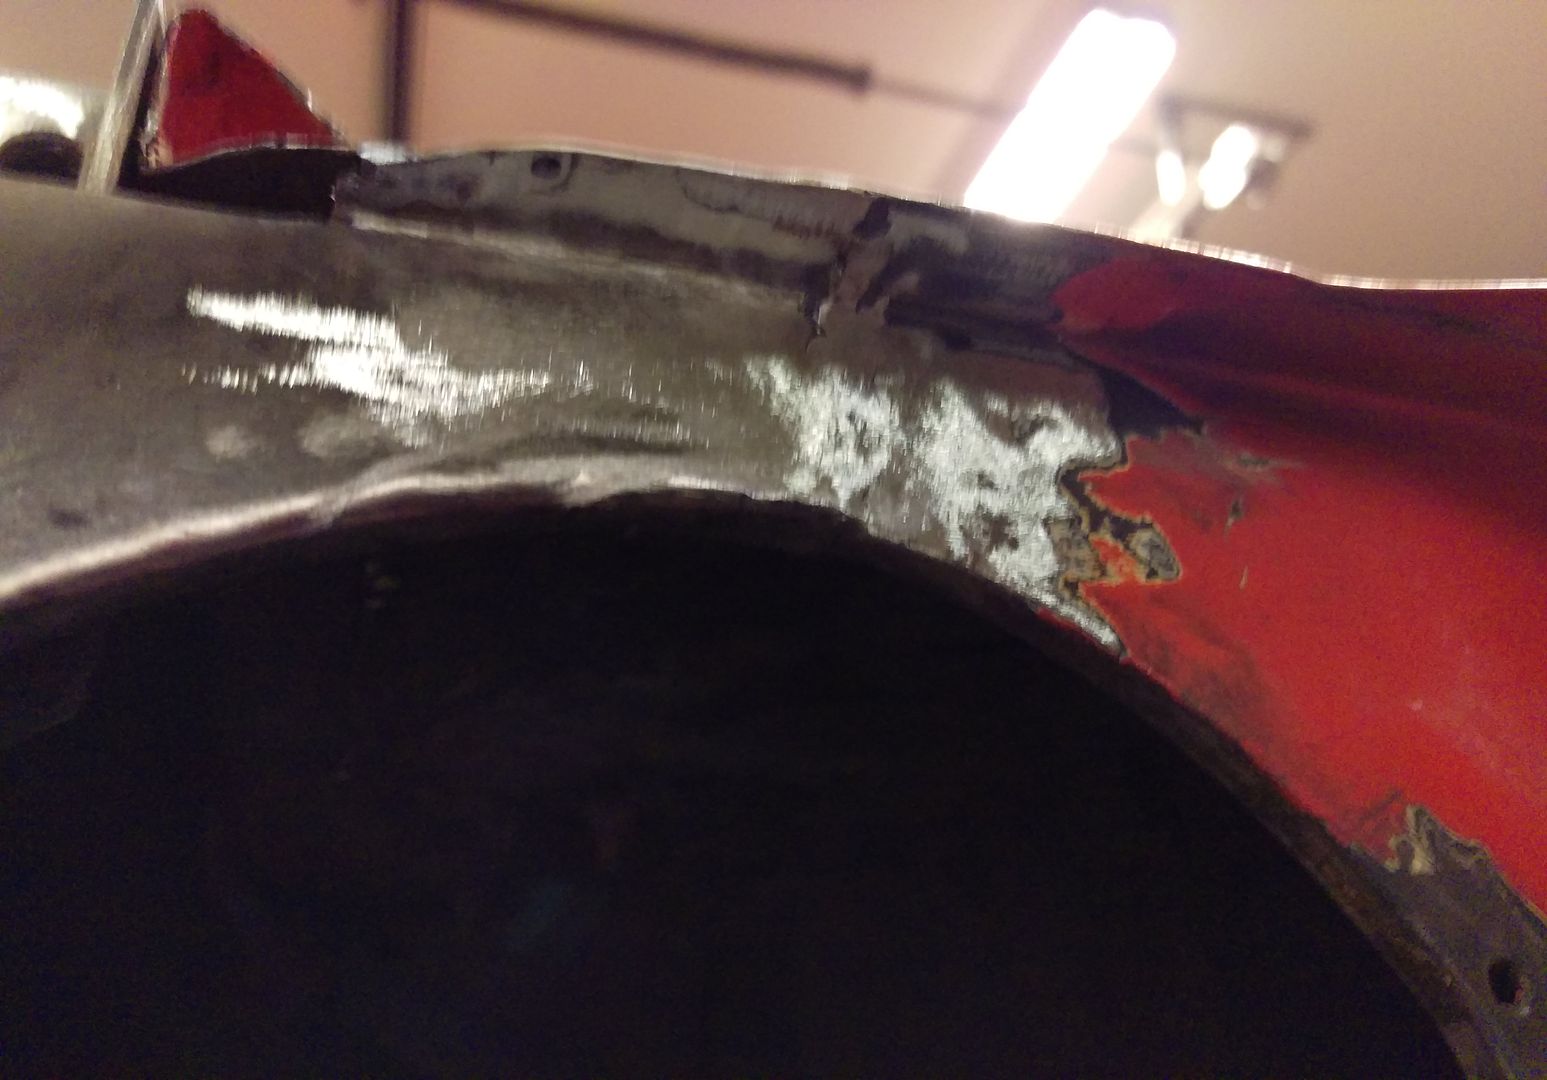 Then I cut out a piece of the valance that was paper thin with rust. ("wafer thin mint" comes to mind for some reason ) 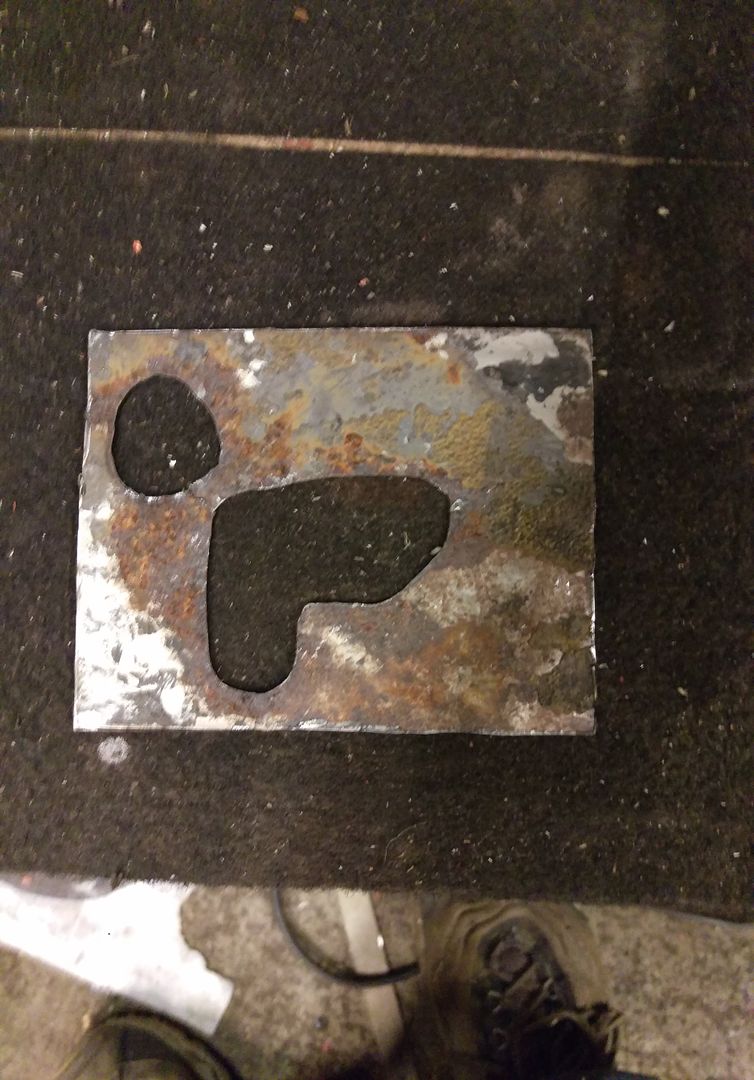 Made a new piece and chucked it in there with the metal glue stick: 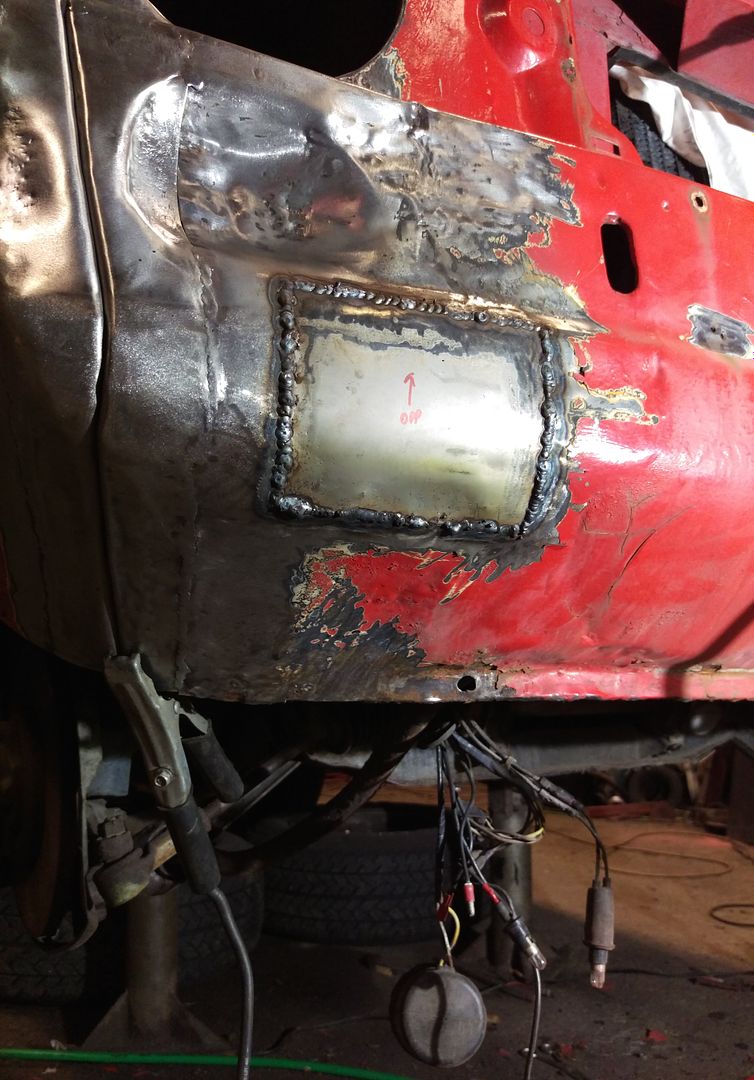 I also ground down ad tidied up the whole area, but I forgot to take a picture of the finished product. It came out awesome, honest! Pics in the next update. Thanks for reading! |
| |
|
|
funkyhunk
Part of things
Old Ford's R Us
Posts: 265
|
|
Sept 23, 2016 20:53:36 GMT
|
|
|
| |
|
|
funkyhunk
Part of things
Old Ford's R Us
Posts: 265
|
|
Sept 25, 2016 23:40:48 GMT
|
|
|
| |
|
|
|
|
funkyhunk
Part of things
Old Ford's R Us
Posts: 265
|
|
|
|
|
|
| |
|
|
79cord
Posted a lot
Posts: 2,608
|
|
|
|
|
Lots of progress to be proud of!
|
| |
|
|
funkyhunk
Part of things
Old Ford's R Us
Posts: 265
|
|
|
|
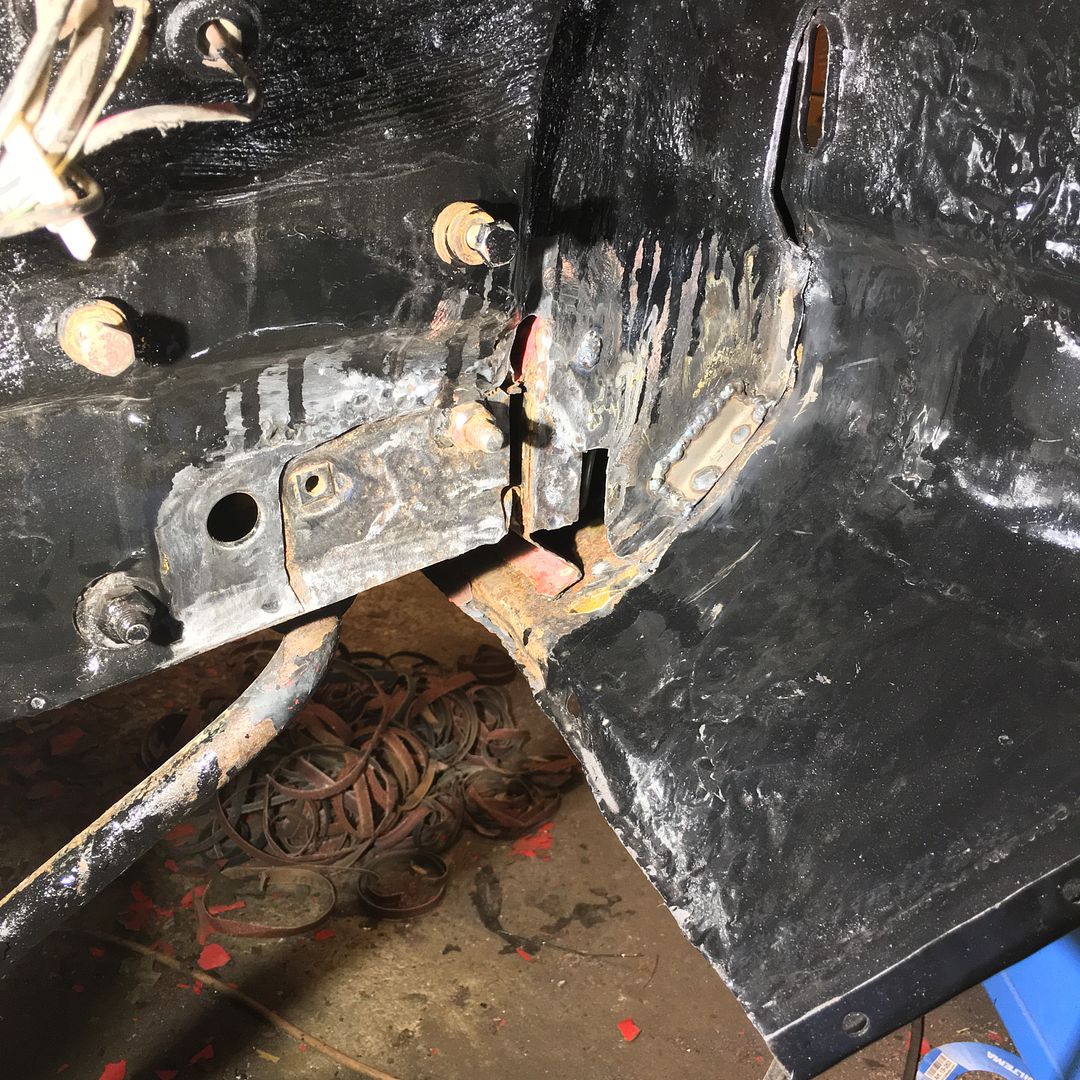
Lots of progress to be proud of! Thanks m8, such progress, but not much Not as much as I would like, but progress is progress regardless Time for 'nother update! This week I had tuesday and friday off, so I finally got two sorely needed days off work to spend time with the kid and swmbo I even got some fettling done in the garage. I started with completing the work on the right fender, mounting it for the last time. I made a decision to screw the fender to the chassis, to make future disassembly less laborious if I felt so inclined. All the places where the fender would be welded normally got a nice dollop of TEC7 glue, and then was fastened with 6mm stainless bolts, nuts and washers. It should be as strong, if not stronger than it's welded counterpart I think. Oh, and all the mounting hardware I used in mounting the fender is stainless. 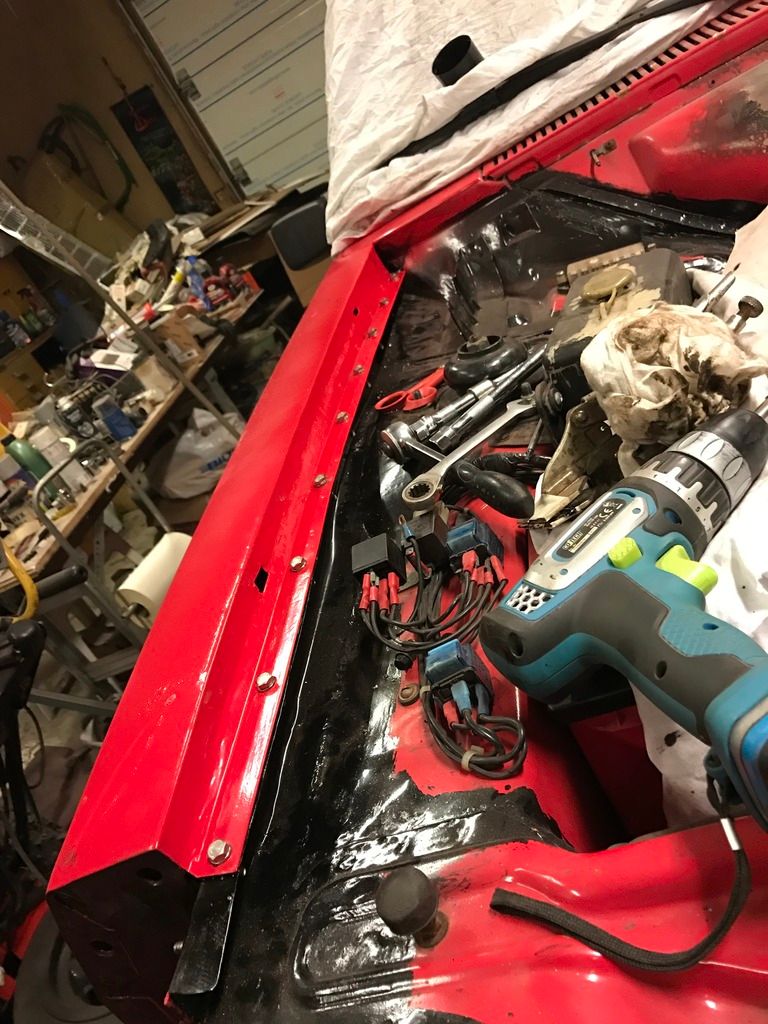 Here I used stainless poprivets. I thought about using "nutserts" but I had'nt any lying around in stainless, so poprivets it is. At least they wont oxydize 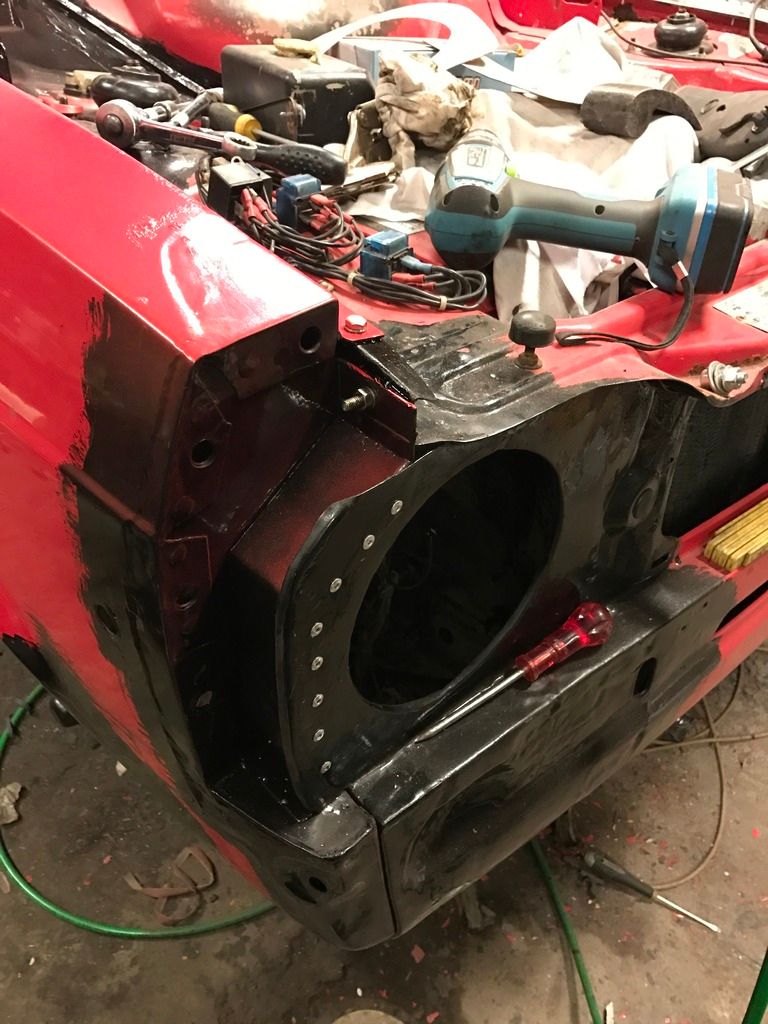 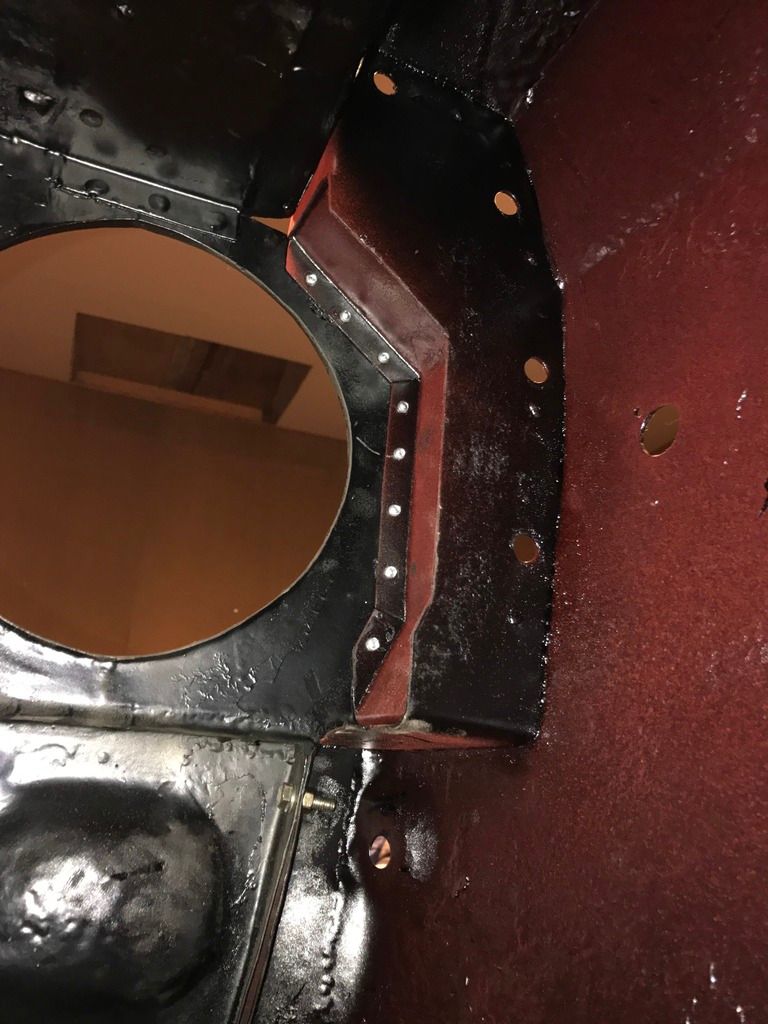 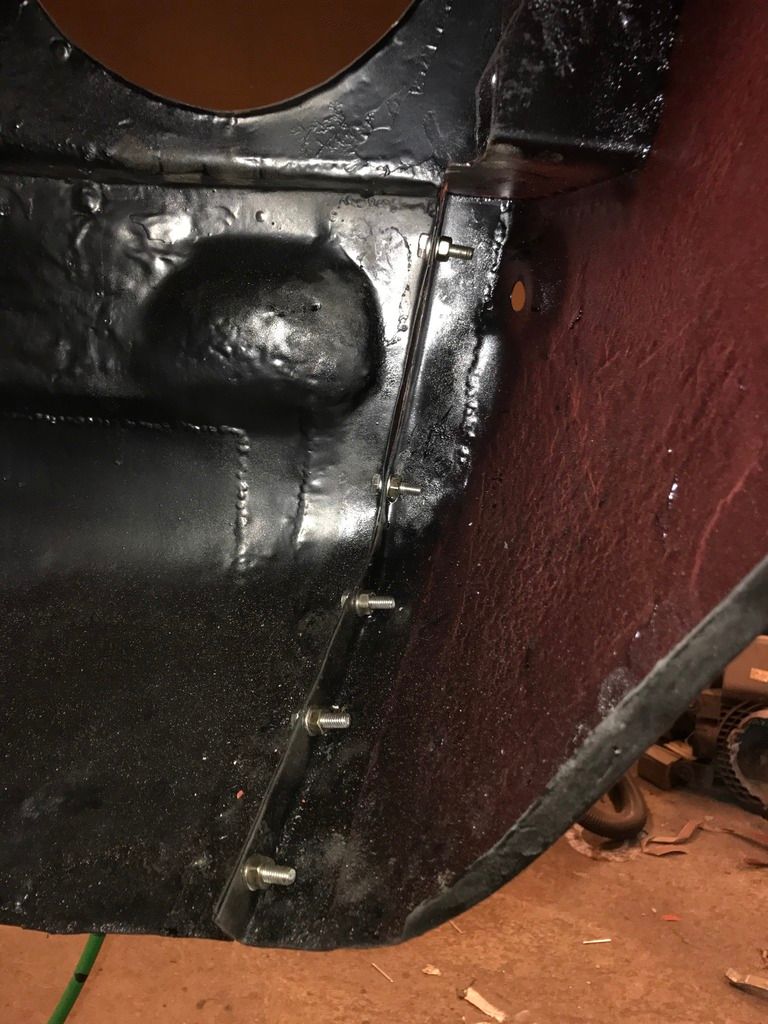 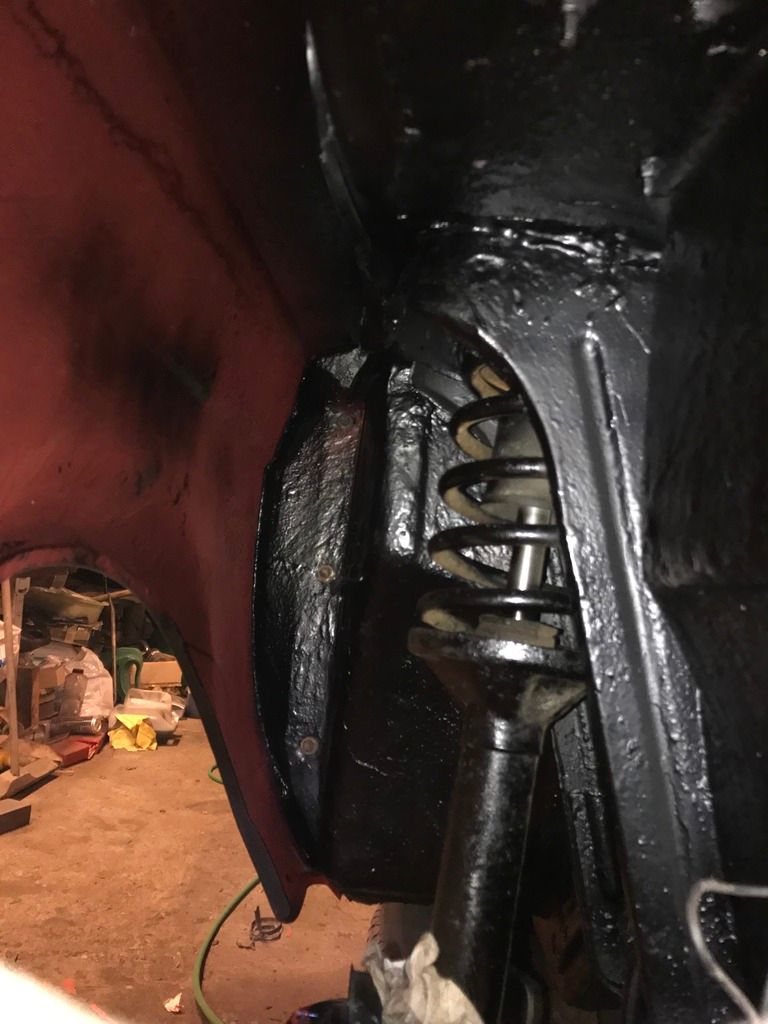 It felt amazing to actually be able to mount something for the last time! it's a sure motivator for what's to be tackled next! The Left side then. Fabricated and welded new fendermount: 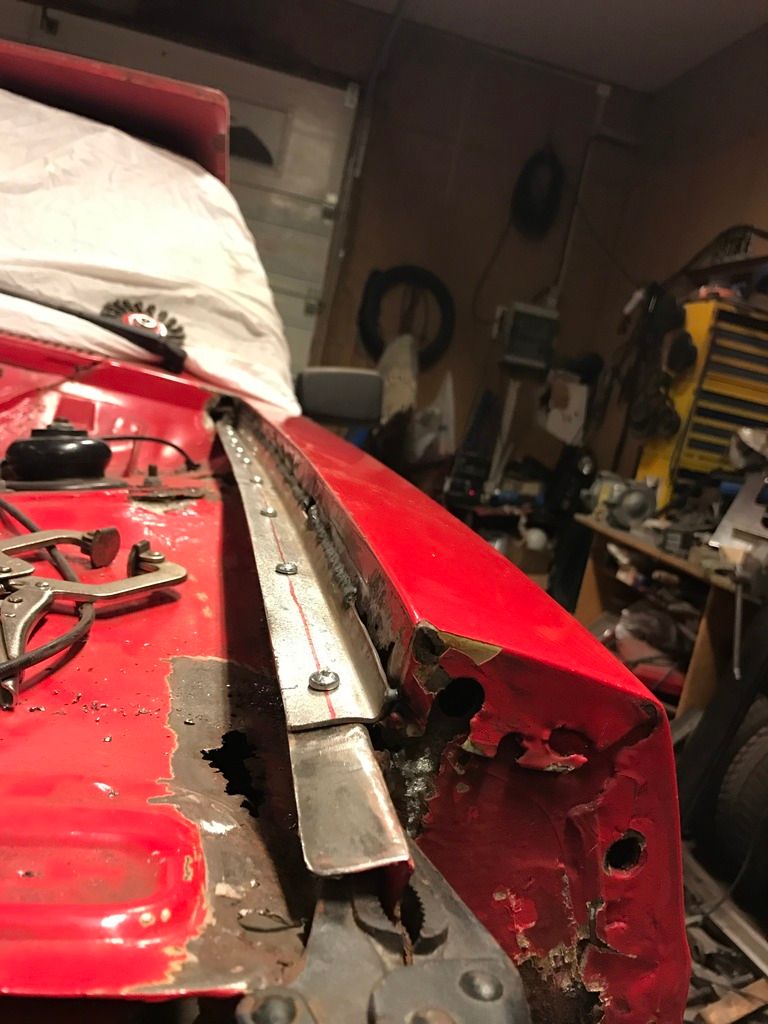 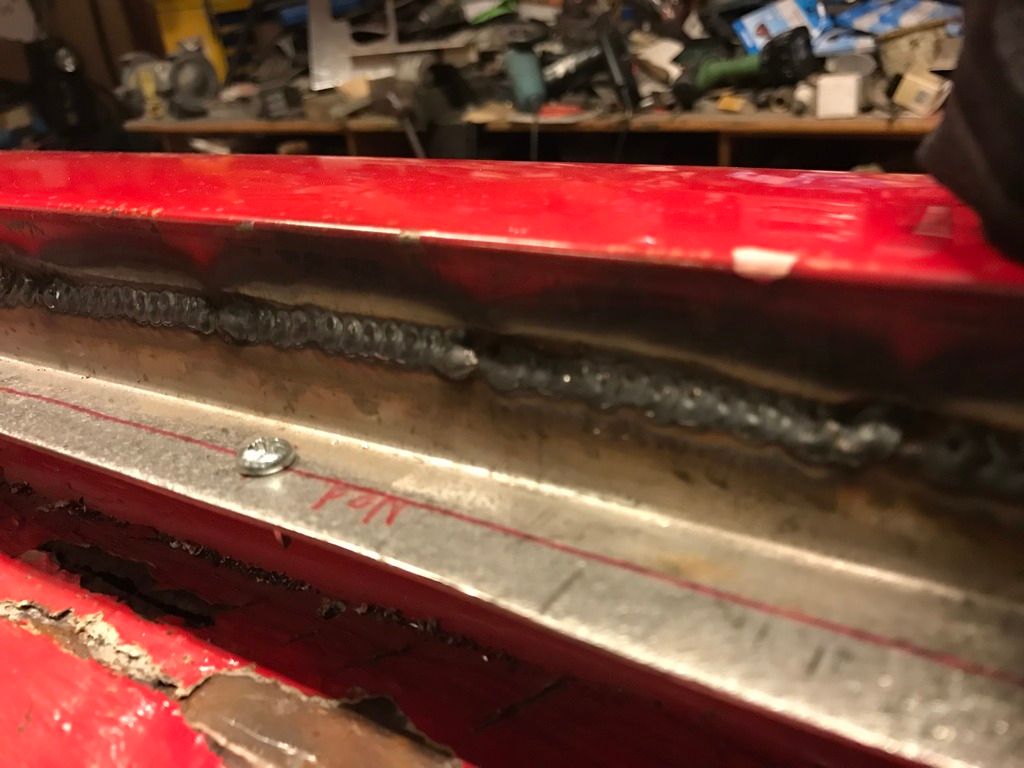 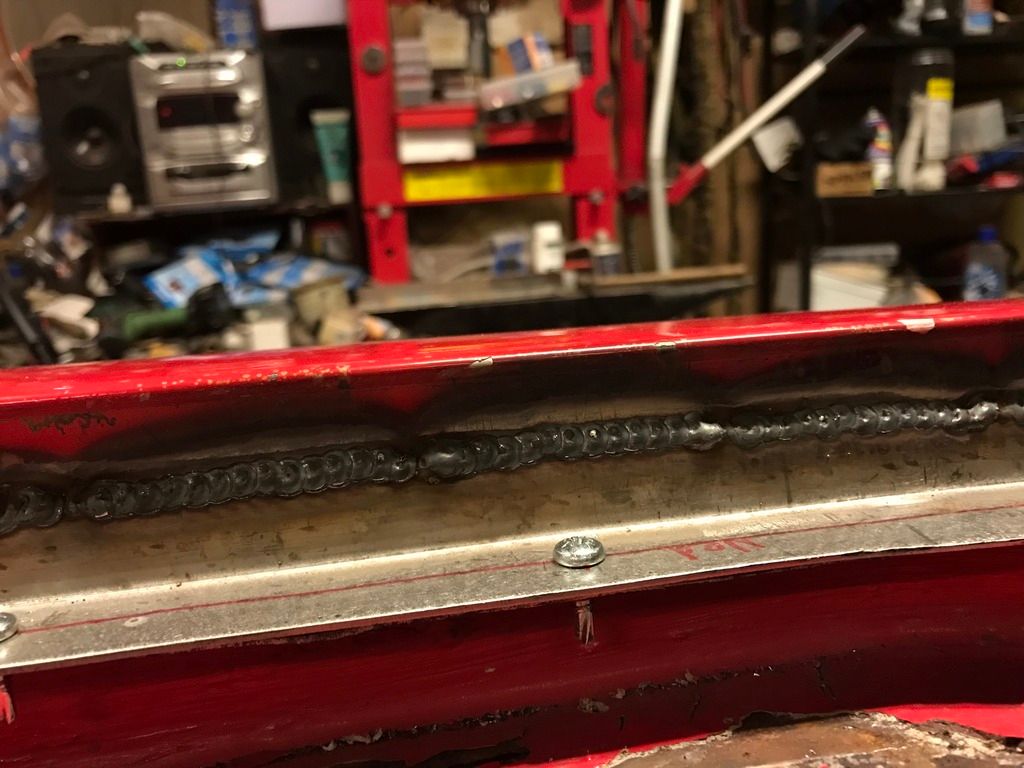 The corner had seen better days, but I only needed to replace the sides, as the top was fine. That was a bonus, since I wouldnt have to care so much about the profile of the original piece: 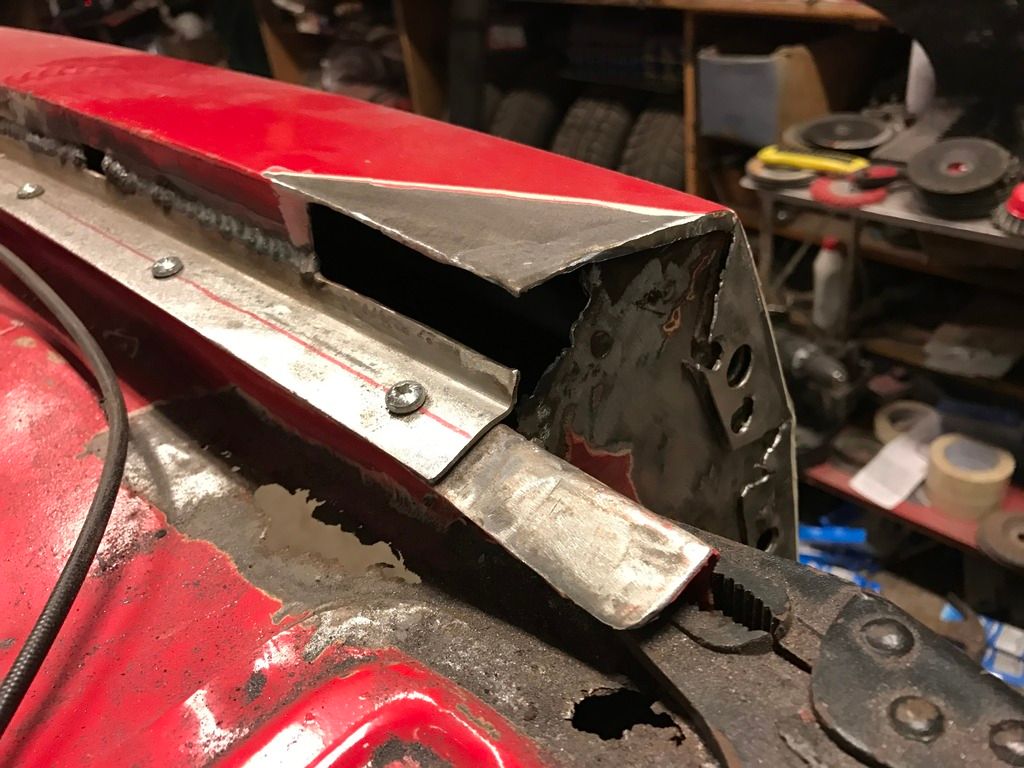  Welded, than ground down: 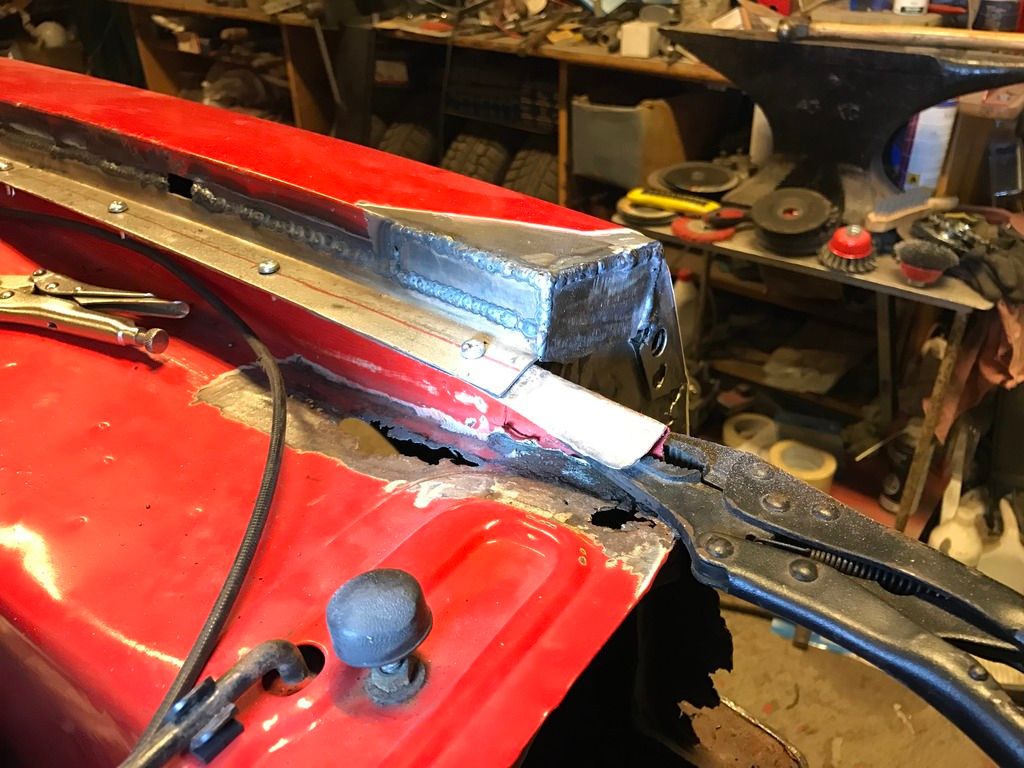 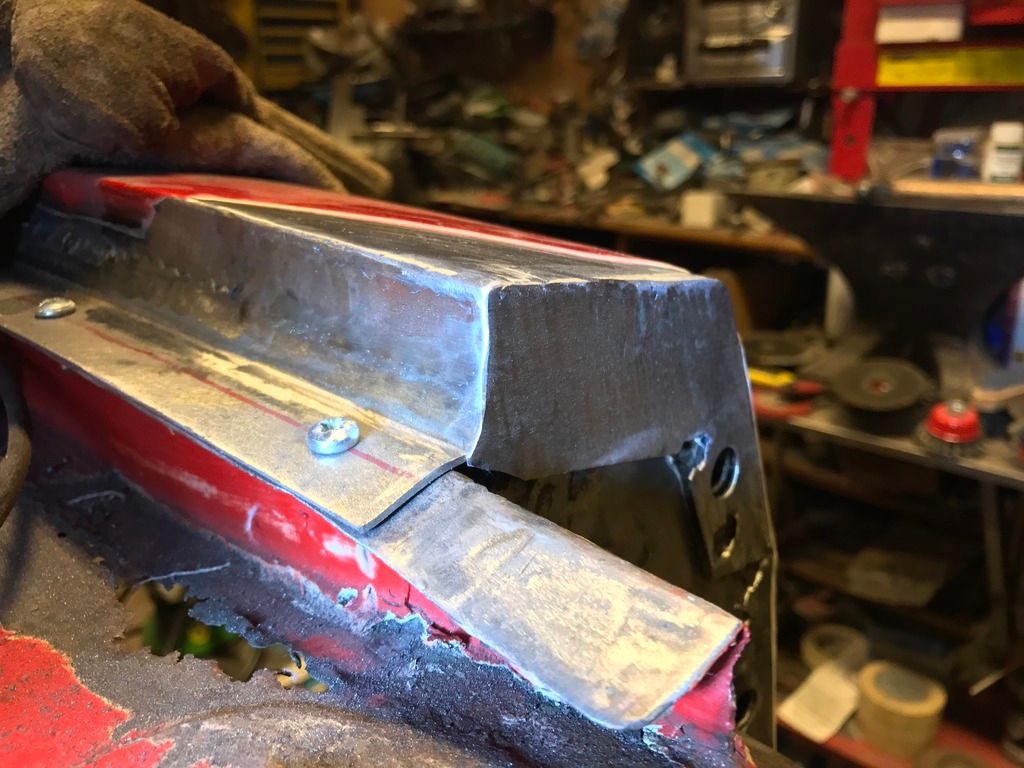 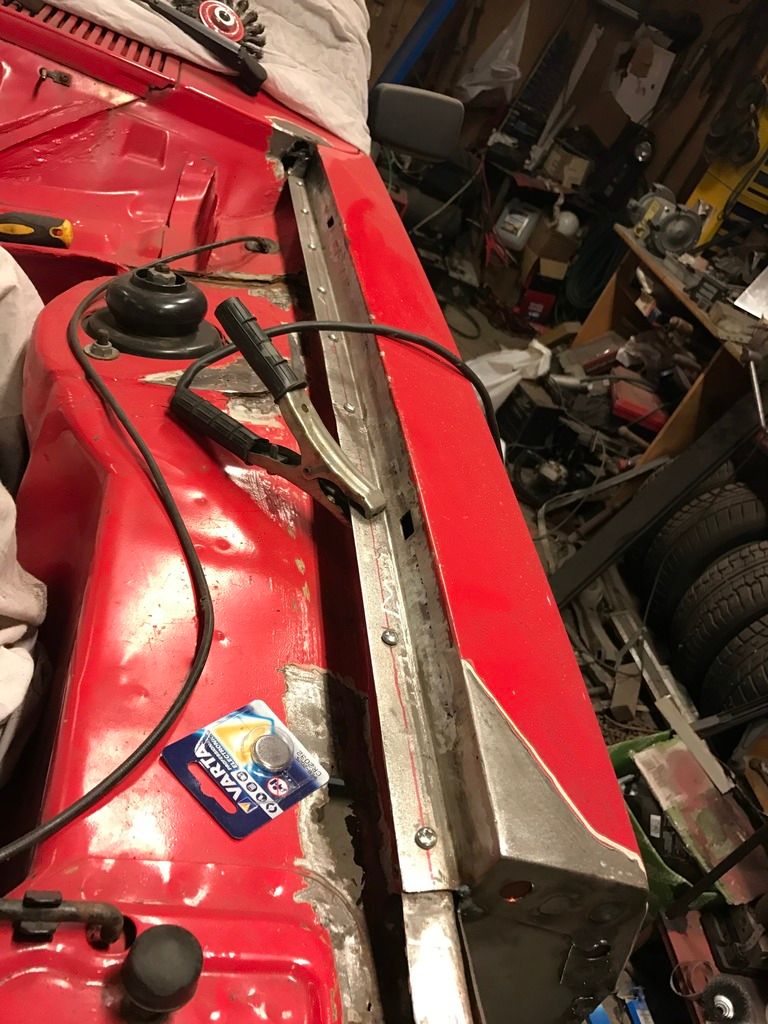 Next was the flange between the front piece and the fender. Quite a lot missing once I removed the rust:  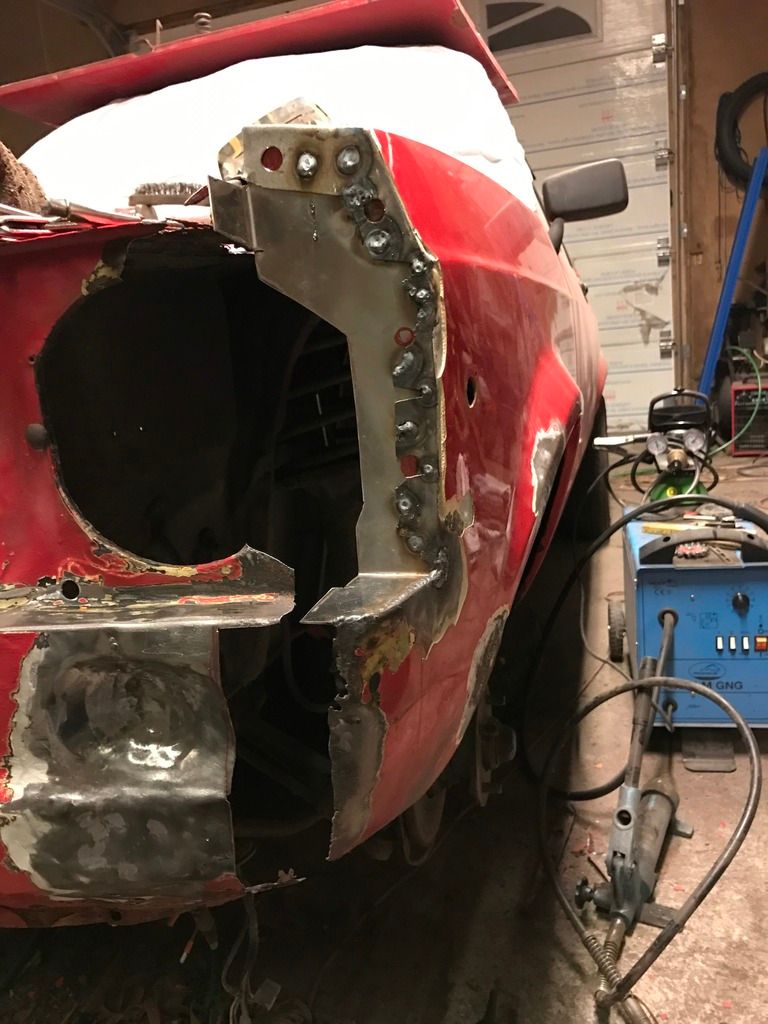 A bit more work for later: 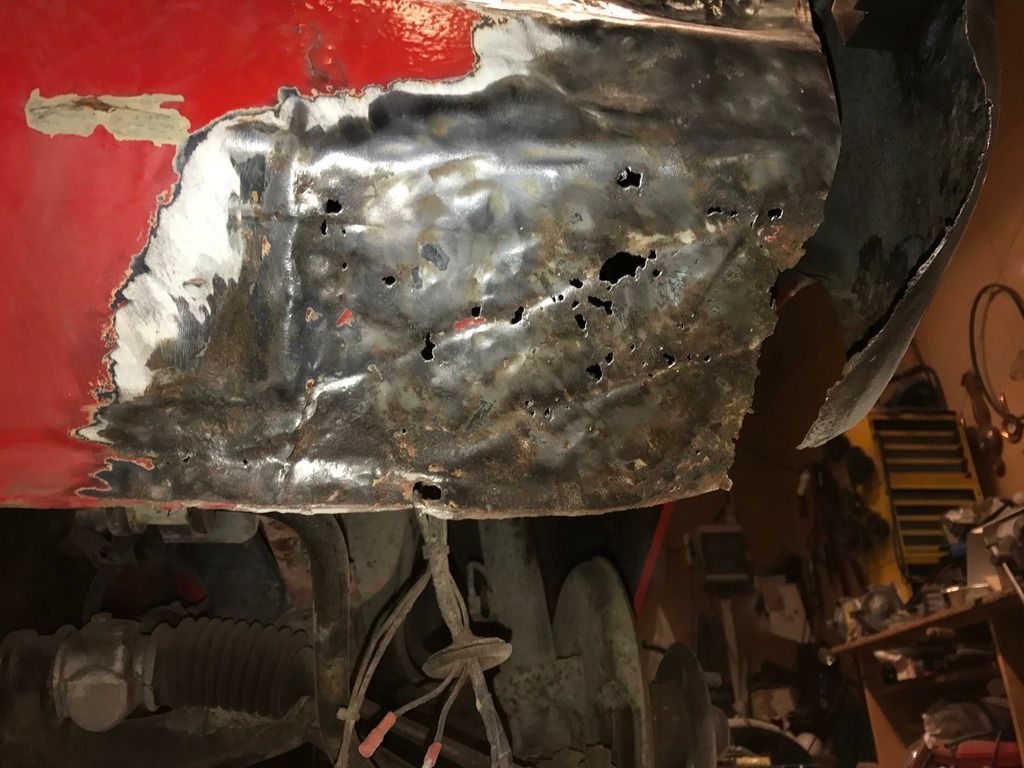 Flange going in: 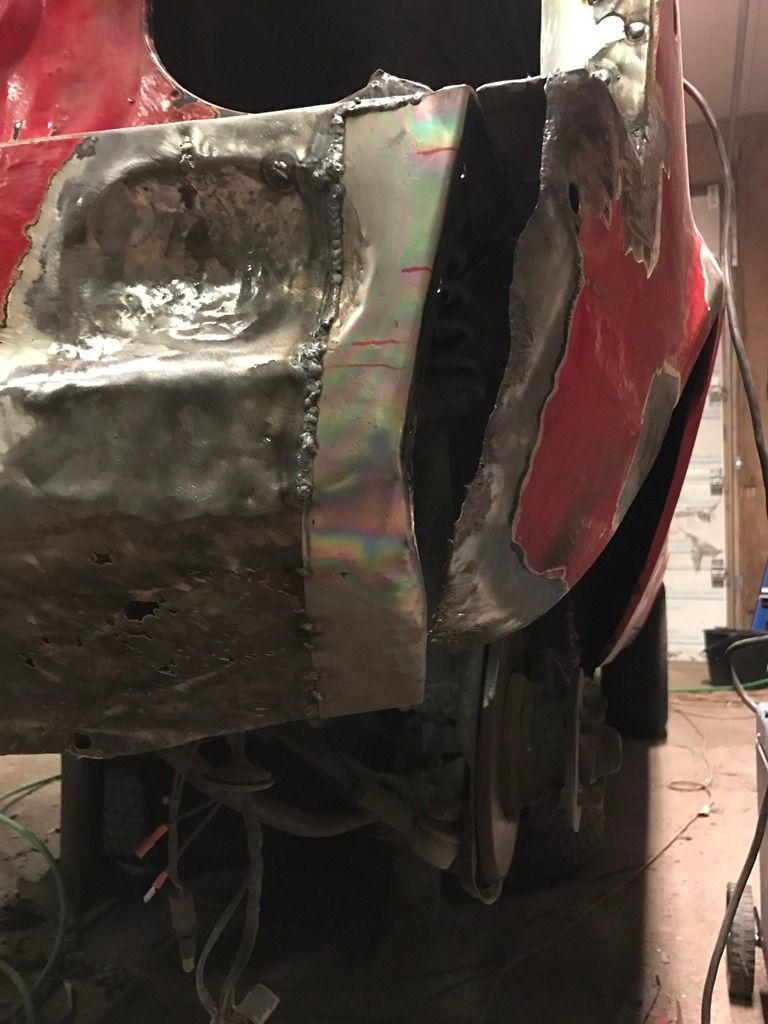 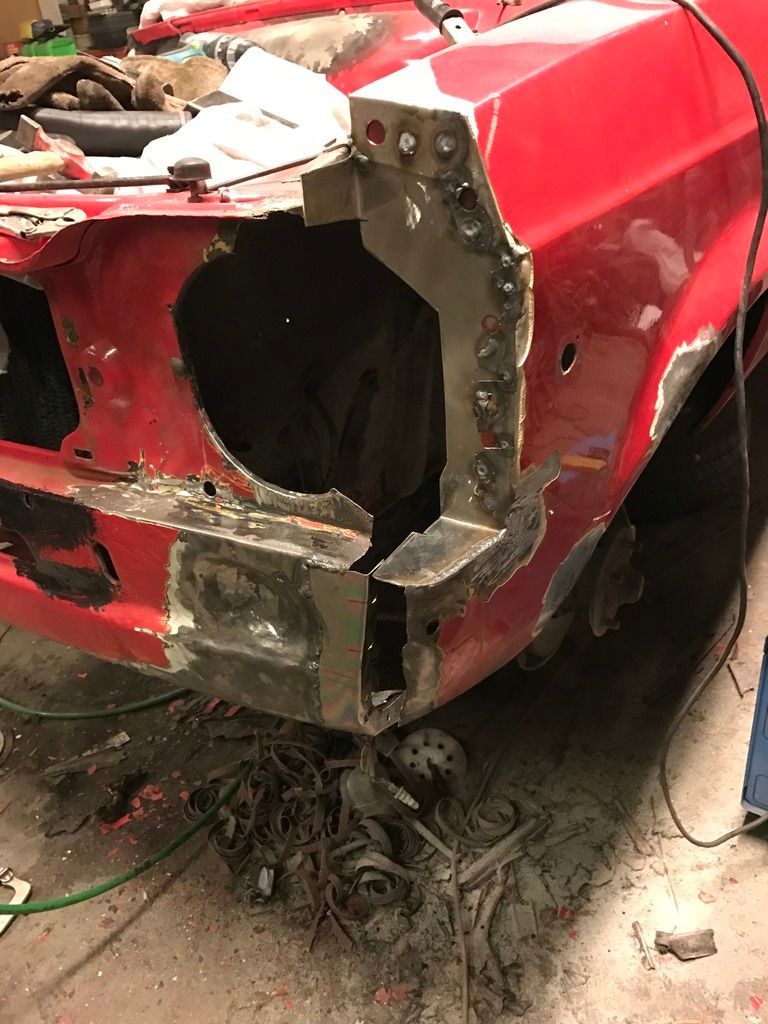 Both flanges welded: 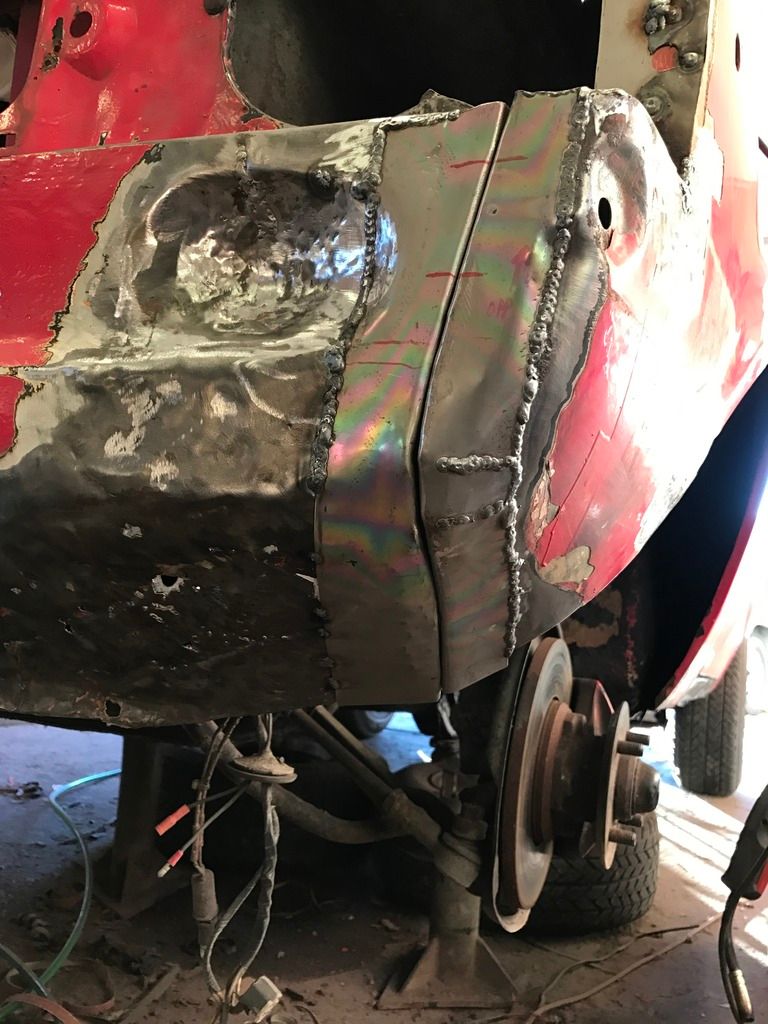 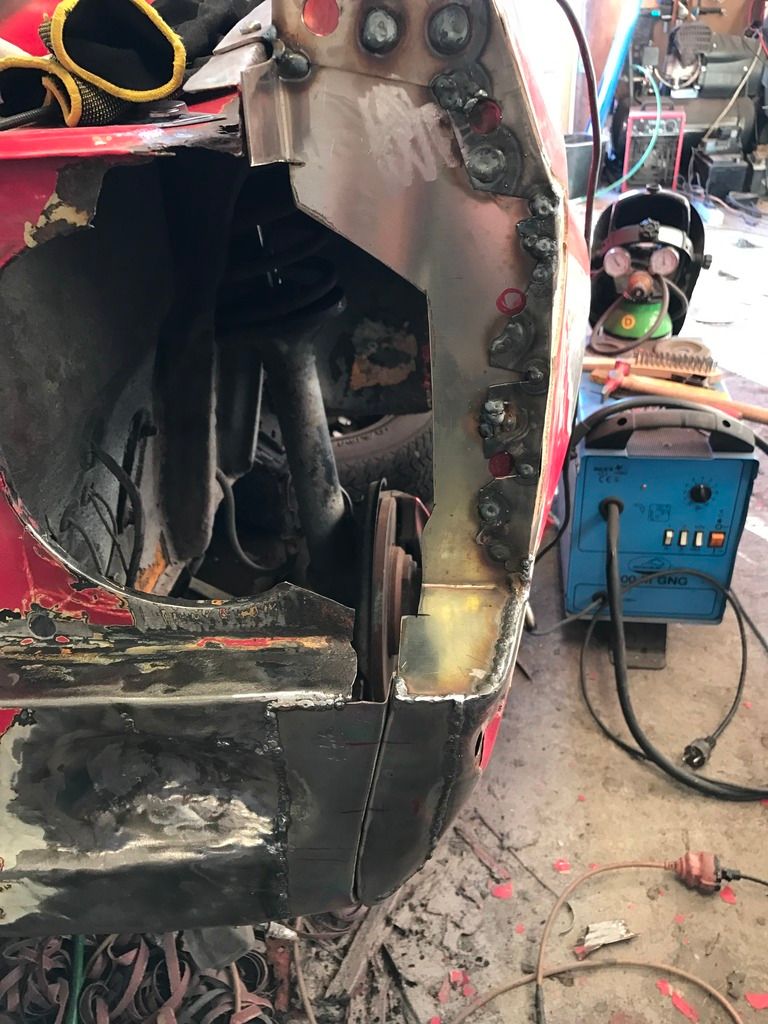 Most of the piece ground down, ready for the next step in the masterplan: 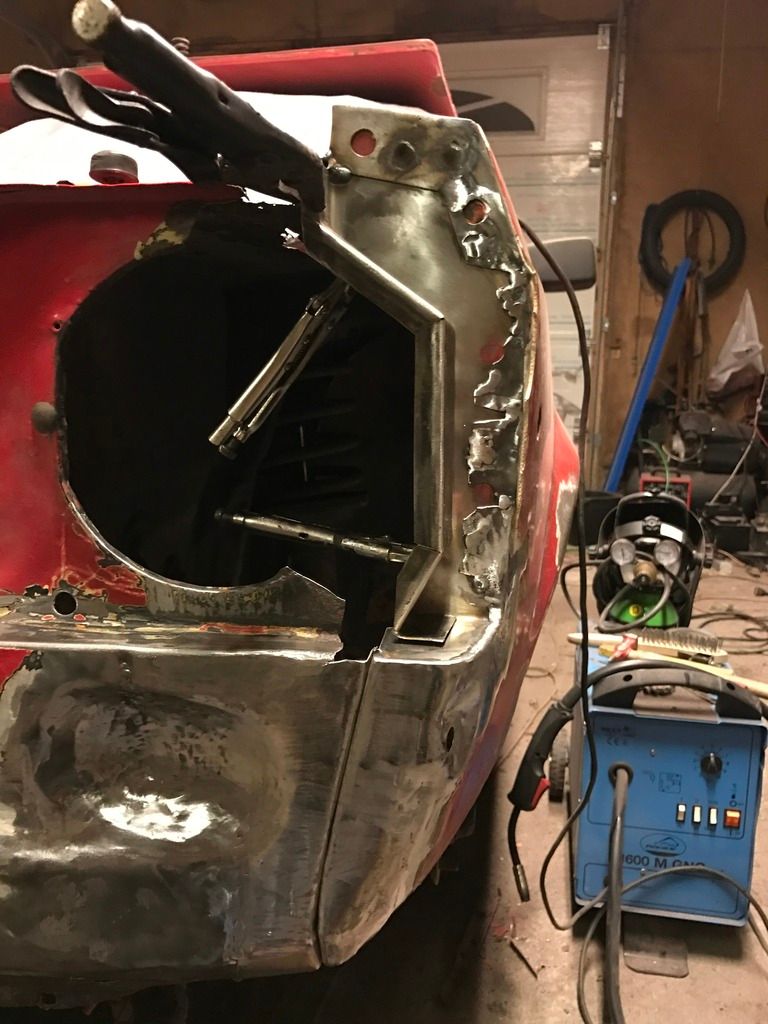 I actually feel the work drawing to a close, I can see the light in the proverbial tunnel as it were. I can't wait to thrash this shed around a few corners when I'm done  |
| |
|
|
funkyhunk
Part of things
Old Ford's R Us
Posts: 265
|
|
Oct 25, 2016 17:19:39 GMT
|
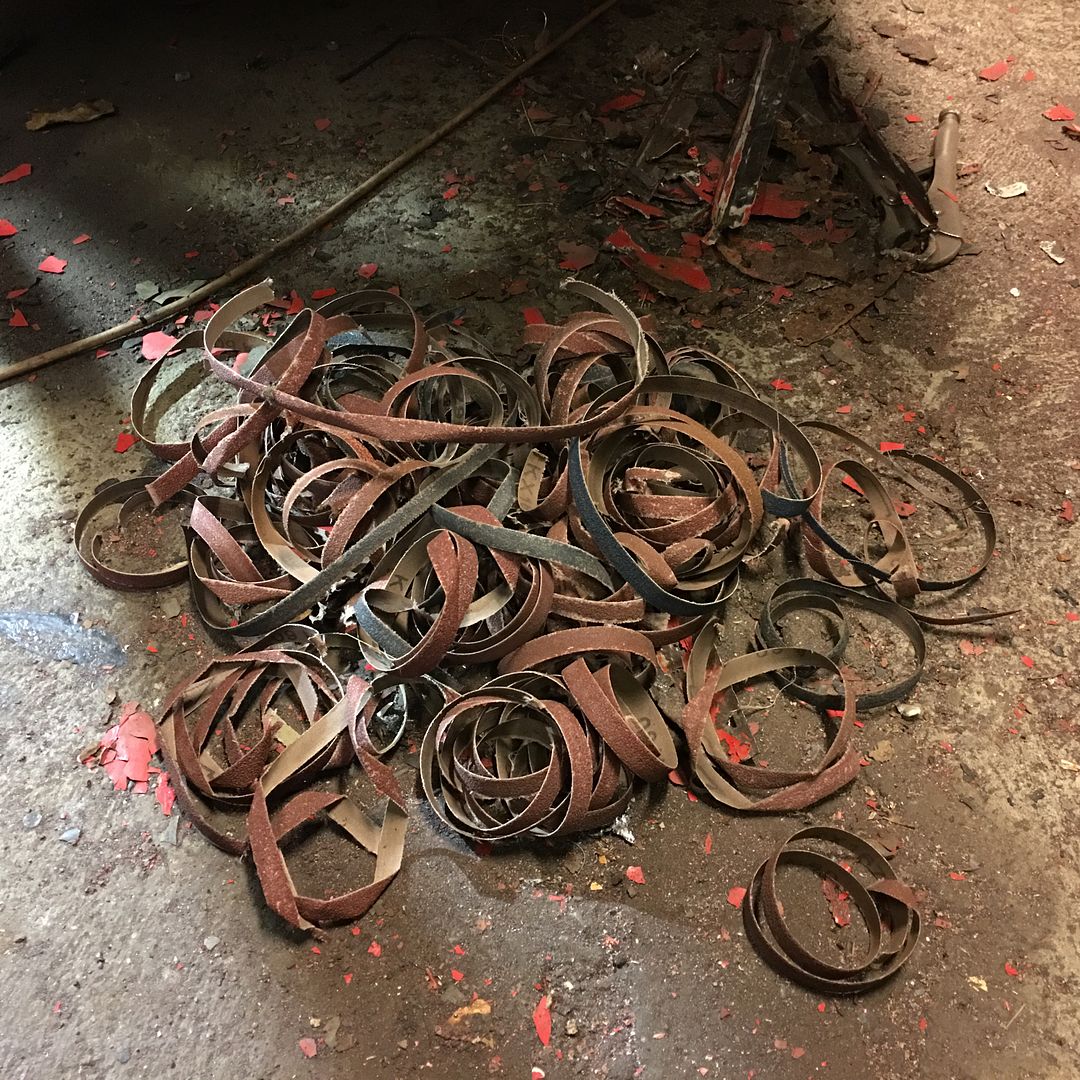
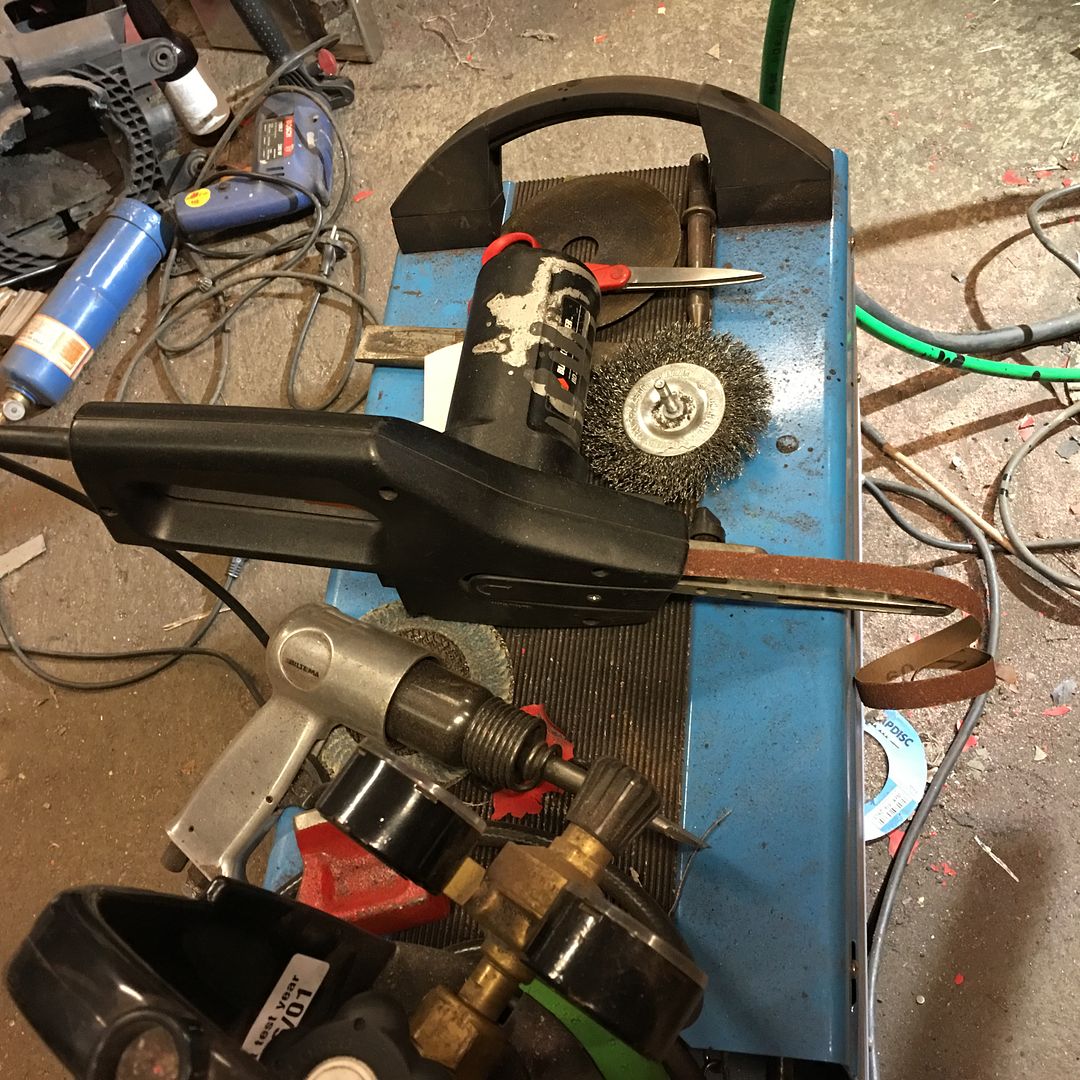
Update time again! The right inner fender got a few new coats of undercoat: The lights and bracket for the right side got ground down and zink-coated. Those had seen better days: I had good used lights and brackets in laying around, and got to assembling them: 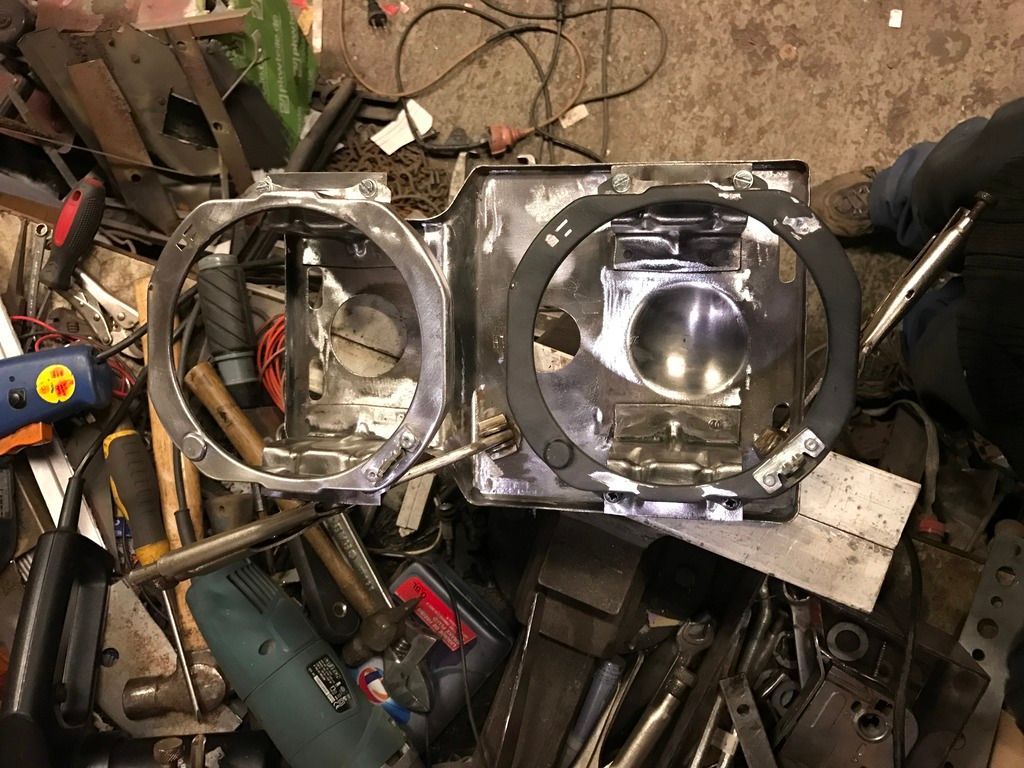 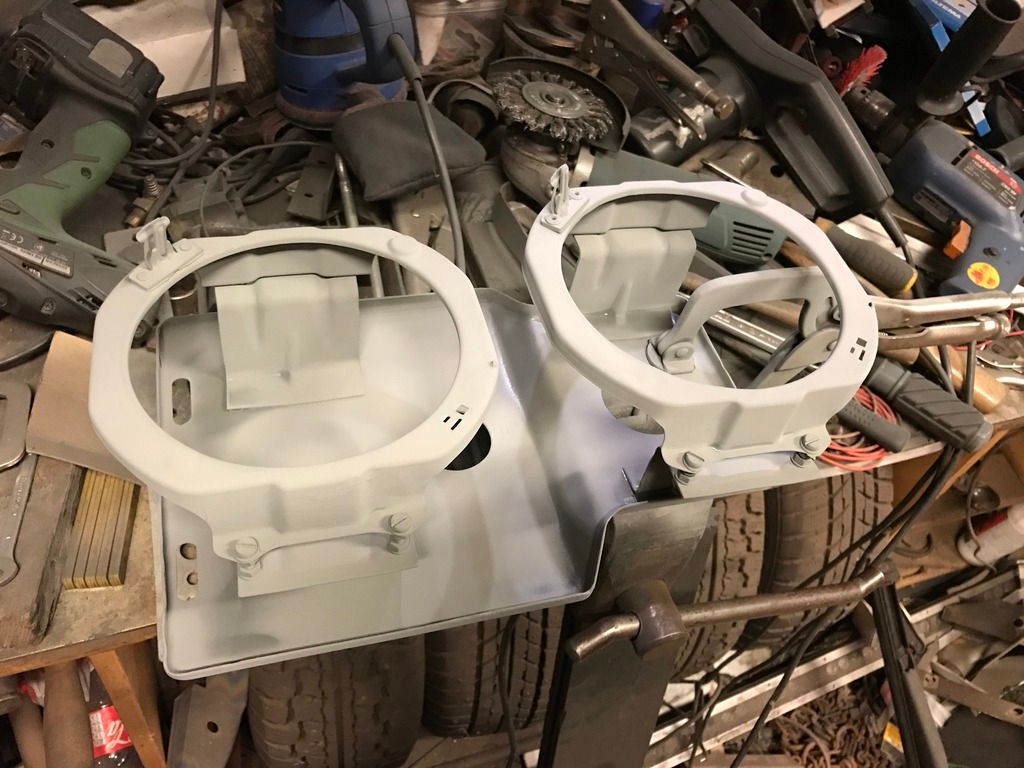 Continuing on the left side fender. Welded on a piece: 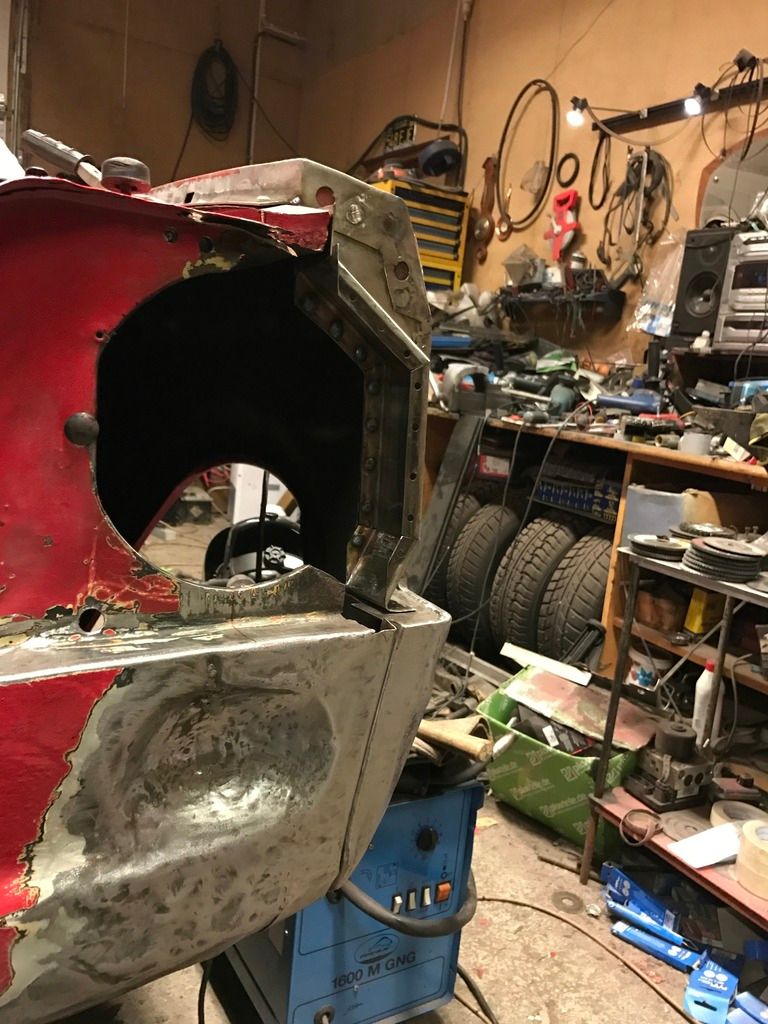 Starting to adapt the light surround: 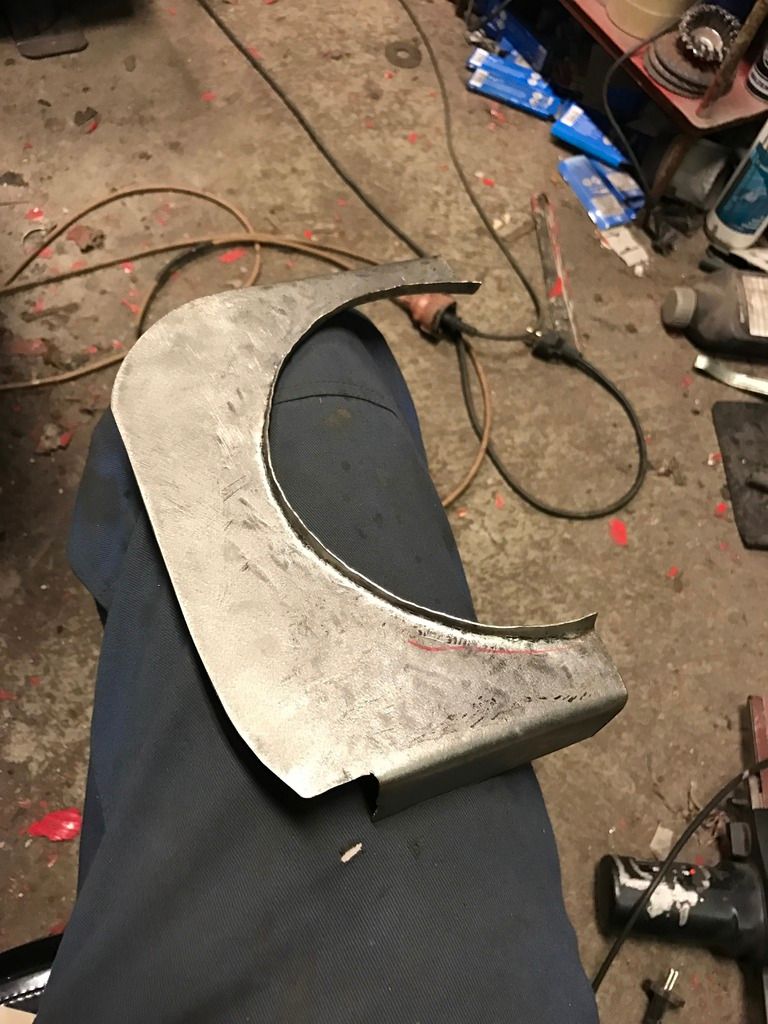 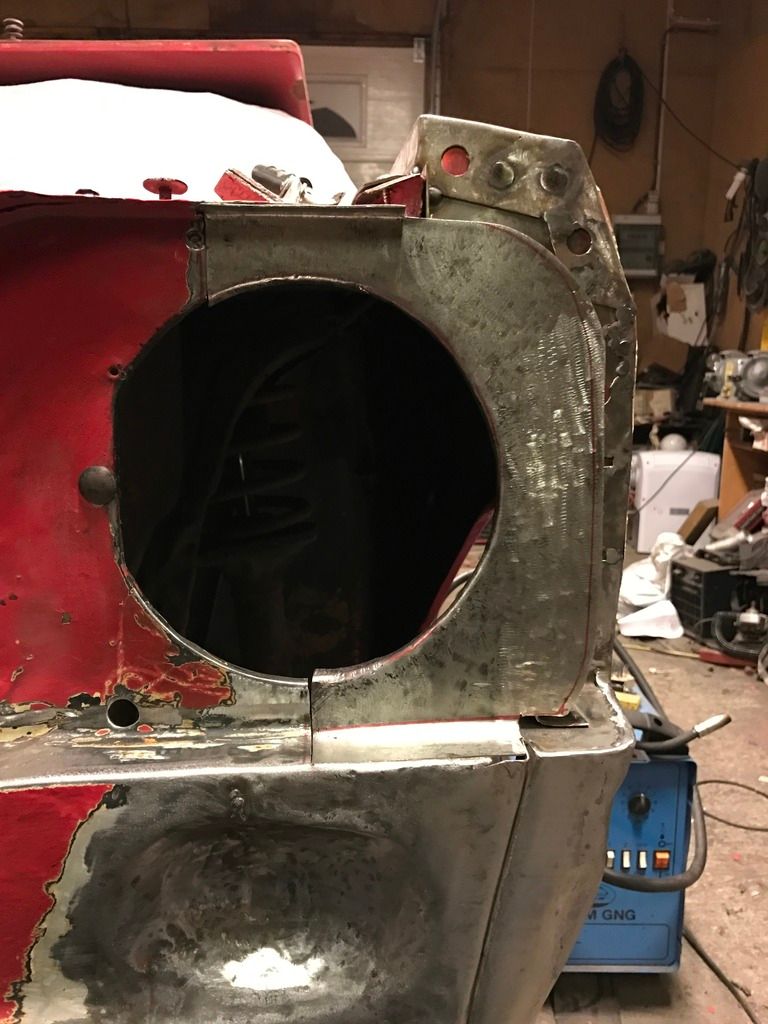 Welded: 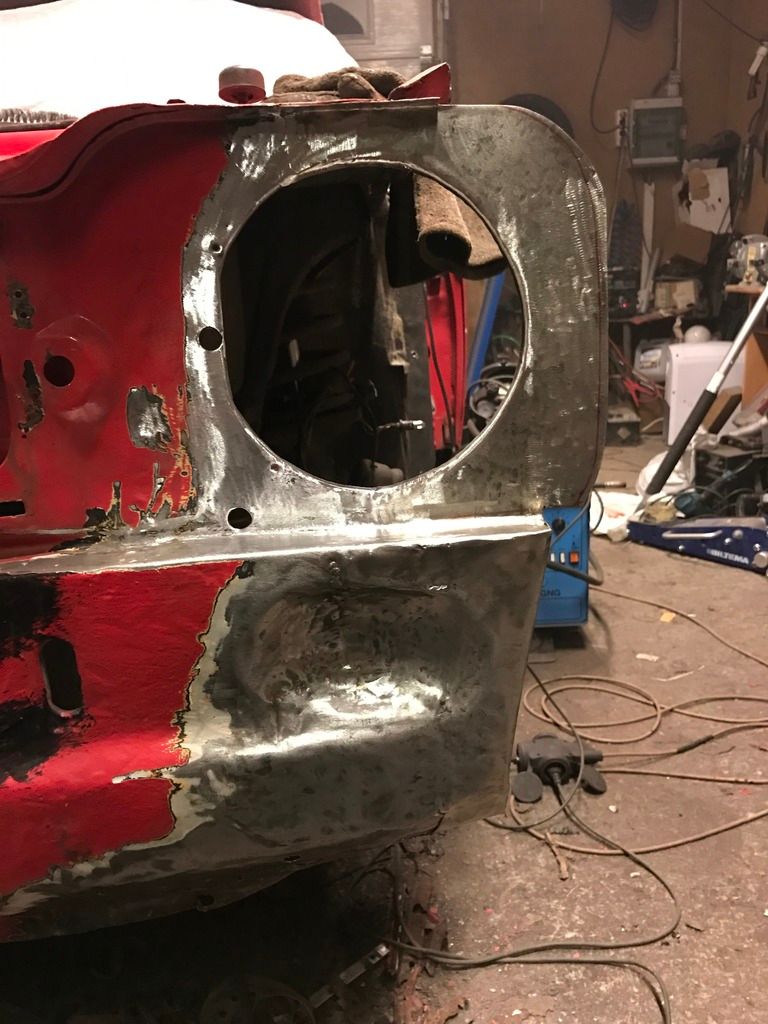 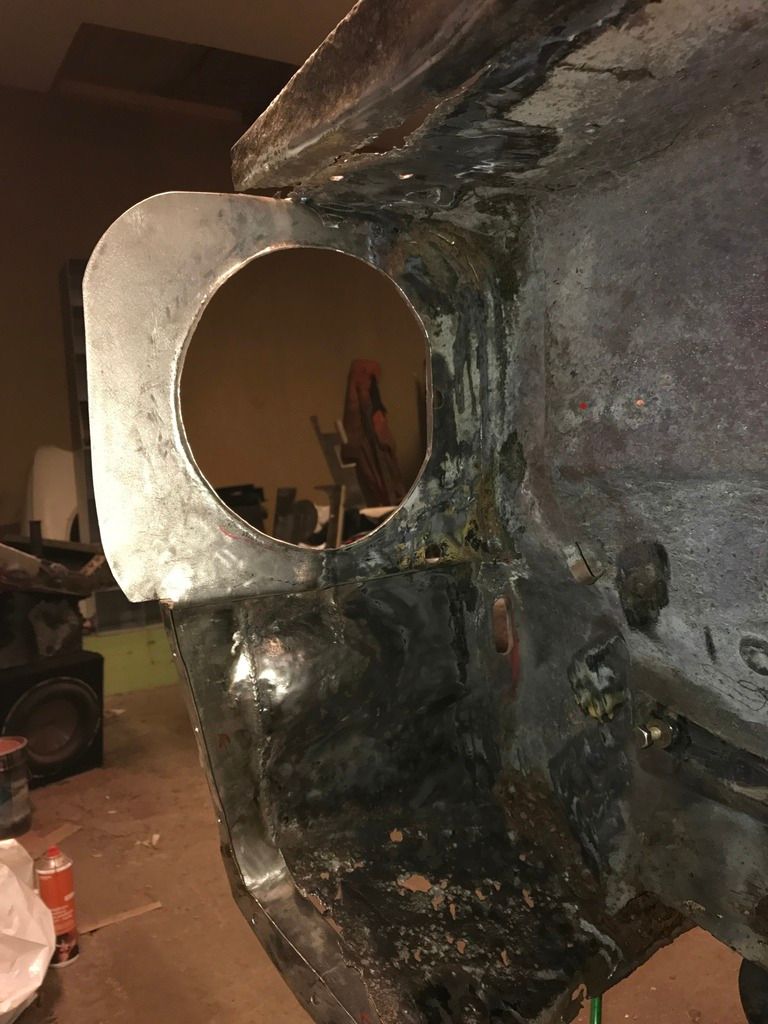 And I got a new supply of sanding belts for my 13mm belt sander/powerfile from ebay. I go through these like they were going out of style: 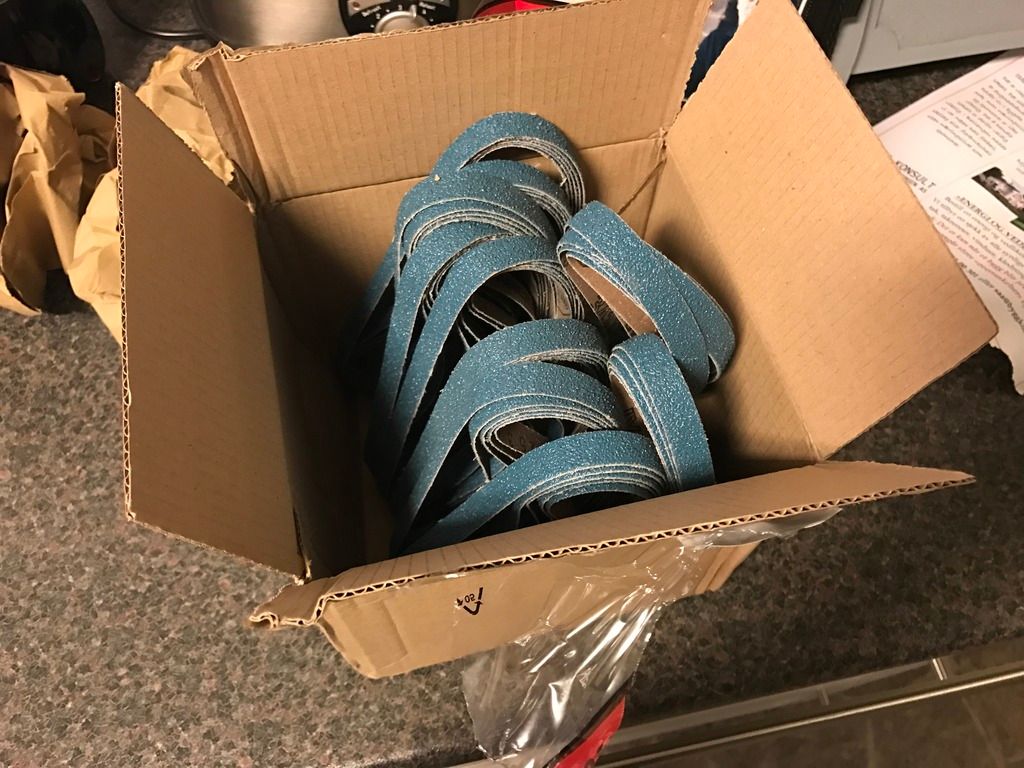 Finally I had taken of the fender and took off the shock tower strenghtener to check the underside. It was fastened with a few shoddy spot welds, i could almost tear it off with my bare hands. Luckily no grot found on the inside: 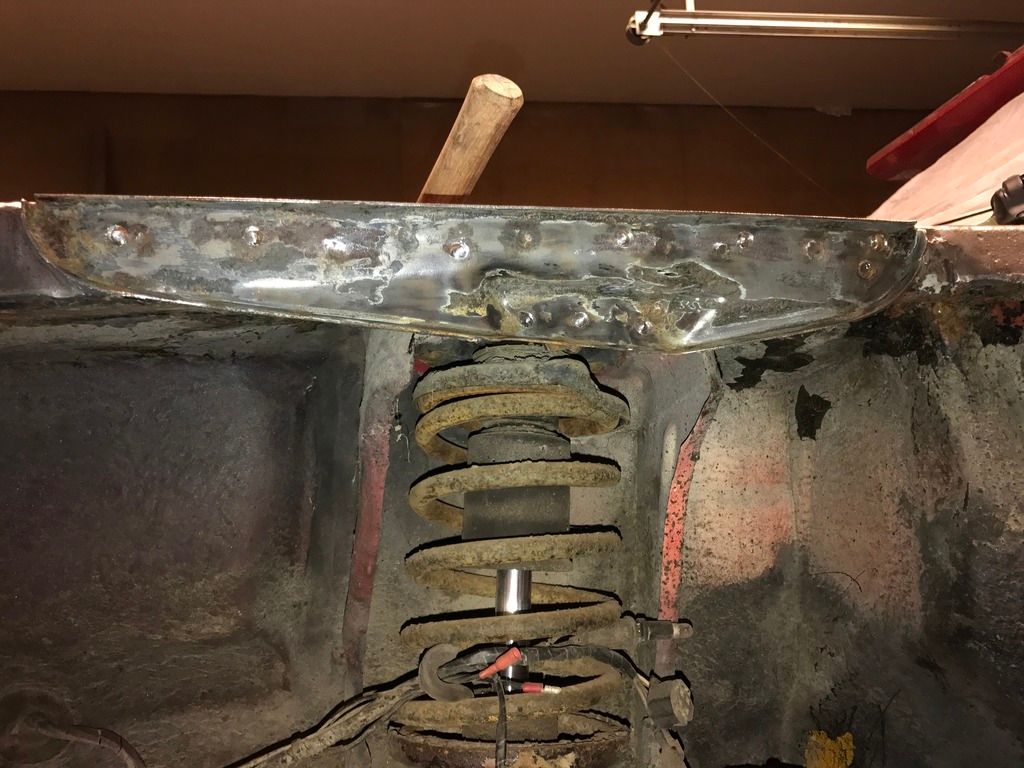 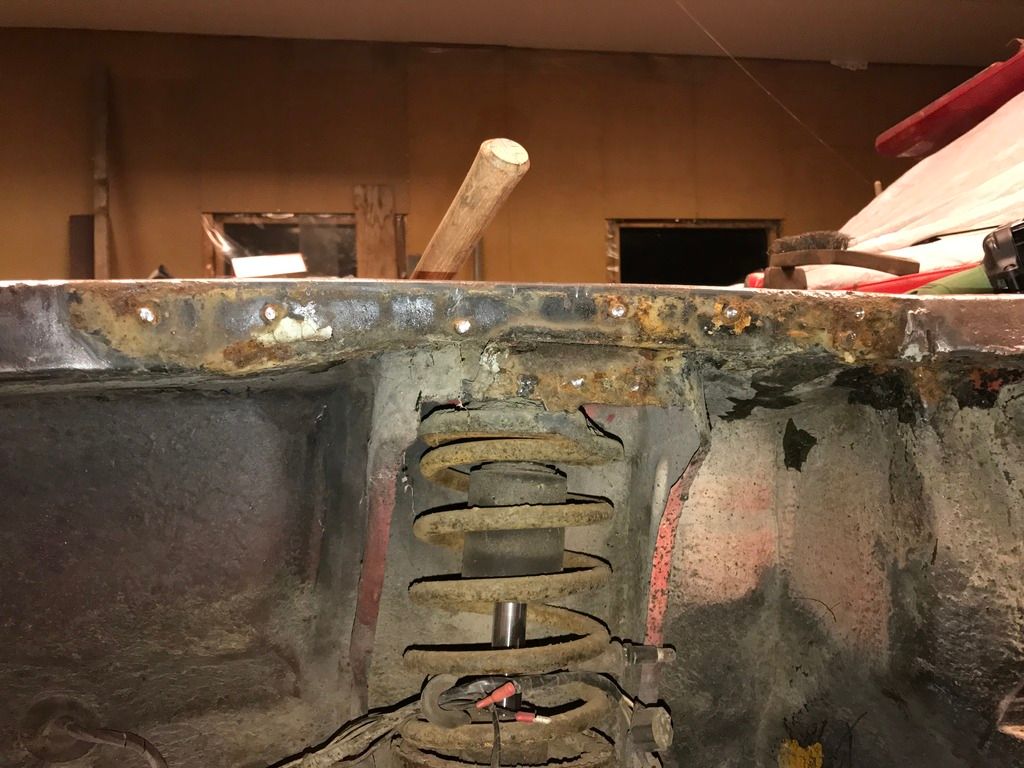 Then this piece was next: 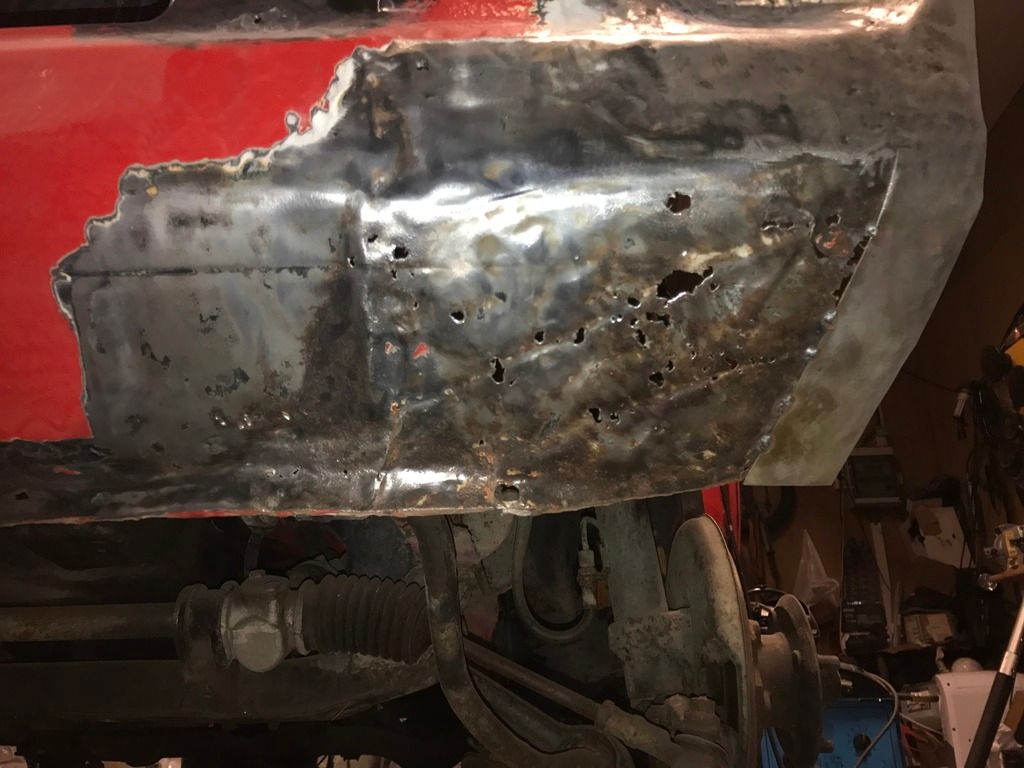 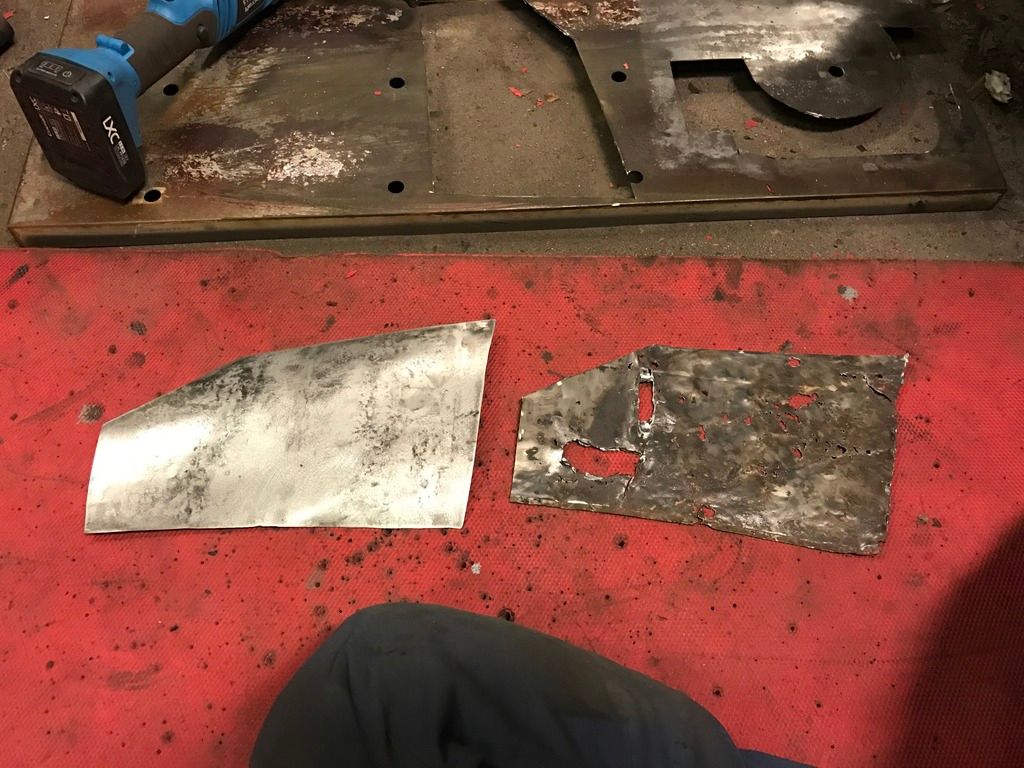 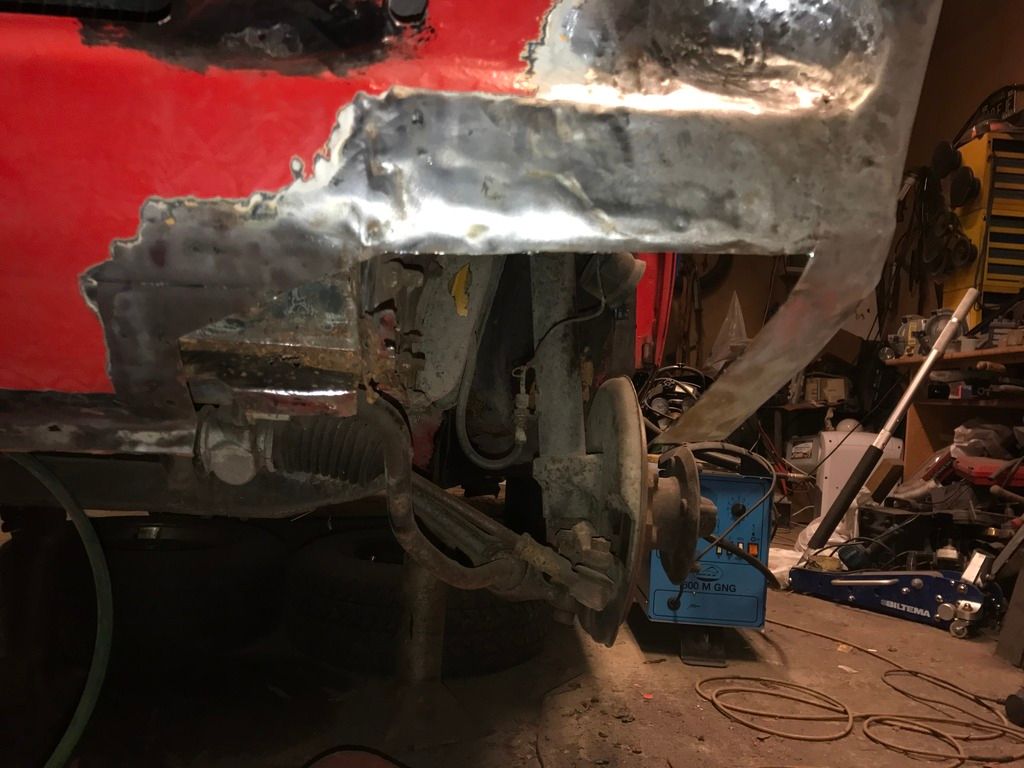 Fettling: 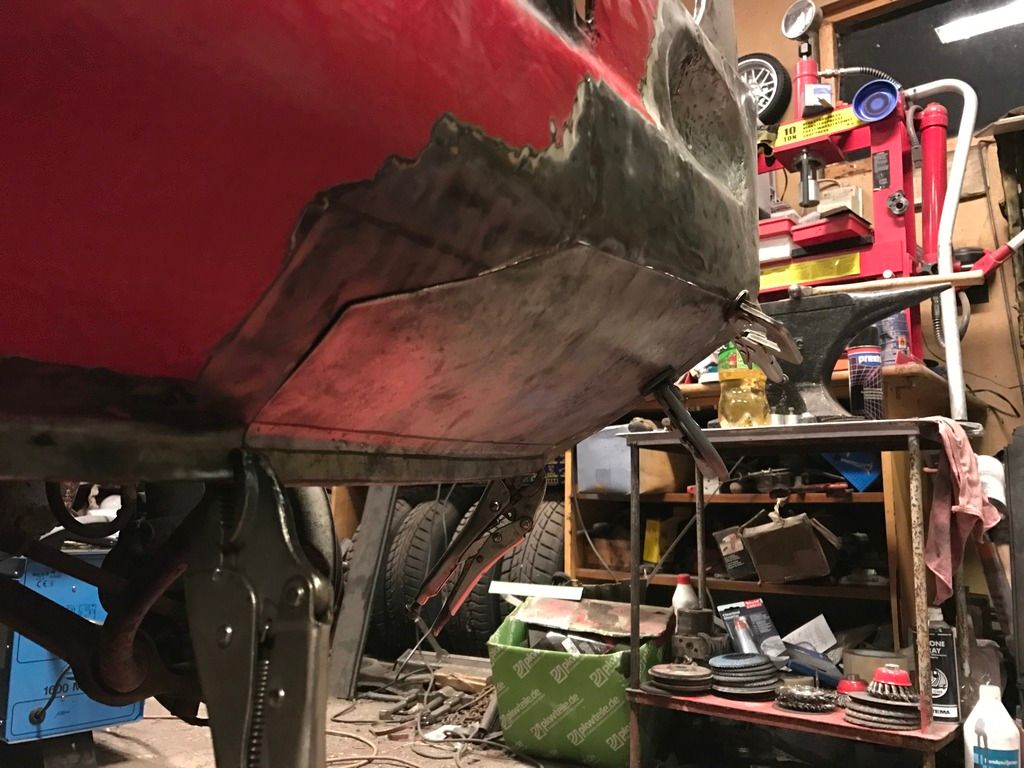 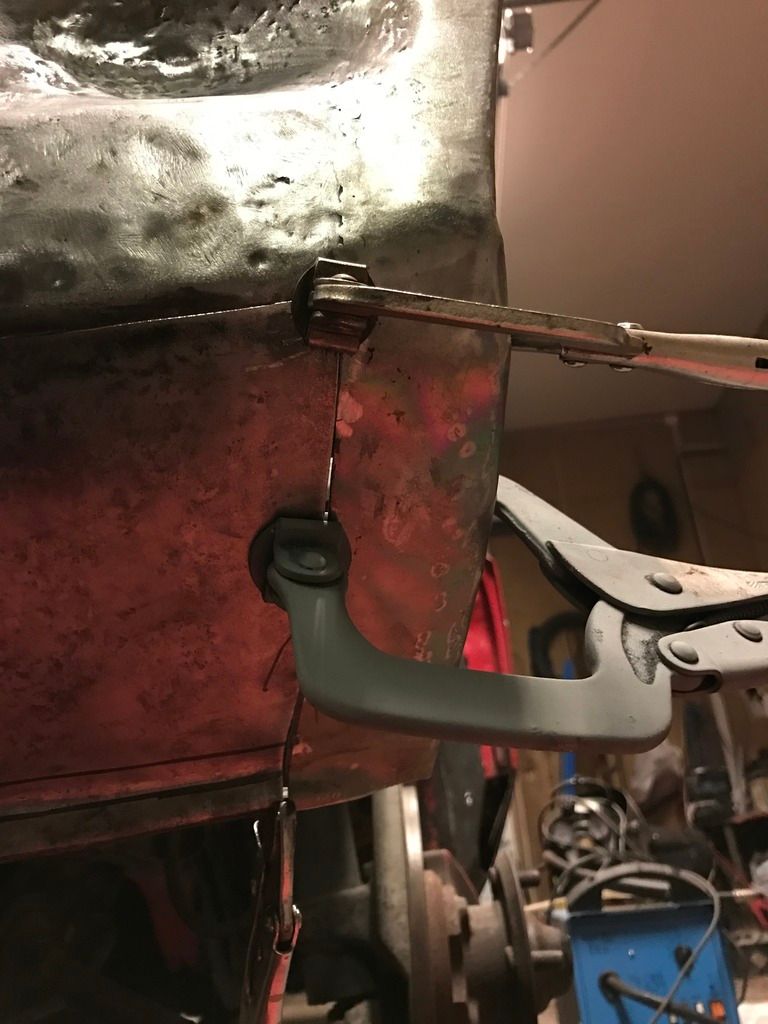 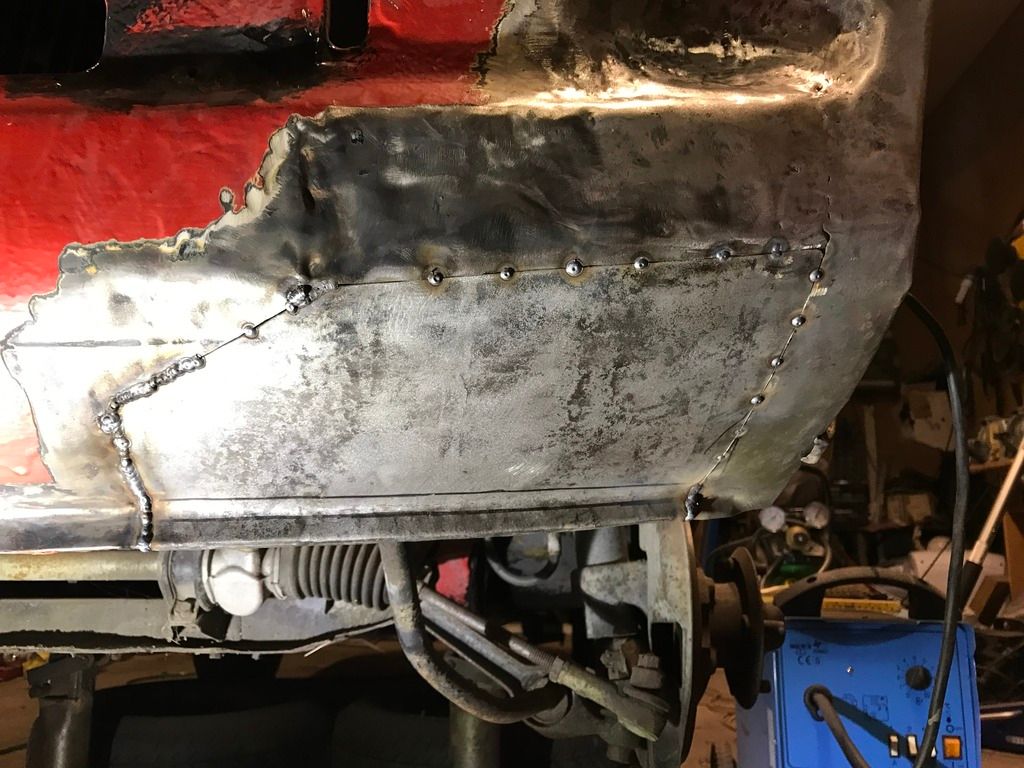 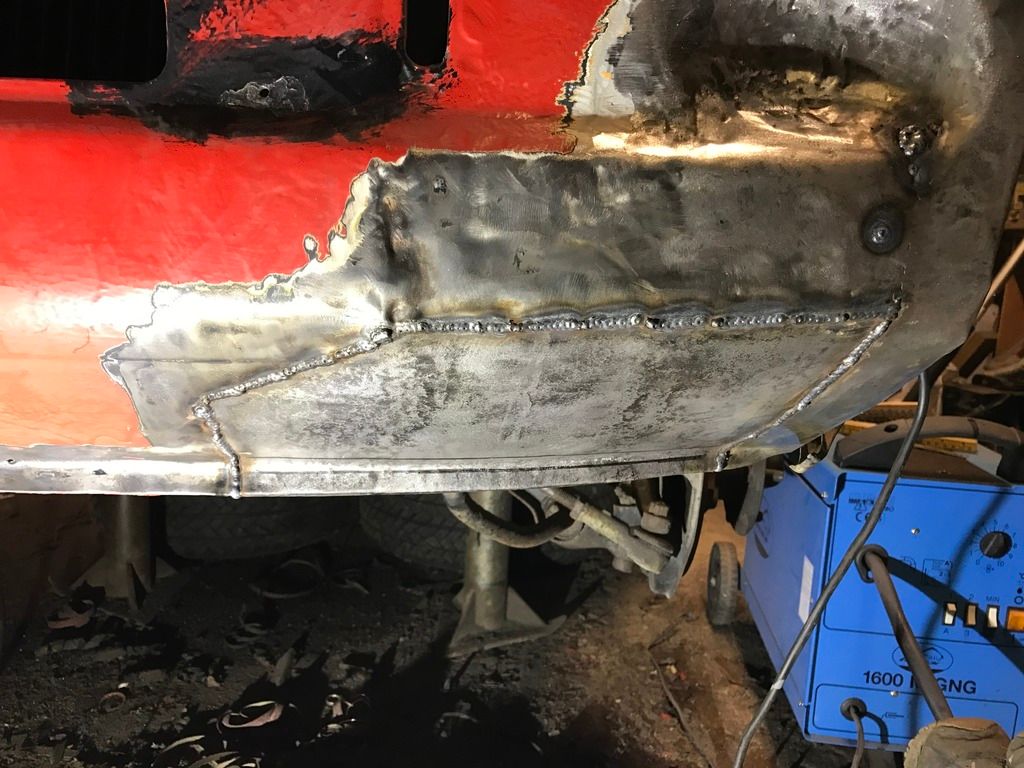 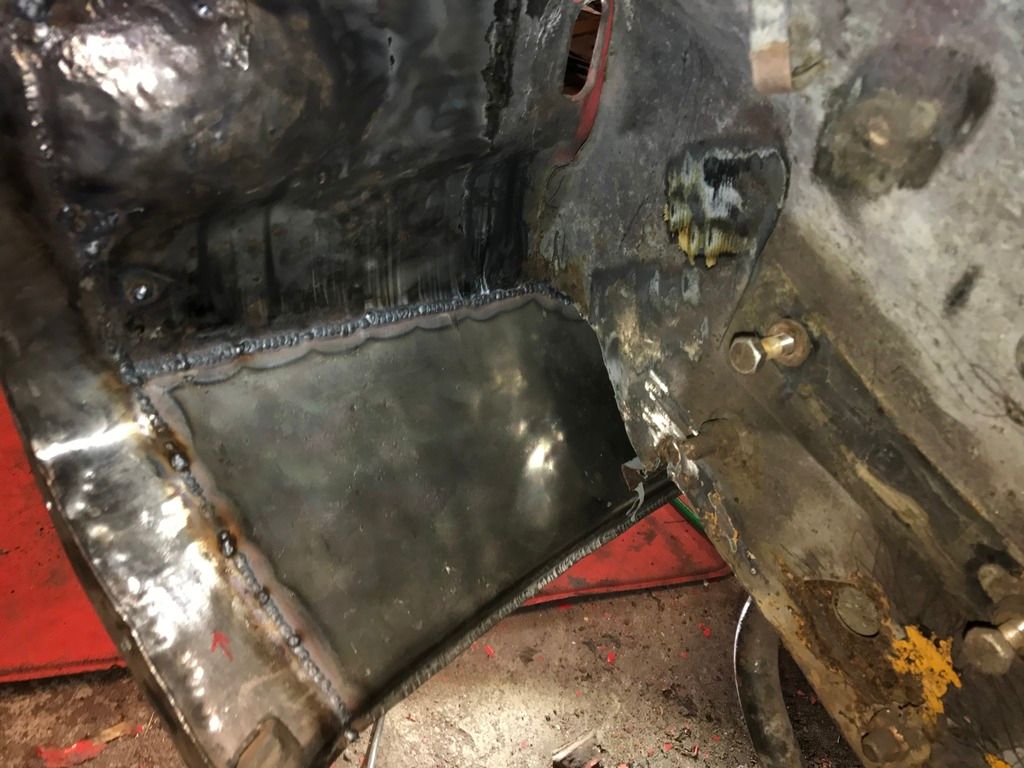 And finally ground down all the welds. This piece was came out quite good If I have to say so myself 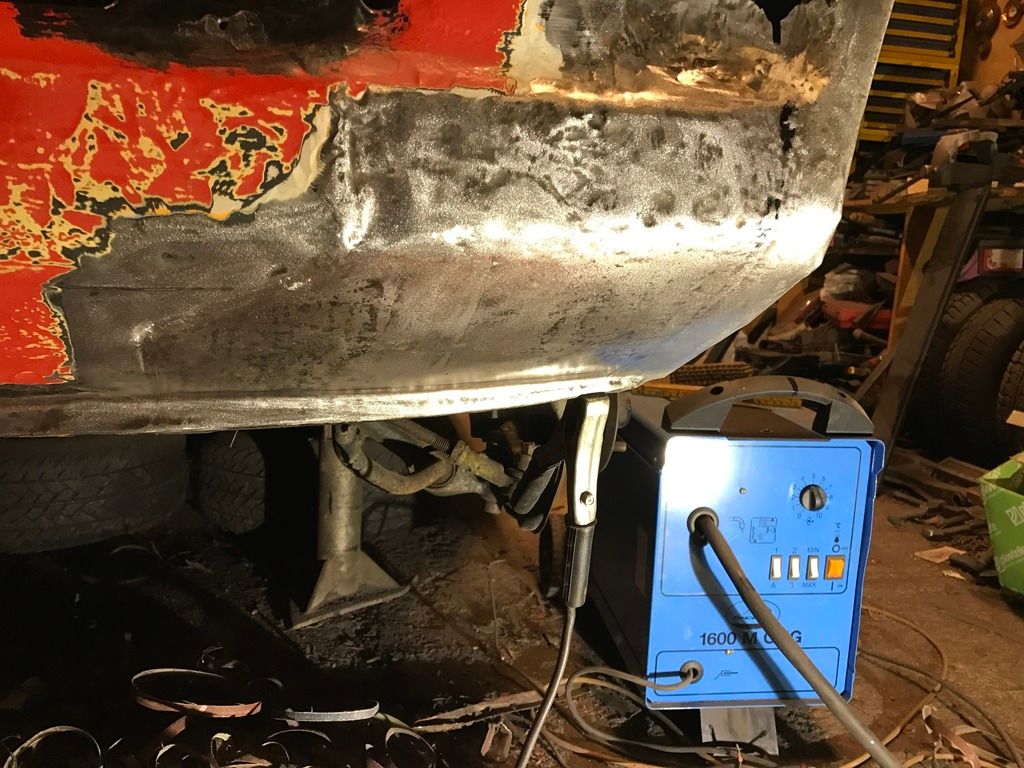 And finally got my new powerfile from ebay for 30£, bargain! The old black and decker I had used previously started making funny noises after been worn out through many restorations. 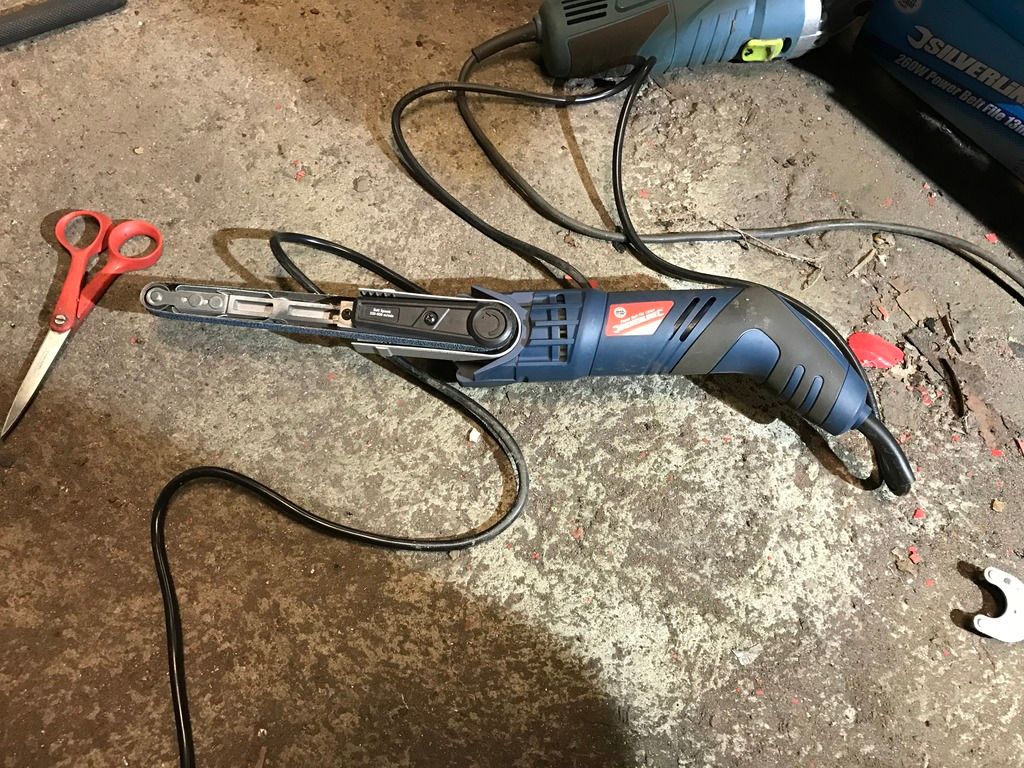 Then it was time to finish the lower piece of the inner fender. I removed the grot, and coated it with primer before I welded on the new piece: 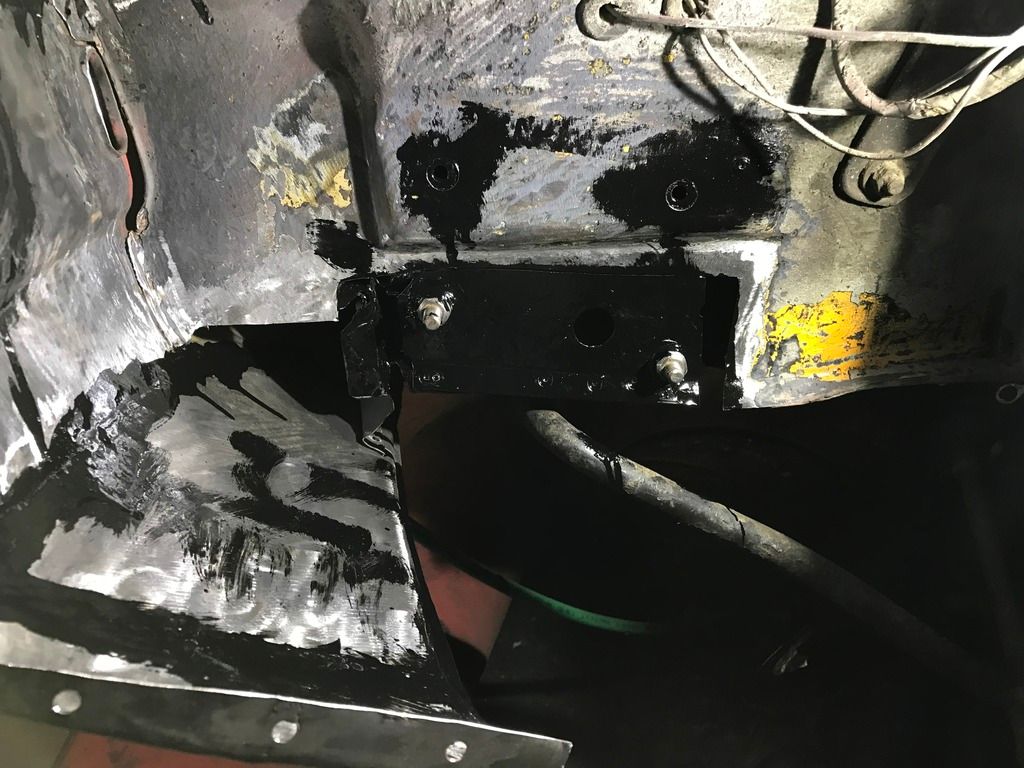 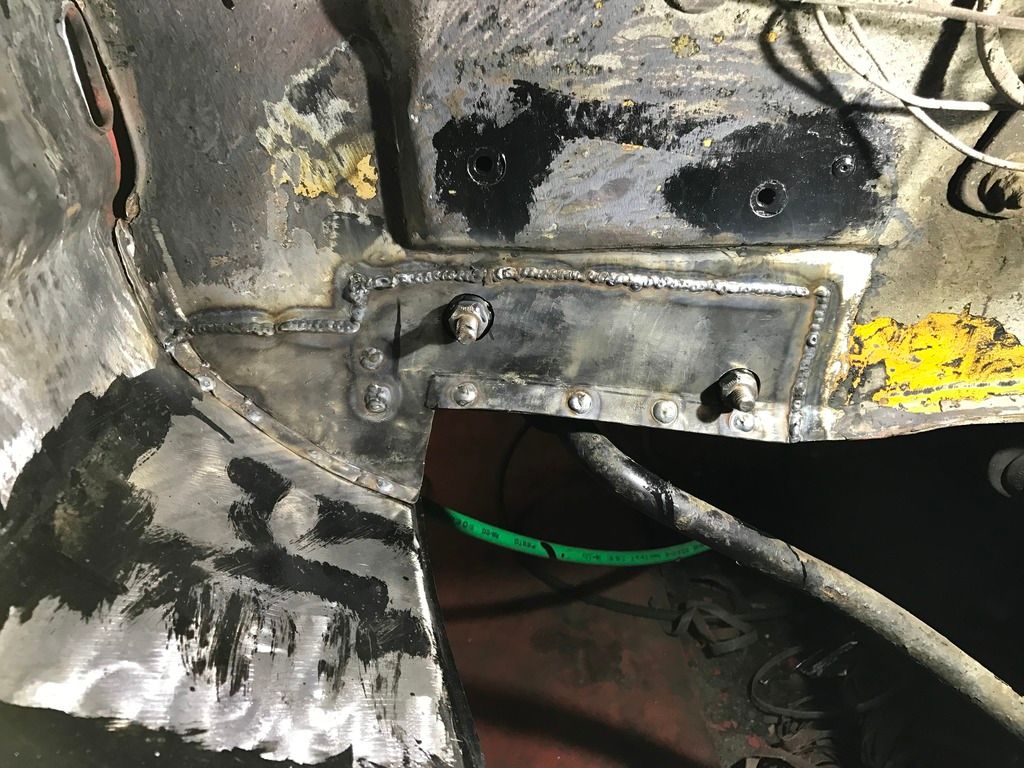 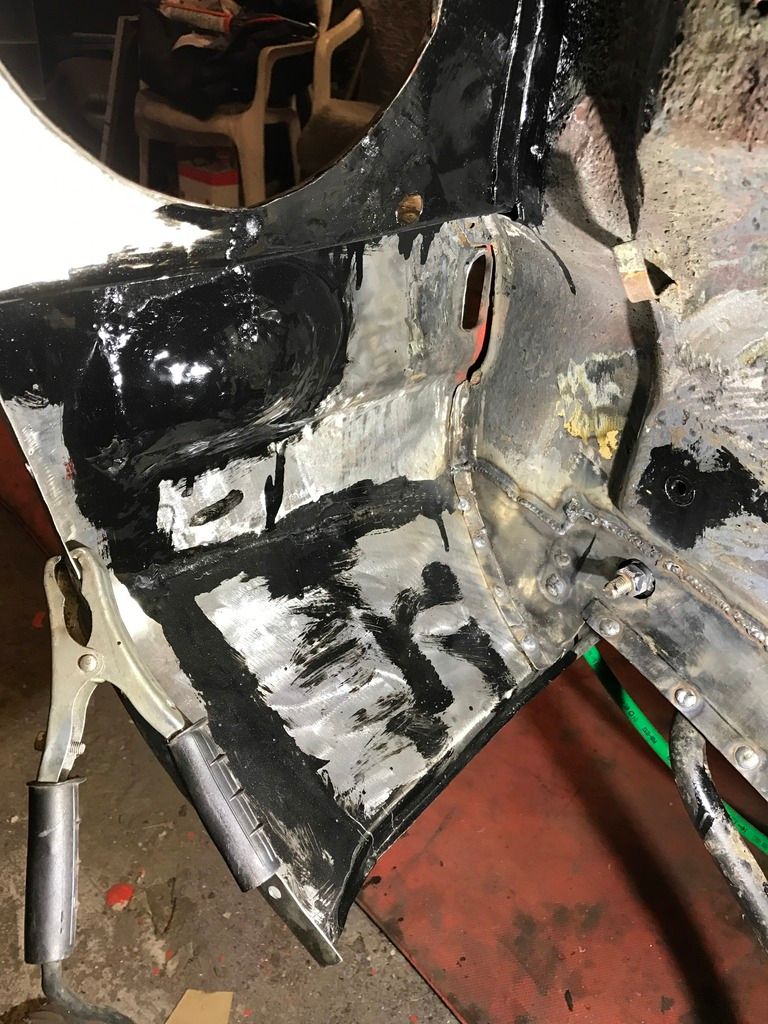 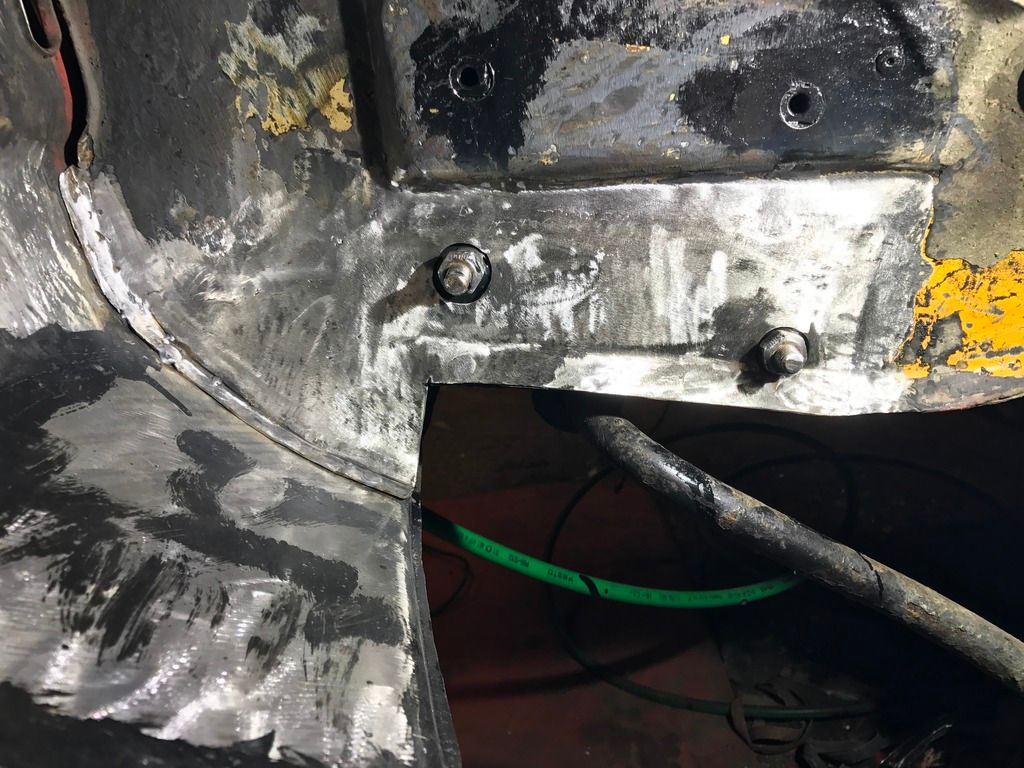 The new beltsander worked flawlessly, and it was much easier to handle due to it being smaller, and had a bendable belt. If you have any suggestions, please let me know If I'm doing something wrong. Thanks for your interest. |
| |
|
|
luckygti
Posted a lot
I need to try harder!
Posts: 4,912
|
|
Oct 25, 2016 21:44:41 GMT
|
Going great from my chair at the computer! Fab work looks great, and it looks like you need to do a lot of it  Must get one of those power files, they look very handy. Keep up the great work |
| |
|
|
shoey
Part of things
Posts: 318
|
|
|
|
|
Love your fab work,whats make of mig and wire thickness?
|
| |
|
|
funkyhunk
Part of things
Old Ford's R Us
Posts: 265
|
|
|
|
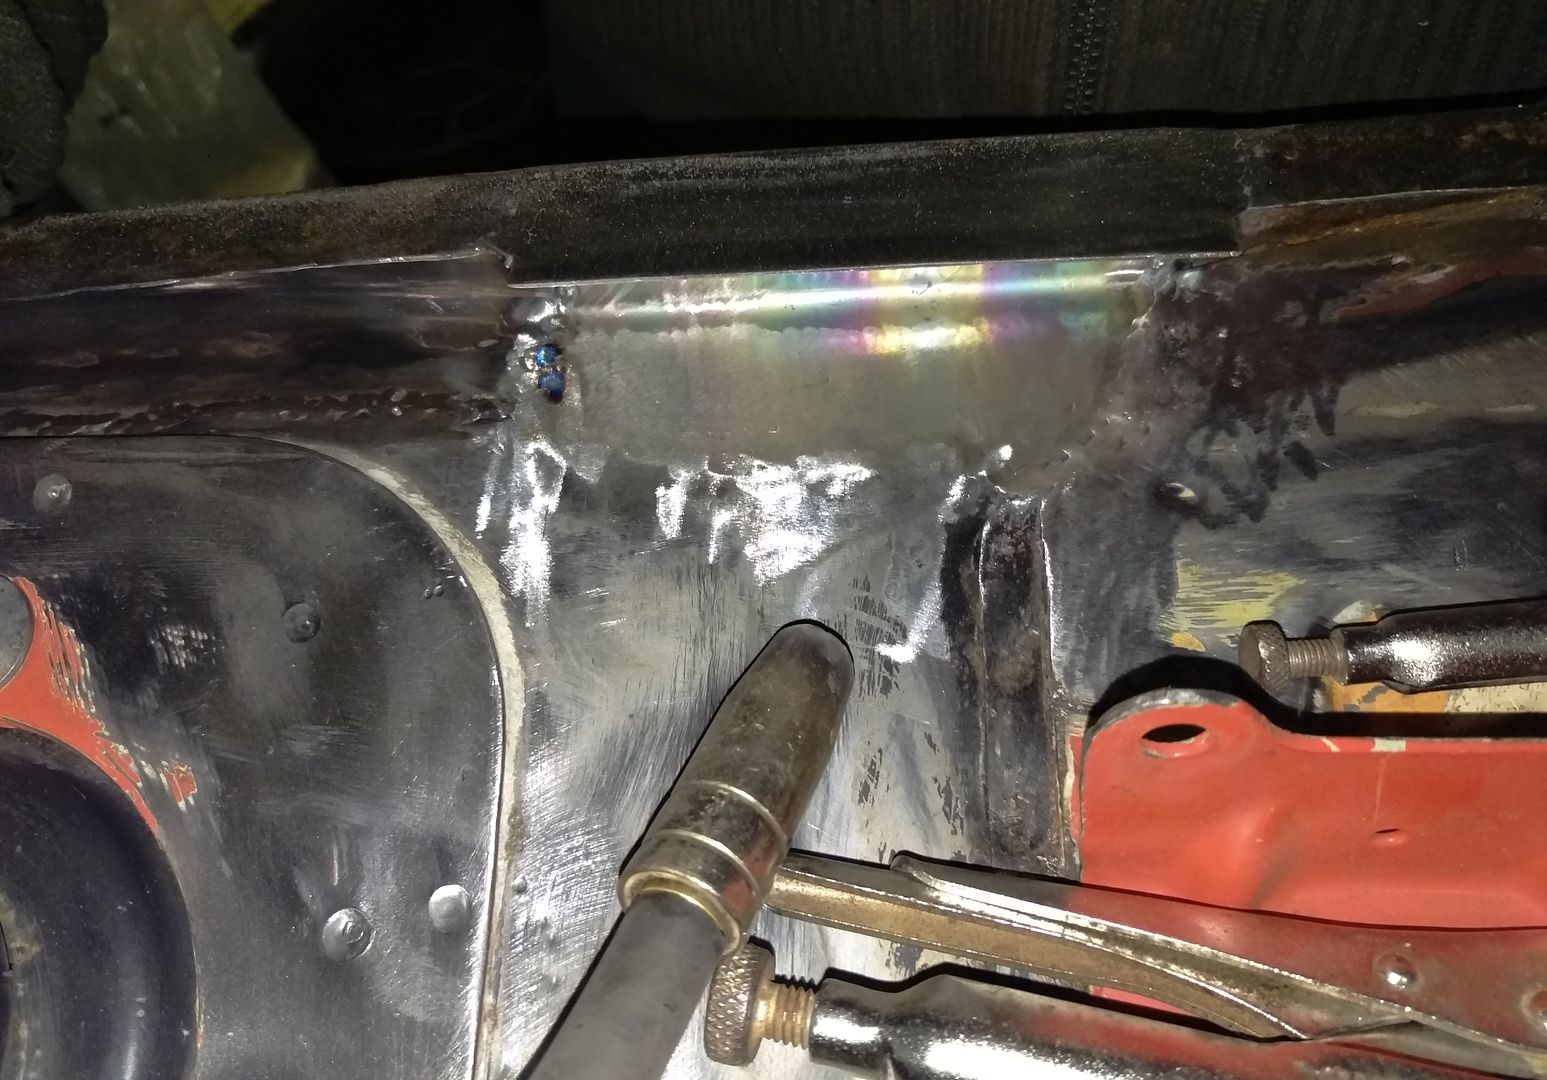
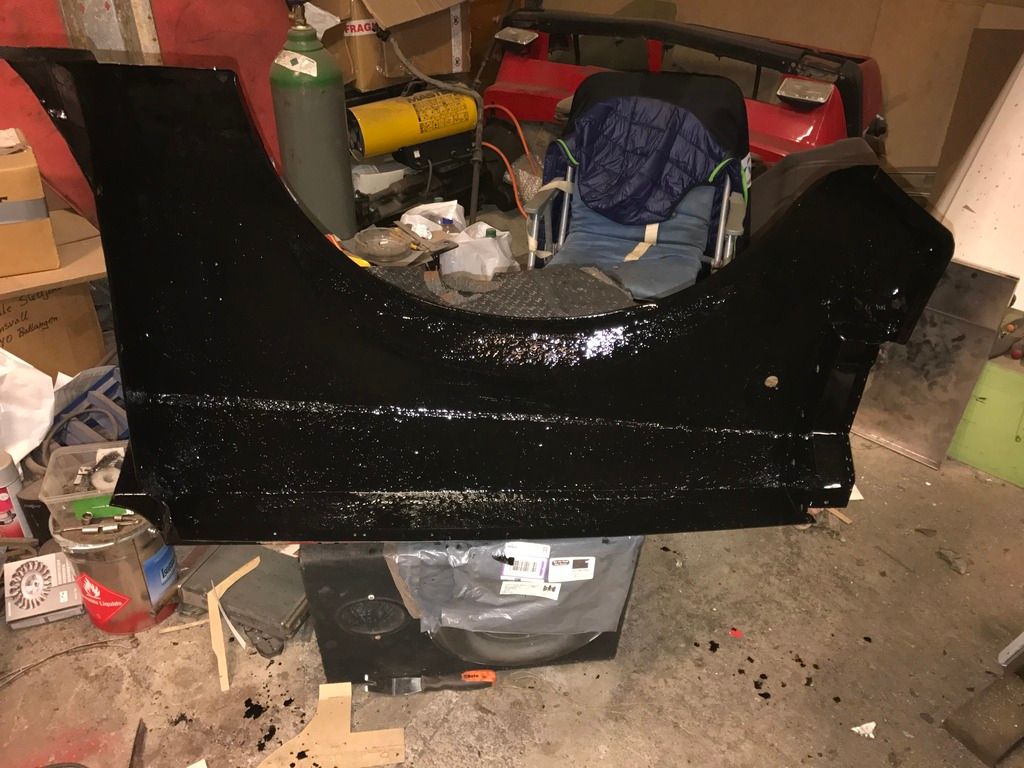
Going great from my chair at the computer! Fab work looks great, and it looks like you need to do a lot of it Must get one of those power files, they look very handy. Keep up the great work Thanks mate Your MK2 is coming along as well I noticed. Race you to the finish? Those power files are one of the most usefull tools I have, I use it even more than the anglegrinder. Its an invaluable bit of tool for precisely grinding welds. Love your fab work,whats make of mig and wire thickness? Thanks mate, the welder I use is some cheap noname nondescript welder that my dad picked up cheap. I use 0.6mm welding wire, since it doesn't generate as much heat, and is easier to weld thin gague metal without distortion. 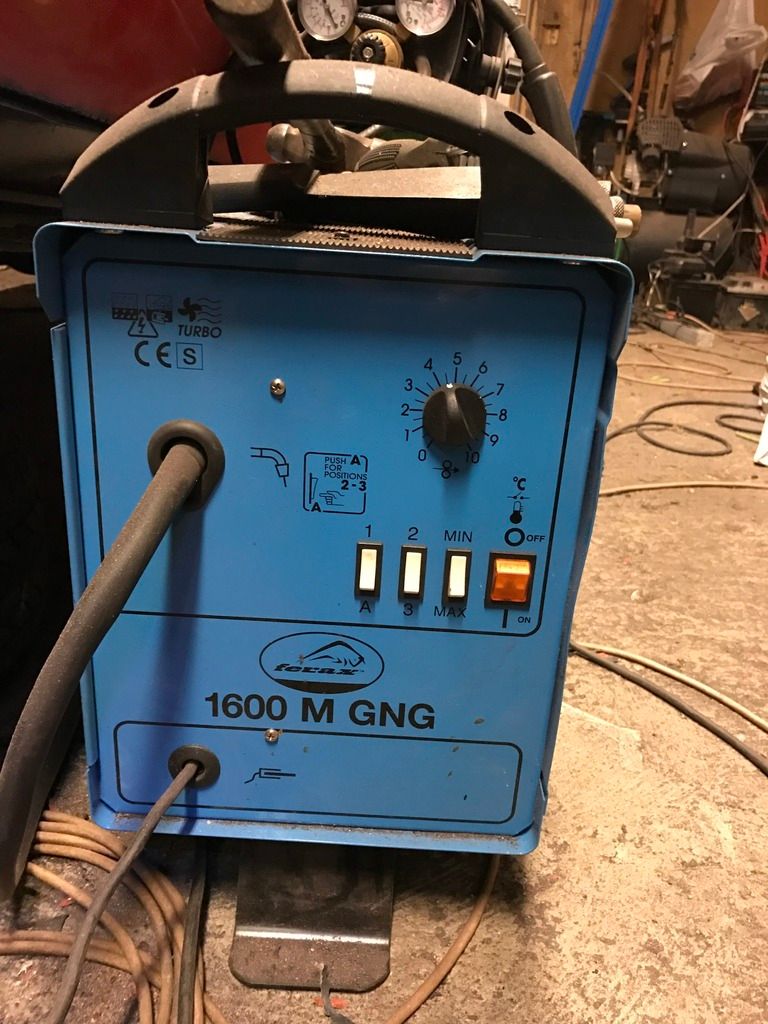 Time for a new update! some things have been done since last time, Just doing the last of the body welding in the left front inner fender. When this is done I can finally begin to rustproof and assemble the car Here I replaced a piece under the slam panel. Often rusted on mk2's after what I've seen in various build threads. 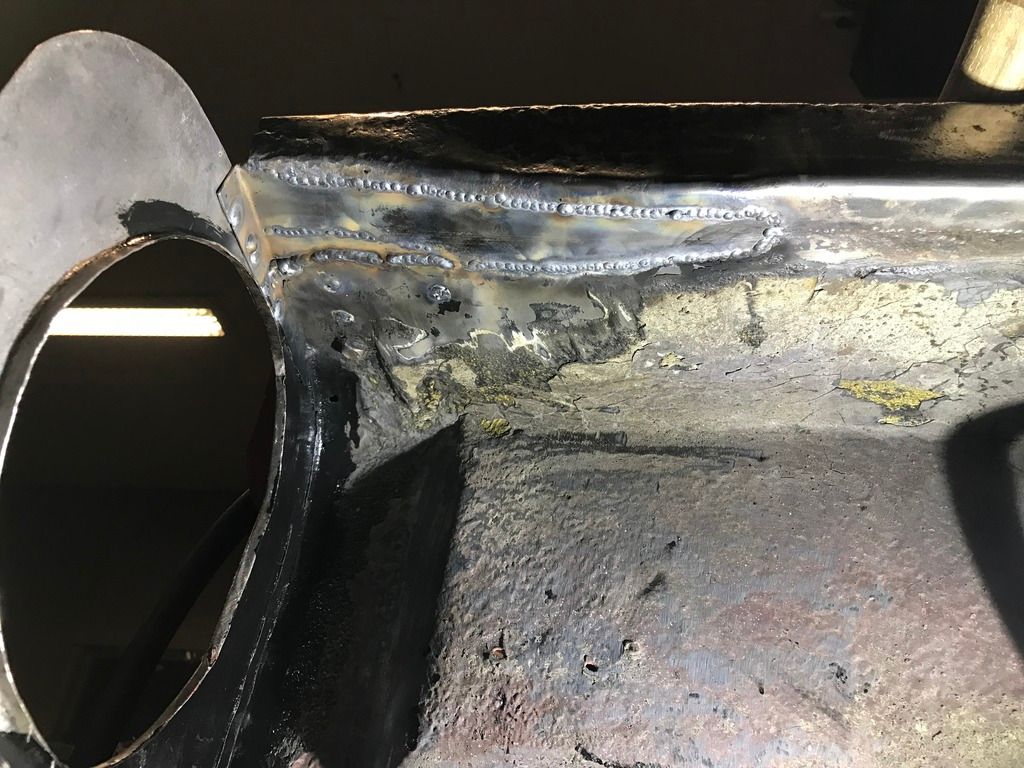  Ground down:  And I replaced all the mounting screws in the dropsnoot with 6mm stainless bolts. Maybe It'll disassemble easier next time? 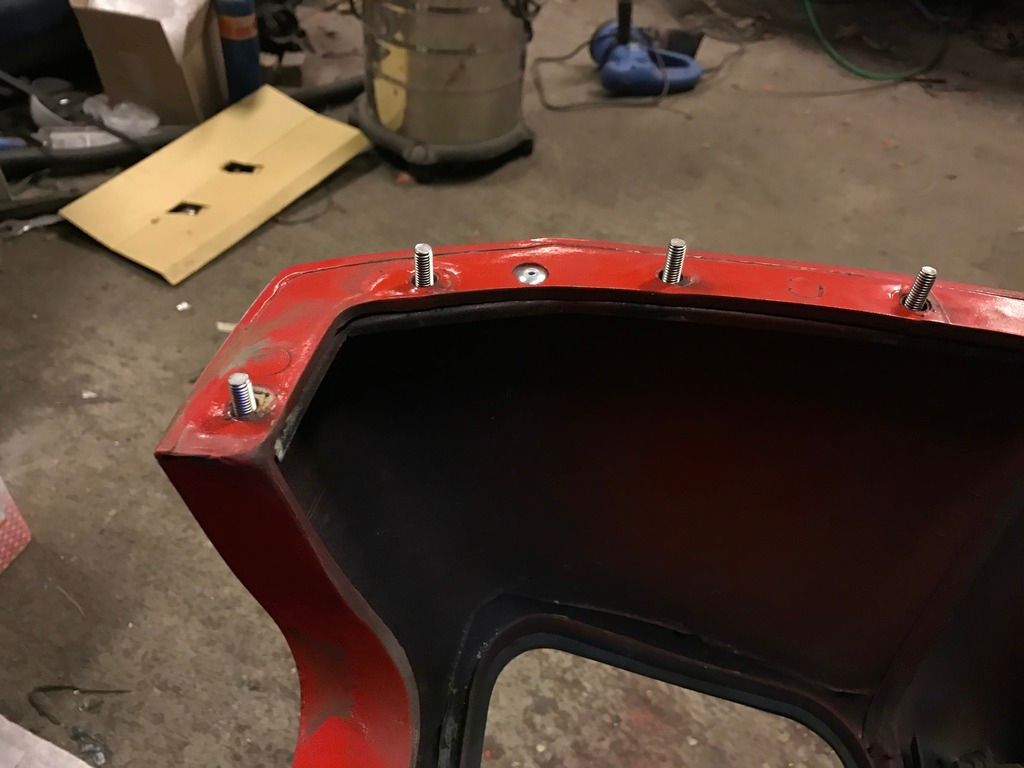 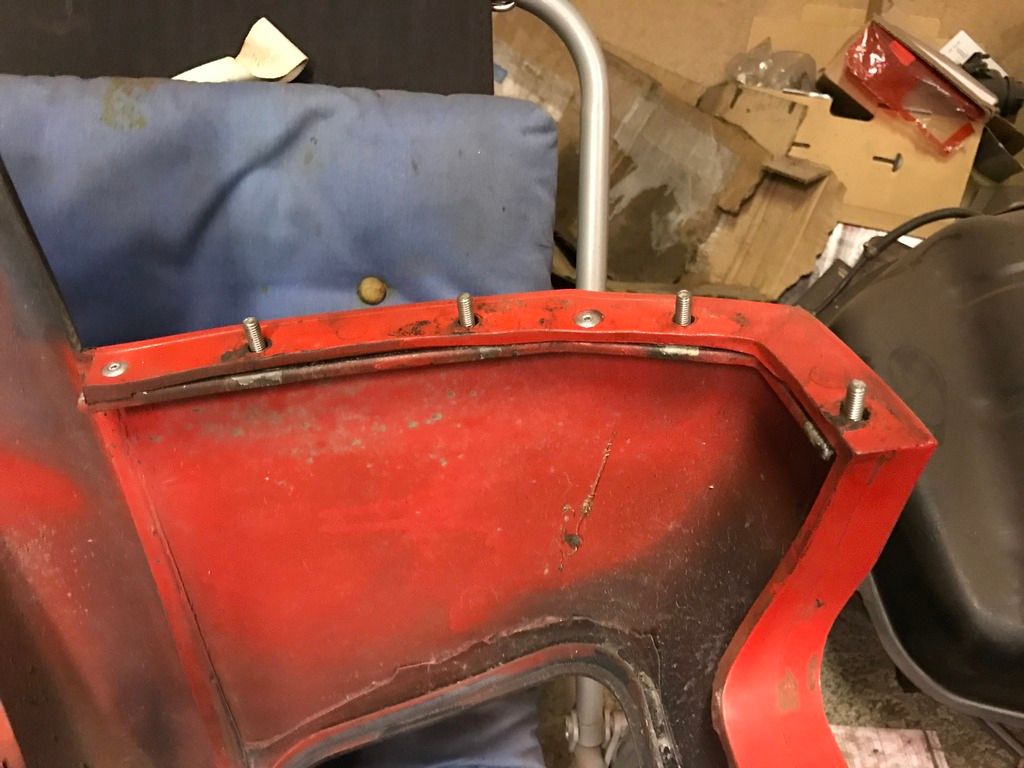 Then there was the next hole next to the bonnet hinge. I forgot to take a picture of this area finished, but it came out allright 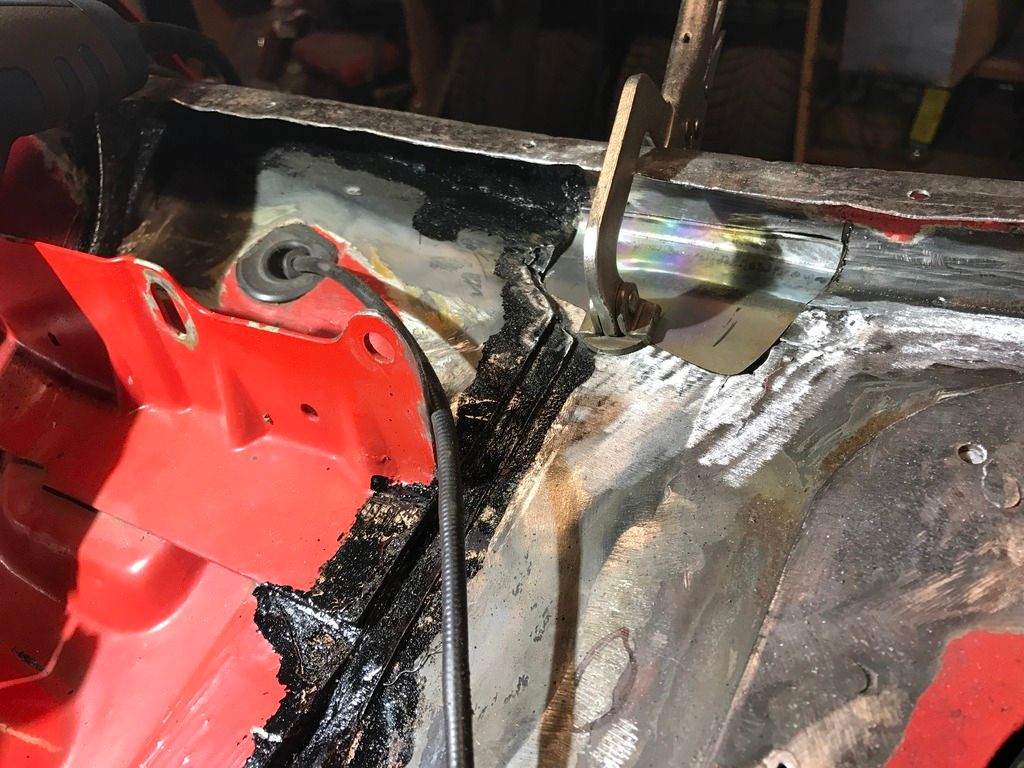 Then there was time for the last hole in the body! Stupid place for it though, really thin metal, I think 0.7mm or something like it, and awkwardly placed. The repair panel had compound curves every way. But I made it somewhat. Here is some of the process:  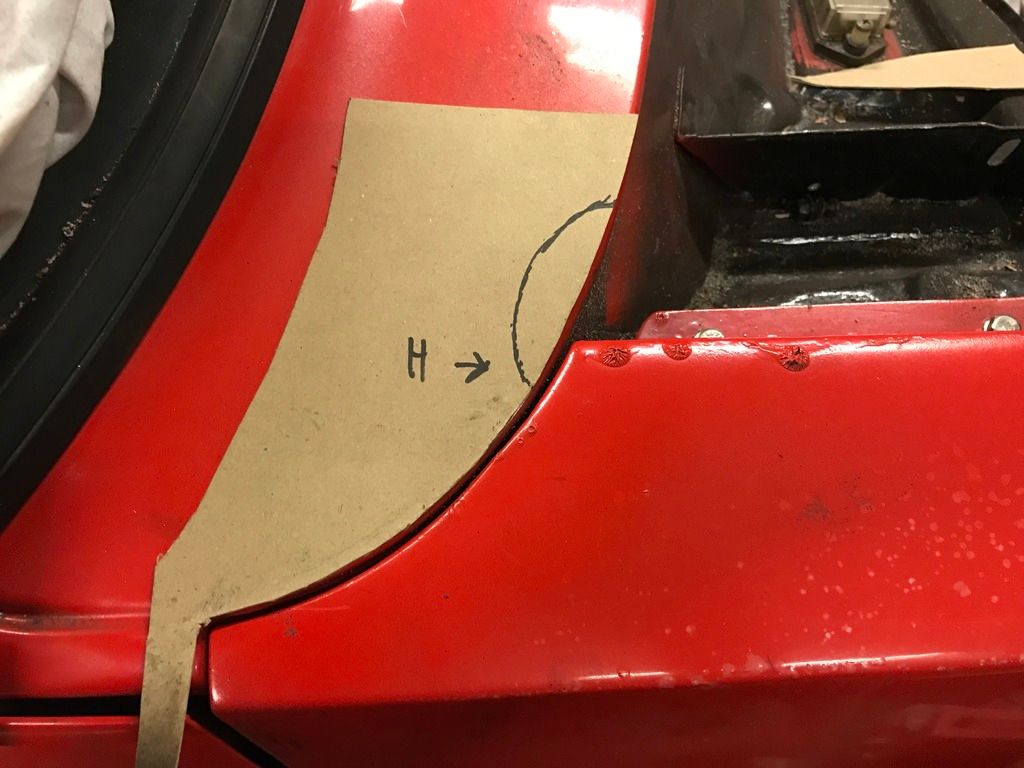 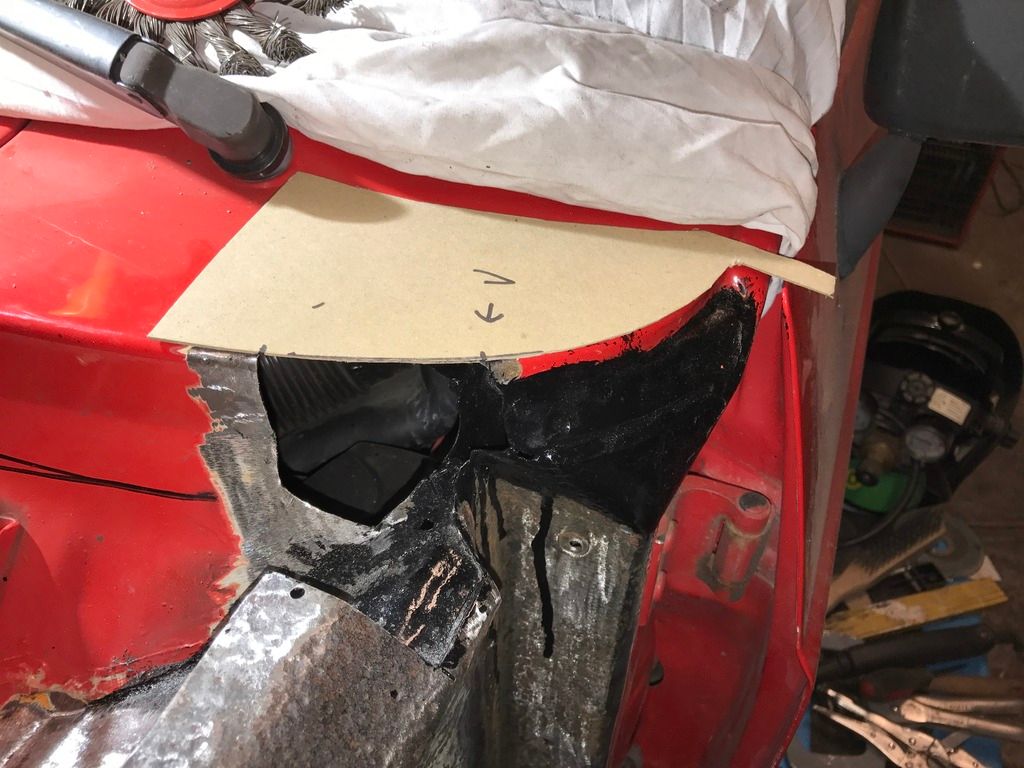 Roughly sketched on cardboard: 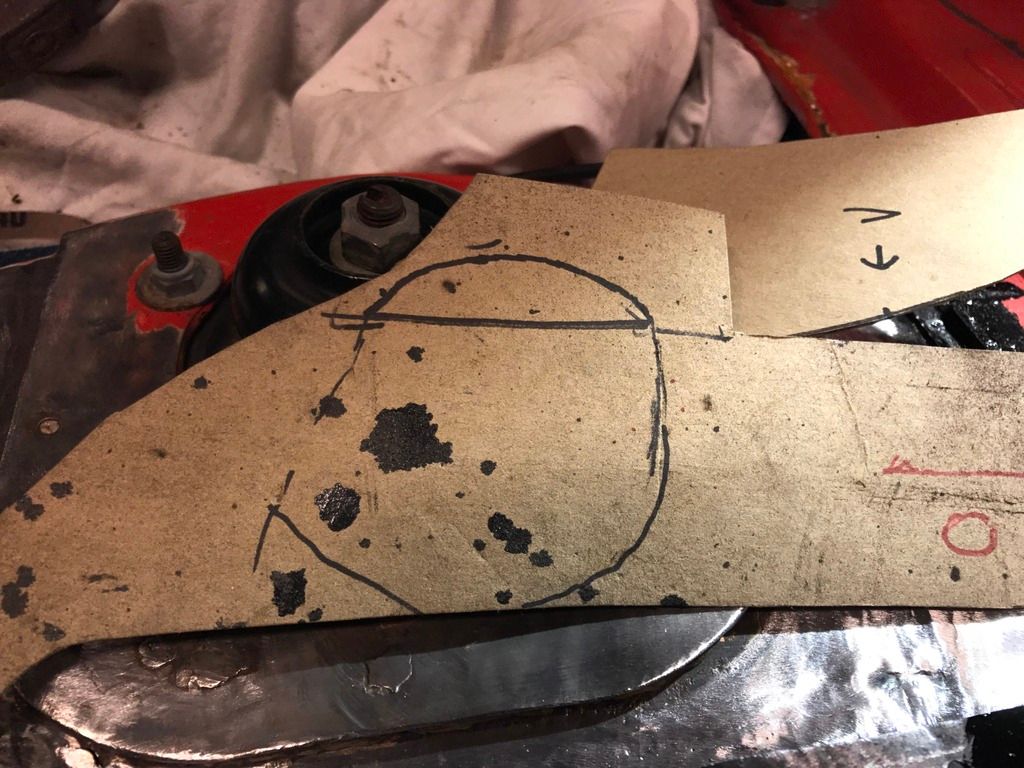 And after cutting, hammering, spannering, and swearing this was the almost finished result: 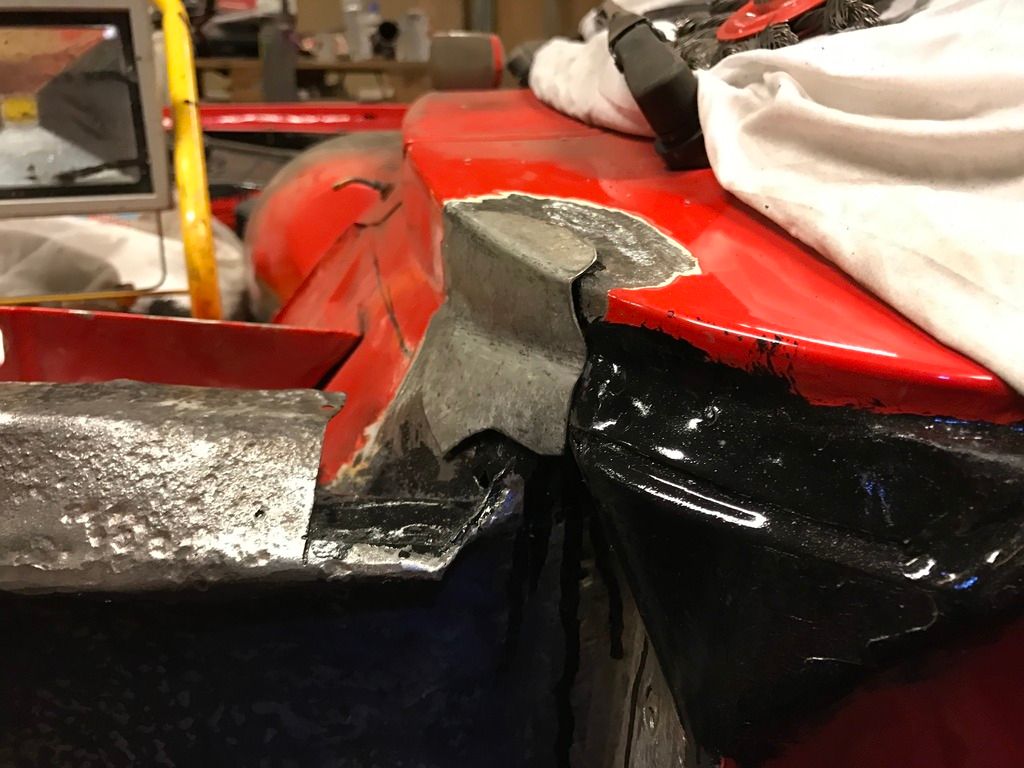 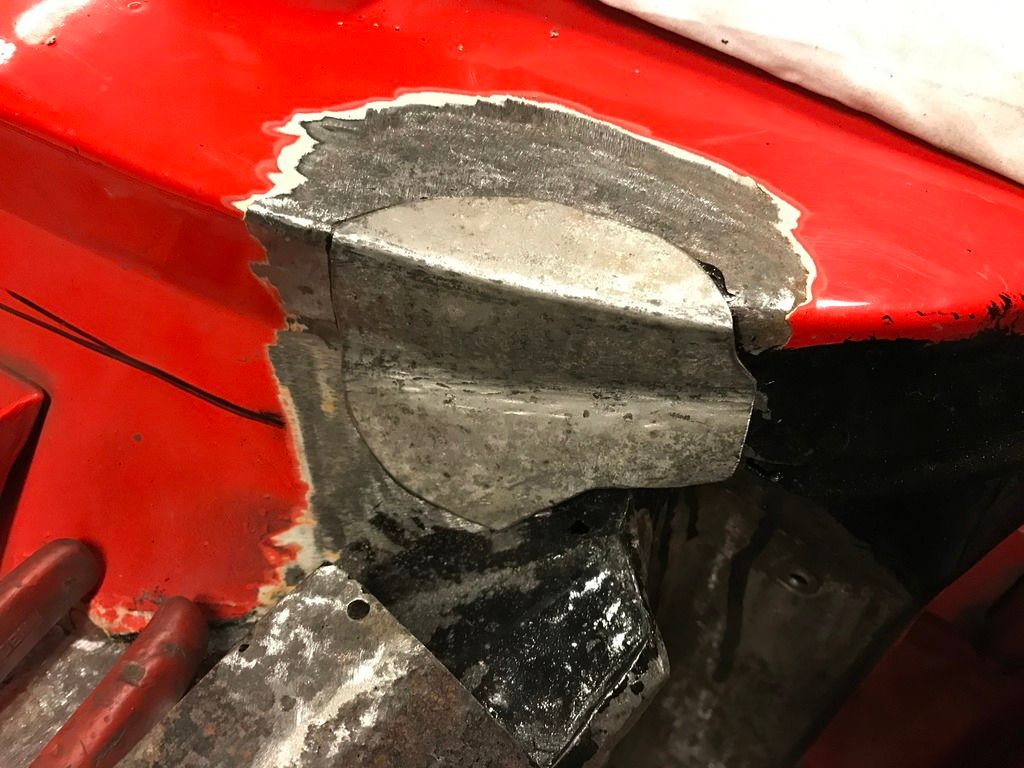 After much grinding and adapting it fit the hole satisfactorily. 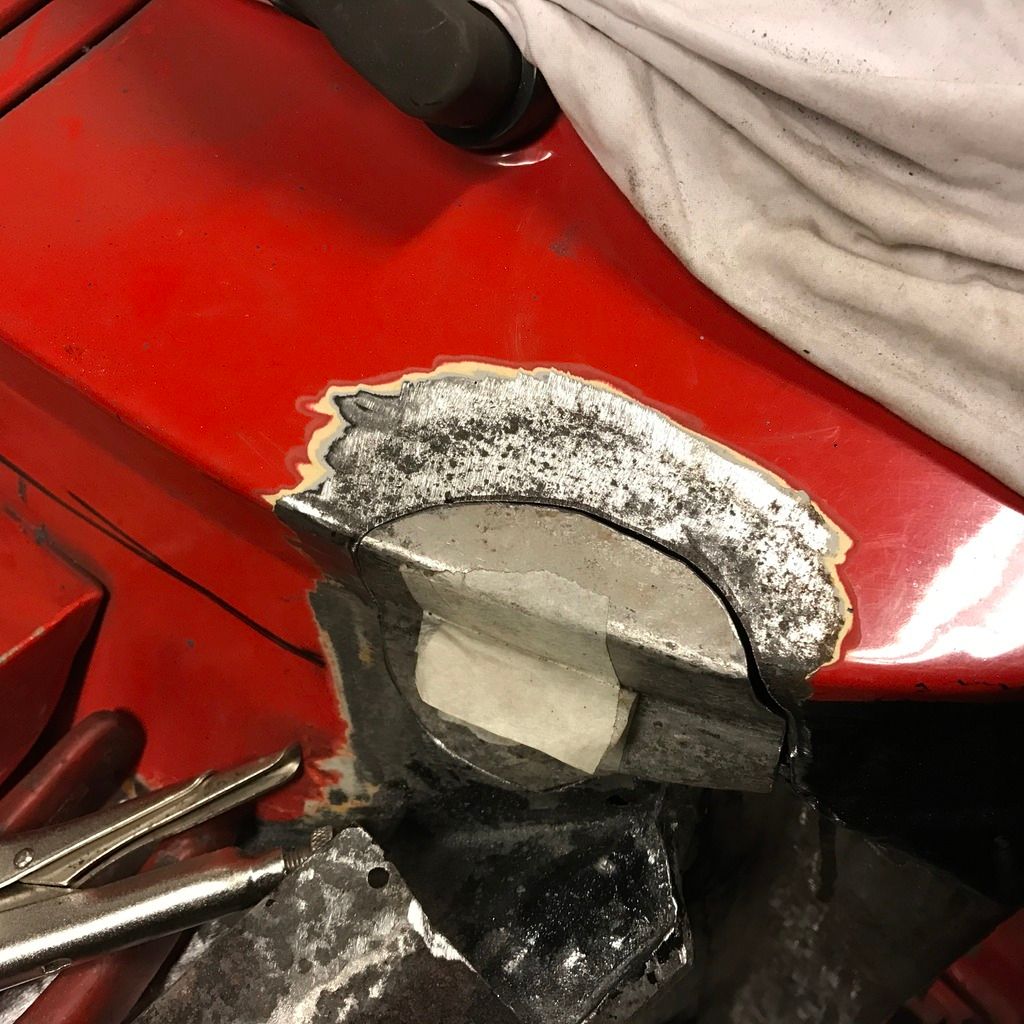 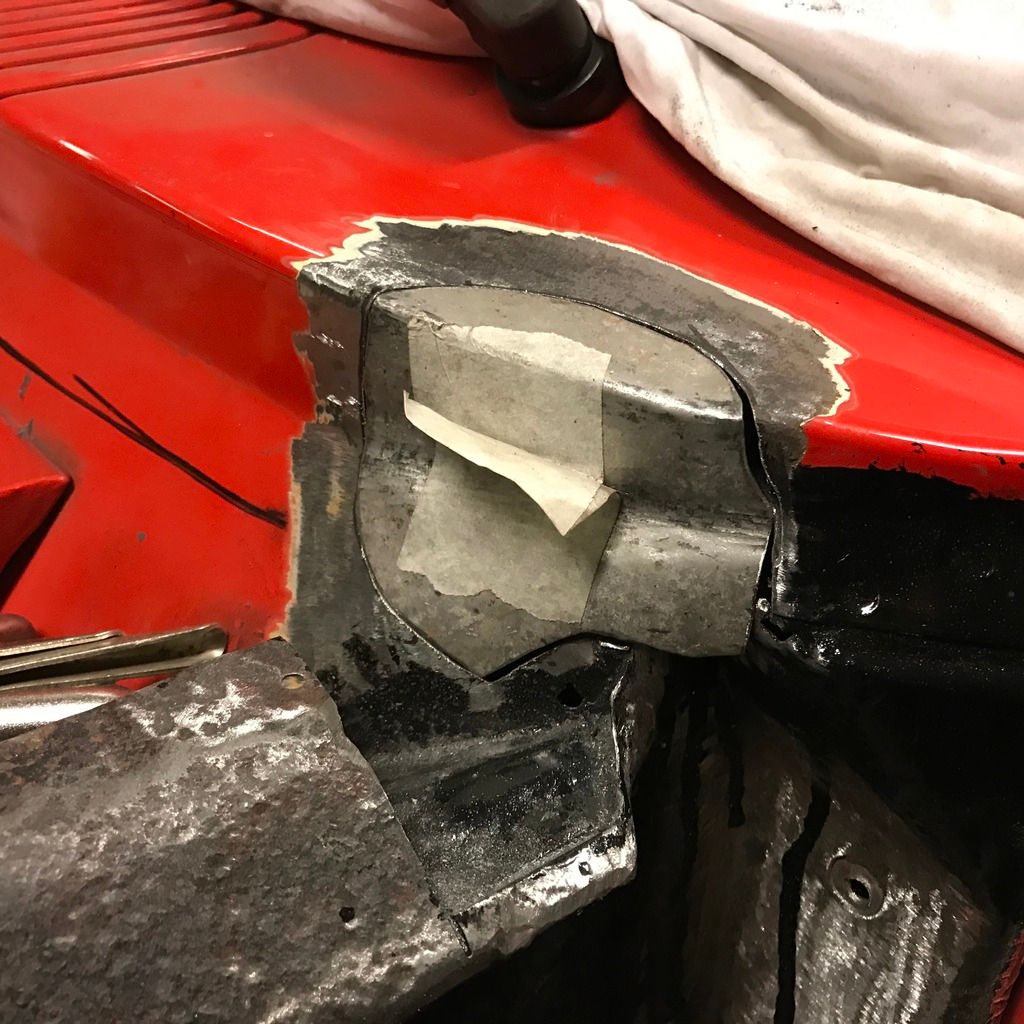 Lots of curves to account for here, hit it with a hammer one place, it goes out of shape another place. 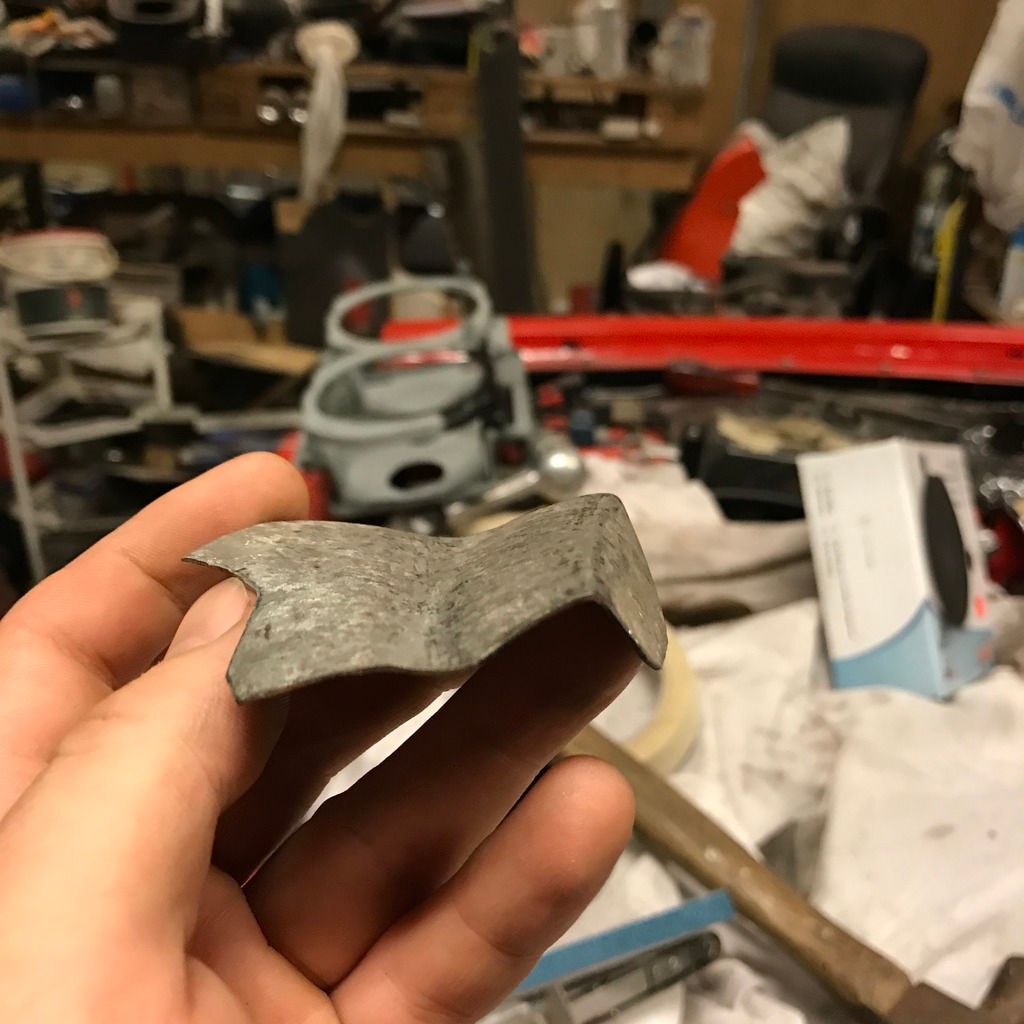 Piece welded, starting to grind the welds: 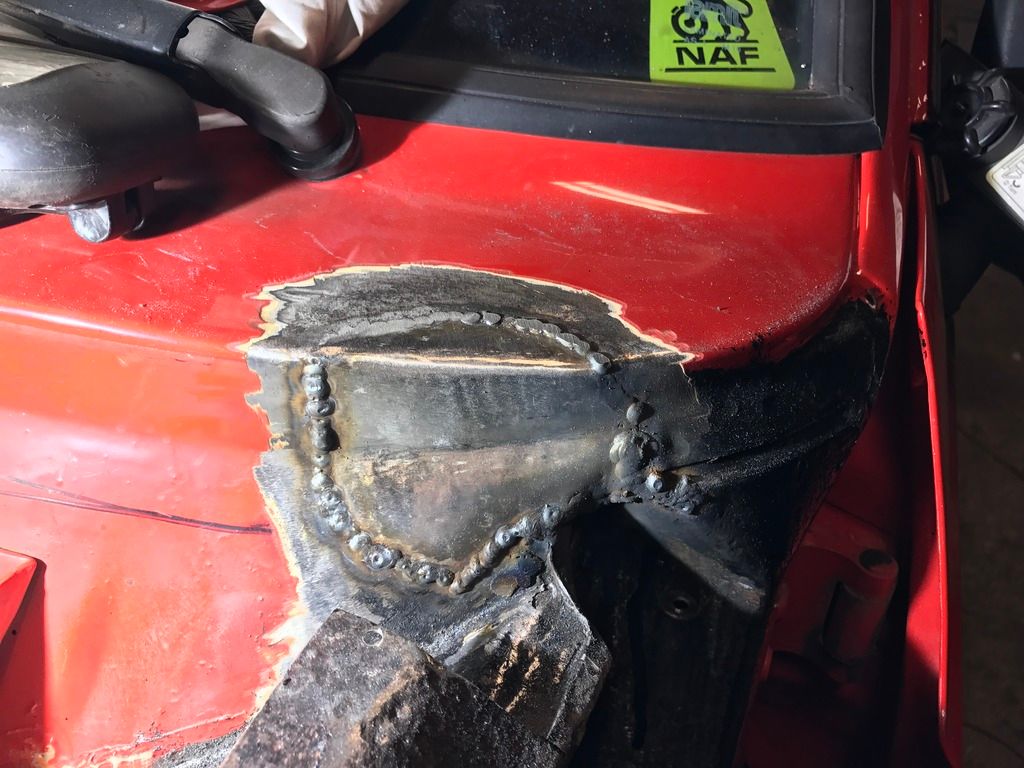 Ground back: 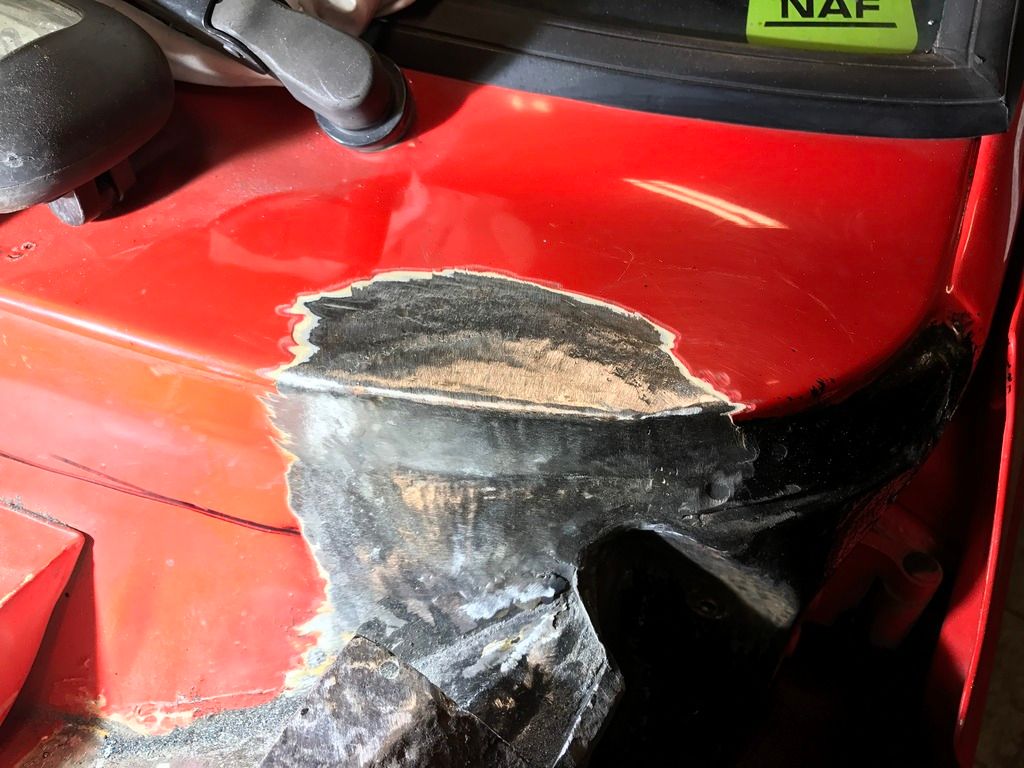 I also welded the shock tower stiffener back on after coating everything behind it in Isotrol primer: 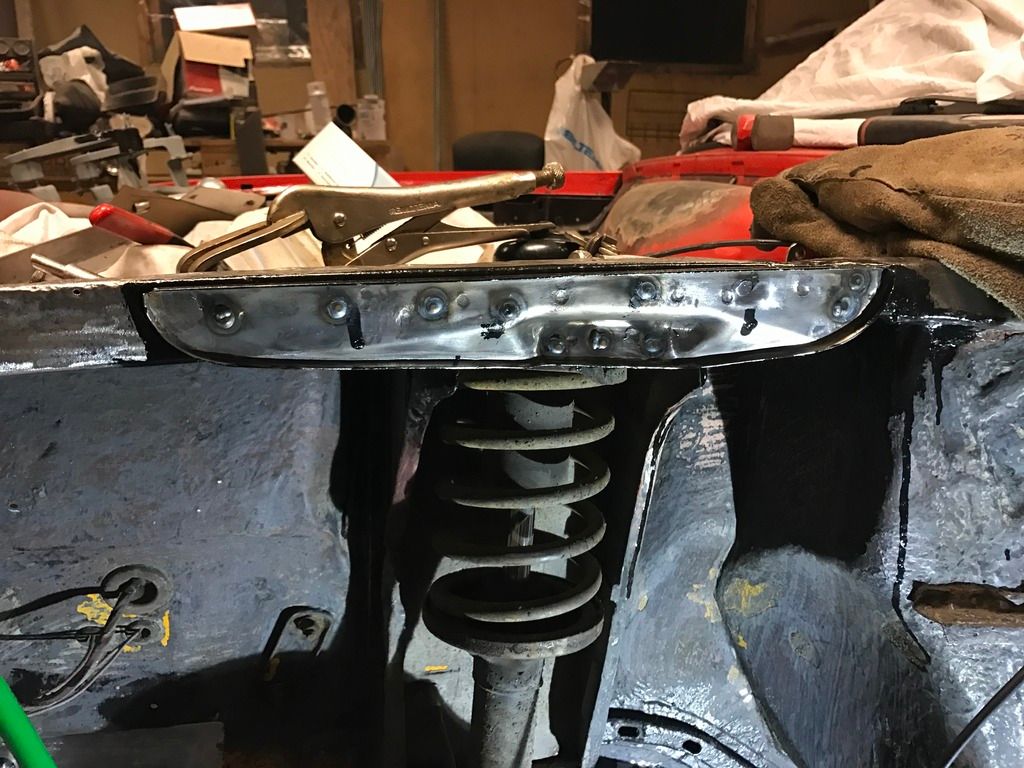 Last of the fender mount welded back on: 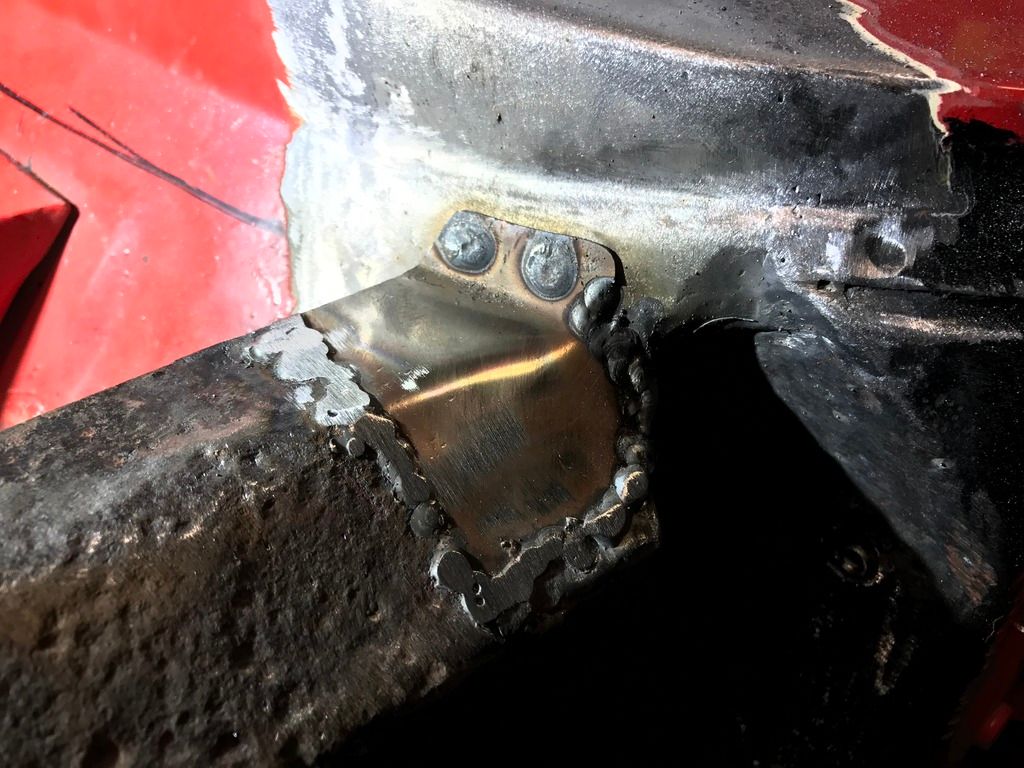 And the entire piece ground back: 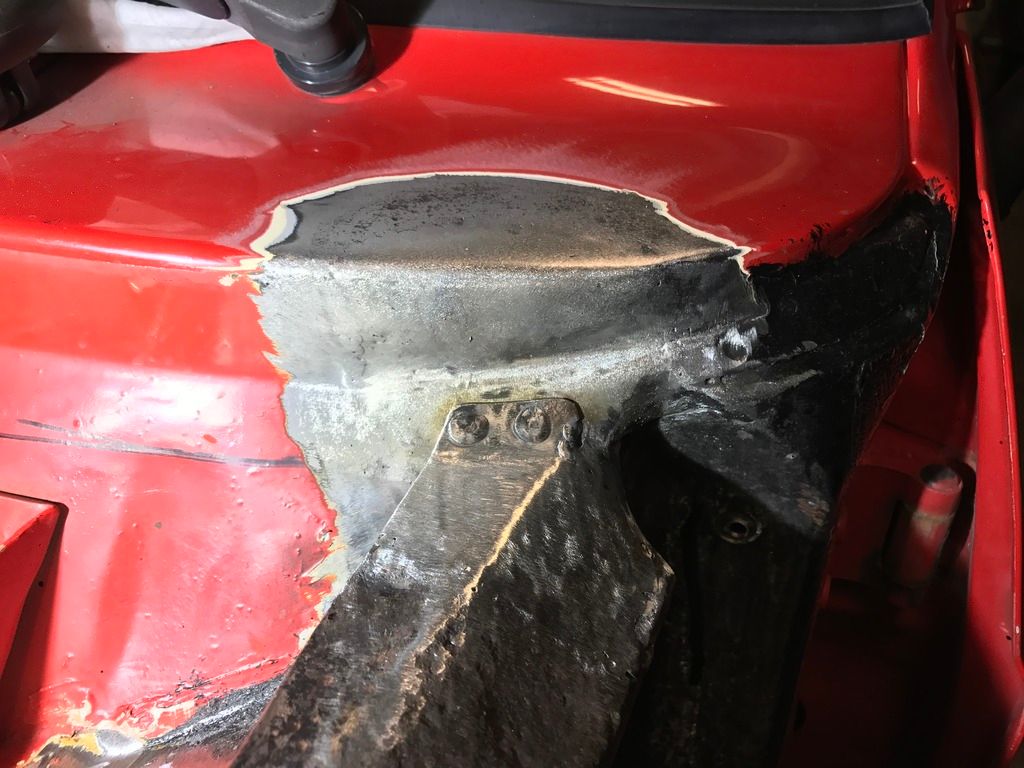 Thanks for reading! |
| |
|
|
funkyhunk
Part of things
Old Ford's R Us
Posts: 265
|
|
Nov 13, 2016 22:49:53 GMT
|
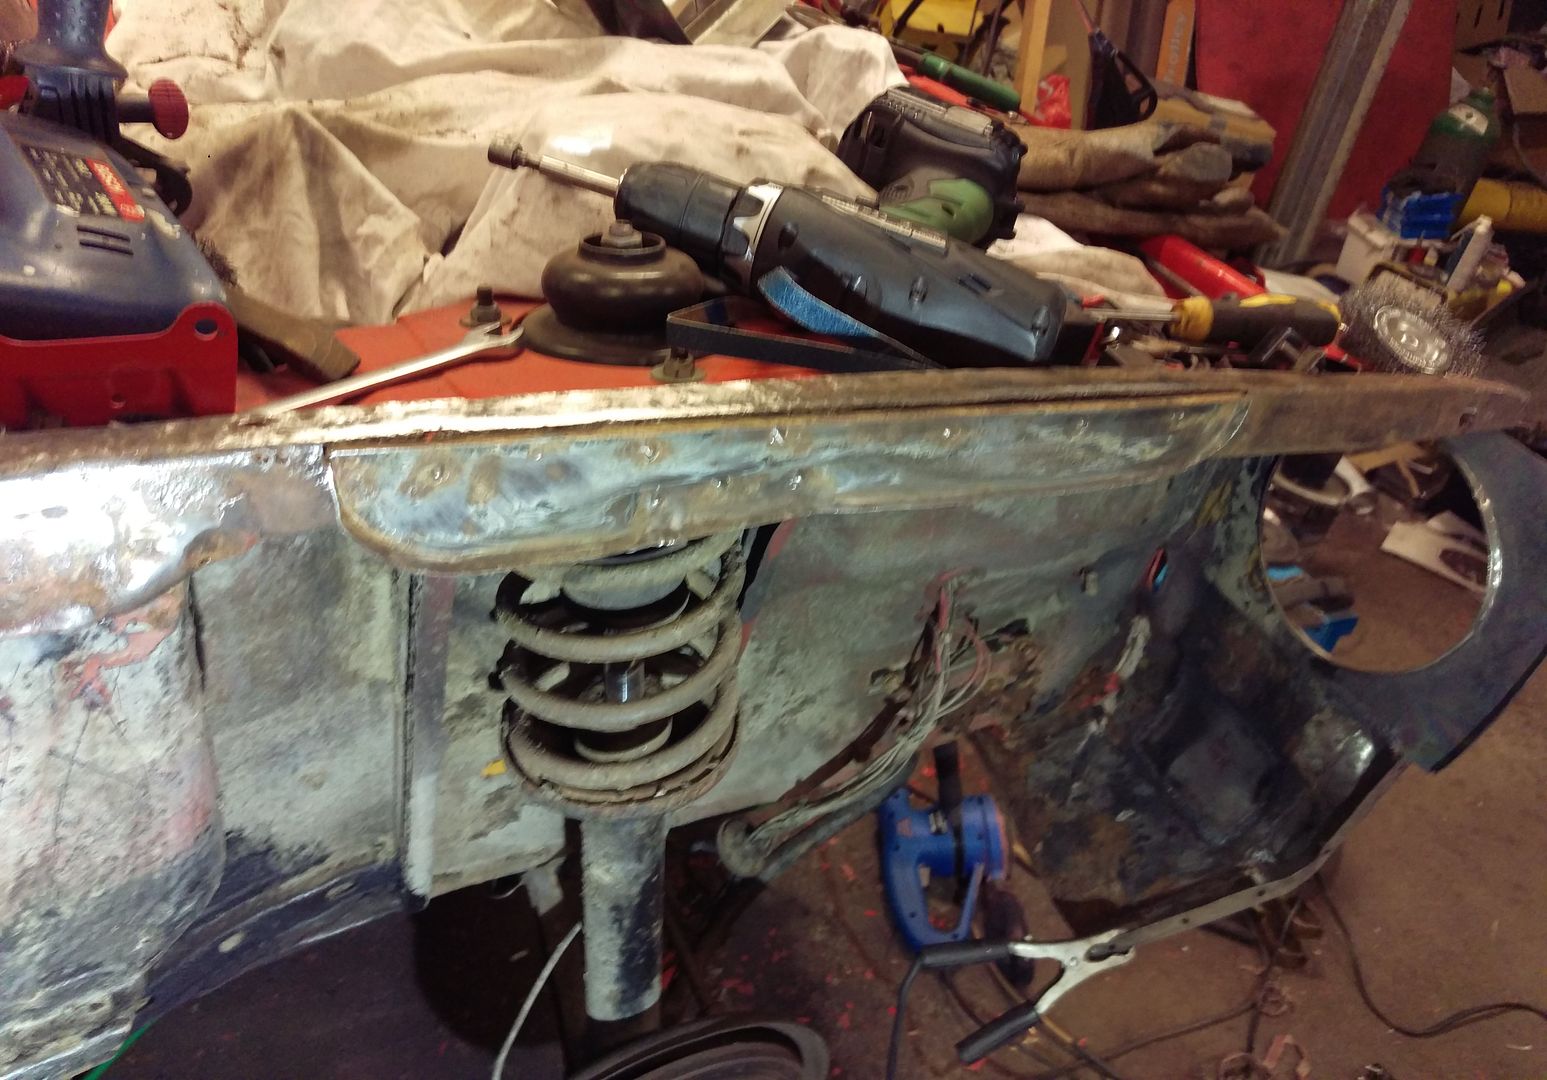
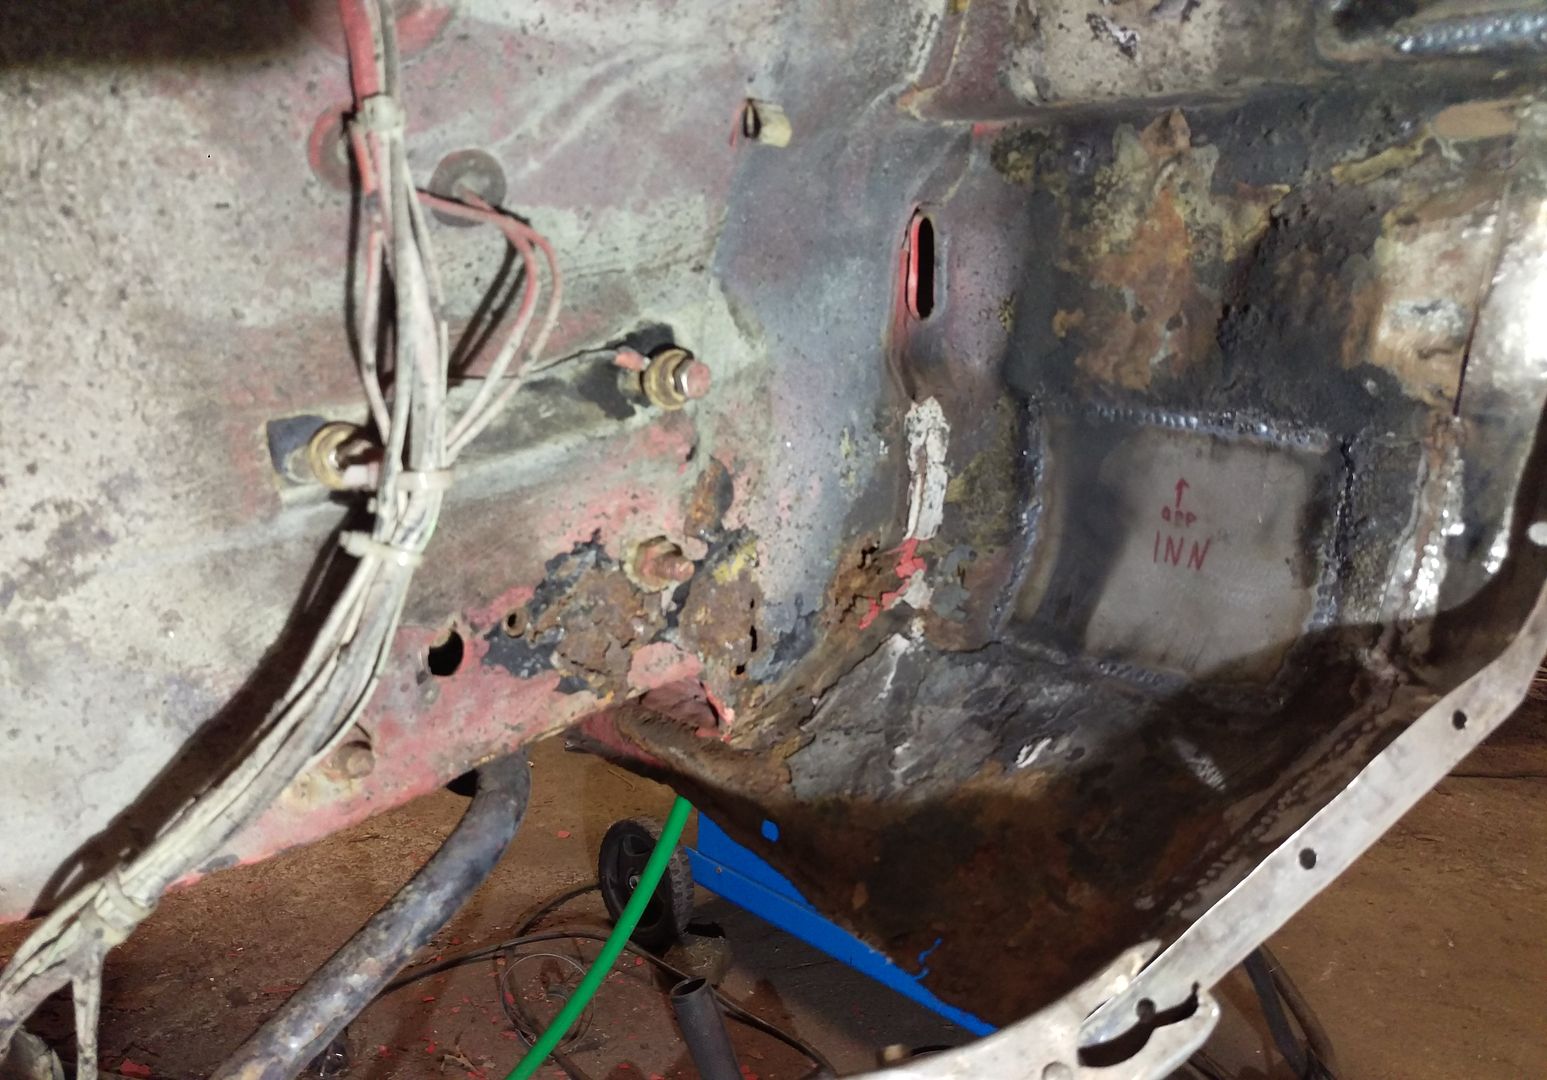
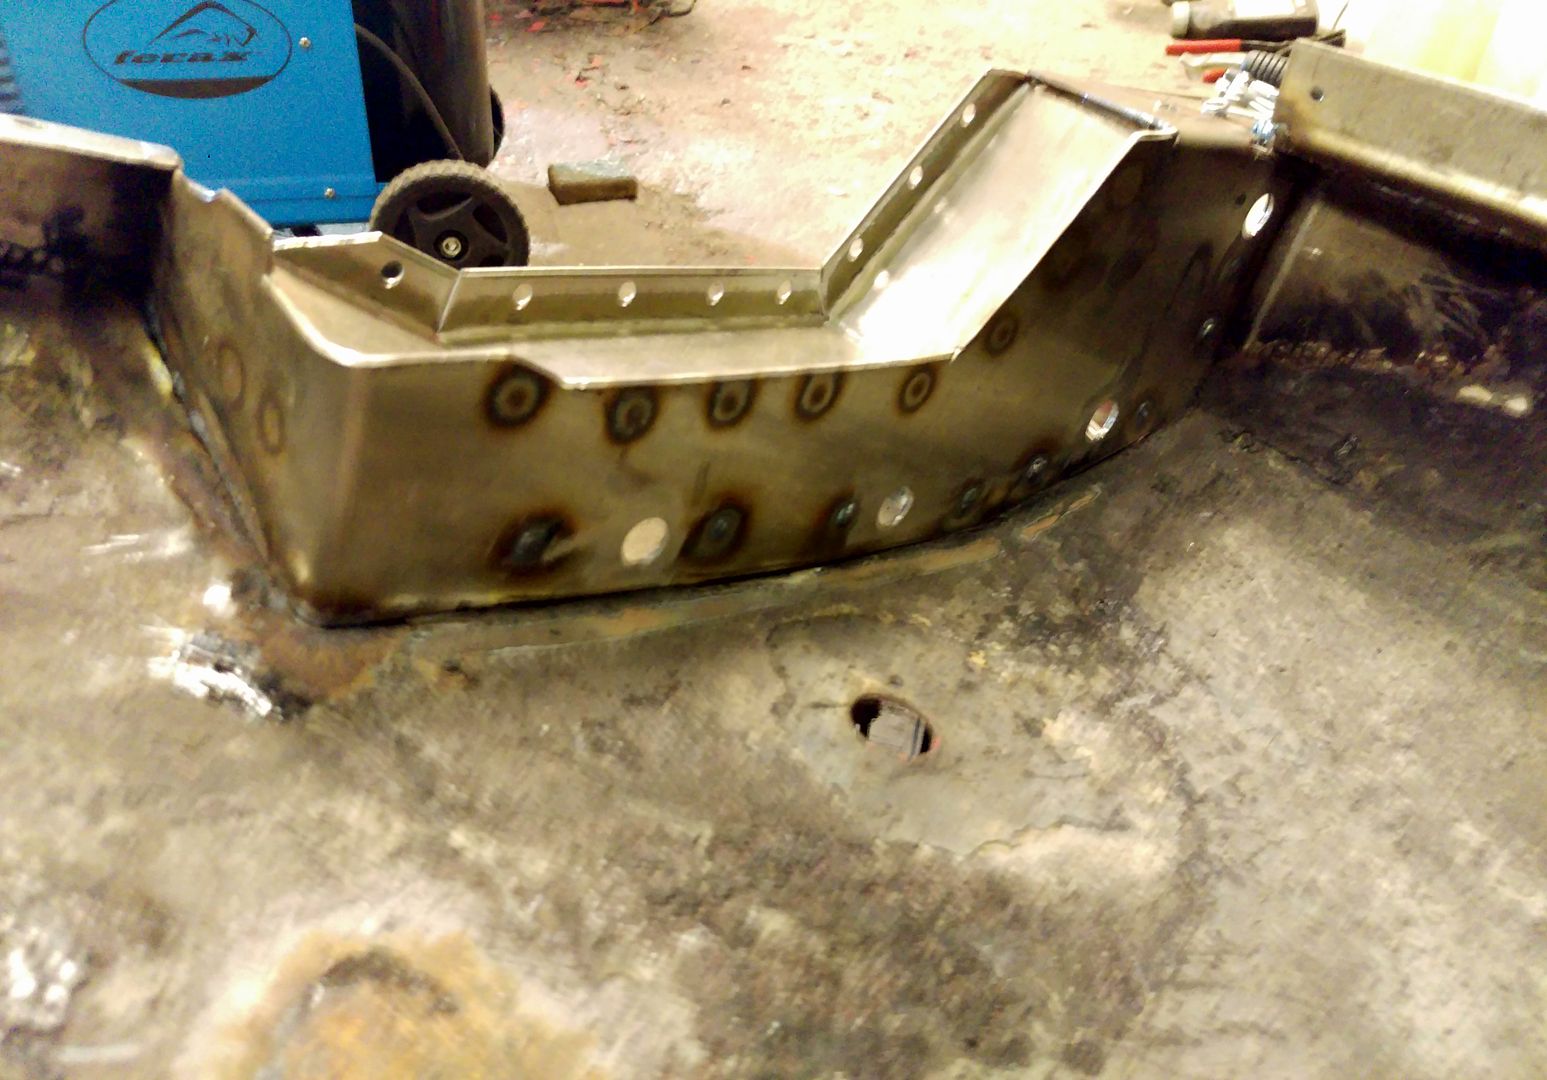
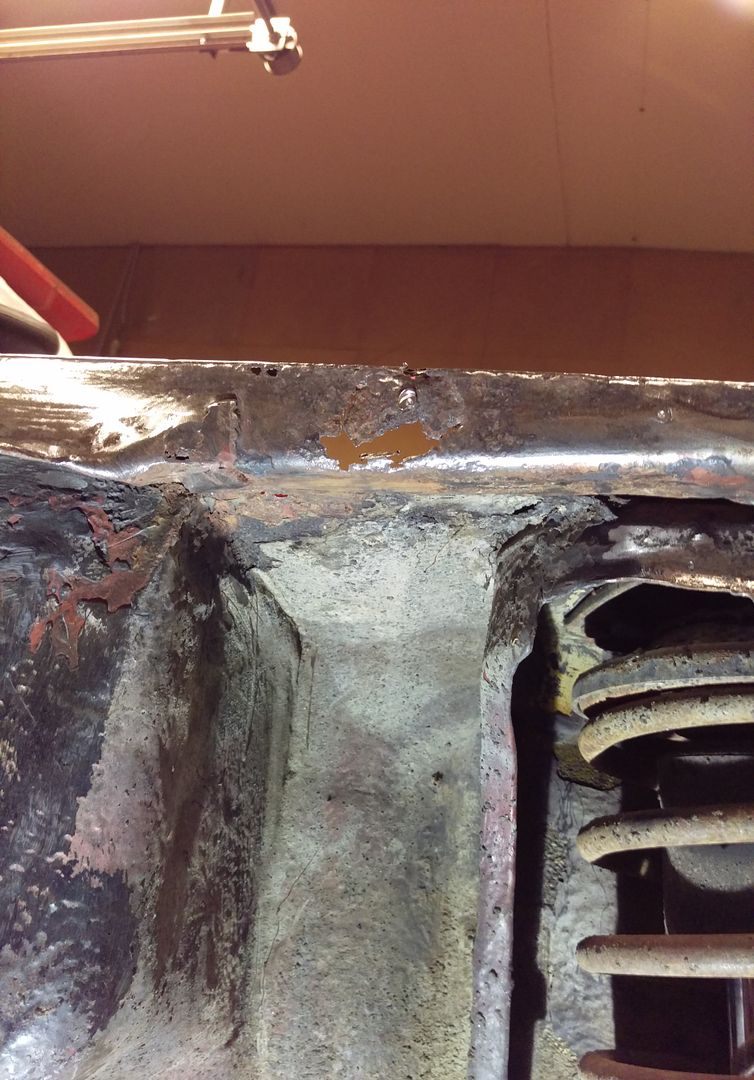
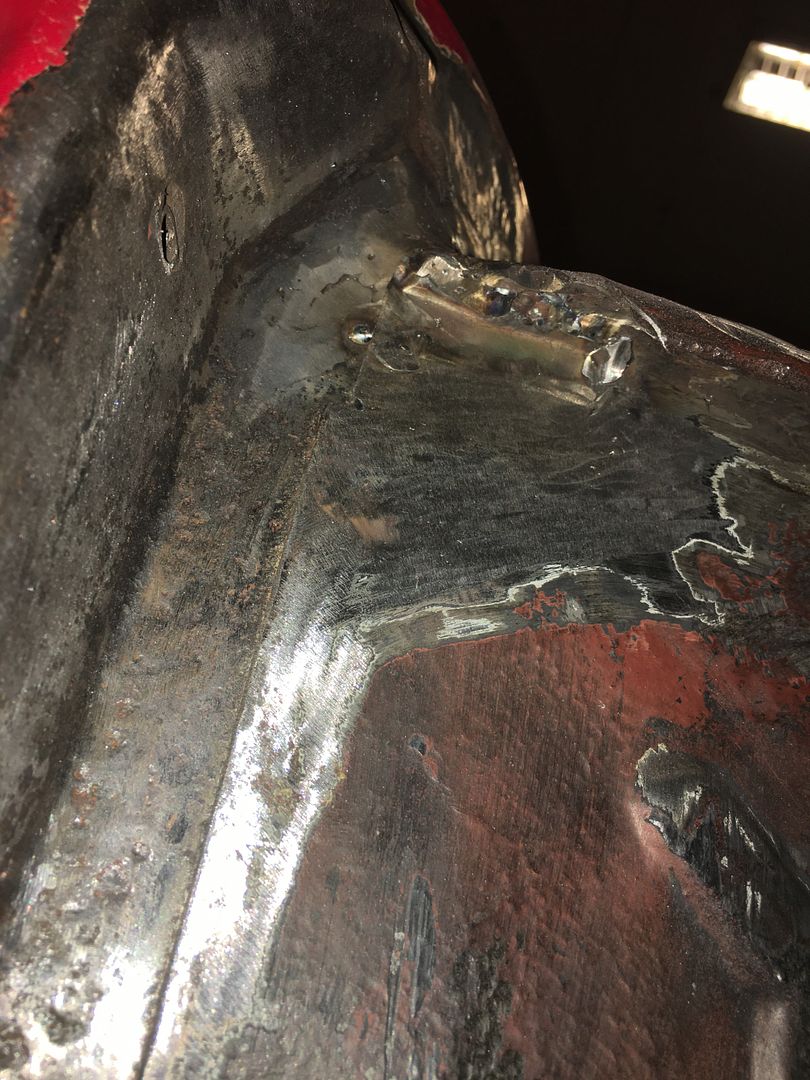
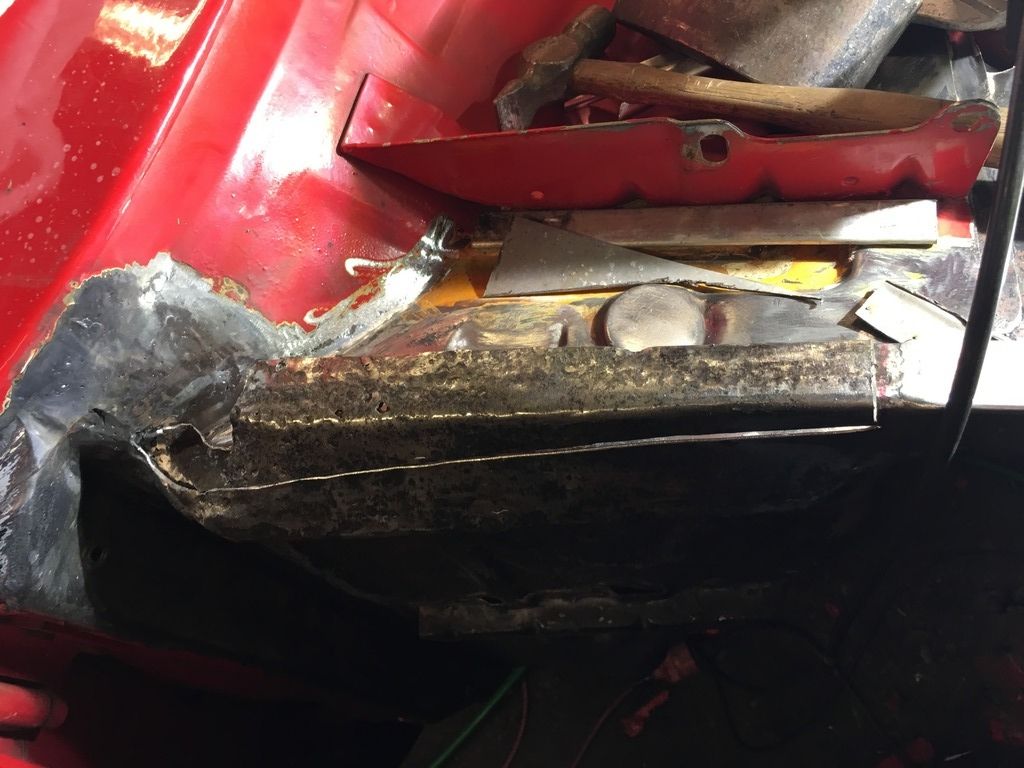
This update will ber a short one. Not much has been done, but some progress has been made. Firstly I started to remove flaking and loose paint, and fount poprivets around the shocktower plate. 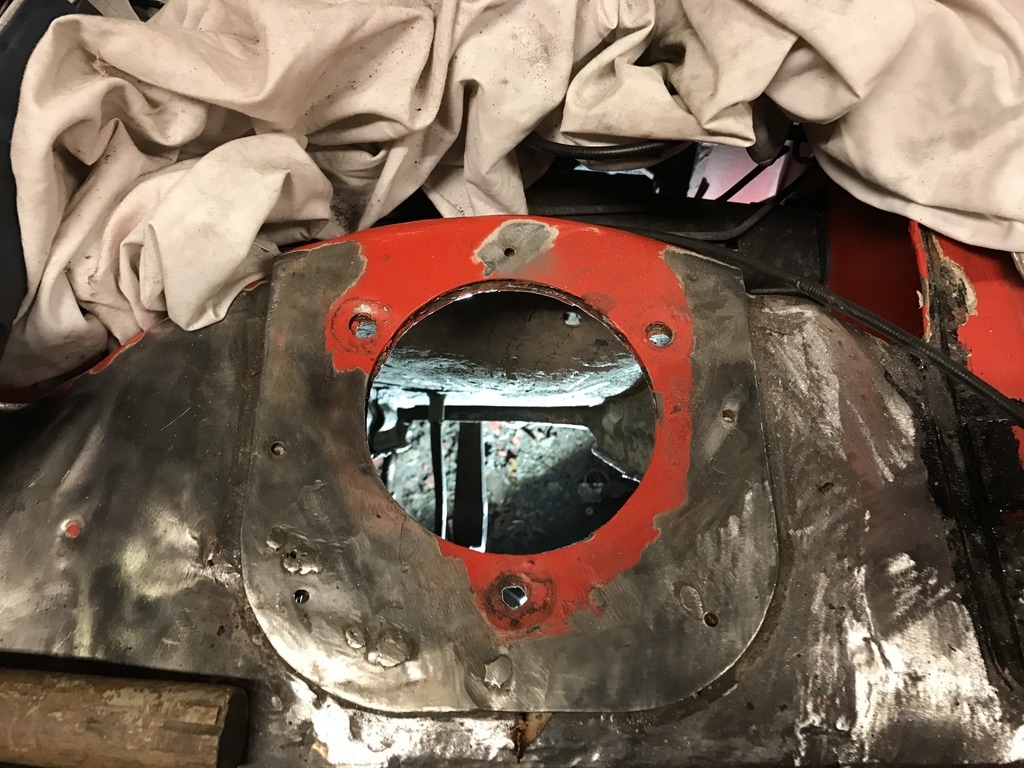 It appeared to be welded on, but I found 7 rivets on the underside. Fuggin p|key bodgers! Well I started to remove surface rust on both planes, drilled holes for plug welding, and painted it before plugwelding it back. 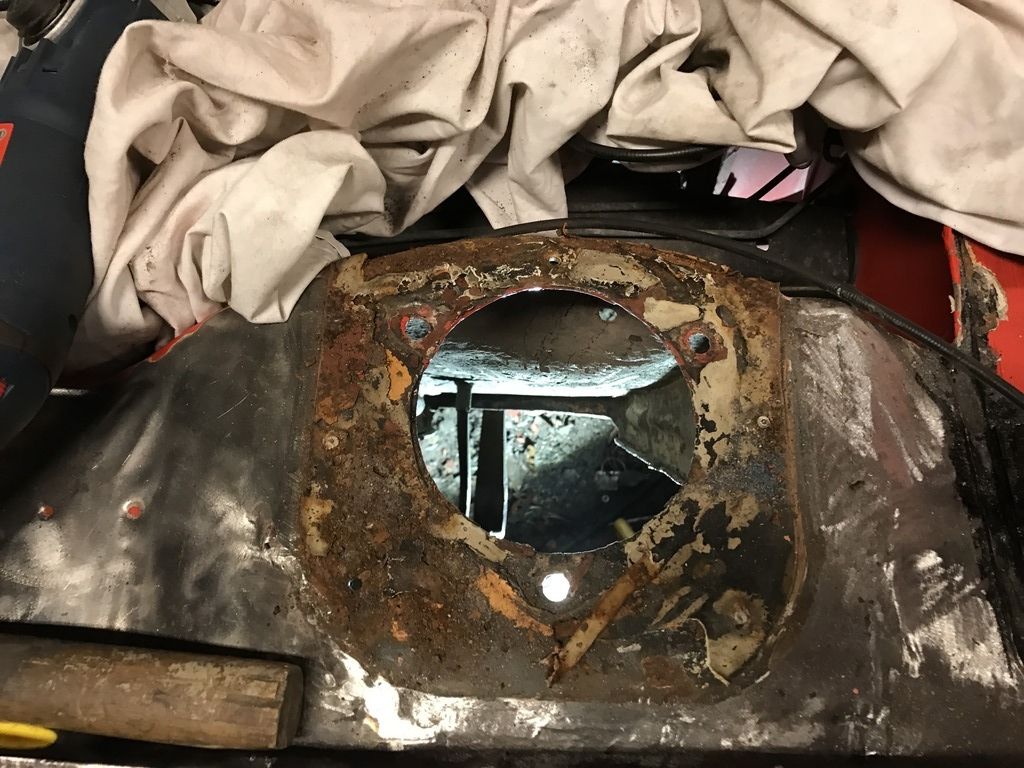 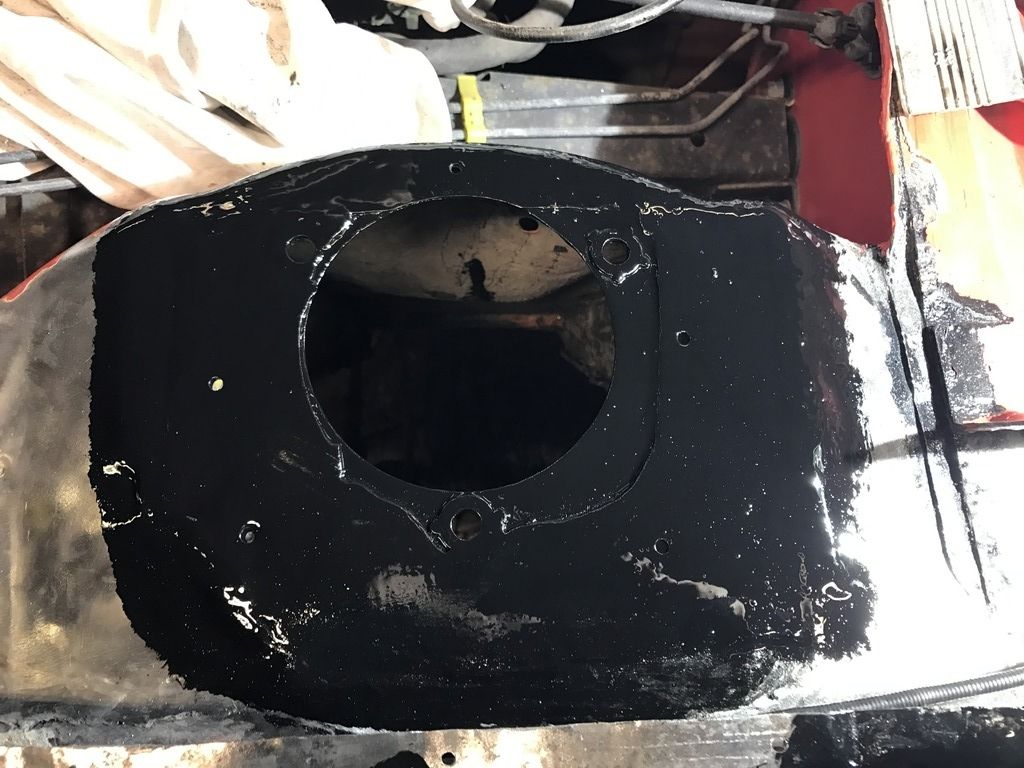 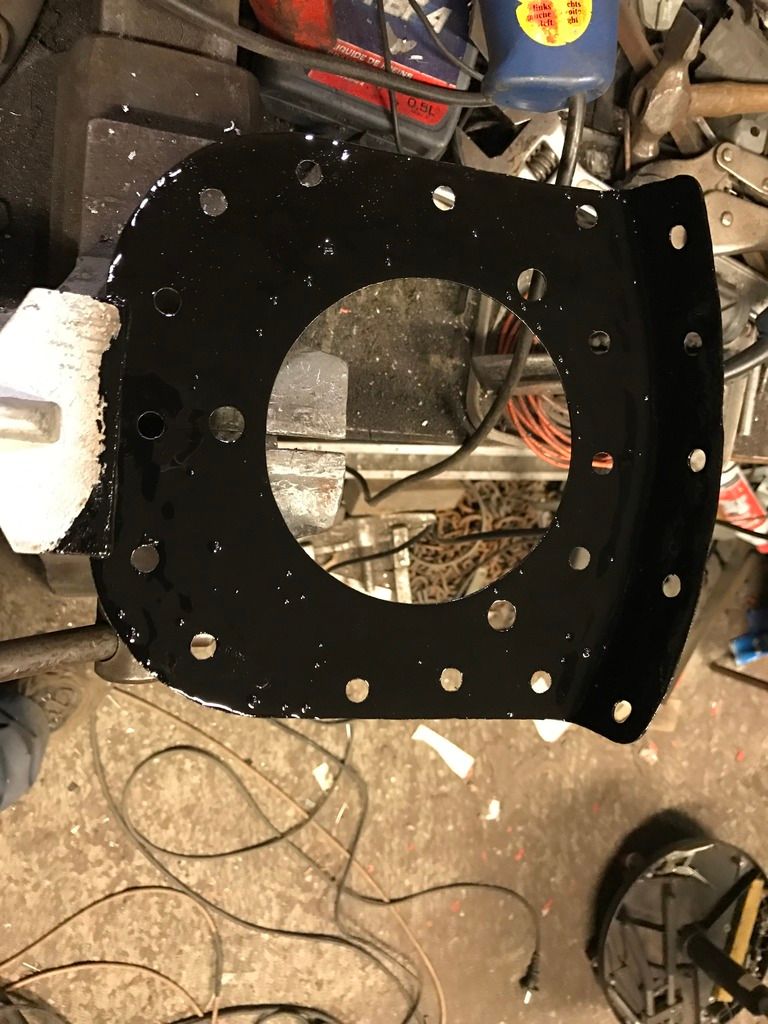 All done, 19 plugwelds done: 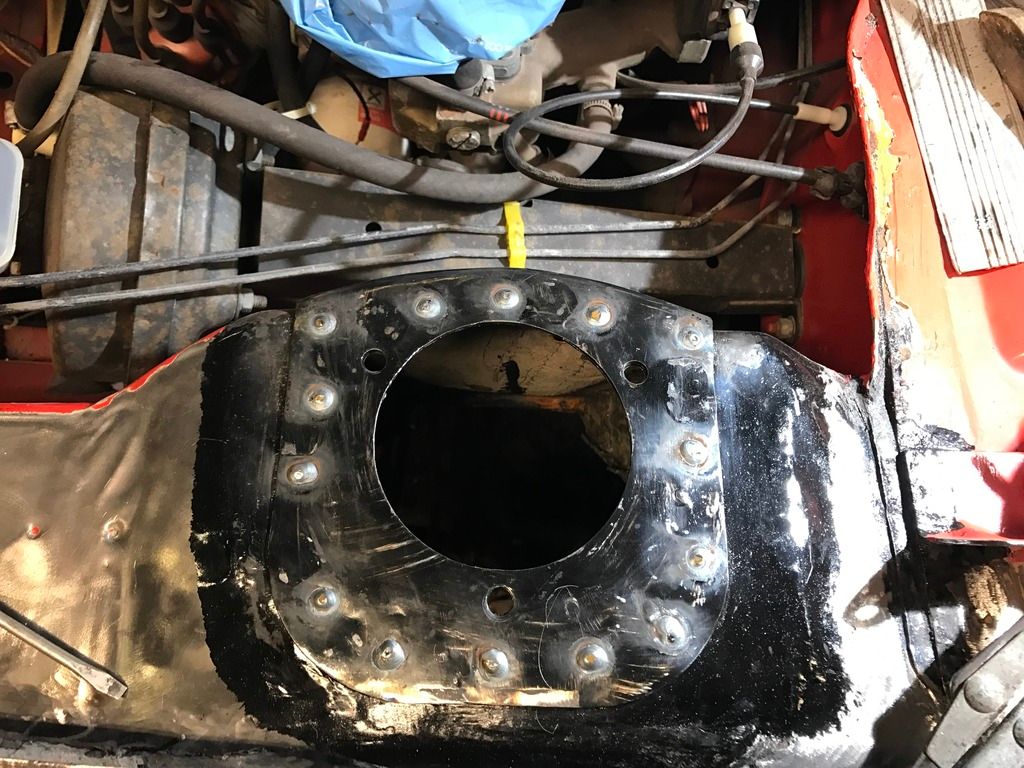 So came the time to finish up the front piece of the car. First I had to take out the front ARB, to get access to the front cavities, and next came out the radiator. 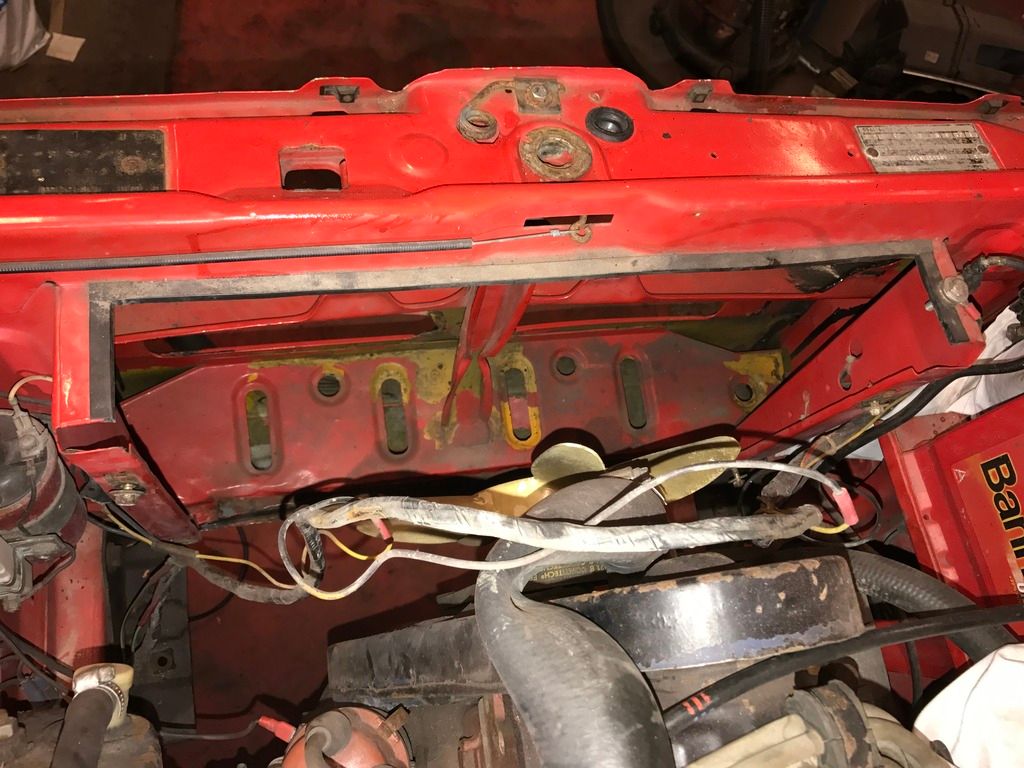 The bottom cavity looked like this though, lots of surface rust. 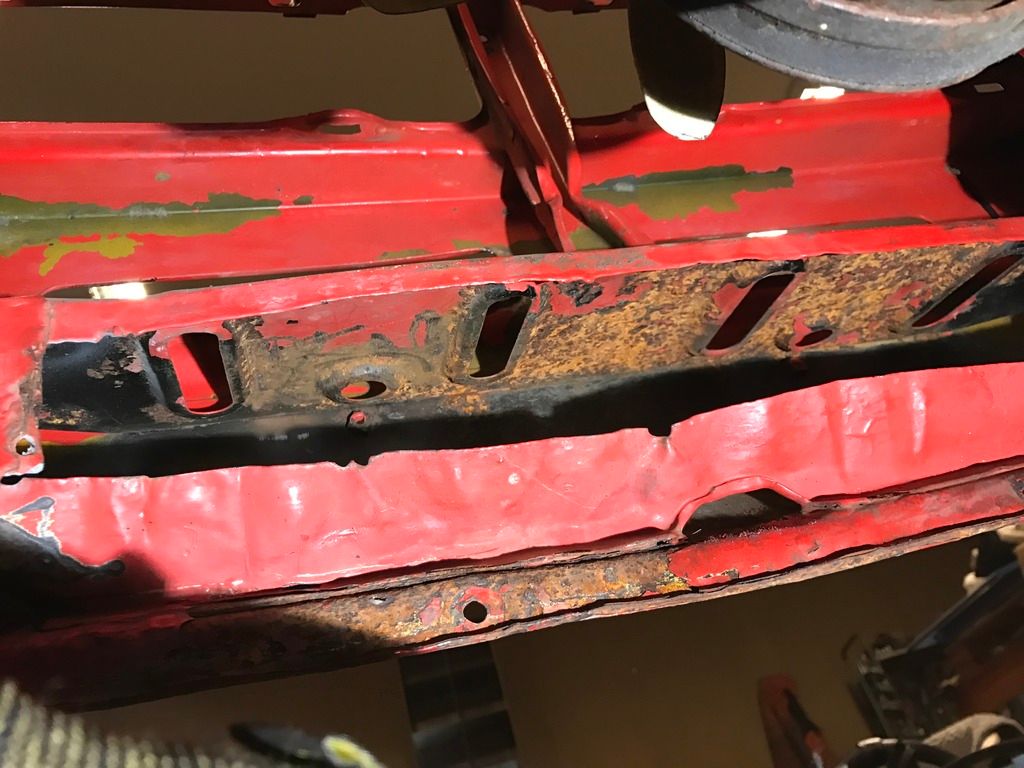 After a victory lap with the belt sander it looked heaps better. Except for my face, I was covered in rust 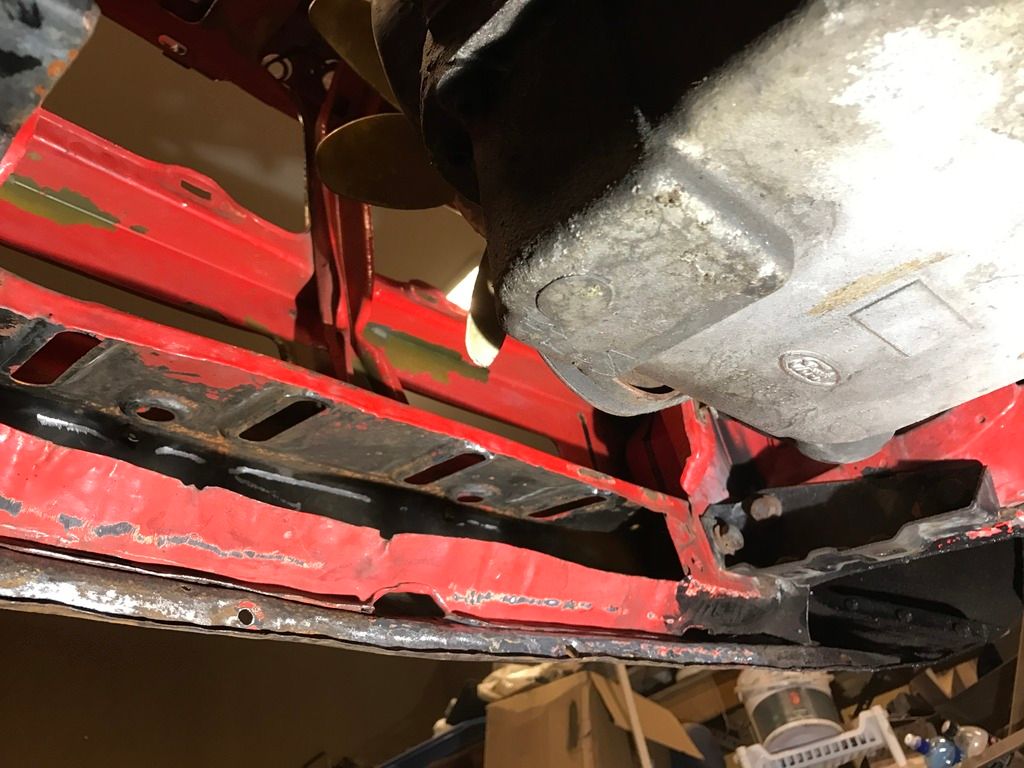 Stay tuned for the next update folks  |
| |
|
|
funkyhunk
Part of things
Old Ford's R Us
Posts: 265
|
|
Nov 28, 2016 23:37:14 GMT
|
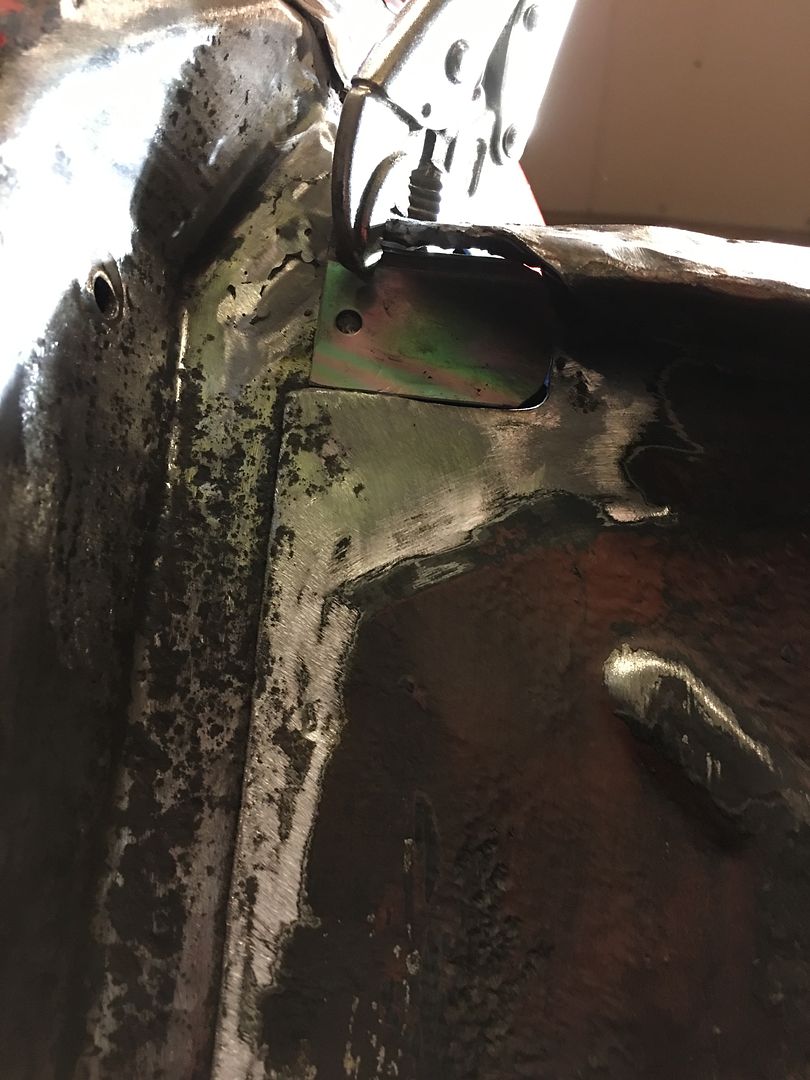
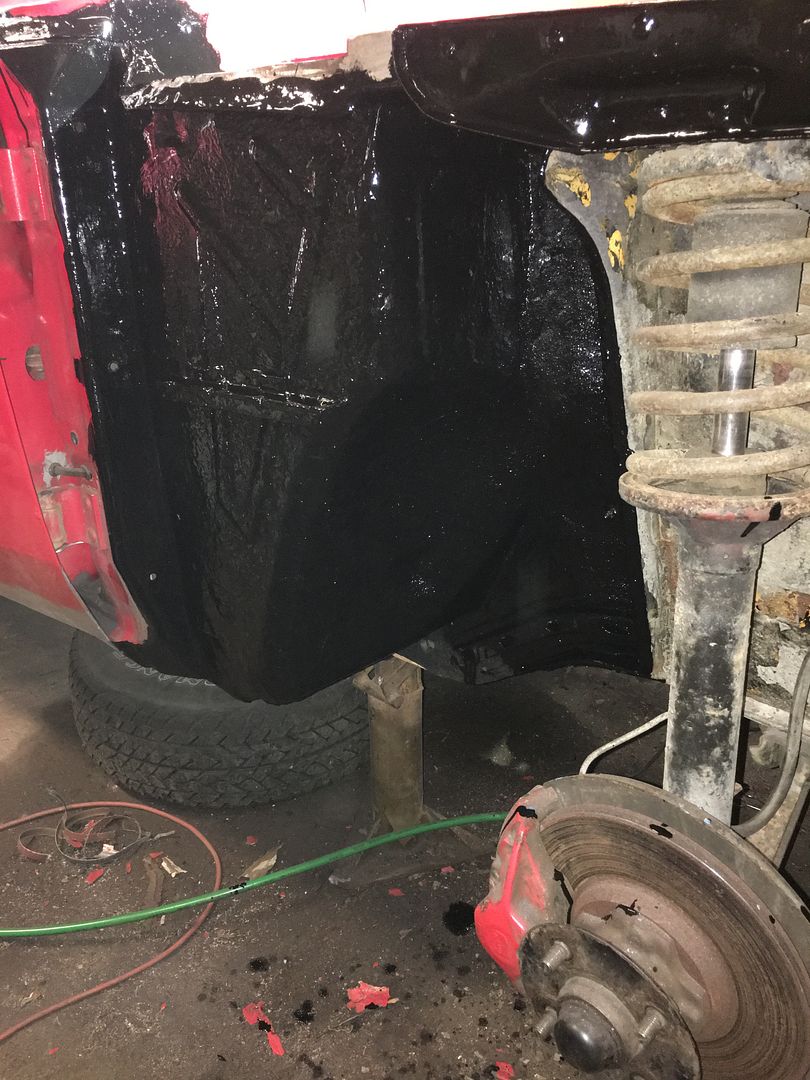
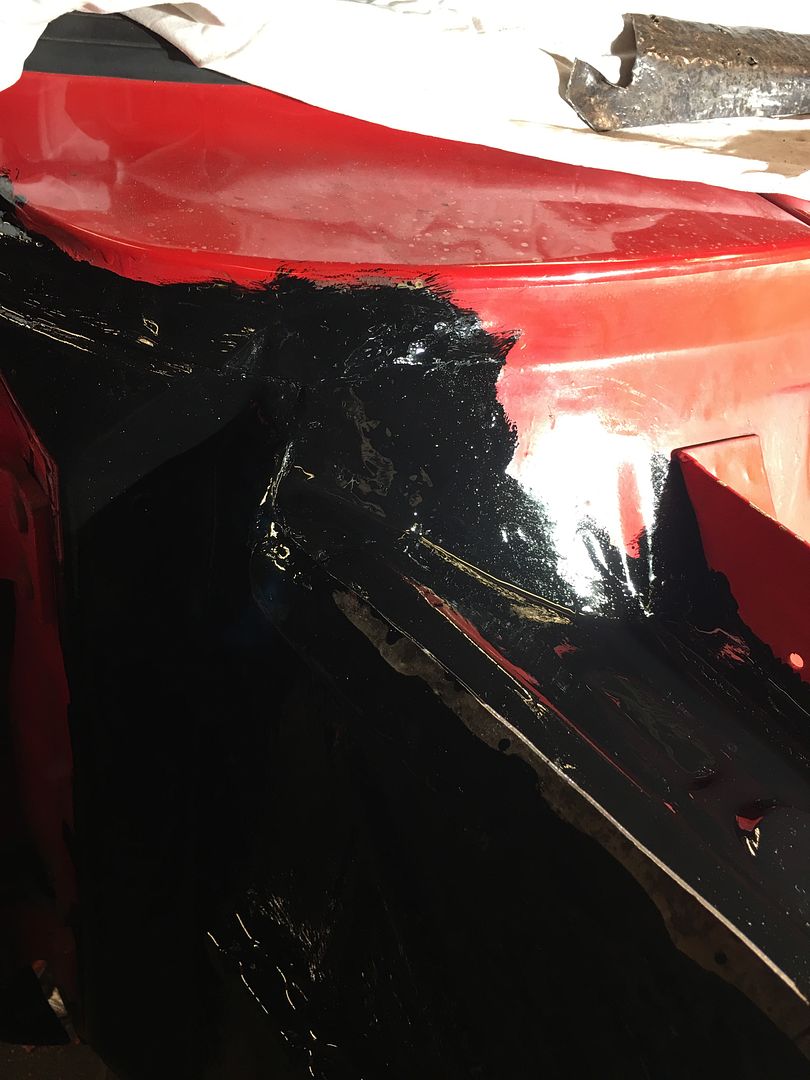
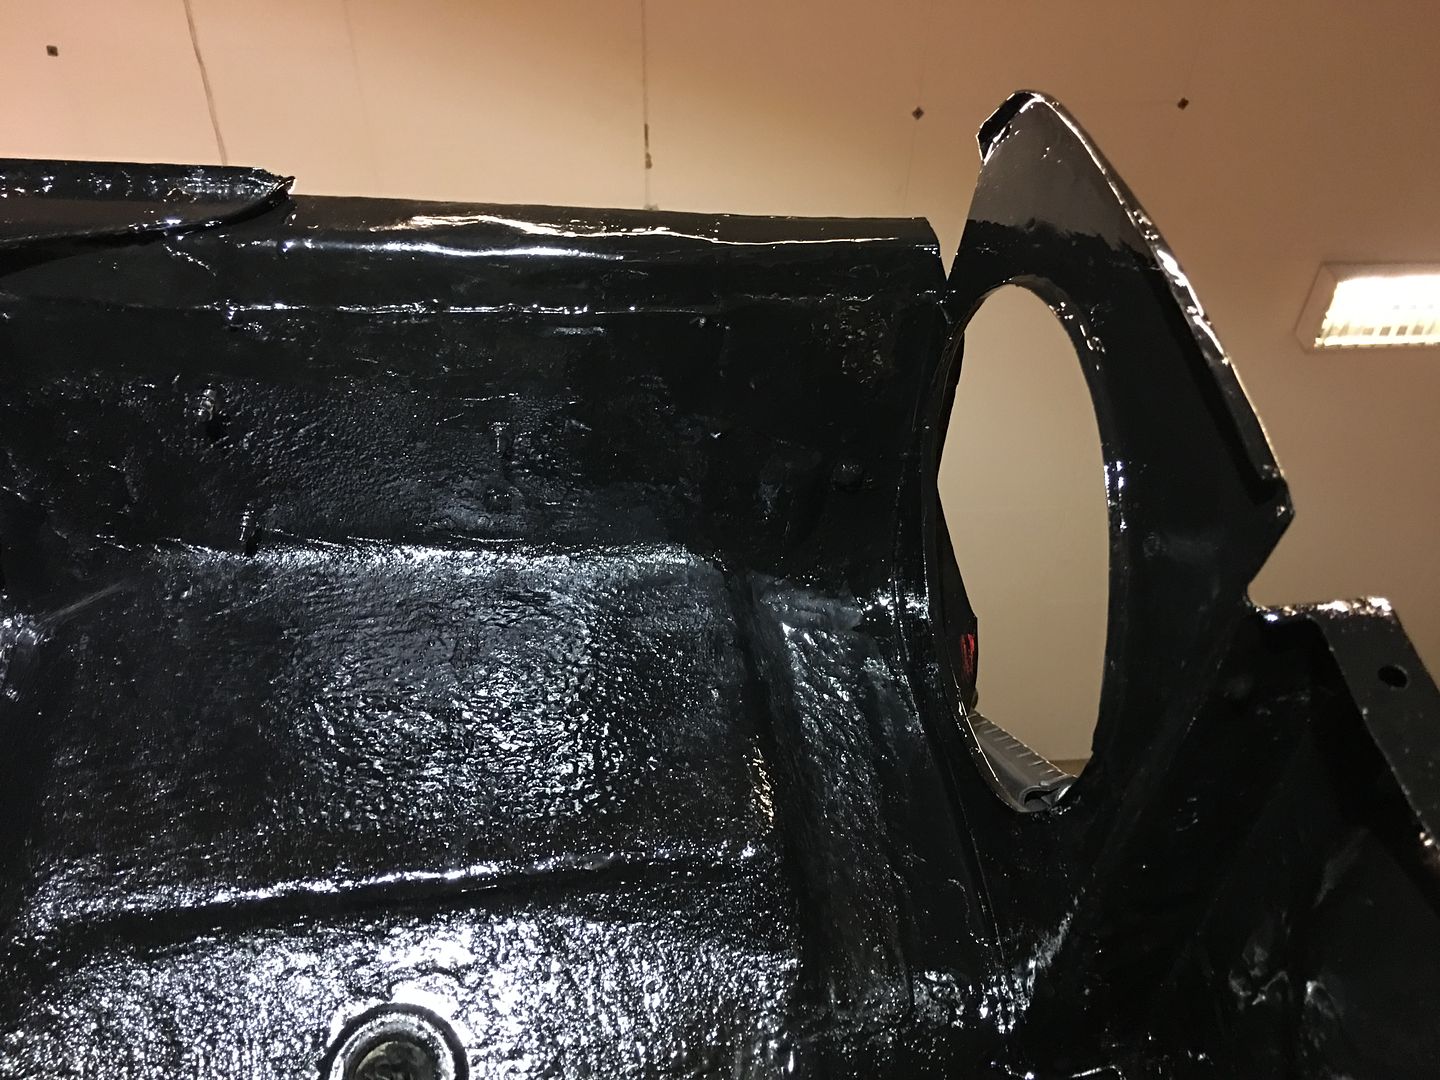
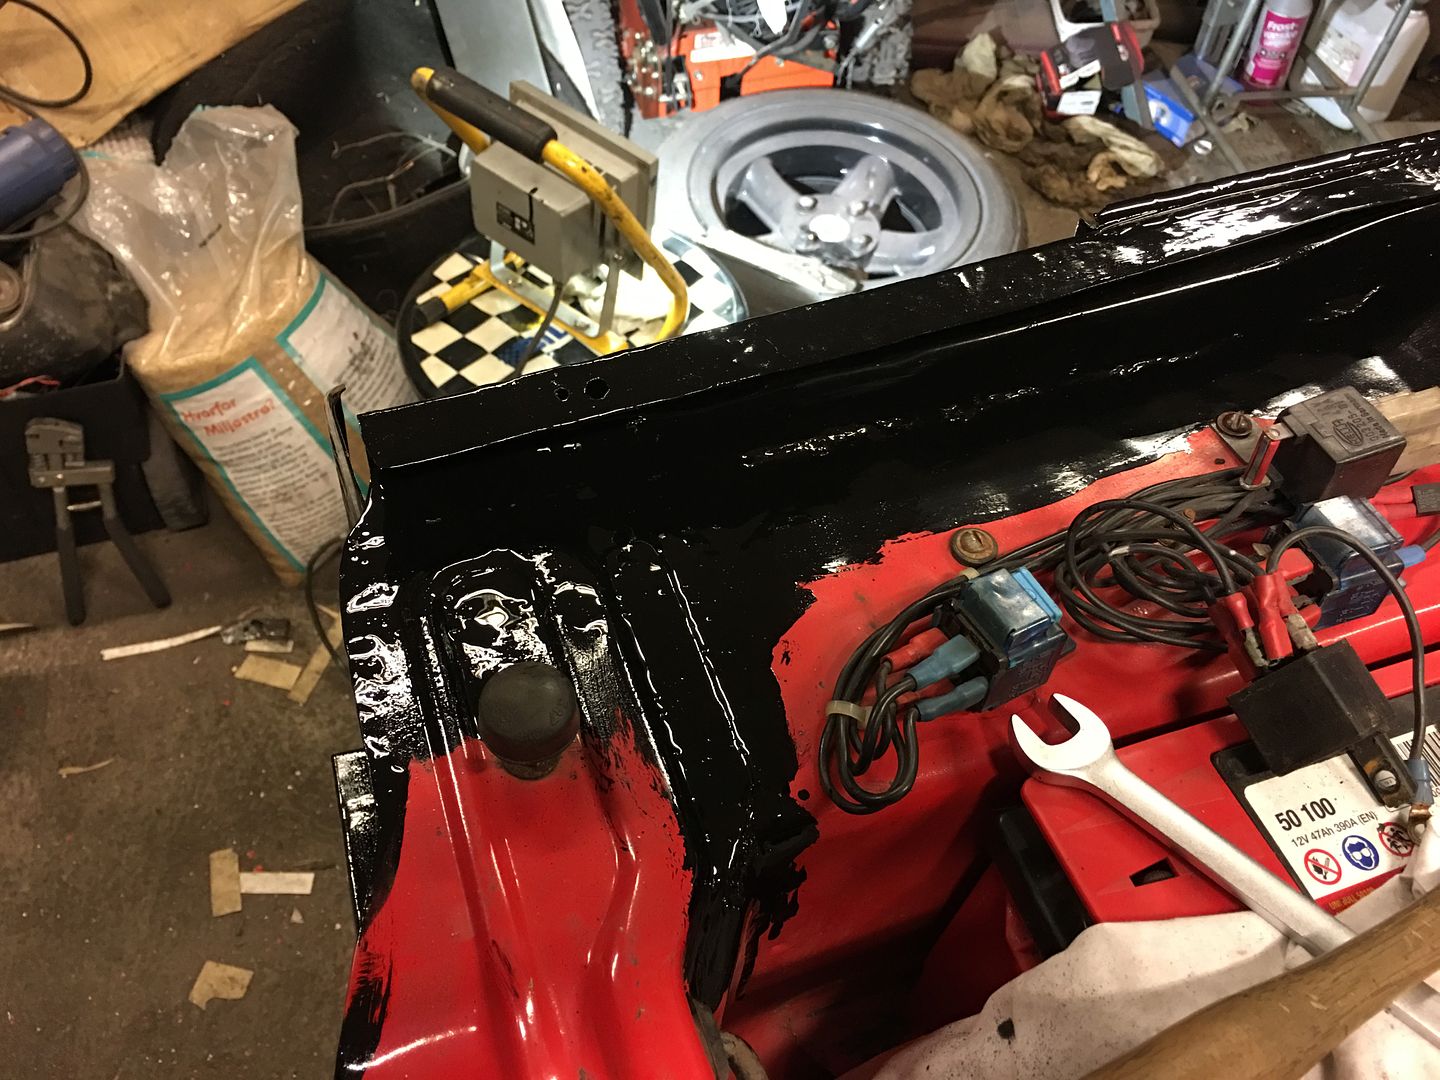
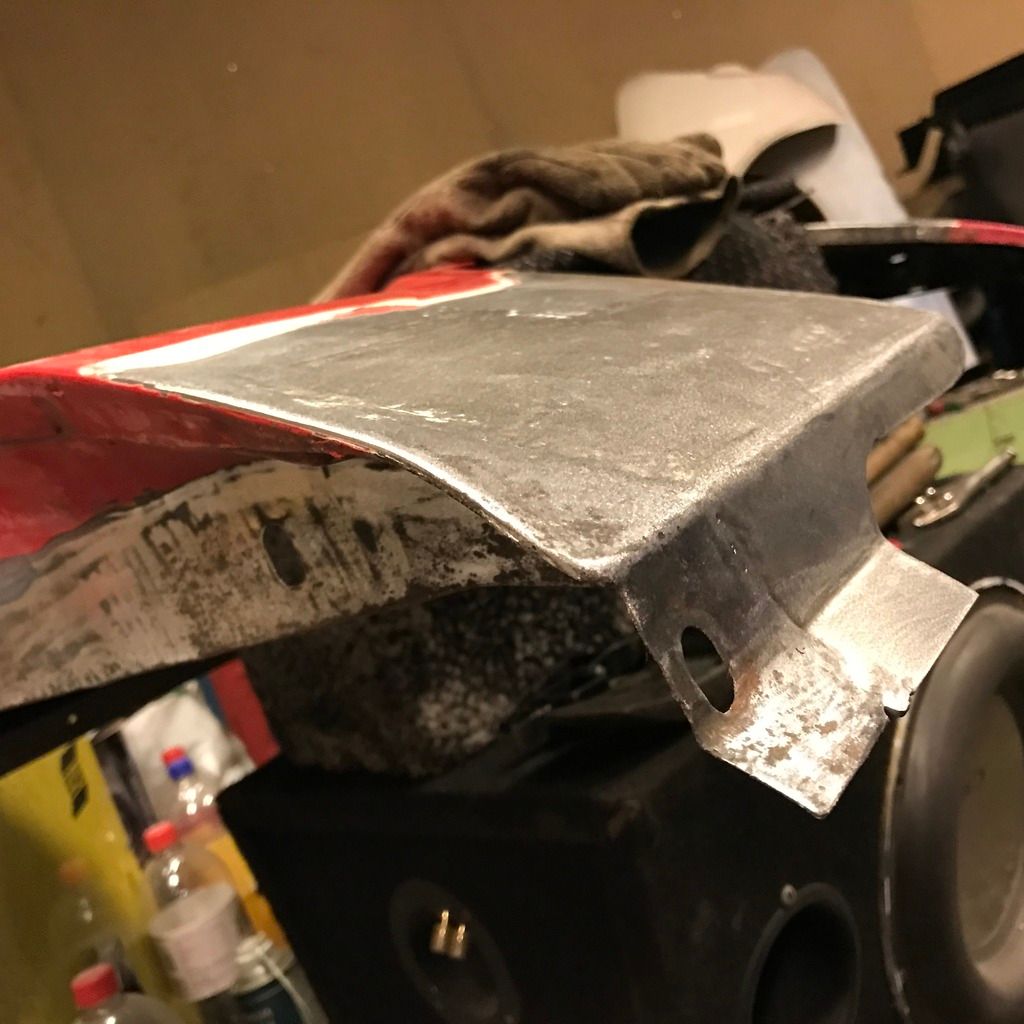
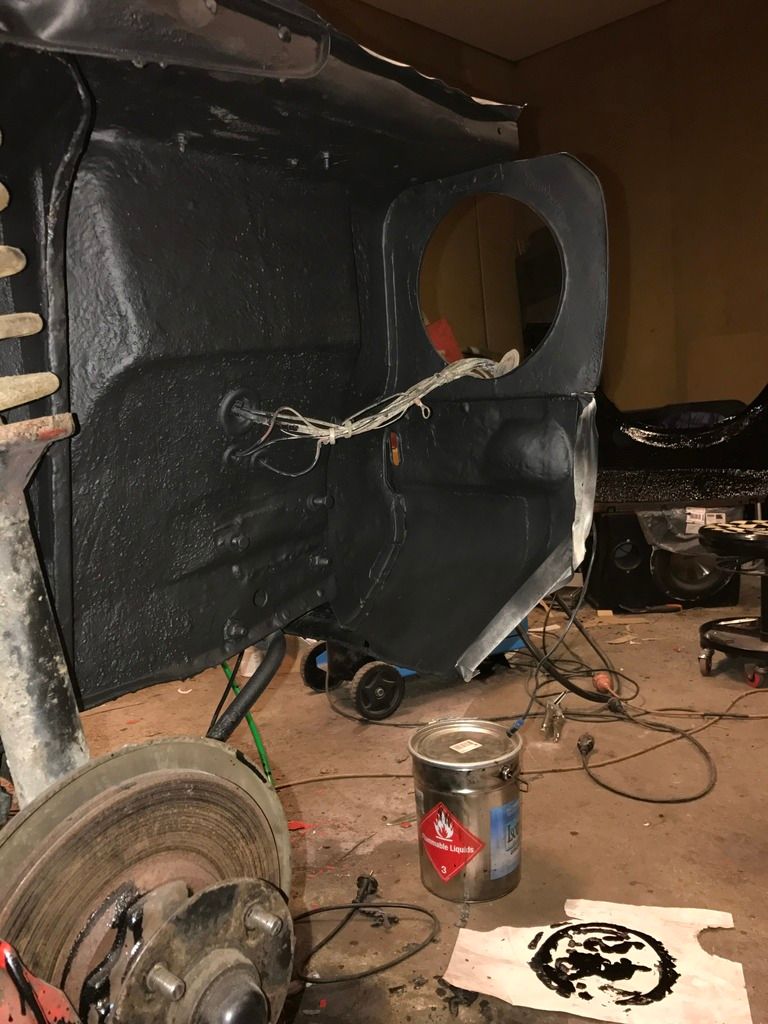
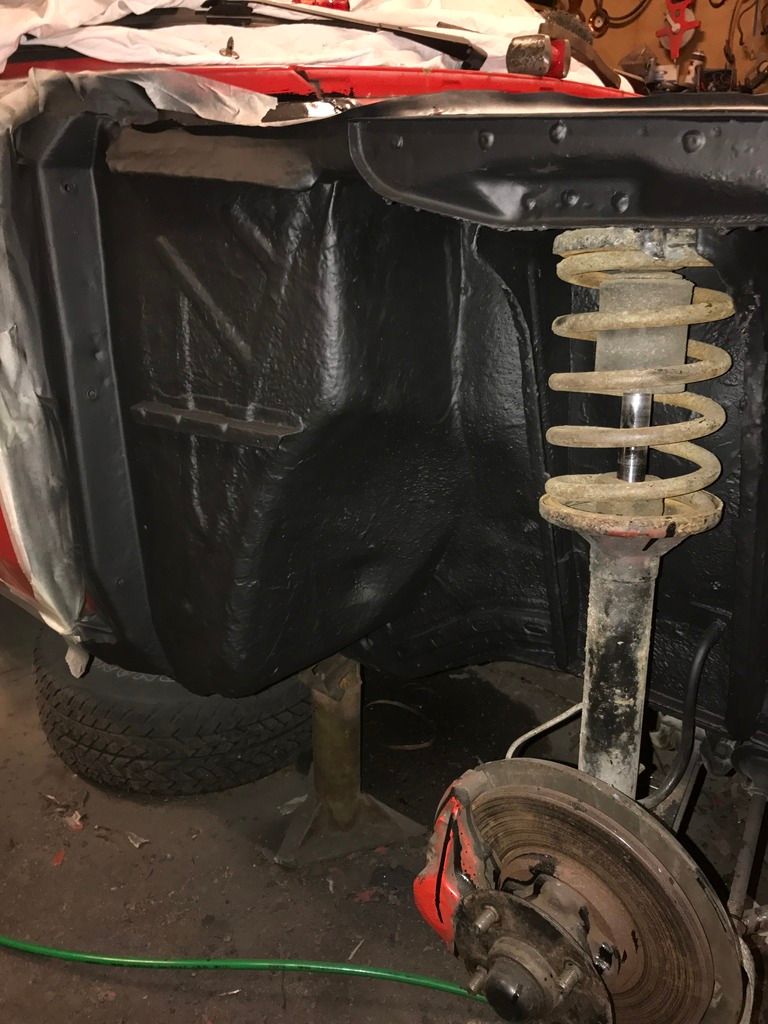
Time for a small update I guess. Not much has been done since last time, as I've had long days at work, a sinus infection, and I also had to replace the enginge in the daily, as the old one threw a rod bearing and deeply hurt the crank. That stuff took all last weekend. All this at the same time as balancing a 180hours a month job, a wife, and a daughter of 1.5 years. I'll be glad when I'm done with the car and I can start using and enjoying it properly, doing skids in the snow, not jacked up in the garage welding rust. Anyways next on the agenda was to cover all the bare metal with Isotrol Primer before it started flash rusting. Ready for primer: 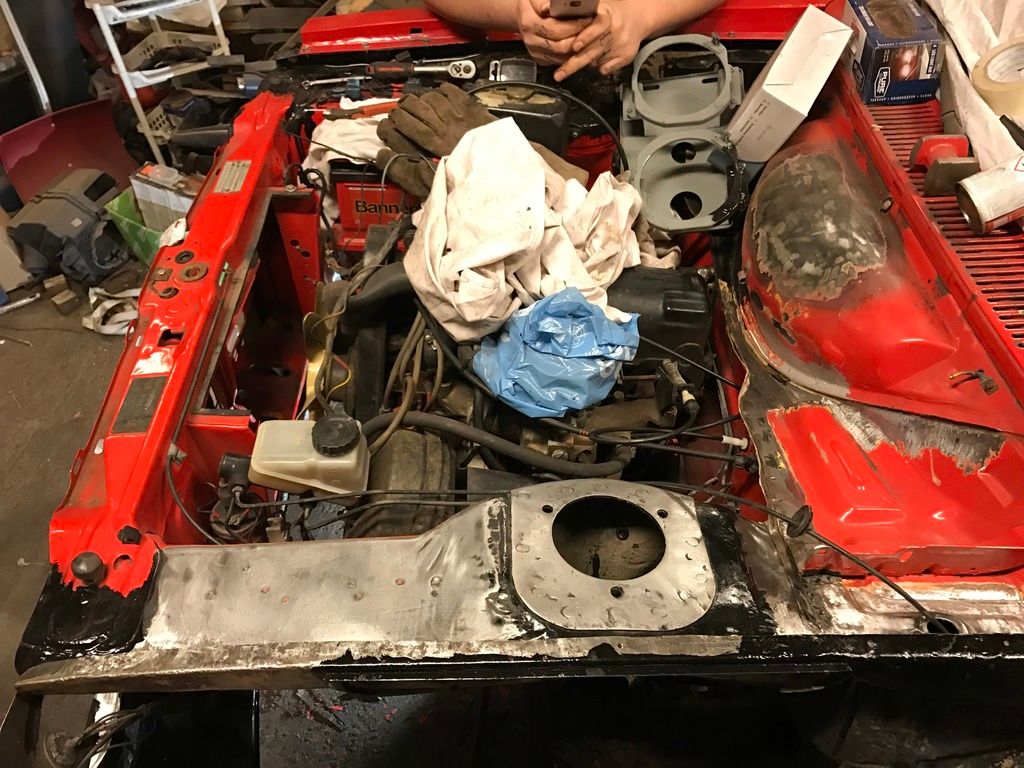 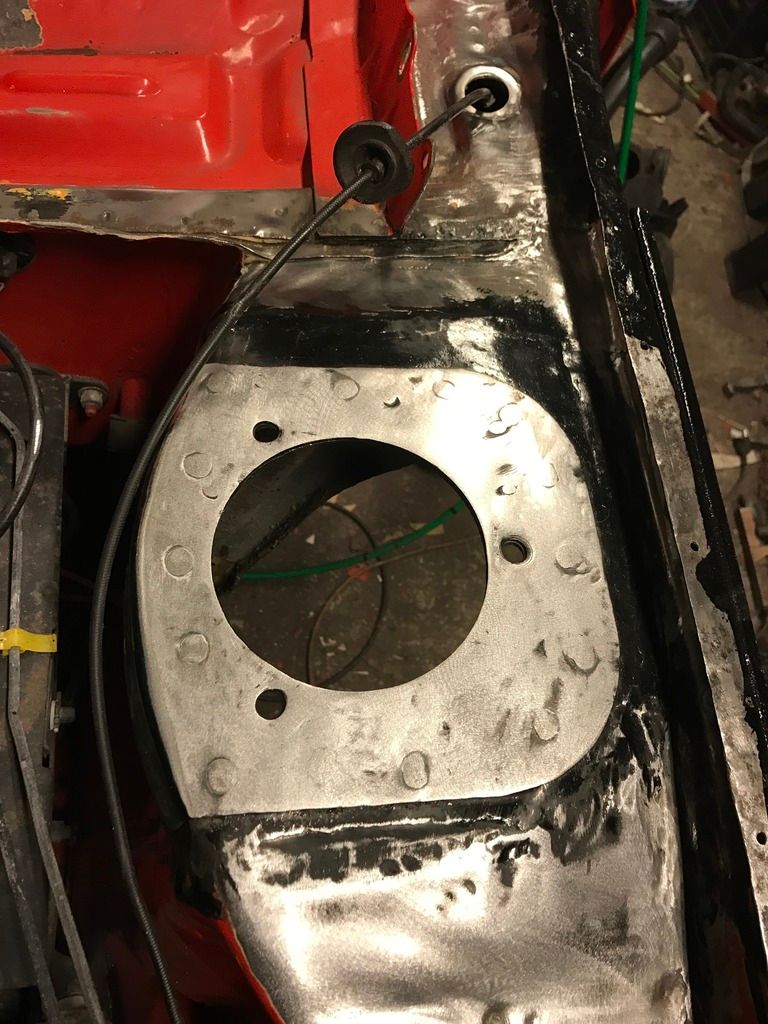 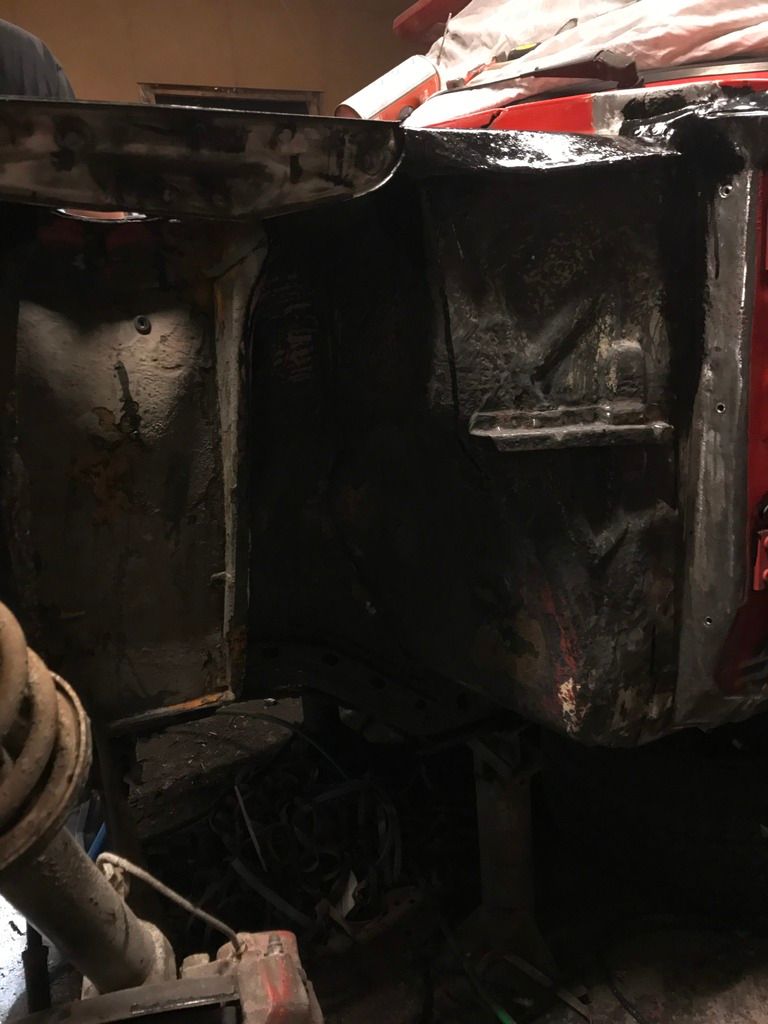 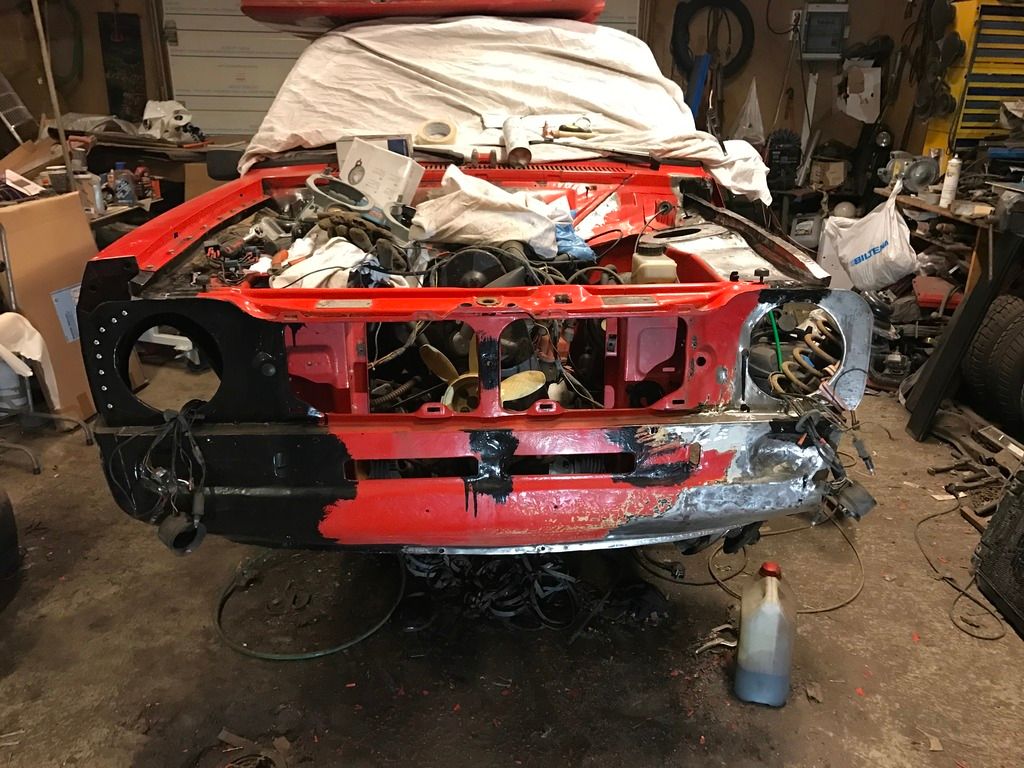 All of the front has gotten a liberal coat of Primer, inside, outside, all flanges and joins, everything really. 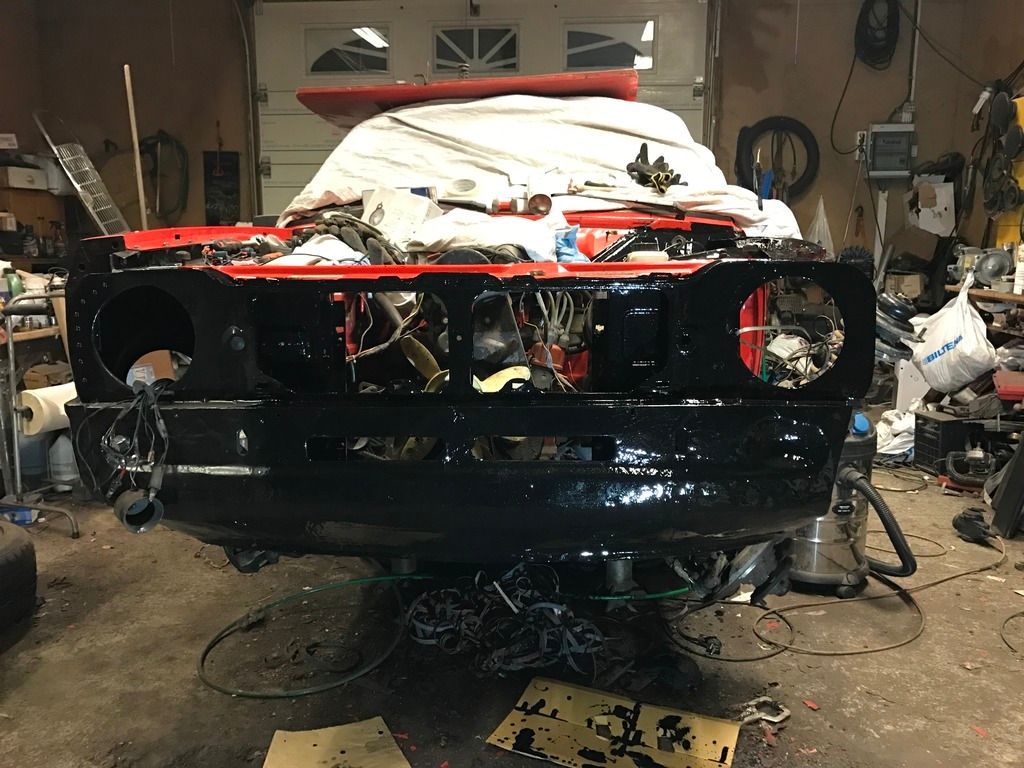 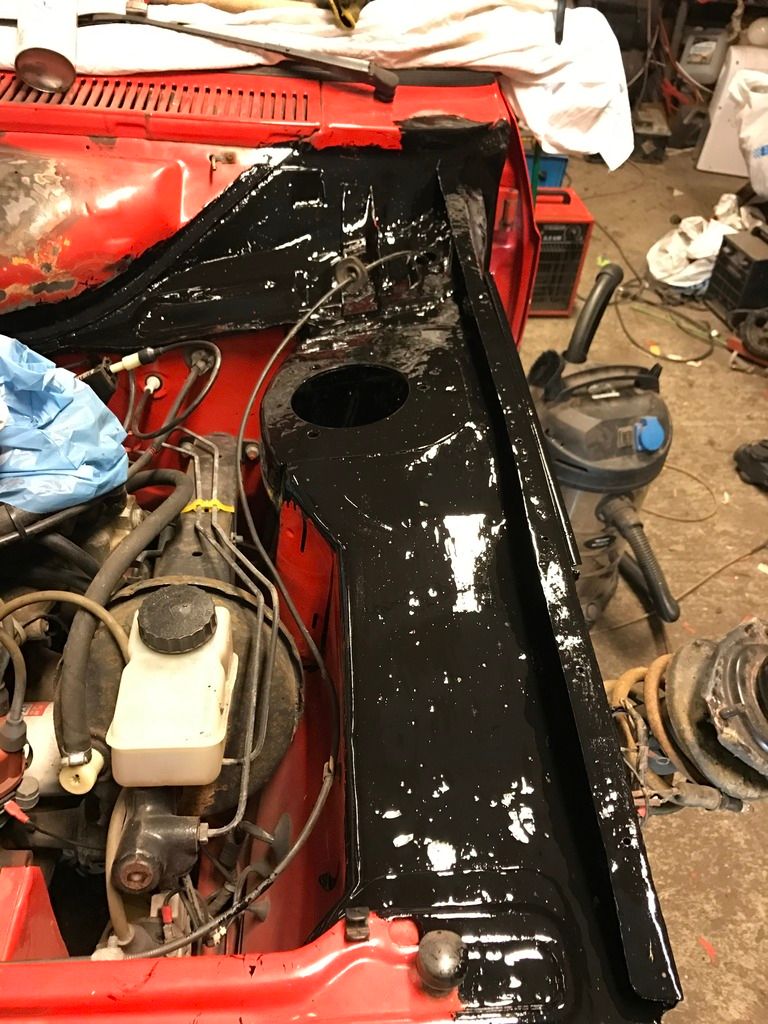 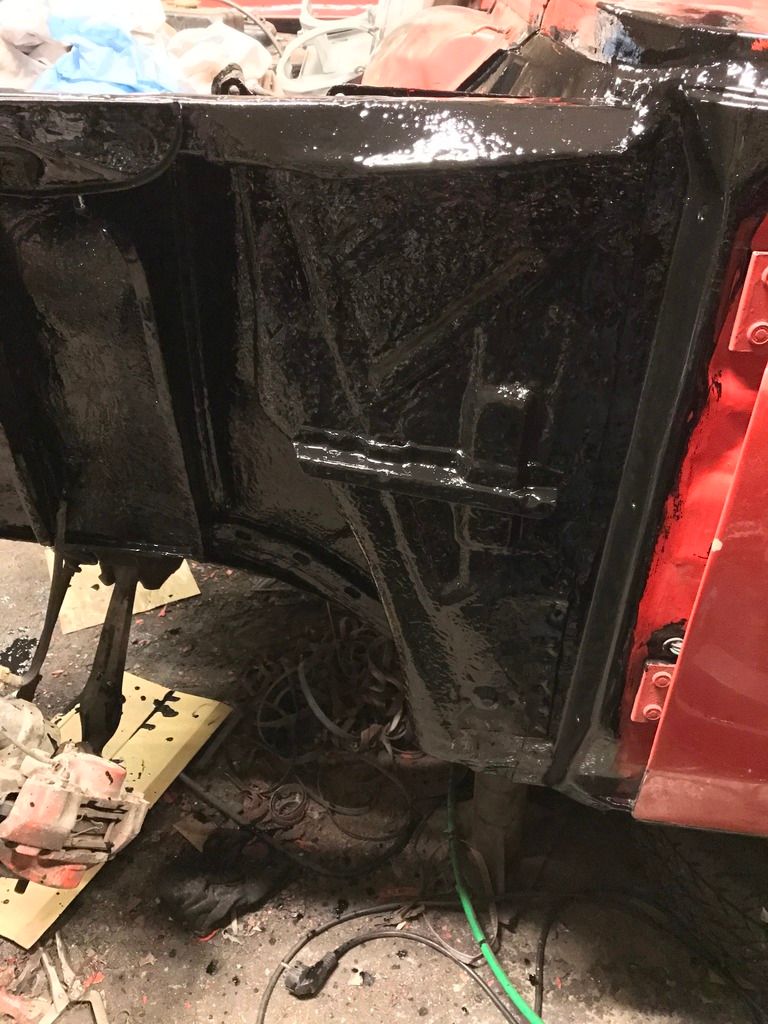 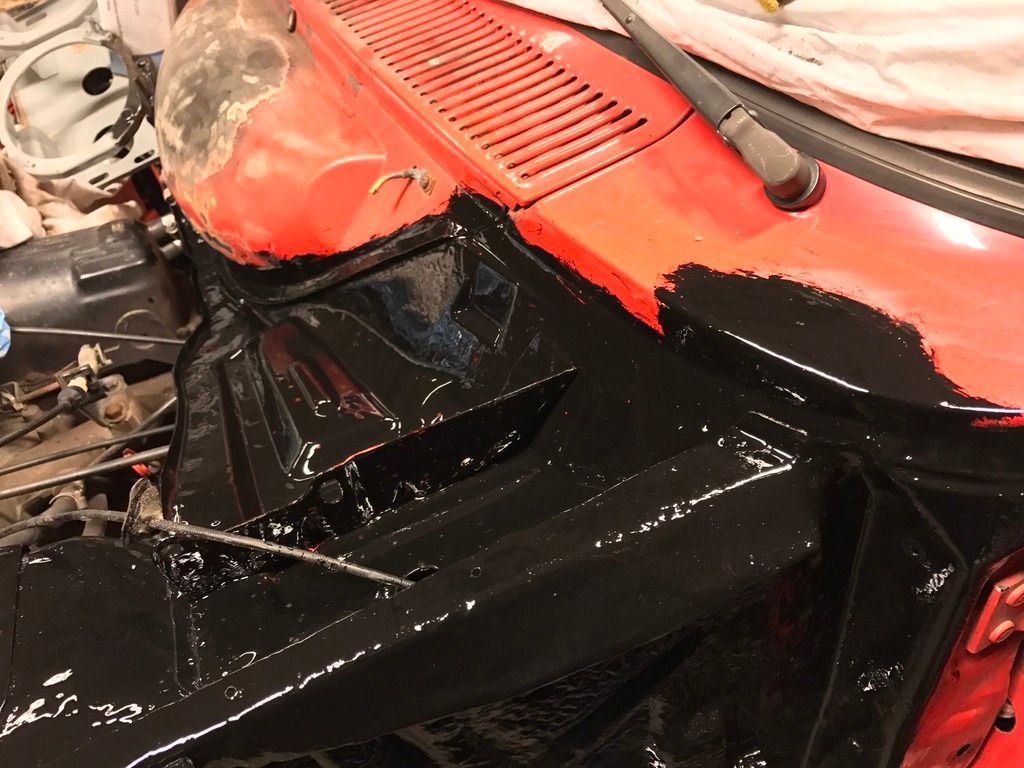 And this last photo just show how deeply penetrating the Isotrol Primer really is. It even surprised me, and I've been using this stuff for some years now. Here is one of the id-tags on the the front slam panel:  If you look closely you can see that the primer has penetrated and circled the pop-rivets, and the base of the plate. And that is from my painting the UNDERSIDE of the slam panel. Totally unbelievable. Too bad I have to do alot of horse trading with the factory in Sweden to get this stuff over to my place in Norway. I actually have to import it myself. Anyways there may be another update this weekend, as I've asked the wife to let me go to the garage thur/fri/sat/sunday for once Not much feedback on my posts here? I guess the like button has taken over for much of the comments people used to get on their project threads. Thanks for reading regardless |
| |
|
|
|
|
|
|
|
|
Just caught up on this. Spectacular work on the Escort. The panels and welds are things of rare beauty!
|
| |
|
|
|
|


 Must get one of those power files, they look very handy. Keep up the great work
