breadvanman
Part of things
 Easy Retronesy :)
Posts: 100
|
|
Jun 18, 2010 17:46:39 GMT
|
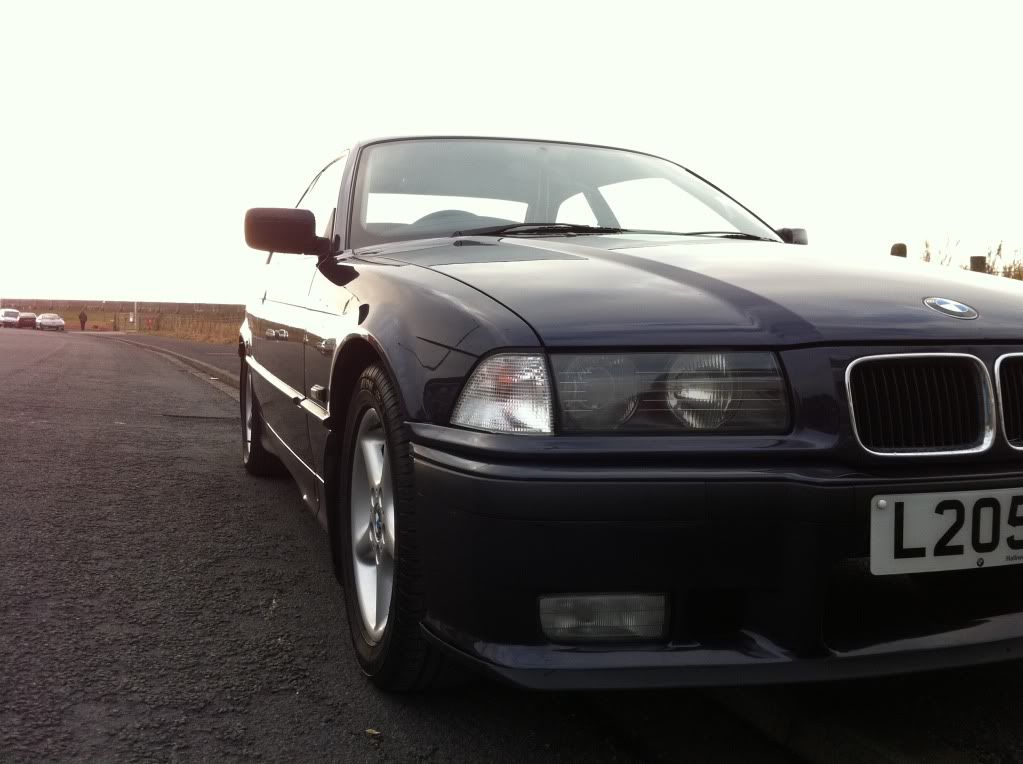
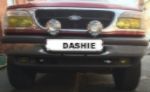
I got my Breadvan last year just before winter so it didn't have very much attention and was sitting on the drive for some time but as soon as the weather picked up I got to work. As soon as I learn to drive this is going to be my daily and I cant wait!! I began reviving the many rust patches she had, mainly on the doors and random patches, I haven't tried to do the rear arches yet as they are so bad they will need a welder which I don't have  i'll continue to update this thread as I go along with the project hope you like what i've done. When I First Got her, The Rubber Duck was the first mod. Excuse the quicksilver in the background use to be my brothers car before he wrote it off :/ now he's got a Lupo!!  In the winter months next to the lupo   The Horror ahhh   Fixed that hole with some aluminuim mesh and filler  The Splitter The SplitterBought a mk1 golf splitter off ebay   trial fitting  I didn't like the fact they come in two parts and you can see the line down the middle so I fibre glassed them together   Wet and Dry'n  Primered  Painted Satin Black- did it use to be in 2 pieces? love itt 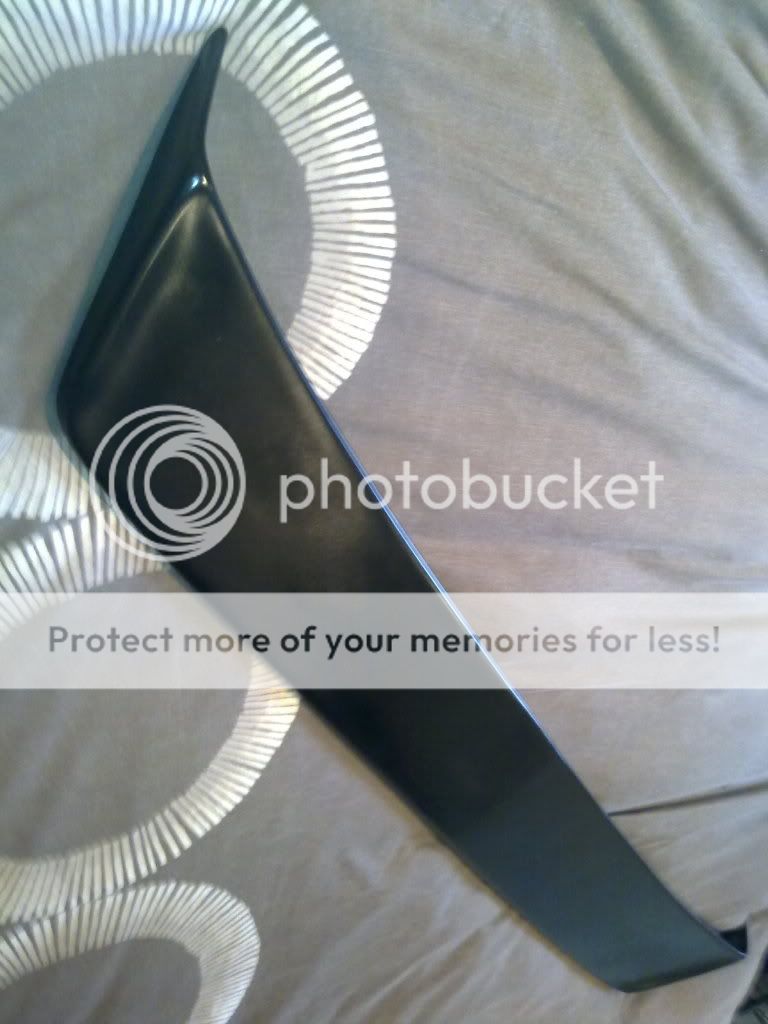 Went to Dubfreeze 2010 and got some awsome retro stickers  Fuel Tank Fuel TankMy fuel tank was leaking so it was time for a new one up on the ramps  all that mud fell out of there could of made a vegtable patch or somthing with it  old and new  The Custom Gearnob The Custom GearnobTheme for my car is retro so whats more retro than a Rubiks cube First I had to mark out the sqaures on the top face and to cut them straight my step dad made a jig  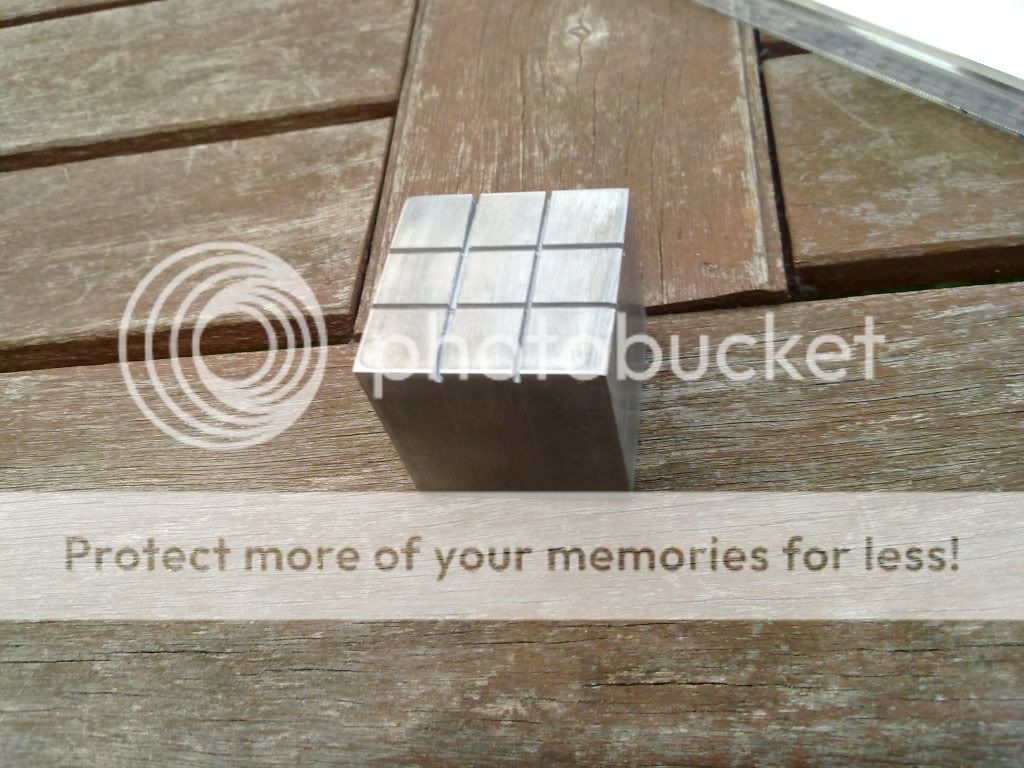 Then once i'd done all the sides I threaded a hole in the bottom and test fitted it on my gear stick  I then rounded all the edges off, sanded it and primered it  Then sprayed it black  Now for stickers  Comparison  finally fitted I love the way it came out  Custom Filler Cap Custom Filler CapThe Design  Primered  Black soo shiny  Stickered  On Car  The Grill The GrillMy mate brang round his tape he used to do his bumpers on his mk3 coupe and we done my grill Before  After   My Car as it is now, the splitter and grill are not on because I need to fix some damage on the front  Tell me what you think , more to come soon Jordan |
| |
|
|
|
|
mclellanmac
Posted a lot
Hand me the hammer and the WD40
Posts: 1,178
|
|
Jun 18, 2010 17:57:46 GMT
|
|
I love that Gear Knod, Simple idea beautifully carried out! Nice, and the splitter looks the sex too smoothed off, just need to get to grips with the body! Good work!
|
| |
Mercedes 190e, Lovely
MK4 Golf GTi 20v Turbo, Dull, but always works!
|
|
|
|
|
Jun 18, 2010 18:13:43 GMT
|
|
love that gearknob, pure genius...
|
| |
|
|
markbognor
South East
 
Posts: 9,968
Club RR Member Number: 56
|
|
Jun 18, 2010 20:24:10 GMT
|
|
I love the gear knob. It looks great painted and stickered, but I almost wish that it had been left polished so that it hade the feel of the rubiks cube without the detail.
Good luck with the rest.
|
| |
|
|
|
|
|
Jun 18, 2010 21:12:10 GMT
|
|
love the gearknob!
|
| |
|
|
retrolegends
Club Retro Rides Member
Winging it.....Since 1971.
Posts: 3,717
Club RR Member Number: 94
|
|
Jun 18, 2010 21:43:19 GMT
|
|
Looks good mate,looking forward to seeing more pics
|
| |
1974 Hillman Avenger 1500DL1992 Volvo 240SE1975 Datsun Cherry 100a flying custard1965 Hillman SuperMinx Rock N Roller1974 Austin Allegrat Mk1 1.3SDL1980 Austin Allegro Mk3 1.3L1982 Austin Allegro Mk3 on banded steels2003 Saab 9-3 Convertible 220bhp TurboNutter1966 Morris Minor 1000 (Doris) 2019 Abarth 595C Turismo (not retro but awesome fun) www.facebook.com/DatsunCherry100a |
|
ratta
Part of things
Posts: 377
|
|
Jun 19, 2010 18:47:11 GMT
|
Look really cool  Polo3.co.uk is much better than club poo  |
| |
|
|
|
|
|
Jun 19, 2010 19:26:00 GMT
|
|
Loving all the small touches on this, looking forward to seeing more !
|
| |
|
|
|
|
|
Jun 19, 2010 21:19:00 GMT
|
|
Another Bready with heavy 80s influence, excellent stuff! The little rubix cube gearknob is inspired, maybe you can get a tiny one as an aerial bobble?
Just as a tip, since yours seems to have similar rust spots to mine, lift the rear seat and remove the driver's side door card, you *might* find some rust there since water and grot gets stuck between the filler neck for the petrol tank and the inner arch. Oh, and check your battery tray, they can rot out from there and straight through the bulkhead so be sure that's clean and watertight, we only found that hole on mine when it rained... but it's fixed now.
|
| |
|
|
|
|
|
Jun 19, 2010 21:24:42 GMT
|
gear knob is amazing and like the work witht the spliter |
| |
|
|
|
|
breadvanman
Part of things
Easy Retronesy :)
Posts: 100
|
|
Jun 20, 2010 21:14:42 GMT
|
Update Time hey peeps thanks for the comments not really a big update but a few random things i've got up to, enjoy! Rubiks Cube sticker on splitter  Rang up like 20 scrapyards to see if they have my car, eventually one said they did, 2hrs away, so went there and it was a mk3 what a joke, lukily the sun visors are the same and he had some mk2 headlights on a shelf so snatched them up Put visors on and changed my cracked headlight 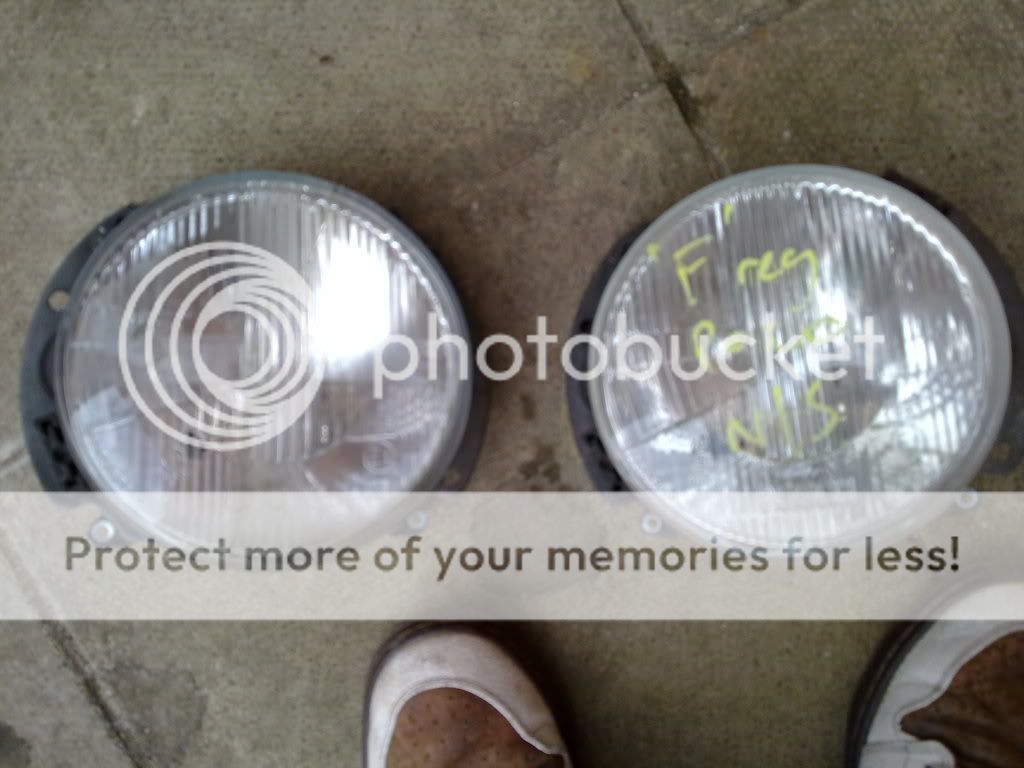 The Breadvans been having idling problems and keeps cutting out, turns out it was to do with the air/fuel mixture so adjusted that and now she's running like a dream  Started working on the damage on the front, partly my fault and some was there before :/ 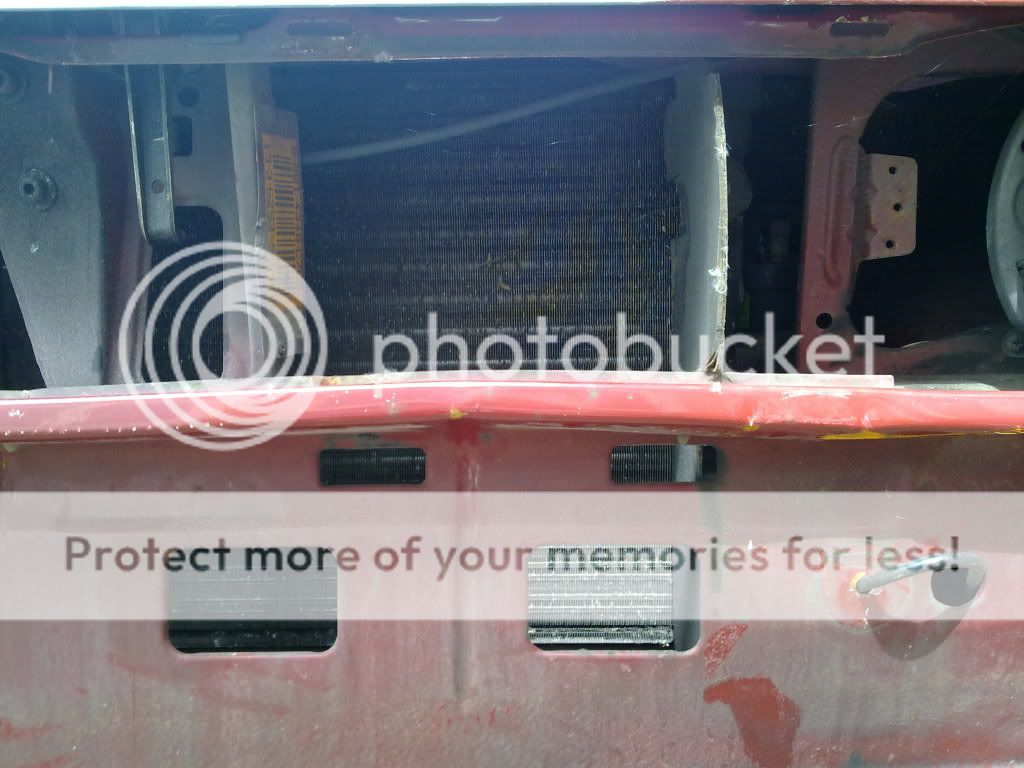  This kind of worked  looking better now wet and dried it  and fillered still needs sanding though then will be ready for paint have no idea how it will turn out as i have to get halfords to mix my paint which is ment to be metalic when my car is faded :/  Bought an old skool thule roof rack, ebay bargain of £10 bit tatty but i've dismantled it and going to restore it In the middle 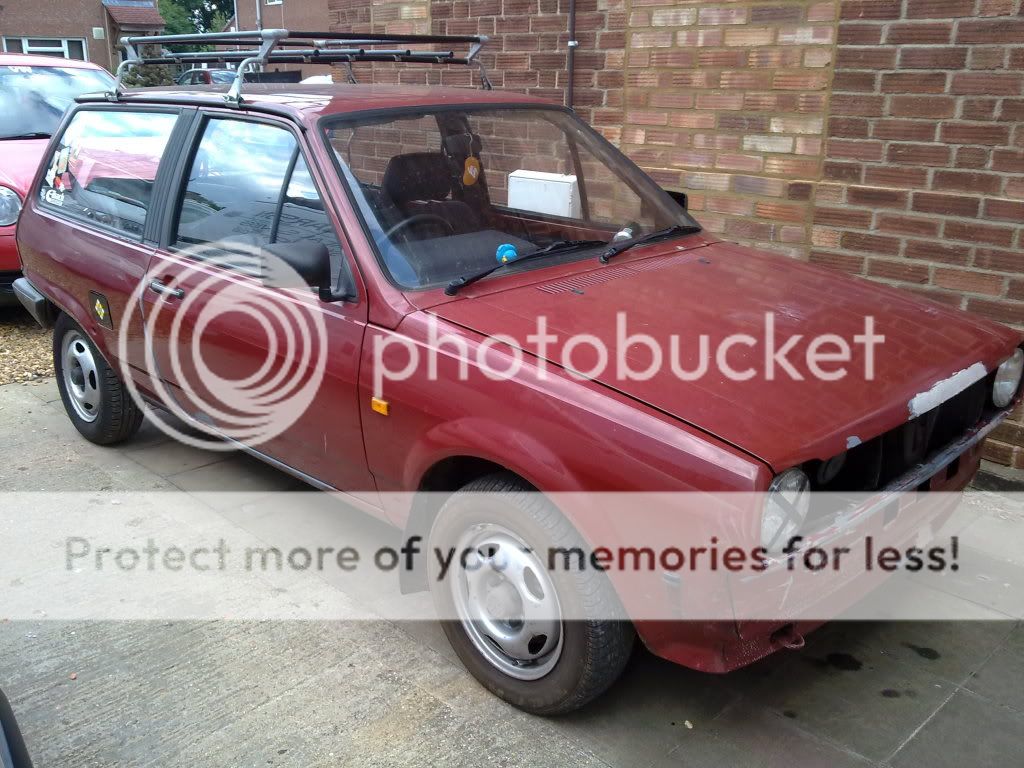 Or on the back  I like it on the middle better, what does everyone else think? Thats all for now guys, oh yeh i have bought some wheels You guys may recognise them from the forum I'm so glad I'm the new owner they're great  volksangyl was right, i'ves been getting water next to the throttle pedal so checked the battery tray and found this  Cheers Jordan |
| |
|
|
valman
Part of things
Posts: 603
|
|
Jun 20, 2010 21:23:58 GMT
|
|
roof rack looks better on the back imo. love the job youve done on the gearknob!
|
| |
|
|
|
|
|
Jun 20, 2010 22:05:32 GMT
|
Update Time volksangyl was right, i'ves been getting water next to the throttle pedal so checked the battery tray and found this If you're getting water on your pedals then the rot has gone through the bulkhead too. The repair usually requires the dashboard to come out, which isn't much fun if you're not taking the windscreen out. However, the good news is that your battery tray hole is far smaller than mine so it should be an easier fix. I'm amused that the pattern of paint and metal damage on the nose end is identical to mine when we stripped it back. In fact, the areas of damage on yours are so similar to mine that I've listed what I've found on mine when we stripped it back to the bare shell for your convenience: surface rust in spare wheel well. bottom front inside corner of driver's door top, back edge and near jacking points of sills Rear valance where it's close to the spare wheel well Hinge on fuel filler flap (though I think you've already tackled that) The plastic inserts in the wheel arches collect a lot of mud and grot too If I think of anything else to look out for, I'll let you know. Feel free to ask me about bodywork and interior related stuff, but be aware that I'm not so hot on mechanical things. |
| |
|
|
breadvanman
Part of things
Easy Retronesy :)
Posts: 100
|
|
Jun 23, 2010 19:34:20 GMT
|
Update Time volksangyl was right, i'ves been getting water next to the throttle pedal so checked the battery tray and found this If you're getting water on your pedals then the rot has gone through the bulkhead too. The repair usually requires the dashboard to come out, which isn't much fun if you're not taking the windscreen out. However, the good news is that your battery tray hole is far smaller than mine so it should be an easier fix. I'm amused that the pattern of paint and metal damage on the nose end is identical to mine when we stripped it back. In fact, the areas of damage on yours are so similar to mine that I've listed what I've found on mine when we stripped it back to the bare shell for your convenience: surface rust in spare wheel well. bottom front inside corner of driver's door top, back edge and near jacking points of sills Rear valance where it's close to the spare wheel well Hinge on fuel filler flap (though I think you've already tackled that) The plastic inserts in the wheel arches collect a lot of mud and grot too If I think of anything else to look out for, I'll let you know. Feel free to ask me about bodywork and interior related stuff, but be aware that I'm not so hot on mechanical things. Thanks so much you've been really helpful, i haven't got any more rust in them places you've just said but thanks for the advice Jordan |
| |
|
|
|
|
|
Jun 23, 2010 19:41:27 GMT
|
|
Sounds like you've got a good one then if there's no more rot appearing. Glad to be of service. Mines off to get the once over this weekend, but I'm not sure how much work we'll get done besides moving it into the garage but when I do get stuck in if I find anything else I'll put it up on my build thread.
|
| |
|
|
binboy
Part of things
Posts: 317
|
|
Jun 23, 2010 19:50:09 GMT
|
|
Love it, its the same year and colour as my first car way back in 1998.
|
| |
Slammed 1975 Mercedes 240d back with Dez
1978 W123 Mercedes in yellow
1972 Danbury delux VW camper
1967 Aussie import split screen camper Sold
Slammed 1992 Golf 1.8
1987 Bmw 320i sold
1984 Mitsubishi L300
|
|
breadvanman
Part of things
Easy Retronesy :)
Posts: 100
|
|
|
|
The week the Breadvan got its face back I fitted my new wheels on the back to see if they fitted in the arches, i need spacers for the front as they don't get over the calipers :/ 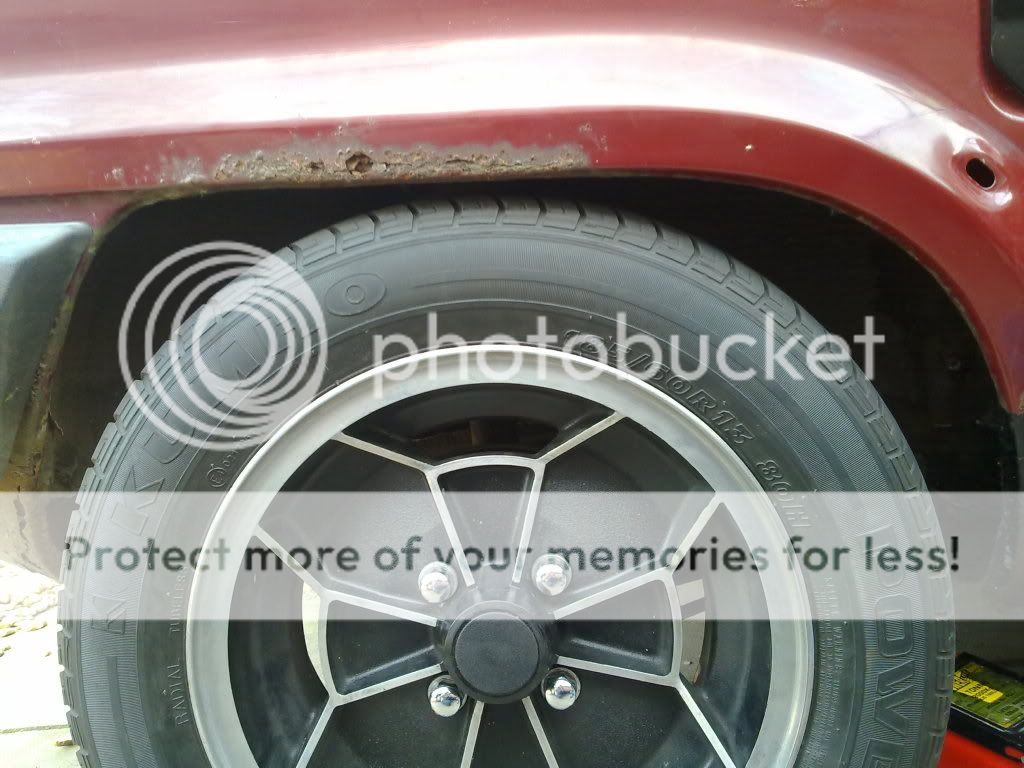  I need some camber shims compared with other side  Prepared the bready for primer  my legend of a next door neighbor let me use his garage   wet and dryed ready for Titian Red 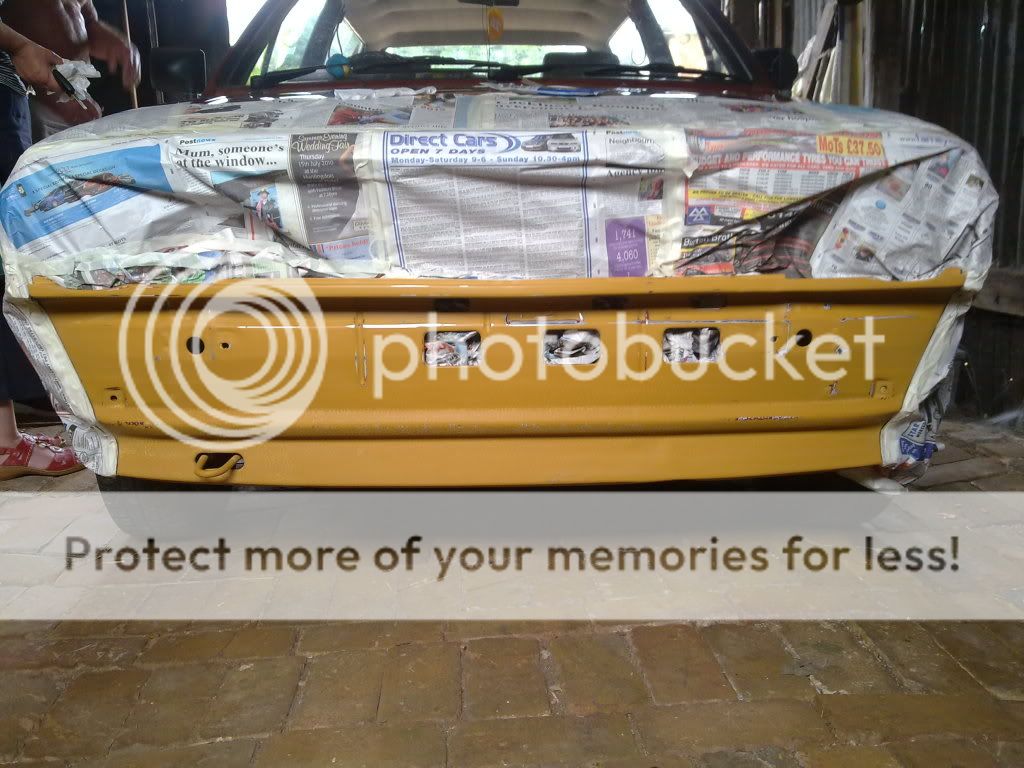 first coat  Painted, i love the halfords mixed cans they're so good even though expensive :/  Clear coat 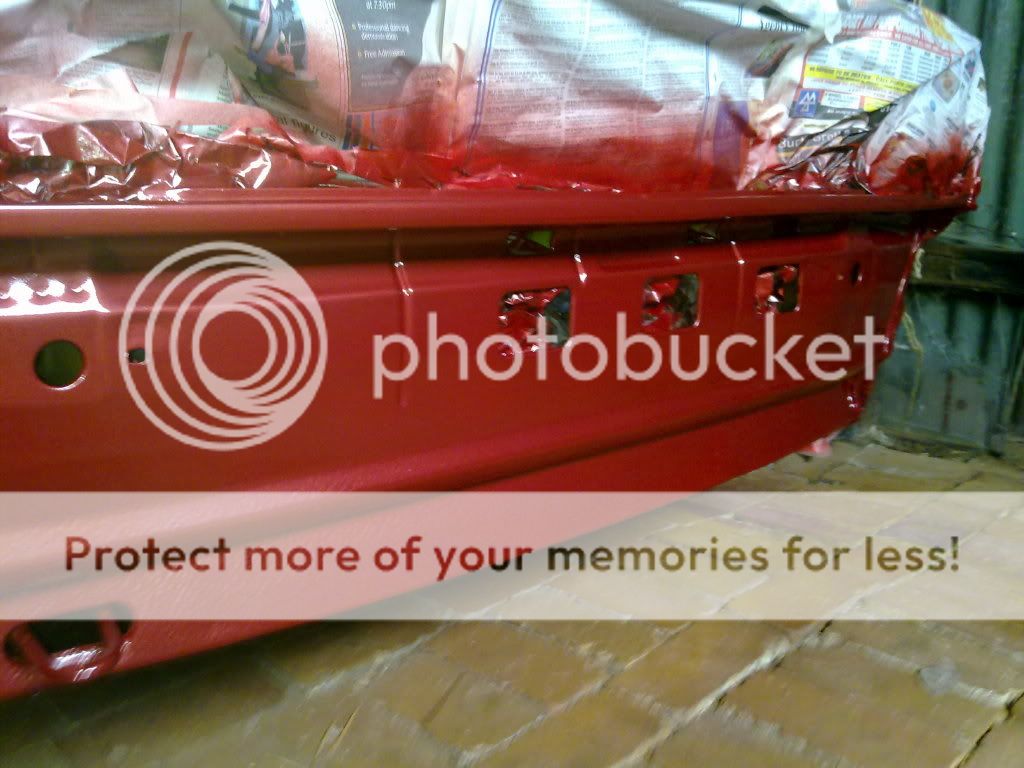 i cant believe how close it is to the original colour, considering mine is majorly faded love it!  got the grill back on 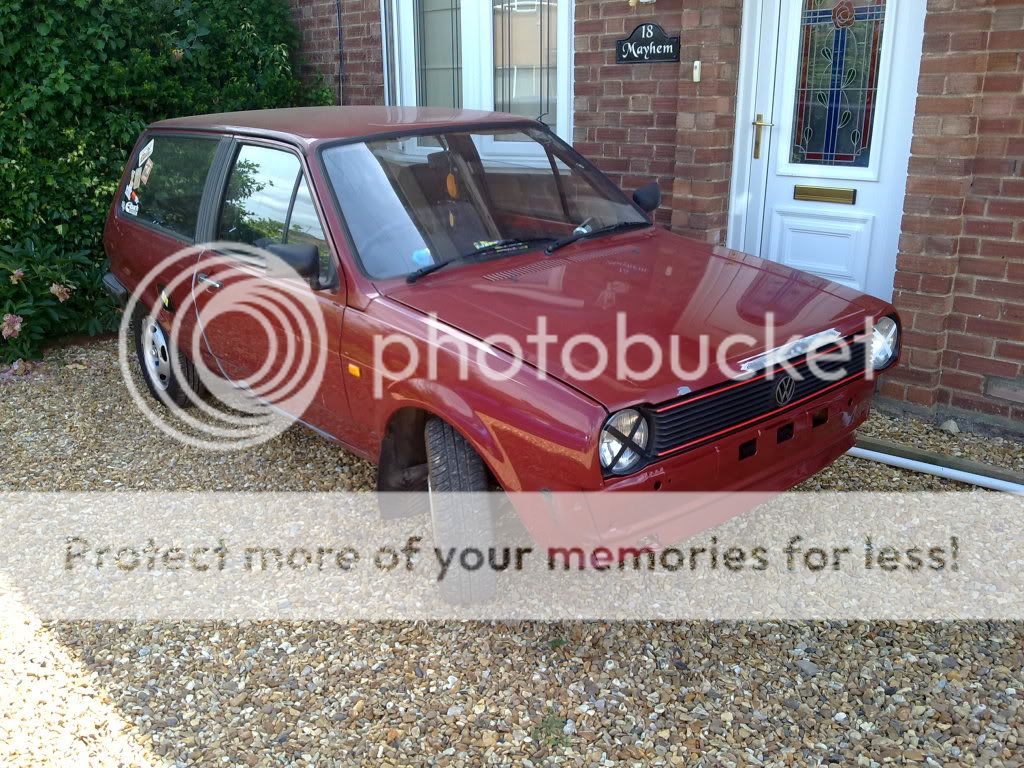  Next time ..... wheels, roof rack, splitter and more i hope cheers Jordan |
| |
|
|
|
|
|
|
|
|
Nice progress loving the gearknob!
|
| |
|
|
|
|
|
|
|
|
i love the theme you have.
i need to make a decent gear shifter... now to look for inspiration.
|
| |
|
|
|
|
|
|
|
|
Nice work with the bumper. Looks really clean.
|
| |
|
|
|
|


 i'll continue to update this thread as I go along with the project hope you like what i've done.