Hammy
Part of things

Posts: 60
|
|
|
|
So now it's time to put it all back together again. After giving my fingers a bench press workout by priming each one with oil, I popped them back in place with the hole pointing at the hole in the oil gallery. I then fitted the cams and torqued them down. 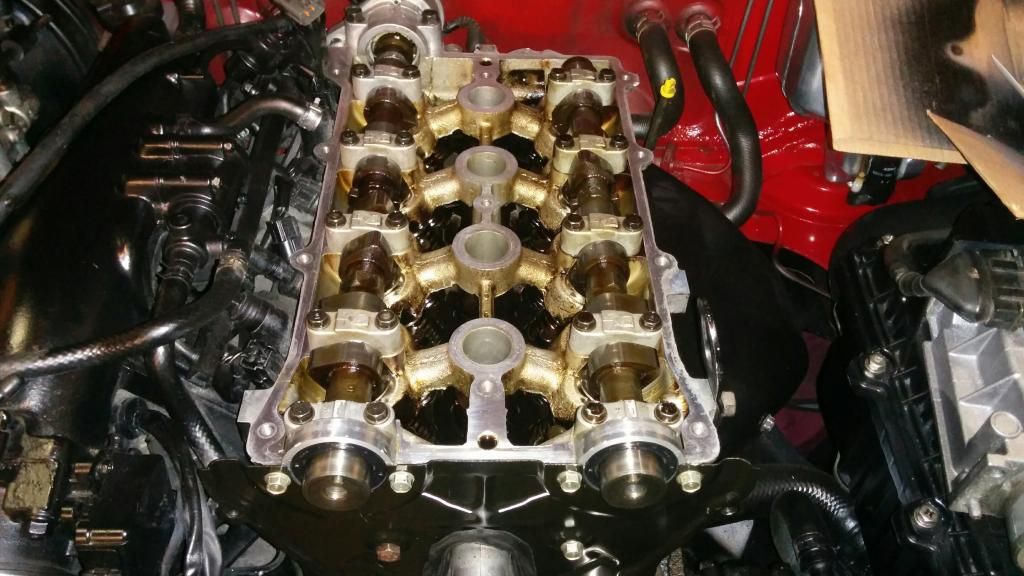 I then fitted new cam seals 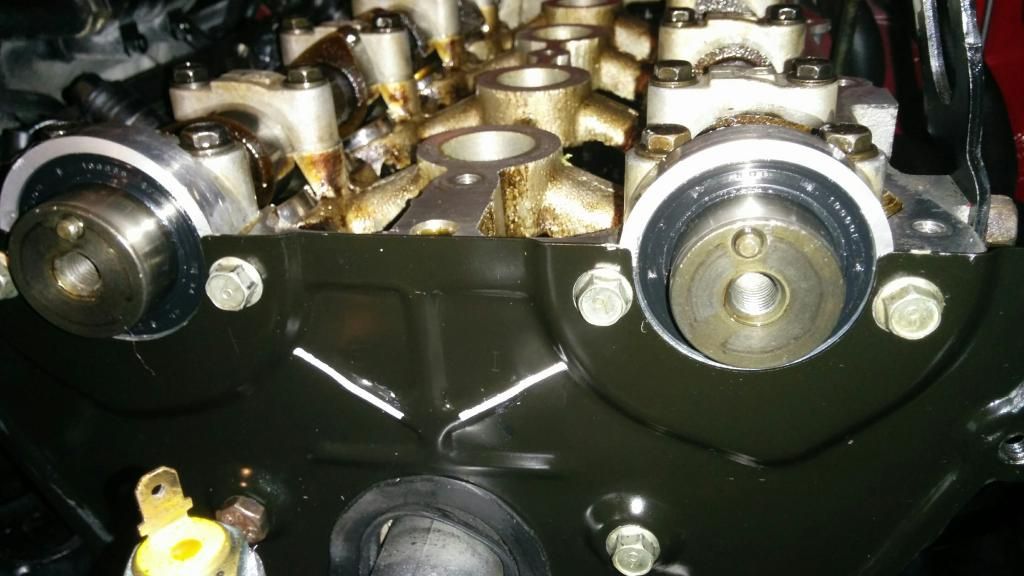 Pulleys on but not torqued up yet 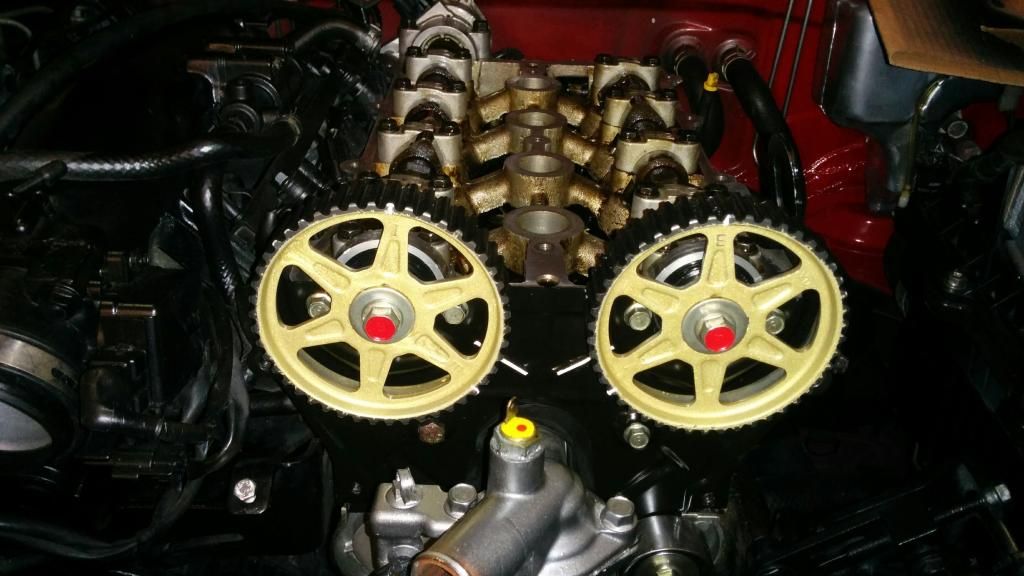 Right, now this is where you need three hands..... The inlet cam is the worst as it pops round two teeth due to position of the cam lobes...and with freshly refurbed hlas with nice easy movement...it's even harder to keep the gears pointing at timing marks. However, with inlet in the correct position and forearm resting on spanner to keep exhaust in position, I popped the cam locking tool in place. I got this locking tool from MX5 parts.... and I have to say it's curse word. It DOES NOT keep the gears in the correct place at all. So, once in place I had to put a needle file in place to keep it spot on. This worked...but heed the warning, the cam locking tool is not accurate. It does lock them as I had them locked...but not on it's own. 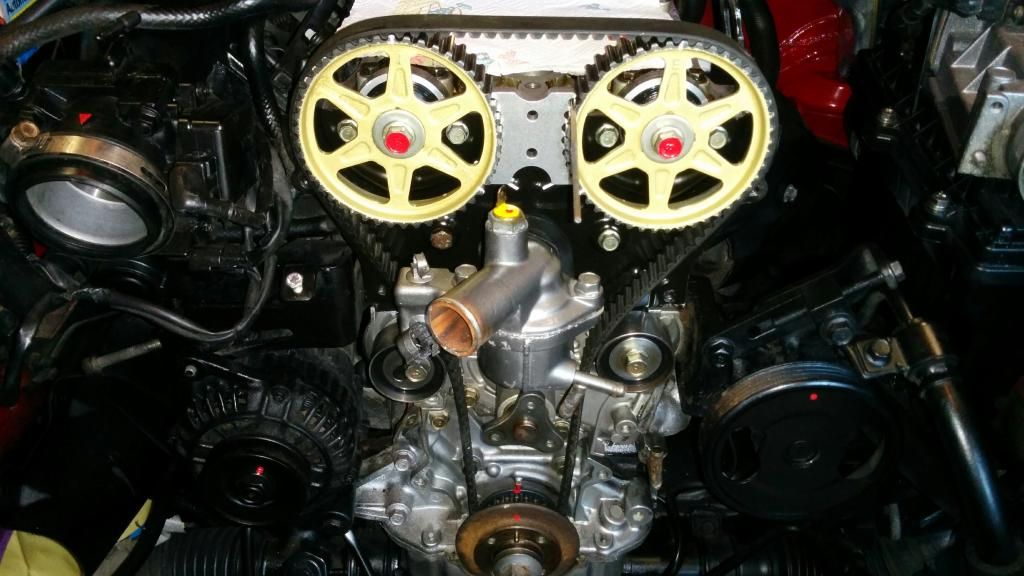 Timing marks spot on  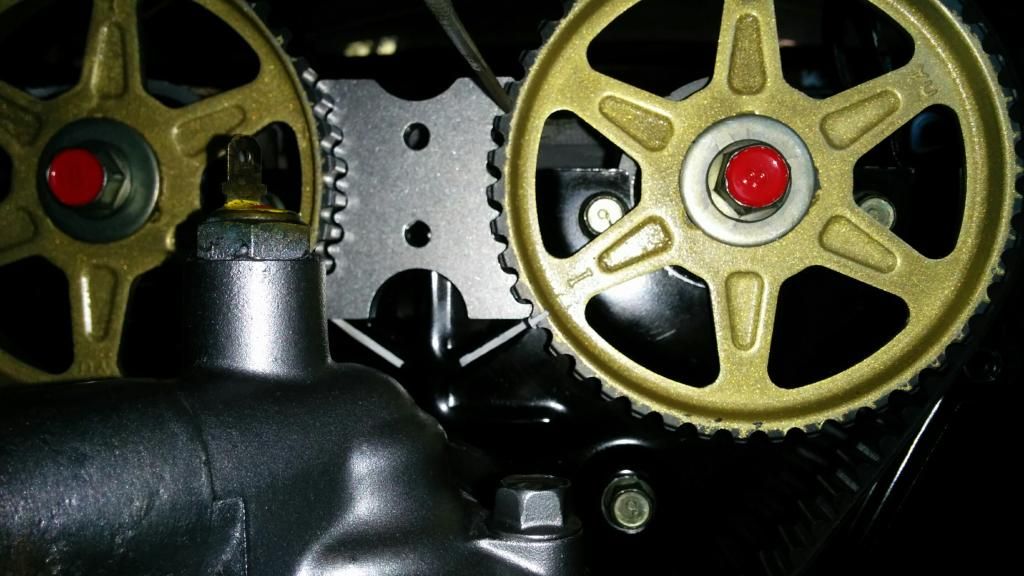 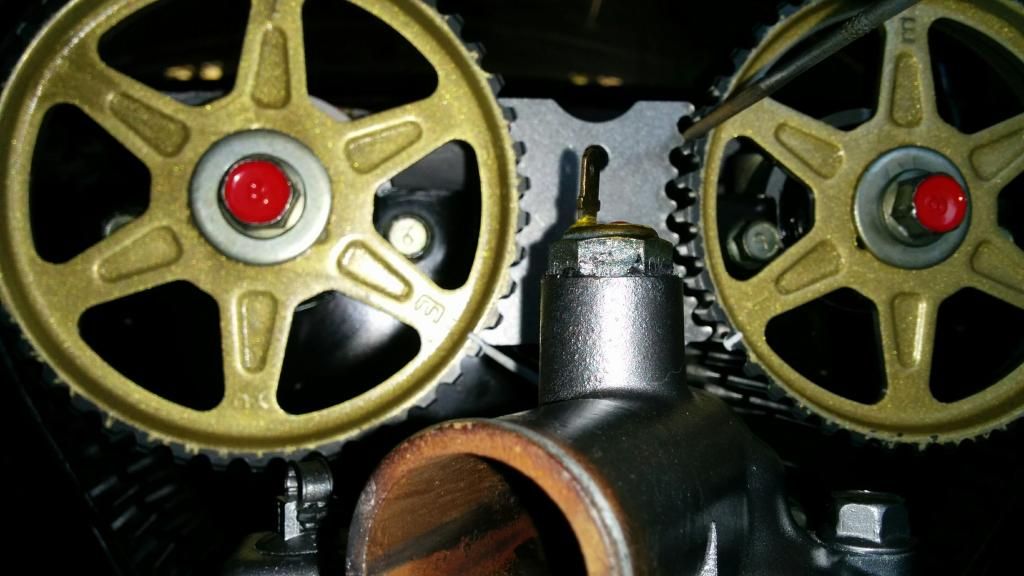 At this point I torqued the gears up to 70nm. I then loosened the tensioner and let it tension itself in place, checked there was a tiny bit deflection in the belt, then tightened this up to 50nm. 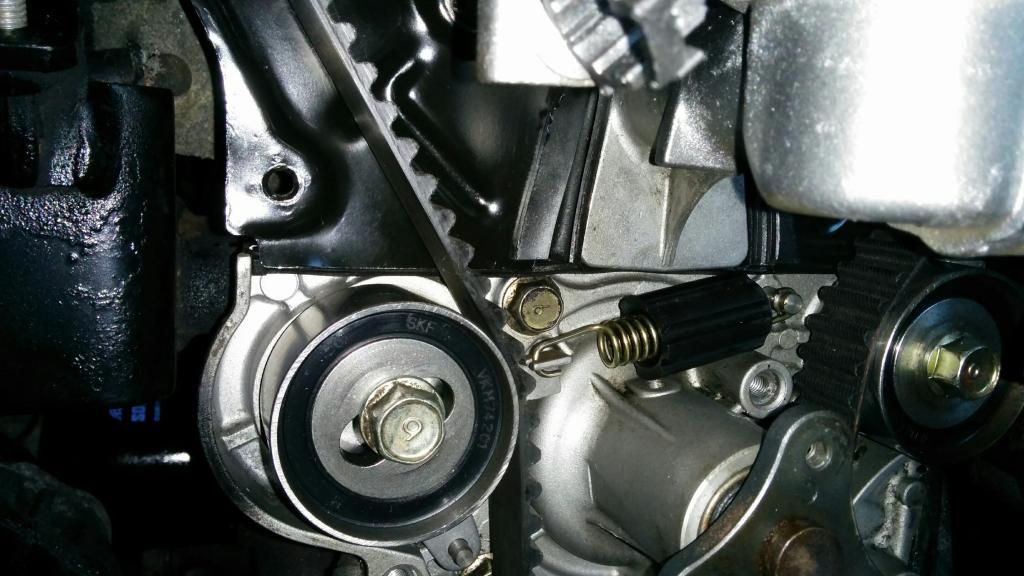 Took out the cam locking tool...now the gears should stay bang in place.... and they did: 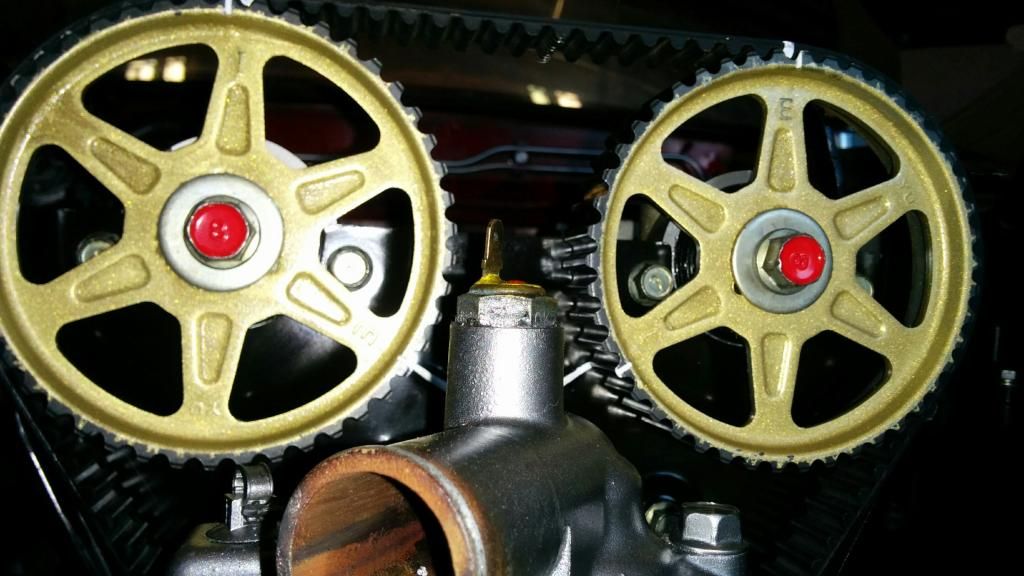 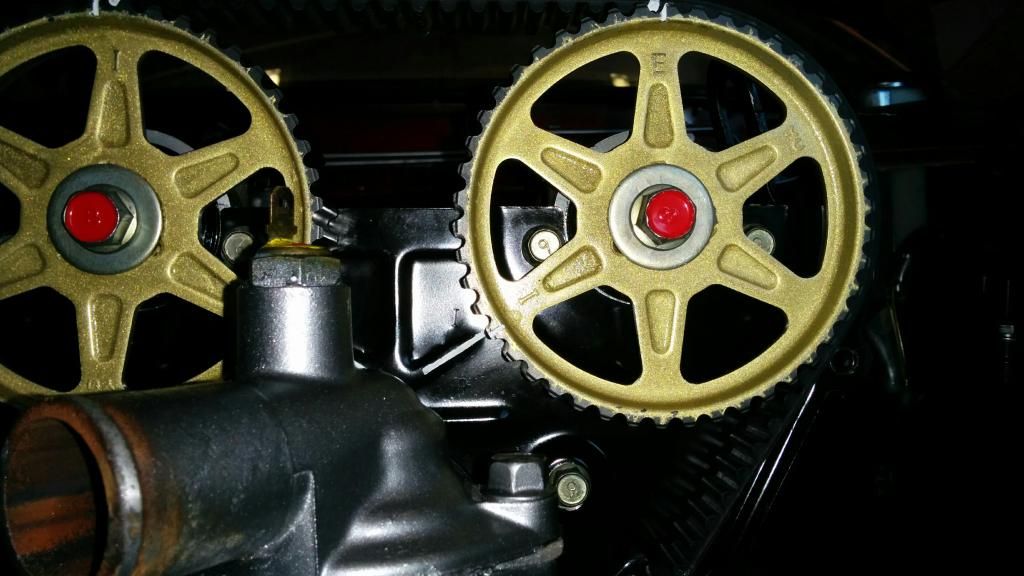 Now it was time to check the timing belt....so one full rotation of the crank.... 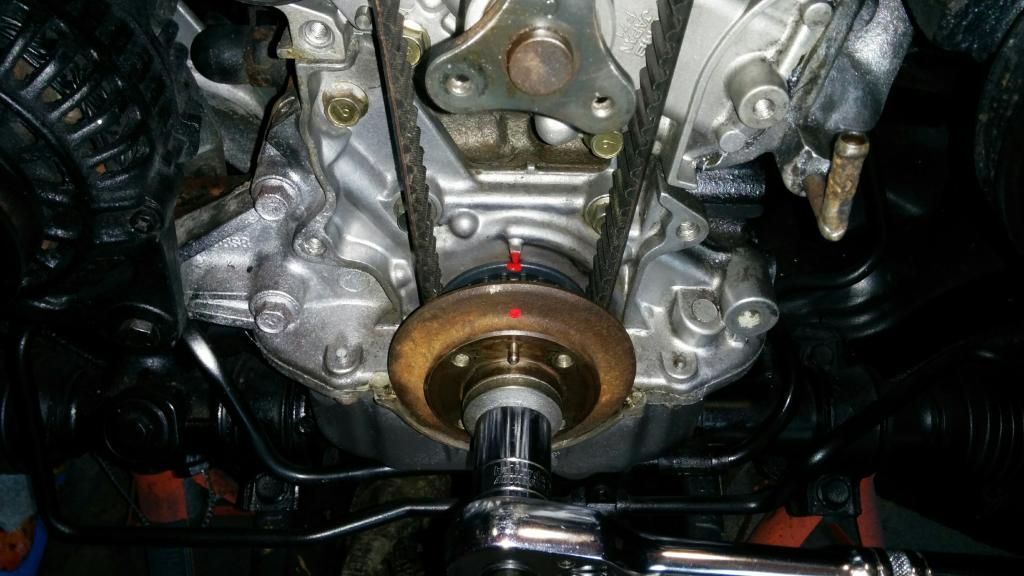 ...and the cam gears should be pointing exactly 180 degrees opposite...spot on 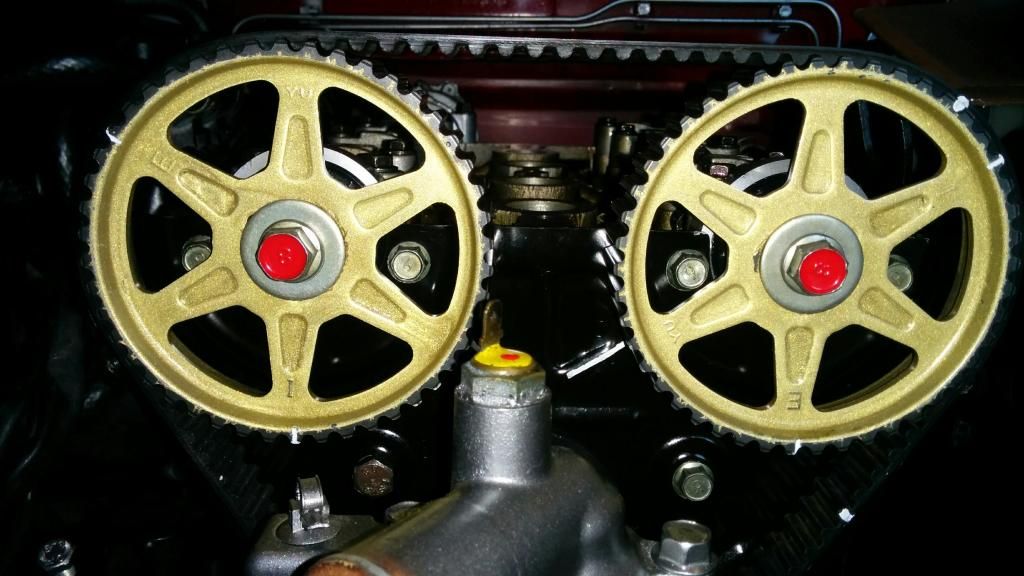 Another full turn... 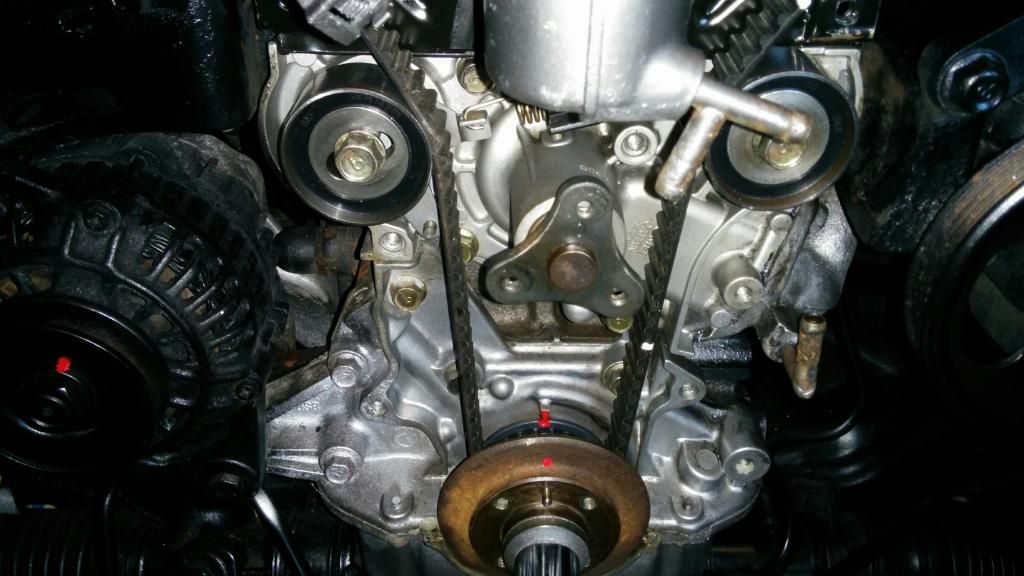 ...and the gears should line up perfect...wooohooo 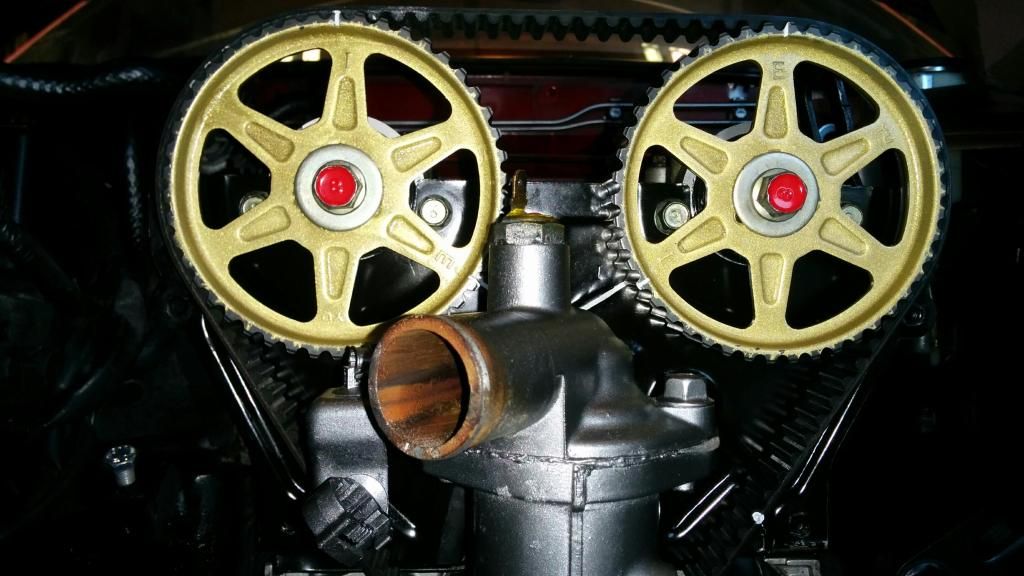 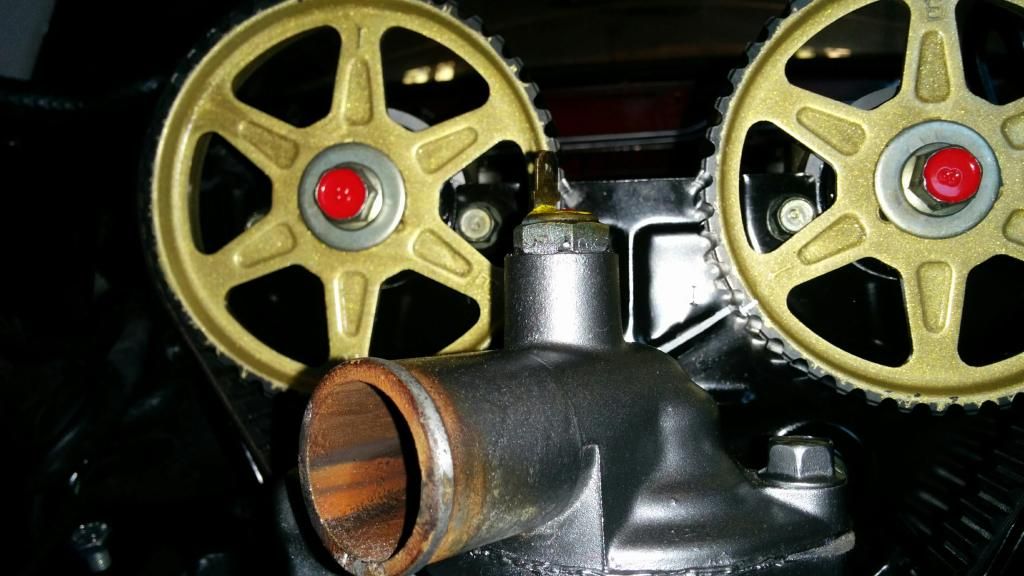 Now put the covers back on...all tarted up and the water pulley 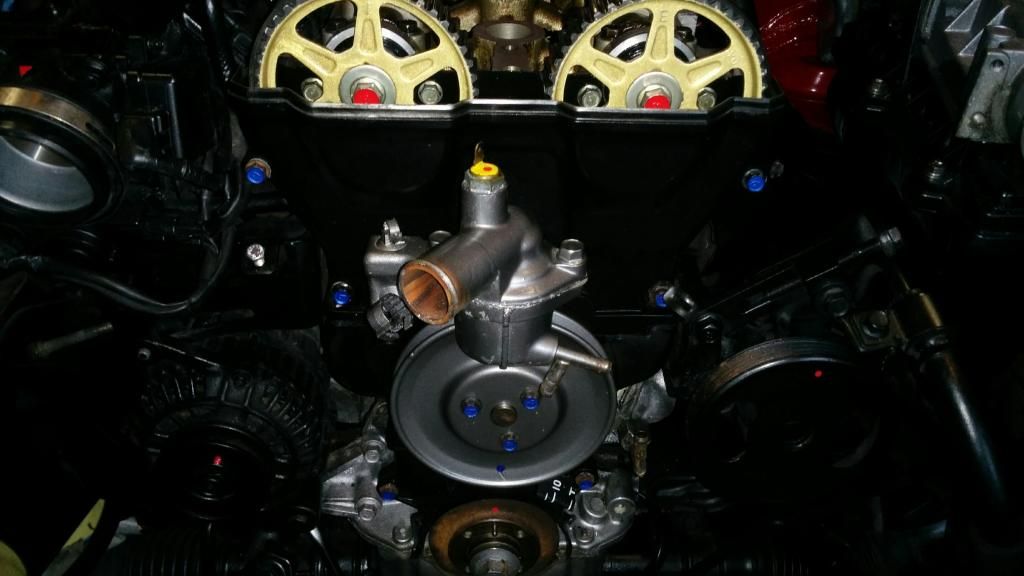 Now the crank pulley.. 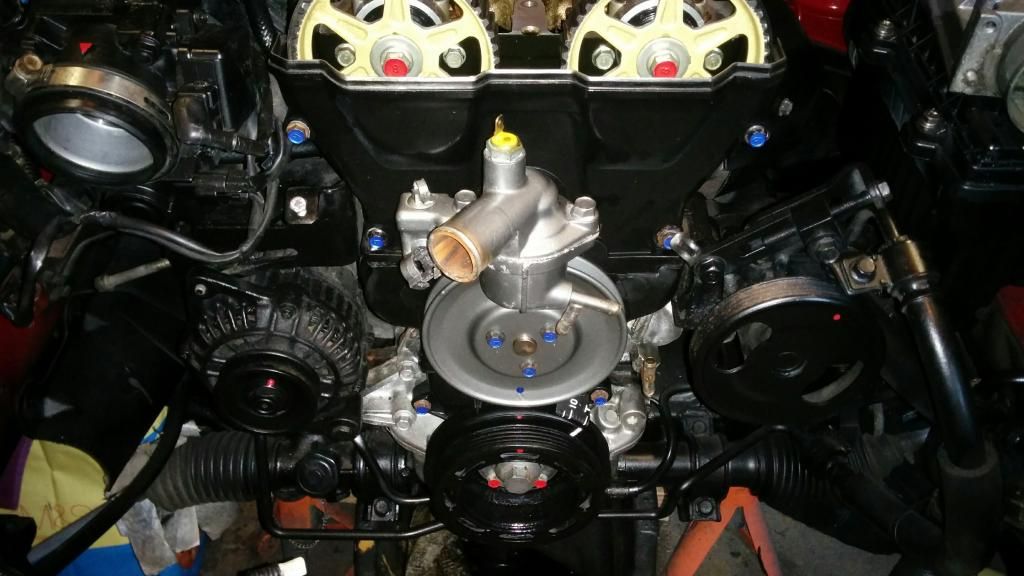 ...and timing parks line up perfectly. I marked them all up whilst they were off...and the 14 degree mark marked ready for the 14 degree mod. 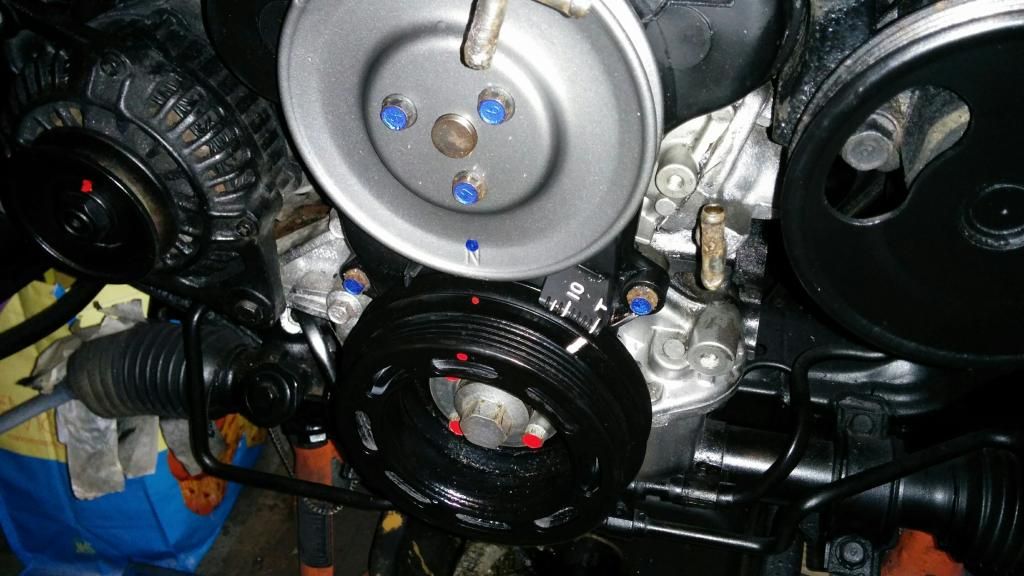 continued.... |
| |
|
|
|
|
Hammy
Part of things
Posts: 60
|
|
|
|
Now, before I took anything apart, I had it all at TDC and centre popped the cams and the cas.... so let's check they are perfectly back in place:  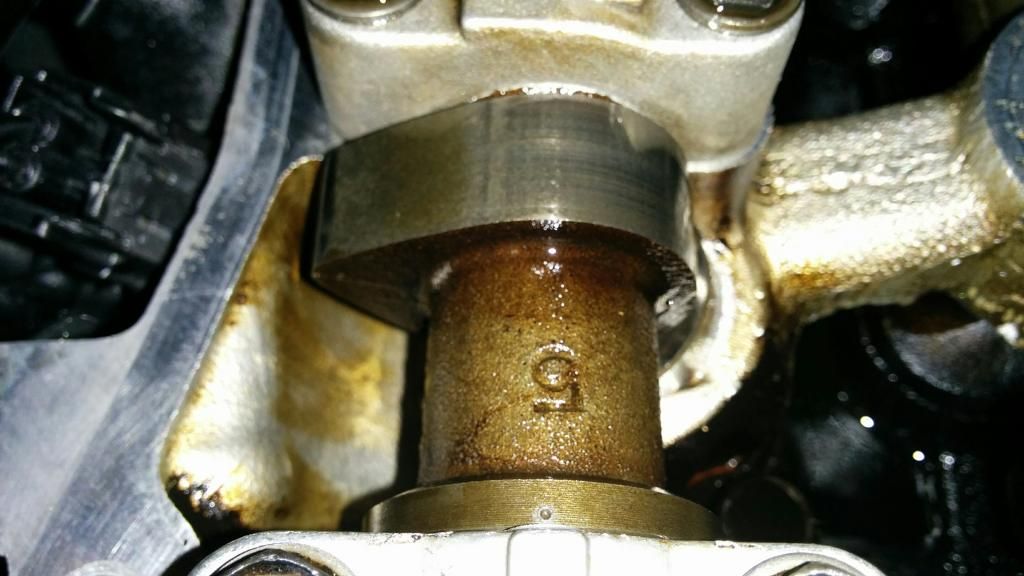 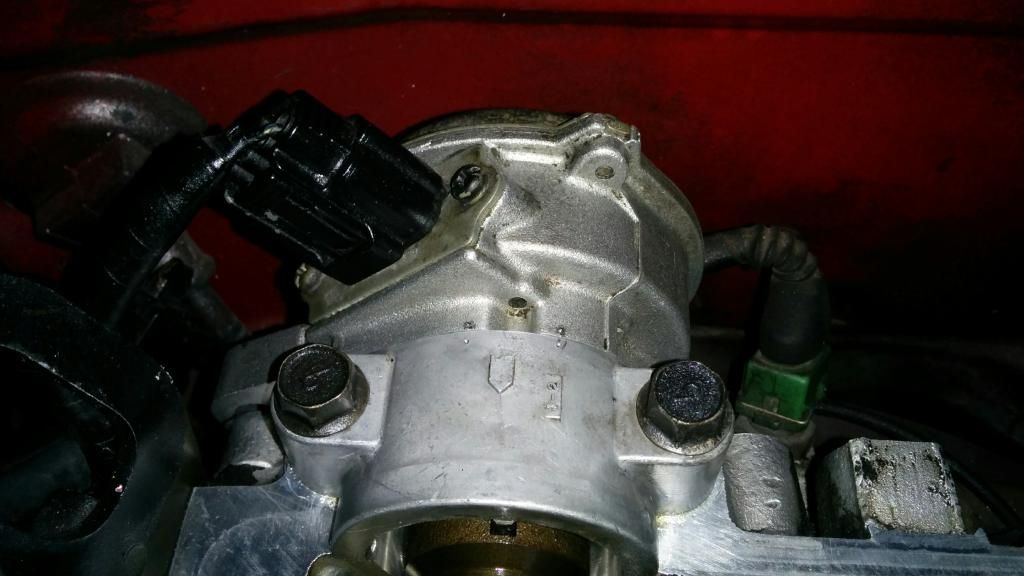 Champion. I got the engine put back together today and had it running on first turn tonight Runs so sweet now. Got it up to temp and then the useless T piece on the thermostat housing, which is a common area for failure, sprung a leak.... I am not going to jb weld it, instead, will tap the hole on the thermo housing to 1/8th bsp and fit a brass f-f-f t piece and thread into housng with a 1/8th m-m joiner and two male airline pieces....then that should fettle that....and certainly better than buying a new lower housing at £70+ So back together.... 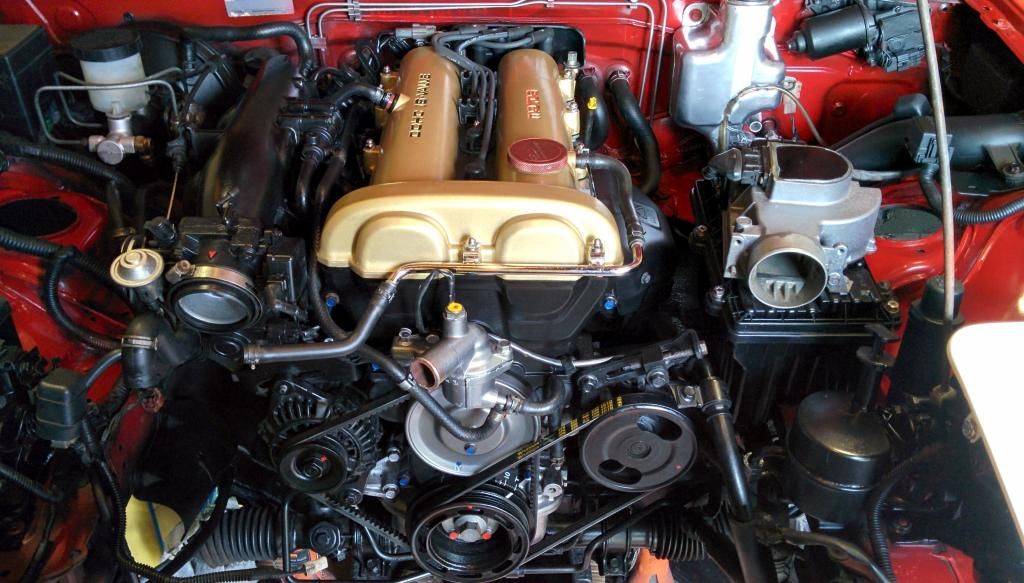 Then I made myself some de-ionised water for the cooling system. This is super de-mineralised water which is the best thing for cooling systems. I'll flush it through up to temp about 4 times then mix it 50/50 with antifreeze. Deminerlised water is expensive to buy.... but I got this filter from the lab at work... can make myself about a 1000 litres of de-ionised water....perfect 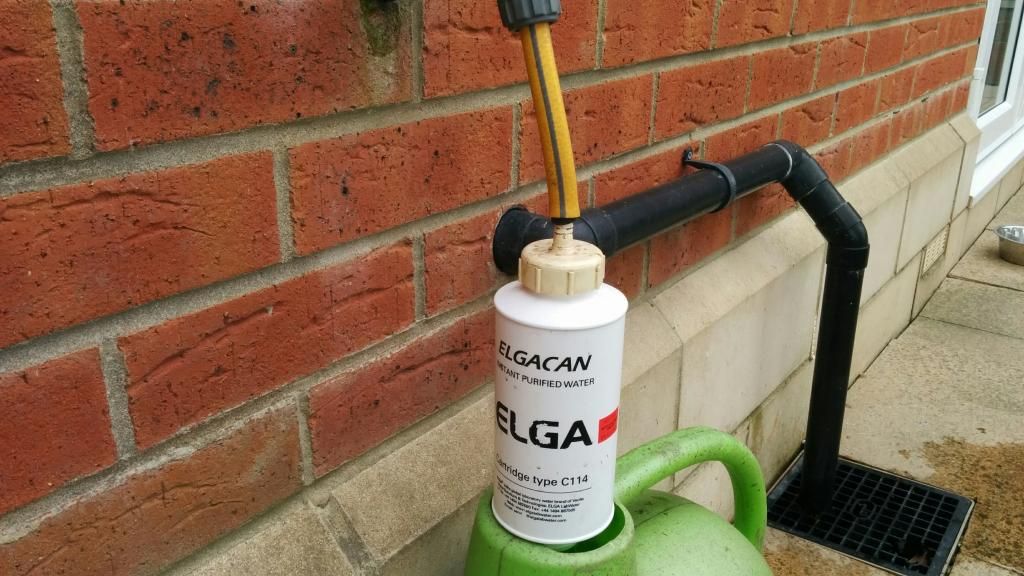 Then after refurbing my radiator...put it all back together ready for starting 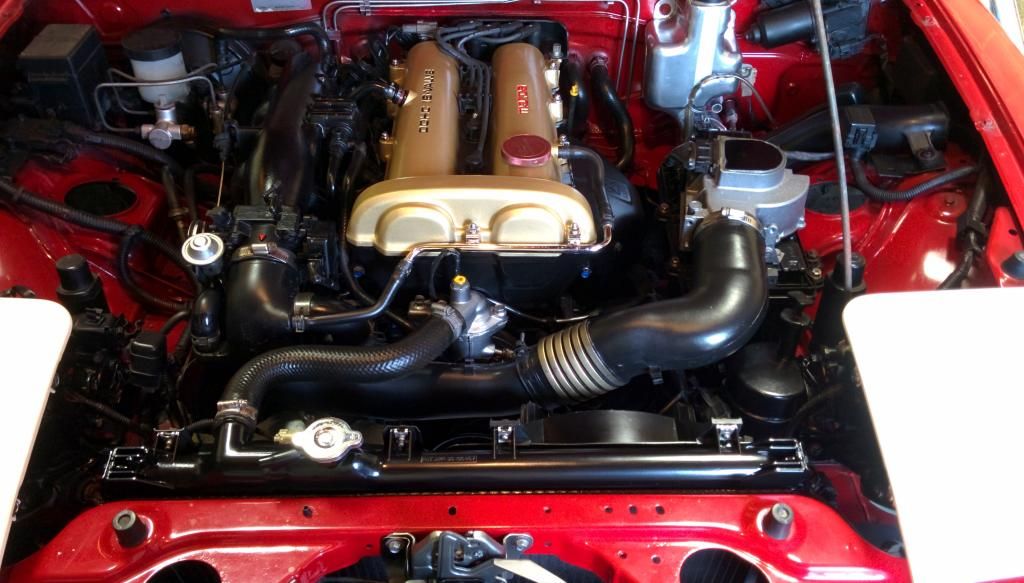 Job done..... now just got to tackle that t piece on the thermostat. |
| |
|
|
Hammy
Part of things
Posts: 60
|
|
|
|
Right...the T piece on the bottom/side of the lower thermostat housing decided it would split, in the housing after I had rebuilt the engine...spewing it's guts, how nice! There are two ways to mend this... buy a new one at £70..... or DIY fix... I am not spending £70 for a naff piece of metal. £5 later, I am ready to diy. Now I could take the whole front of the engine apart again to get the housing off...but If I am doing that I may as well buy new..... so fix insitu. As there is no room for any kind of tools, this was going to be a case of just fingers. Firstly I have decided to use a 18th bsp t piece - which means reaming the hole and then tapping the hole in the housing...I will use a hand reamer... and when I say hand reamer, I literally mean...by hand - fingers and thumbs only! So...time for pics. All apart...the t-piece just snapped off it was so weakened. 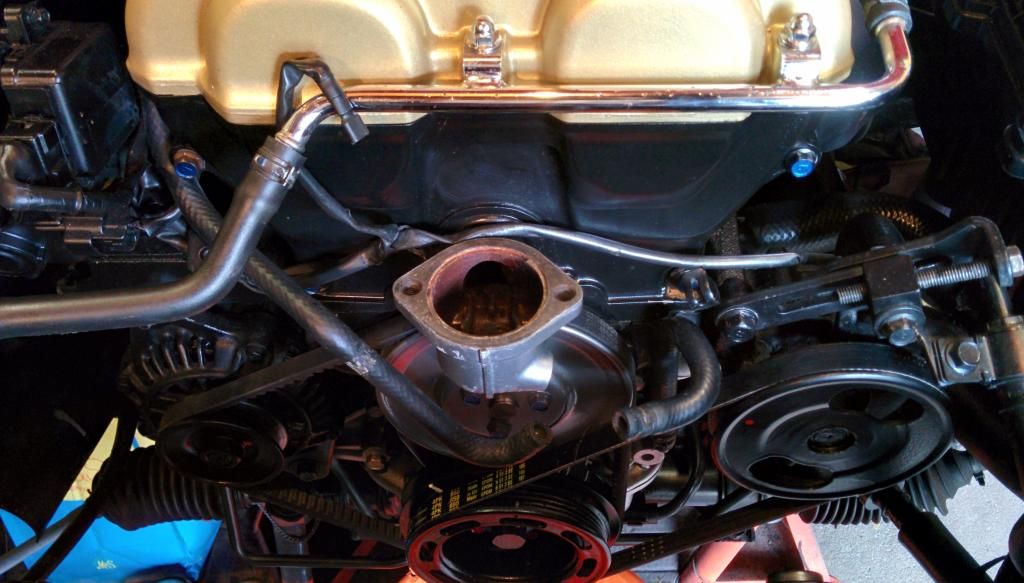 The new pieces: 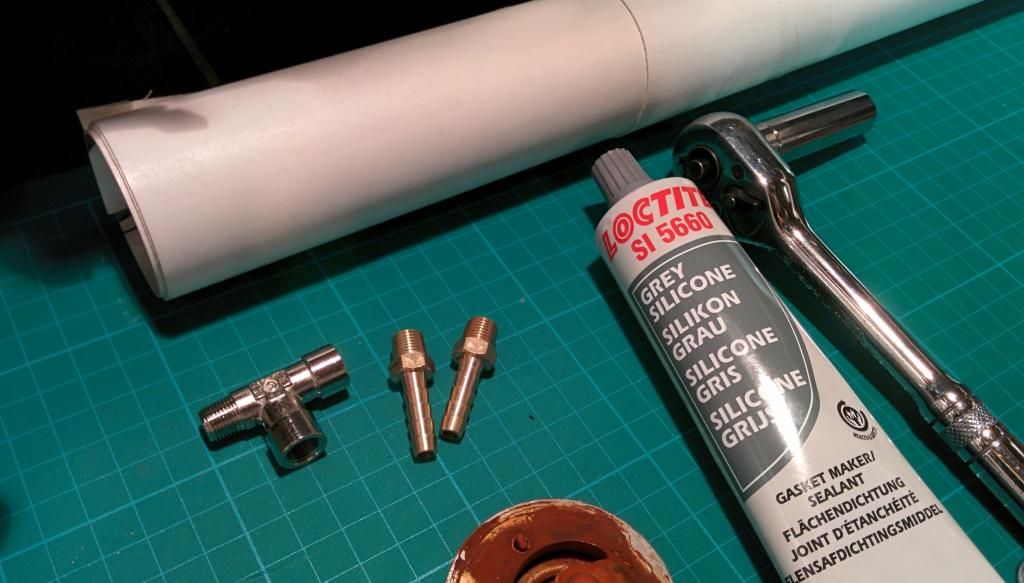 Prepped and ready to go... 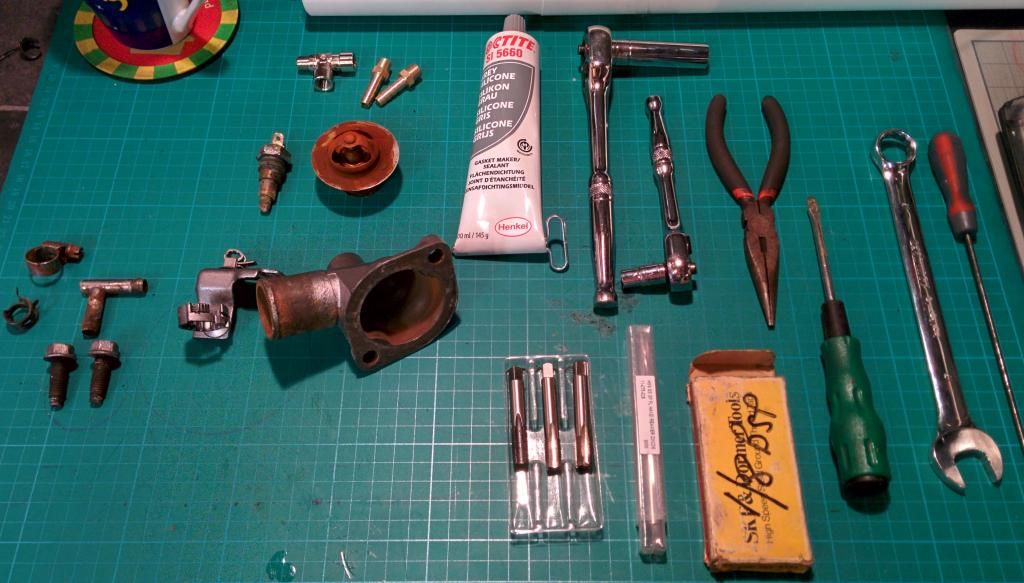 Cover that hole up...don't want any swarf in there. 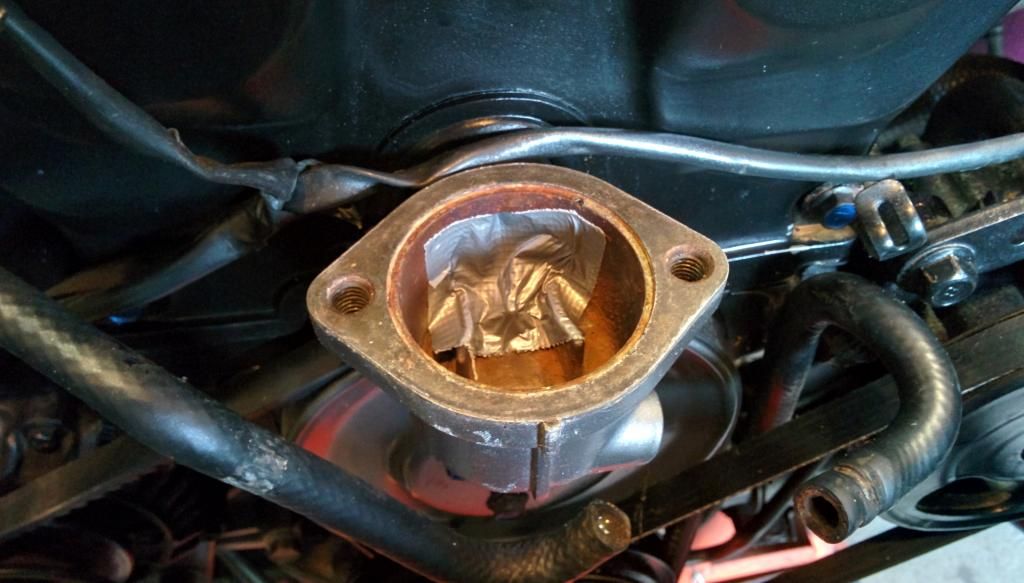 Procrastinate... let's clear up the sensor first 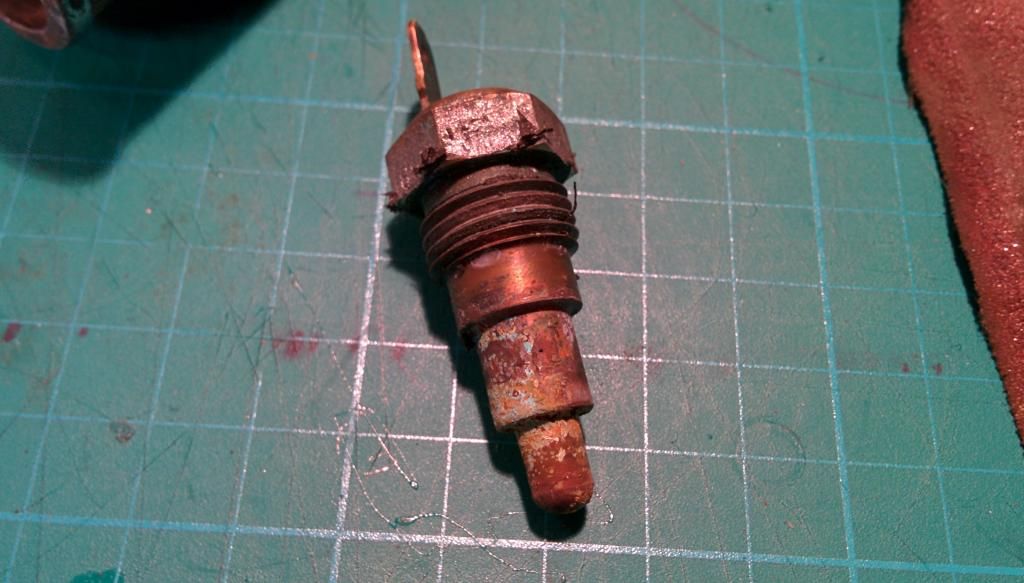 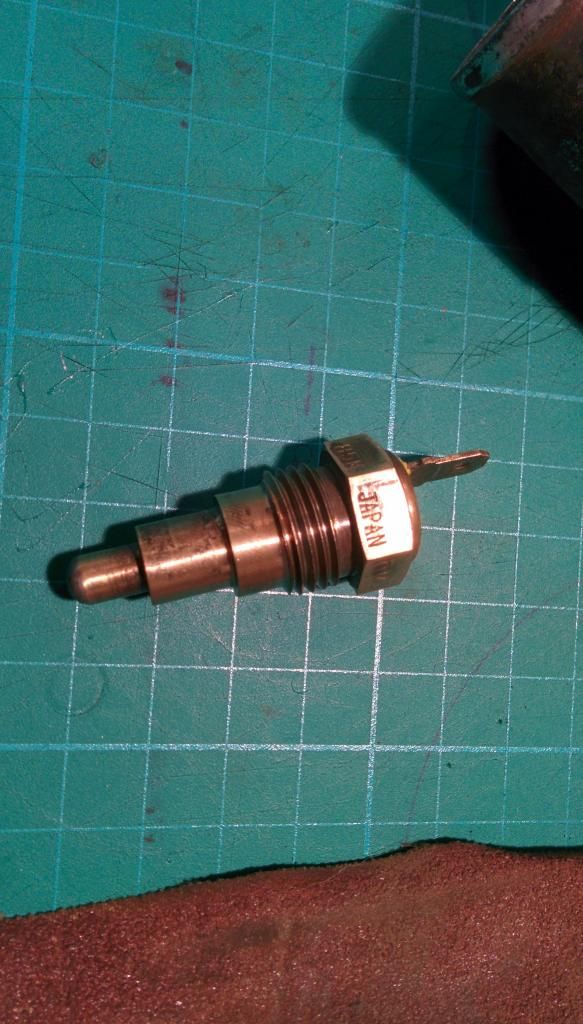 I got a roll of super gasket paper from work - this is for high pressure pipewirk, 0.75mm thick. Lovely jubbly, so lets make a gasket with a hammer: Tap away.. 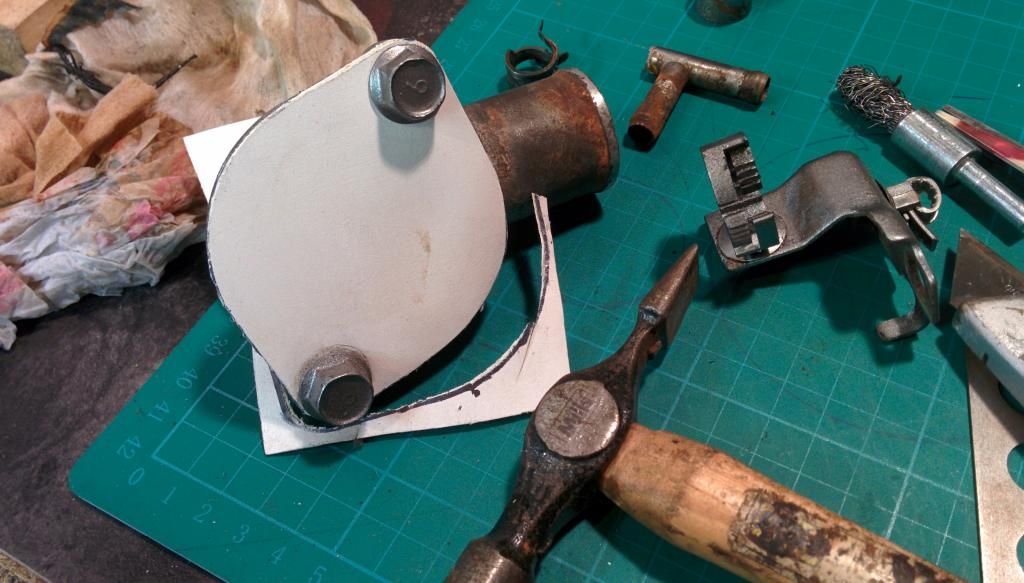 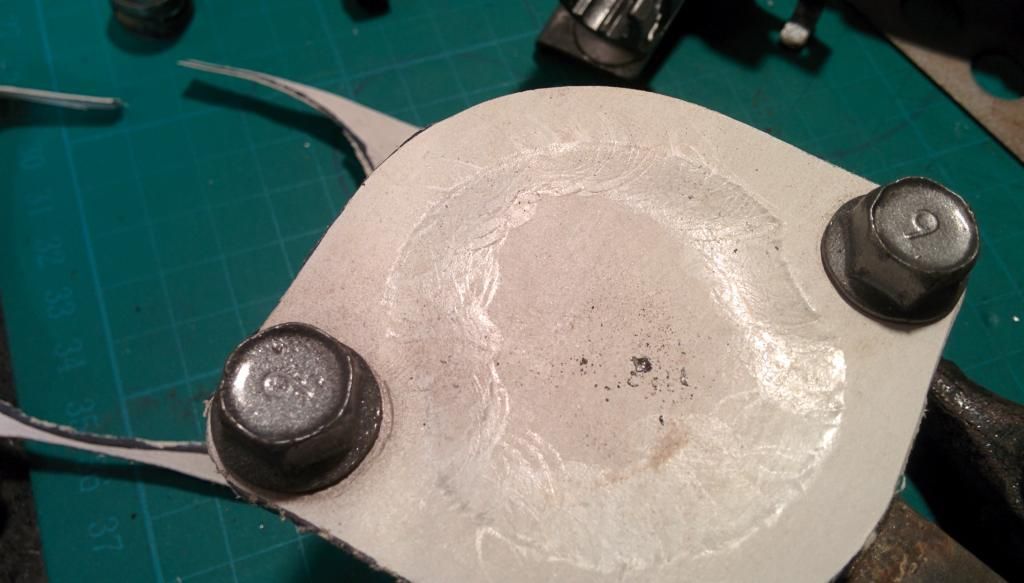 Done: 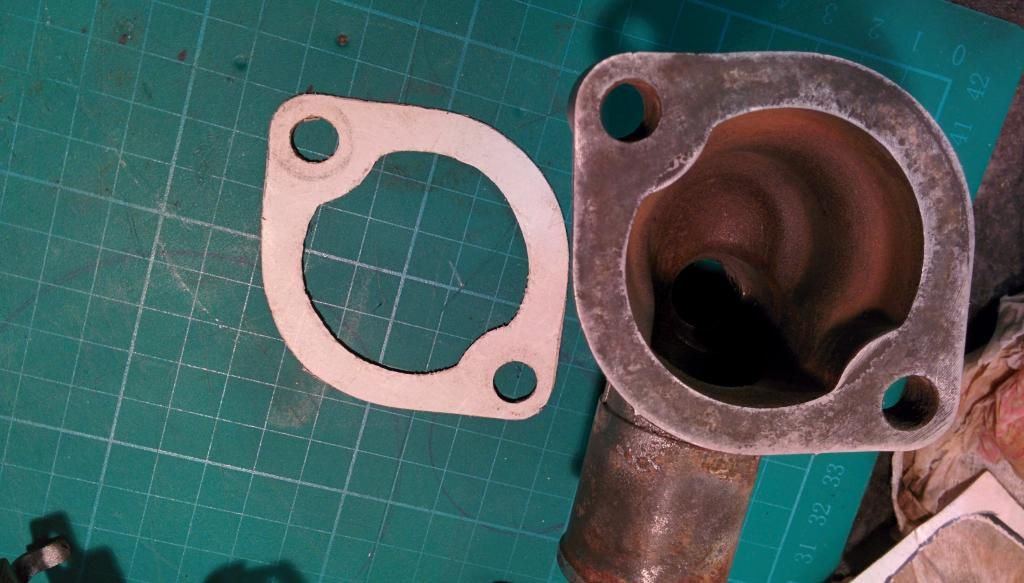 Hmmm - procrastinate some more.... 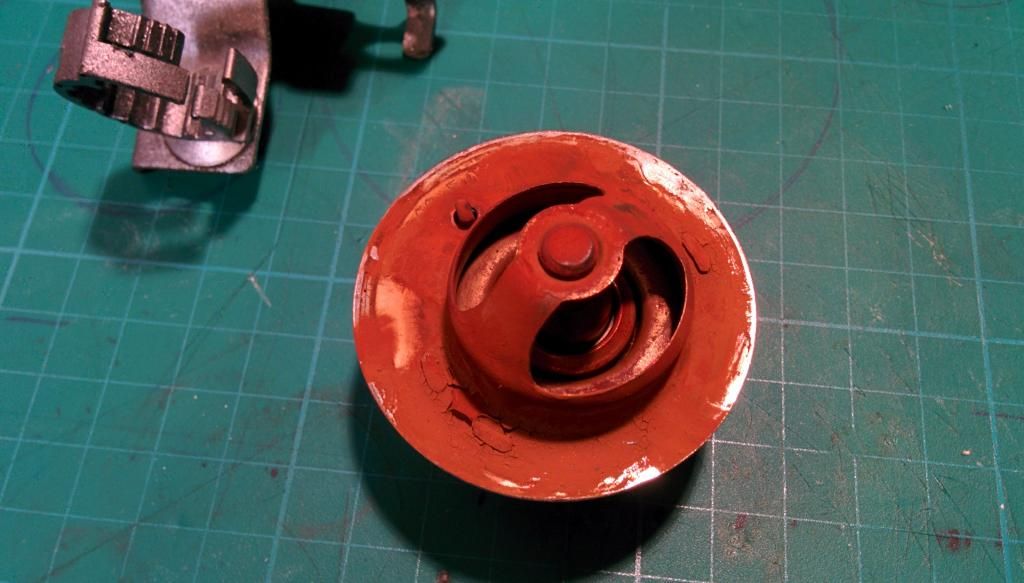 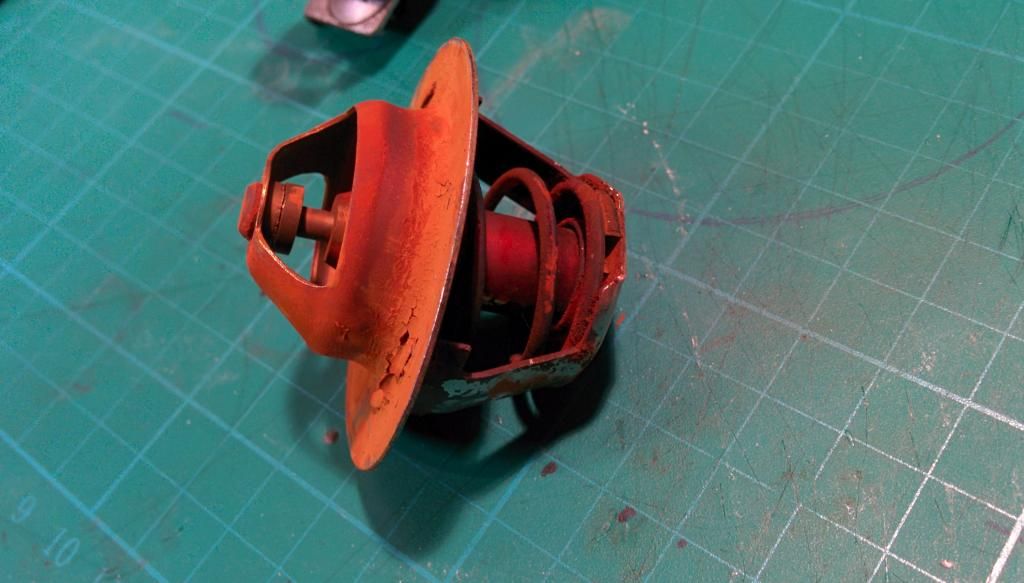 Step forward ISO fluid 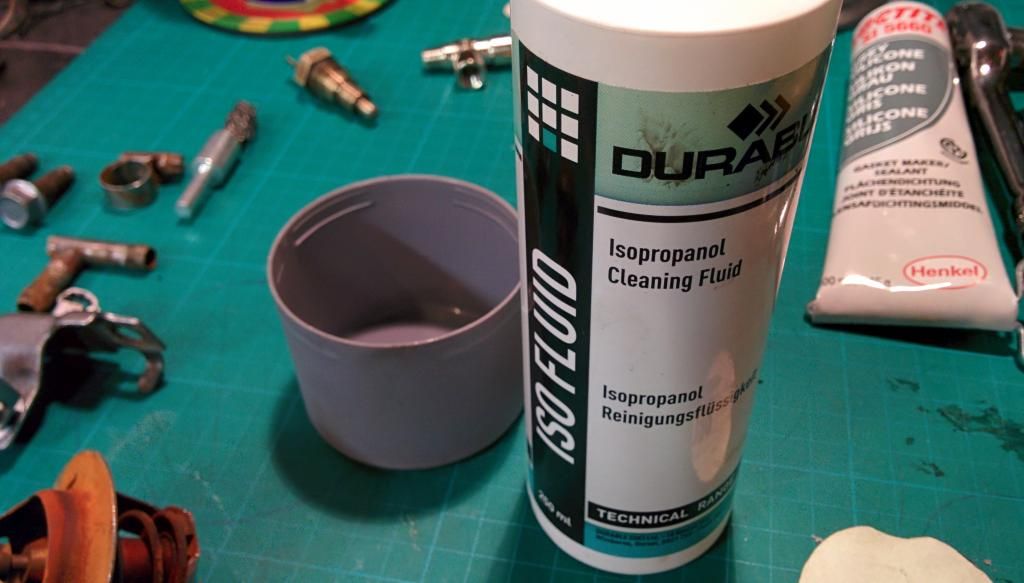  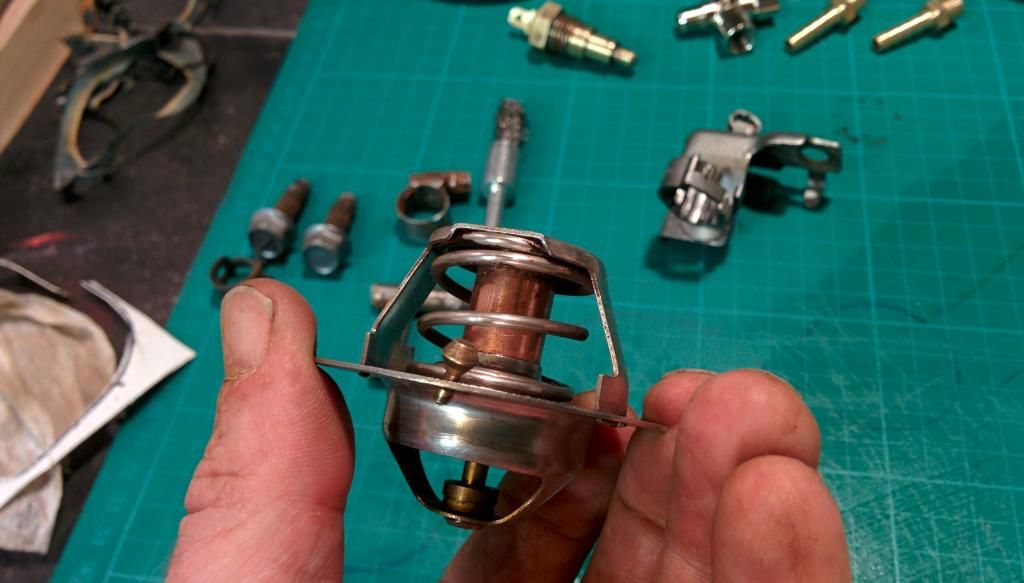 Can't put off any longer... let's start hand reaming... 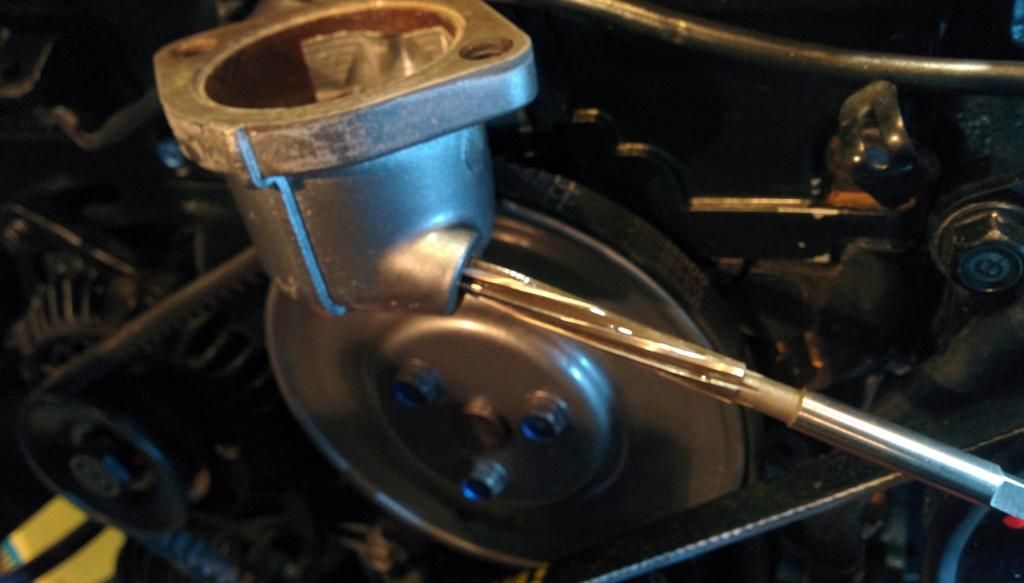 Half an hour later and I have got this far!! 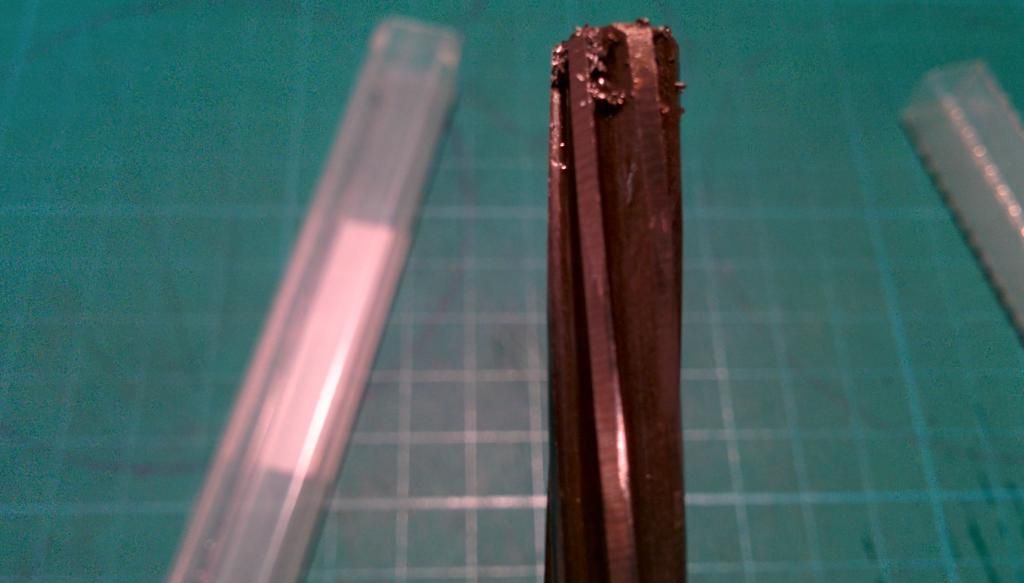 55 minutes in and my fingers arekilling me... masking tape needed here: 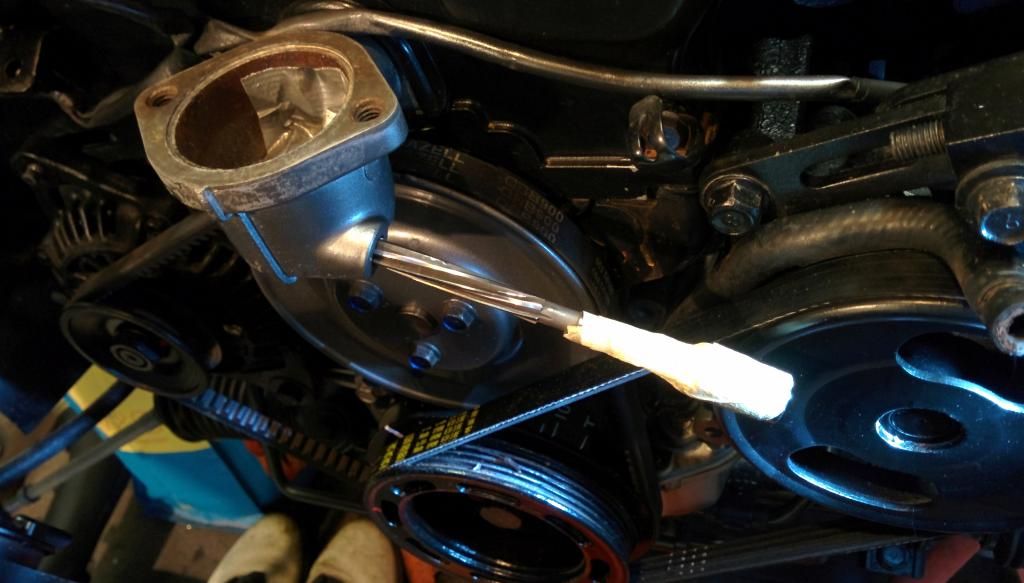 1 hour...blisters are appearing...ouch 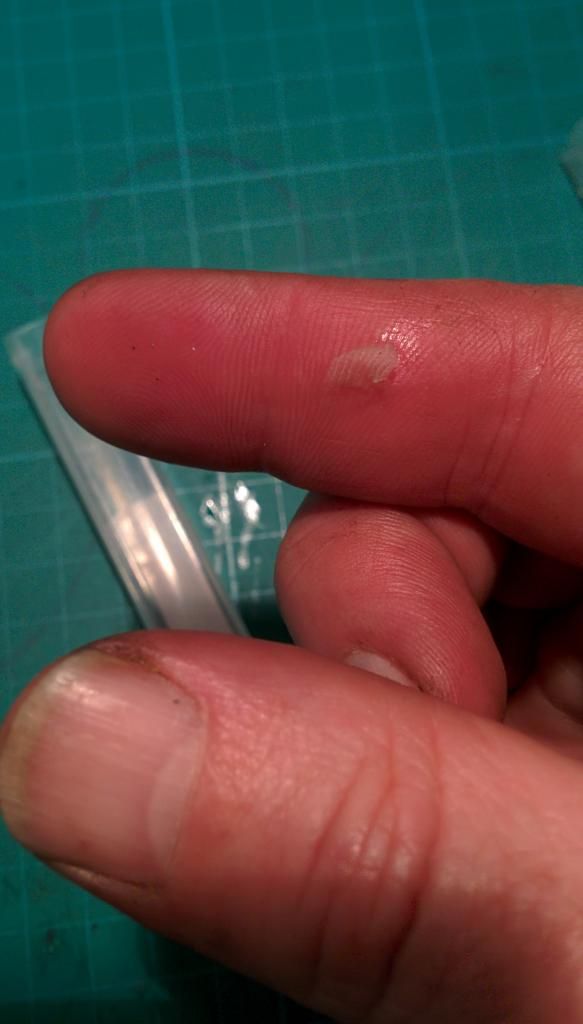 1 hour 20 mins..nearly there... 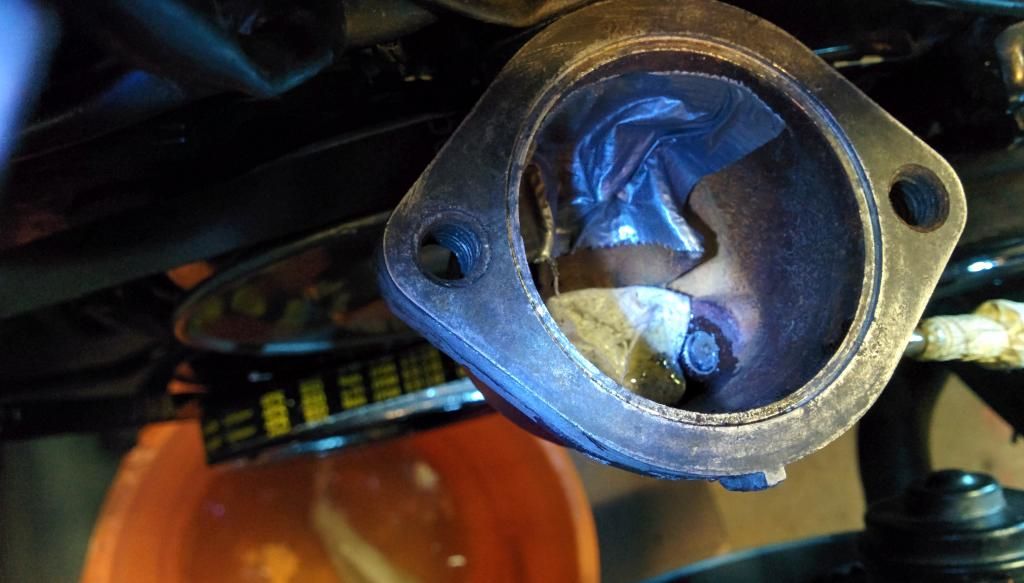 continued... |
| |
|
|
Hammy
Part of things
Posts: 60
|
|
|
|
1 hour 35 minutes...breakthrough. That bit you can see is the other half of the t-piece! 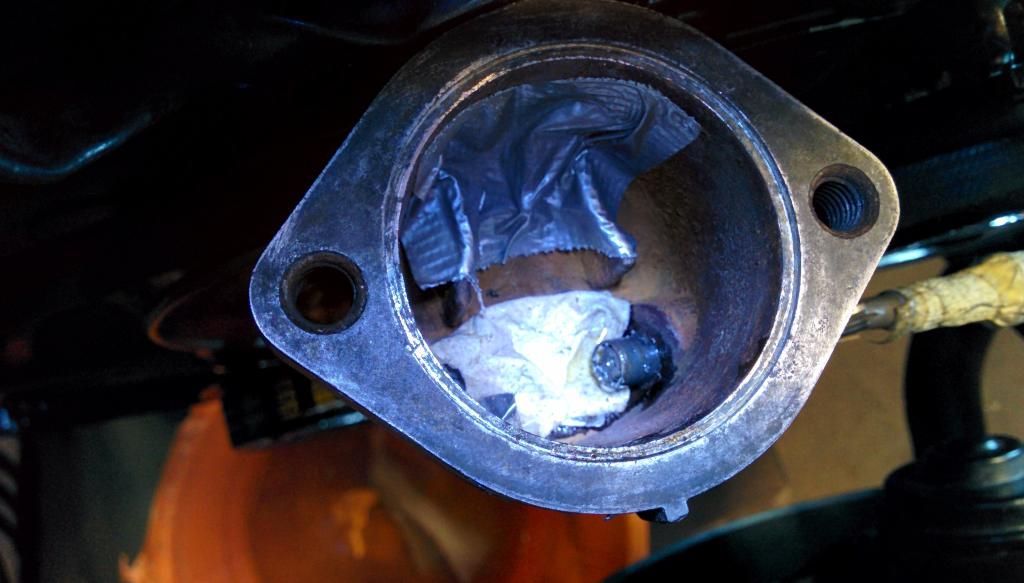 Wooo... 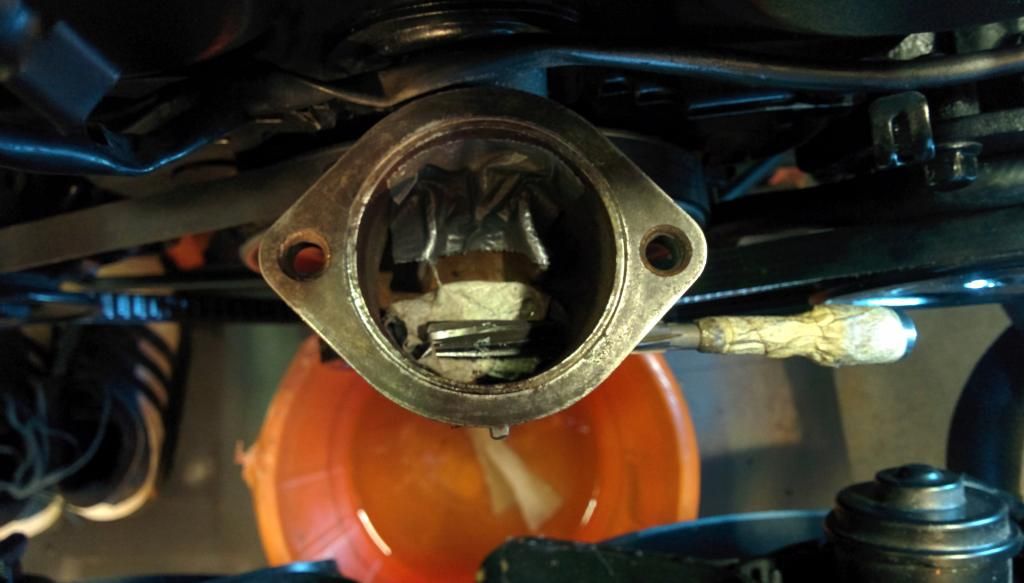 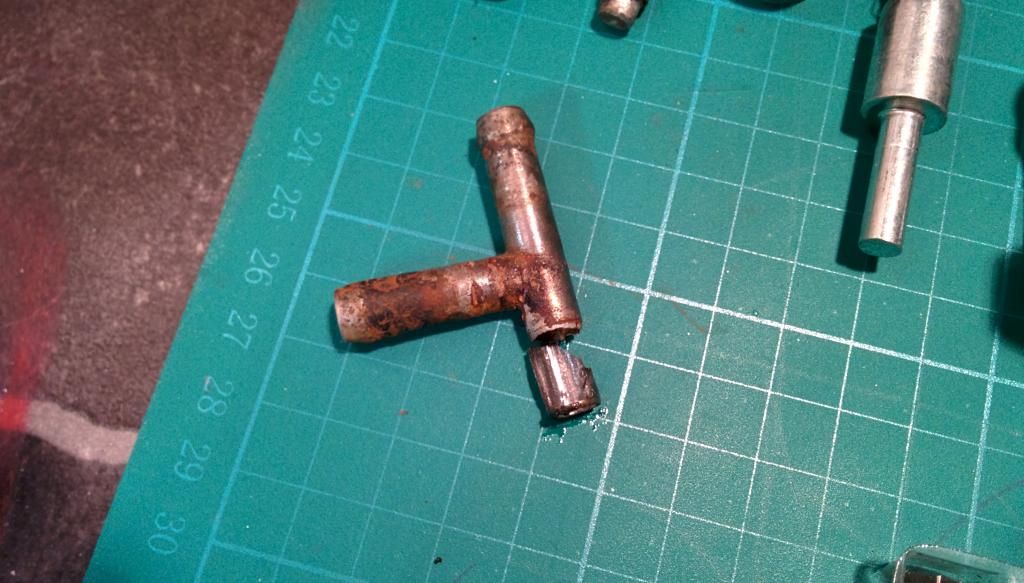 Now time to tap...with blistered fingers.... not much in the way of pics now, as I was cursing something rotten at this time, but determined to finish.  1 hour and 5 minutes later... bingo I don't know what alloy this housing is made from, but it is so damned hard!! 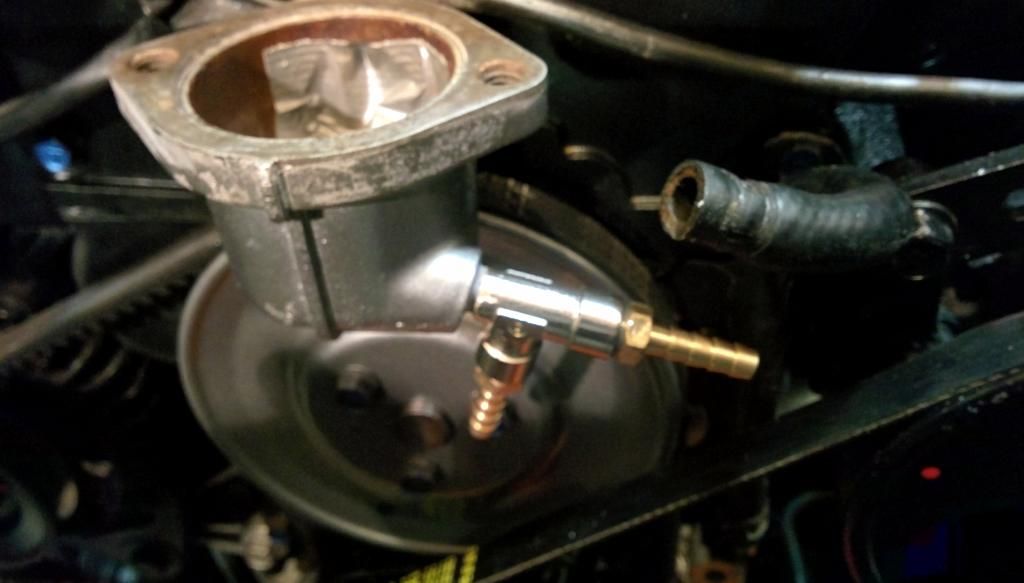 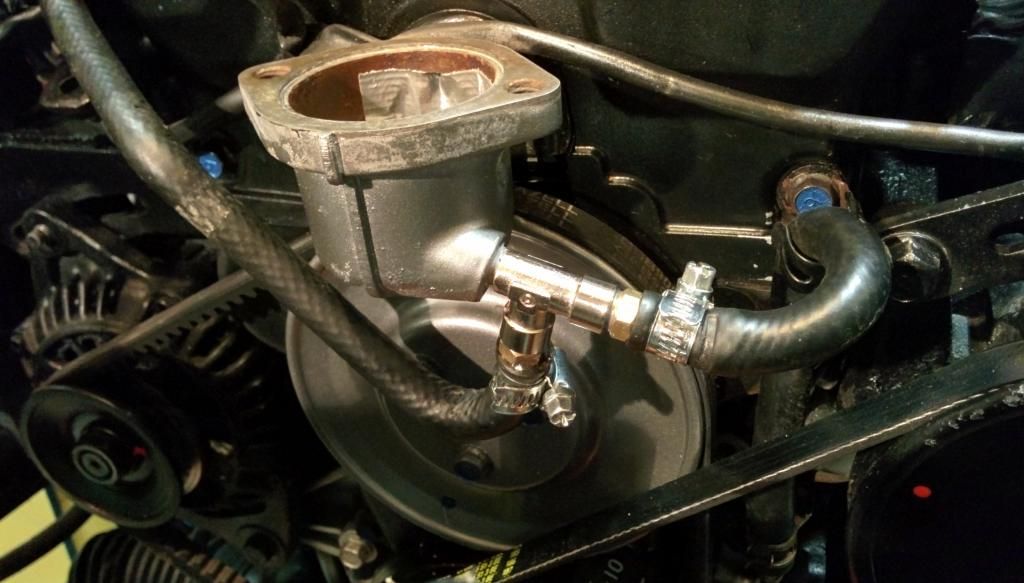 Tired, throbbing fingers now, put the sensor in and seal it and curse word off to bed!!  We will see tomorrow if it has worked. Worth the pain for a £5 fix if it does. If not... £70!! Tomorrow arrived....and it worked, it worked really well So much so I have been asked to put a kit together for others to do this fix/mod with all the parts or offer to do this before the t-piece has broken and also on the right angled piece on the water pump outlet. Video.... Now bear in mind...this car is on axle stands all round...so no tyres soaking up vibrations. Interior rattles - nothing is screwed down and binnacle is loose - passenger door, half shut and rattles around 1500rpm when looking at interior... I have to say. I am so pleased now with the engine. I can continue with the rest of the car now putting all the refurbed parts back together and spraying it... Change default setting from 360 to HD...it's much better |
| |
|
|
Paul
Posted a lot
Posts: 1,909
|
|
|
|
|
Cracking work mate...enjoying every pic ATM.
|
| |
|
|
|
|
|
|
|
|
Love the DIY attitude. The binnacle and centre panel look cool (I like steam punk) and the interior looks nice. Might have to "borrow" (shamelessly steal) some of your ideas for my caravan build.
|
| |
|
|
|
|
|
|
|
|
Fantastic build. Loving the ethos and the results.
|
| |
|
|
Mark
Club Retro Rides Member
Posts: 2,097
|
|
|
|
|
Great thread! Looking forward to seeing how this comes together.
|
| |
|
|
|
|
|
|
|
|
Absolutely awesome. Truly inspirational in fact.
|
| |
|
|
|
|
|
|
|
|
Wow, what a rebuild! My car has just sprung a leak in the same t-pipe and I want to do your mod. I've never done a job like that before. Can you list the specs for the parts you bought and the type of business that sells them? Also the size of reamer and tap needed. Are you going to sell this as a kit, as you mentioned? Sorry for the newbie questions!
Thanks,
Justin
|
| |
|
|
|
|
cianha
Part of things
aka VDubbin
Posts: 923
|
|
Jul 17, 2014 10:12:19 GMT
|
|
Great work! I like to see soeone turn their hands to lots of different types of jobs. I feel sort of ashamed that my own MX5 doesn't look nearly as nice as yours. That said this thread has given me quite a mojo boost!
|
| |
|
|
zircon
Part of things
Posts: 327
|
|
Jul 17, 2014 11:33:57 GMT
|
|
I can honestly say that I have never been quite so impressed with a resto project as this. The fact that you have made so many diverse bits yourself and the quality of the component restoration is staggering.
Where abouts are you and can I be your friend??? Teach me!!!
|
| |
|
|
Hammy
Part of things
Posts: 60
|
|
Jul 17, 2014 13:09:25 GMT
|
Thanks very much. I am in Sunderland by the way... anyone is welcome to my gaff anytime. I used an 8.5mm hand reamer. The tap was a 1/8th bsp tap. When I get home tonight I will find the place i ordered the t piece and fittings from...currently at work. They were only couple of £,s. Yes, I am putting a kit together for this and going to get someone to try it out. The big problem is getting hold of 8.5mm reamer and 1/8bsp taps. They are not common/automotive tools and as such tend to be expensive. So this might be best on a trust basis...the parts bought and the tools lent.... that should keep it to under £10 - £20 - with sealant and new gasket cut and postage. I did try looking for metric threaded pieces...but couldn't find anything. But keep your eyes peeled on this as I will be doing the 90 degree water inlet pipe the same...this is also prone to failing. In the meantime, I finished the engine bay now...with a mild wiring tuck and deletion of some bits. time to start stripping body panels off and spray 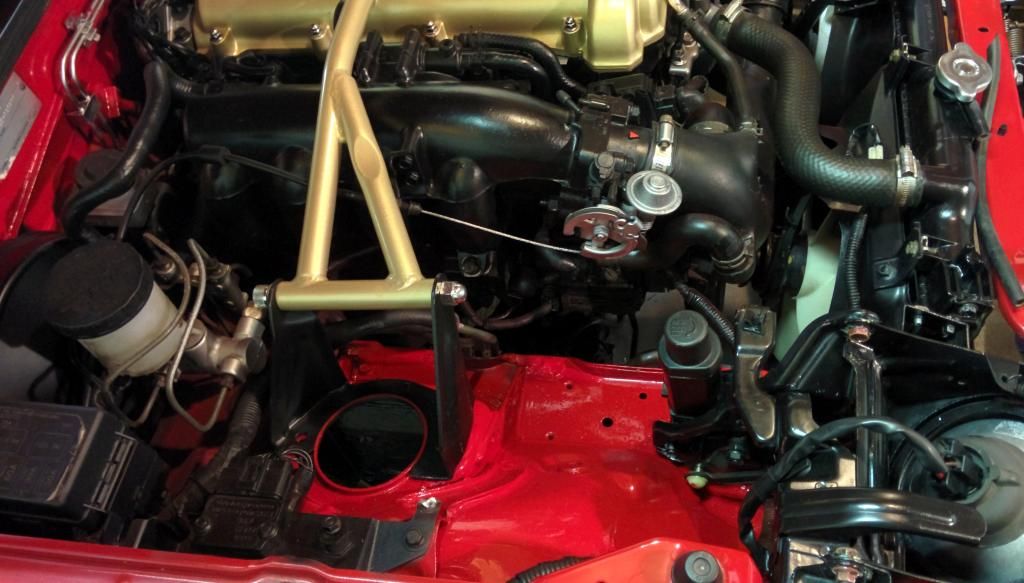 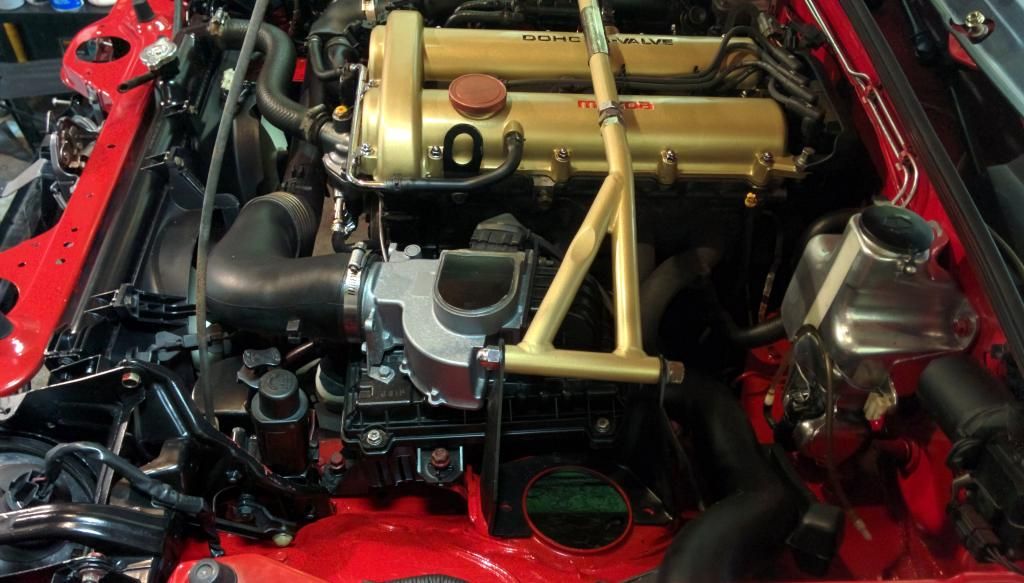 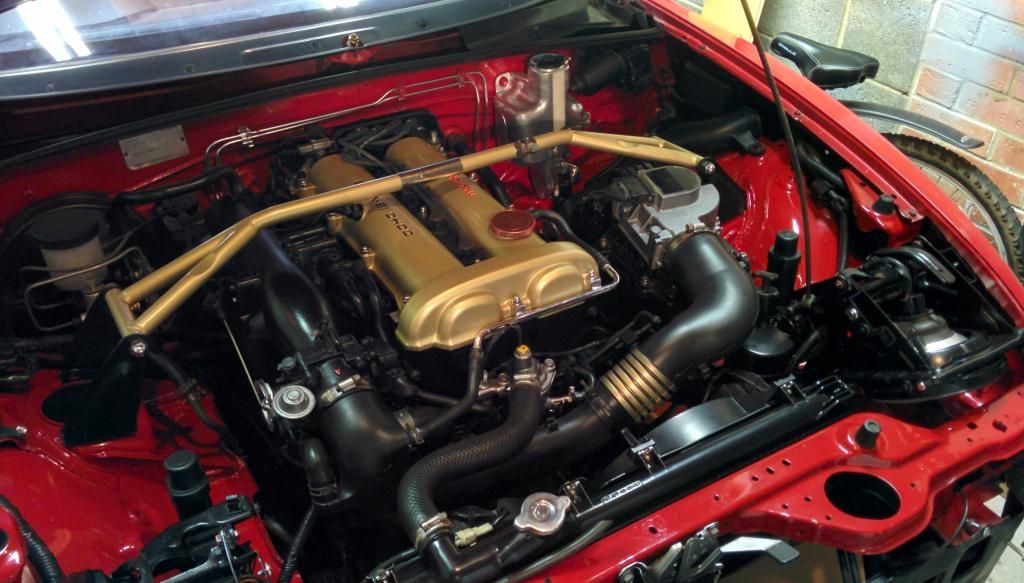 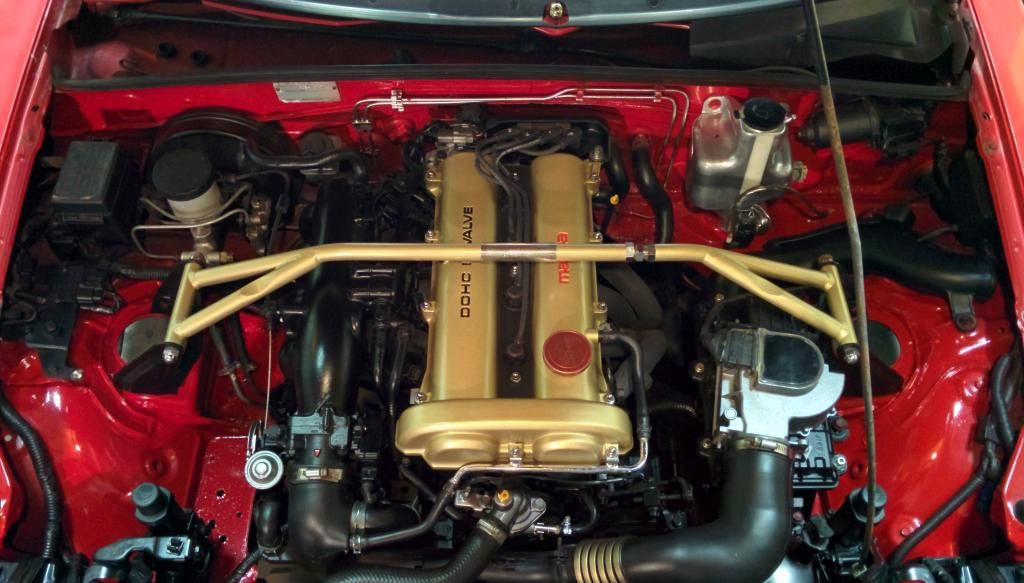 |
| |
|
|
zircon
Part of things
Posts: 327
|
|
Jul 19, 2014 21:36:11 GMT
|
|
Typical, wrong end of the country!
Will be keeping a close eye on your project though, I reckon I can learn a lot.
Lemon and heat on plastic, amazing!
|
| |
|
|
|
|
|
Jul 20, 2014 11:06:53 GMT
|
|
Thats some nice work going on there !
I like the diy atitude, ofc thats always fun xD
Engine bay looks completely transformed, and not at all like something thats 25 years old !
Good job sir, I'm looking forward to seeing where this is going .
|
| |
|
|
dave120a
Part of things
1978 Datsun 120A FII Coupe and a 1994 Passat estate TDi
Posts: 259
|
|
|
|
|
Really enjoying this thread, the attitude, ideas and ability are all great... i hope it all comes together nicely!
|
| |
|
|
MiataMark
Club Retro Rides Member
Posts: 2,963
Club RR Member Number: 29
|
|
Sept 24, 2014 10:08:53 GMT
|
Found this thread from your post in the "MK1 MX5 Inspiration" thread on the general board. As recent member of the cheap red MX-5 club this thread is inspirational, although I can't see me going to quite the lengths you have! Mine also suffers from the broken thermostat housing which I need to fix, I was going to fit a new part but wonder if I can repair it as a better long term solution. How easy is it to remove the housing to work on it on the bench. This si what it currently looks lik; 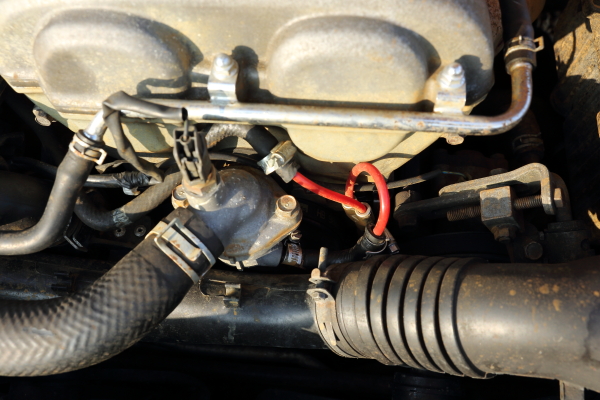 Mark |
| |
Last Edit: Sept 24, 2014 10:10:04 GMT by MiataMark
1990 Mazda MX-52012 BMW 118i (170bhp) - white appliance 2011 Land Rover Freelander 2 TD4 2003 Land Rover Discovery II TD52007 Alfa Romeo 159 Sportwagon JTDm
|
|
soupacharged
Club Retro Rides Member
Posts: 52  Club RR Member Number: 109
|
1989 MX5 Eunos - FINISHED.soupacharged
@soupacharged
Club Retro Rides Member 109
|
|
|
|
Wow.
The quality of your work and attention to detail look excellent.
Even better that everything is handmade as cheaply as possible.
Keep the updates and tips coming!
|
| |
|
|
|
|
|
|
|
|
Love the work going into this car and a good build thread
|
| |
|
|
|
|
|
Mar 10, 2015 15:51:30 GMT
|
|
Nice work - Bookmarked!
|
| |
|
|
|
|