Hammy
Part of things

Posts: 60
|
|
|
|
Hi, I'm Hammy and this is my build thread of my current Eunos import. It's a 1990 and was imported into the UK in 2000. I picked it up earlier this year for a bargain price off the bay of E. I would like to say I had a plan, sadly I don't - I decide as I go along... I would also like to say I had a heap of money to throw at this, sadly, I don't have that either as I have a wife, a child, a house and lots of animals. Sigh! I do however like to be creative and make things out of nothing... I make pretty much all my own things and rarely buy anything... out of necessity rather than choice  So, here is my NA arriving home. It had been sat on the previous owners drive for 7-8months idle. I went to view it before I bought - in the middle of winter covered in ice and snow. But as it was going for a song (cheap) and it appeared pretty solid, just lack of care... I gave it a chance. 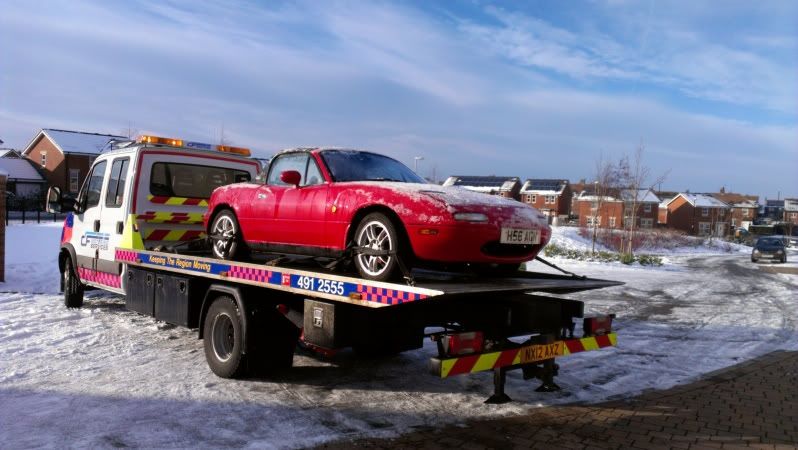 VIN plate: 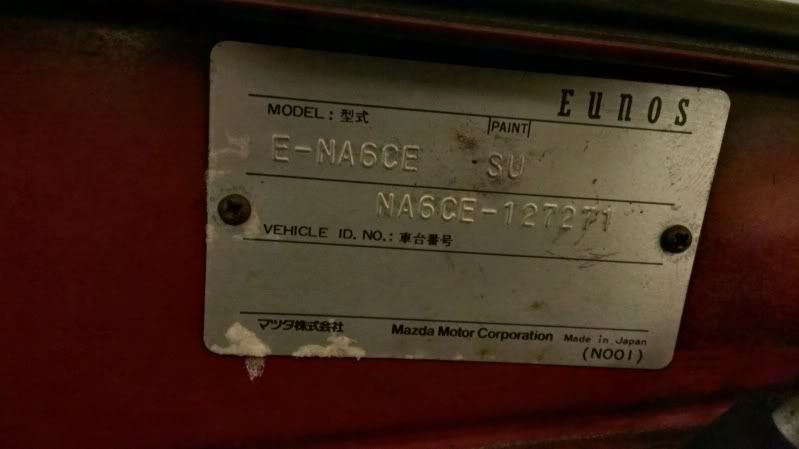 Being red and sat outside without so much a cursory glance, the paintwork ah faded... 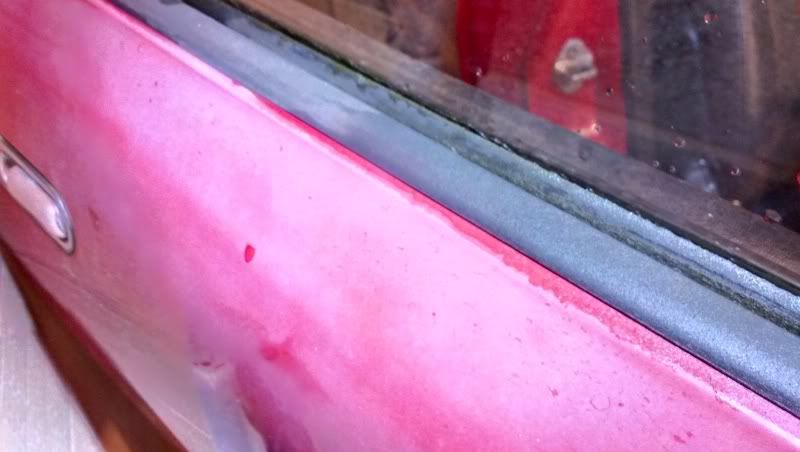 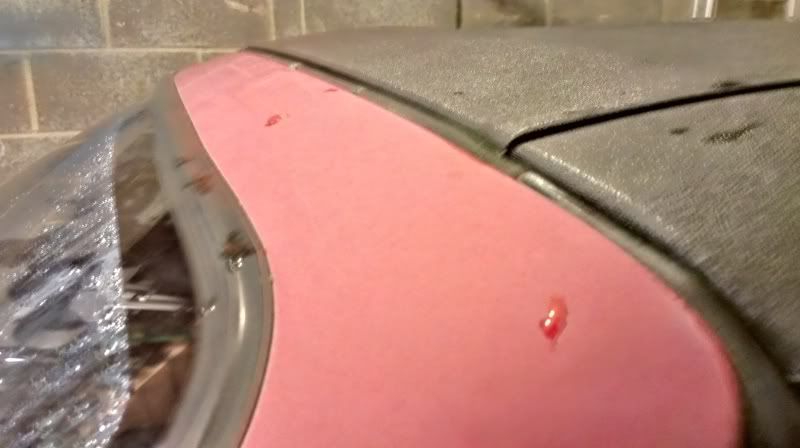 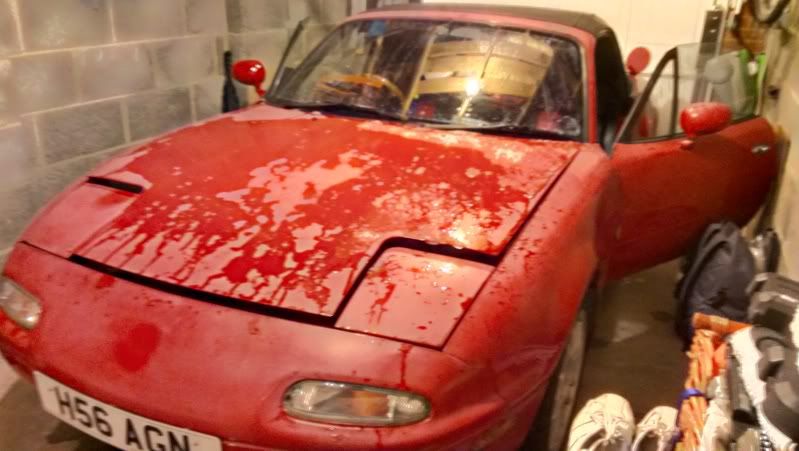 The interior however I scored a bonus and this is why I had bought it really - the previous owner had just spent approx £1000 getting new leather seats, door cards etc made specially... had only driven it once before it stood doing nothing until I bought it...  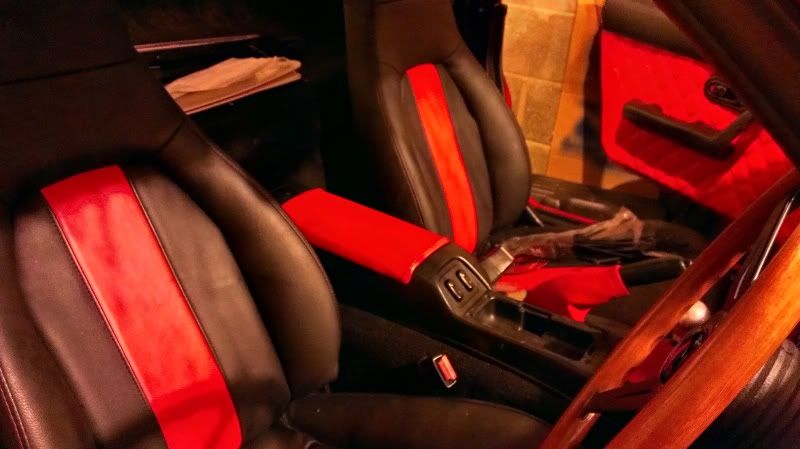 The vinyl hood also seemed to be in good condition that I could see - no obvious splits or tears. 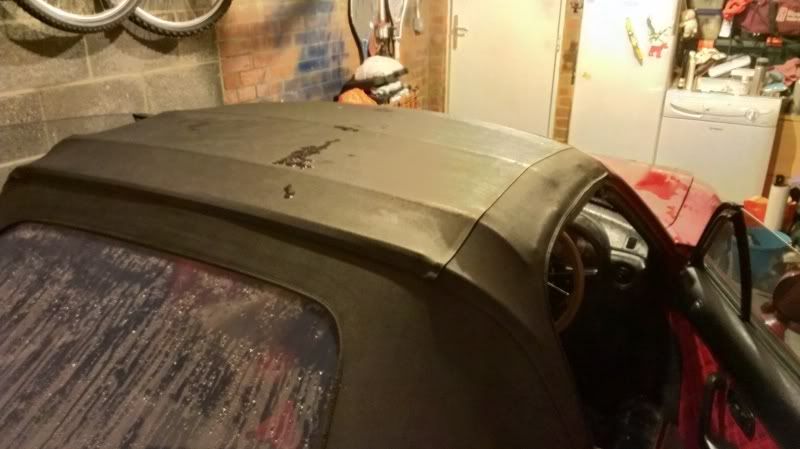 The engine bay was the usual tatty mess and noticed the engine itself listed :shock: 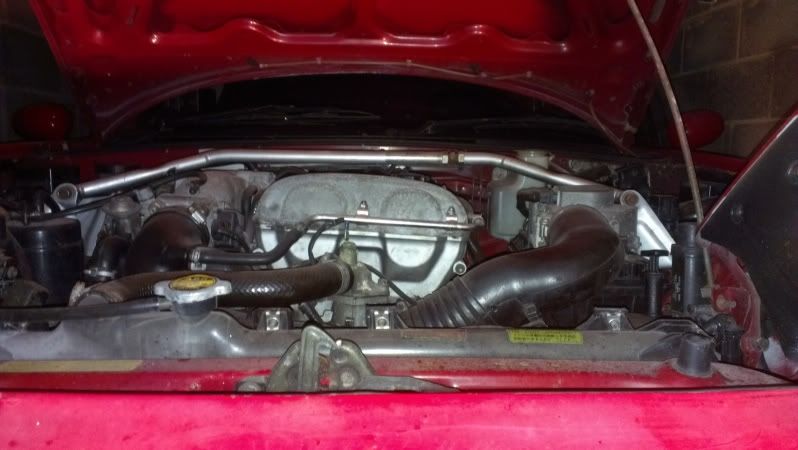 I sorted that with fitting the engine mounts properly.... the previous owner had said the engine had been serviced a few miles before it was taken off the road - it also had cam belt and pump changed and a new clutch - this explained somewhat the listing engine. The previous owner did produce all the paperwork to prove servicing etc so I was happy 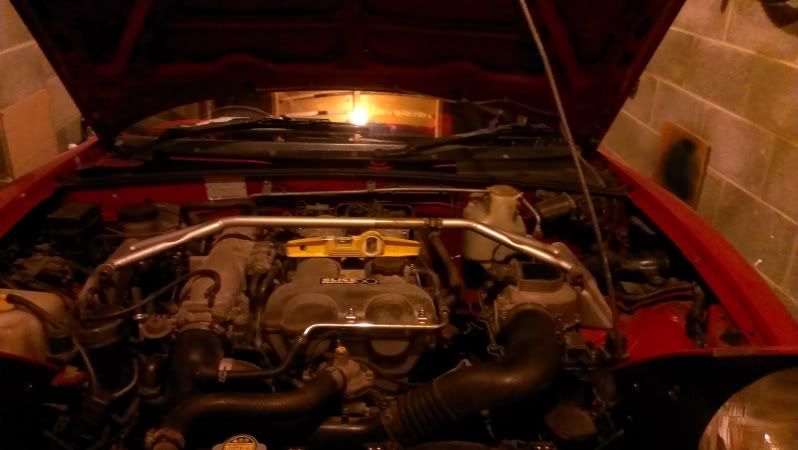 I did a quick check underneath and it all seemed solid enough - usual rust ont eh wishbones etc, but generalyl solid enough - with some unknown brand coilovers.. looking a bit tatty, but all solid enough... 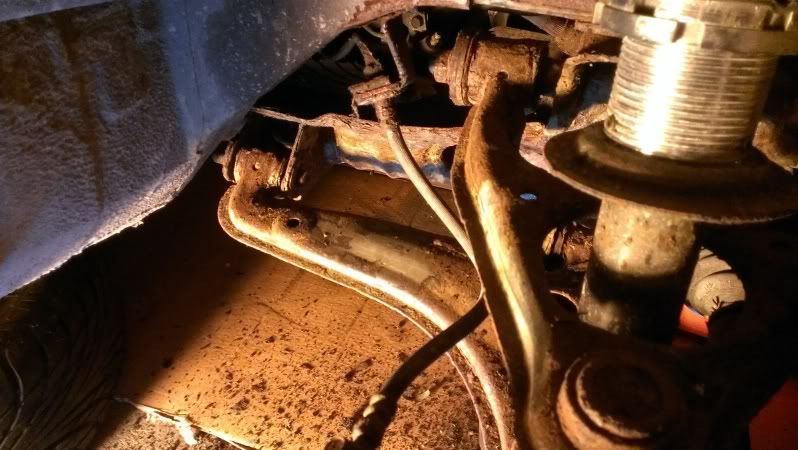 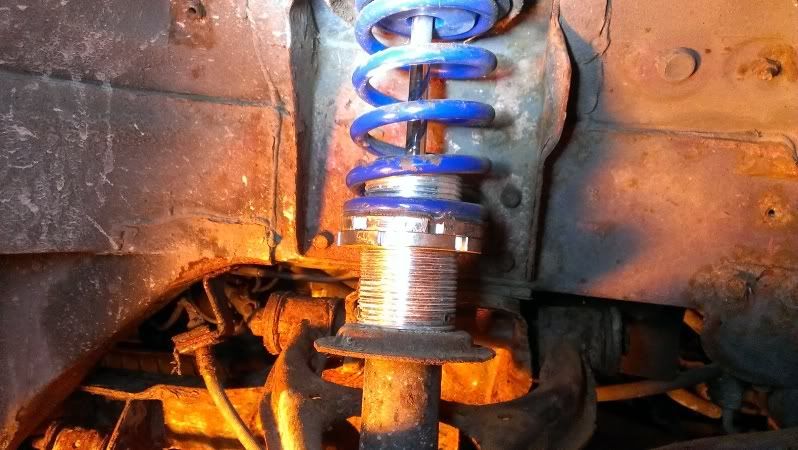 After taking one of the front arch liners off, this lot fell out from behind the wing (fender) 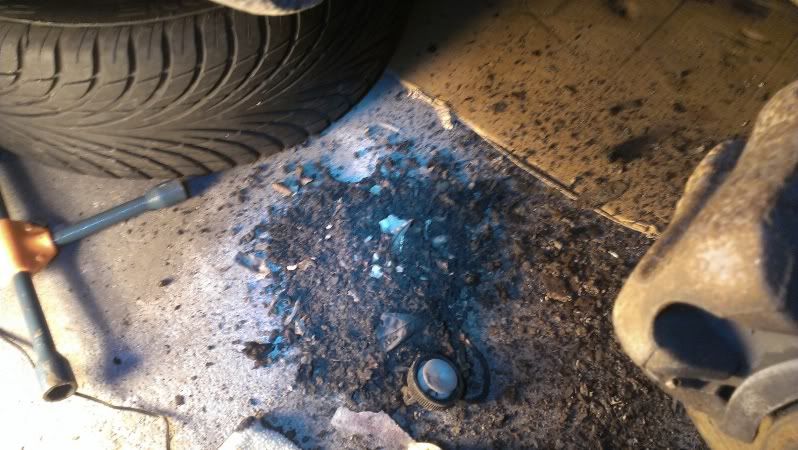 A quick clean to check the and all was clear in there with no rust  So that's how we stood for now. Better get cracking and start work making this tired lump, well again... |
| |
Last Edit: May 12, 2016 13:27:21 GMT by Hammy
|
|
|
|
Hammy
Part of things
Posts: 60
|
|
|
|
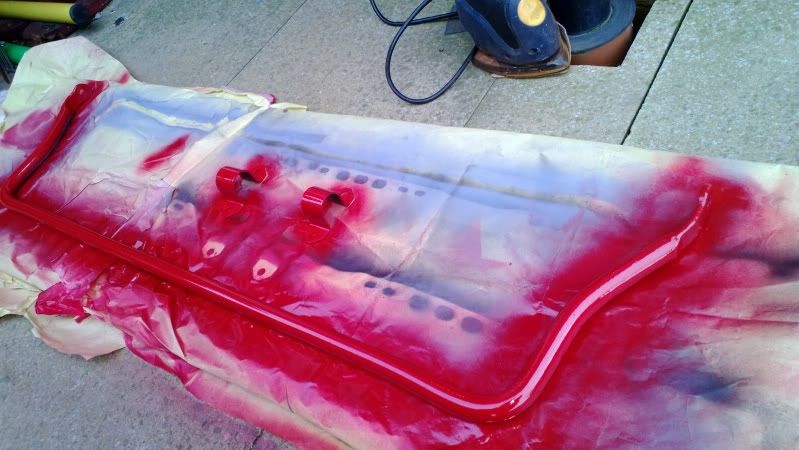
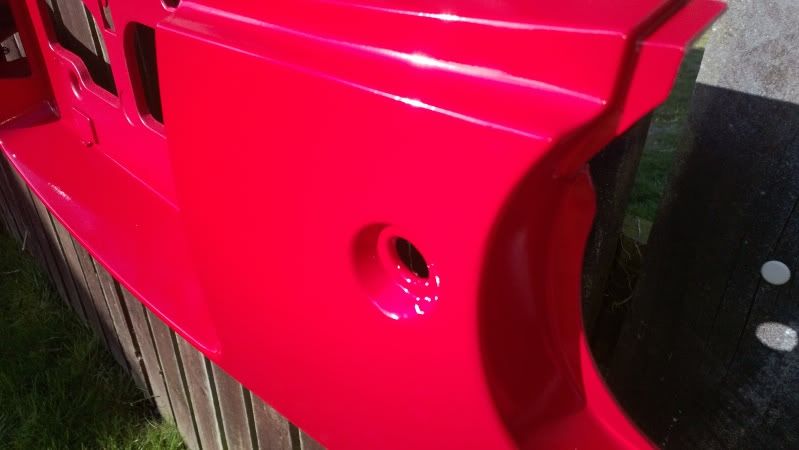
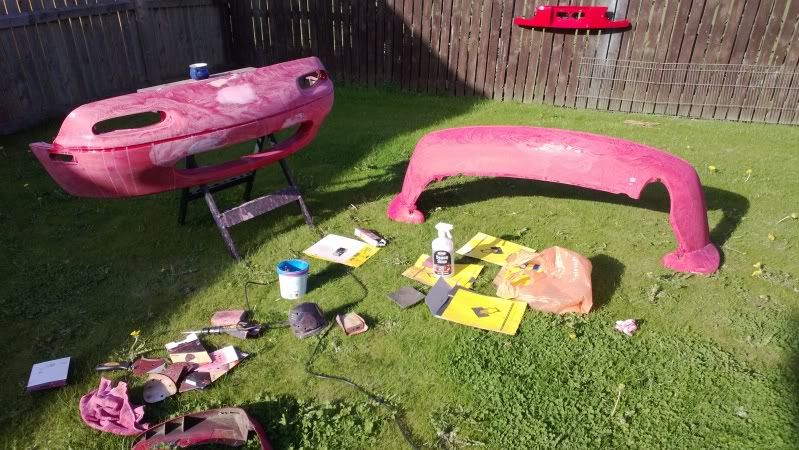
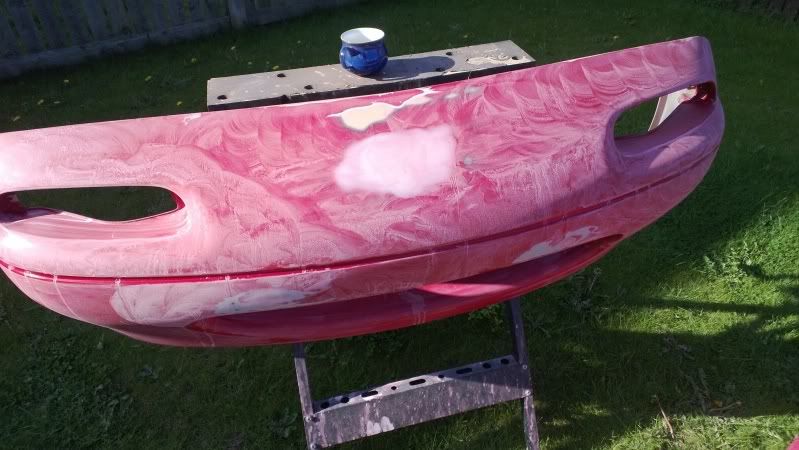
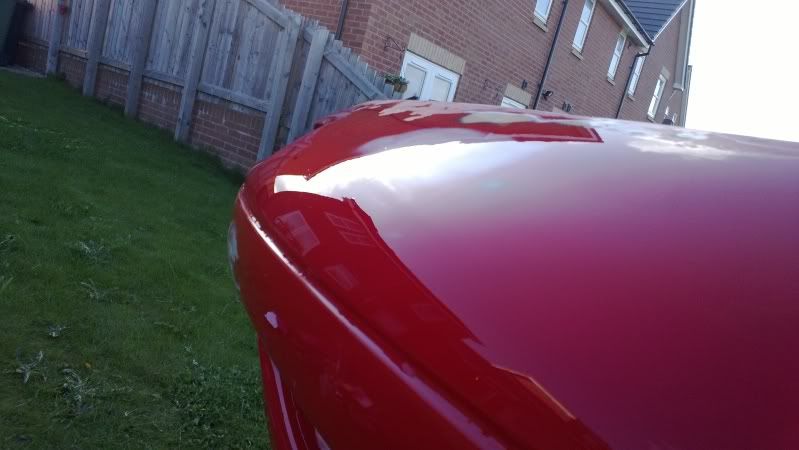
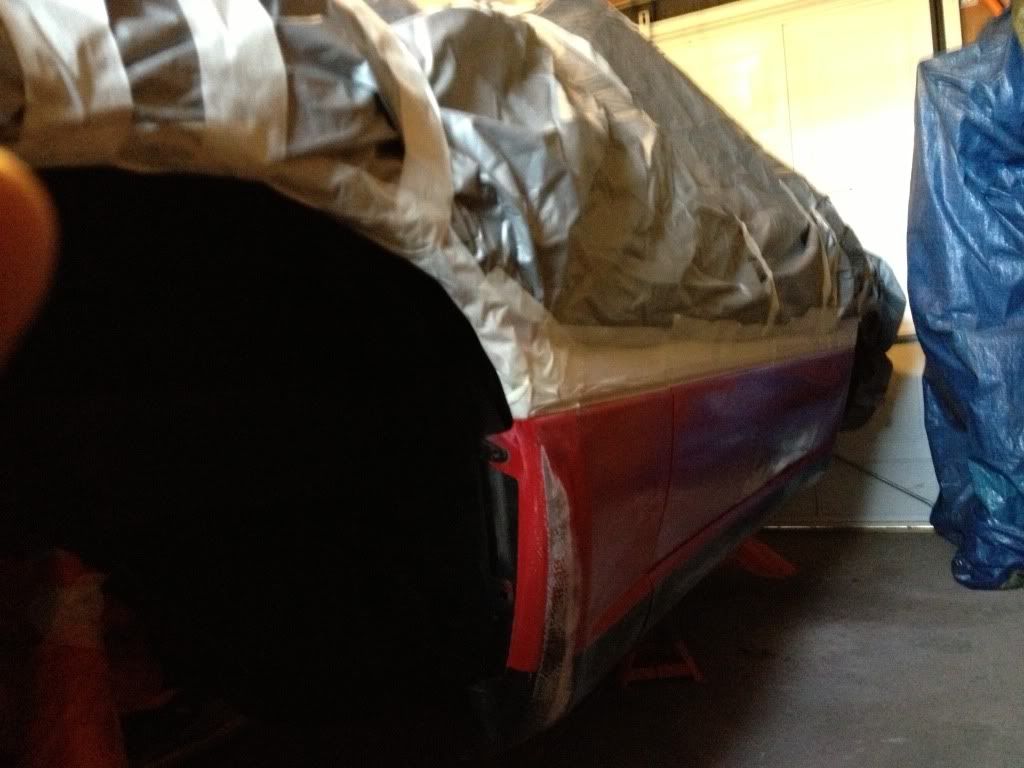
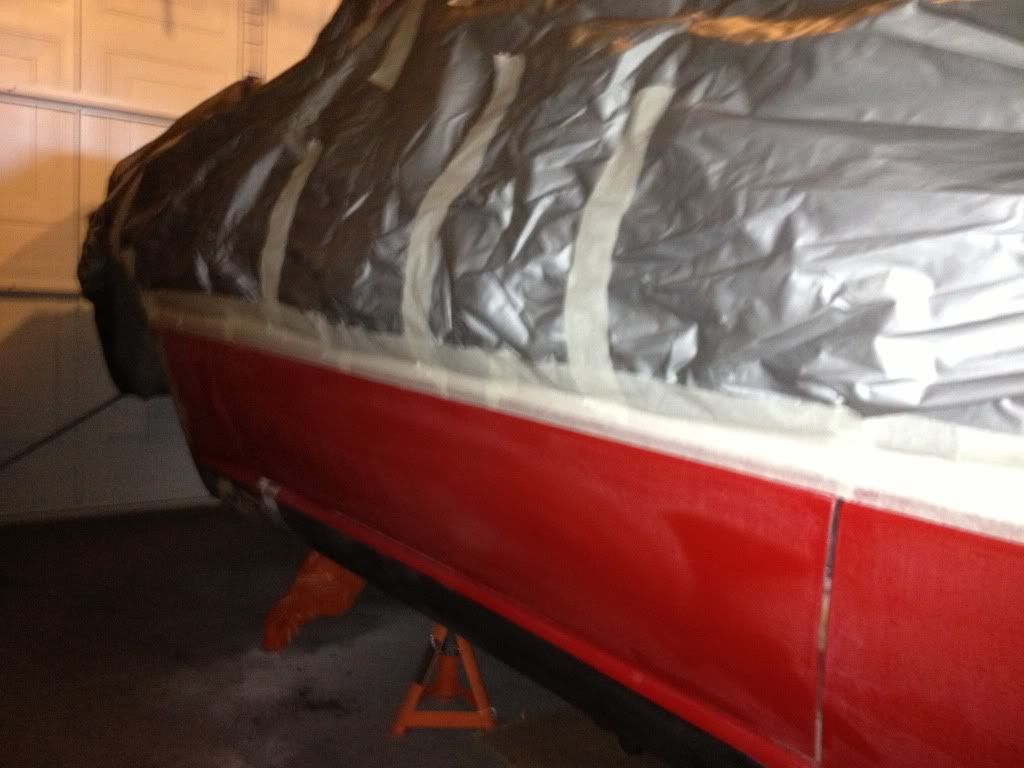
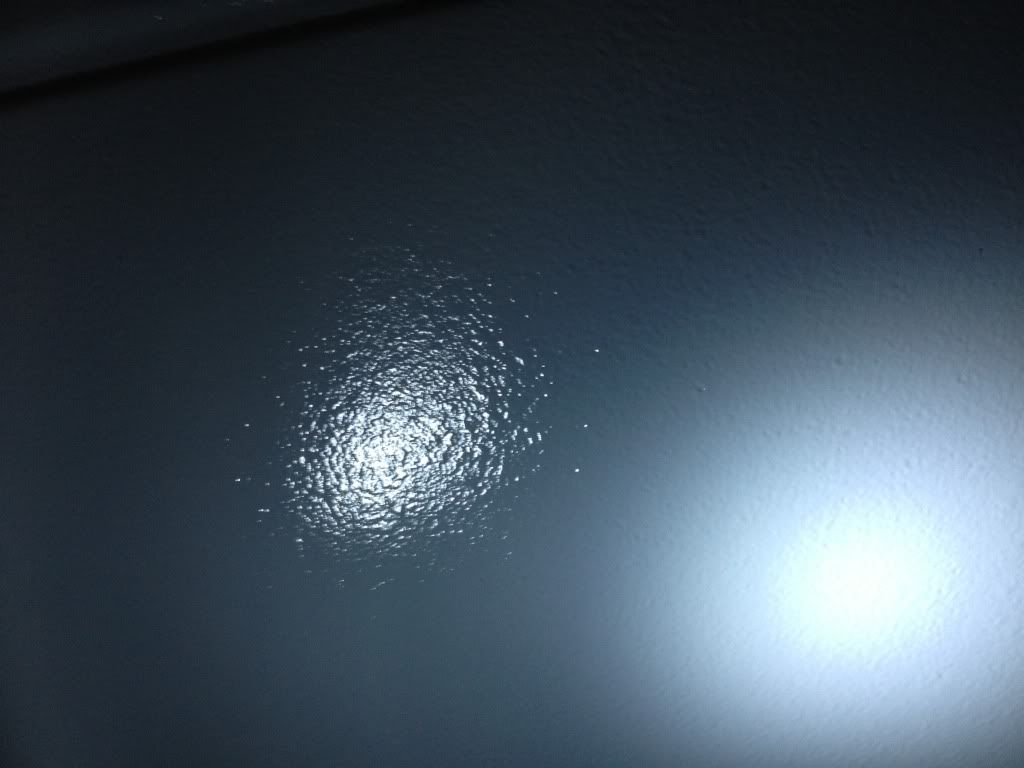
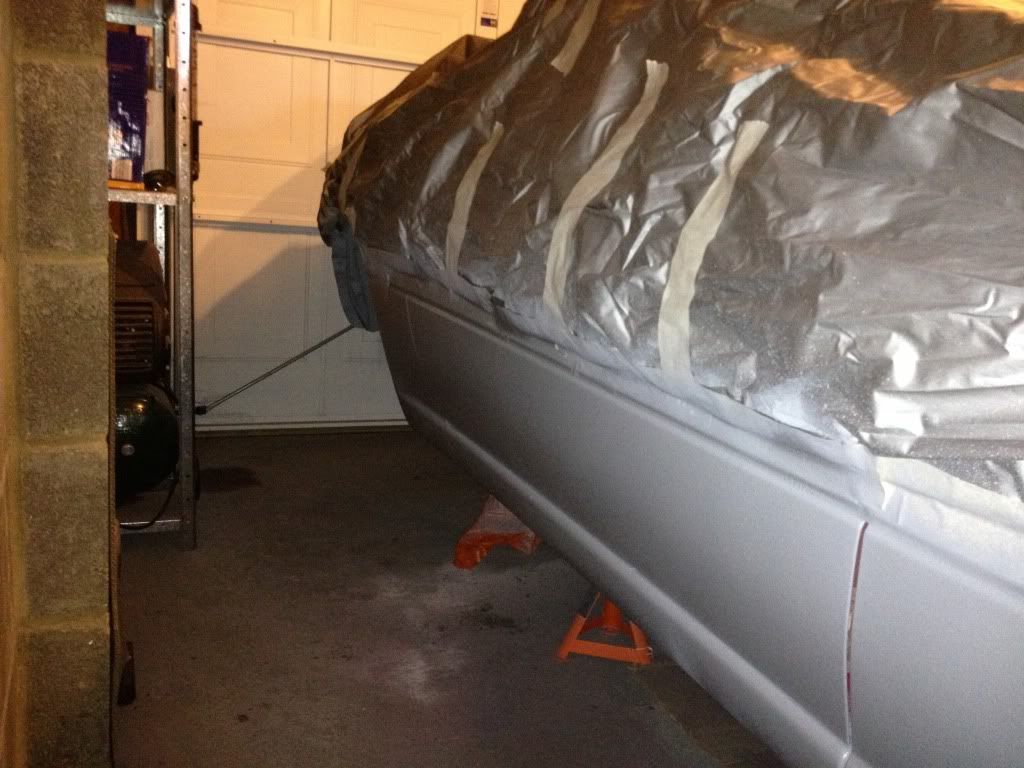
I thought it best to check the paint to see what it was like. I clayed it, masked off an area and tested with a soft pad... well, it's it good condition... 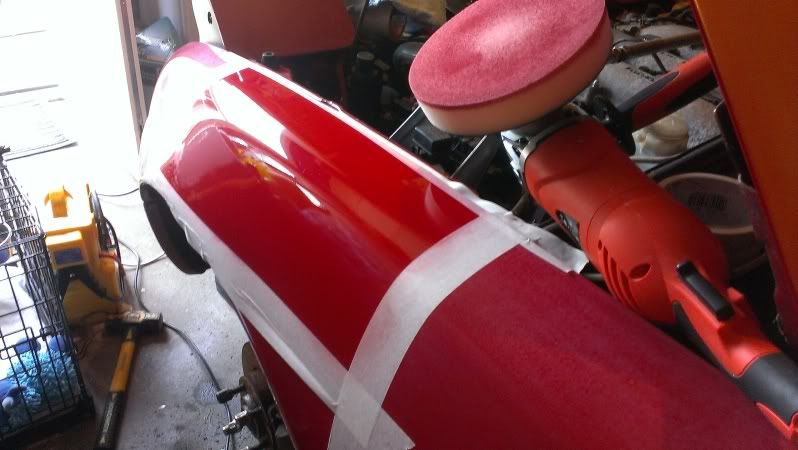 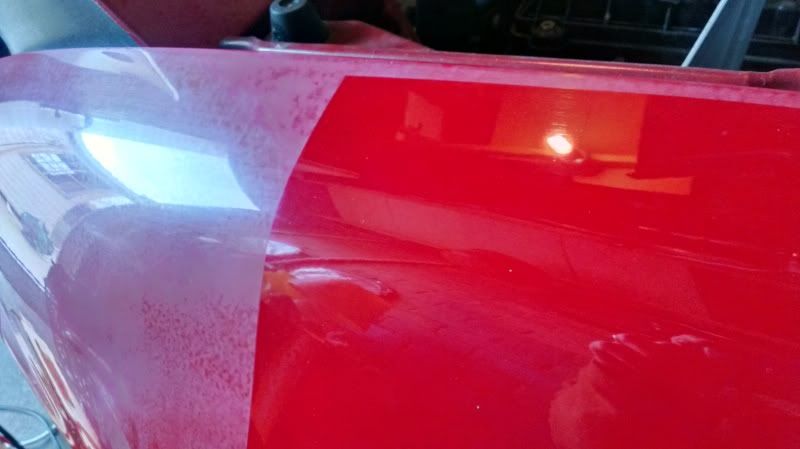 Not bad...but I will still probably respray the whole thing. After that - well, after I had to go in to make Sunday lunch.... As the car had not been run for approx 8 months I pulled the plugs from the engine, put a drop of oil in each cylinder and hand cranked the engine with a rathchet on the crankshaft pulley... about three rotations. Nice and smooth. Oil was indeed brand new, all fluids seemed fine, air filter was new. As the battery was dead it had fully charged by now... so I cranked the engine over with no plugs. Sounded good. In with plugs and fire her up.. no sooner had I turned the key she fired up... fantastic. Nice and smooth - a bit HLA noise to be expected, but oil pressure good. Left her running for approx 20 mins and all was well. Result |
| |
|
|
Hammy
Part of things
Posts: 60
|
|
|
|
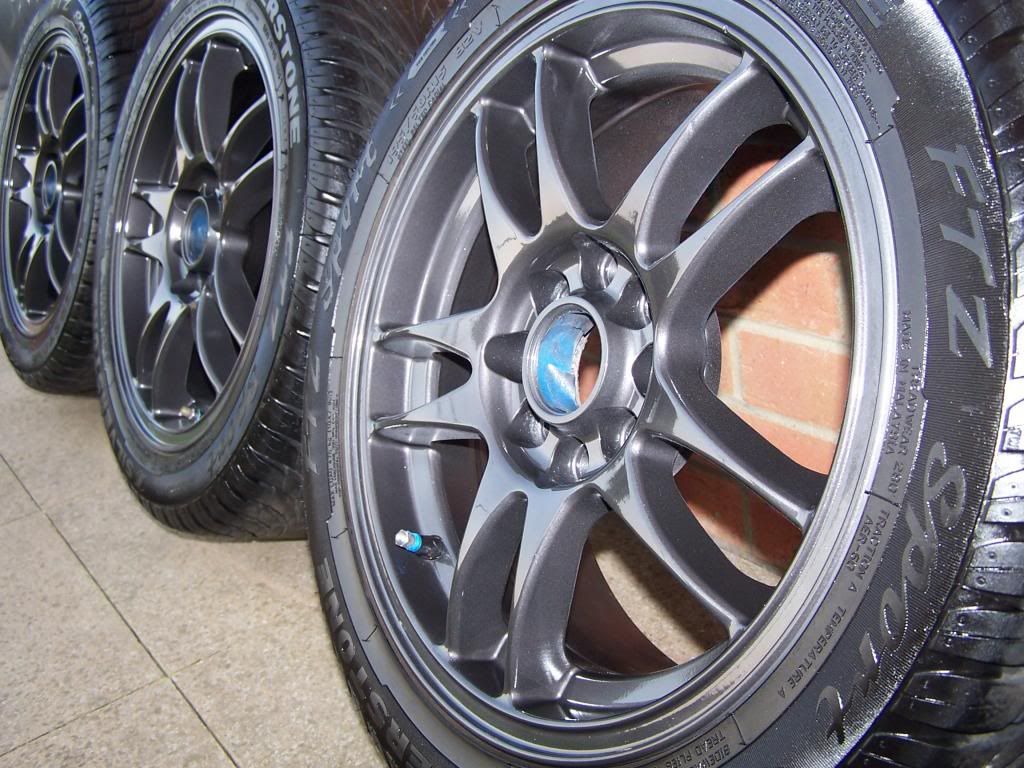
So begins the tidy up. Having removed the rather manky expansion tank and washer bottle I cleaned these up by leaving them in a hot bleach solution. Came up well... 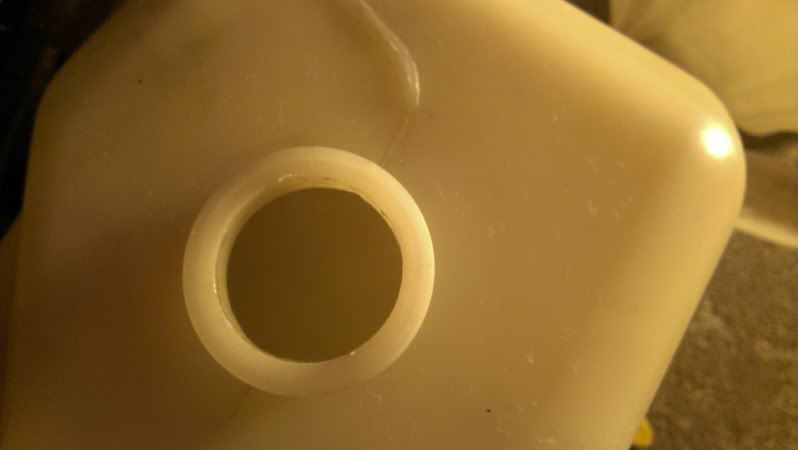 Decided on a quick win and cleaned up the area behind the bulkhead, the wiper arms, motor..plastics and interior air intake and motor.. 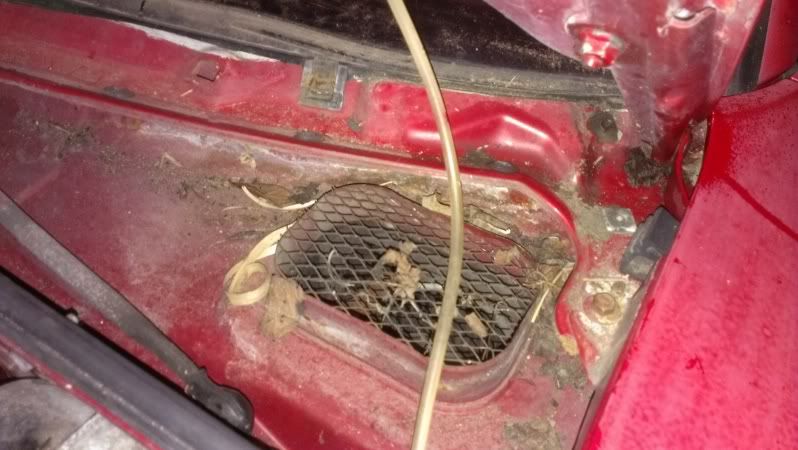  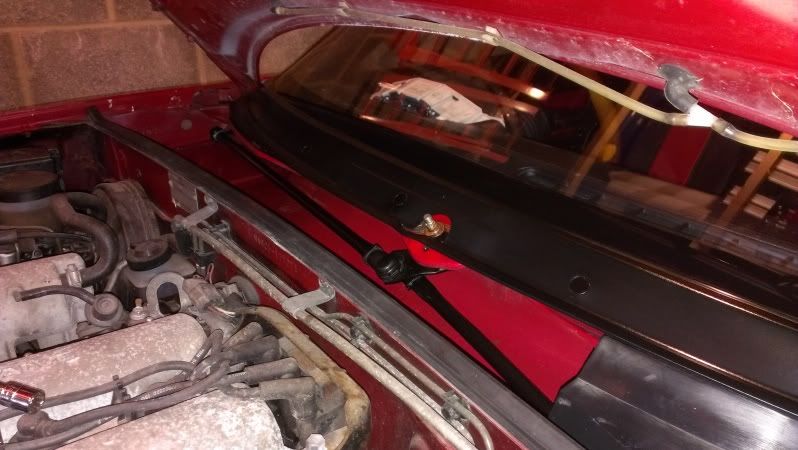 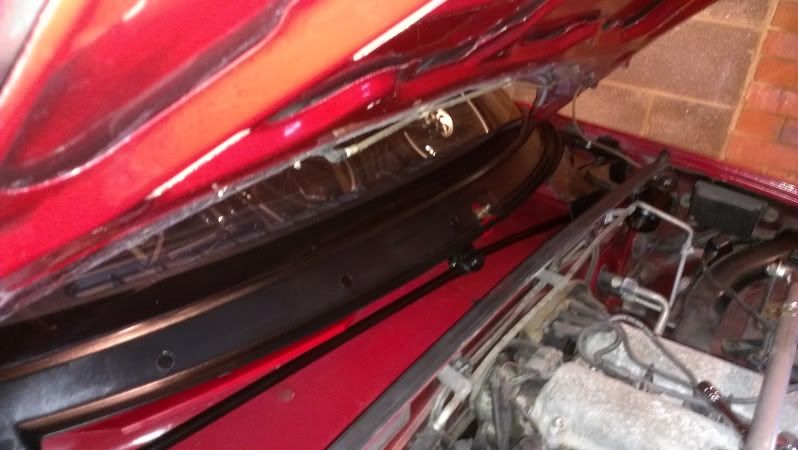 I then decided to make a start on the wheels... so a clean up first: 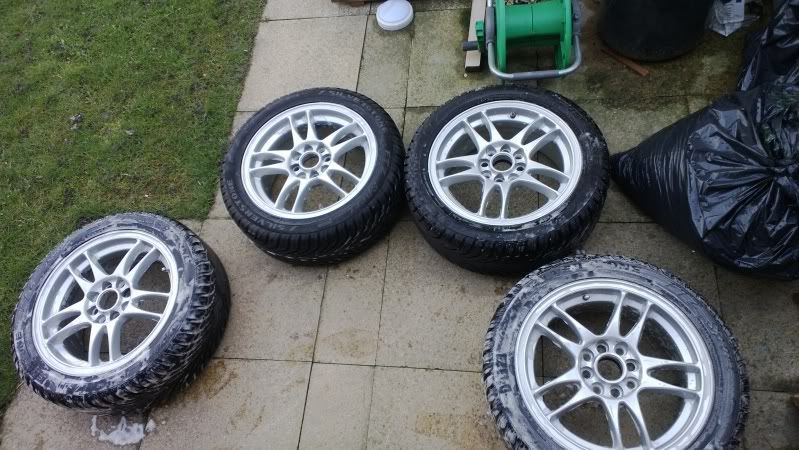 ...and after 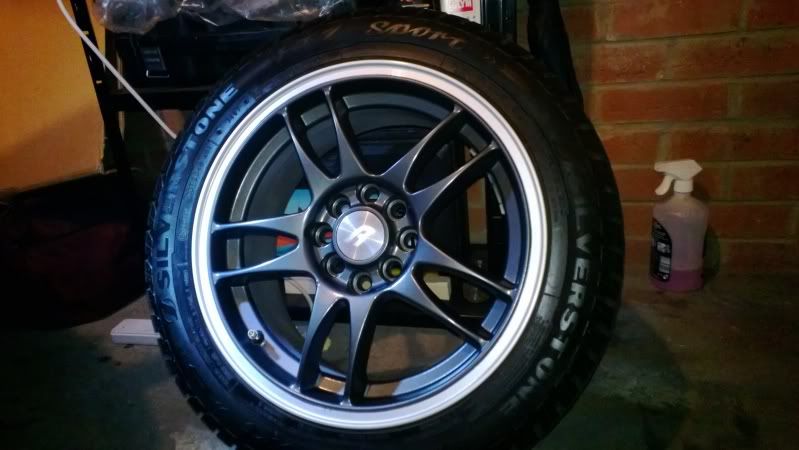 Not sure about these... I would strip and do them completely at a later date. |
| |
|
|
Hammy
Part of things
Posts: 60
|
|
|
|
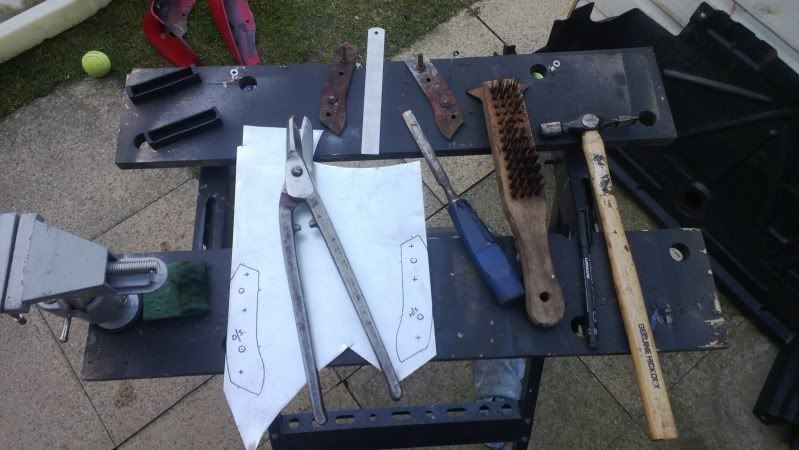
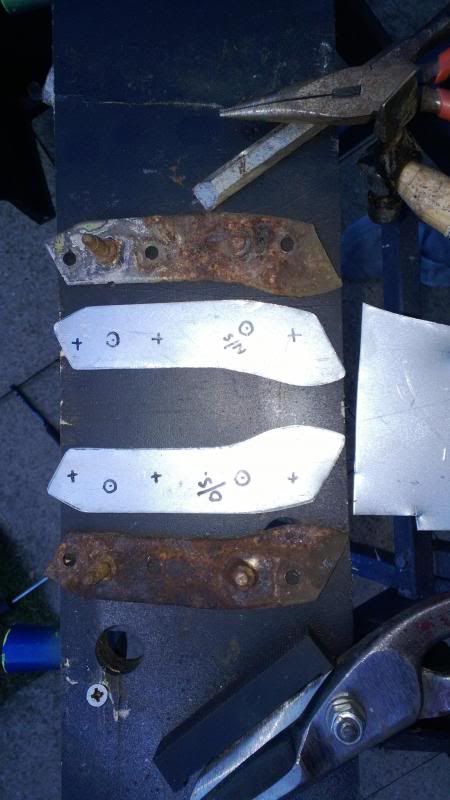
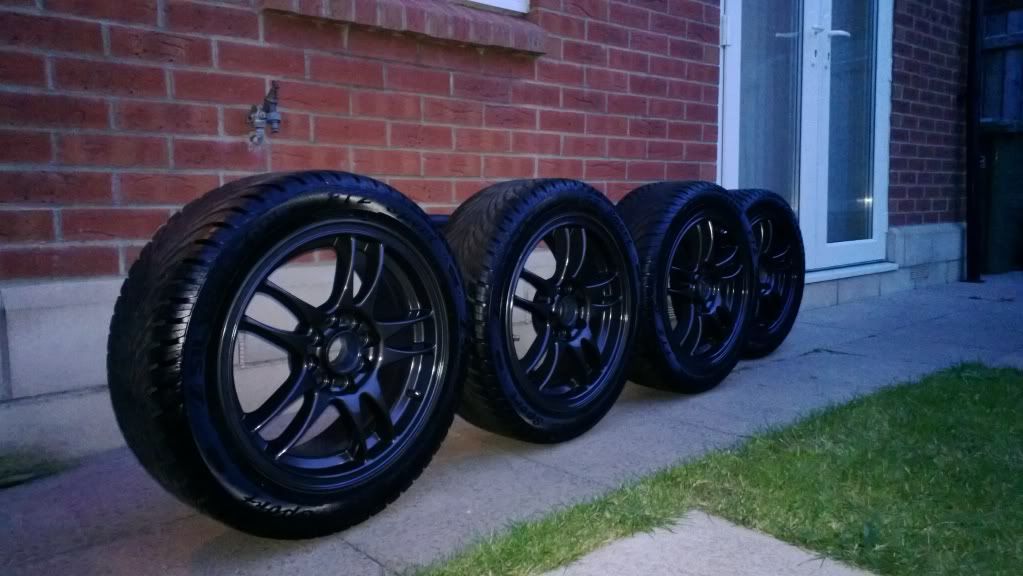
So now it was time to tackle some metal work. I removed the rear arch liners and the area behind when I poked about was rusty... so time for the air crinder and cut some metal out: 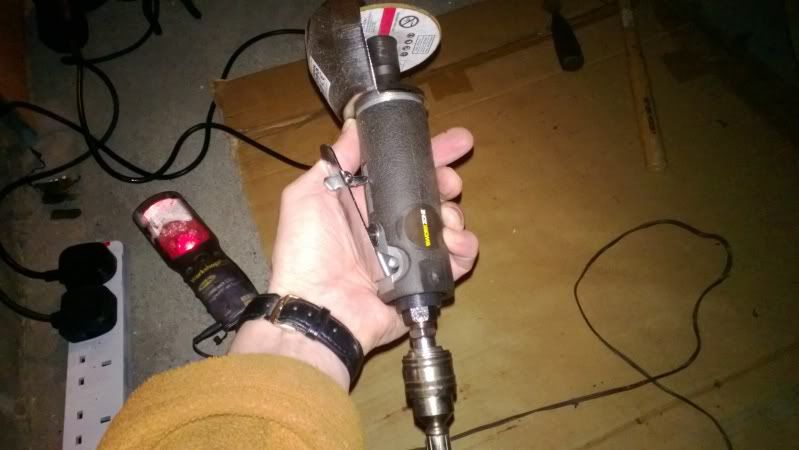 Removed the bad areas, and thankfully inside was all good, so just need to weld new metal in: 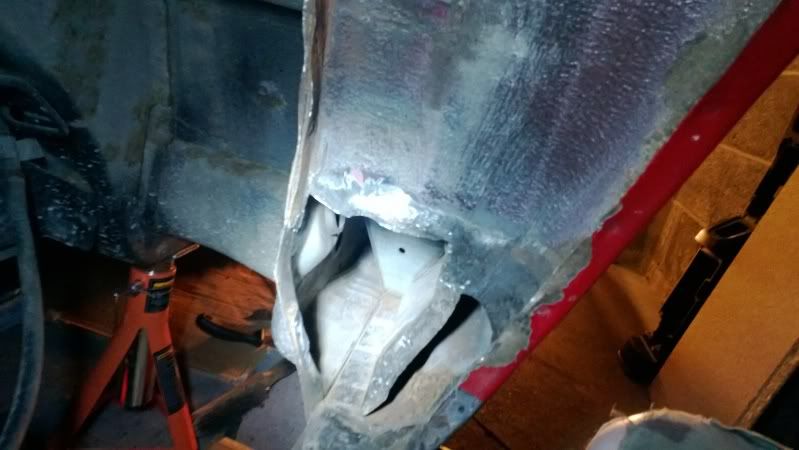 Make a template: 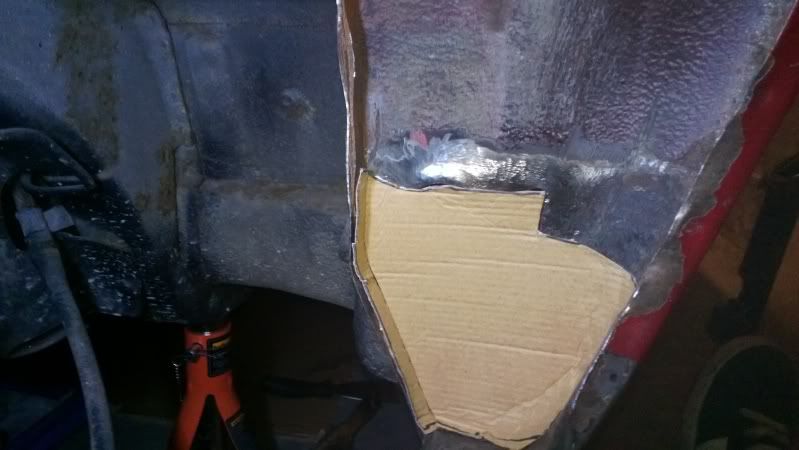 and the other side: 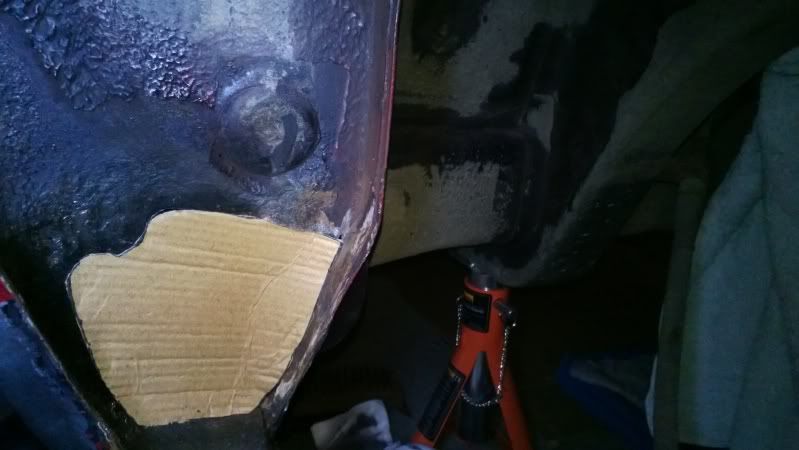 ...had a quick check of my wheels as they were a constant distraction: Still not sure about them... 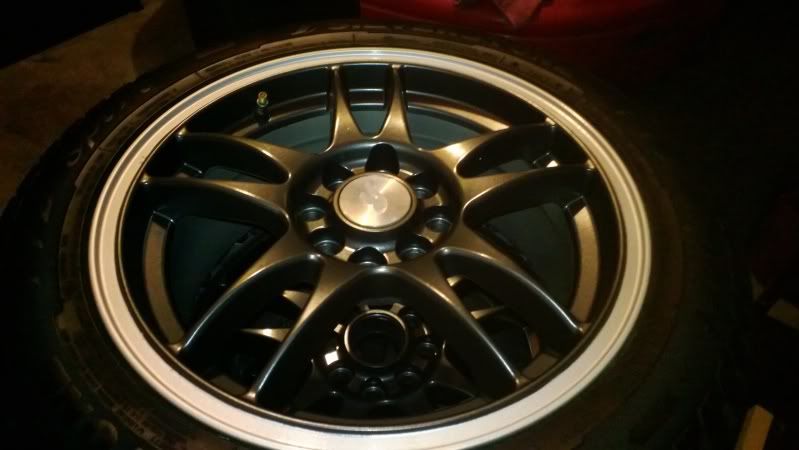 SO back to metalwork, welding and grinding done and some rust prevention and anti rust primer: 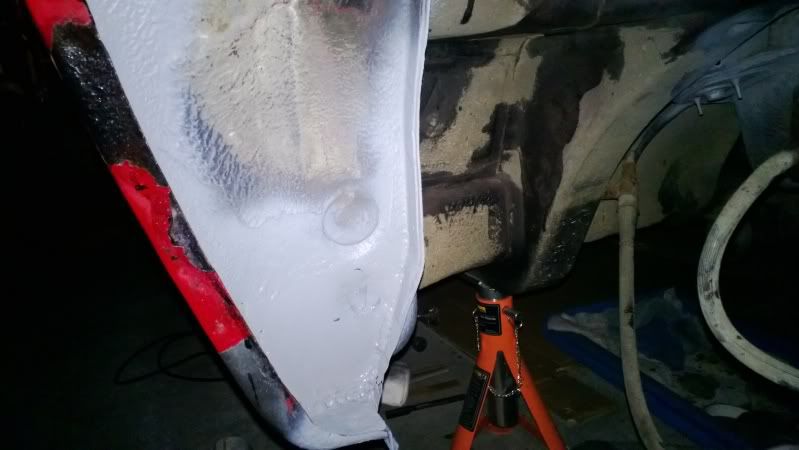 Same on other side, but no pic... |
| |
|
|
Hammy
Part of things
Posts: 60
|
|
|
|
|
|
| |
|
|
Hammy
Part of things
Posts: 60
|
|
|
|
|
|
| |
|
|
Hammy
Part of things
Posts: 60
|
|
|
|
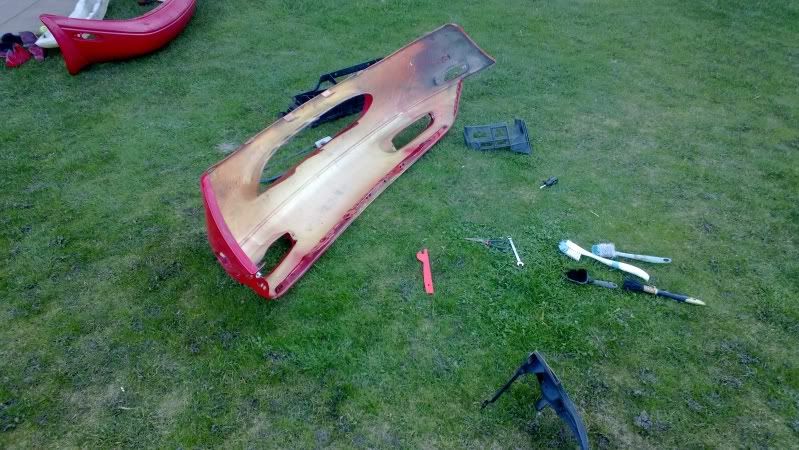
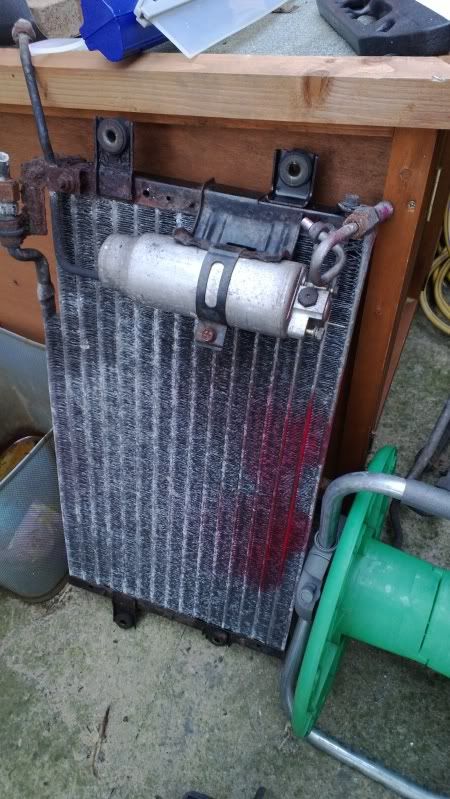
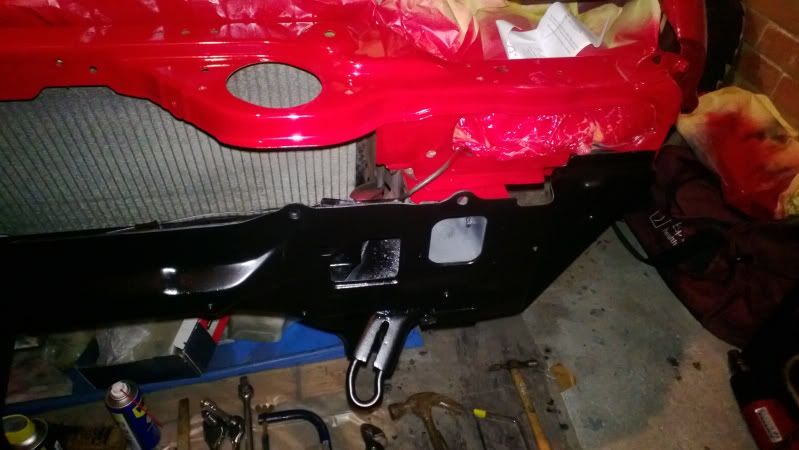
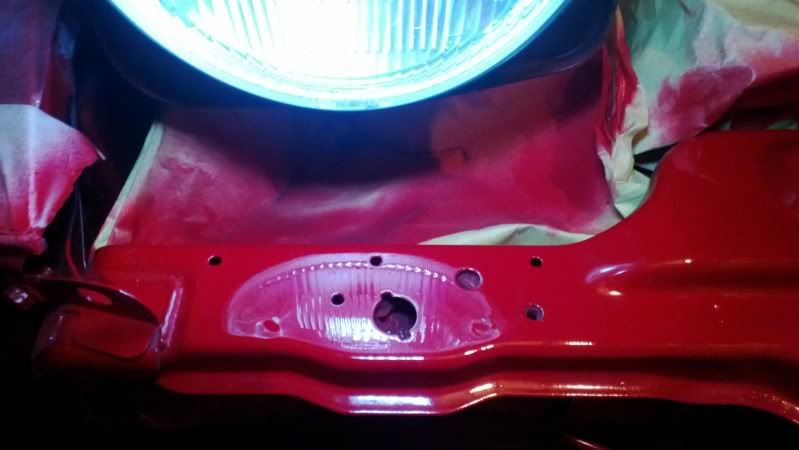
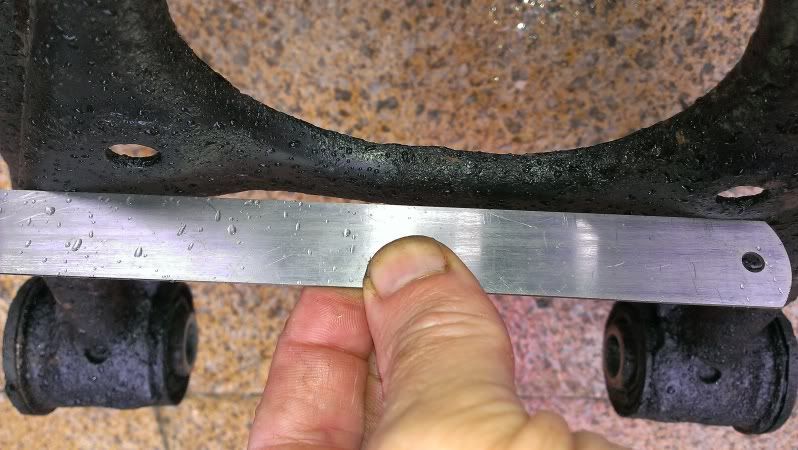
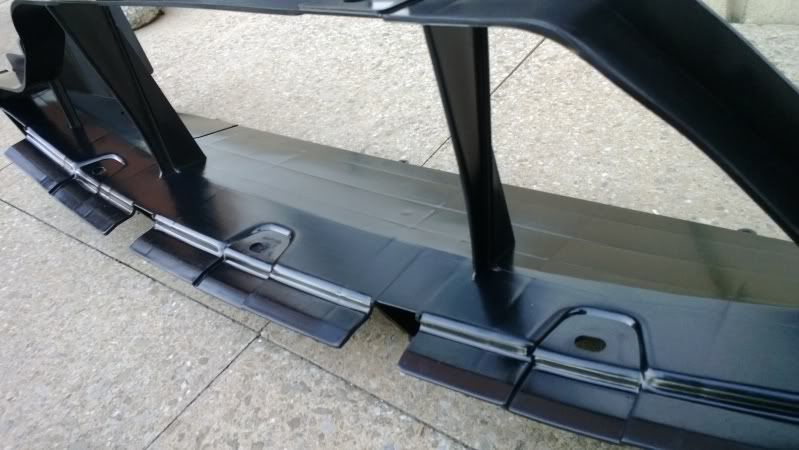
Step forward another day and more haphazardness After getting all the garden done and other unnecessary indoor cleaning work for men, I was allowed to go play :-) So today, I'm making my own grill. Now I like the gaping mouth of the Mk1, but it does need a grill guard. Step in an old Epiphone amp - this is the stainless, powder coated grill from the Power Amp valves:  Tape the end of it with masking tape: 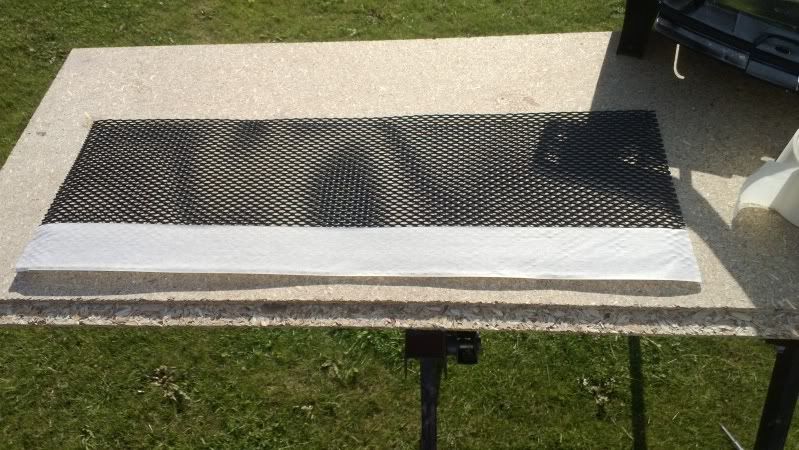 Find the centre: 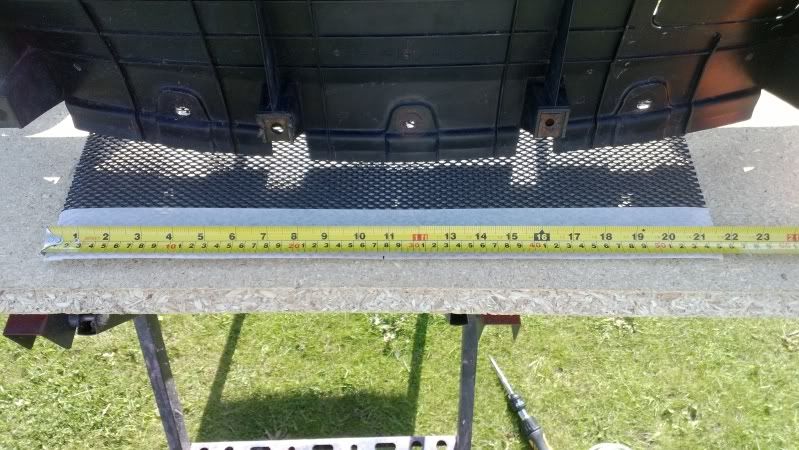 Use the edge of the thingy behind bumper to get the curved shape: 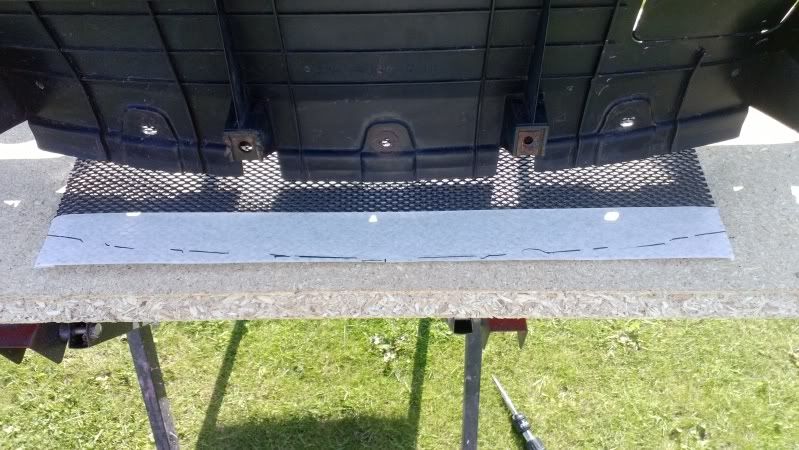 Join up the lines: 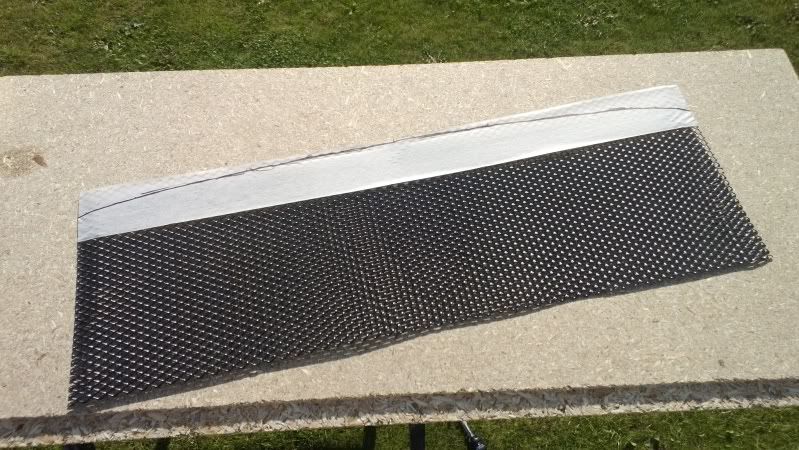 Cut and trim: 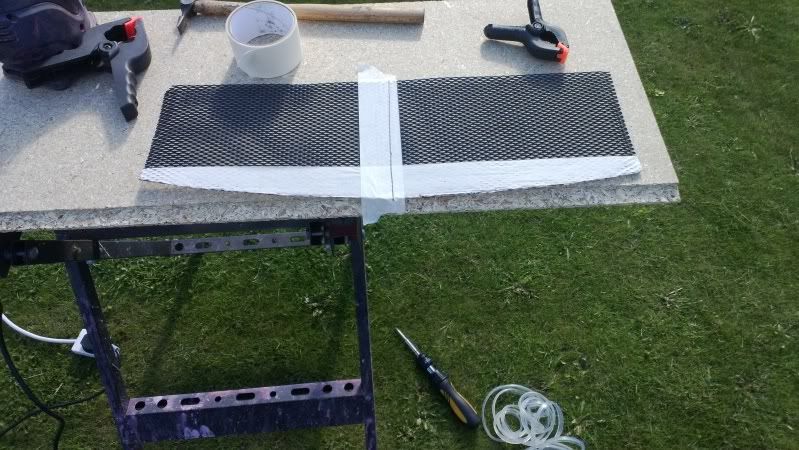 Tape up and mark the lines: 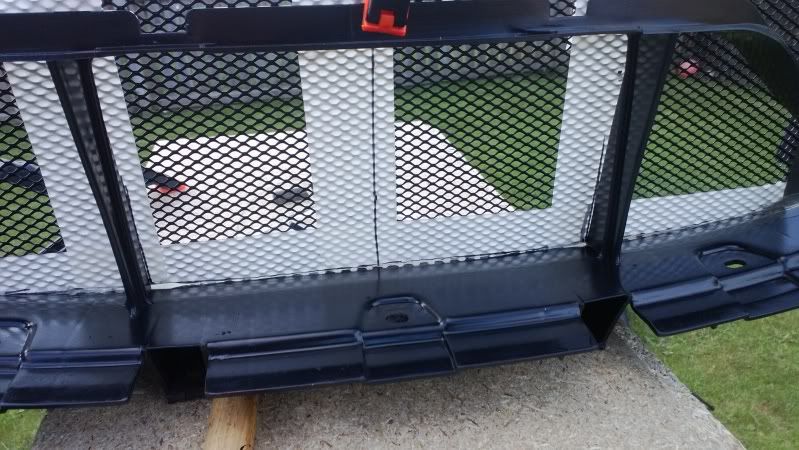 Cut and trim:  Test fit, mask up and mark the top edge: 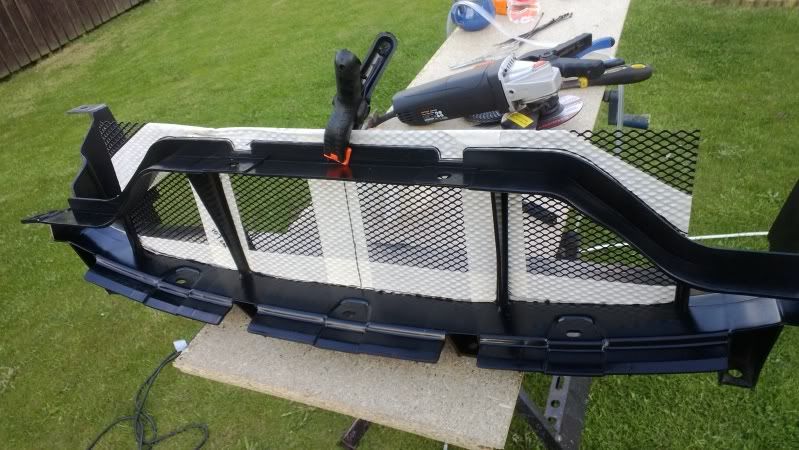 Cut and trim: 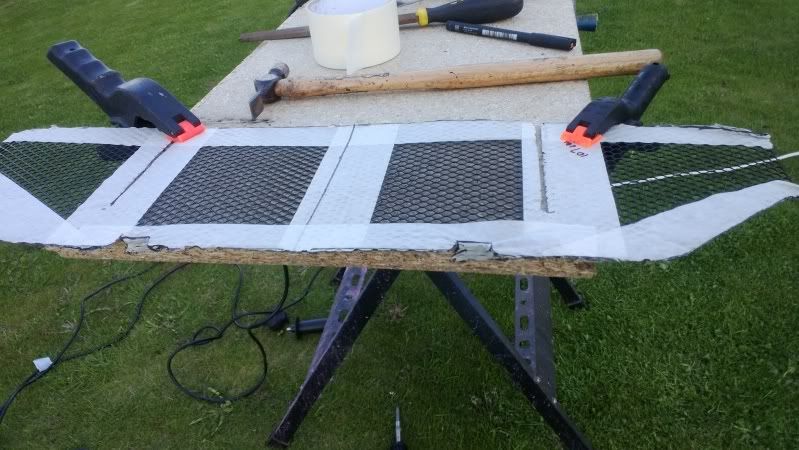 Test fit :-) 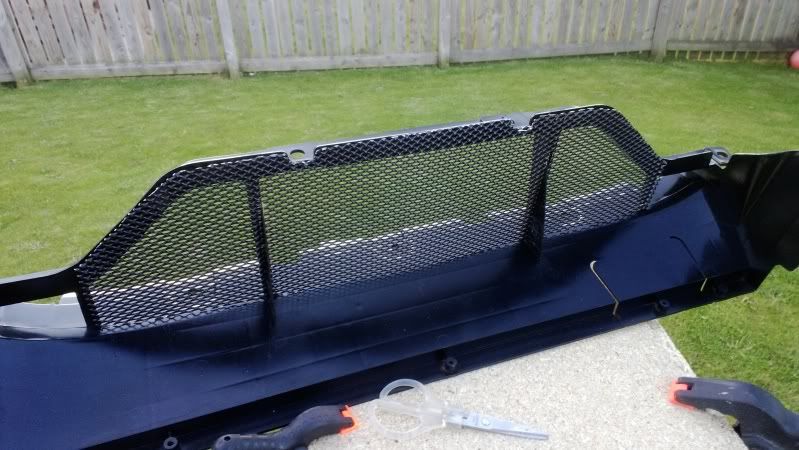 We are gonna need some of these: 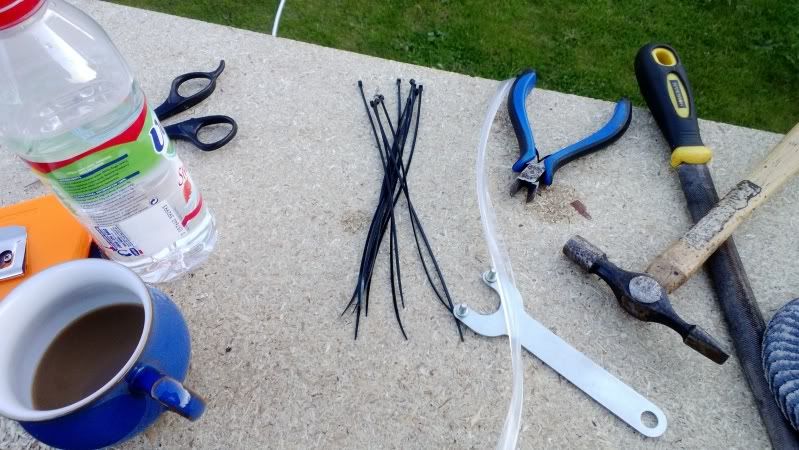 Drill some holes and tie up with zip ties:  ...all the way round: 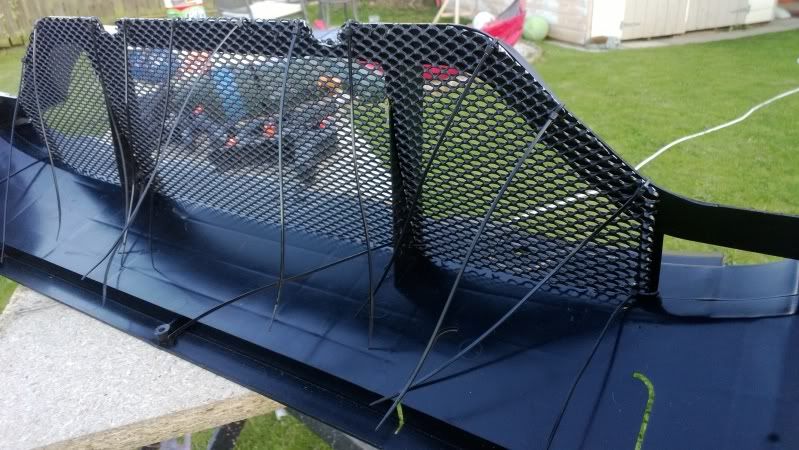 Done :-)  Let's see what it looks like on... smashing. Not worried about the two outer holes as the tow hooks cover that   Let's see it in place:  Still got the gaping gob... 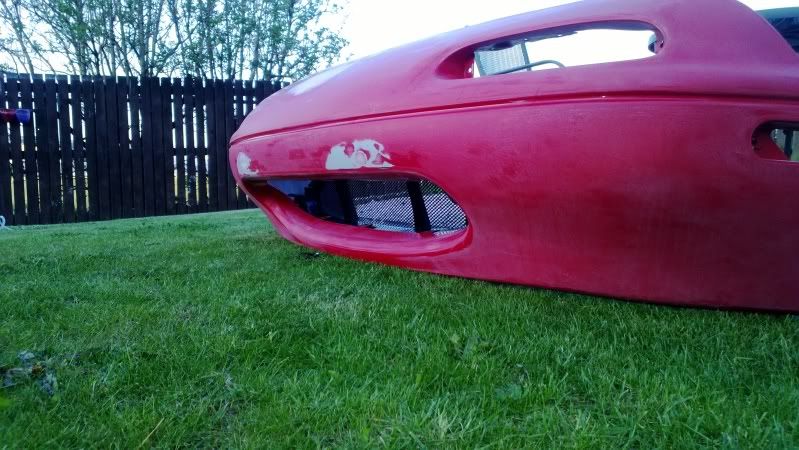 Job done :-) |
| |
|
|
Hammy
Part of things
Posts: 60
|
|
|
|
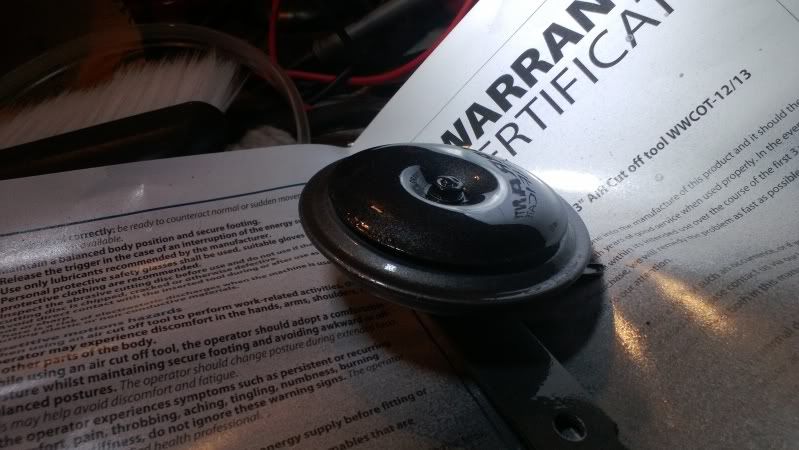
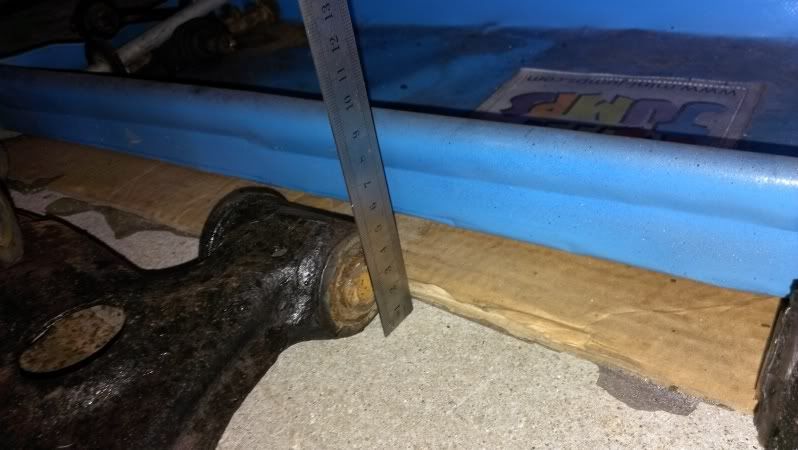
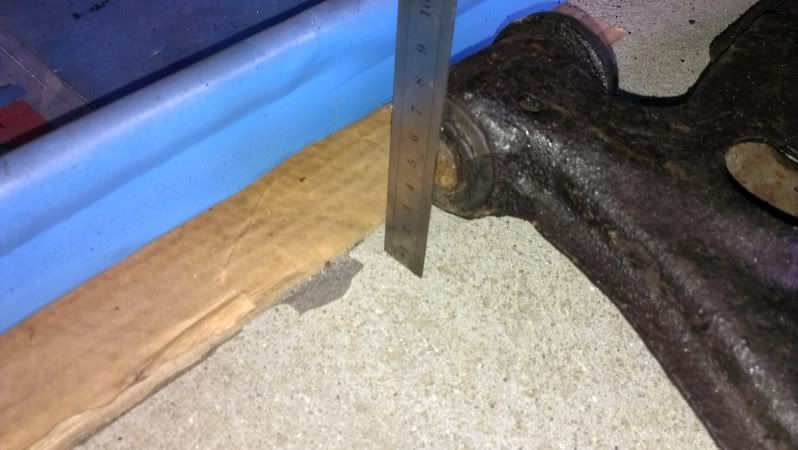
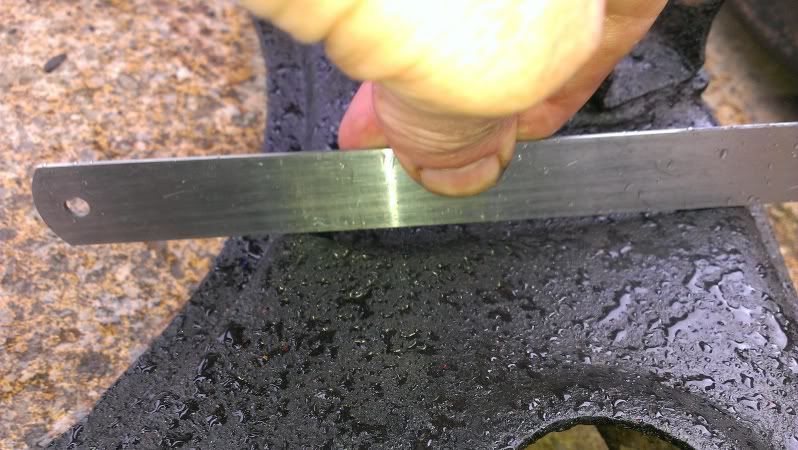
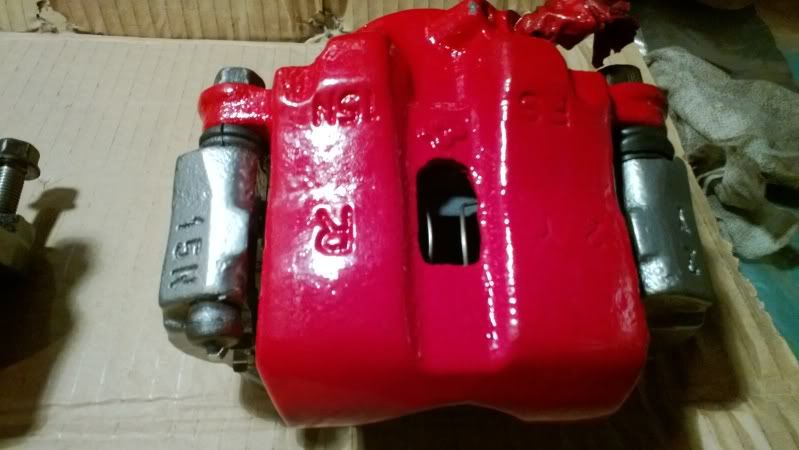
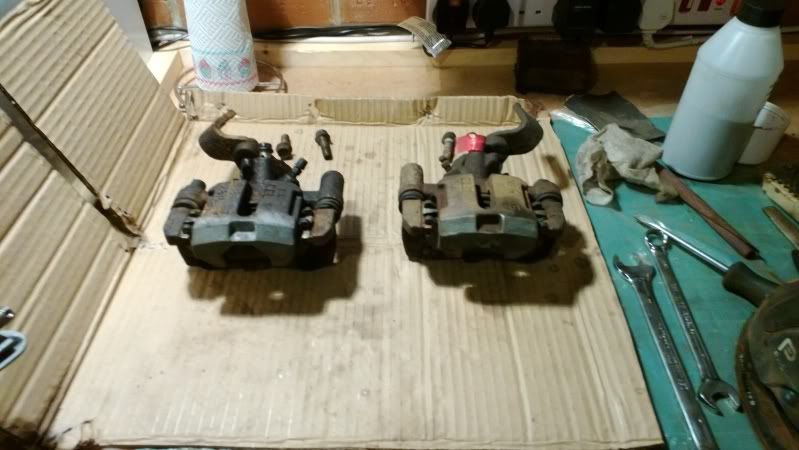
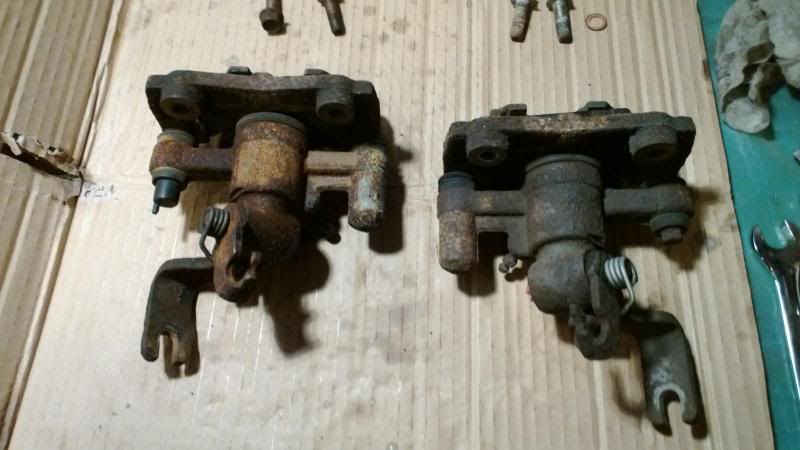
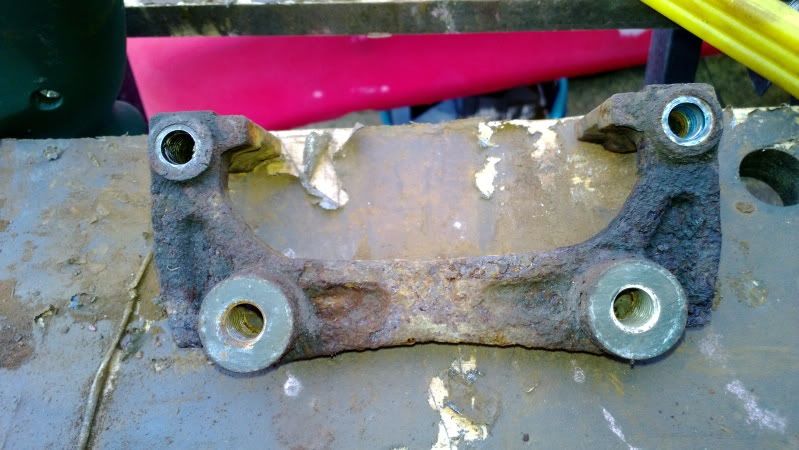
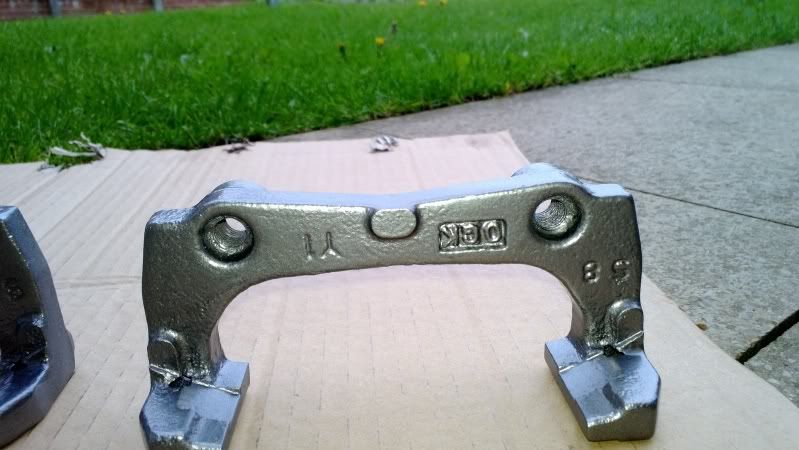
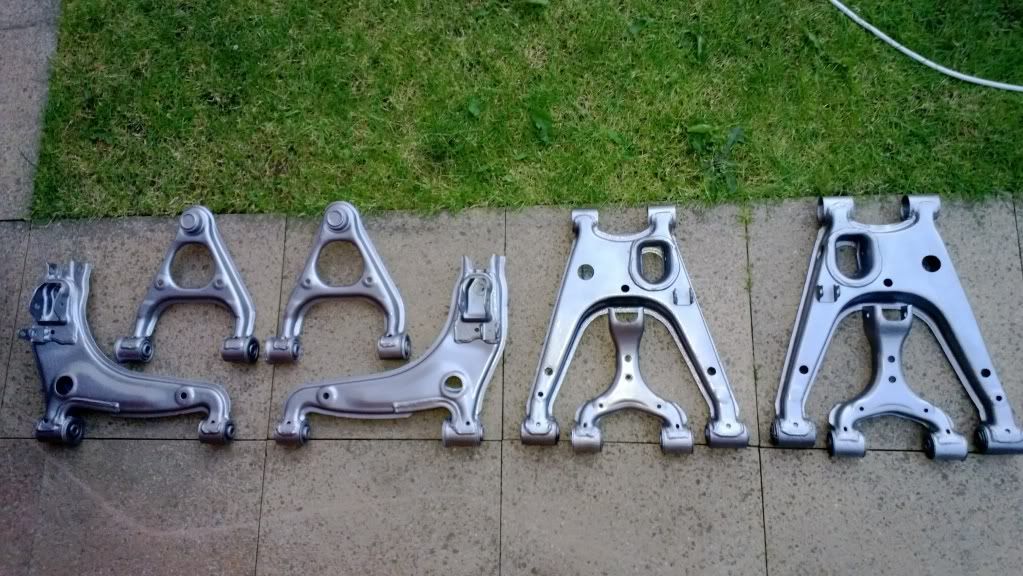
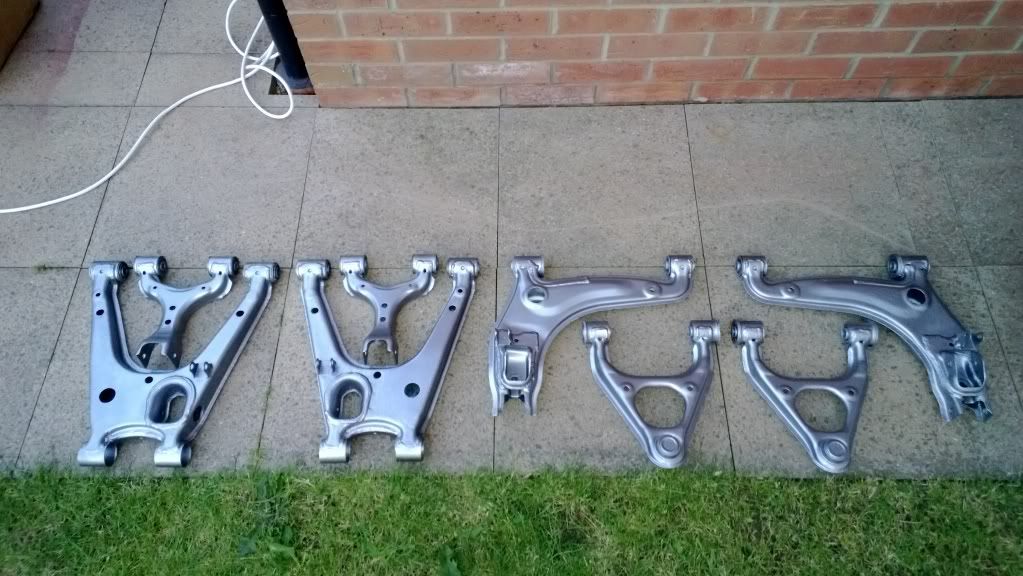
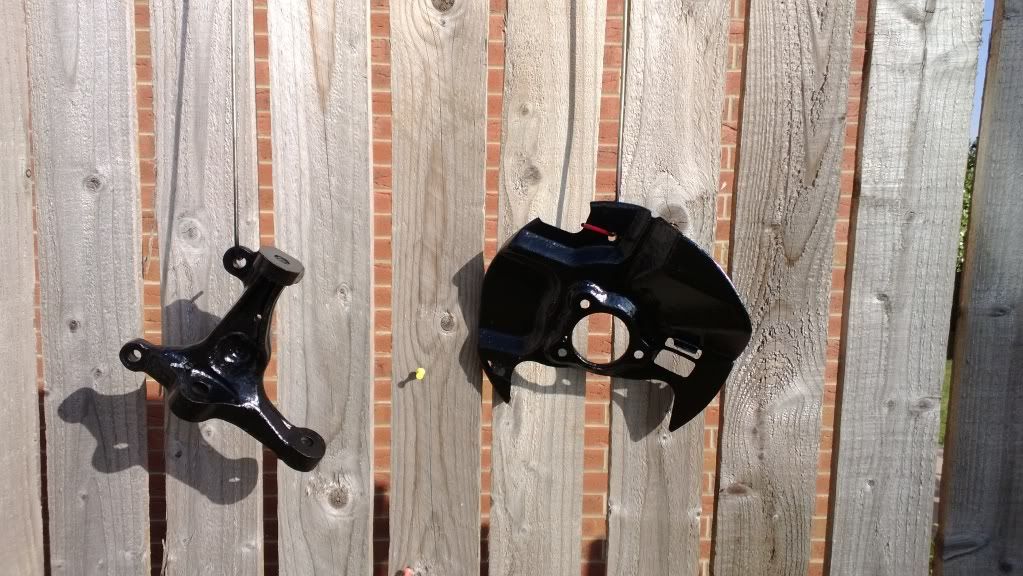
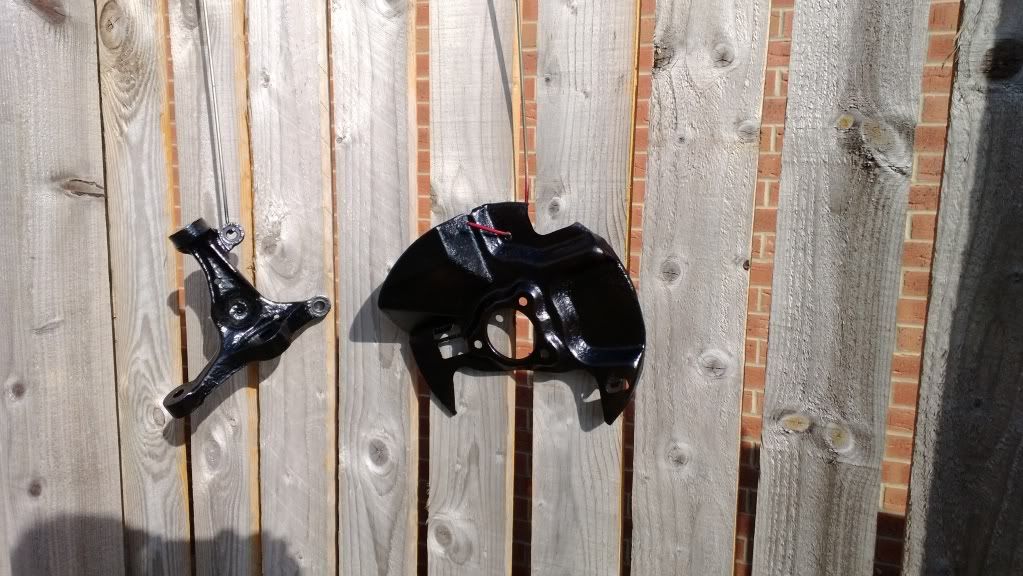
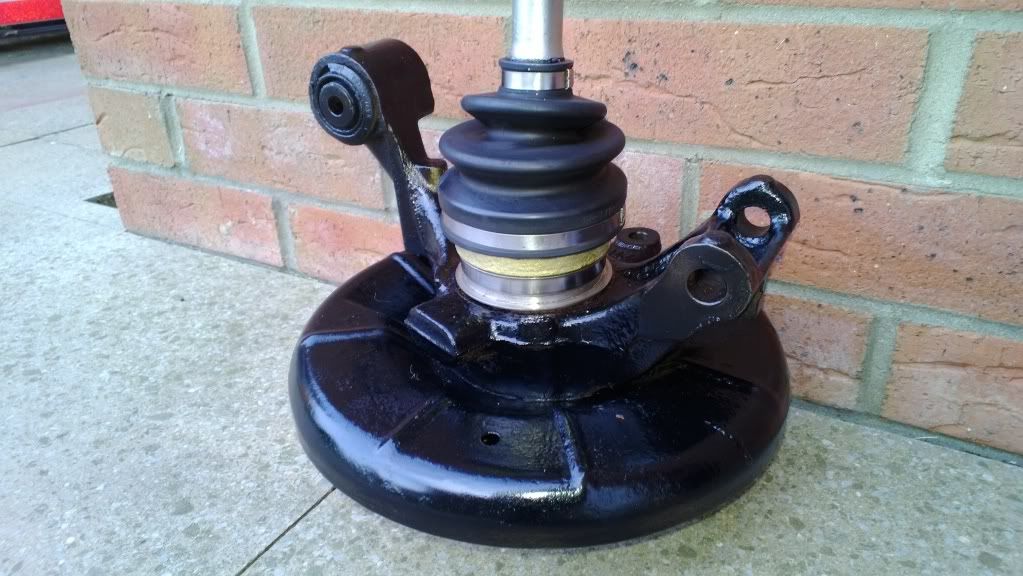
Moving on to the rear end... i removed...well say removed, I think it was diving intervention that helped me remove them... much cussing trying to get these out... but eventually got them all out. 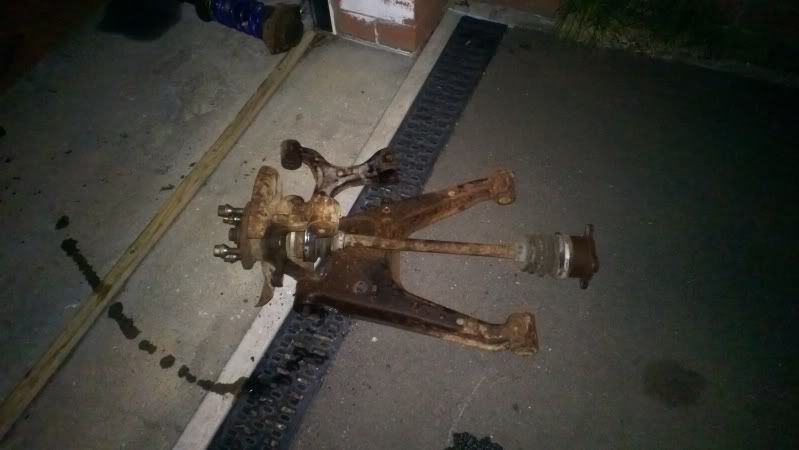 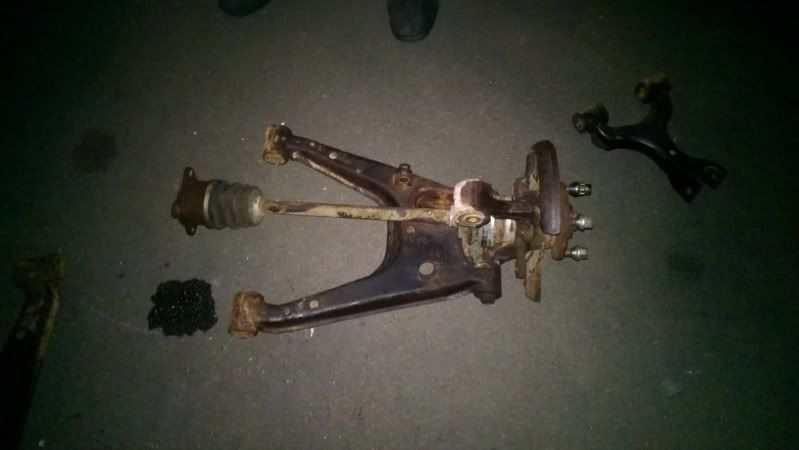 I would have to cut the lower bolts out of the hub as they had rusted solid. Time for some happiness... front arms all blasted clean...  ..and replacement arms too: 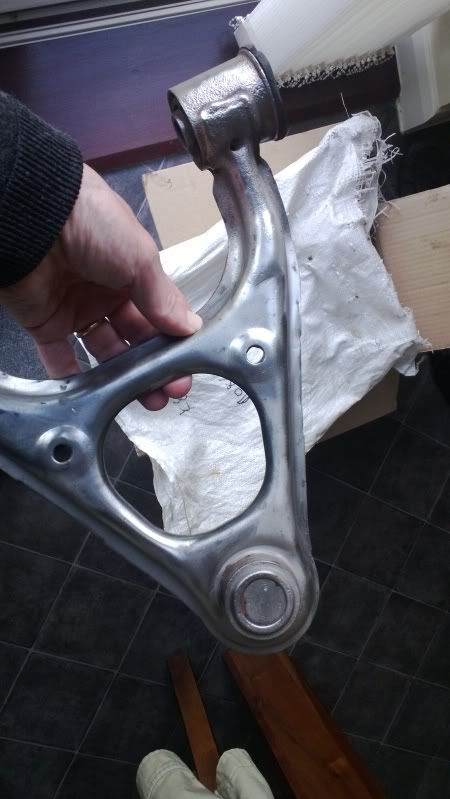 |
| |
|
|
Hammy
Part of things
Posts: 60
|
|
|
|
|
|
| |
|
|
Hammy
Part of things
Posts: 60
|
|
|
|
|
|
| |
|
|
|
|
Hammy
Part of things
Posts: 60
|
|
|
|
|
|
| |
|
|
Hammy
Part of things
Posts: 60
|
|
|
|
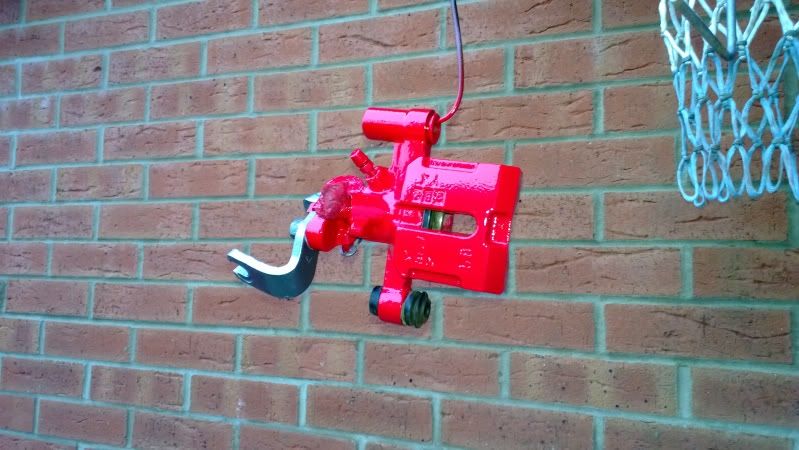
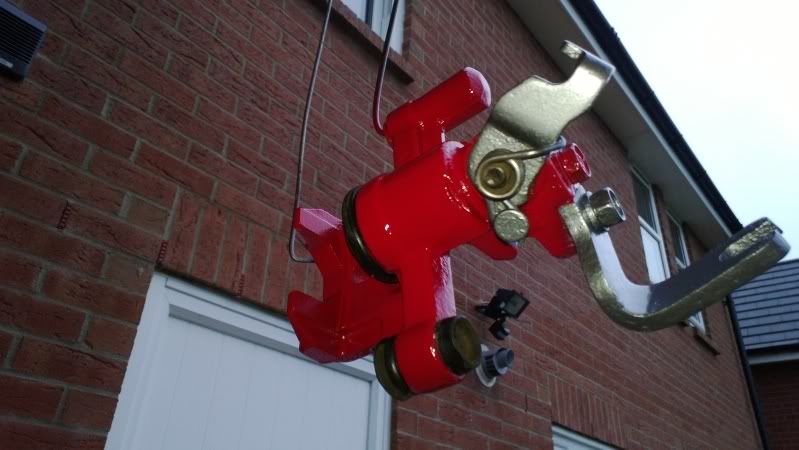
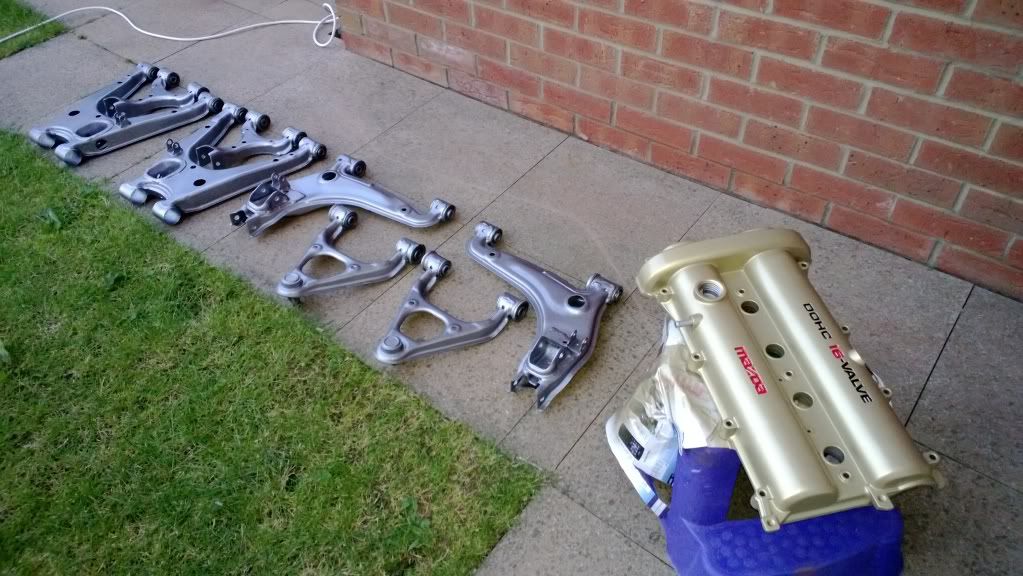
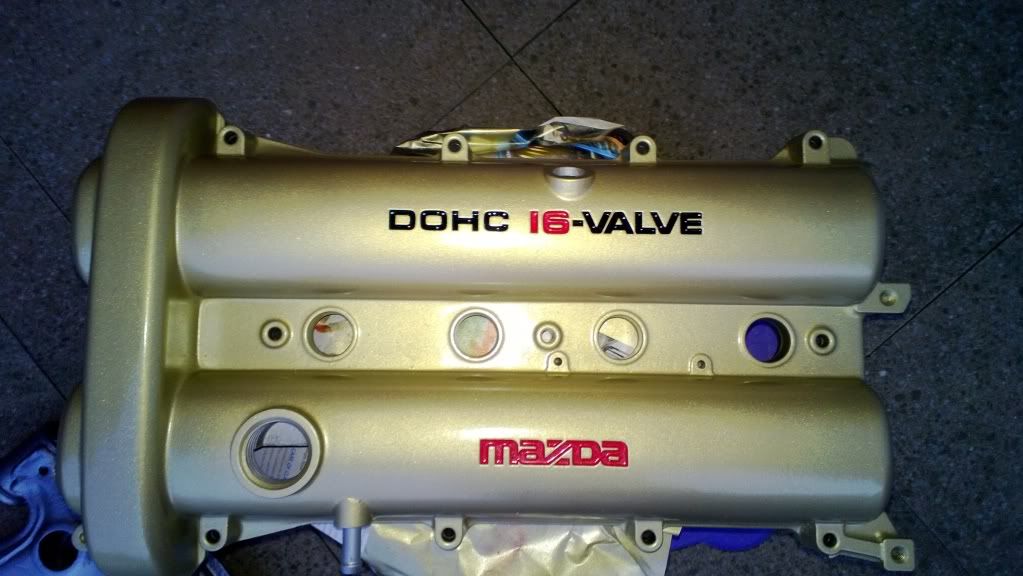
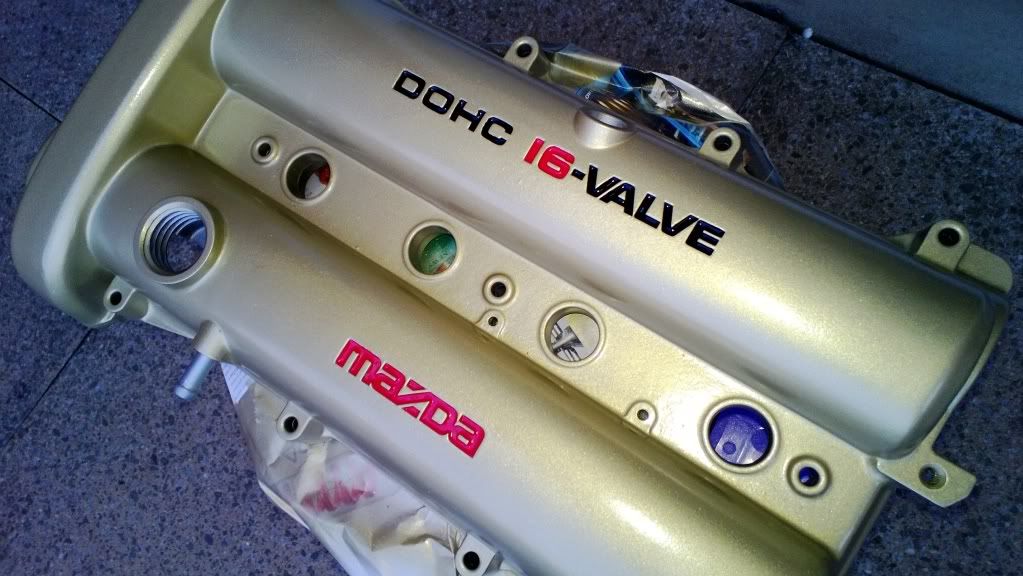
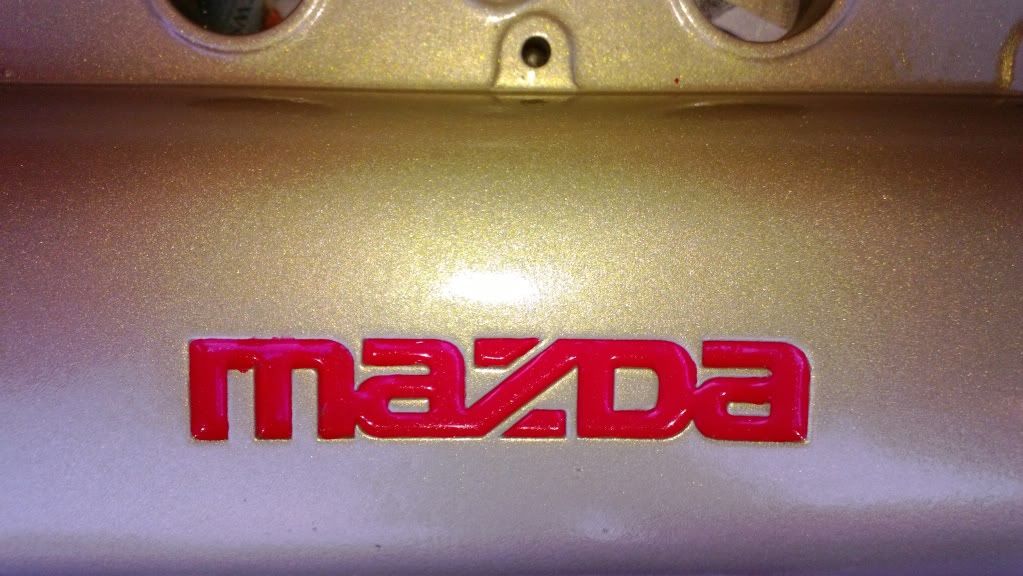
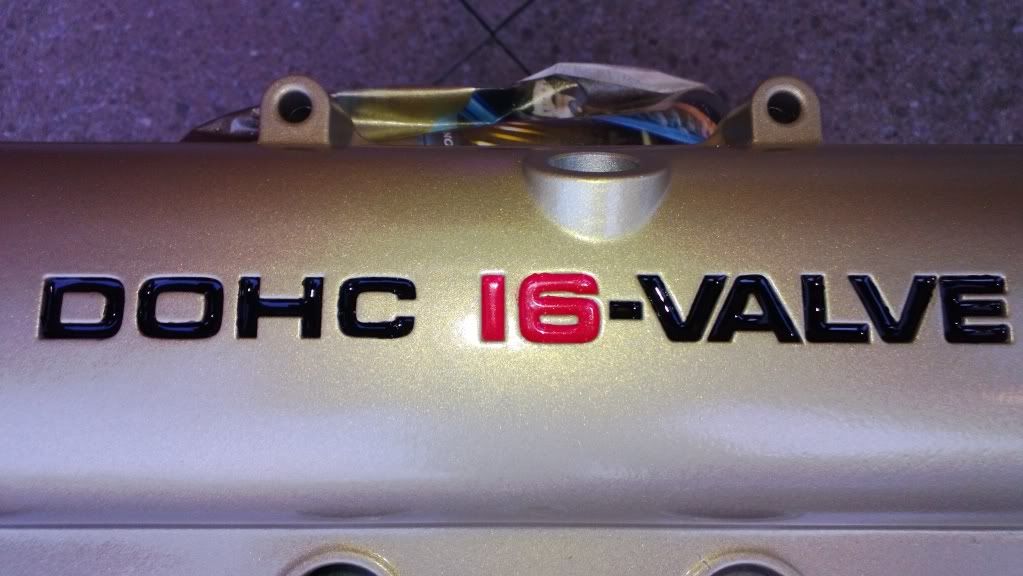
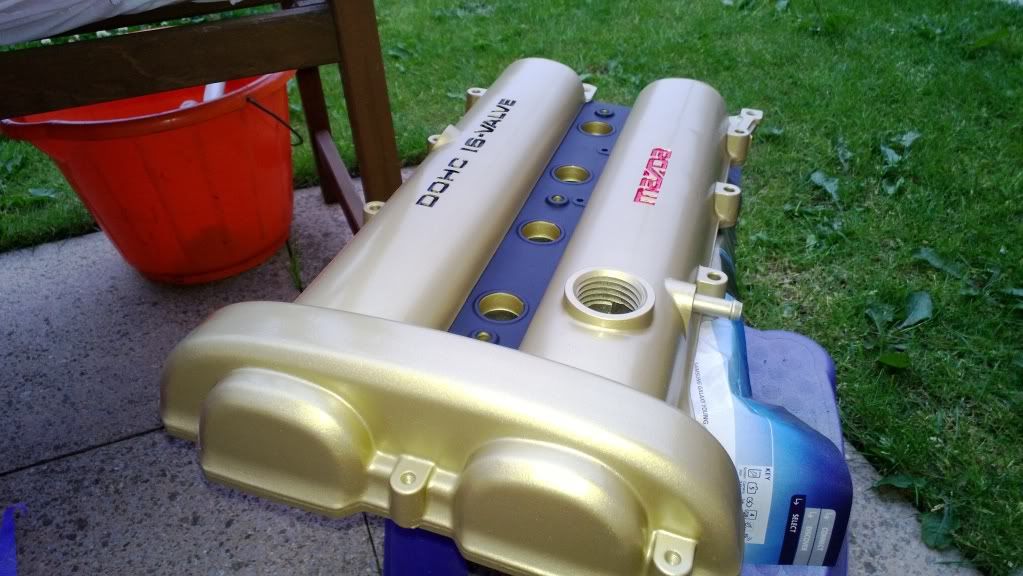
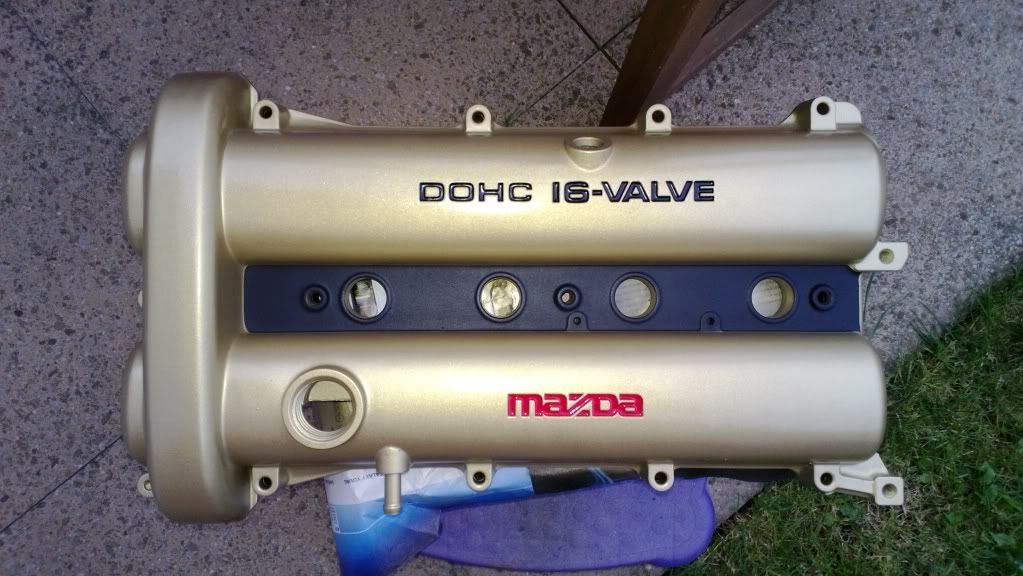
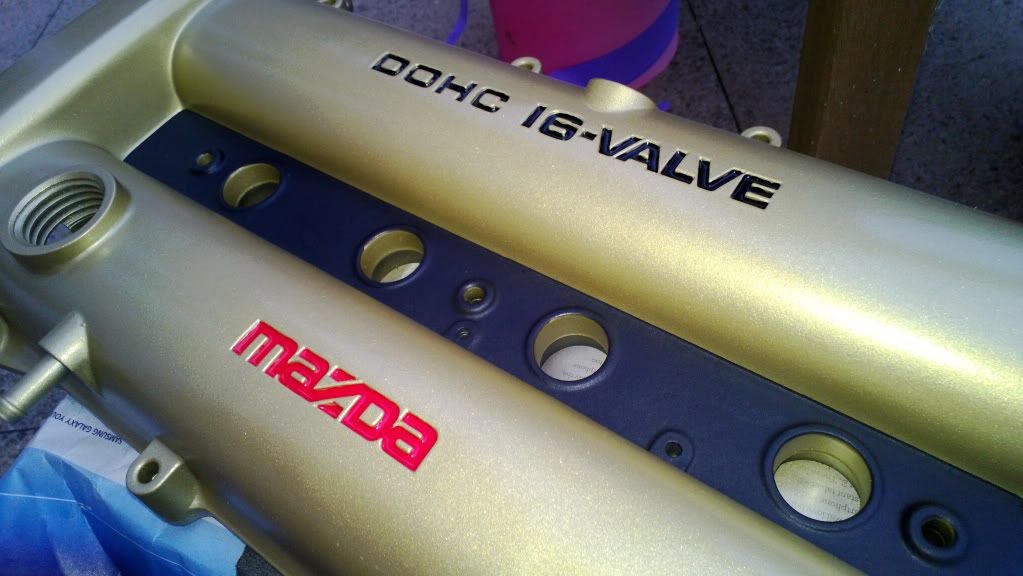
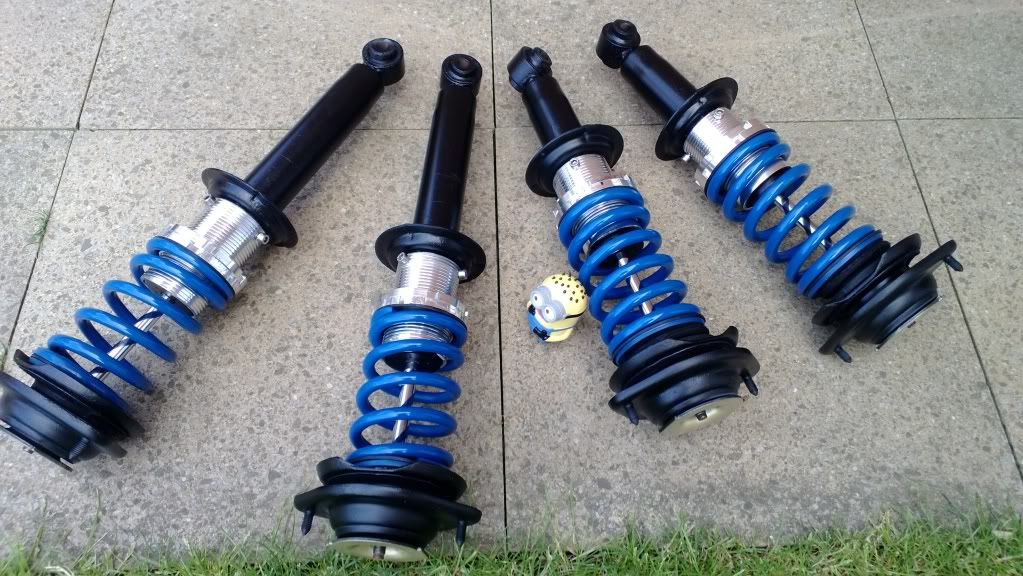
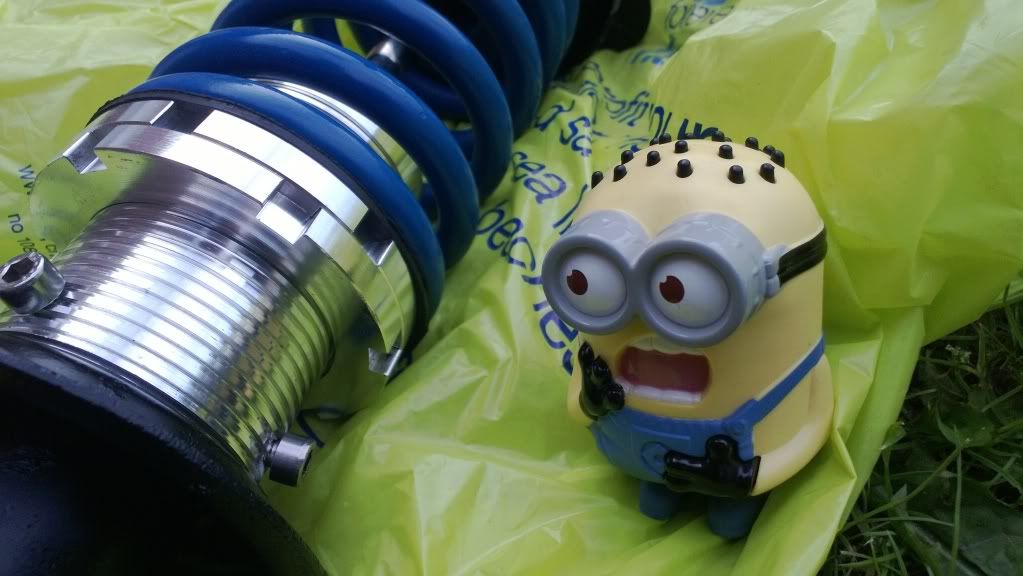
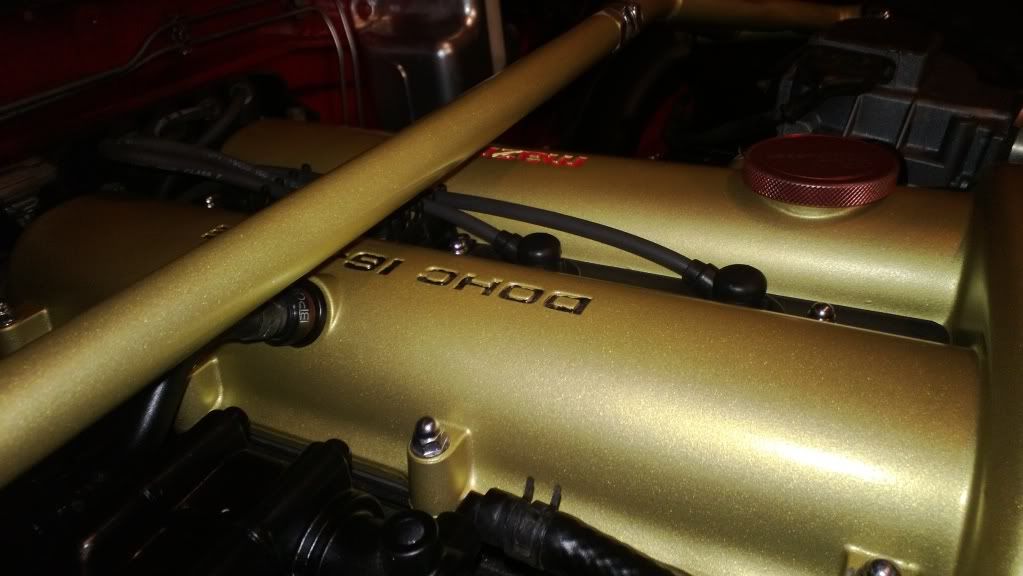
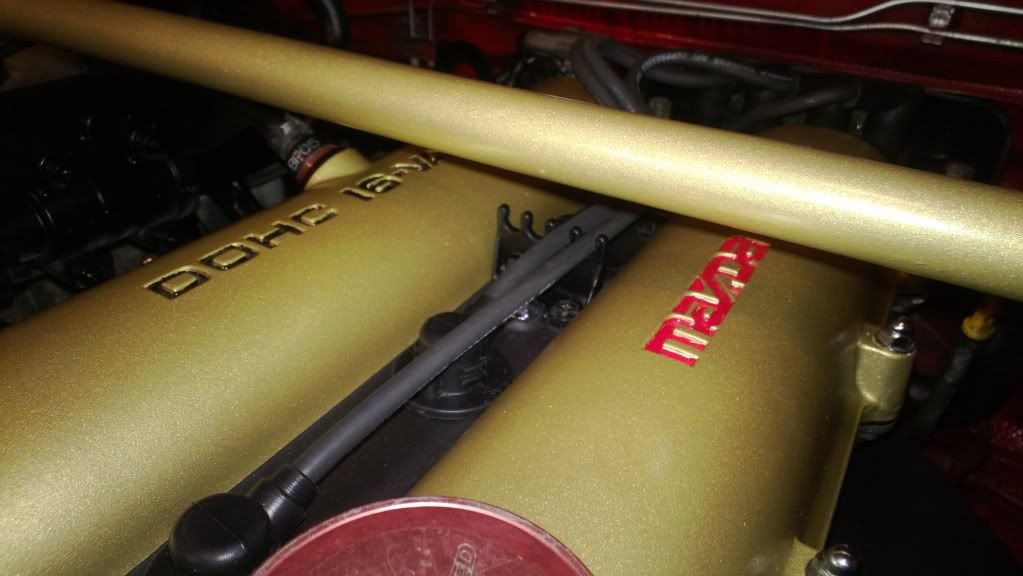
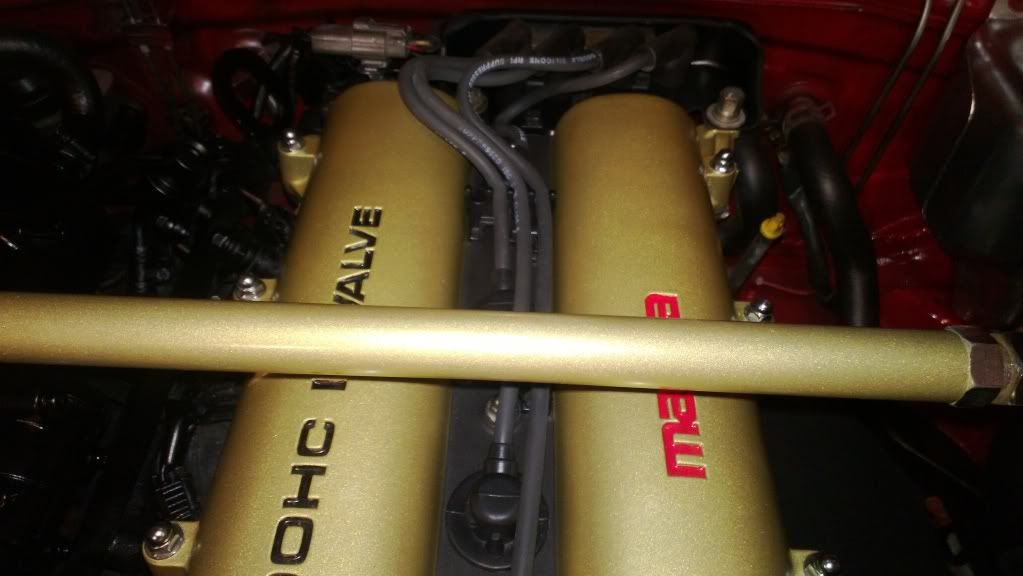
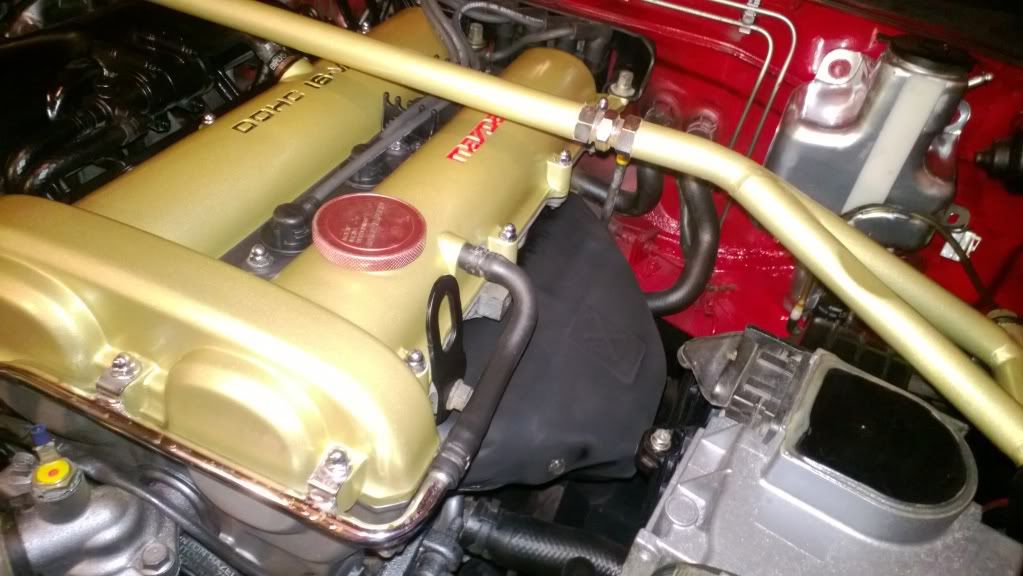
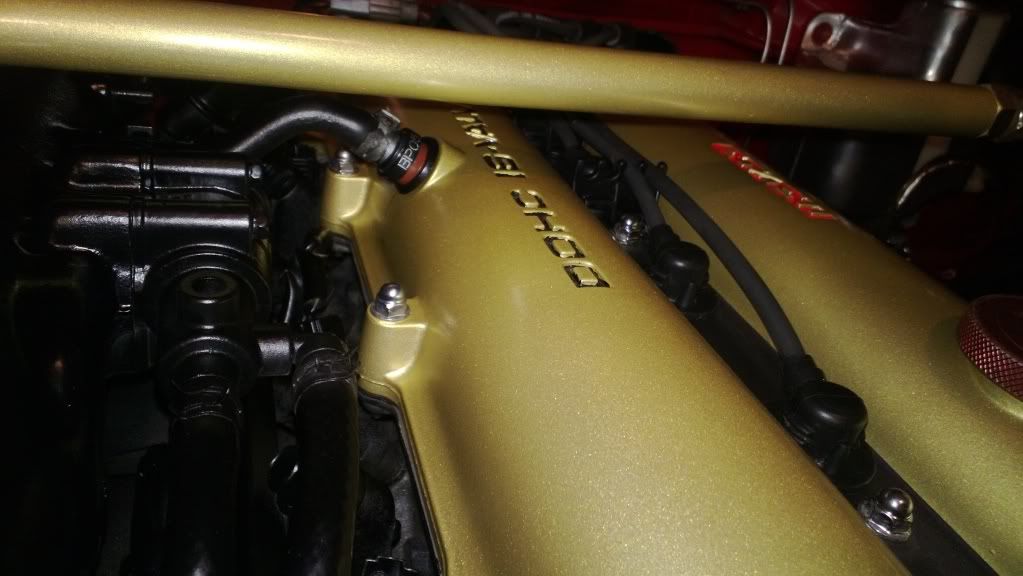
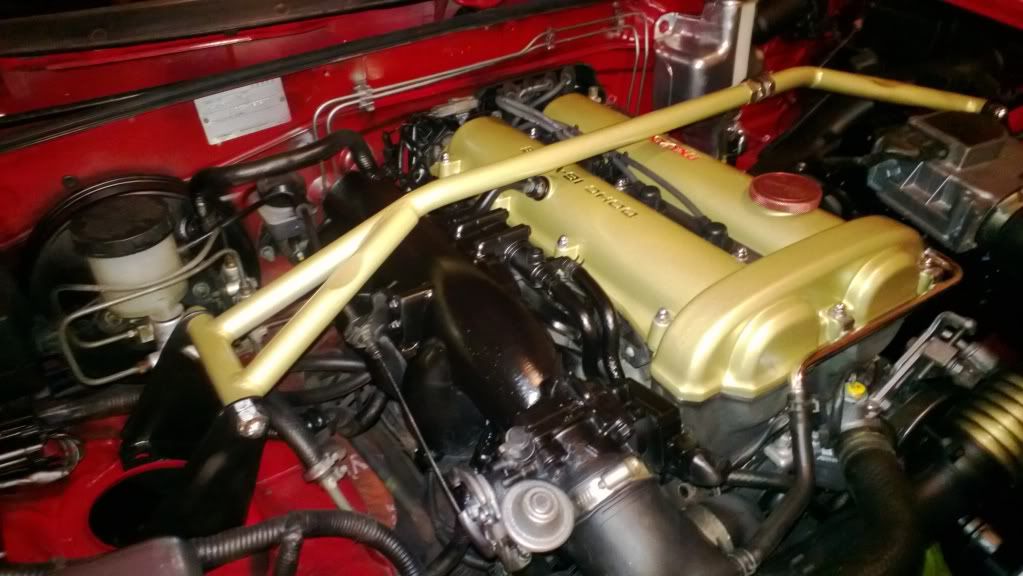
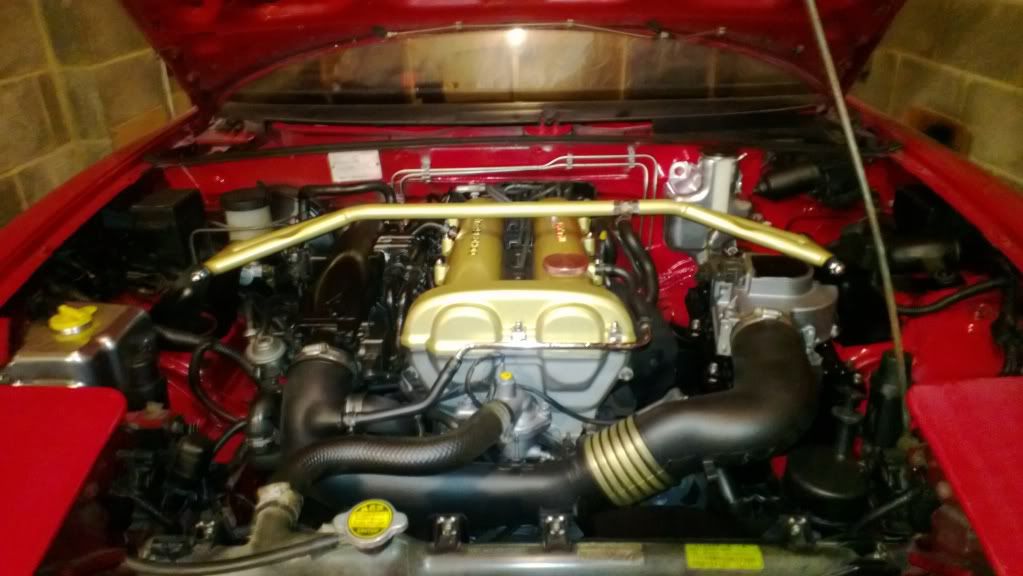
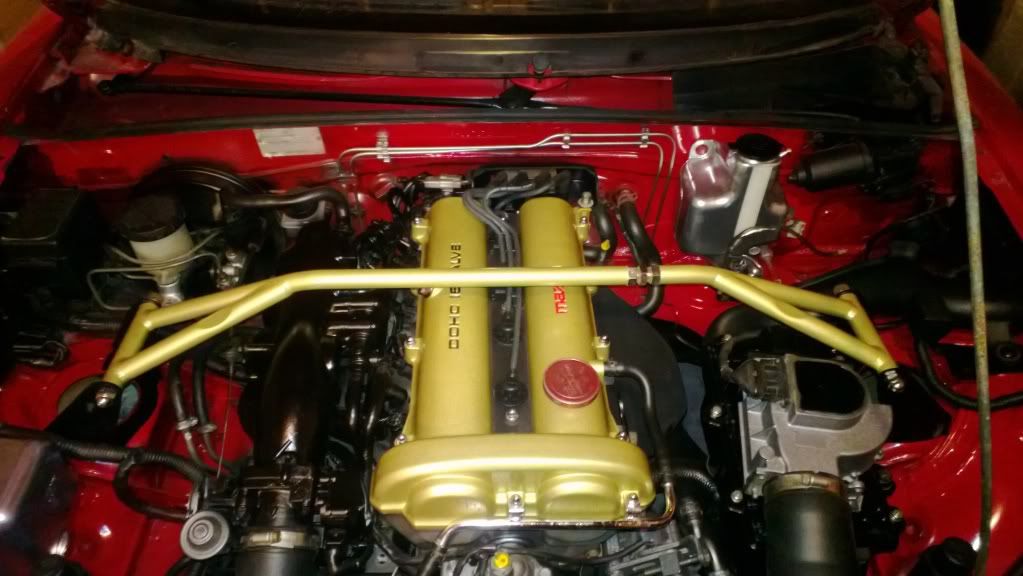
Stripped, refurbed the coilovers- look better than new and gave them my (what will be) engine colour scheme Refurbed the strut brace Refurbed the anti-rollbars (same colour as strut brace) Finished the lower rear wishbones Refurbed two shot blasted cam covers - Pics. 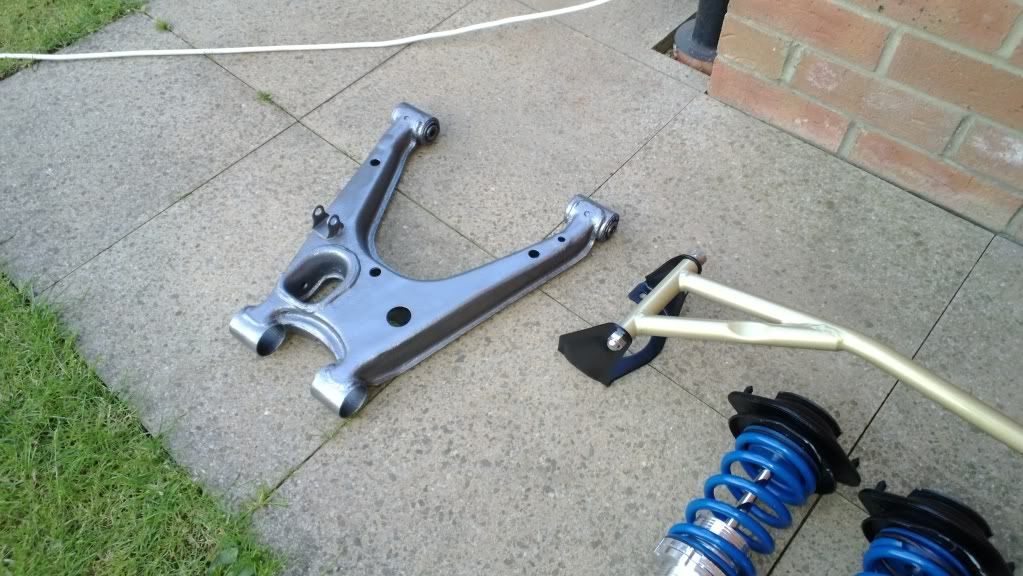 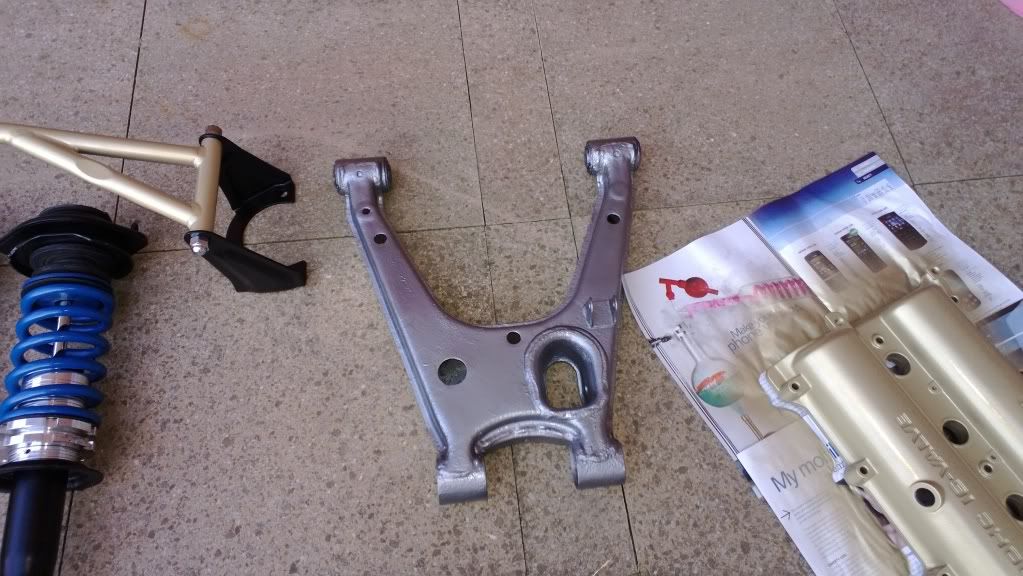 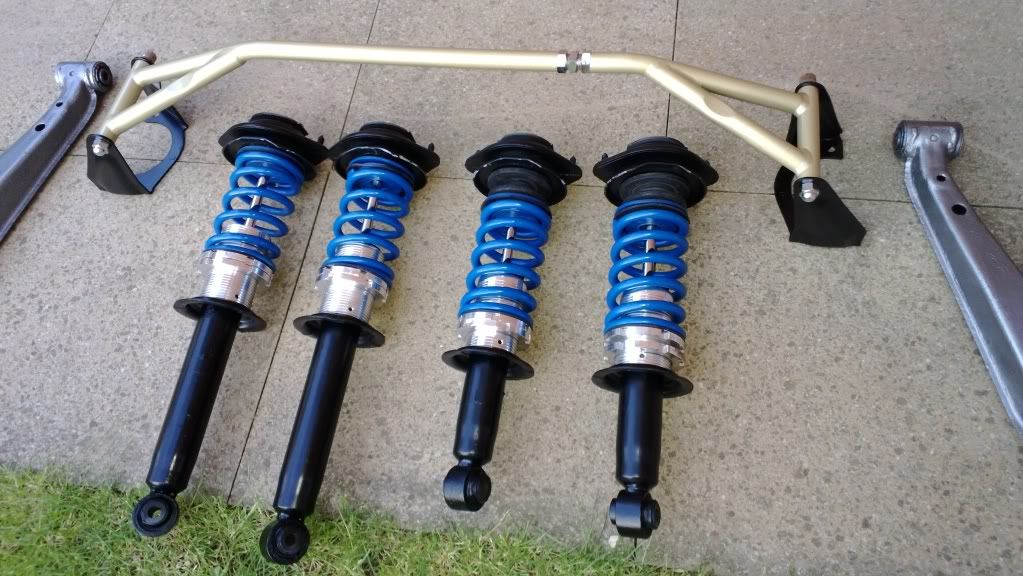 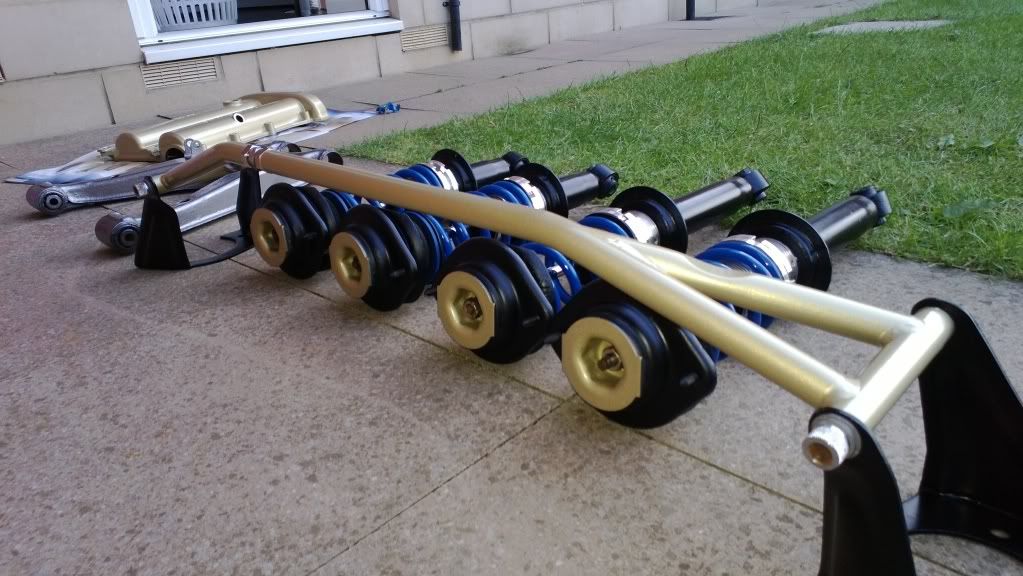 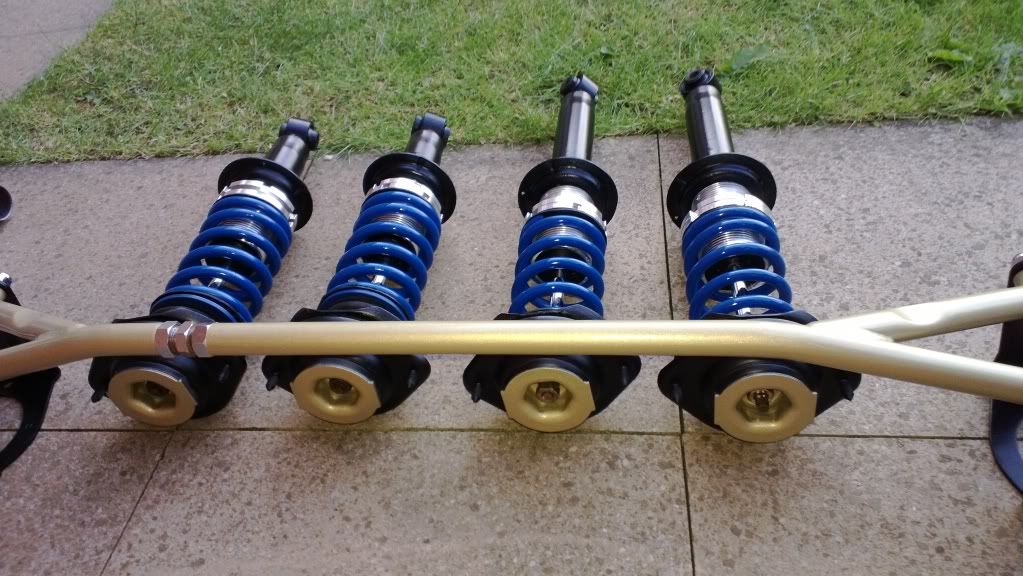 Need to paint the other letters black...but bit too late to do it tonight. The centre bit where the plugs go will also be black. 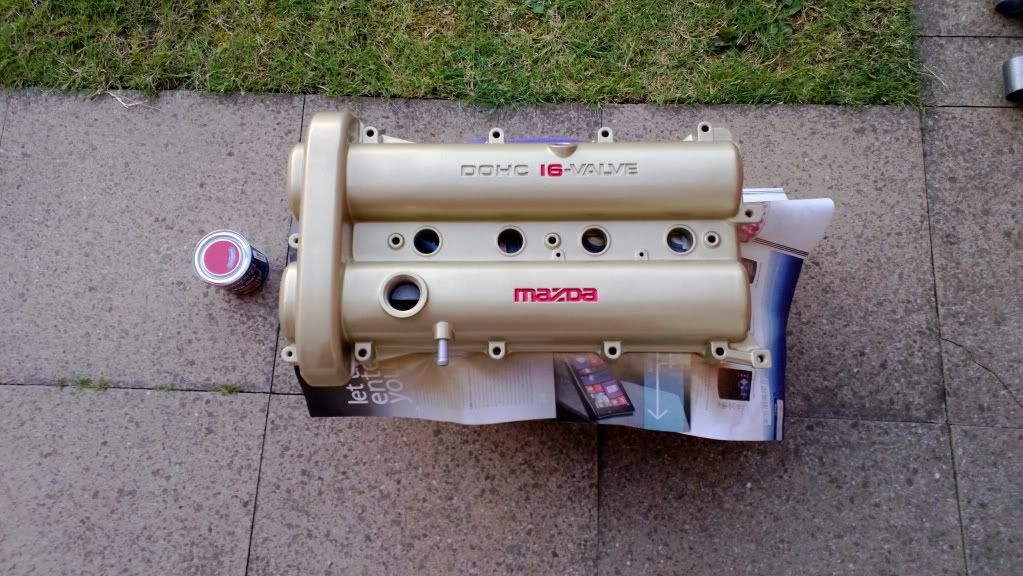 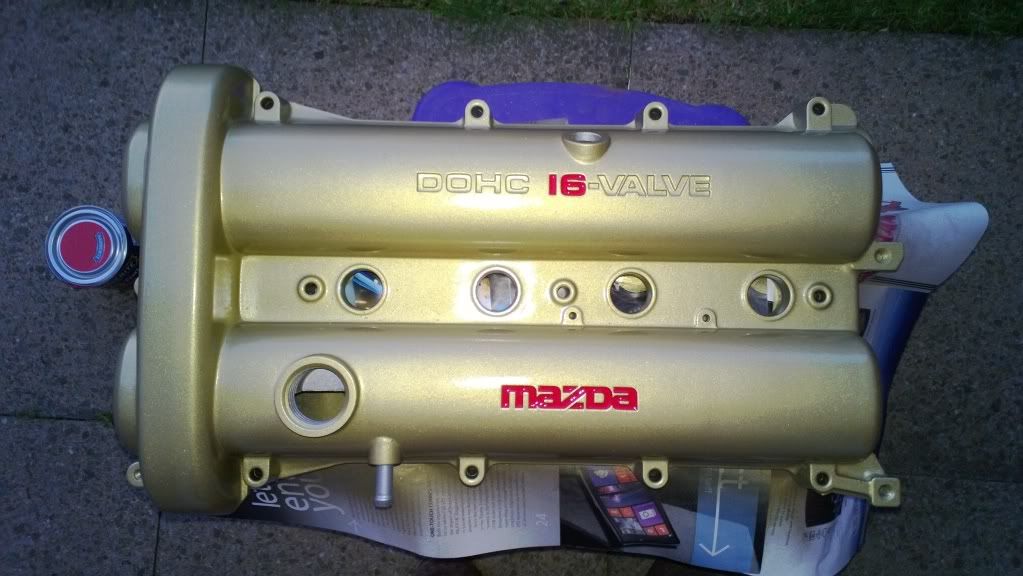 Right, bed, got almighty headache again....blurgh |
| |
|
|
Hammy
Part of things
Posts: 60
|
|
|
|
|
|
| |
|
|
Hammy
Part of things
Posts: 60
|
|
|
|
|
|
| |
|
|
Hammy
Part of things
Posts: 60
|
|
|
|
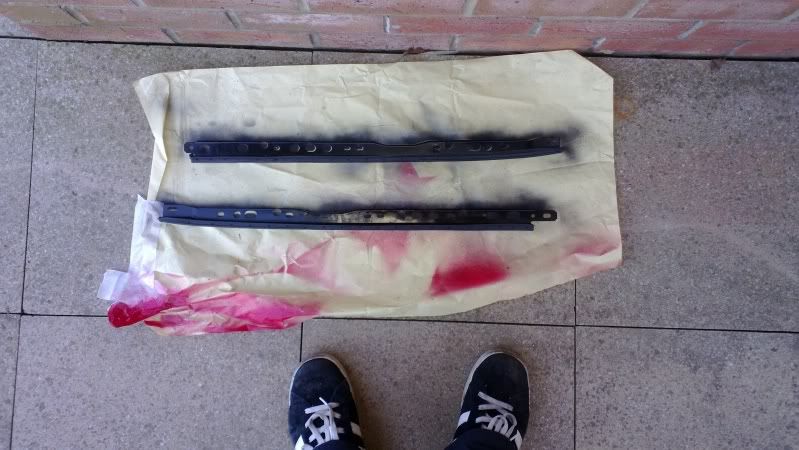
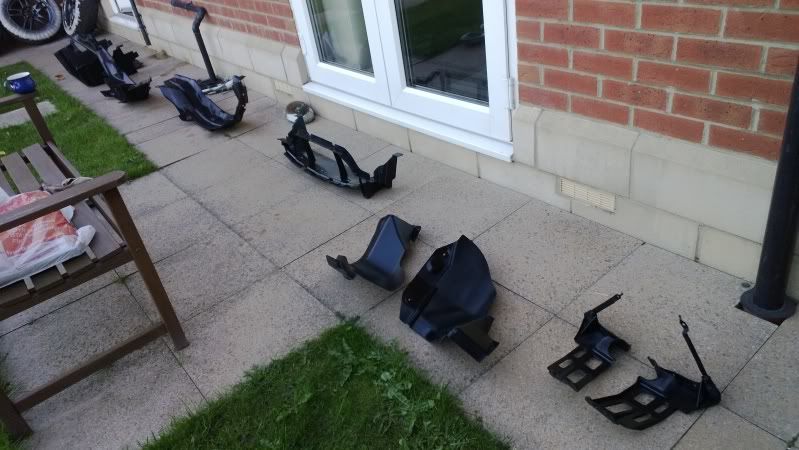
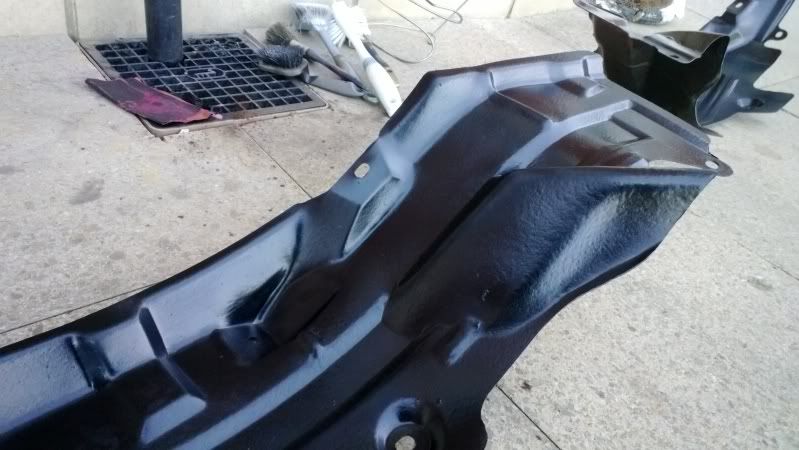
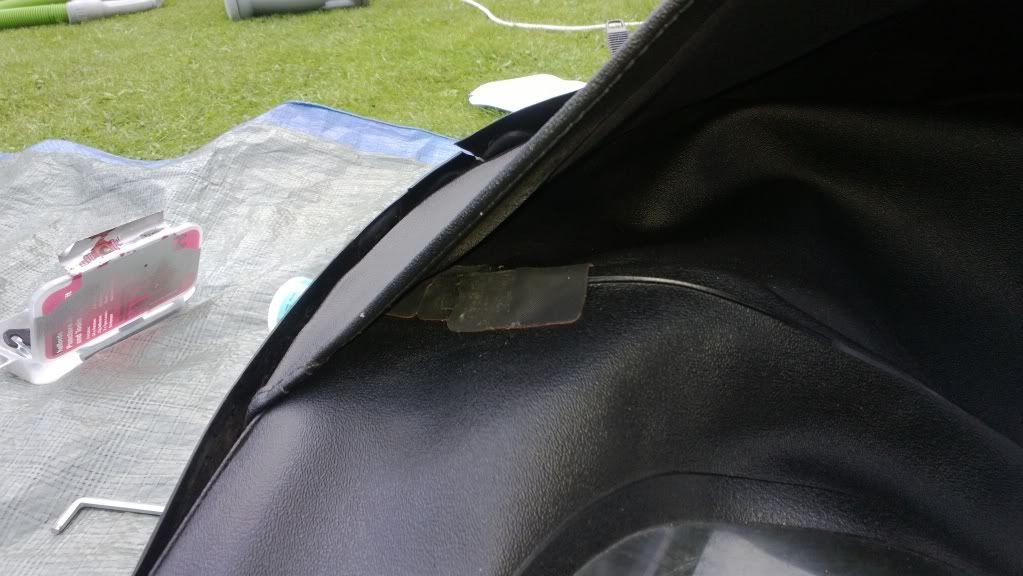
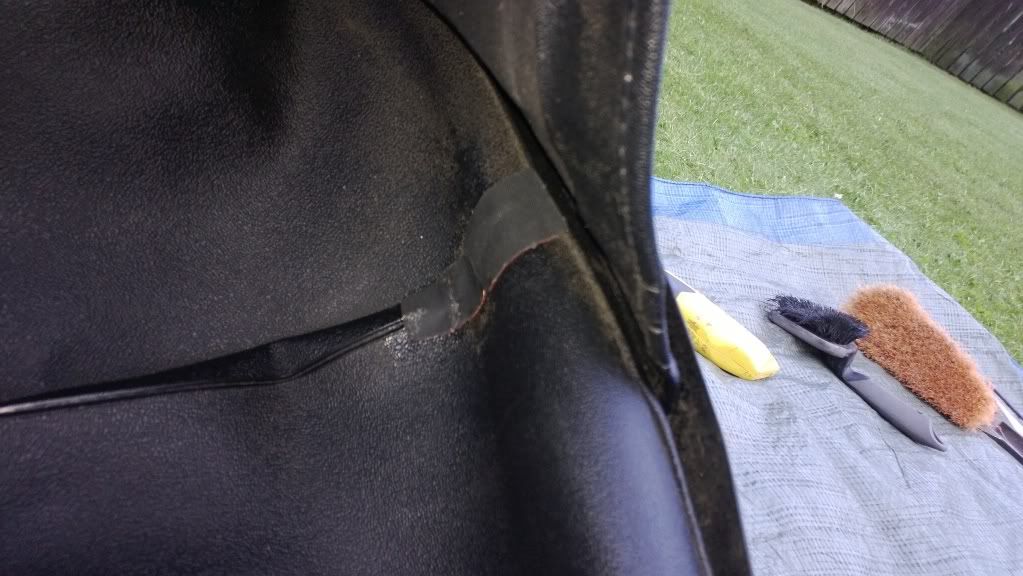
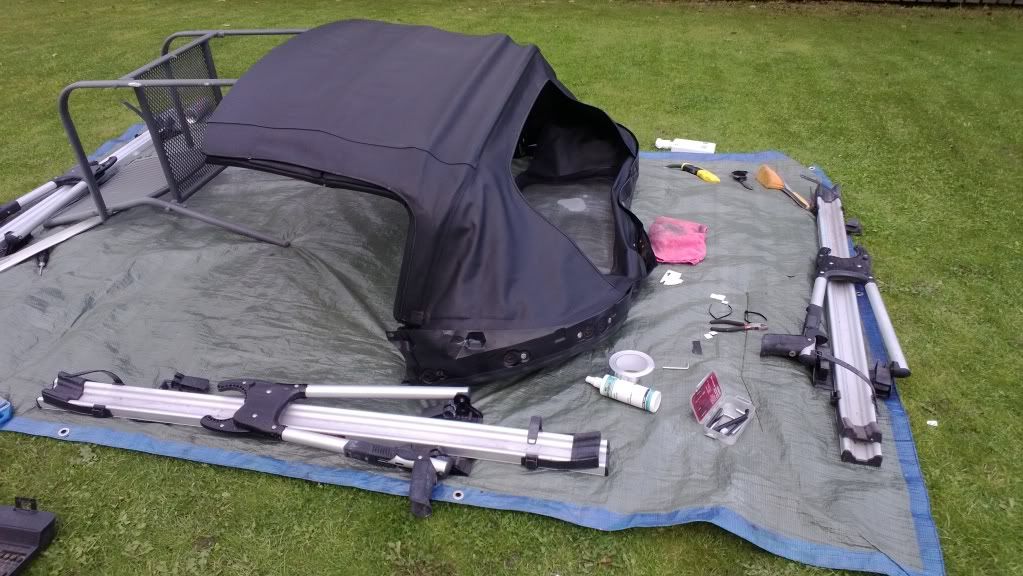
So we will continue... Following my plan of action to the letter I picked up the to-do list and looked at what was next in logical order. Then I woke up. Carpets out I think today, hood off and lets take car of some things. With the carpets out, the tray of the parcel shelf looked nasty... 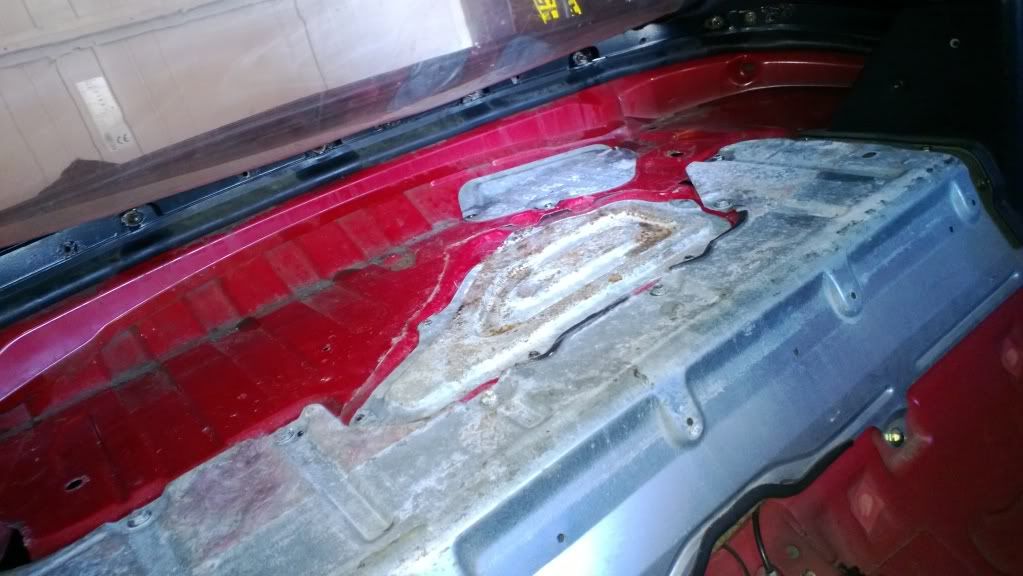 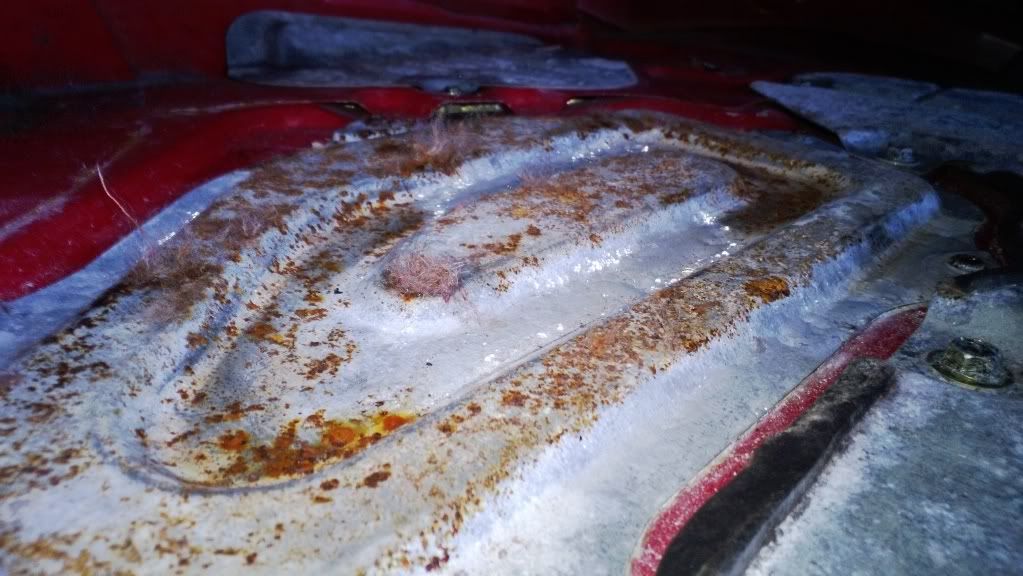 Yes, they need some work... but the rest of the area don't look bad. The drain holes where clear - I'll tidy the area up, but first get the panels off.. no, wait, get the roof off first. Not particularly easy on your own and a British Garage - my garage is classed as 'bigger then normal' by british building standards becasue I can get a car in it. I can't got out of a car once I have it in the garage, but the car can go in!! I digress.. 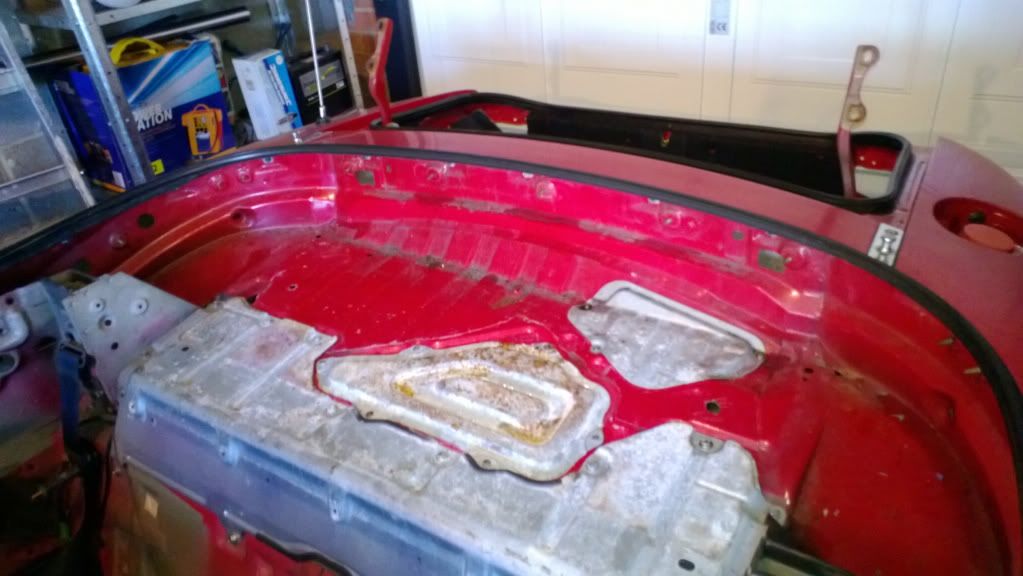 It's time to tackle the frame on the hood and the hood itself. Remembering of course my lack of funds... I say lack what I really mean is stolen by my family - hey ho It's in OK condition, but stiff 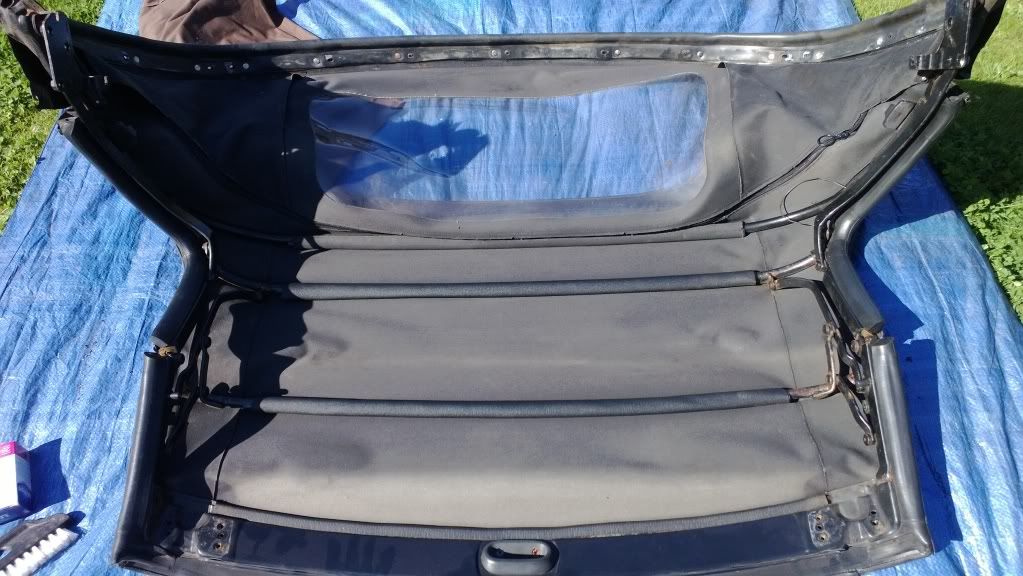 Hmm...more rust... no problem tough I have a way of taking care of theat permanently. 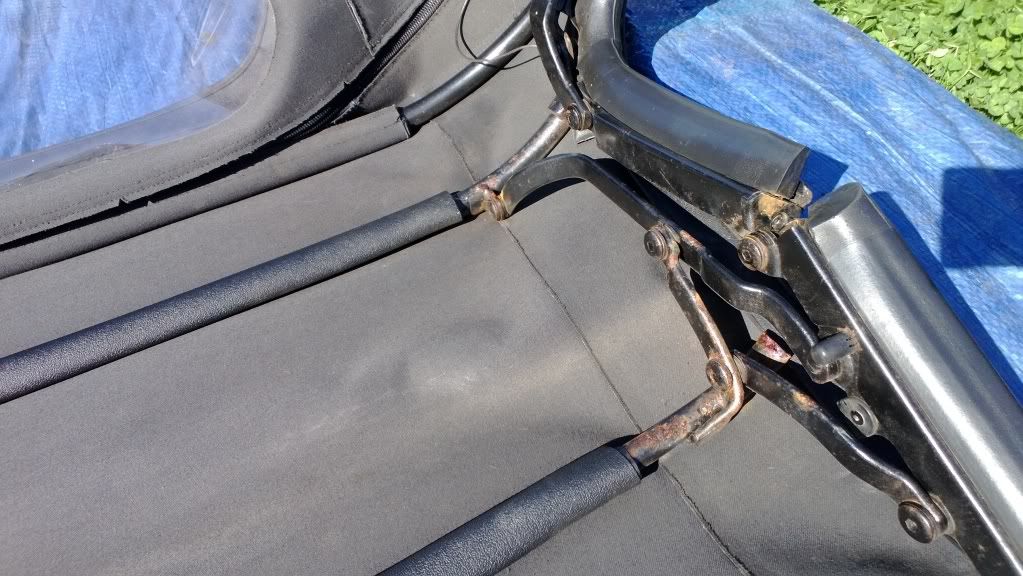 Rain rails holders had seen better days also... 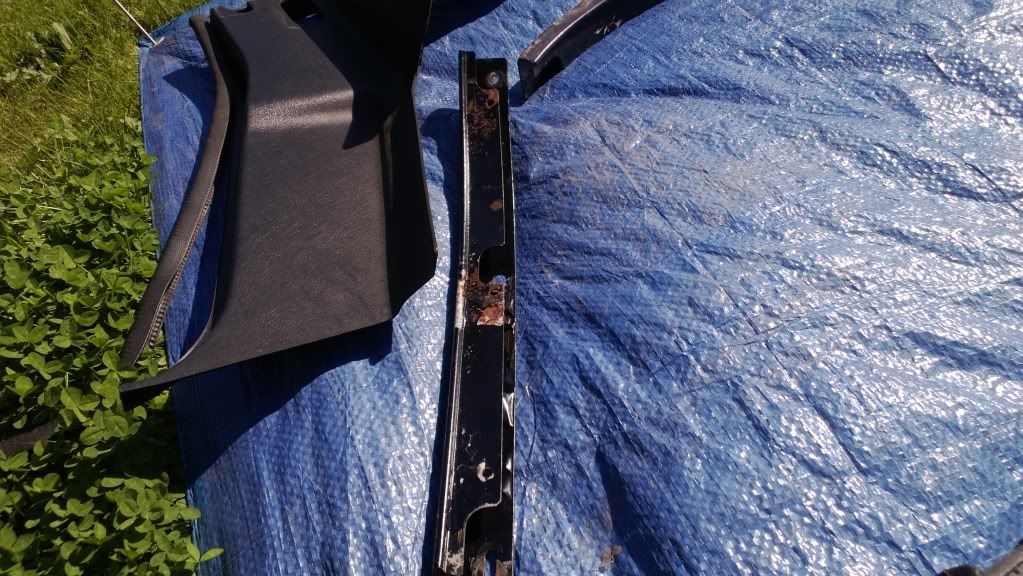 First job was to clean the whole hood with sterilising solution - this permanently gets rid of mold caused by damp, but more importantly, prevents it returning. This is the same stuff used to sterilise baby bottles. 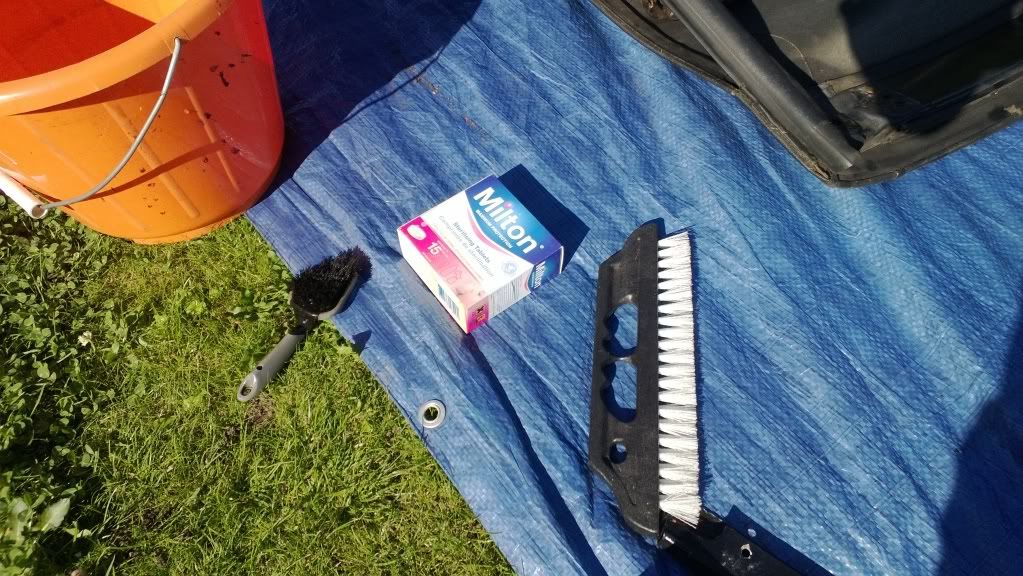 Whilst that was drying off in the sun, I put the seats back together after stripping them to refurb the rails: 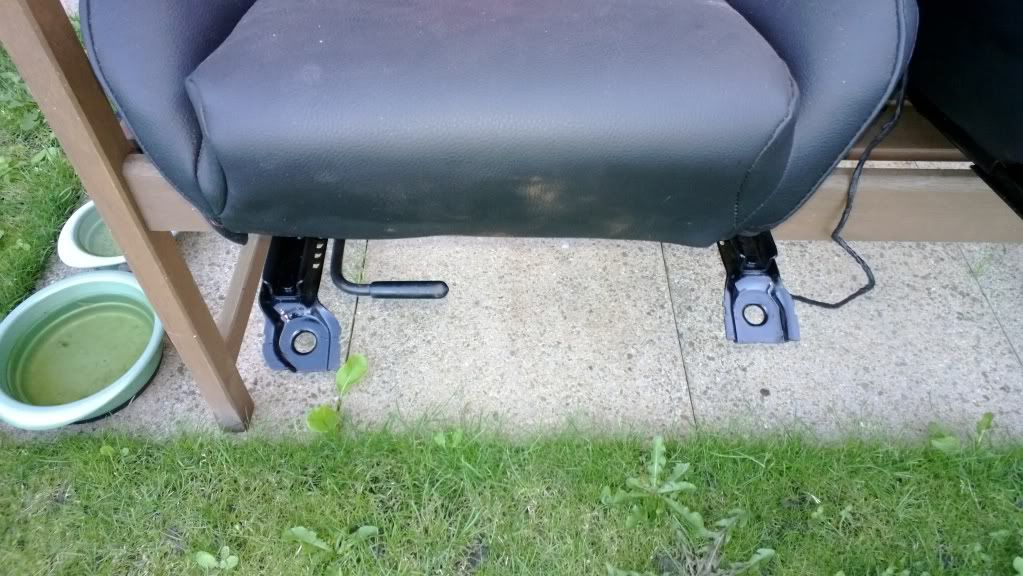 I also notice my grass needs cutting again... Whilst the hood was still drying, I blasted these panels clean, antirust solution, and sprayed them up. 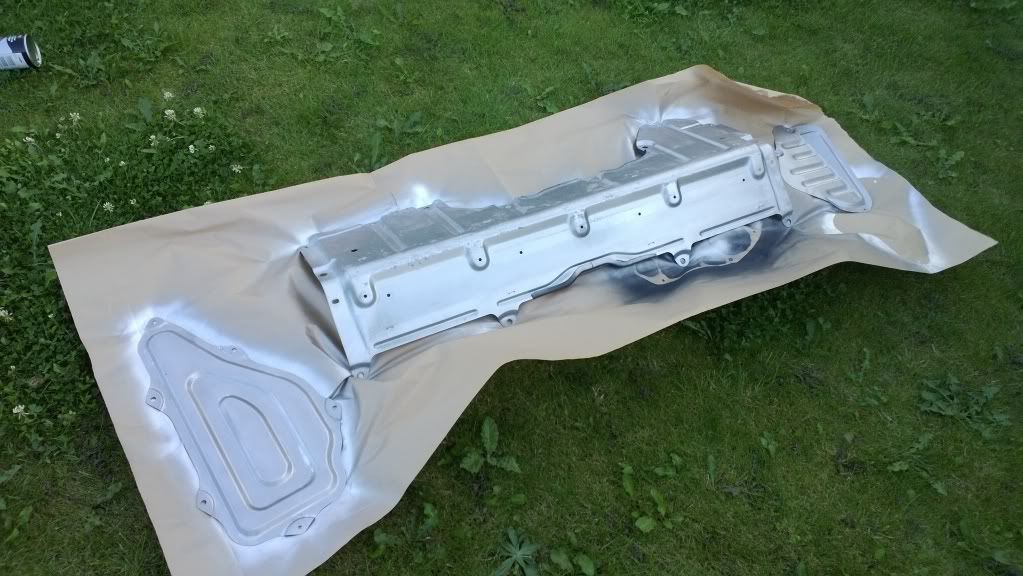 I also did the rails holders.. 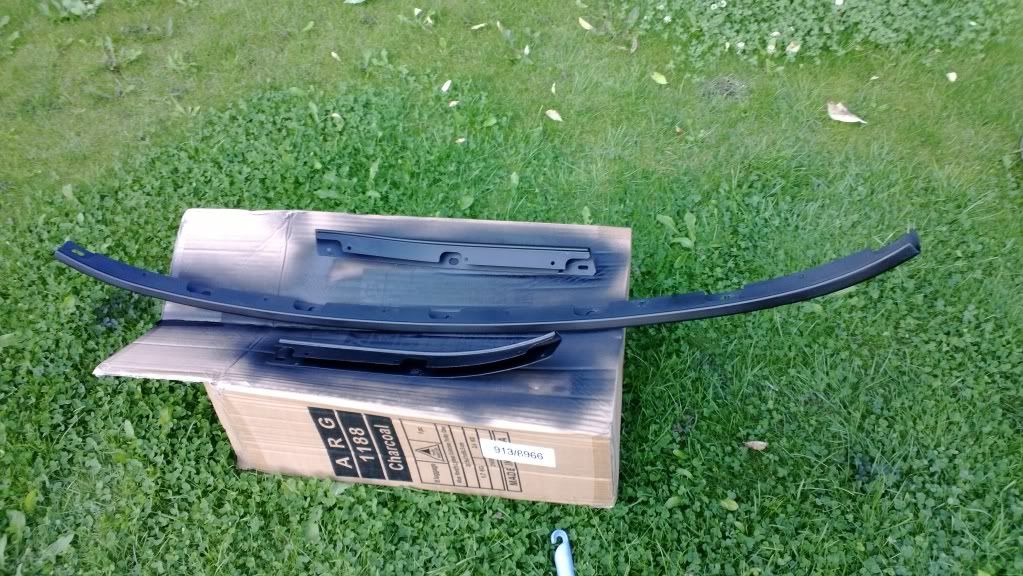 Time for some food.... After stocking up on calories... I went and took the hood apart without removing the pop rivets and refurbed the frame..and put it back together again. 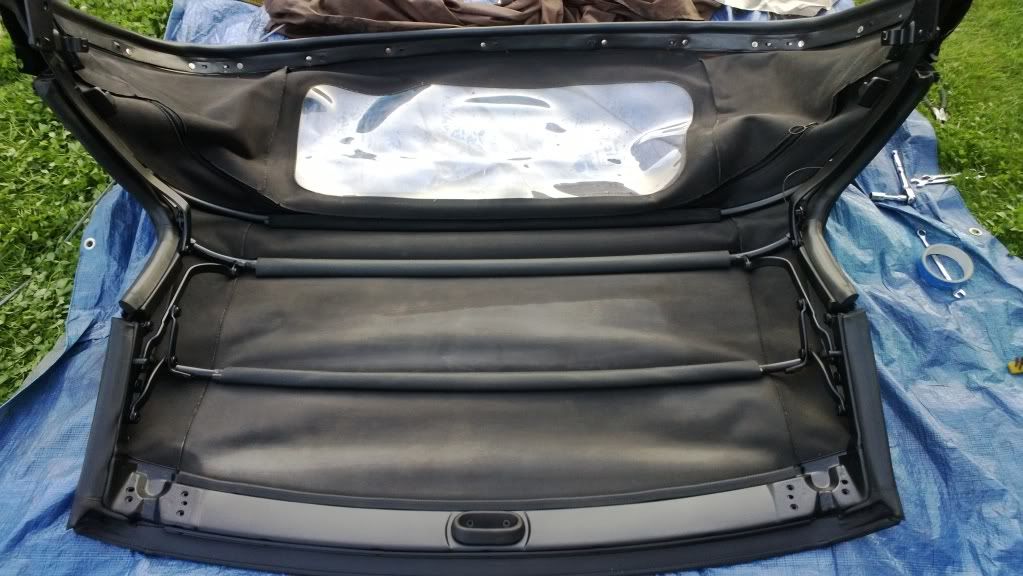 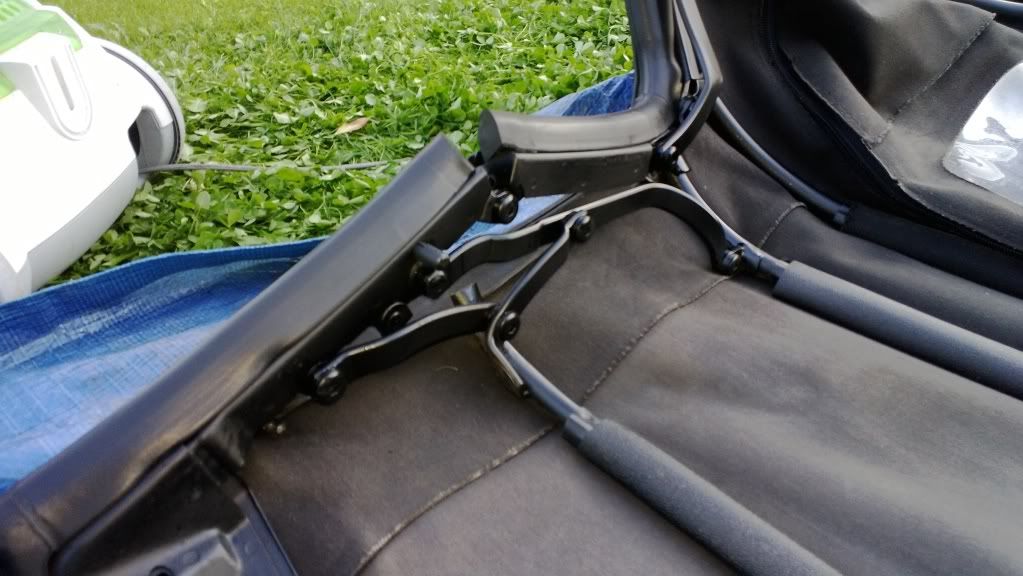 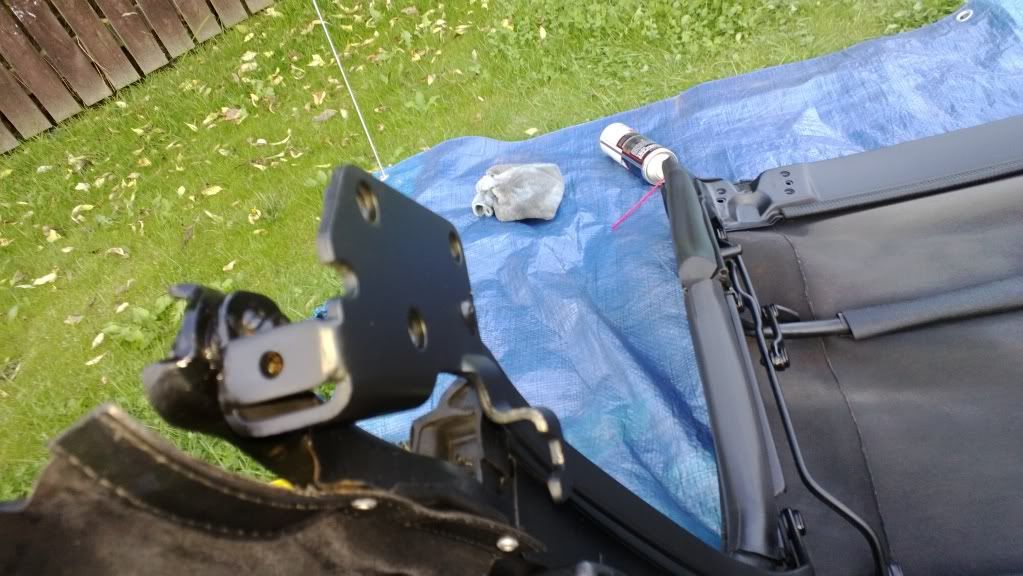 So now with the hood completely dry I tackled the interior of the hood with my own mixture of chemicals.... here it is part way through: 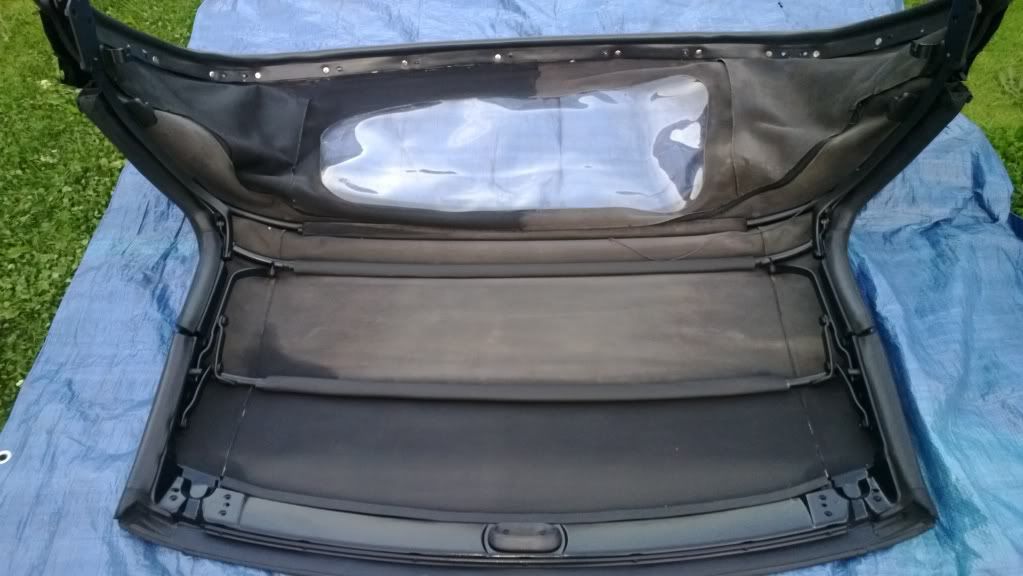 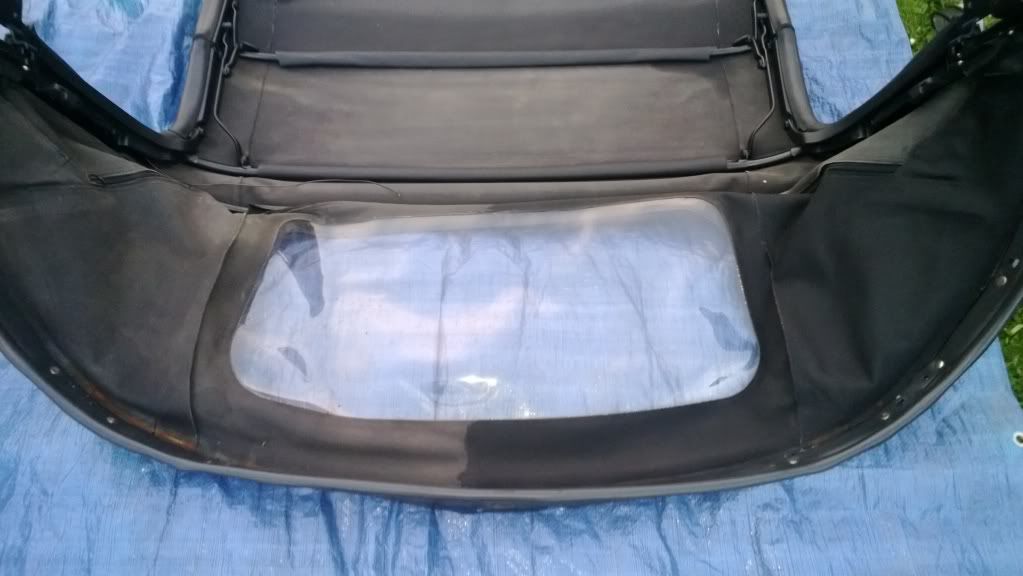 ...and done. 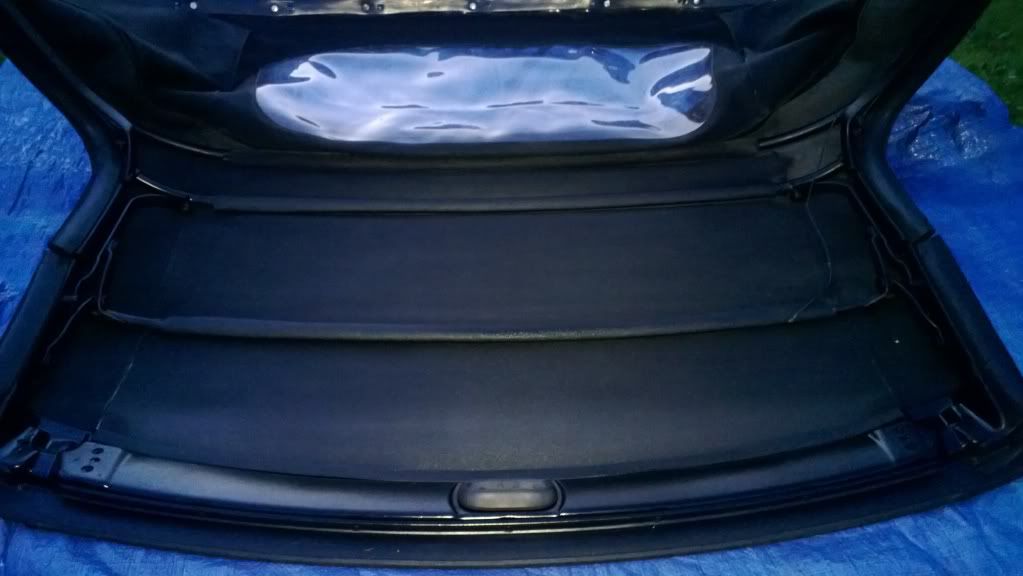 At this point I kicked my own behind and smacked my head as I had forgot to fit new tension cords... another day. |
| |
|
|
Hammy
Part of things
Posts: 60
|
|
|
|
|
|
| |
|
|
Hammy
Part of things
Posts: 60
|
|
|
|
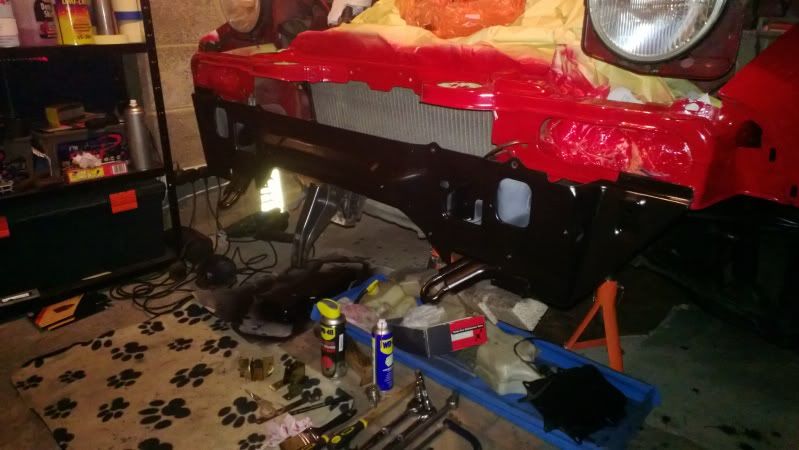
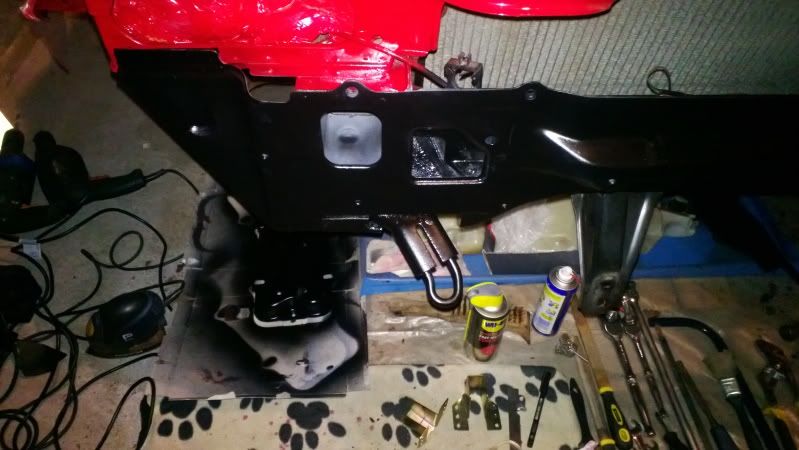
So with that done, I turned my attention back to the......engine bay, Time to strip and clean it up in there.... So part way through.... 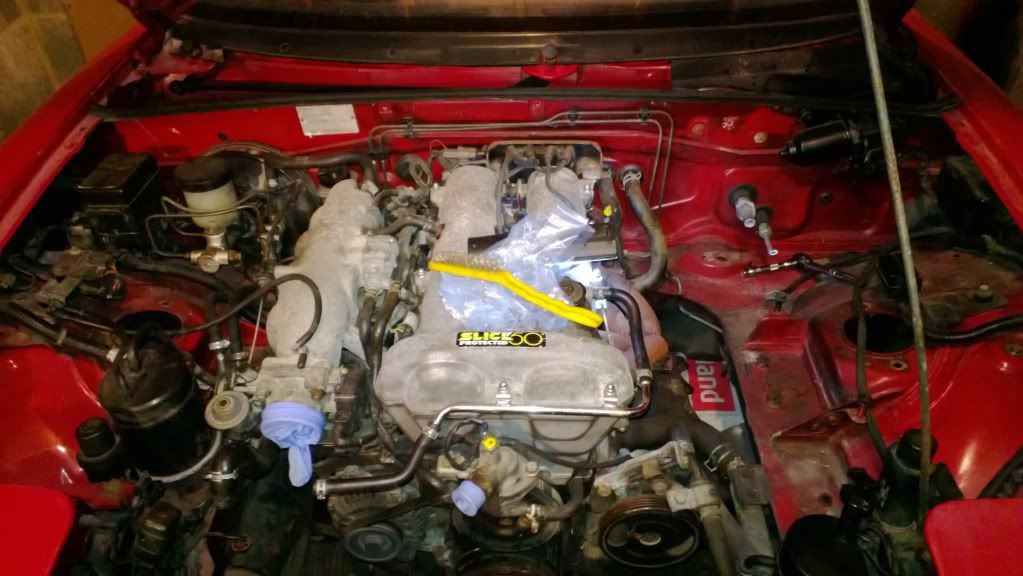 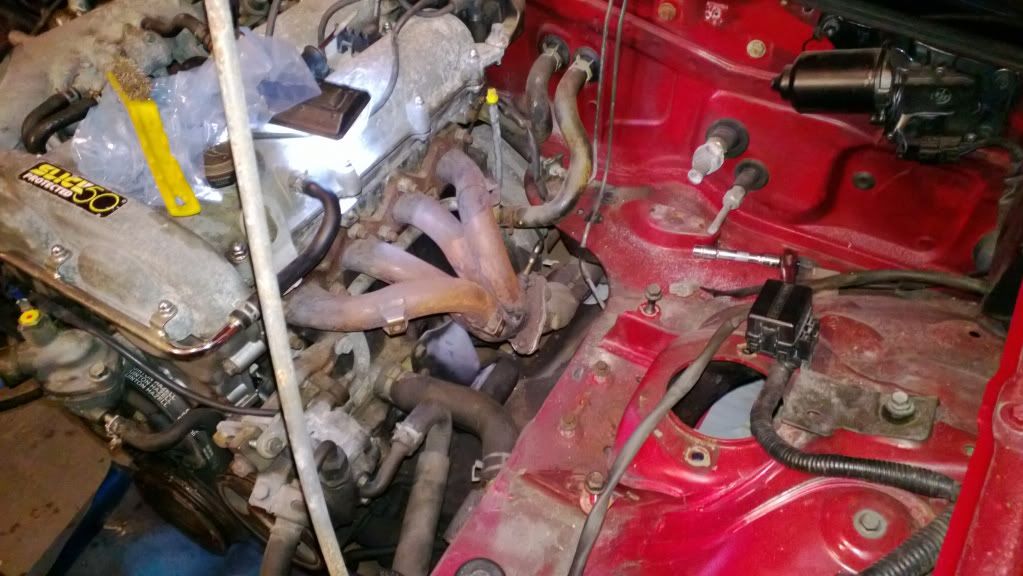 About 6 hours later I was getting there and after putting inlet manifold back on to see what I looked like I had it liek this: 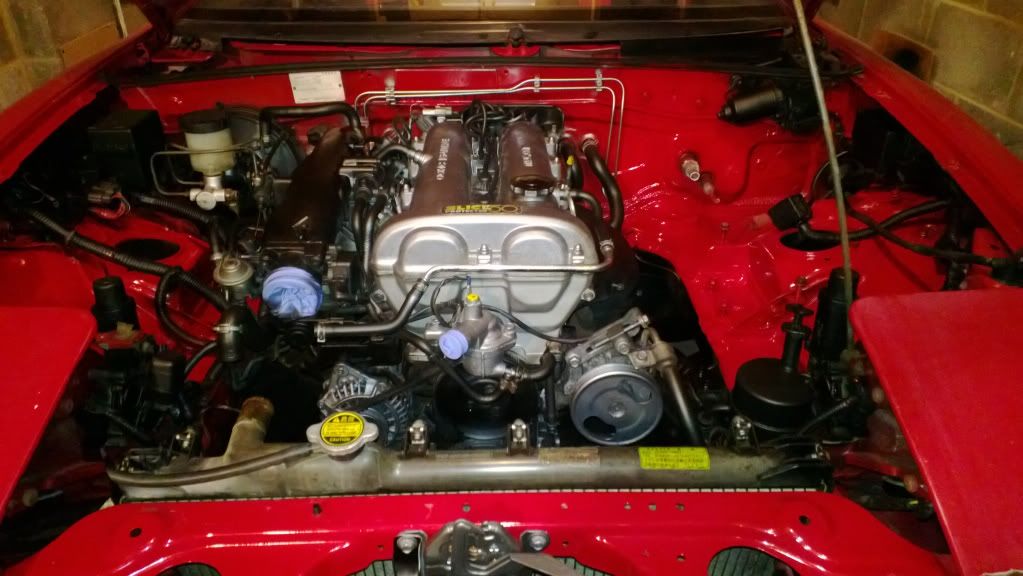 I also found the steering rack - hidden as it was behind 20 odd years of grime. So out that came, clean up the area, clean up the rack and refurb and put it back together again. 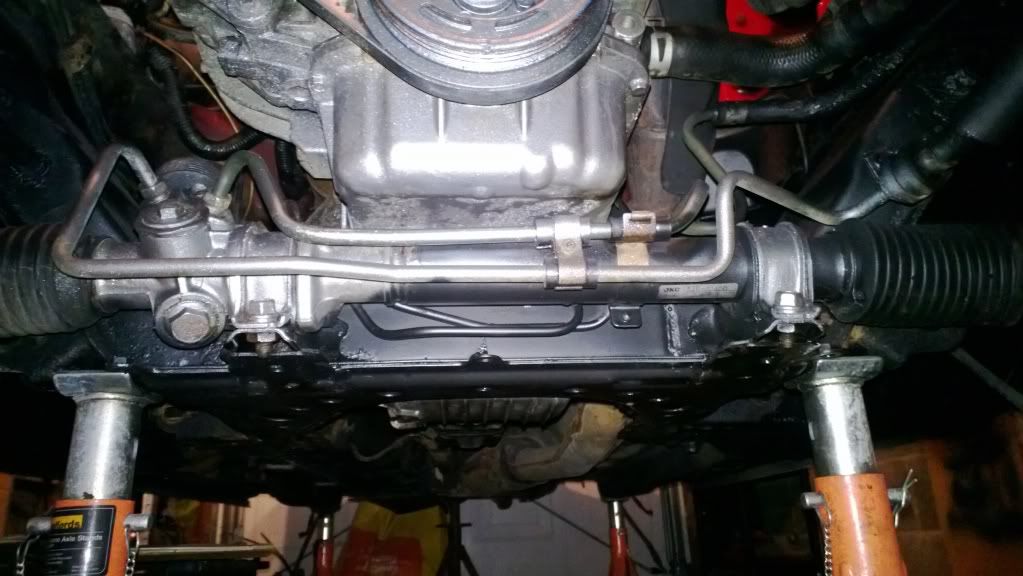 Knackered at this point... so will strip it back again tomorrow and finish it properly. |
| |
|
|
Hammy
Part of things
Posts: 60
|
|
|
|
|
|
| |
|
|
Hammy
Part of things
Posts: 60
|
|
|
|
|
|
| |
|
|
Hammy
Part of things
Posts: 60
|
|
|
|
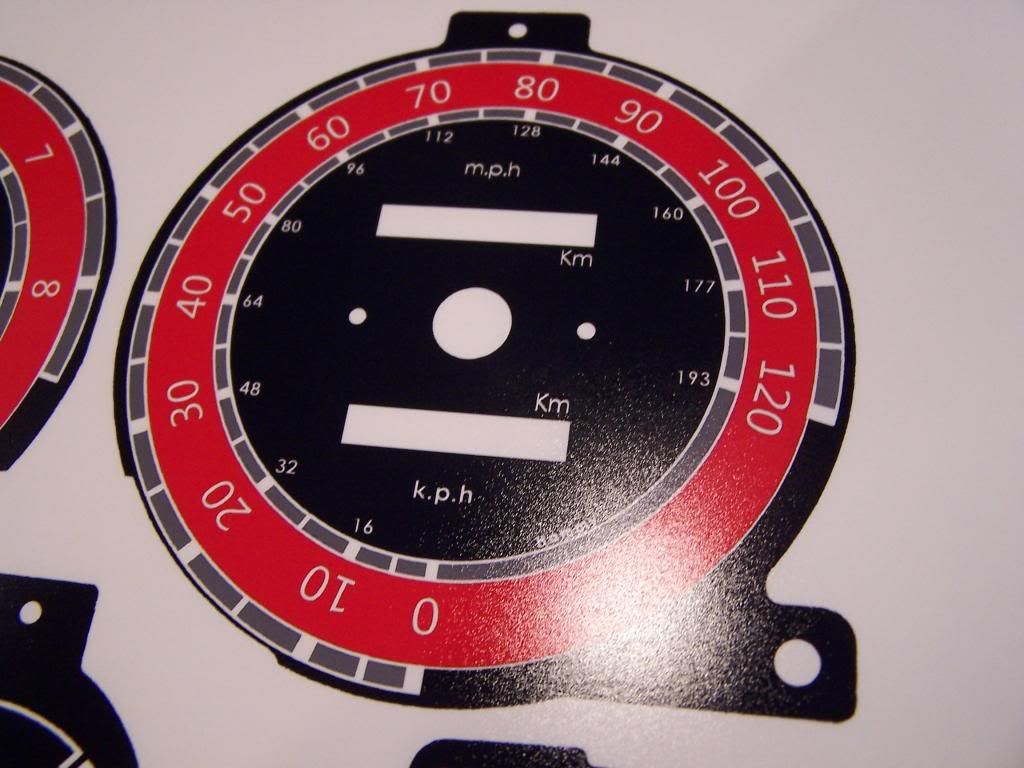
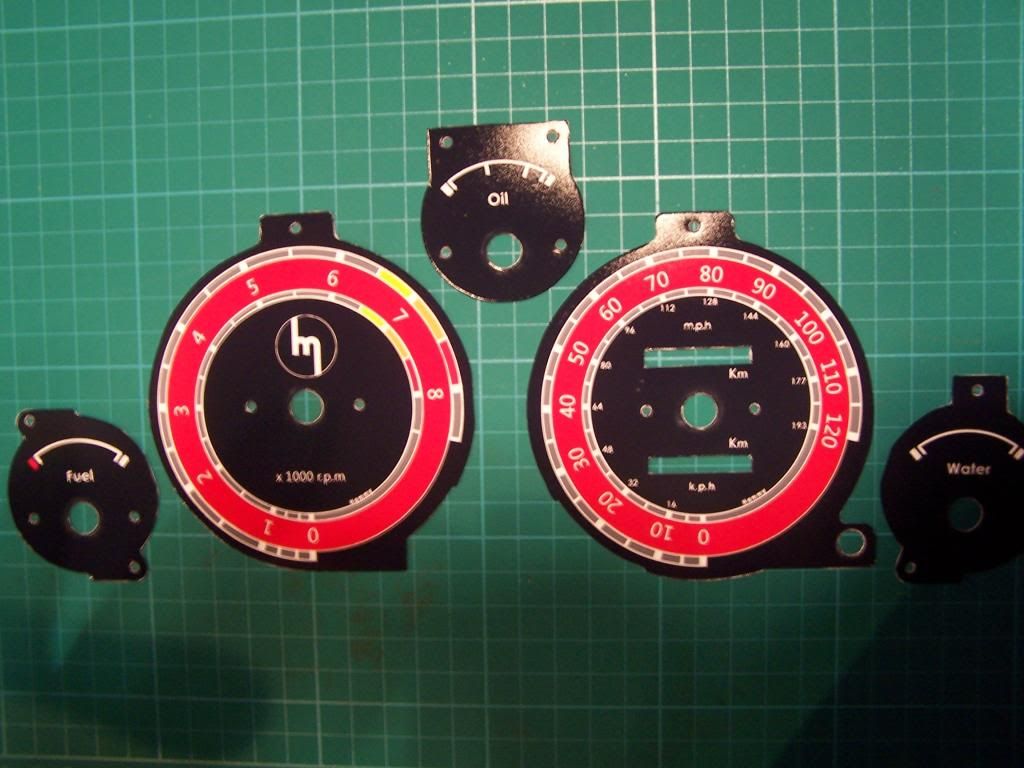
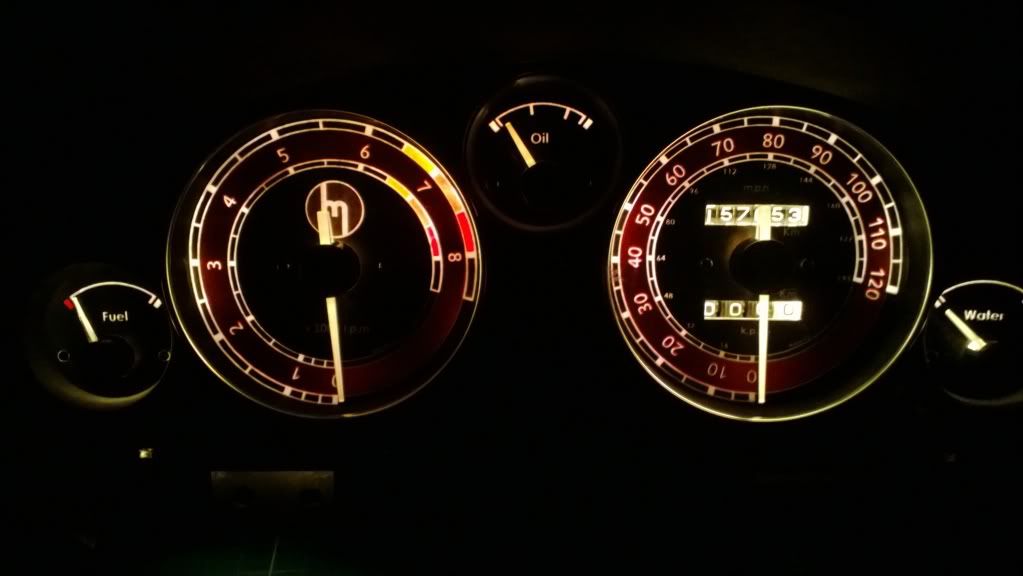
Suffering as I do from time to time by a bad back - brought on by stupidity - my own stupidity. I ahd to stop crawling around on my cage, sorry garage floor and do some... interior stuff. I made a test KGW-a-like cluster to try some ideas out.... this is a rough one for testing. 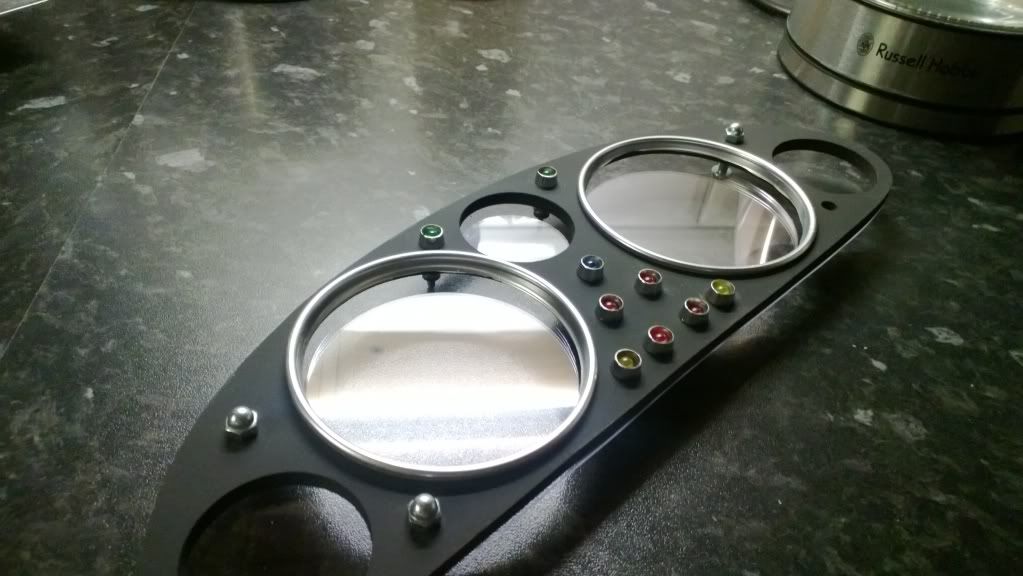 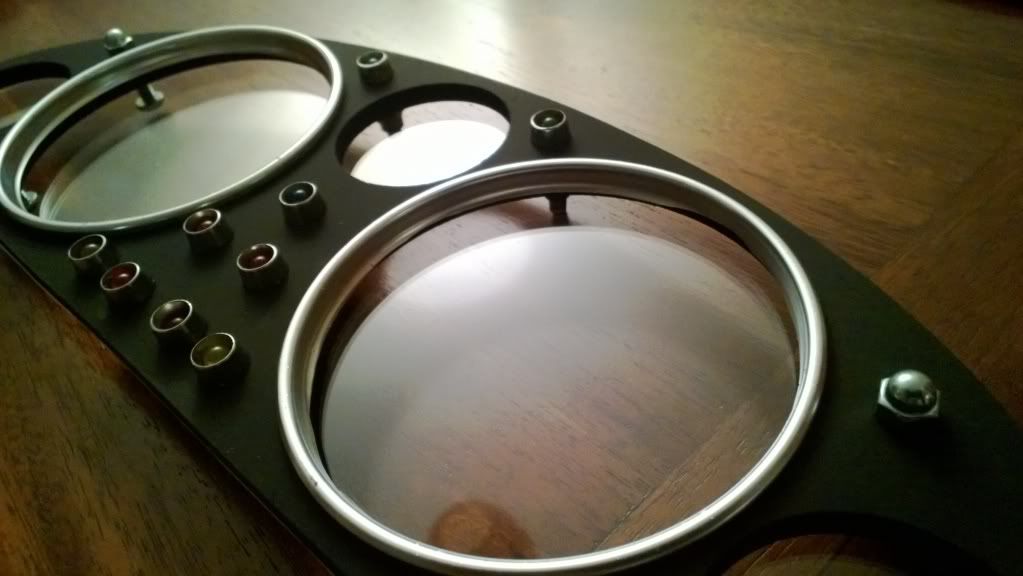 No funds makes you creative... I am literally making everything myself (except the leds) - including the rings. With some trial and error I got it right so, I made some more properly.... I will show you these later on. Time to turn my attention to something else. |
| |
|
|
|
|