chrismc
Yorkshire and The Humber
www.redhouseclassics.com
Posts: 51
|
|
Oct 29, 2016 17:44:28 GMT
|
This weekend I started work on a 1978 MG Midget. The car is the later rubber bumper model. 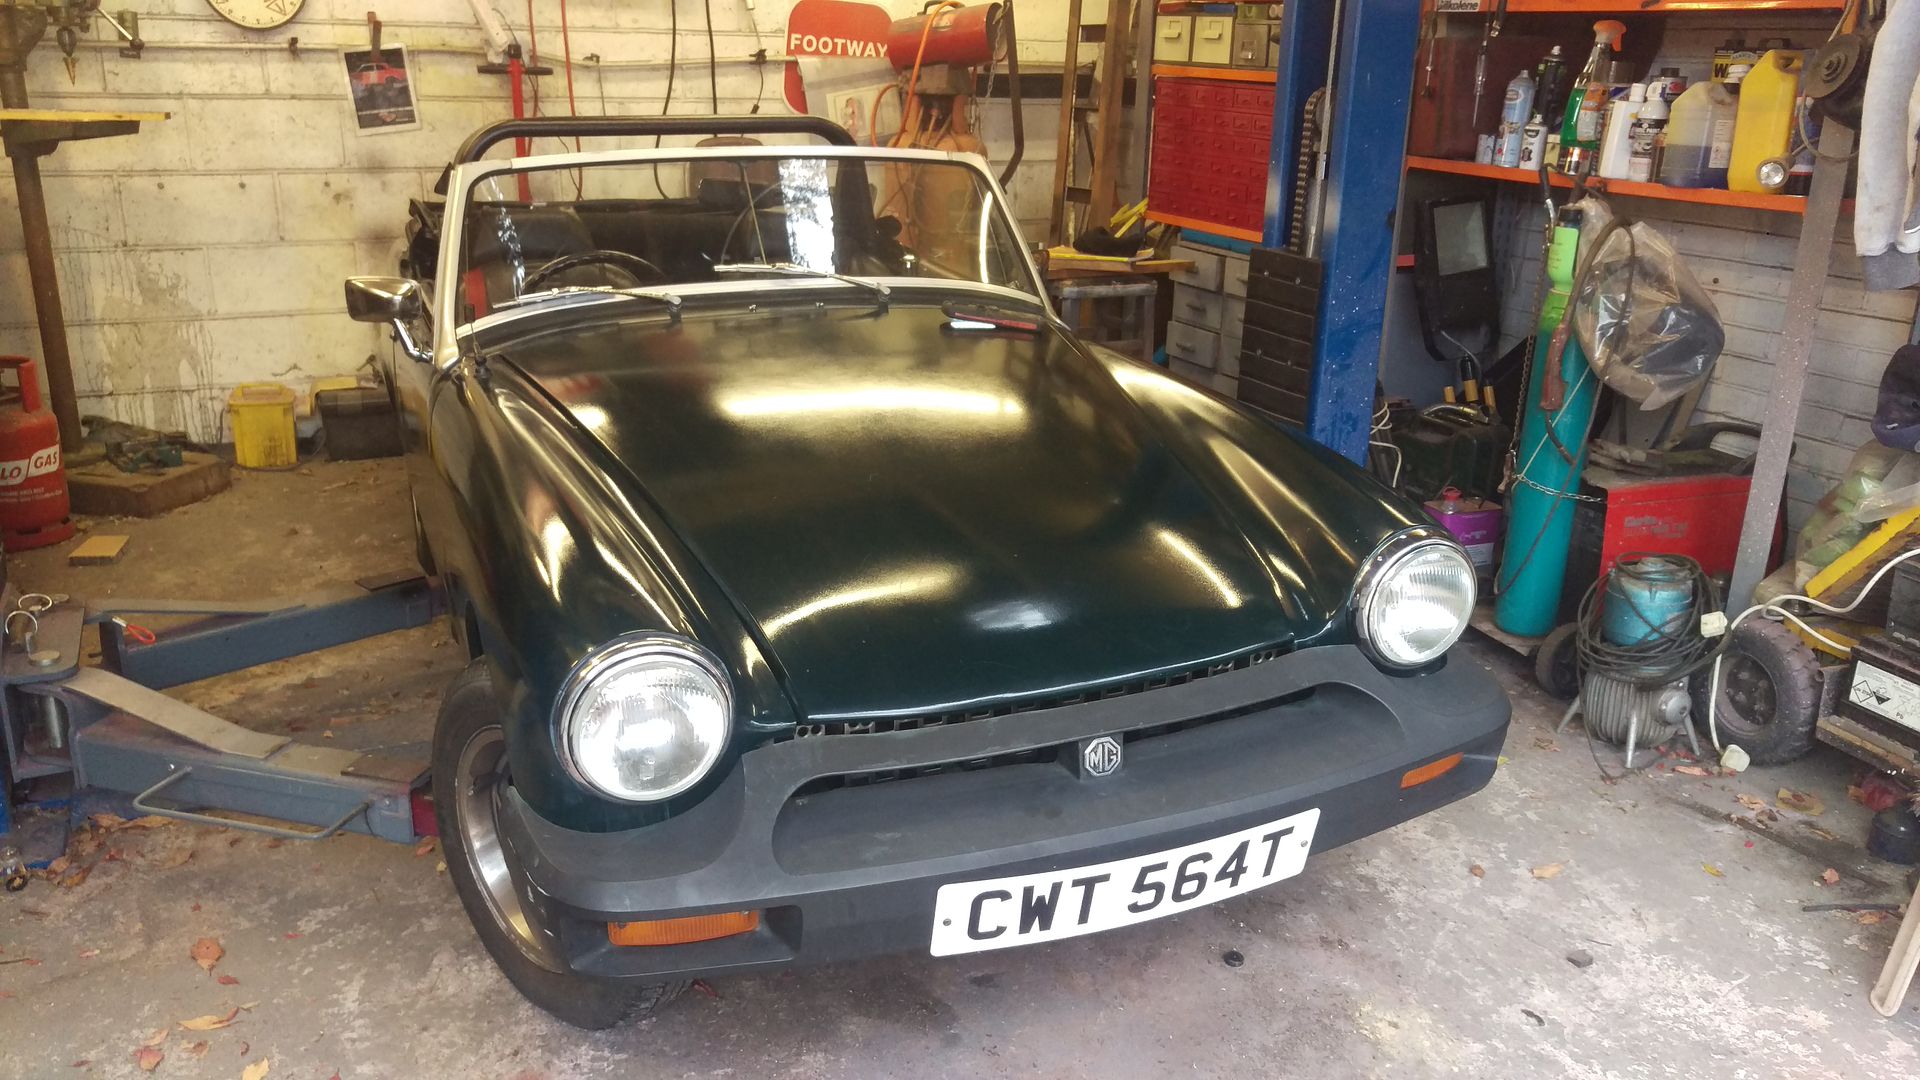 The heavy bumpers were the first to go. Out of curiosity we weighed them and they came to a hefty 96 pounds (44kg). This is the weight of a small adult. What a massive difference! 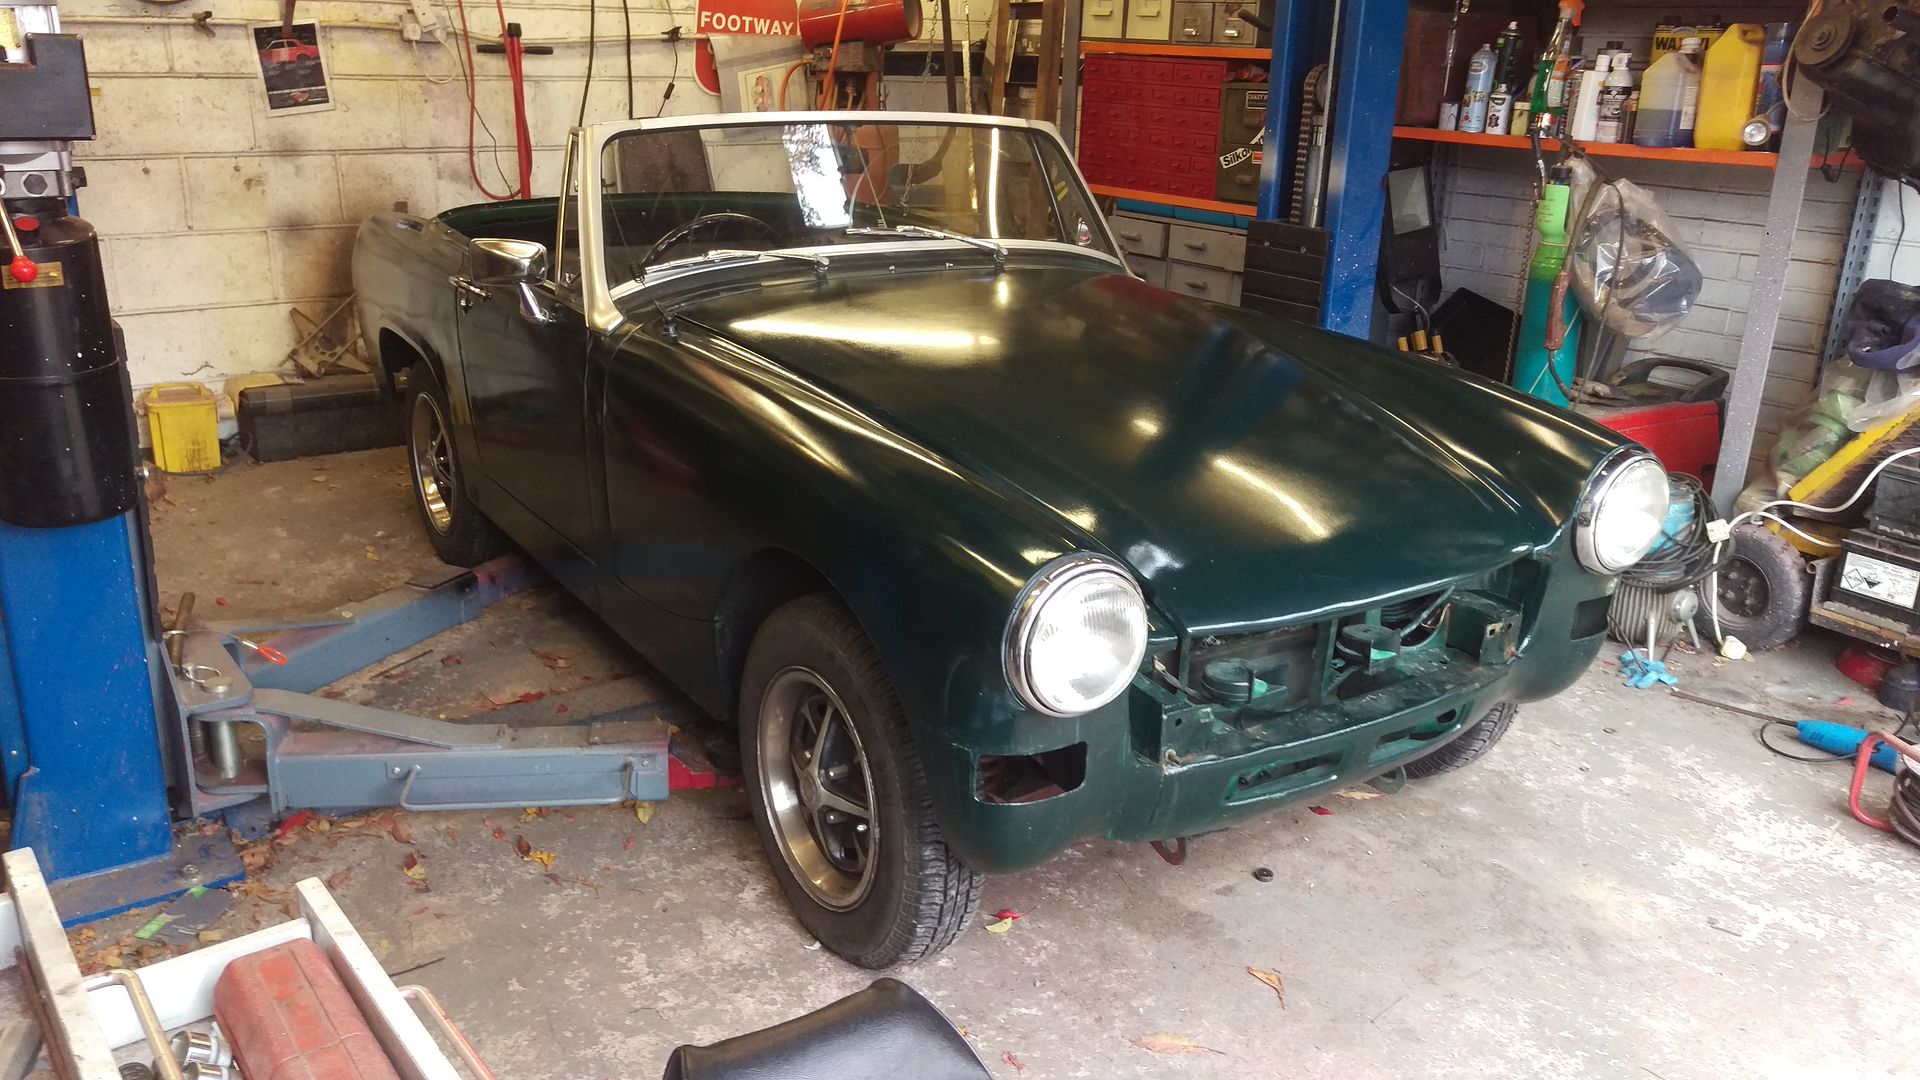 The plan for this restoration is to end up with a tidy everyday classic for the owner. At the moment the paint finish looks like it has been done with a roller, the filler looks like Artex and the synchromesh on 2nd gear is week. The strip down started with the bumpers then the engine and gearbox were removed as one unit. 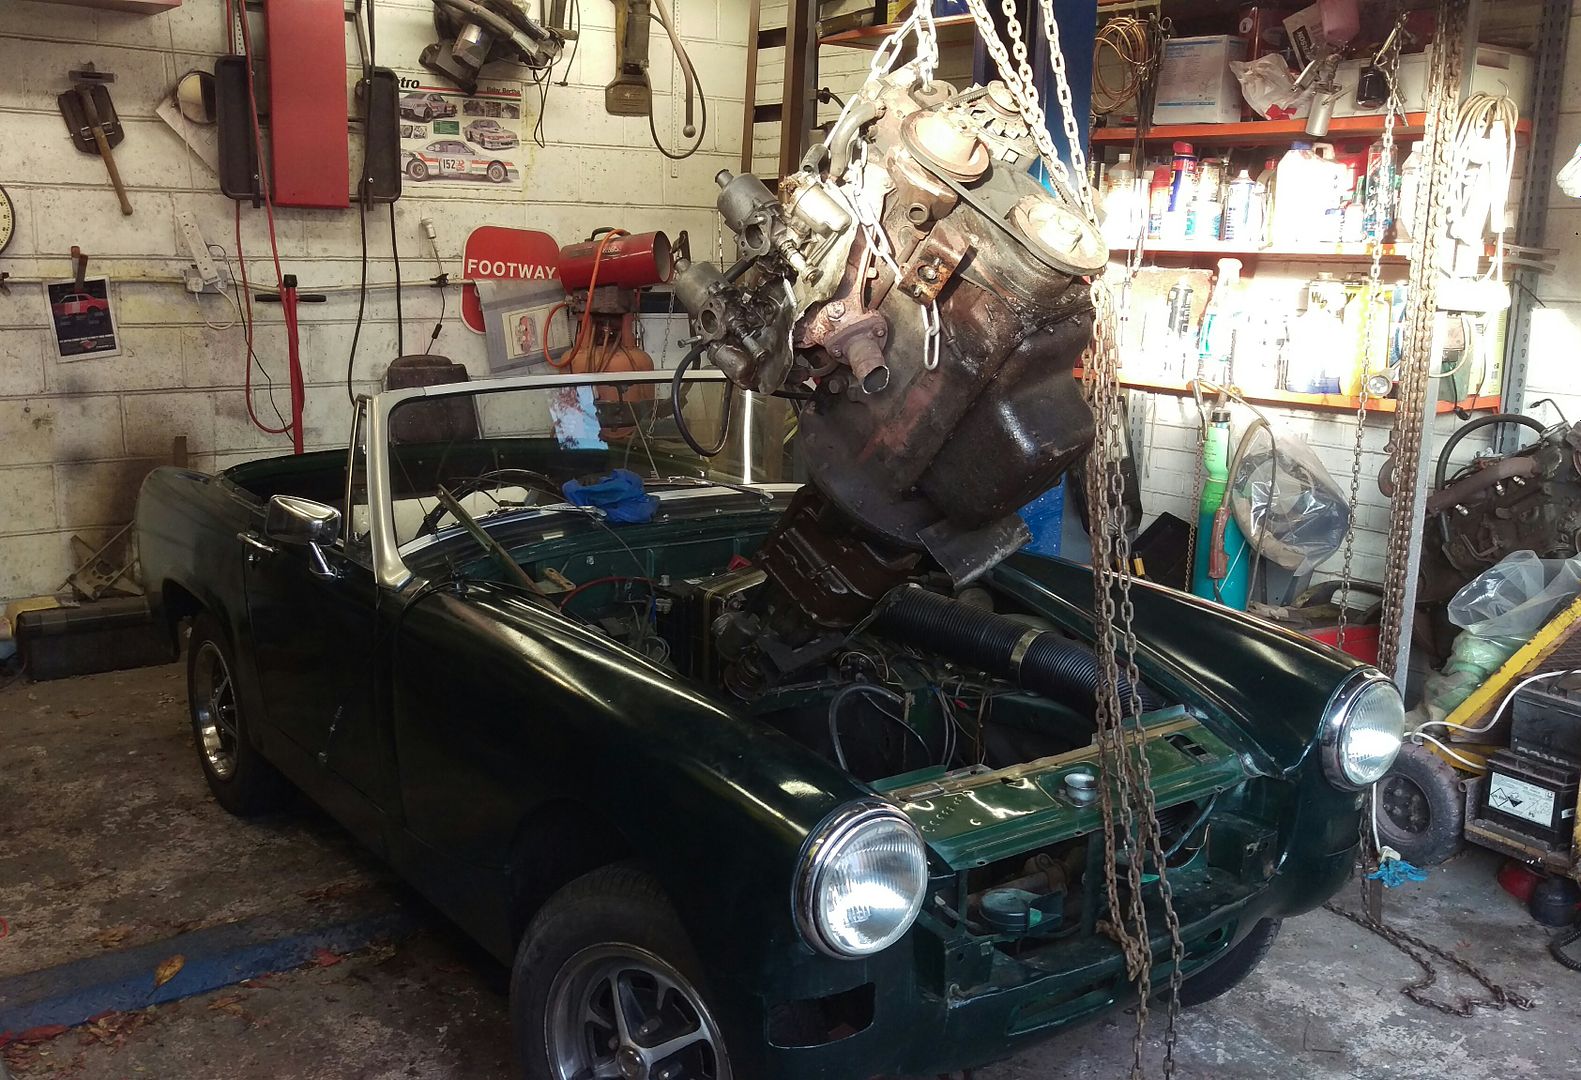 The underneath was surprisingly rot free with just a few touch ups needed for the underseal. 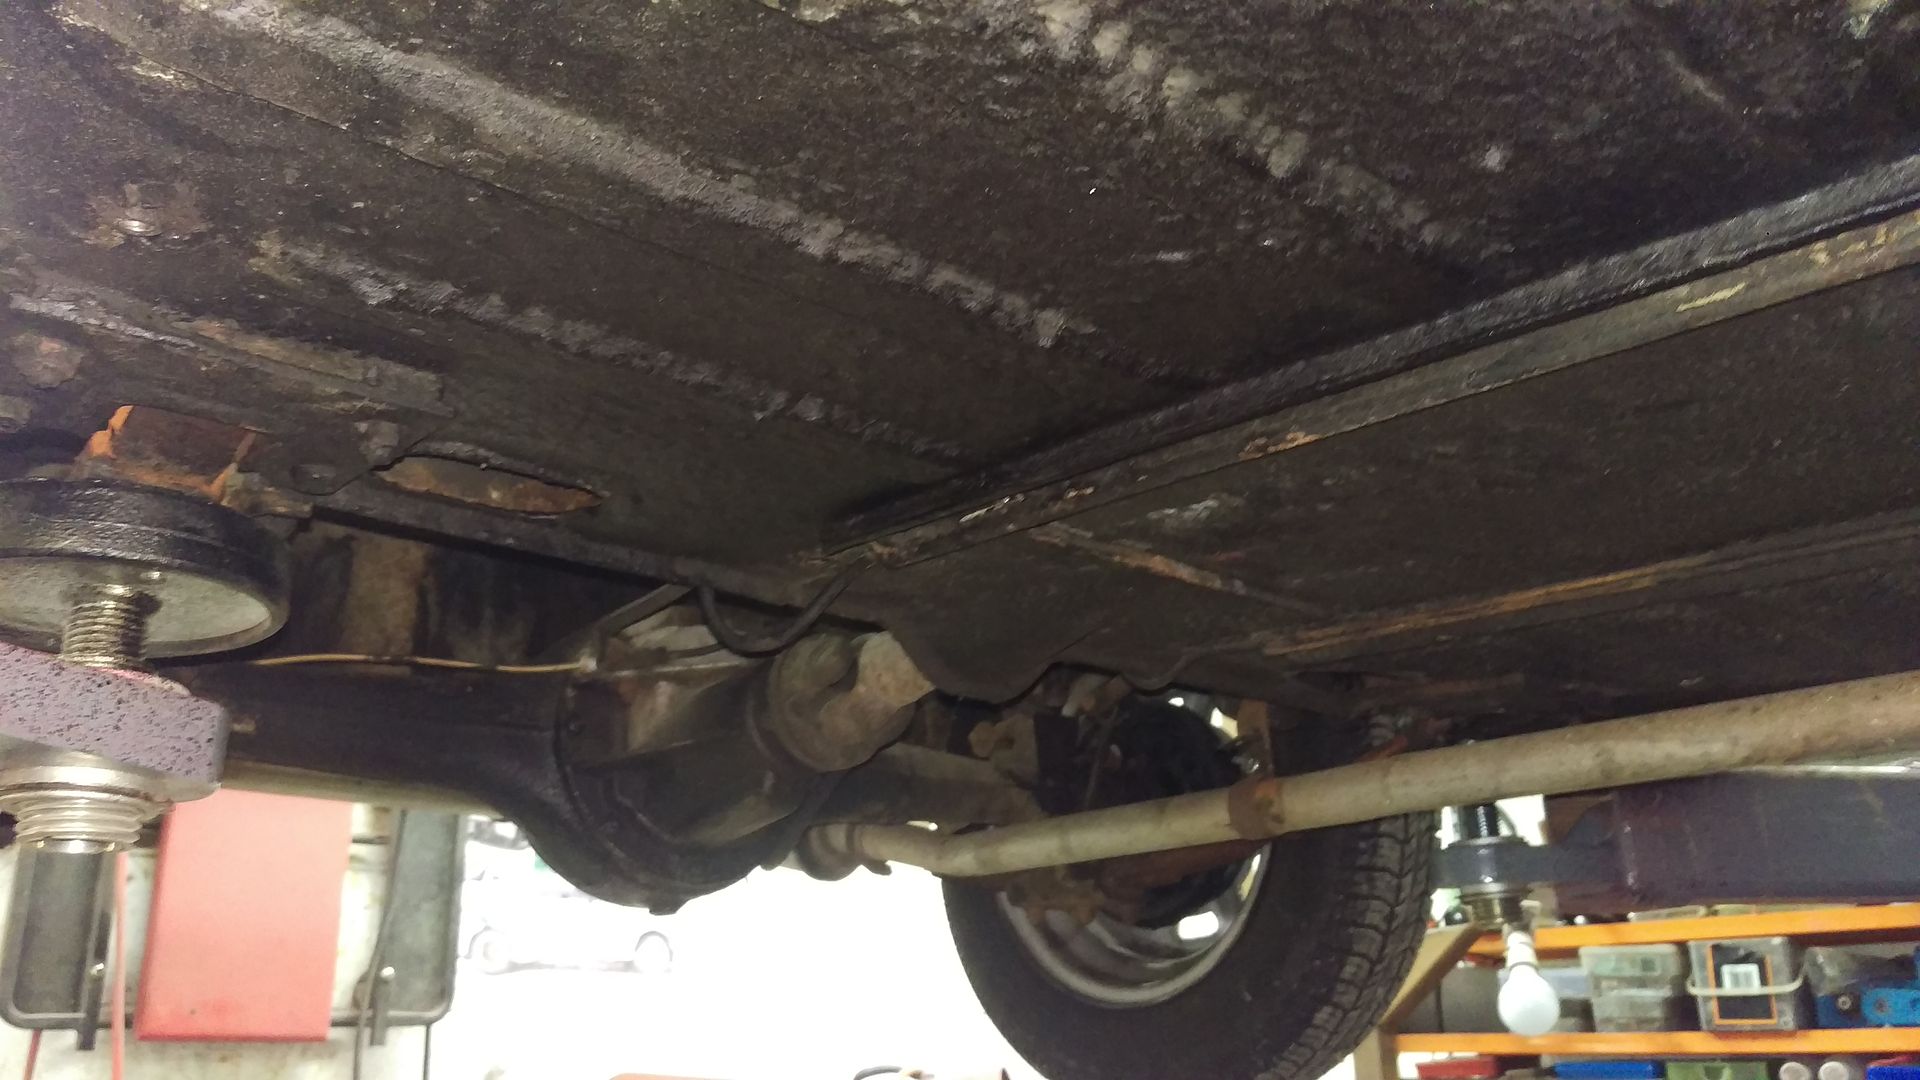 The windscreen and door furniture was removed. 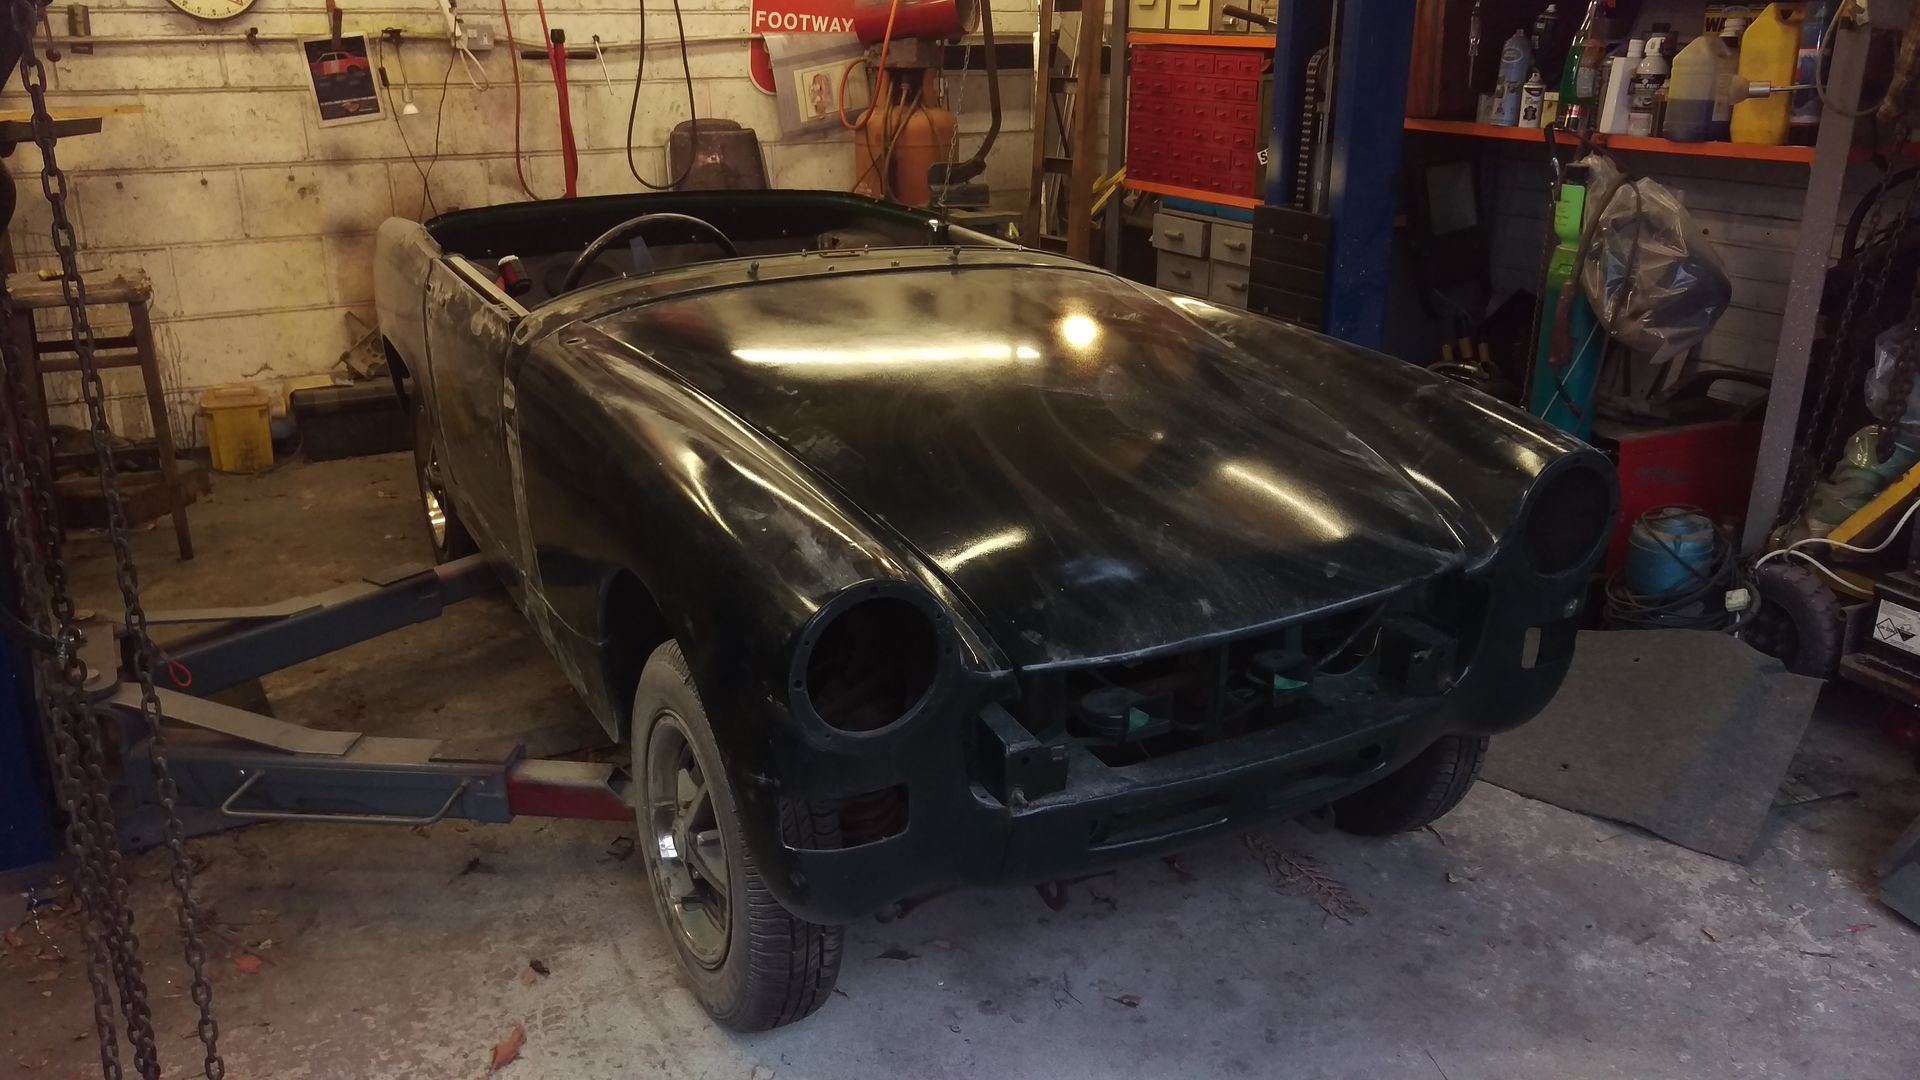 There seems to be a lot of filler on this car so it will be removed, any issues repaired with old metal cut out and new welded in.  The floor is in remarkable condition. Now the rubber bumpers have been removed the mounting brackets at the front will have to be cut off so a more fitting front grille can be fitted. I will also smooth out the rear valance were the bumper mount ‘lumps’ are. 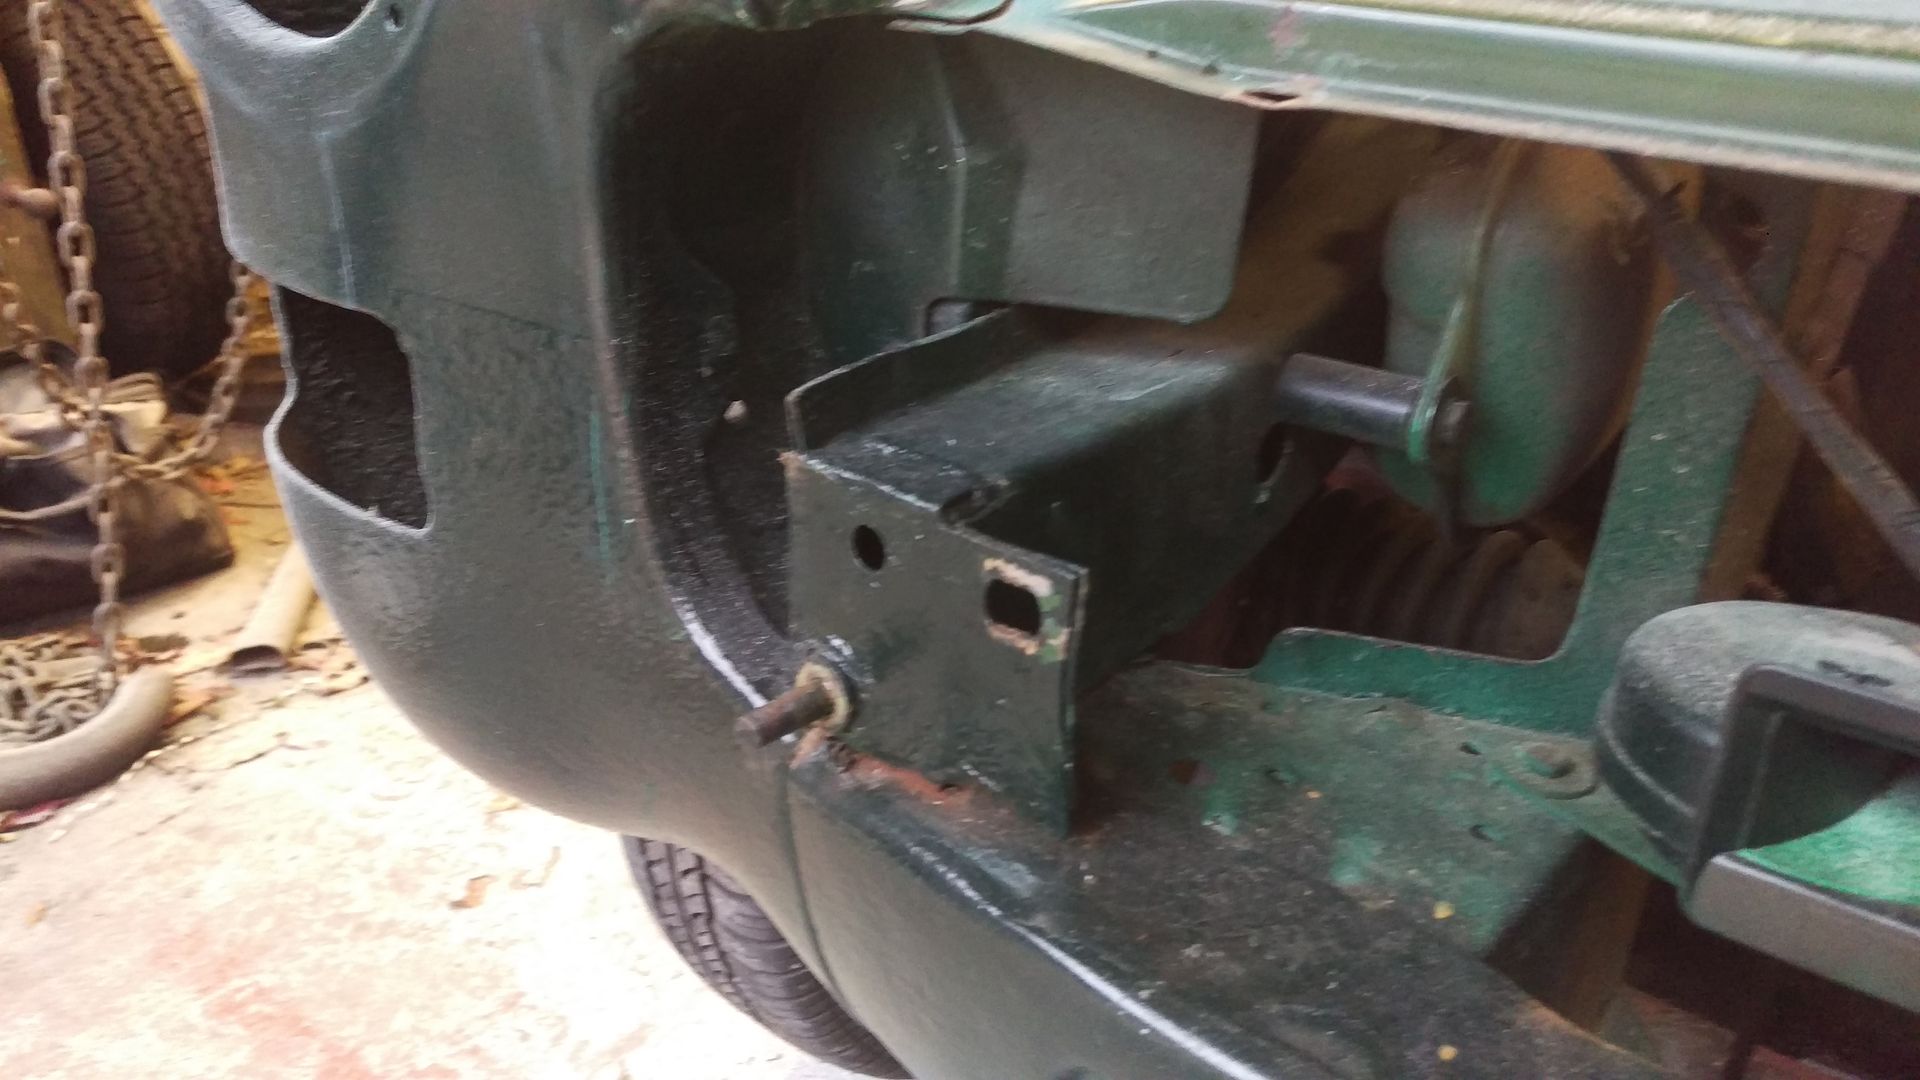 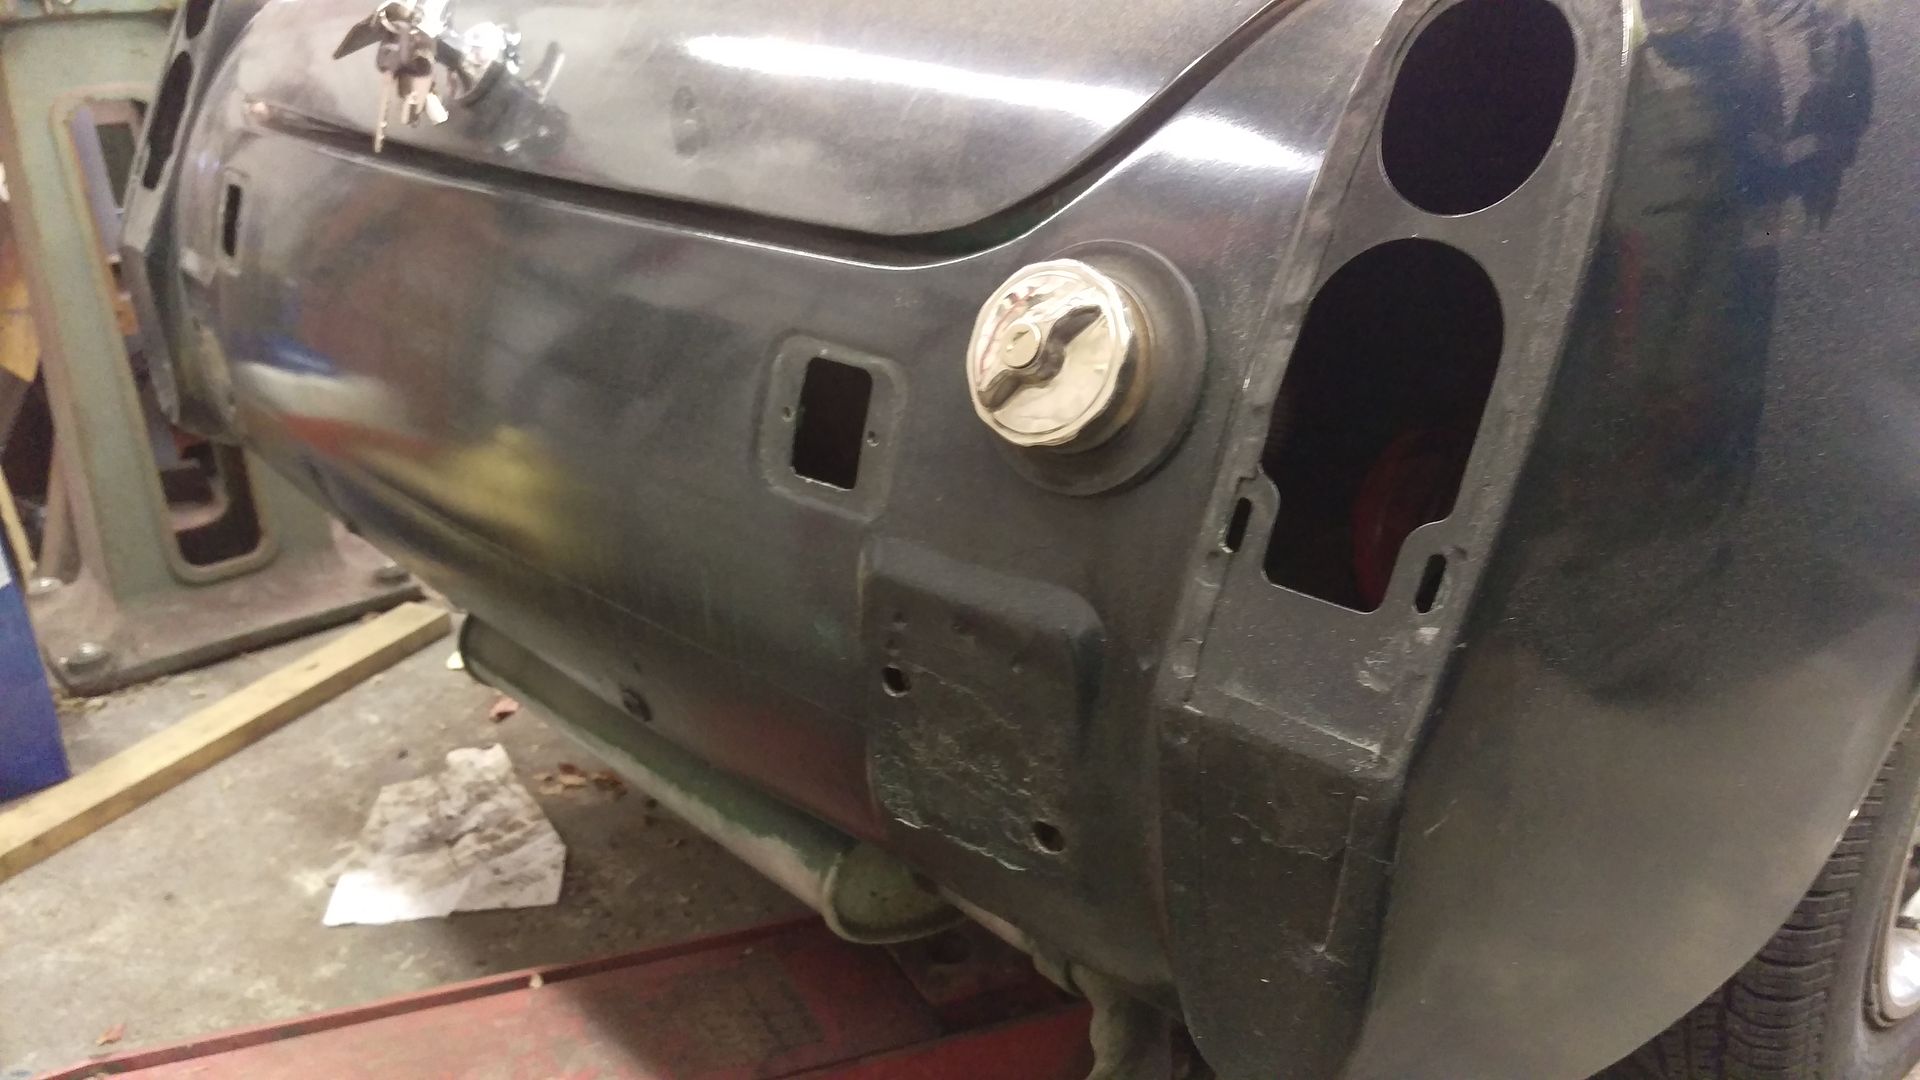 The aim is to get the Midget back on the road for the spring. Wish me luck |
| |
Have a look at my restoration blog...www.redhouseclassics.com
|
|
|
|
|
|
|
Oct 29, 2016 18:43:19 GMT
|
|
Lovely , something different and good to see a the less popular 1500 restored .
|
| |
|
|
MR TIKI
Posted a lot
 TIKI,style from a different angle!
Posts: 1,154
|
|
Oct 29, 2016 18:46:21 GMT
|
|
bags of potential there,does the bumper need to go back on?
|
| |
Boldly driving faster than a tin worm can wiggle.
|
|
|
|
|
Oct 29, 2016 19:55:08 GMT
|
|
Just about to start the same on mine. Access to the front is too tight for a grinder so I'm just considering options. I'll certainly be wathcing with interest.....
|
| |
|
|
chrismc
Yorkshire and The Humber
www.redhouseclassics.com
Posts: 51
|
|
Oct 29, 2016 19:56:54 GMT
|
|
We are definitely not putting the bumpers back on. In fact it is having no bumpers. Going for a smooth light racing look. It's simpler and cheaper too. 😉
|
| |
Have a look at my restoration blog...www.redhouseclassics.com
|
|
chrismc
Yorkshire and The Humber
www.redhouseclassics.com
Posts: 51
|
|
Oct 29, 2016 19:58:38 GMT
|
Just about to start the same on mine. Access to the front is too tight for a grinder so I'm just considering options. I'll certainly be wathcing with interest..... Yeah, not quite sure how to cut them off but I'll manage somehow. |
| |
Have a look at my restoration blog...www.redhouseclassics.com
|
|
|
|
|
Oct 29, 2016 20:13:33 GMT
|
|
Lovely little car this. It looks great with the bumpers off. This should look amazing when you get it done.
|
| |
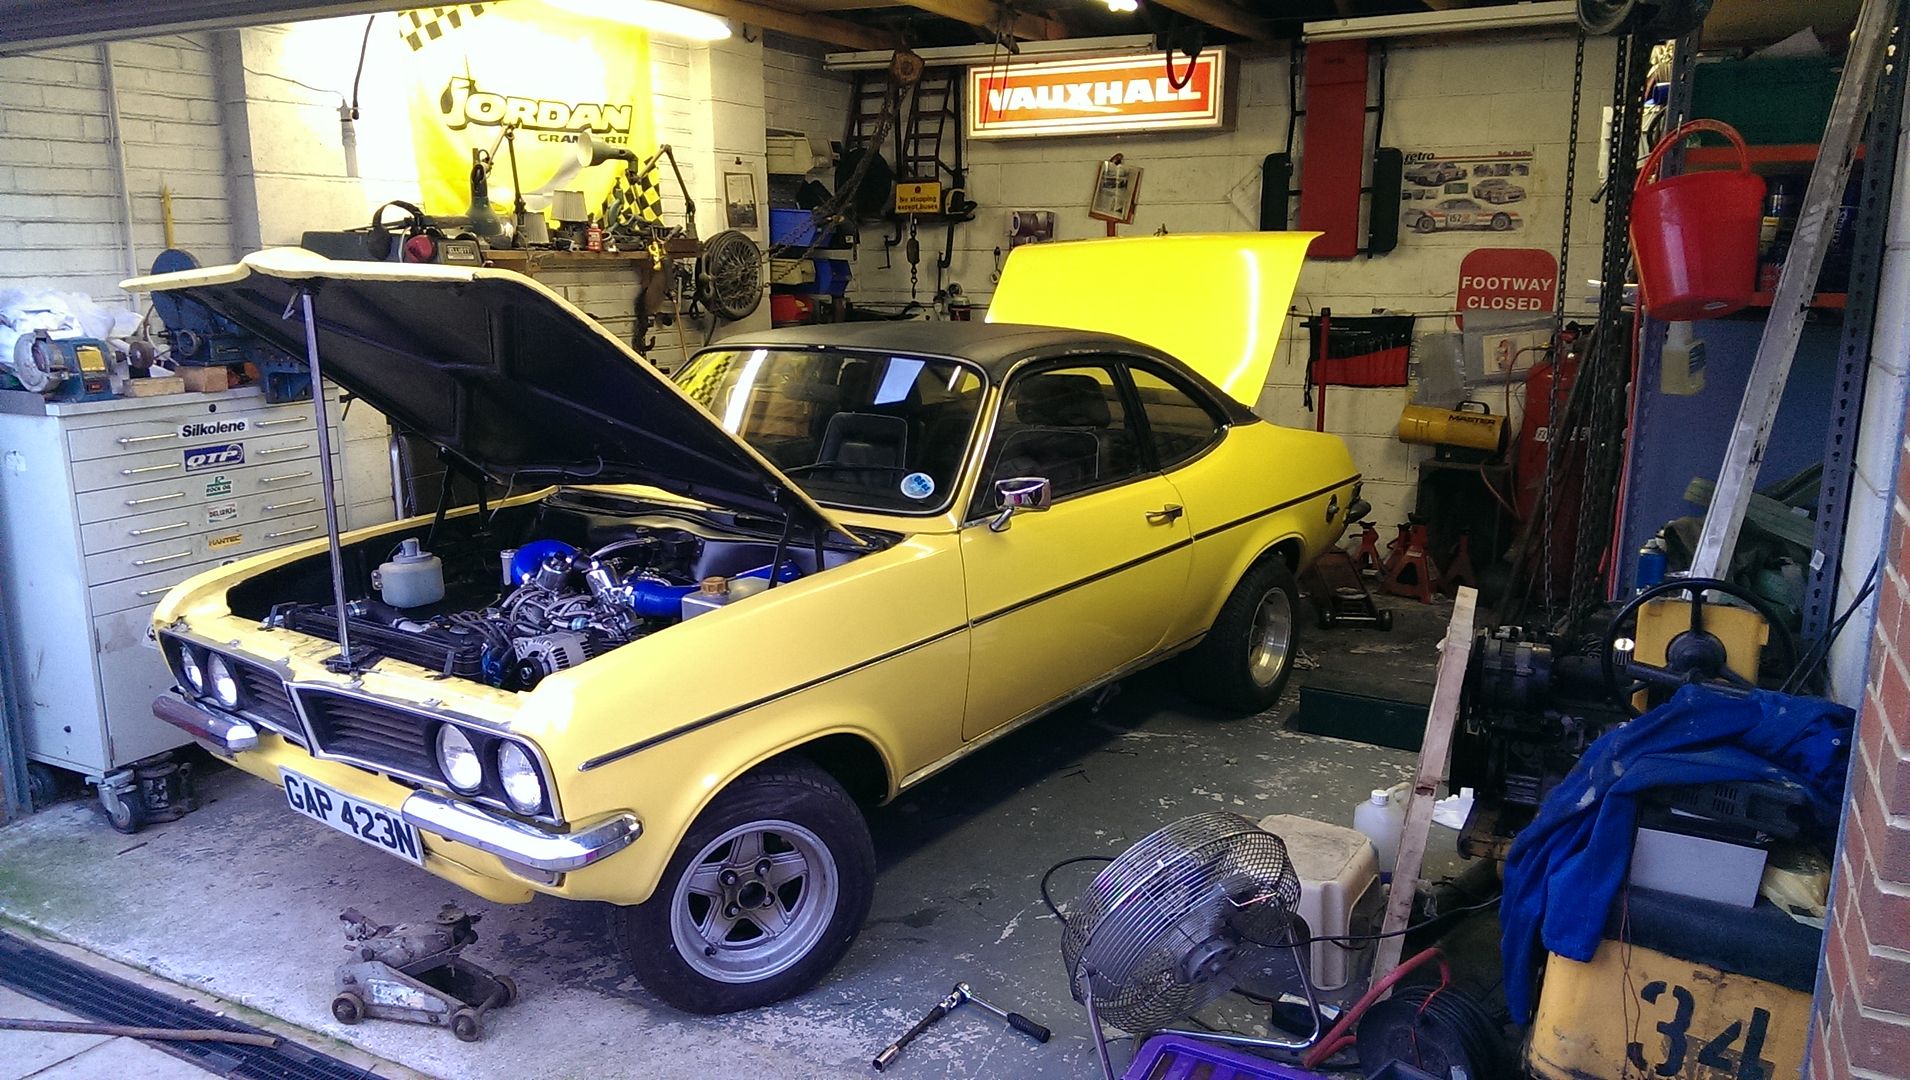
69 Herald 13/60 with Turbo 1600 MX5 engine, Lexus 5 link rear end, 17in wheels,300mm ventilated disc's and subaru 4 pot calipers
|
|
chrismc
Yorkshire and The Humber
www.redhouseclassics.com
Posts: 51
|
|
Oct 30, 2016 18:14:46 GMT
|
Thanks Guys, So now the car is stripped it is now time to grind off the filler (bondo) and see what we are dealing with. I suspected there was a lot of filler and I was right. I decided to start at the A pillar and work my way backwards. 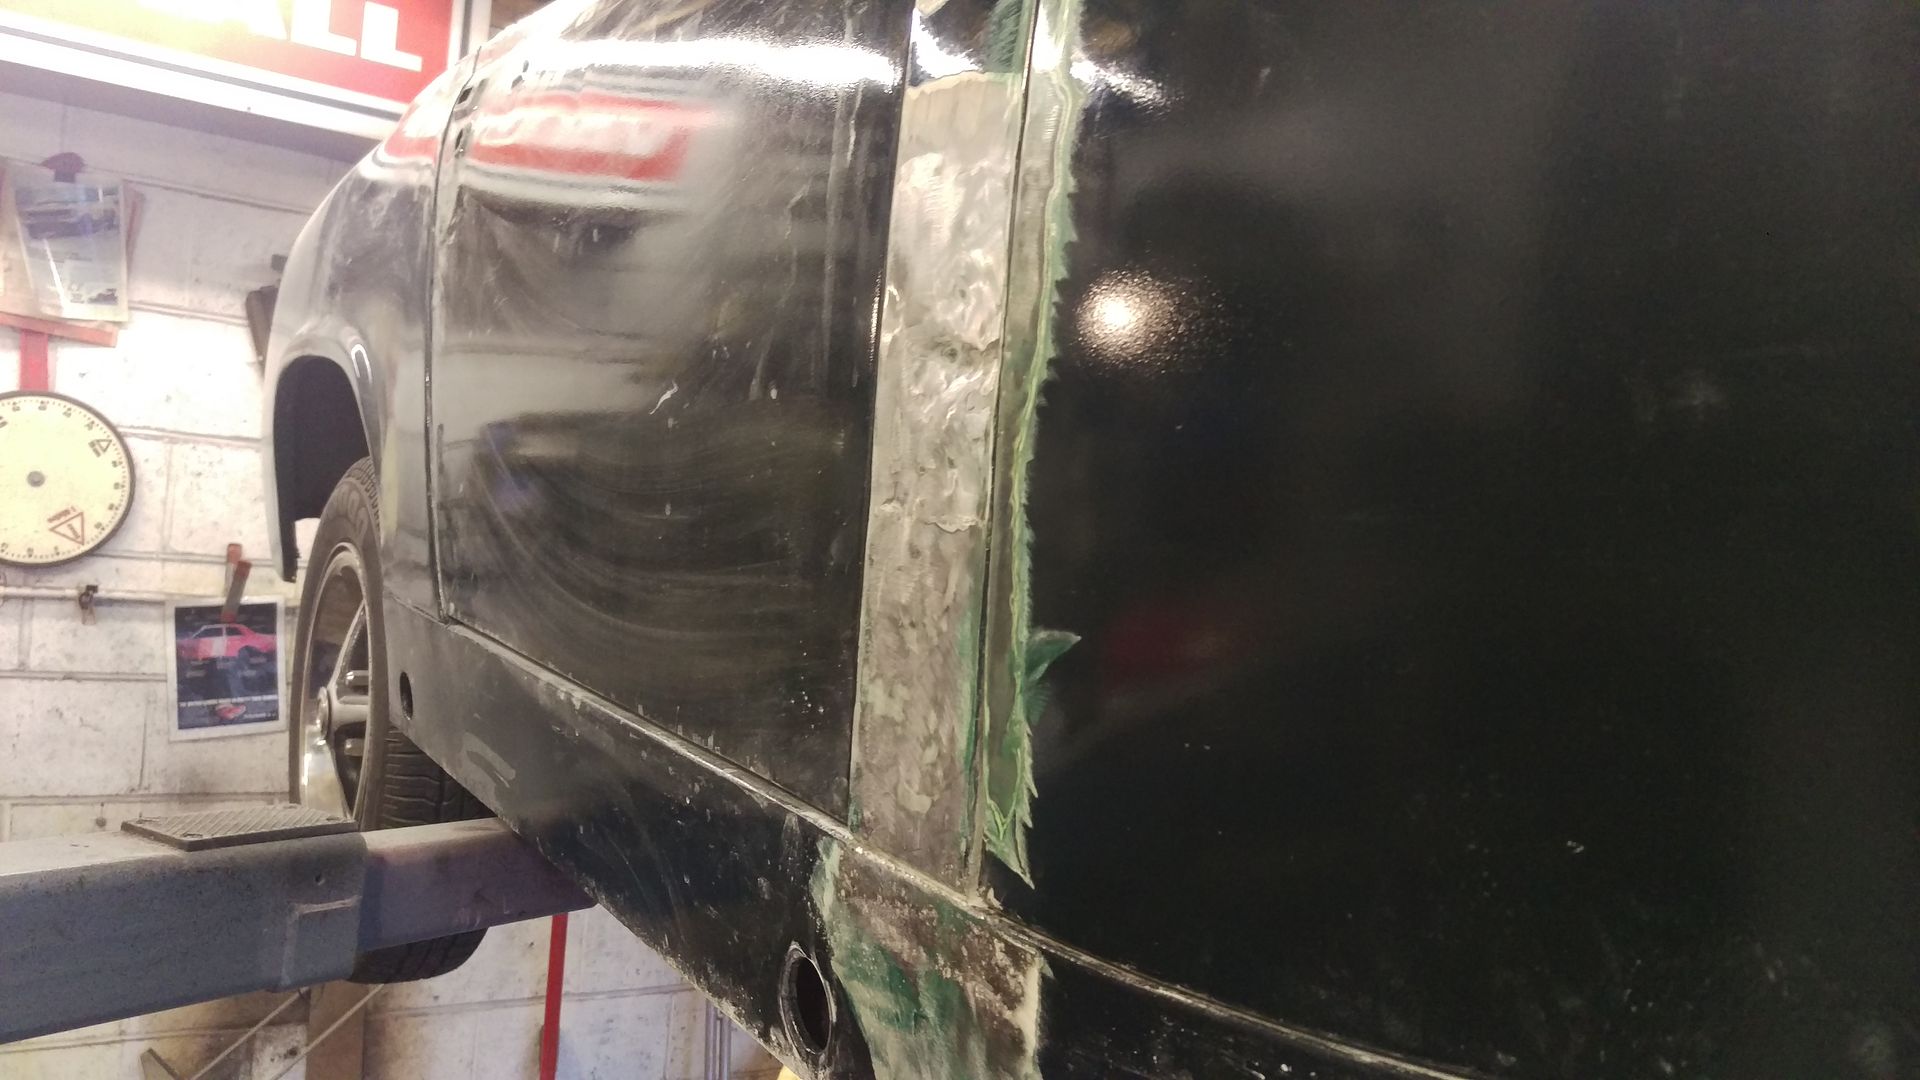 There was quite a bit of filler on the A pillar but there didn’t seem to be any apparent reason for this. I don’t know why but the join between the pillar and sill was filled in. There are a couple of small dents that I will have to deal with later. As I got to the top of the pillar I found a small patch of rust and a hole. 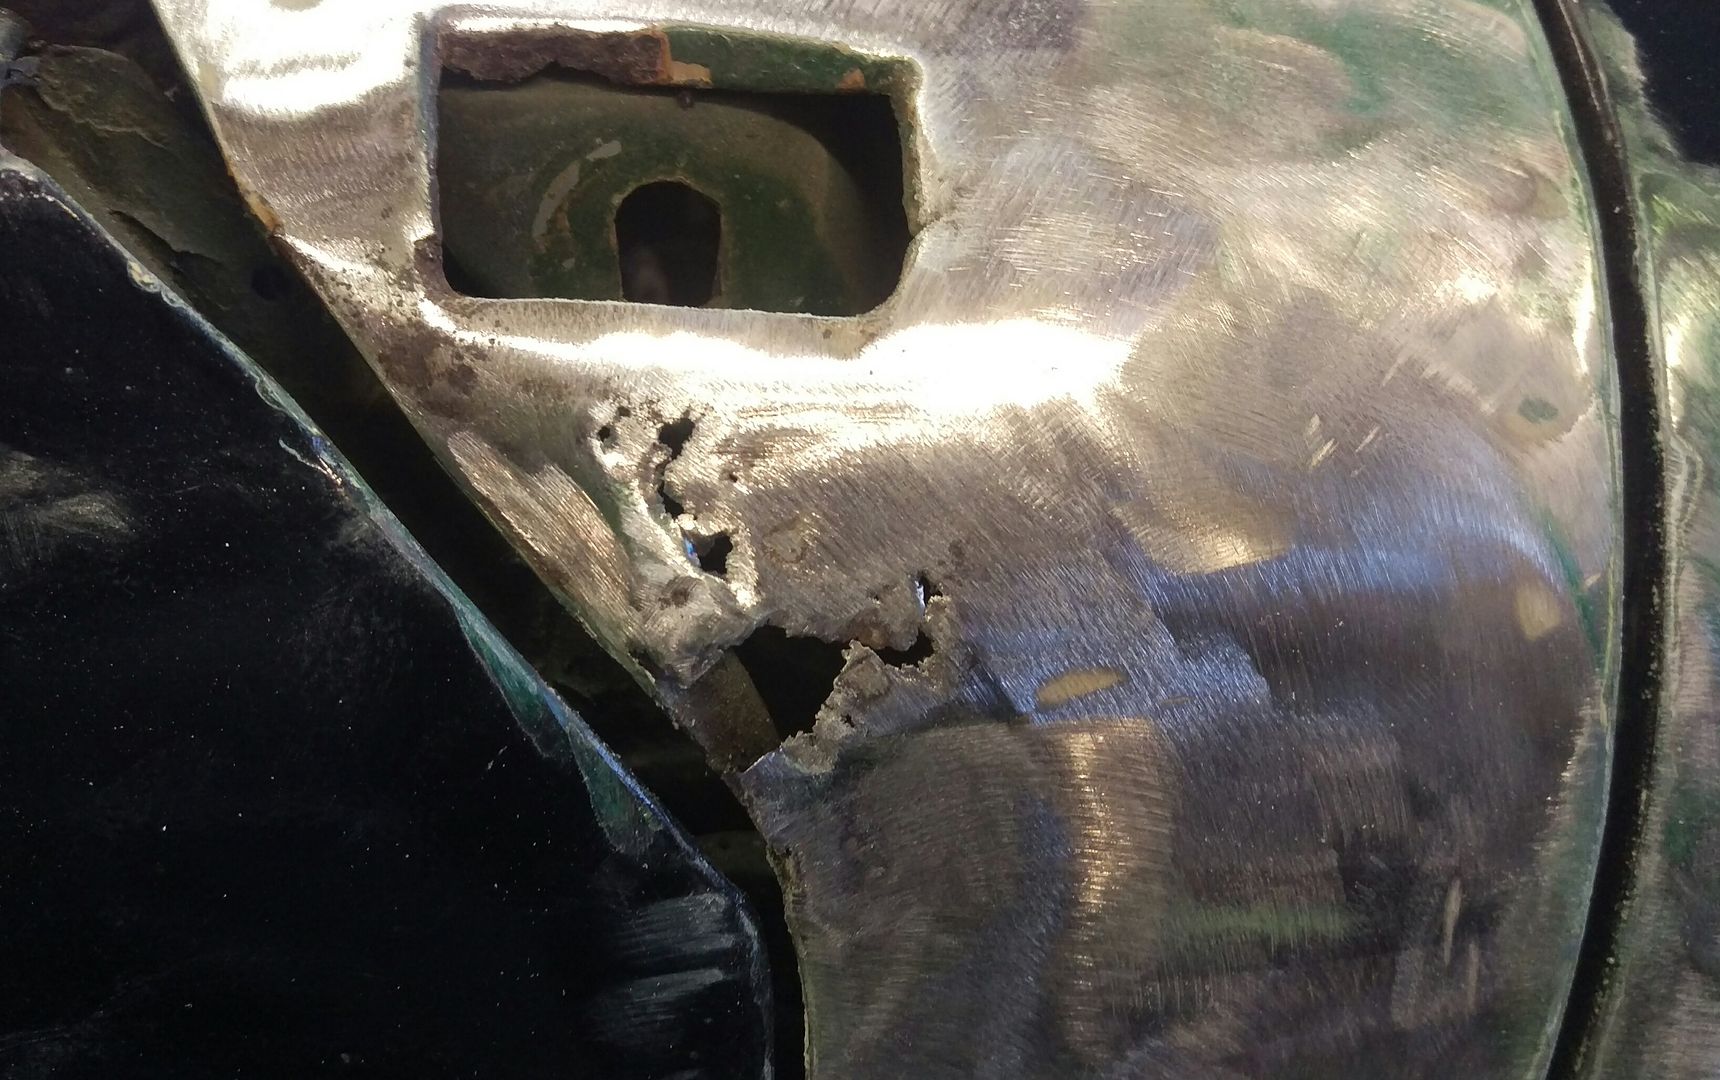 This was cut out and a patch made. I will do all the welding once I have gone around the whole car, cut out the rot and made the patches. 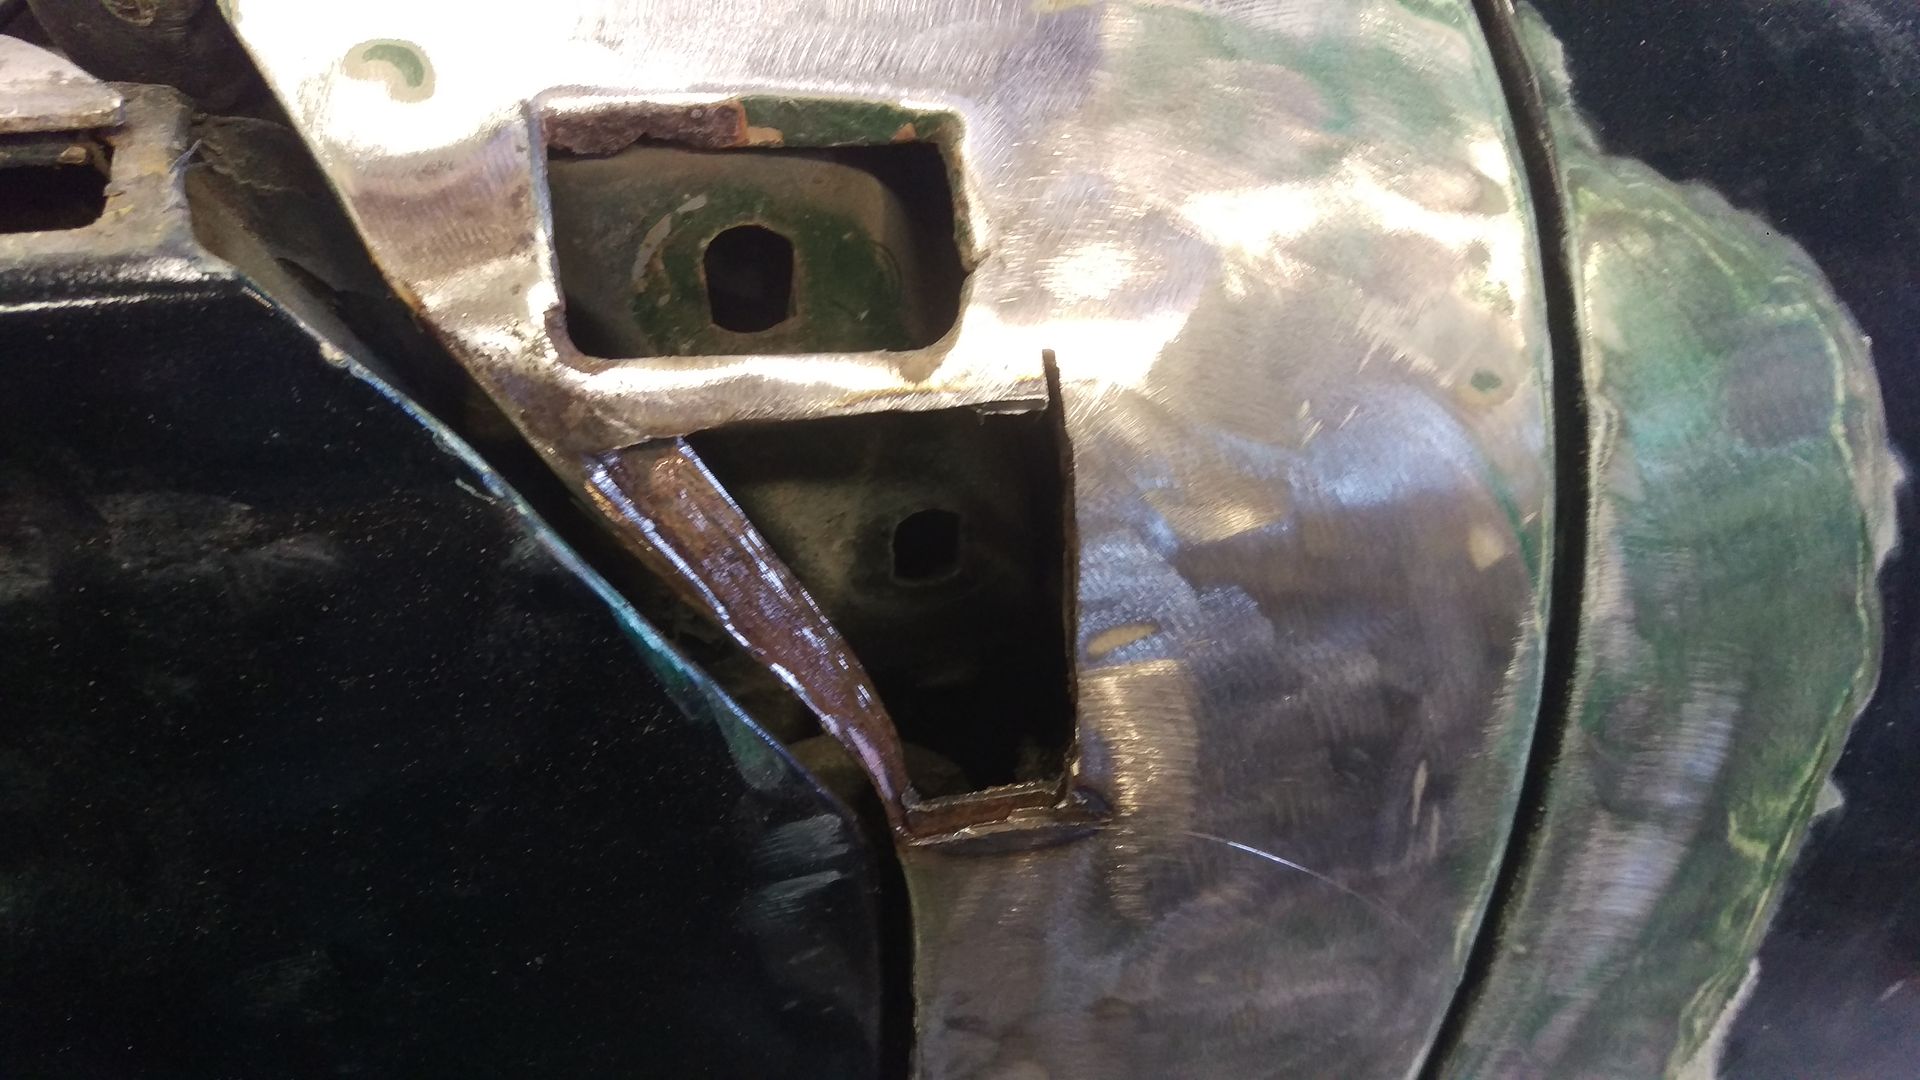 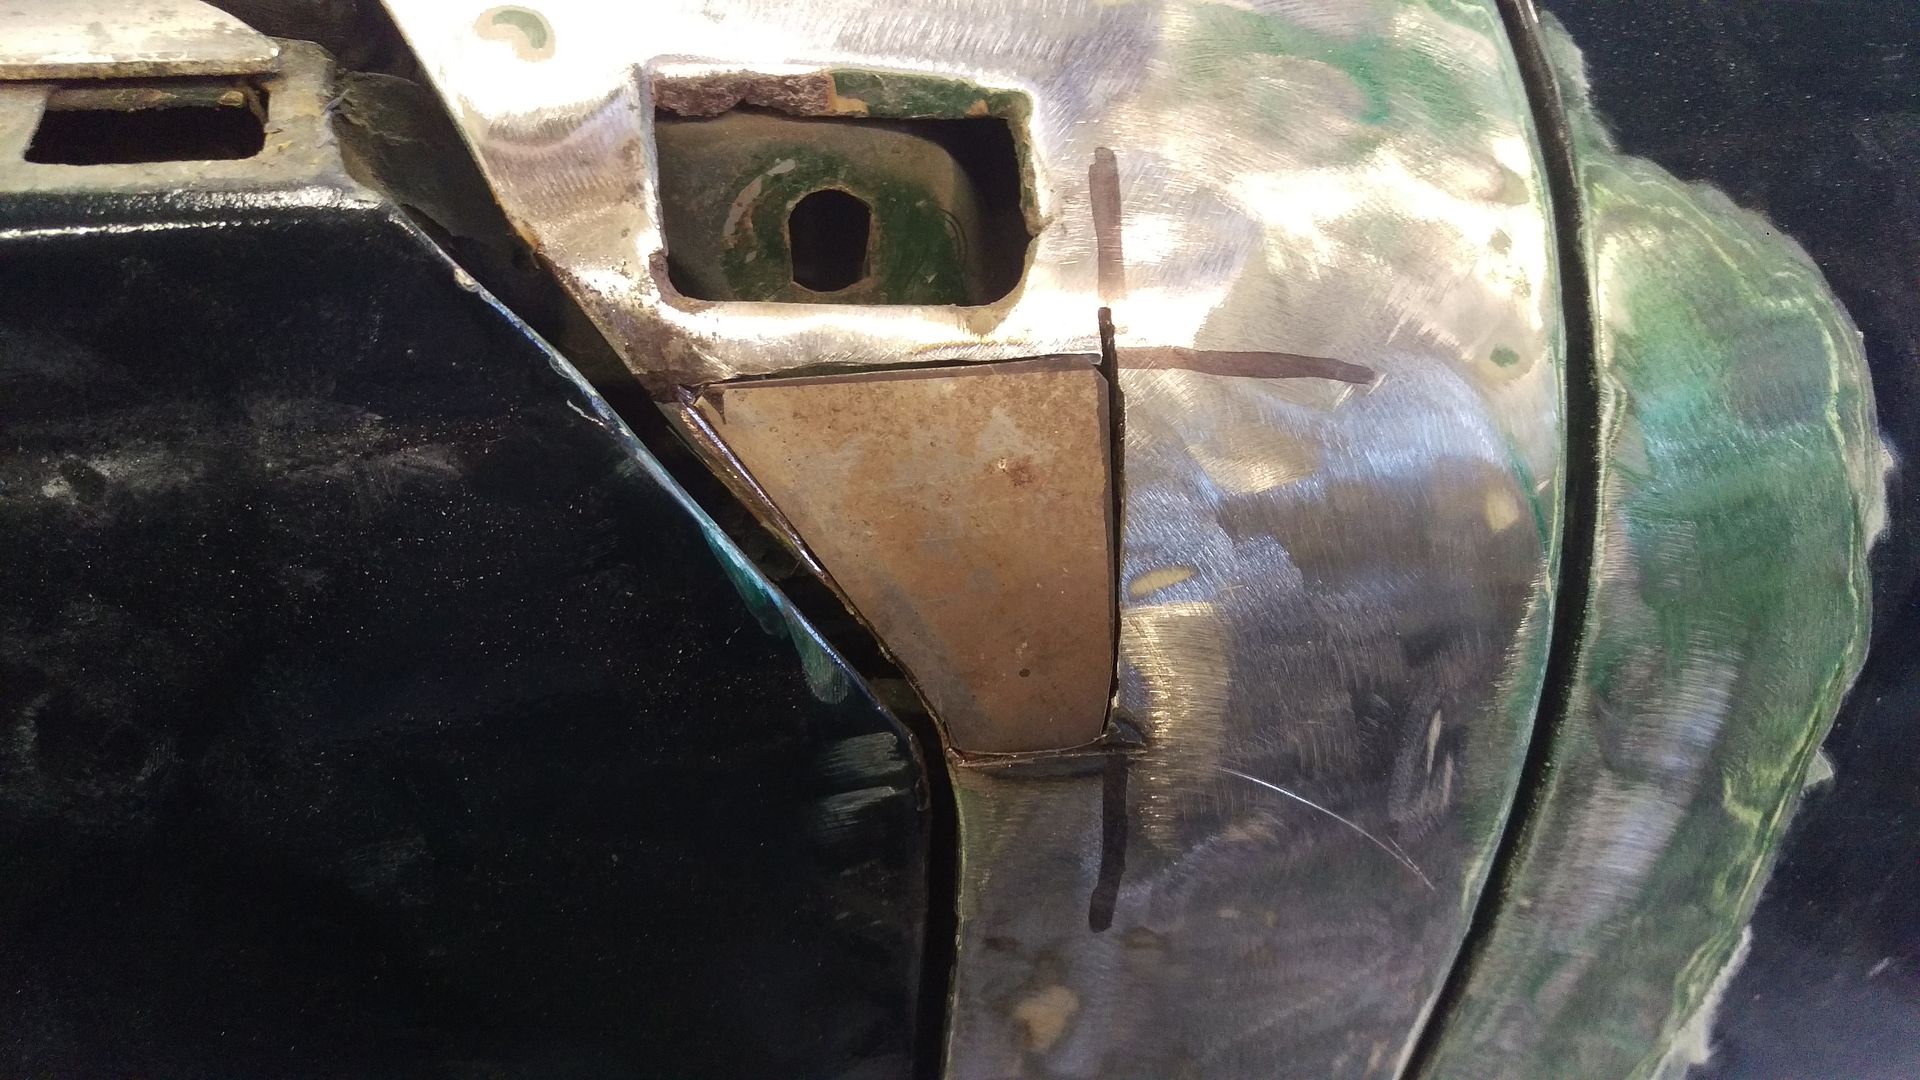 The B post/ rear wing was next and obviously loaded with filler. A repair section had been let in in the past and although not a bad job the panel had warped due to the heat. The amount of filler applied to this panel was way too much to cover the warped area. As you can see it is nearly 6mm thick in some areas. I will press the area out from the other side and put a skim of filler over it. 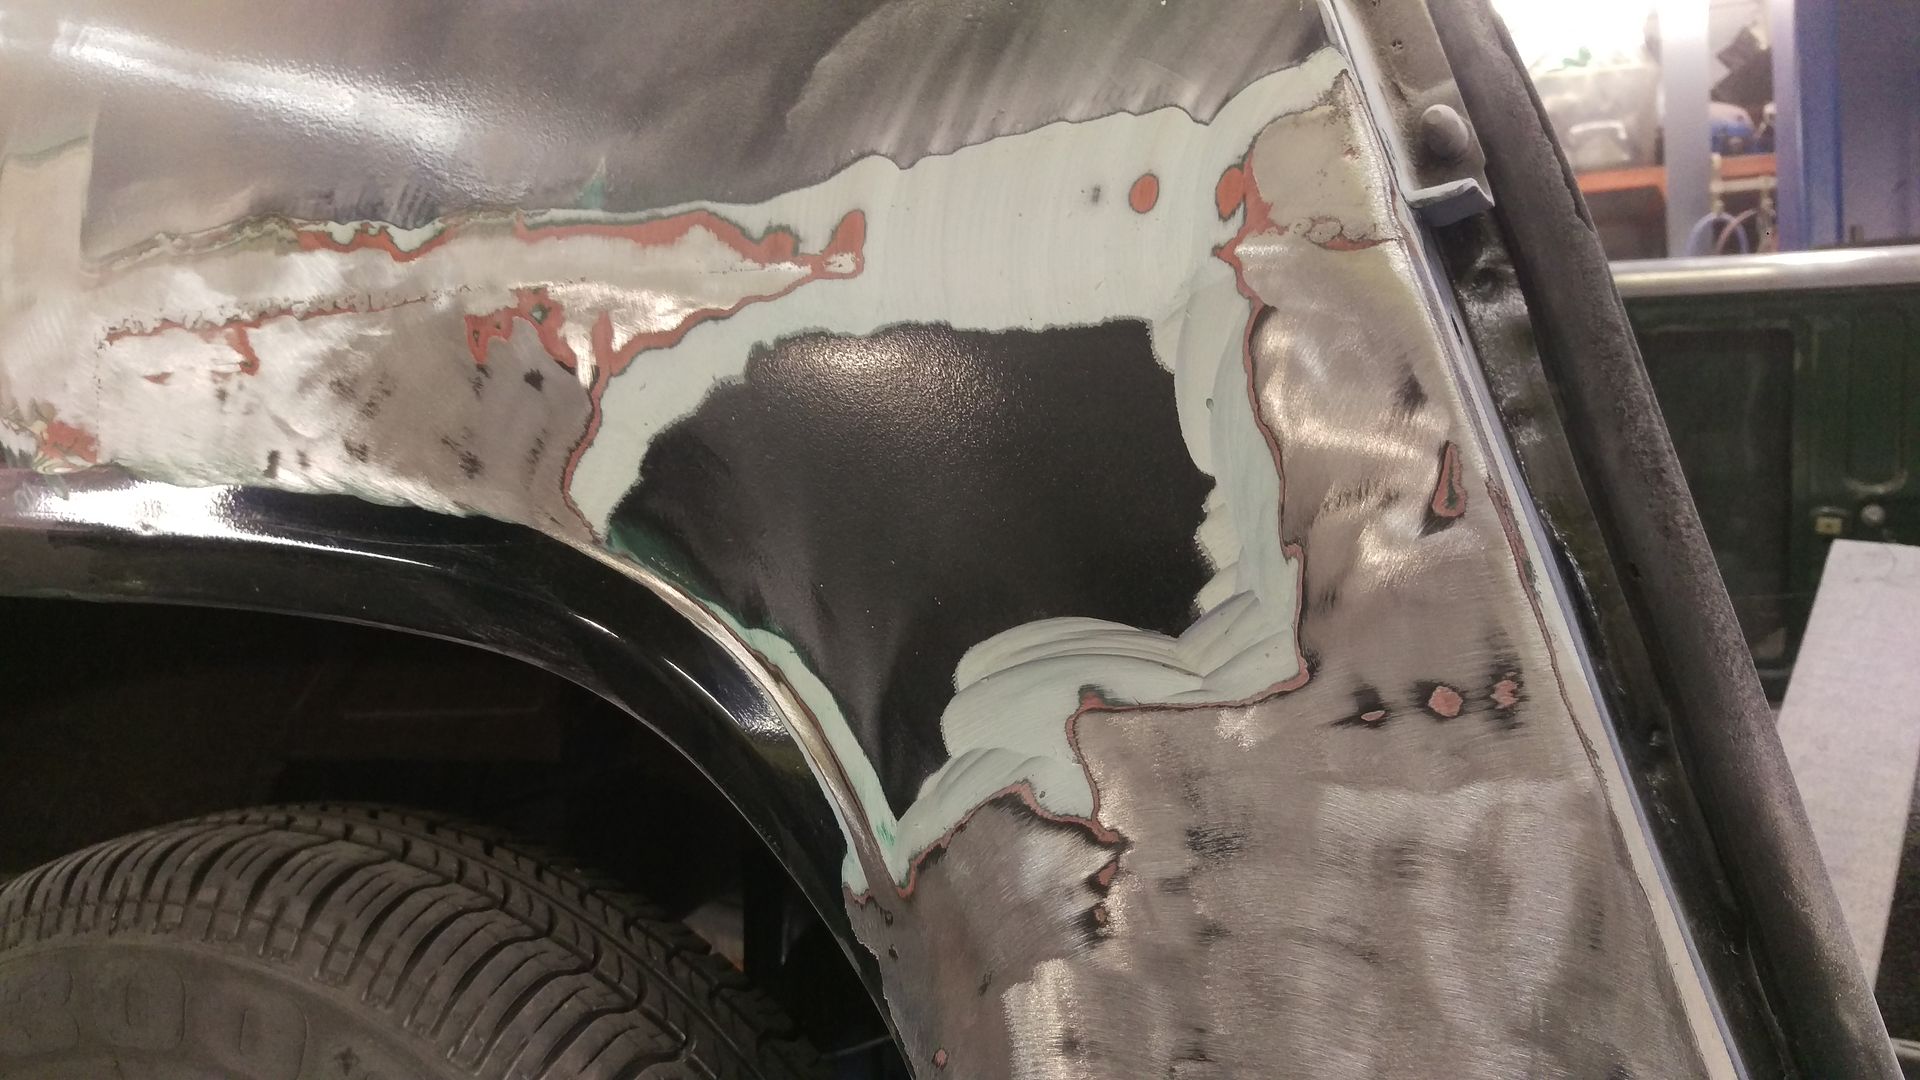 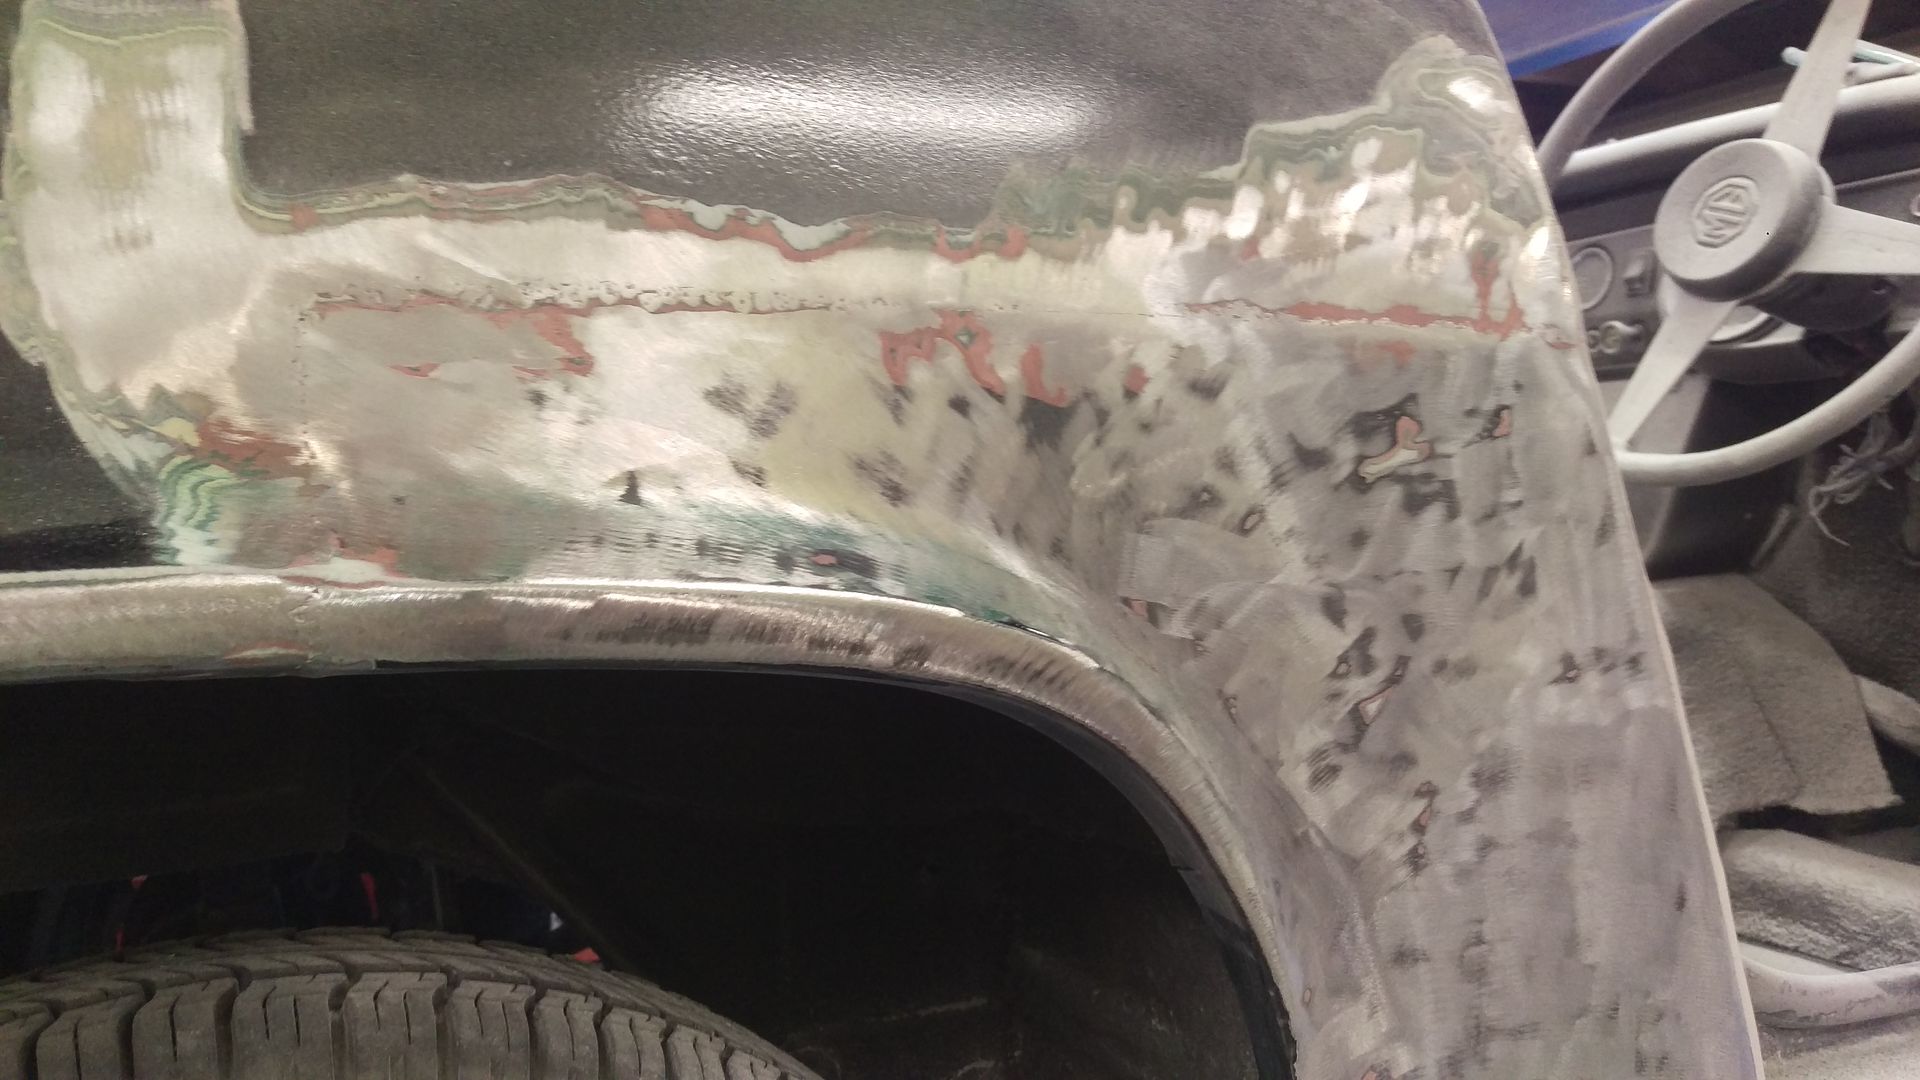 Further back behind the rear wheel arch there had been some more repair work done. A repair panel had been welded in but it had not been welded flush so (guess what) thick layers of filler had been used to cover the problem. I will be cutting the welding joint and welding it flush. 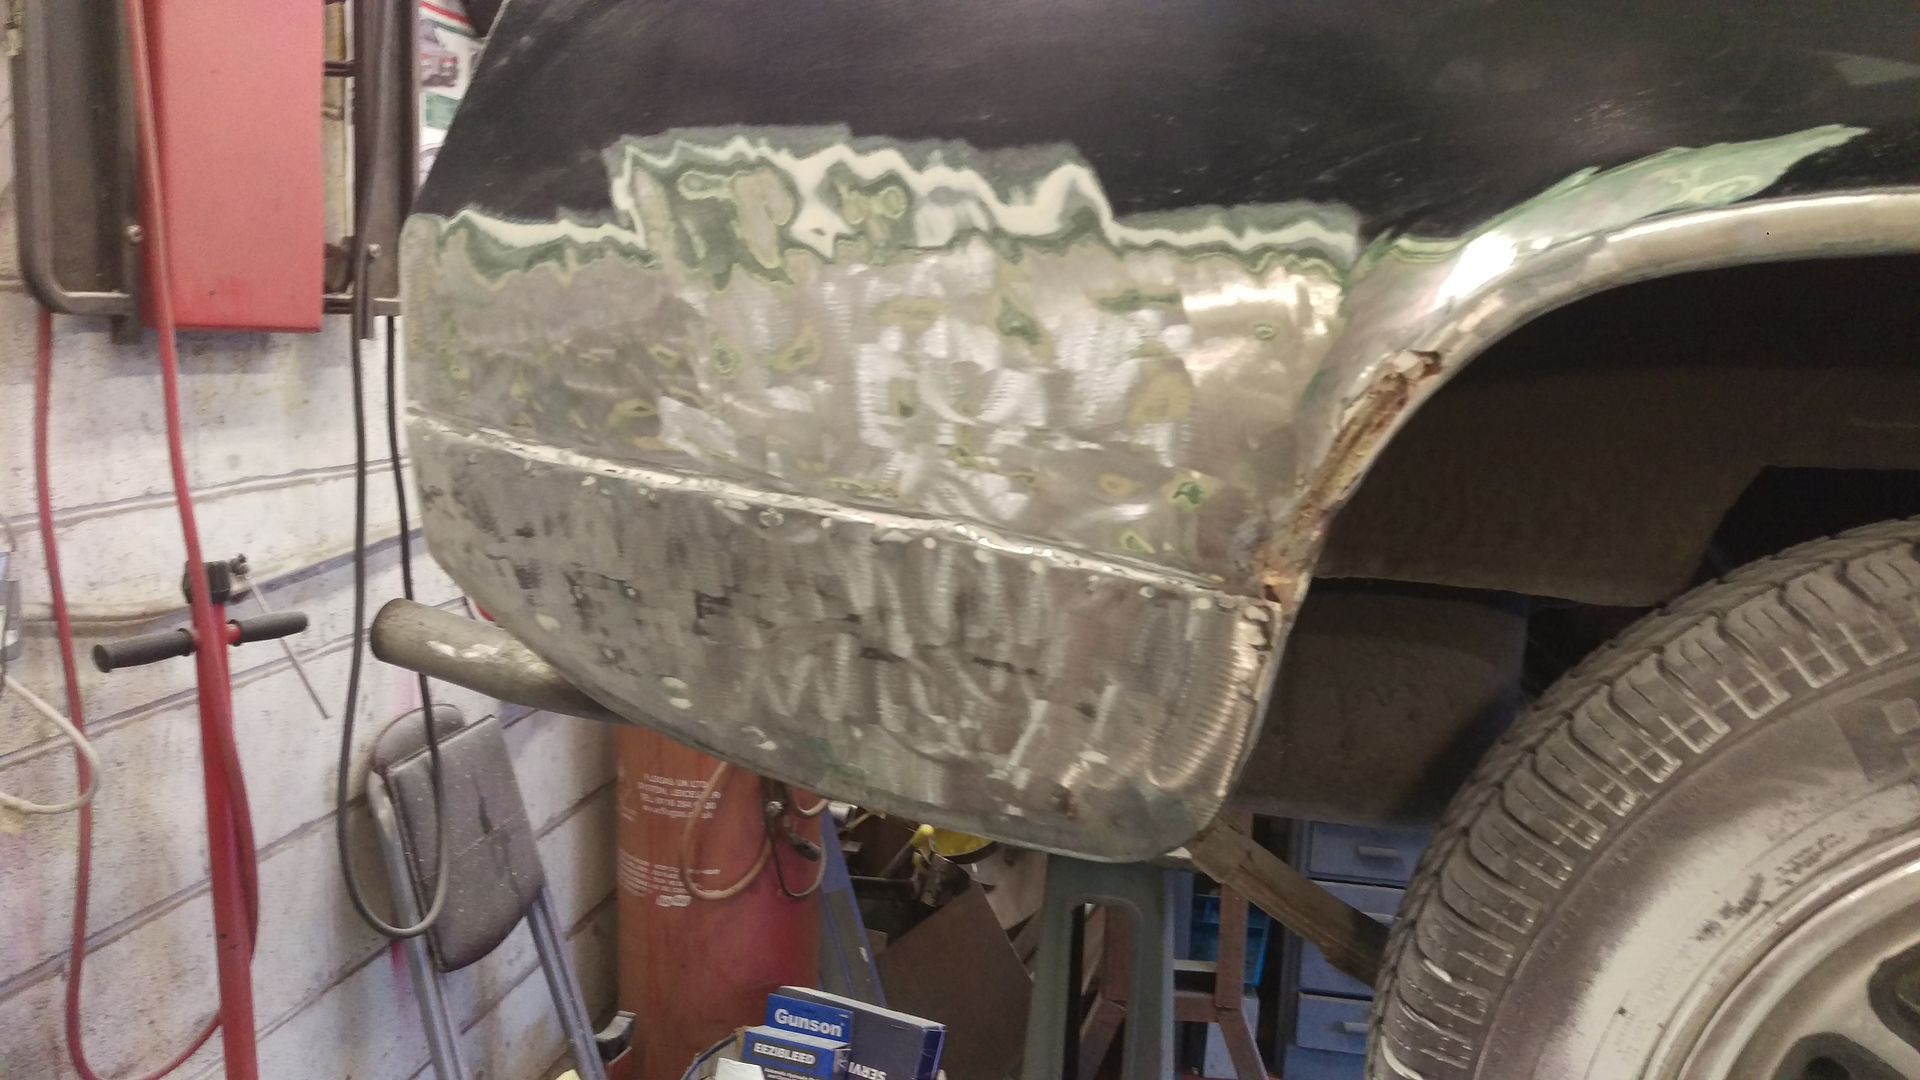 Someone had also filled a rust hole in the wheel arch lip with fibre glass. Thanks…. 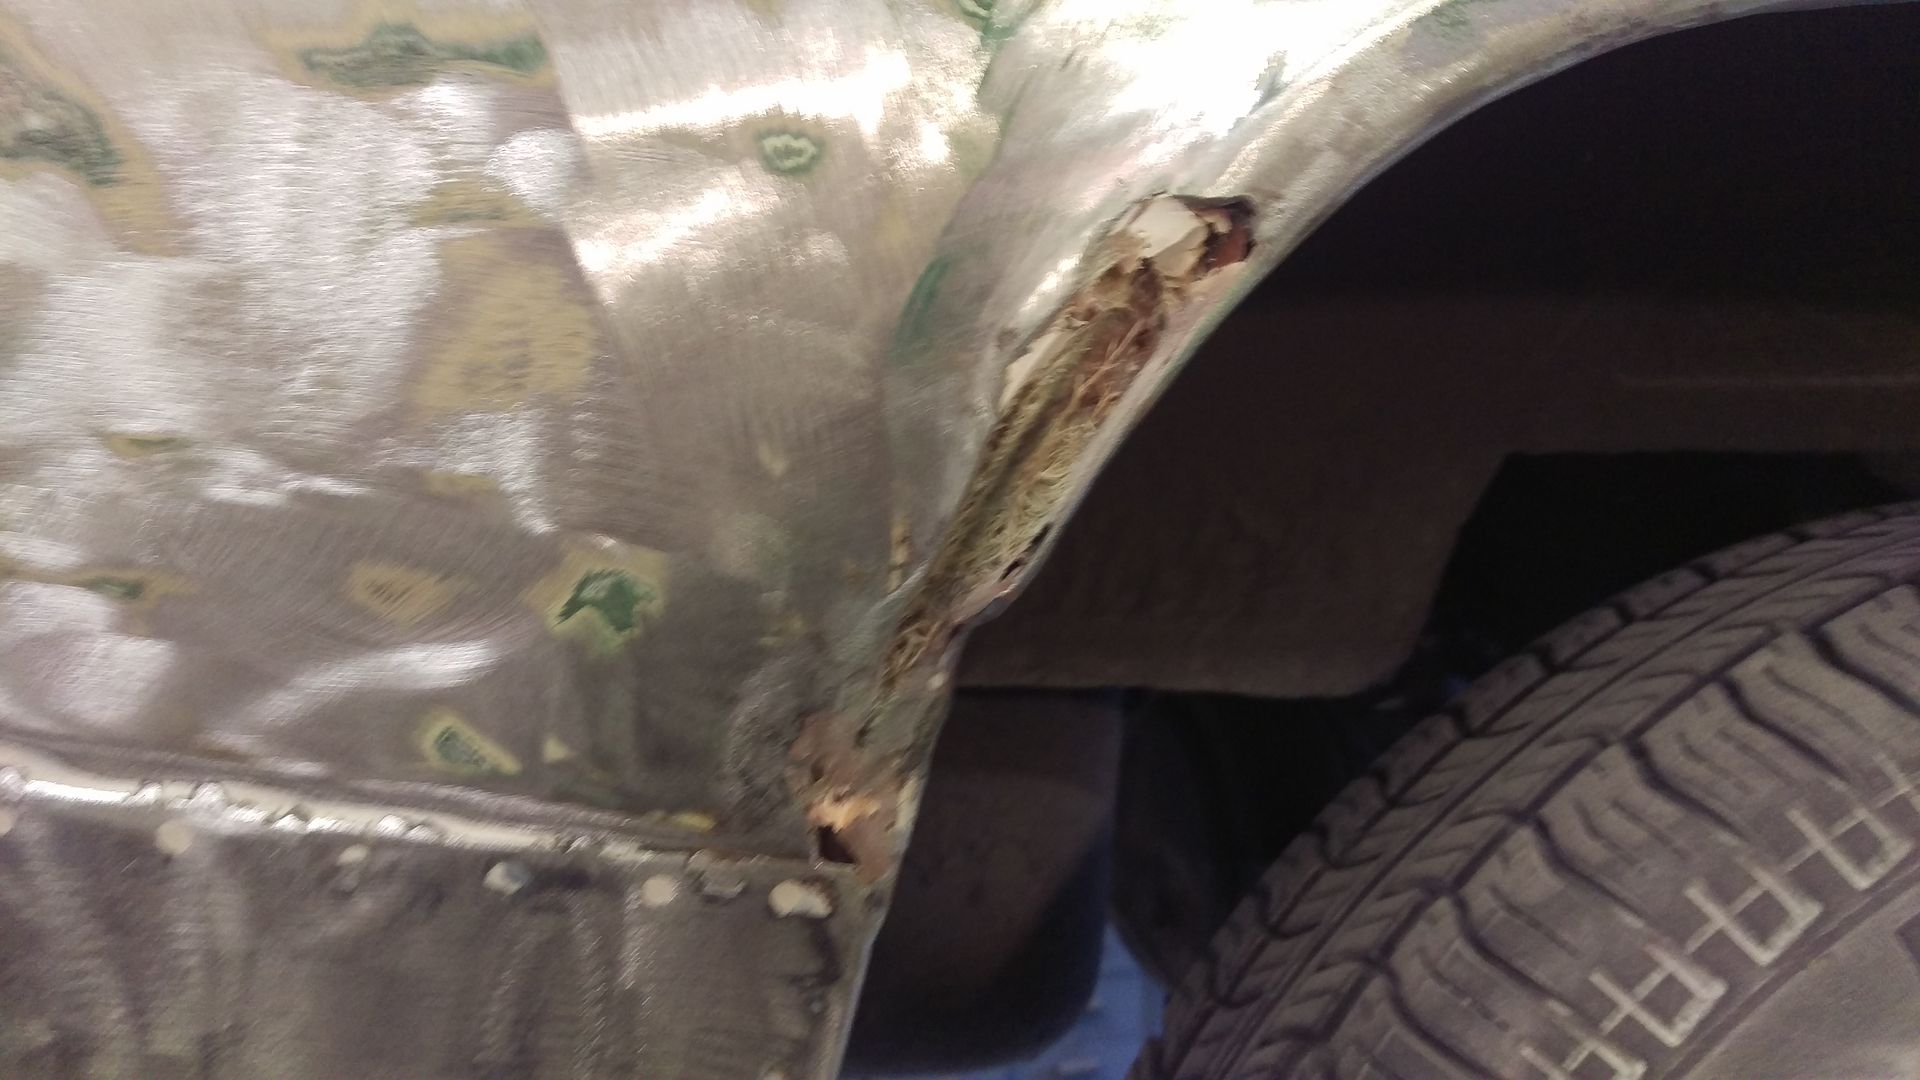 I cut it out. 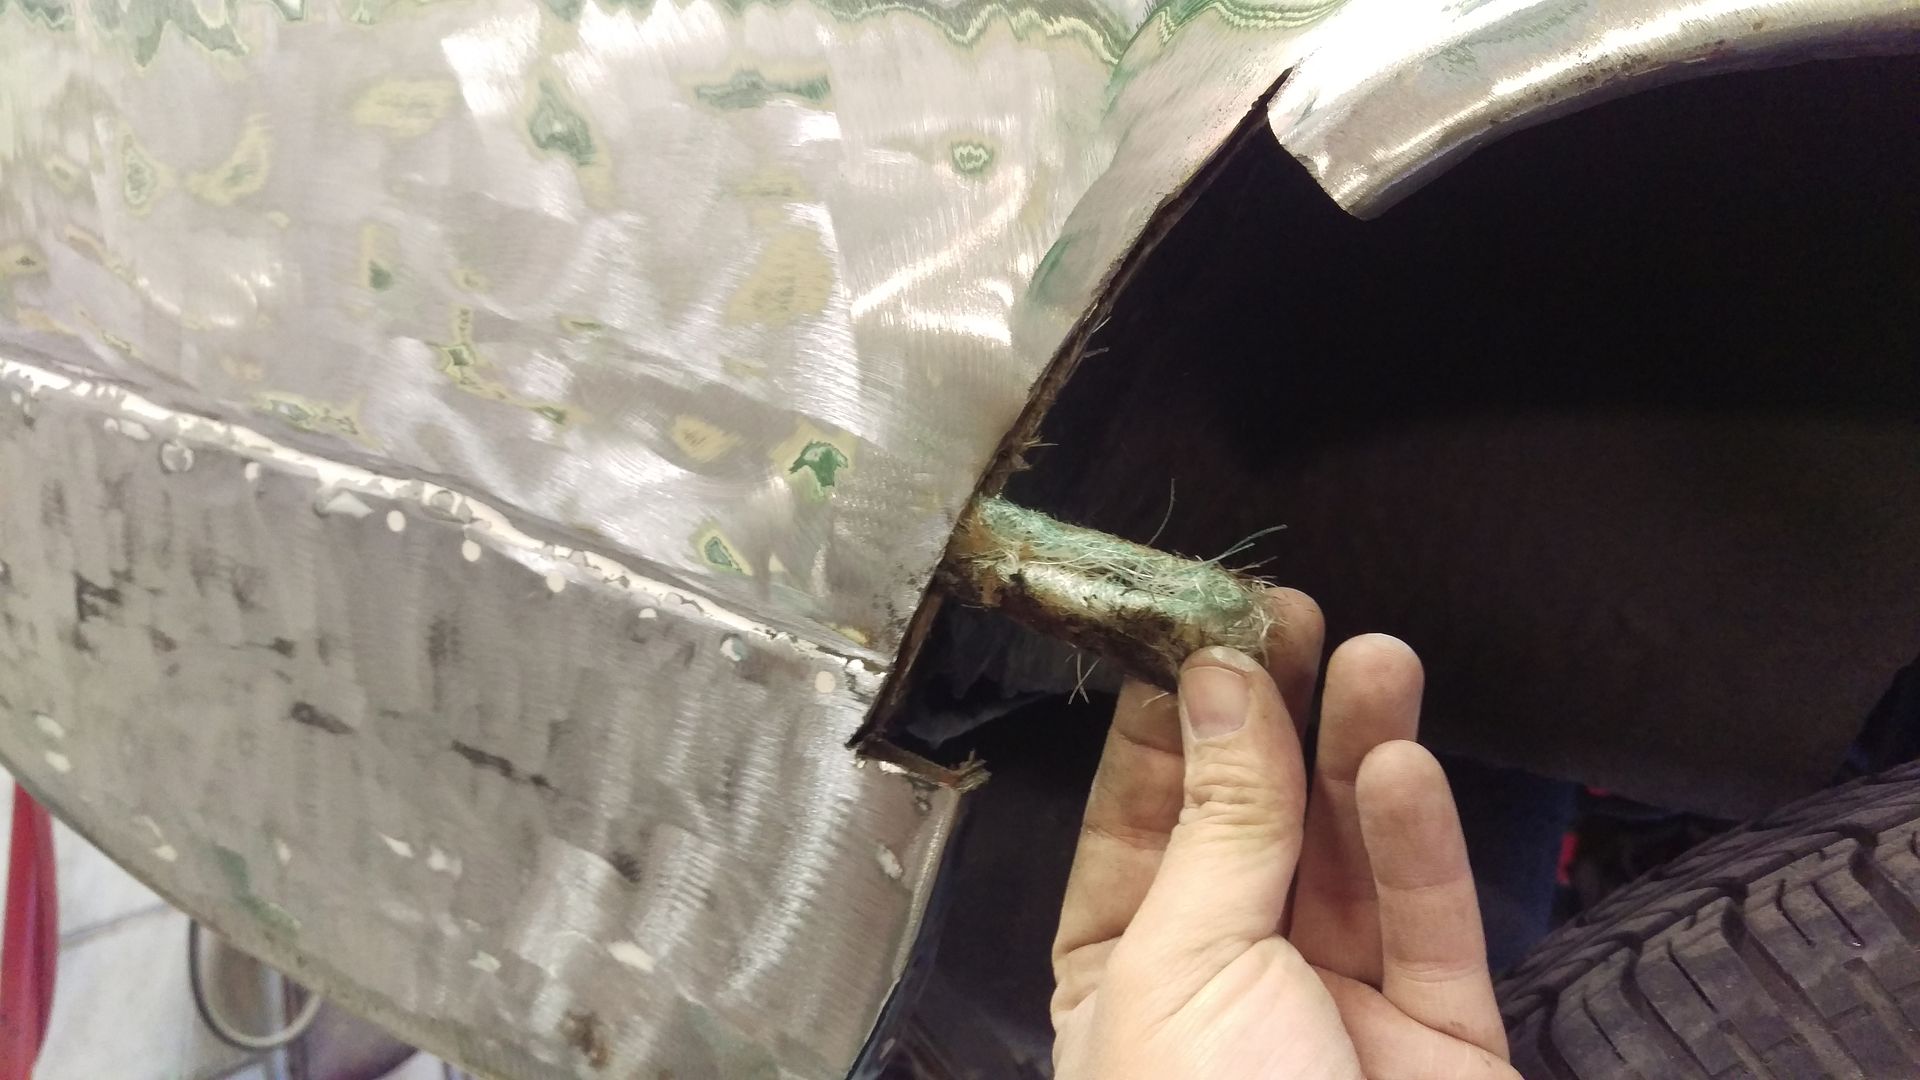 The rear valance wasn’t much better with rust holes and filler along the bottom. I may go with a new panel here. Maybe a smooth one off an earlier model. 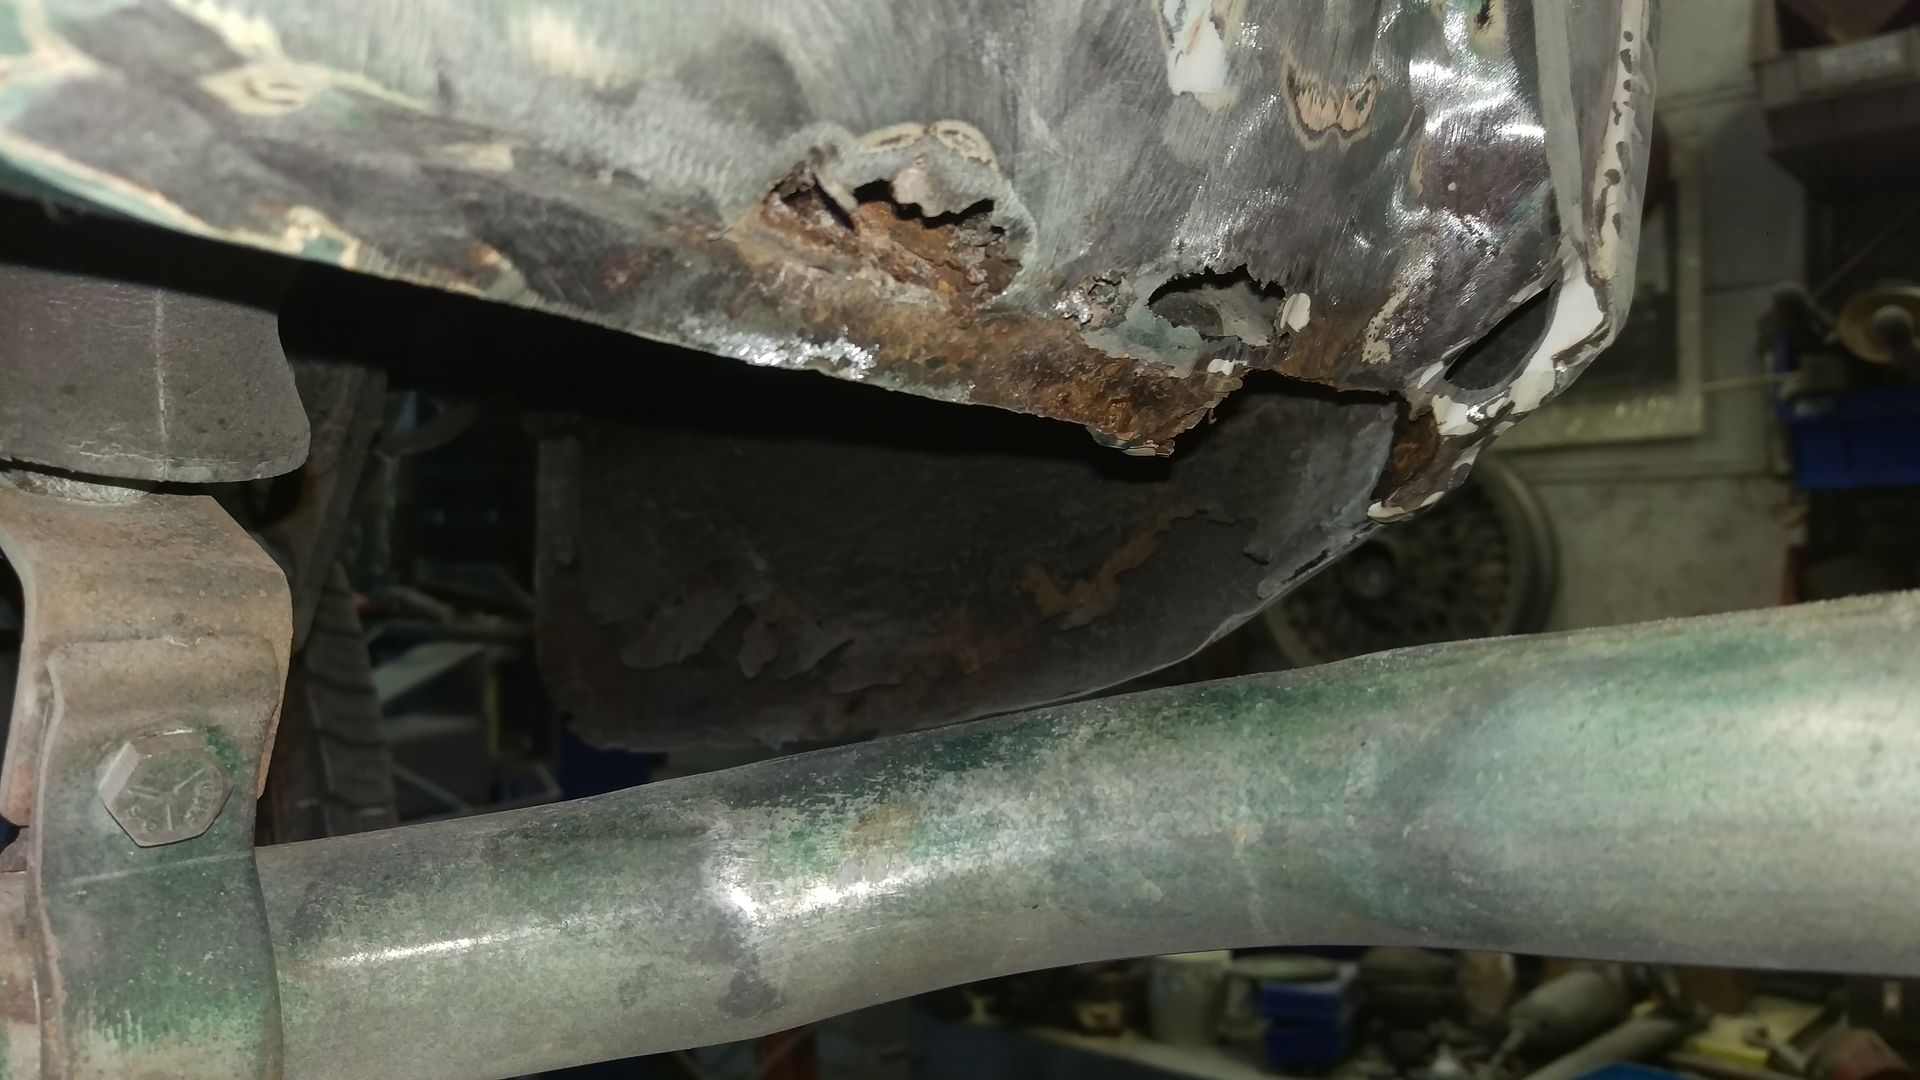 All in all I was expecting much worse so good news really |
| |
Have a look at my restoration blog...www.redhouseclassics.com
|
|
|
|
|
Oct 30, 2016 21:16:26 GMT
|
|
Nice project, the rust doesn't look too bad.
|
| |
|
|
jpsmit
Posted a lot
Posts: 1,254
|
|
Oct 30, 2016 21:20:55 GMT
|
|
Given that you are doing so much fabrication, will you be returning the curved sections under the tail lights? The pieces MG cut off to make the rubber bumpers fit? Likewise, when I had mine converted to chrome bumper, I had my body guy fill the vent holes under the grill opening, fill the vent holes that used to be signal holes (currently they are too big for Midget signal lights) and had him put in round holes for beehives - which to my eyes look way better. I also had thenside signal lights removed and the reverse lights - I cannpost pictures if you like. Given your skill in metal none of this should be hard.
|
| |
|
|
|
|
chrismc
Yorkshire and The Humber
www.redhouseclassics.com
Posts: 51
|
|
Oct 30, 2016 21:48:58 GMT
|
|
Hi JP, how's the HB resto? Yes please post pics.
Yes I will be making the under light 'bulges' and filling the holes in the wings. I may leave the vents under the grill though. I kinda like them. I'll ask the owner what he wants.
|
| |
Last Edit: Oct 30, 2016 21:51:24 GMT by chrismc
Have a look at my restoration blog...www.redhouseclassics.com
|
|
jpsmit
Posted a lot
Posts: 1,254
|
|
|
|
Here you go During  After  during  after  BTW the reverse light is a generic motorcycle signal light - I didn't even have to drill a hole, the perfect size was already in the bumper bracket. |
| |
|
|
jpsmit
Posted a lot
Posts: 1,254
|
|
|
|
|
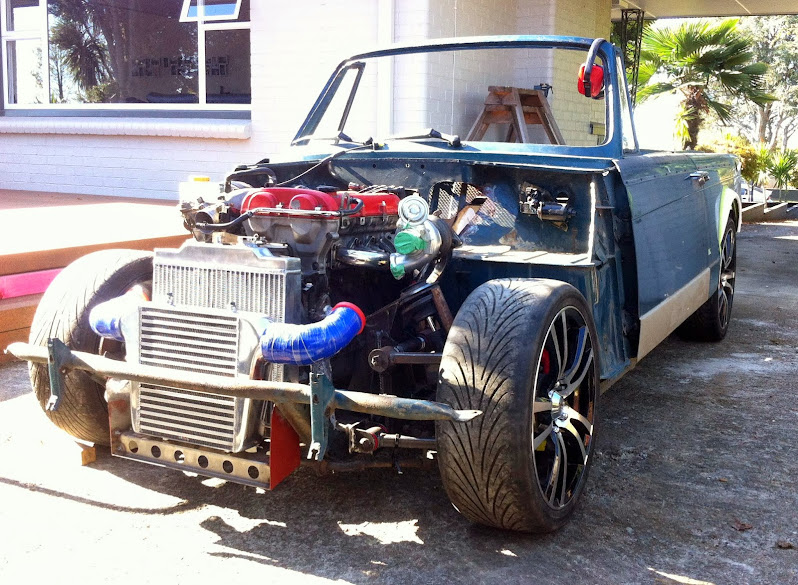
And no, no progress on the Vauxhall GT since April - combination or work, family, very hot summer, home renovations and two or three more excuses to be inserted here. I do have a tasty rebuilt starter sitting on my desk though. Oh and, as part of the current renos (kitchen in the apartment over the garage I cut the wire to the garage (on purpose) so have no electricity in the garage - and all the cabinets for the kitchen taking every spot.
|
| |
|
|
chrismc
Yorkshire and The Humber
www.redhouseclassics.com
Posts: 51
|
|
|
|
Thanks JP, those pics are useful. Looks like a nice car  So on with the build... No matter how I tried I could not get the front wing to line up with the A post. I had a genuine wing which came with the car. I compared this to the wing on the car and it became apparent that the wing was at fault. The wing was removed. This showed that further repairs were needed to the A pillar. 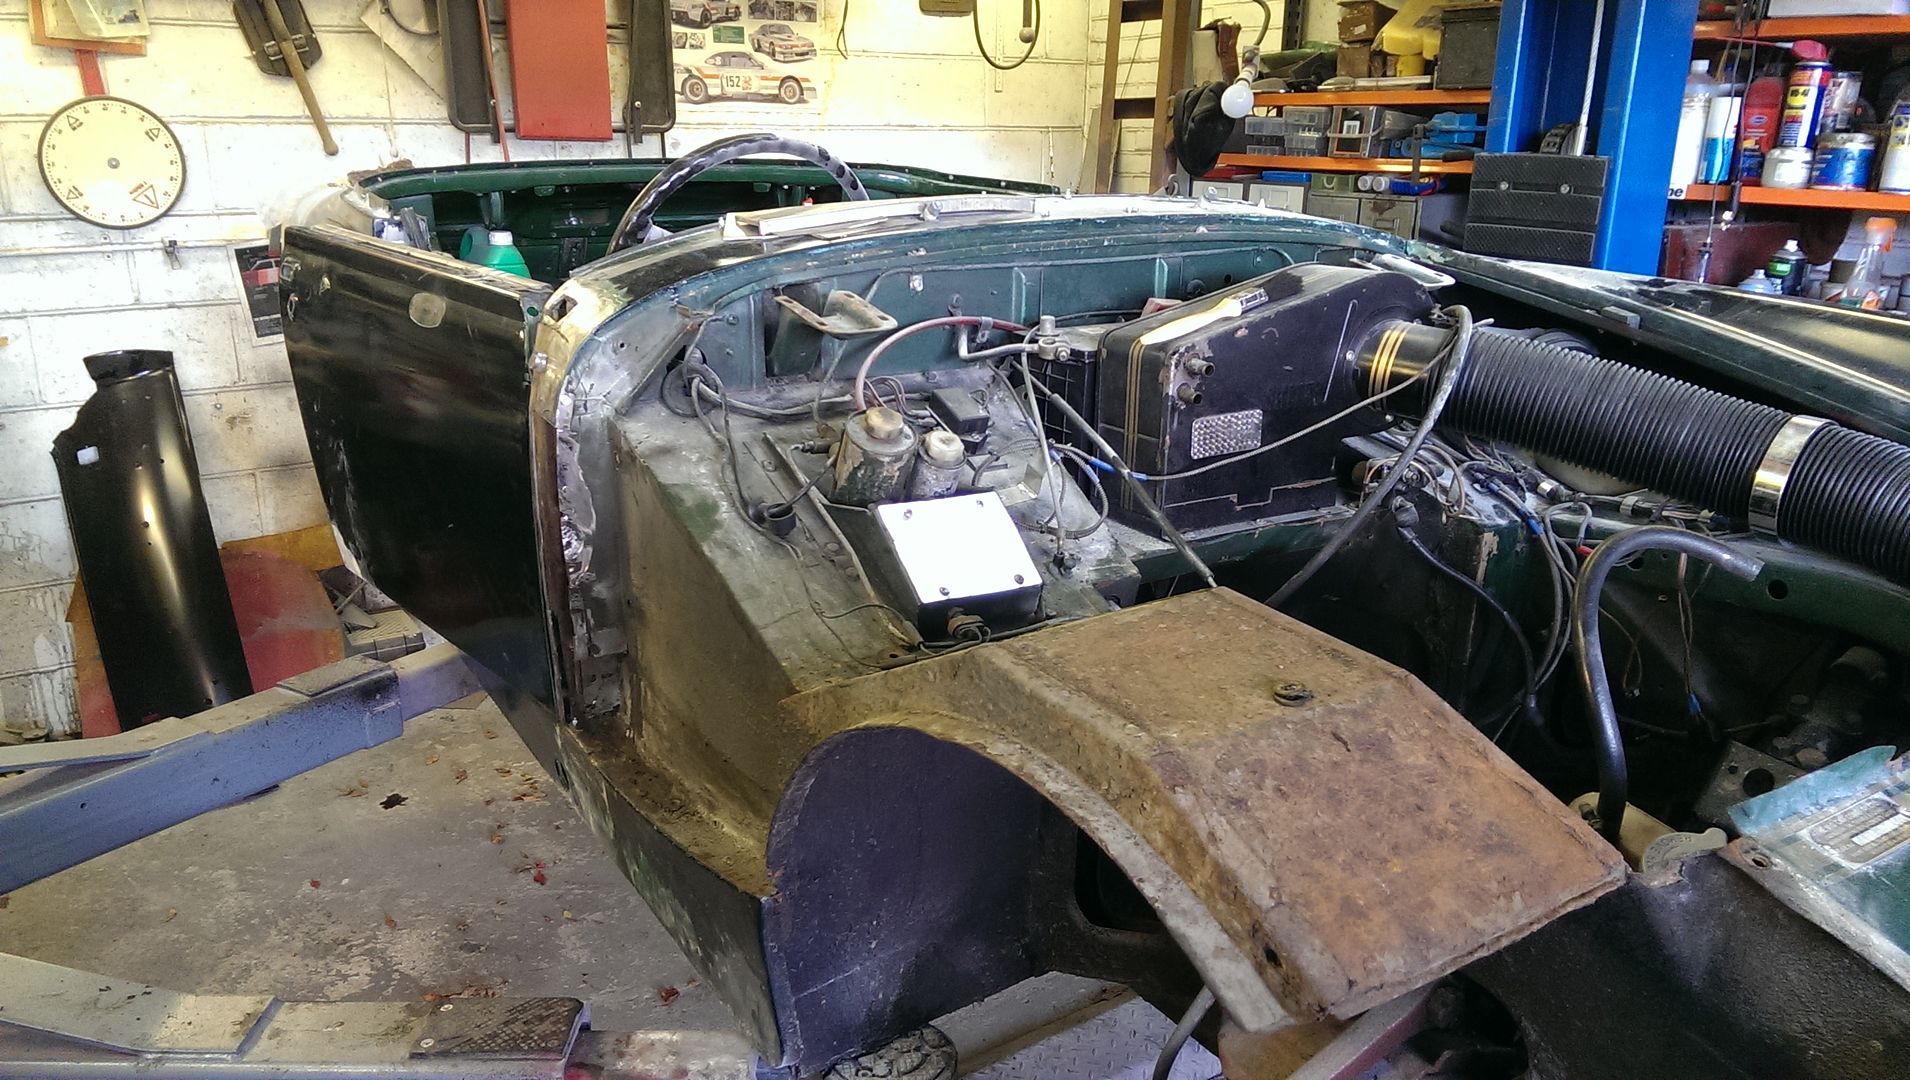 The rot was cut out... 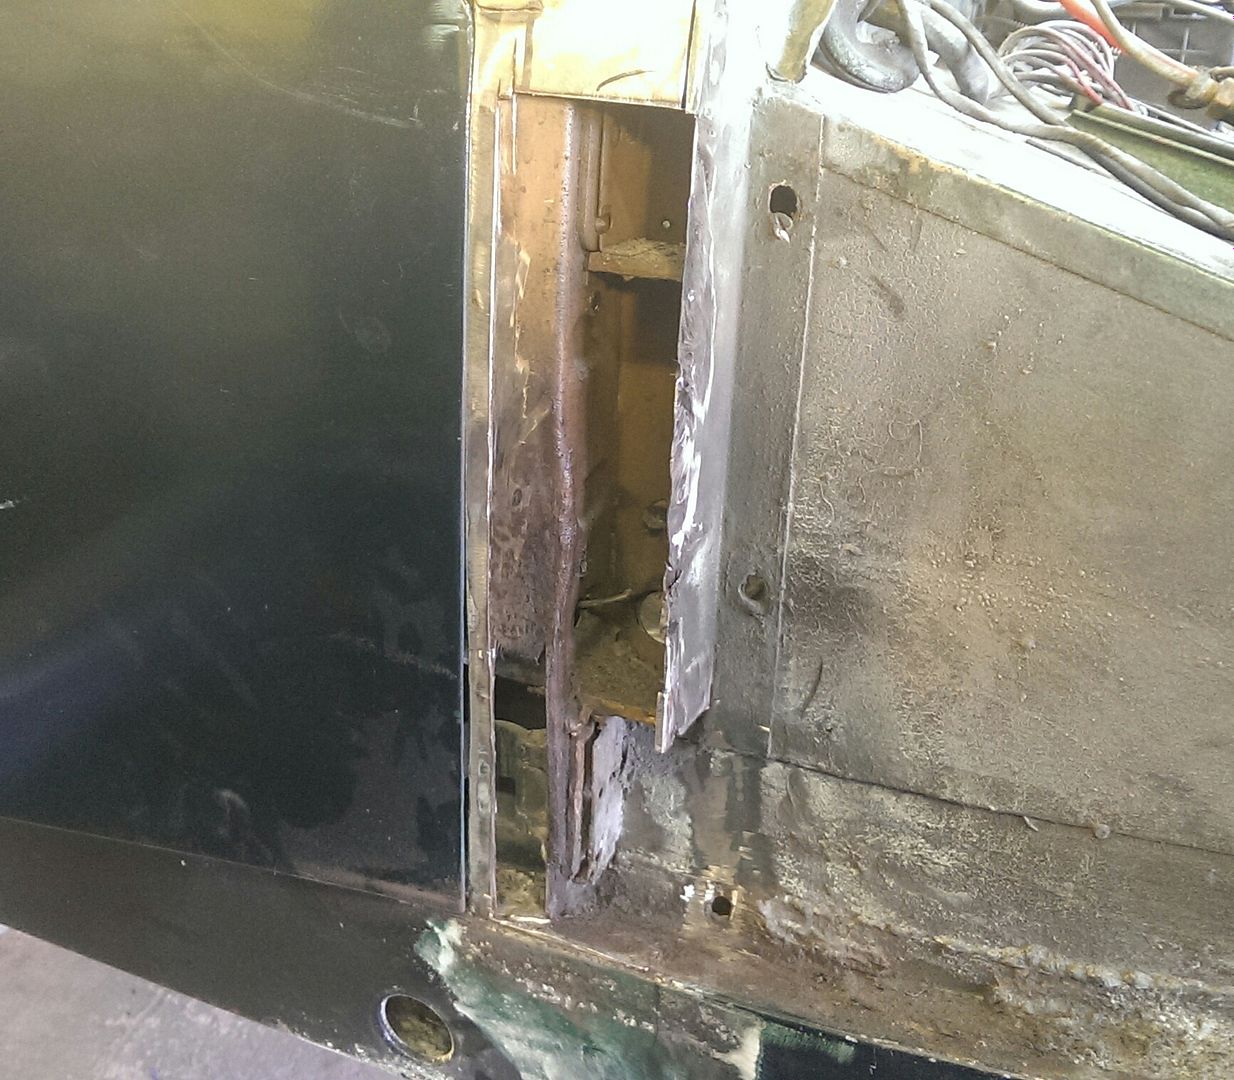 ...and the inner structure repaired. 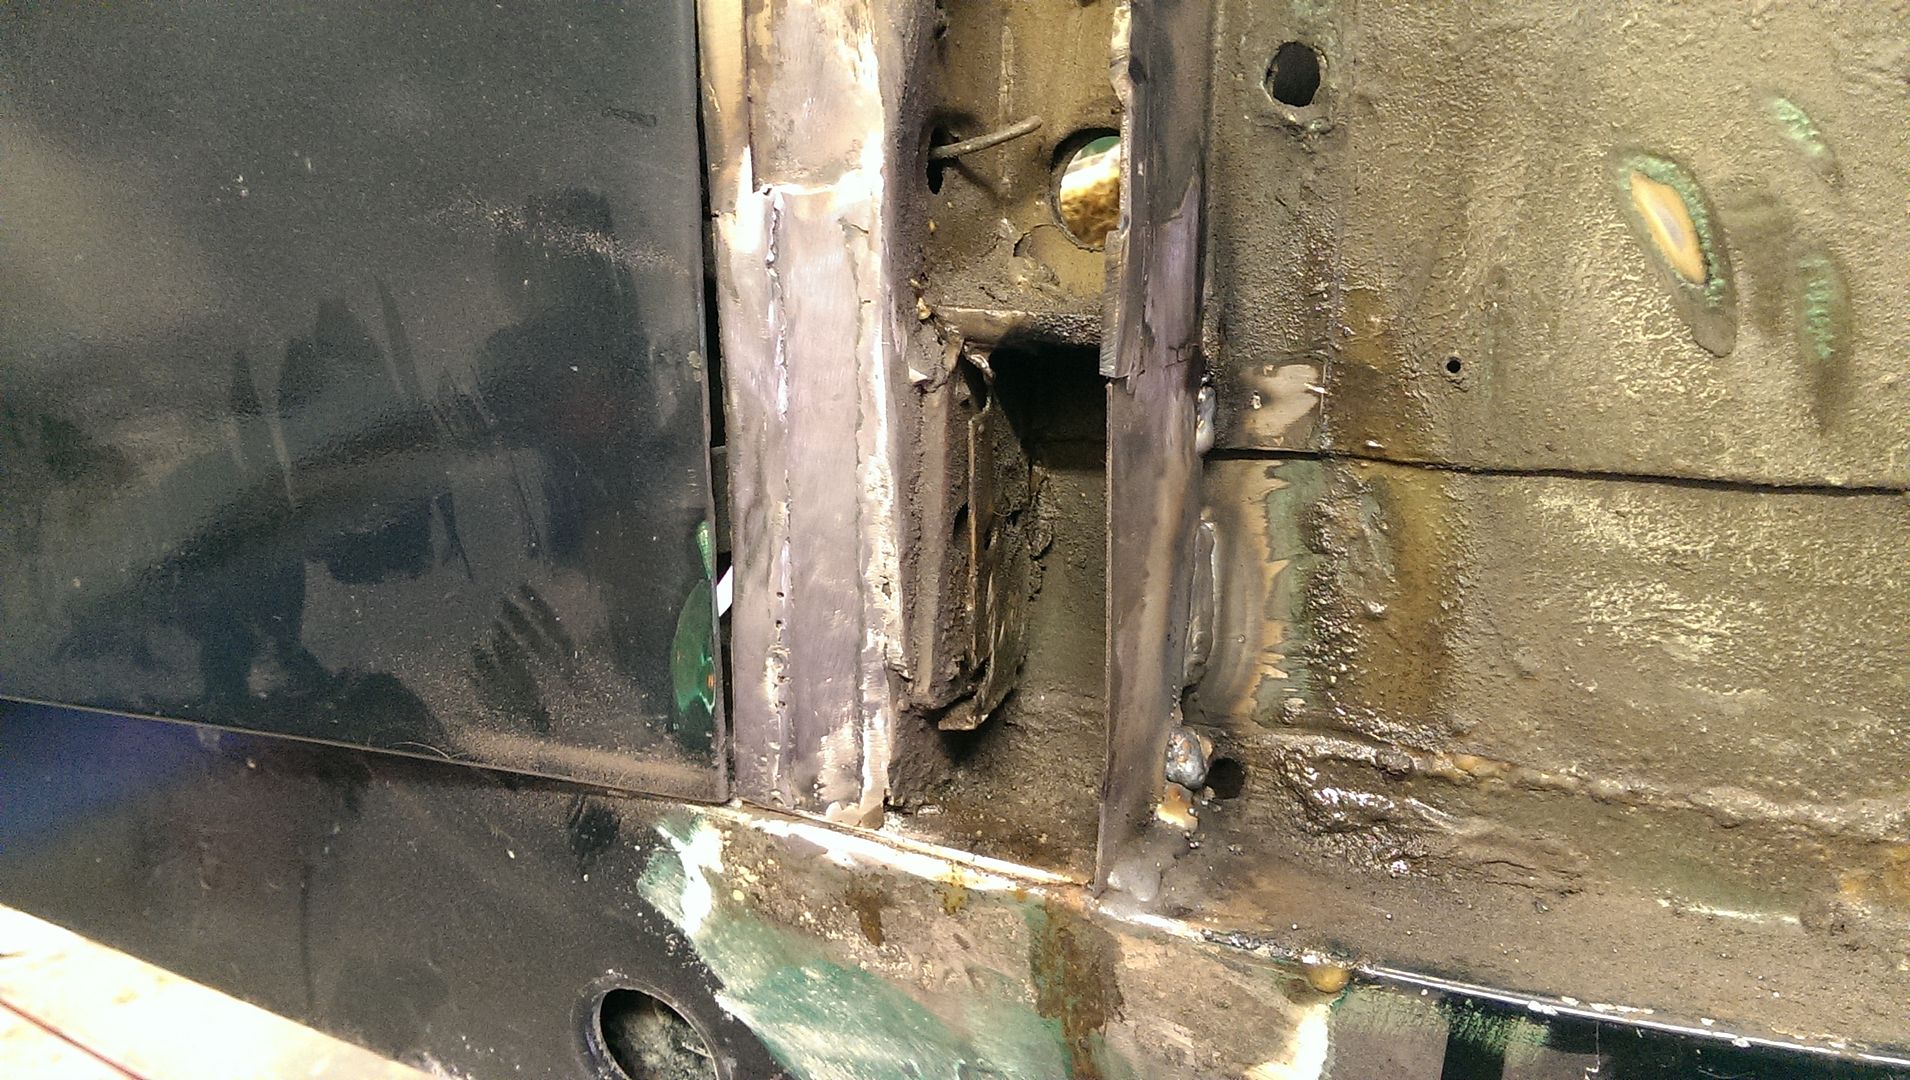 I then fabricated a new repair skin from sheet steel. I used a Shrinker to get the curve at the top of the pillar. This was made to follow the curve of the wing. 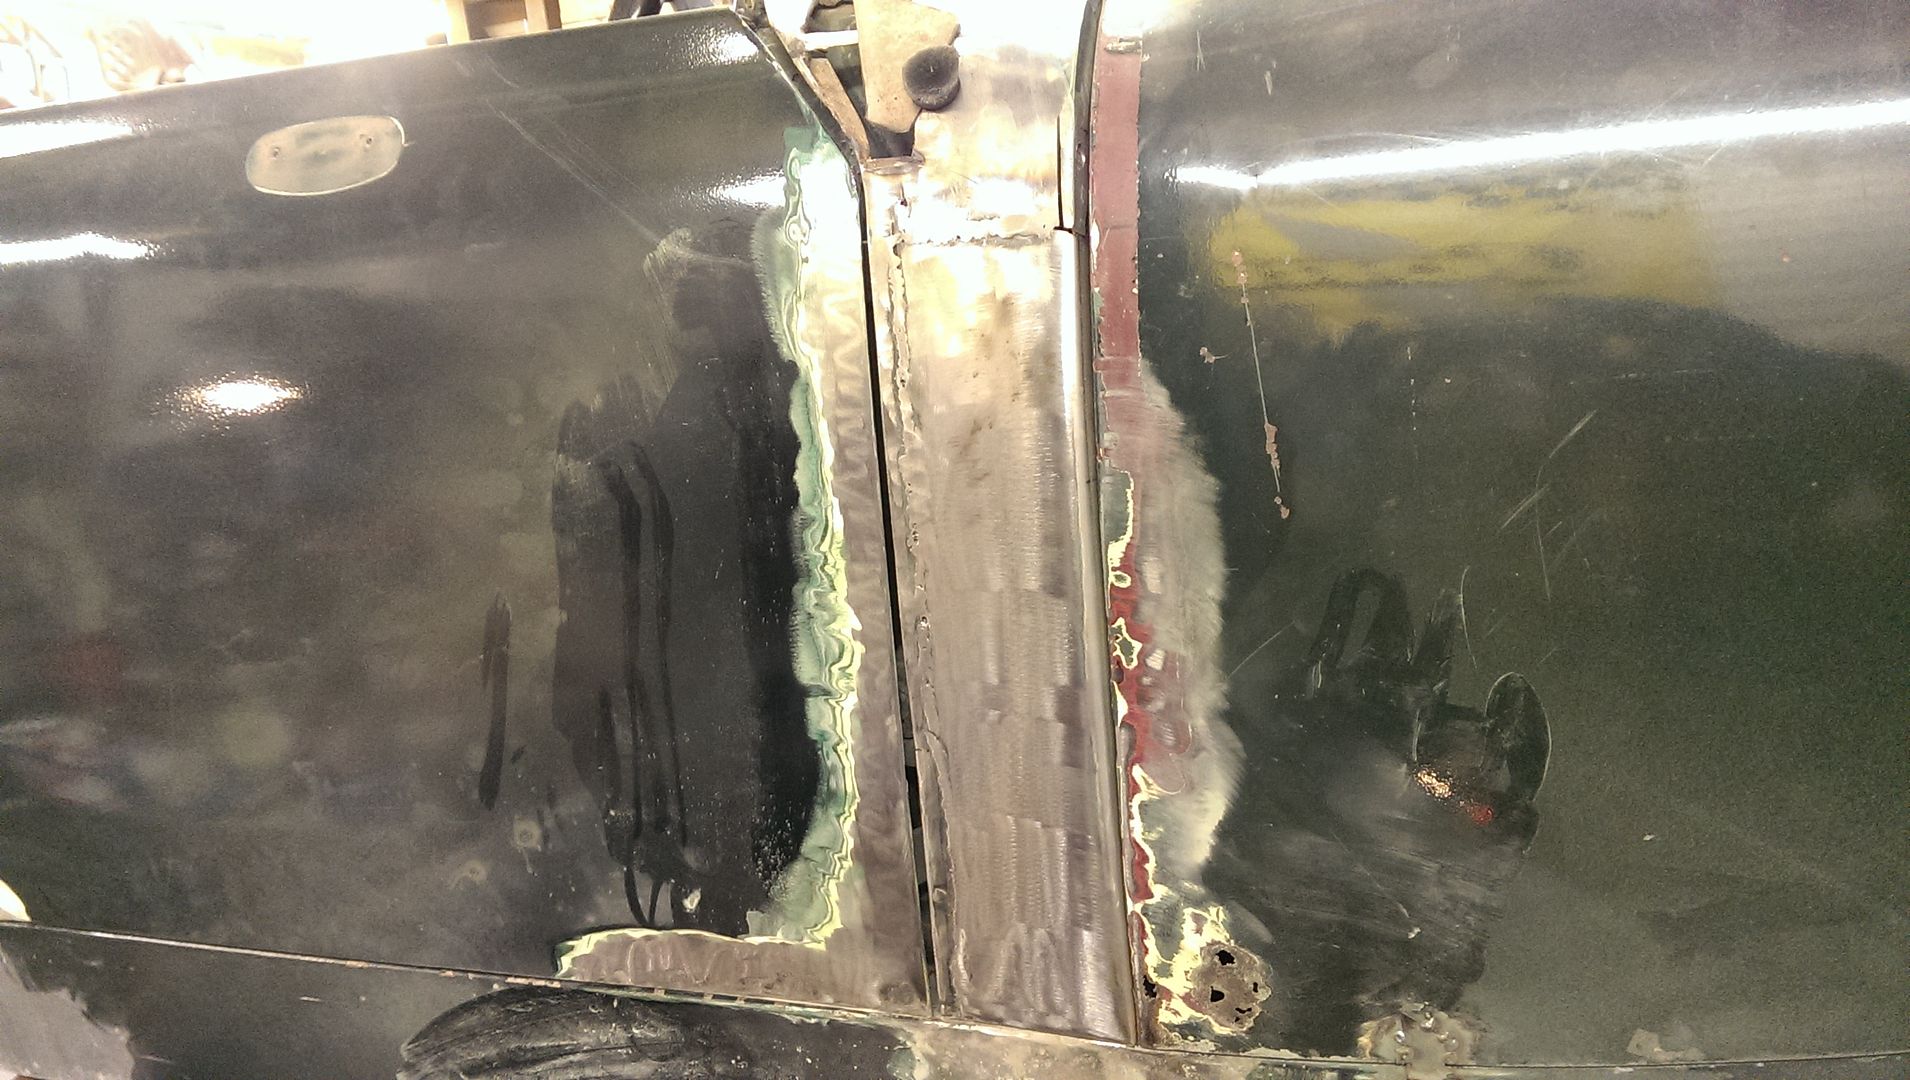 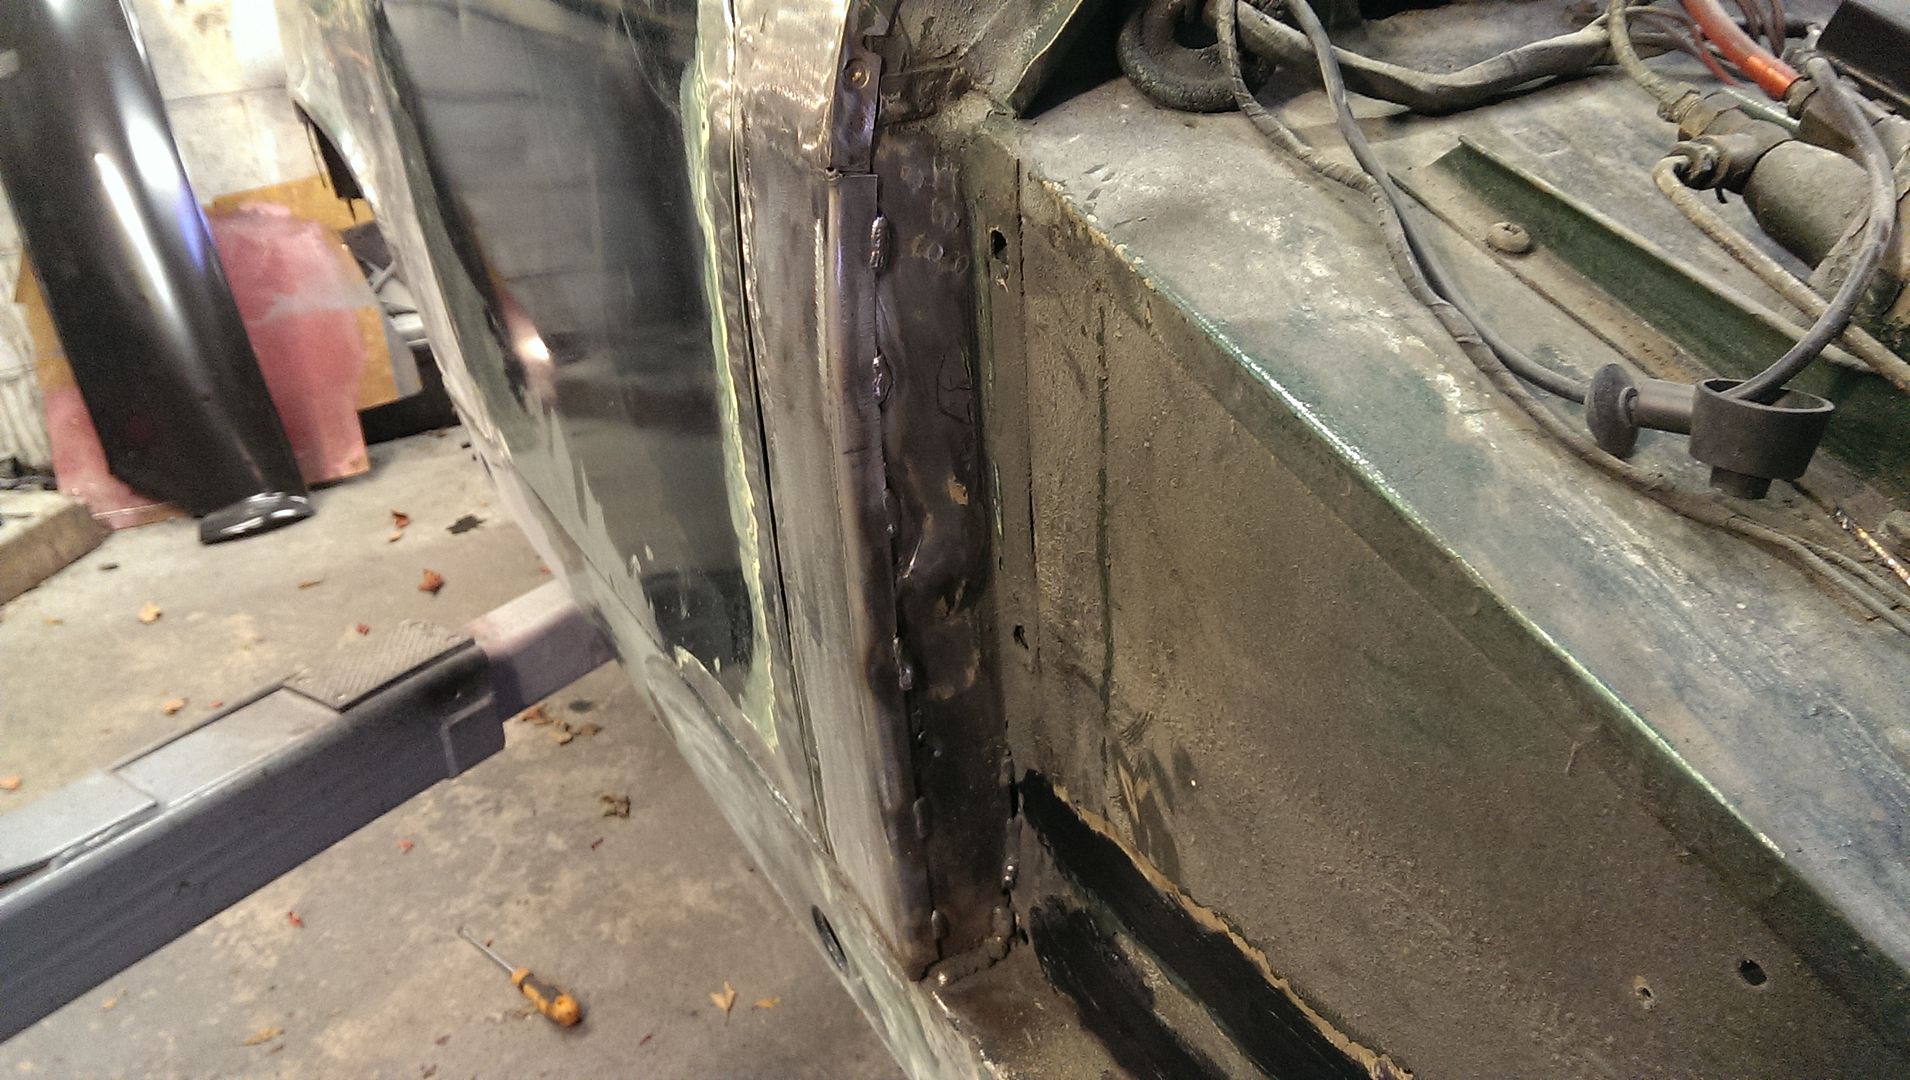 A small repair section was tacked then seam welded in above. 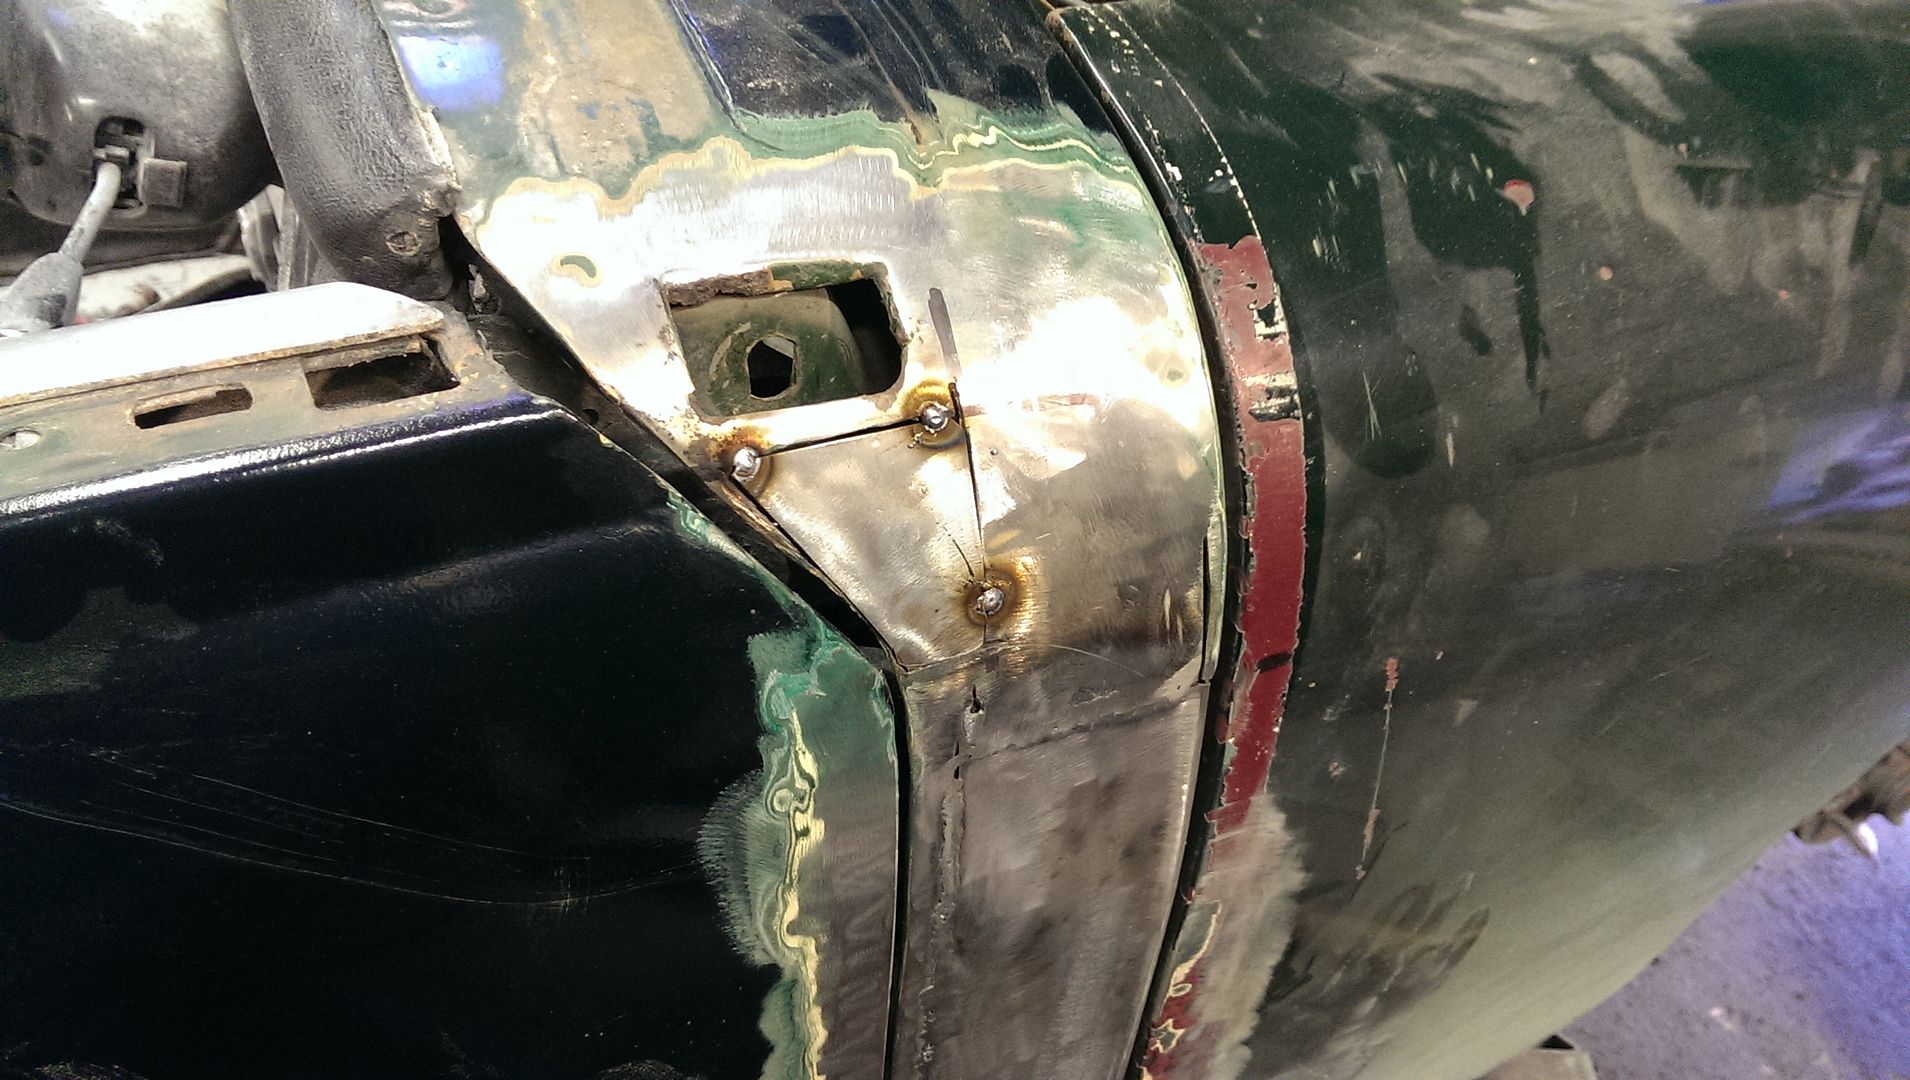 This was all then ground back ready for a final skim of filler.  When the wing came off I could see that the front wheel arch was a bit frilly so the rot was cut out and new metal let in.  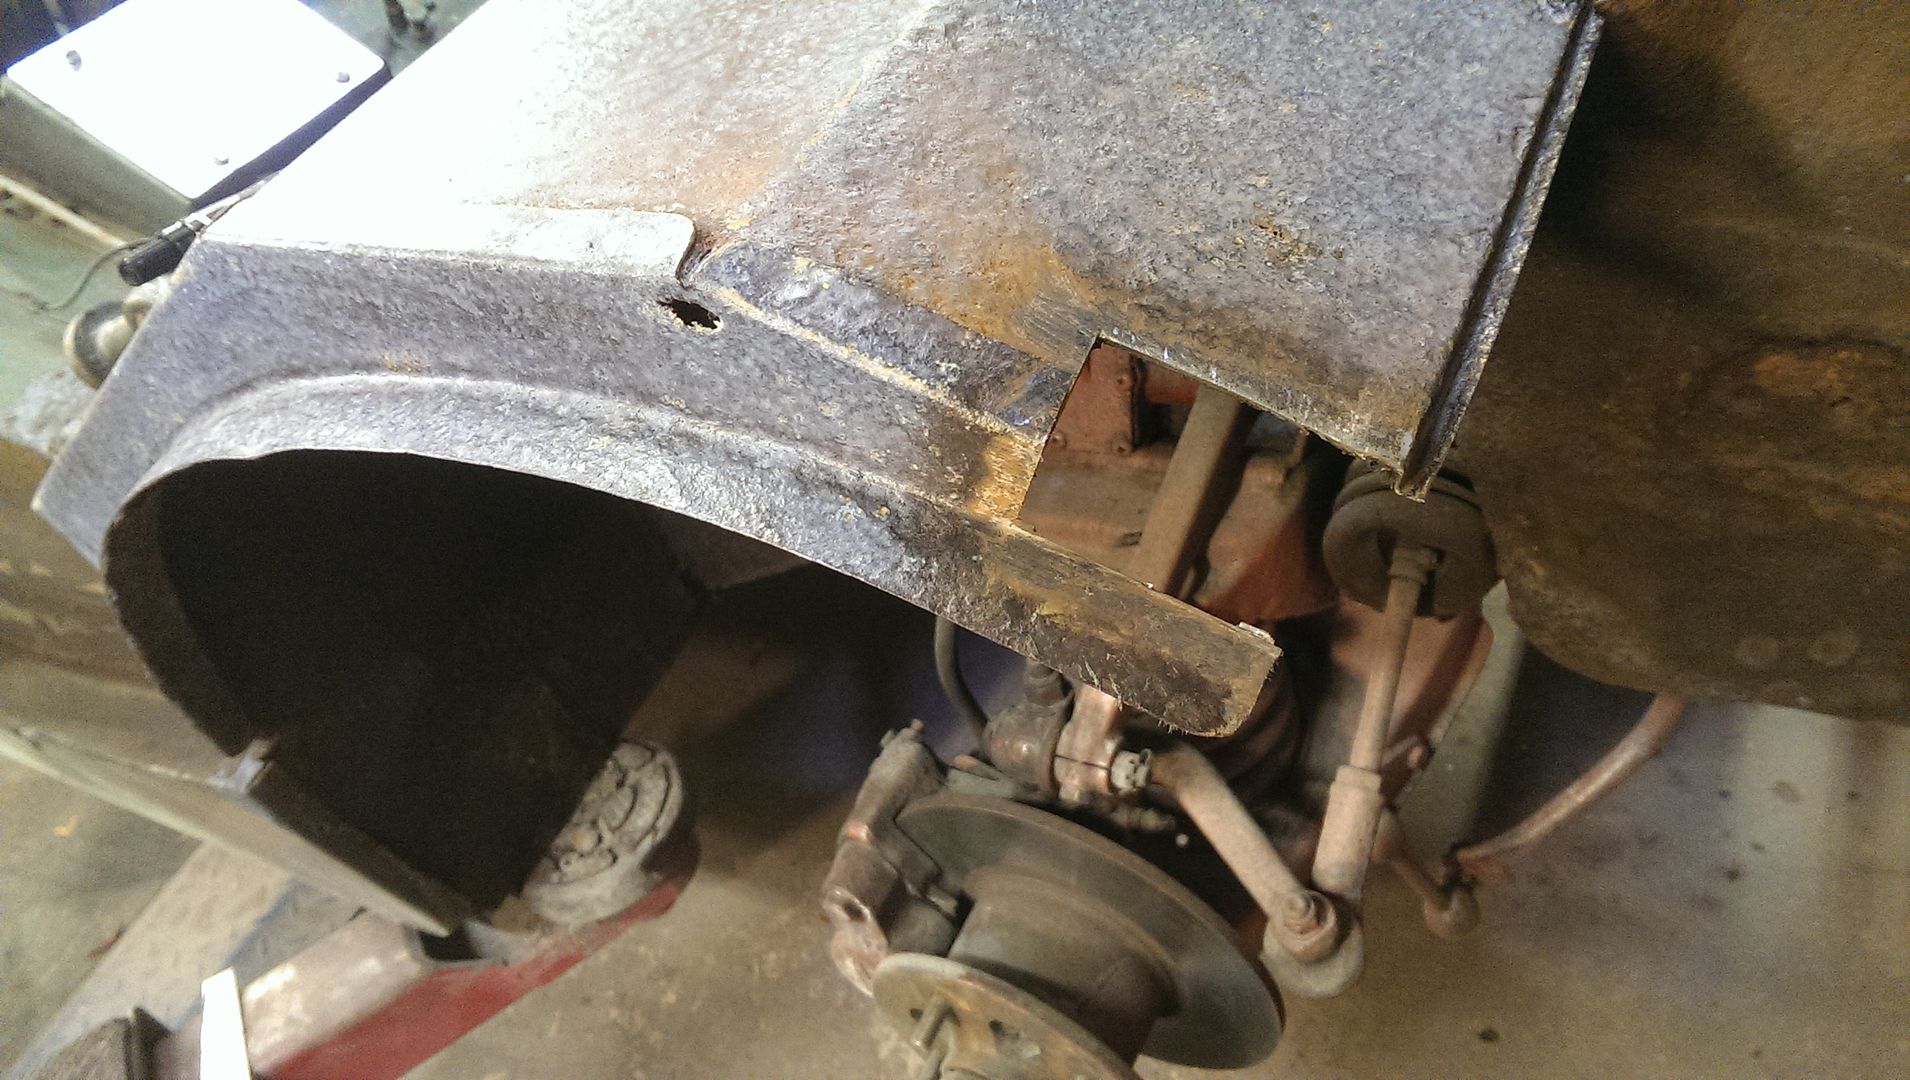 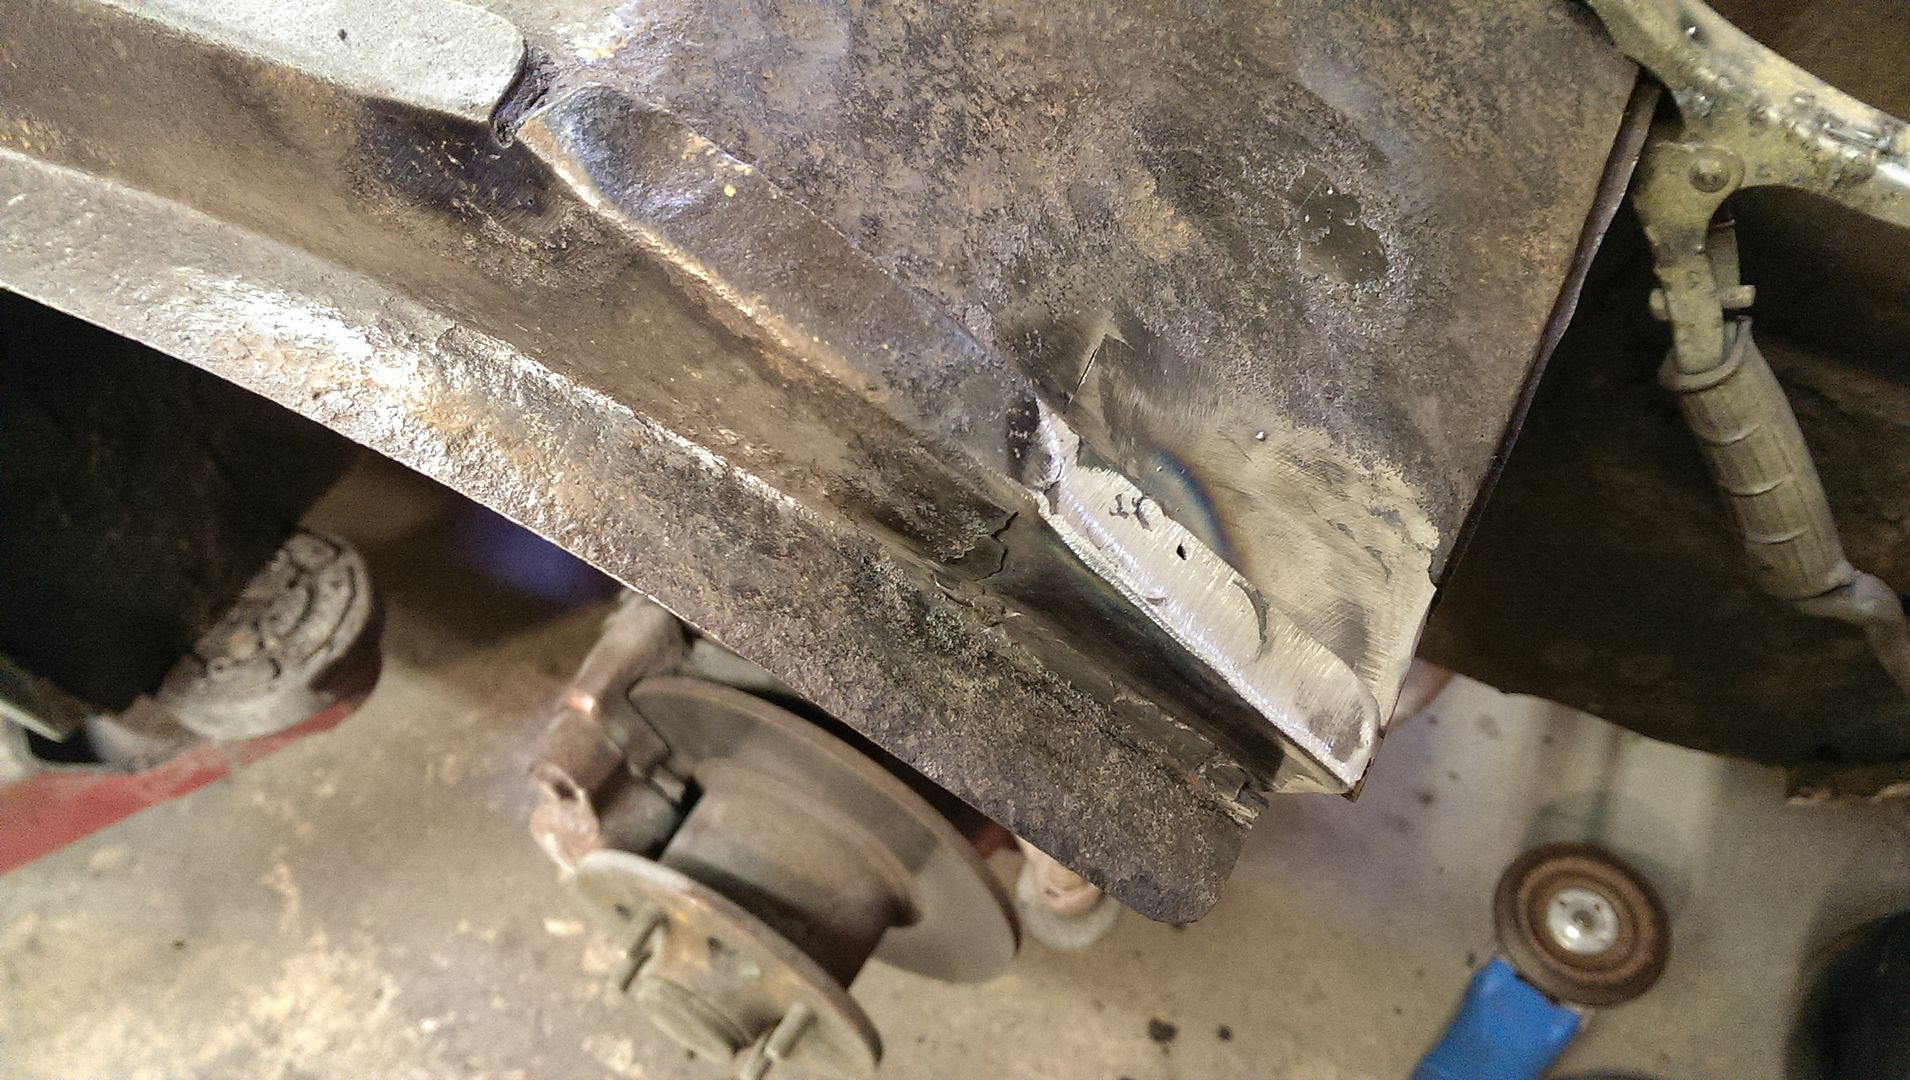 I Seam Seal all repairs with polyurethane sealant. I find this so much better than old fashioned brushable seam sealer. You can paint over it too. 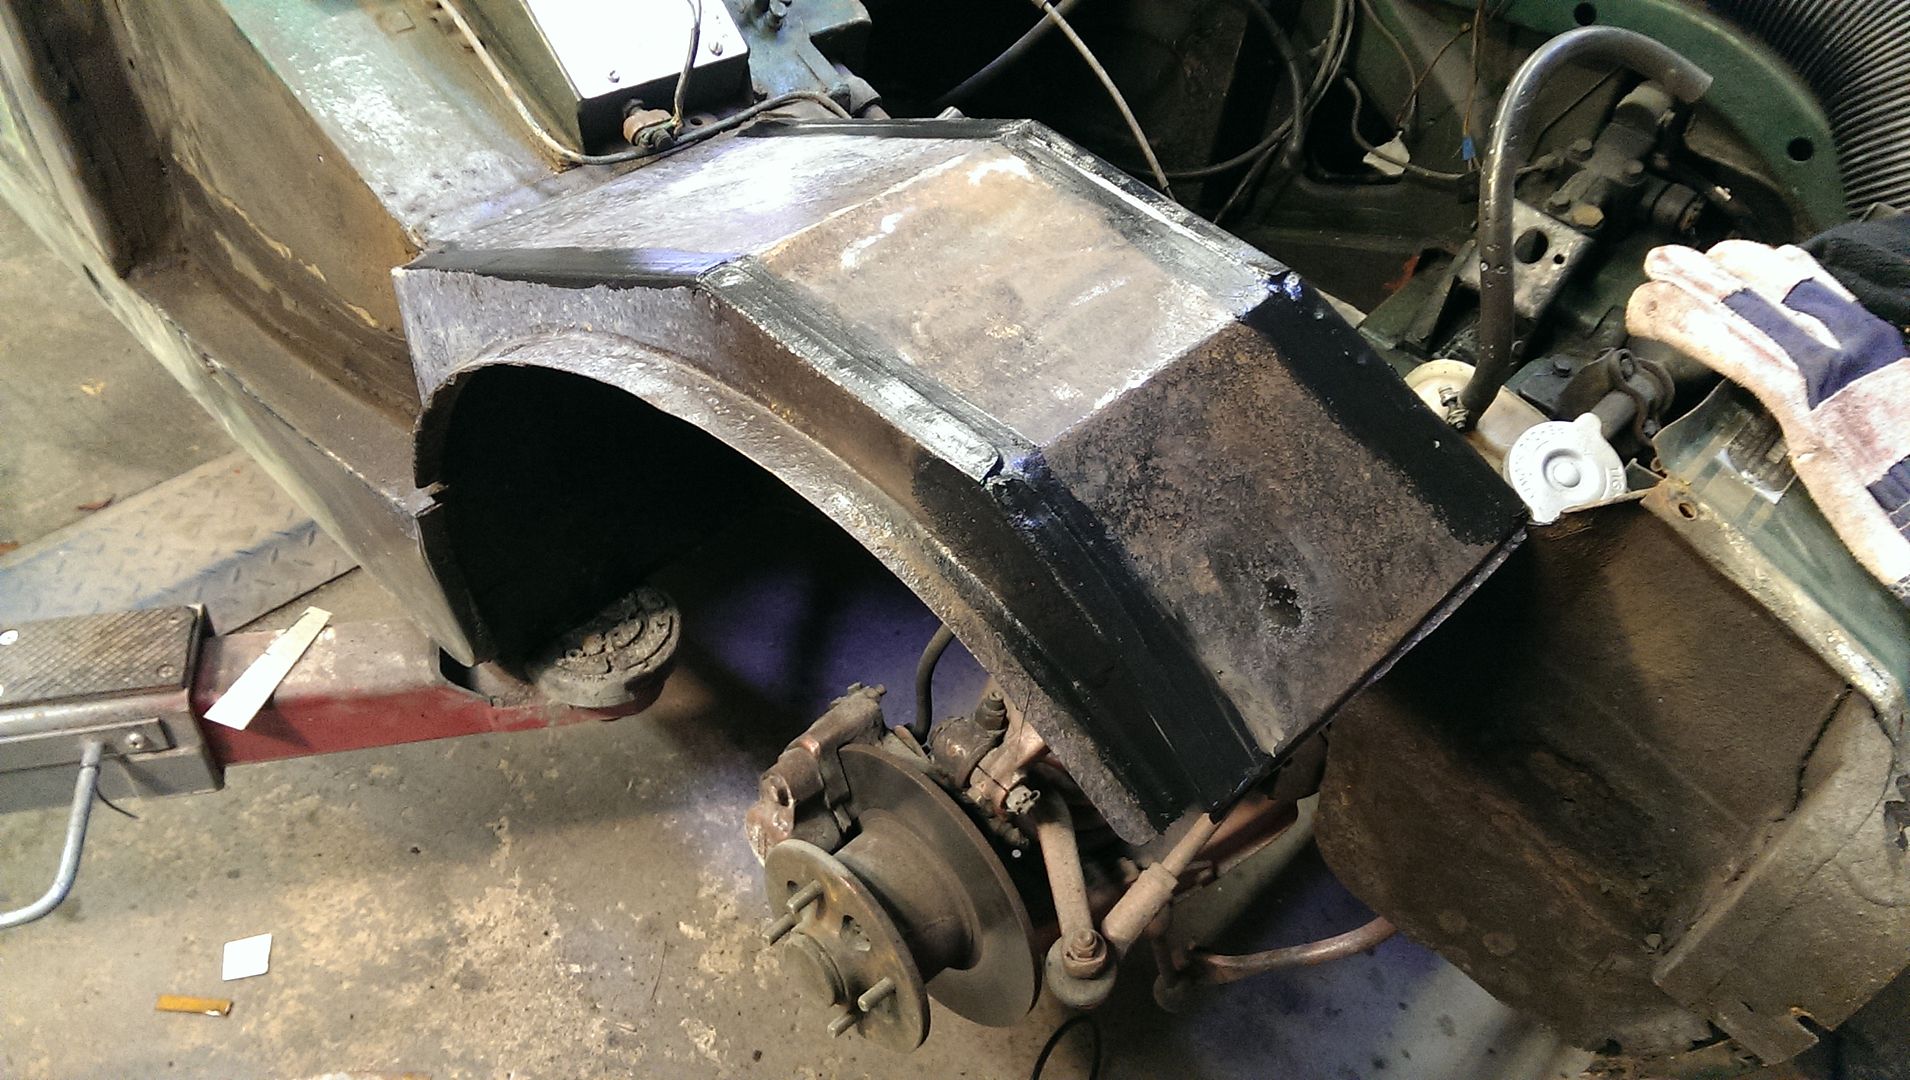 So after completing the under wing rust repairs on one side, I removed the other wing. At a glance the A pillar looks in better shape with less corrosion but this will require further investigation. The wheel arch was worse on this side with fibre glass matting being the repair material of choice. This was cut out and replaced. 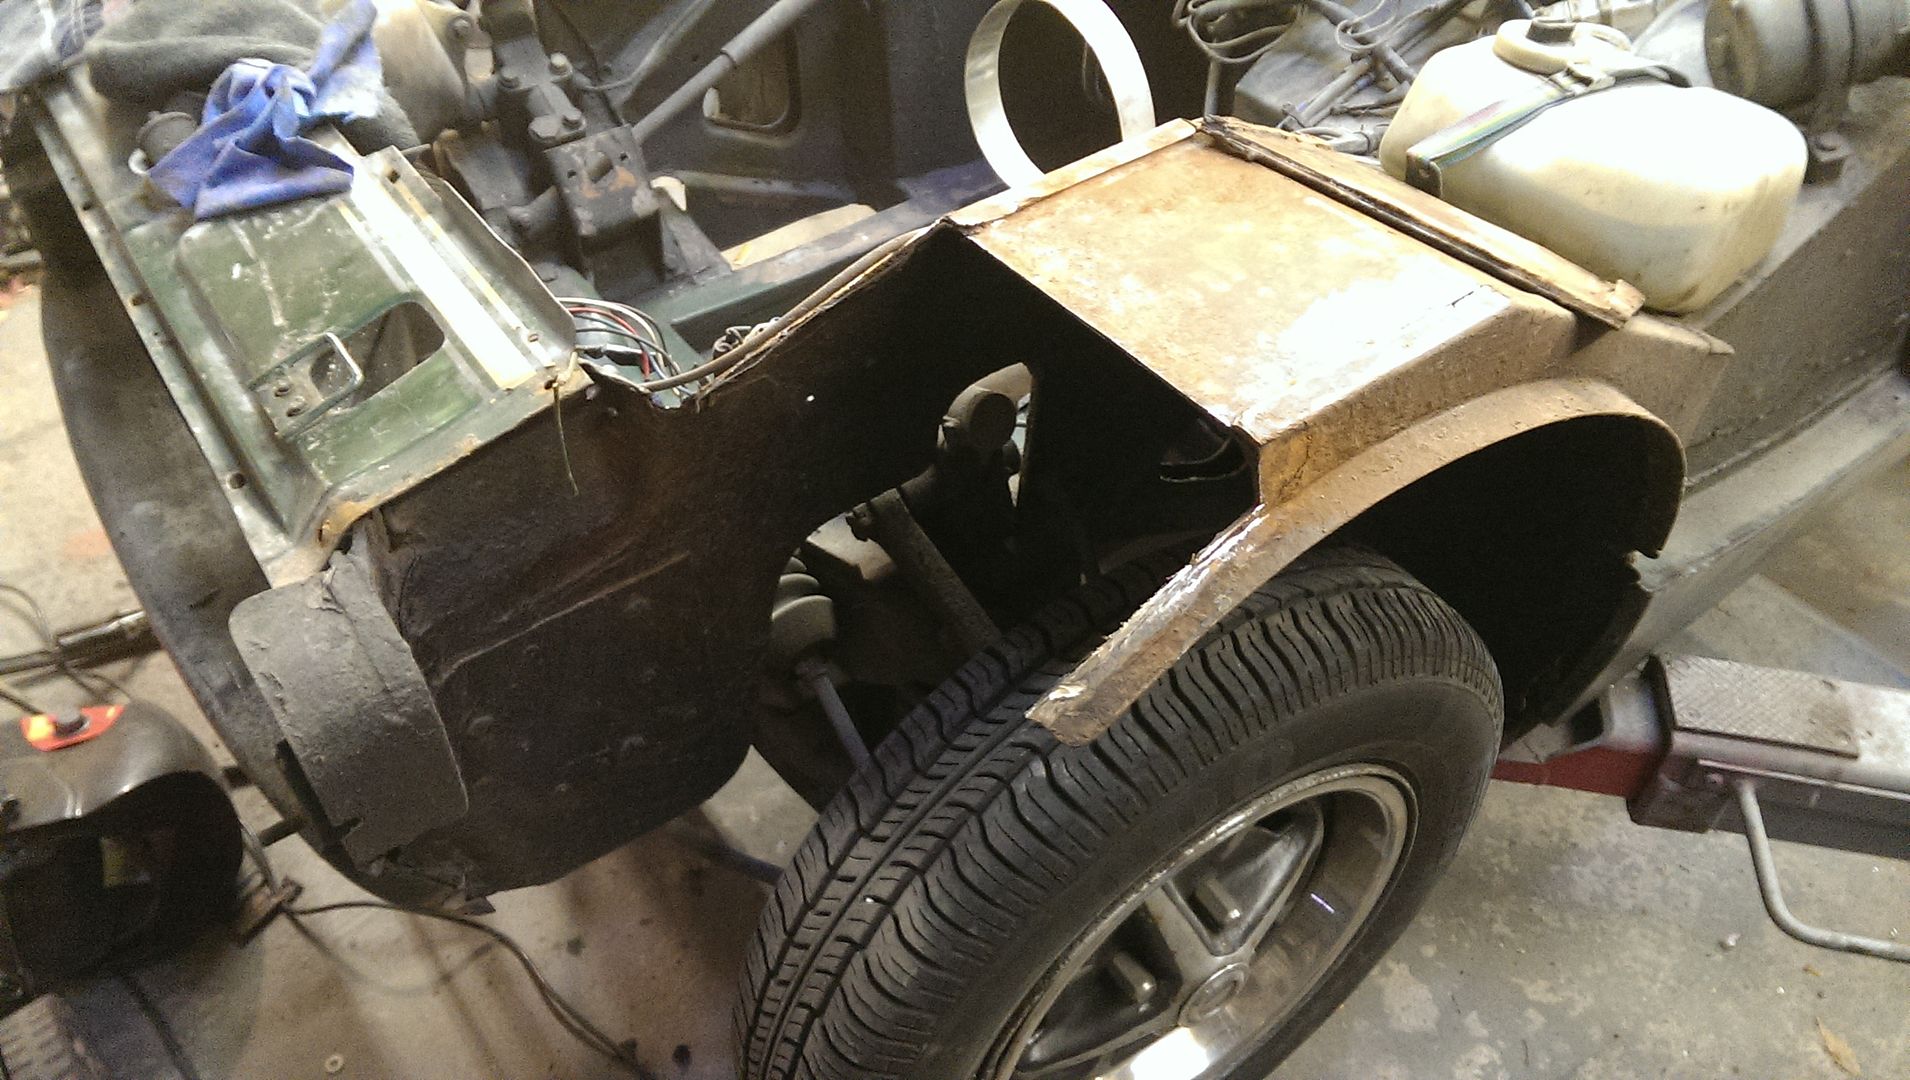 This was an easy repair as all the sections were flat. 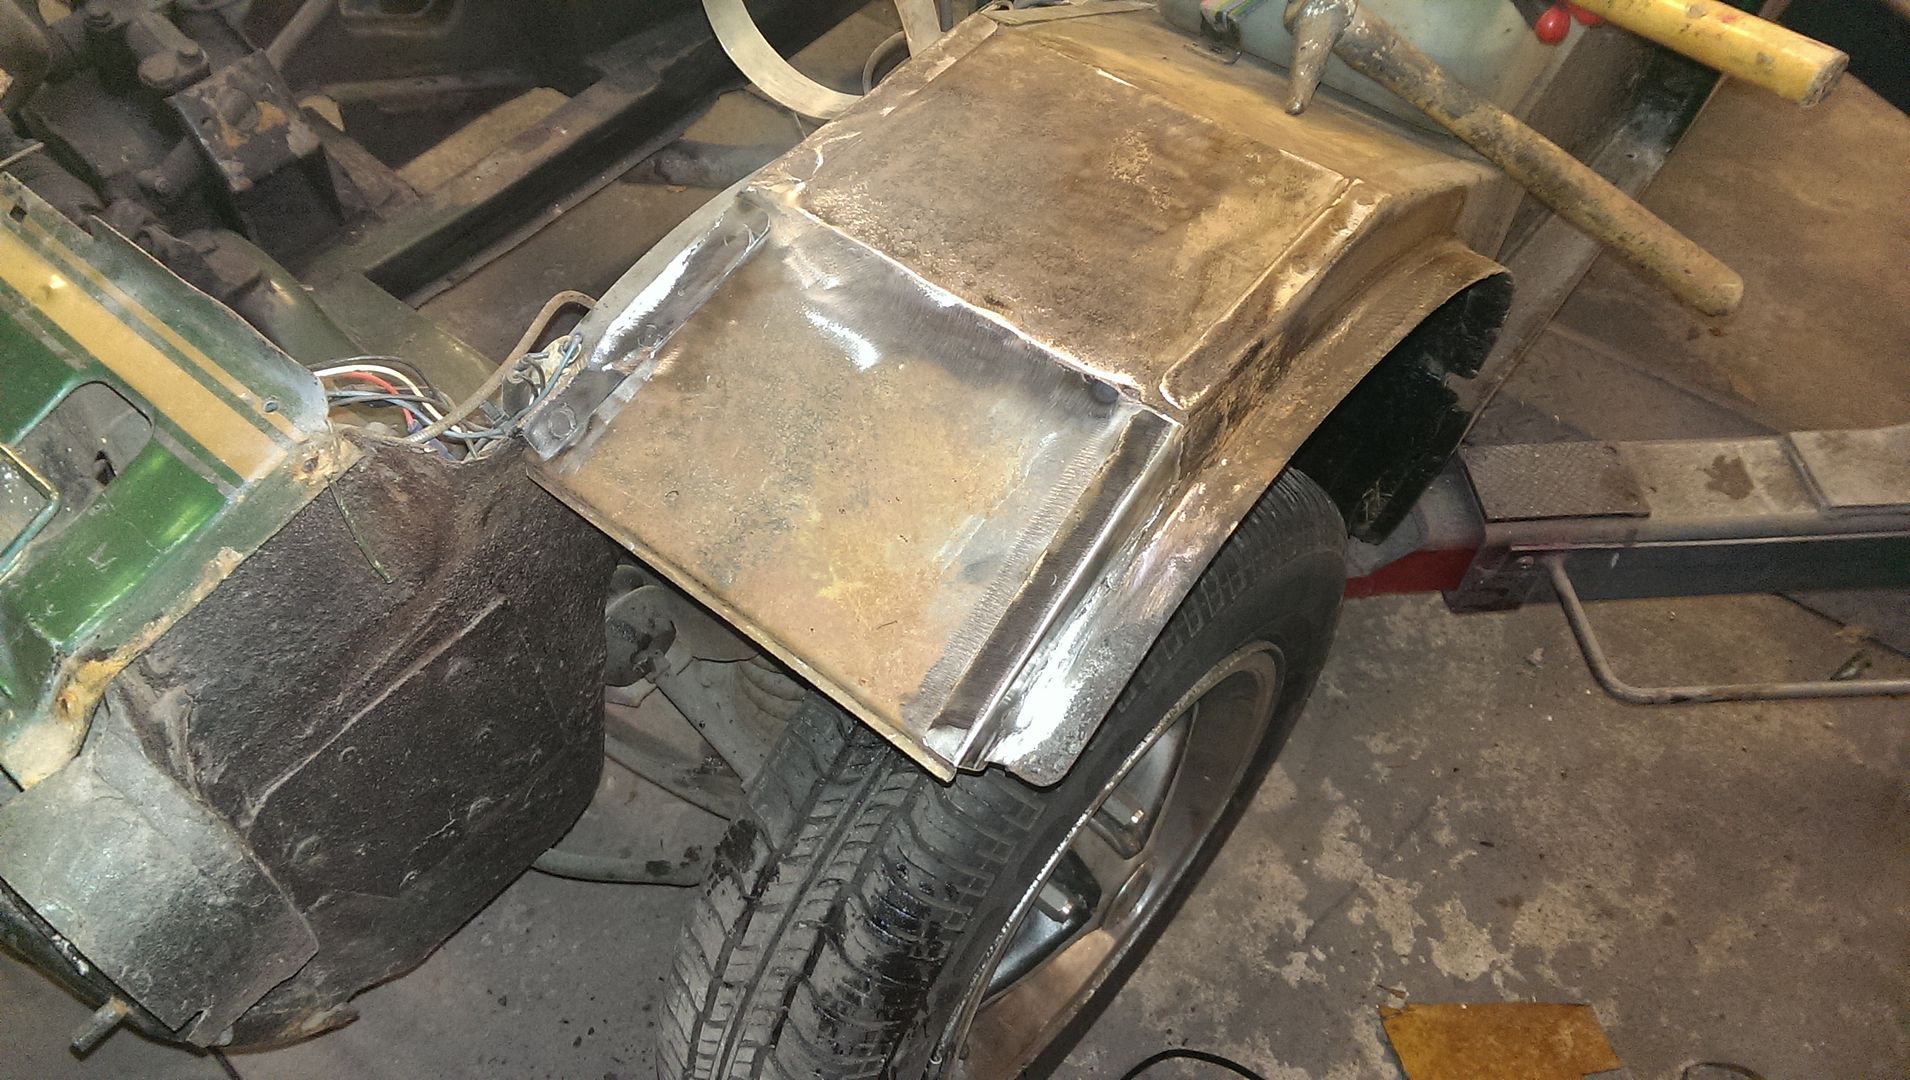 Next I will be investigating the A pillar before moving around to the back of the car where extensive repairs need to be done. |
| |
Have a look at my restoration blog...www.redhouseclassics.com
|
|
|
|
|
|
|
|
Nice bit of welding and fab work.
|
| |
|
|
|
|
|
|
|
|
looking good liking the repairs Can't wait to get onto my Midget the only problem is you make it look so simple
|
| |
|
|
chrismc
Yorkshire and The Humber
www.redhouseclassics.com
Posts: 51
|
|
Nov 13, 2016 16:30:32 GMT
|
Thanks guys. Good to know people are out there as It keeps the morale up now its getting colder. So, In my experience if one side of the car is rotten then this will probably be mirrored on the other side. A quick check of the other A post revealed more corrosion. This was cut out... 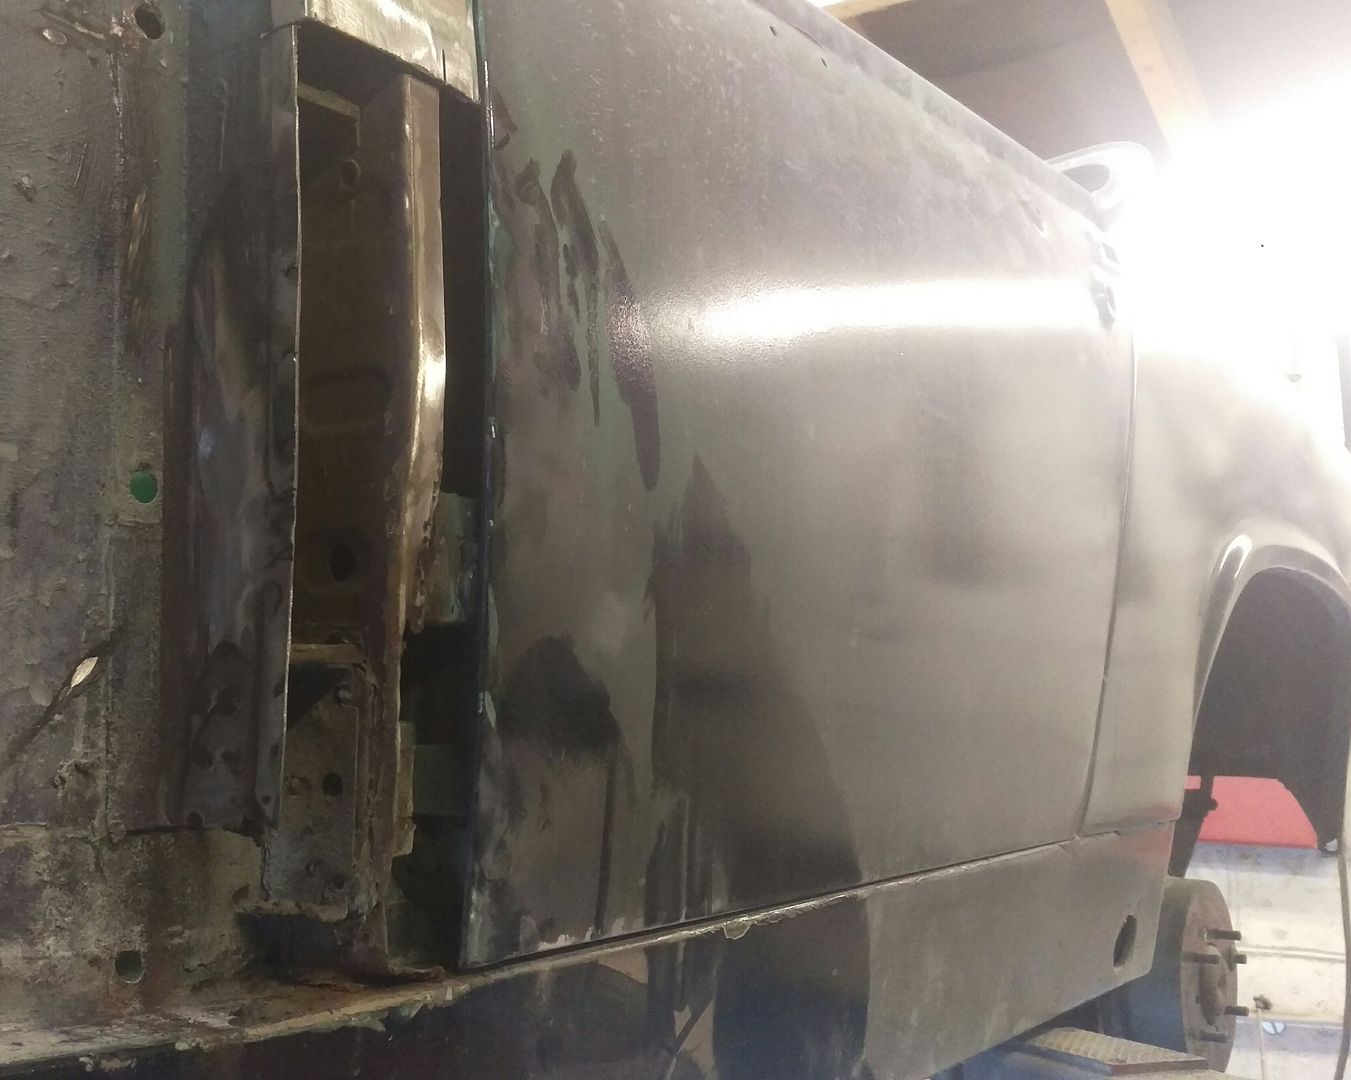 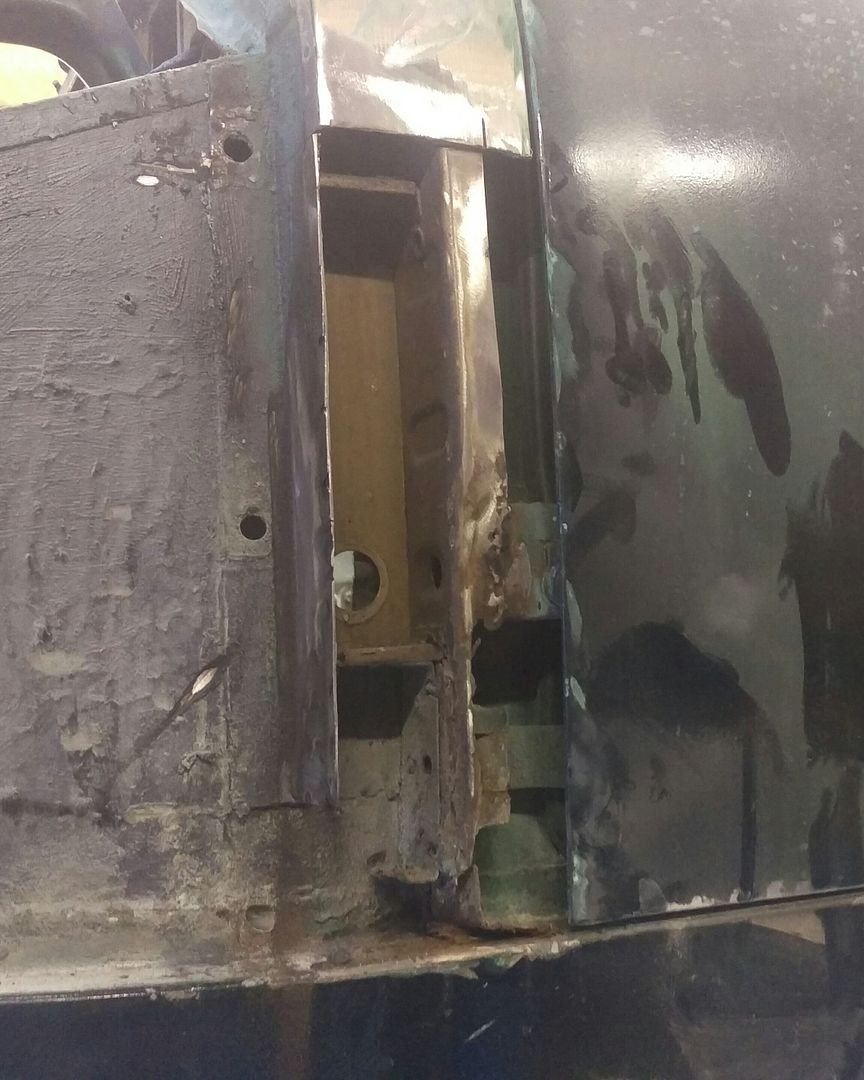 ....and the inner structure repaired. 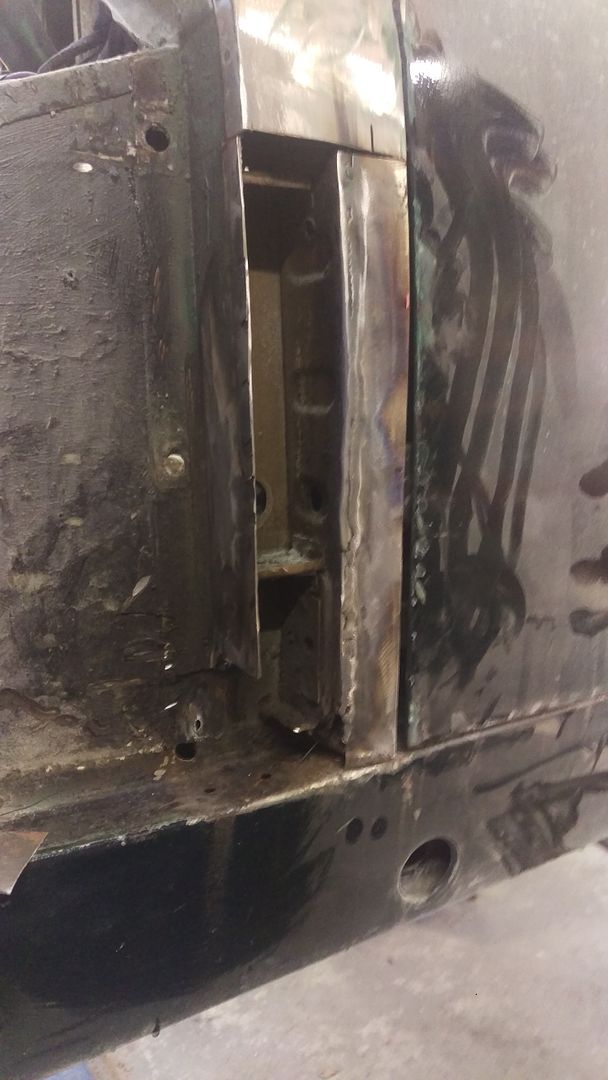 A Metal Folder and shrinker were used to make a repair section from sheet steel. This was painted on the inside before being welded in place. 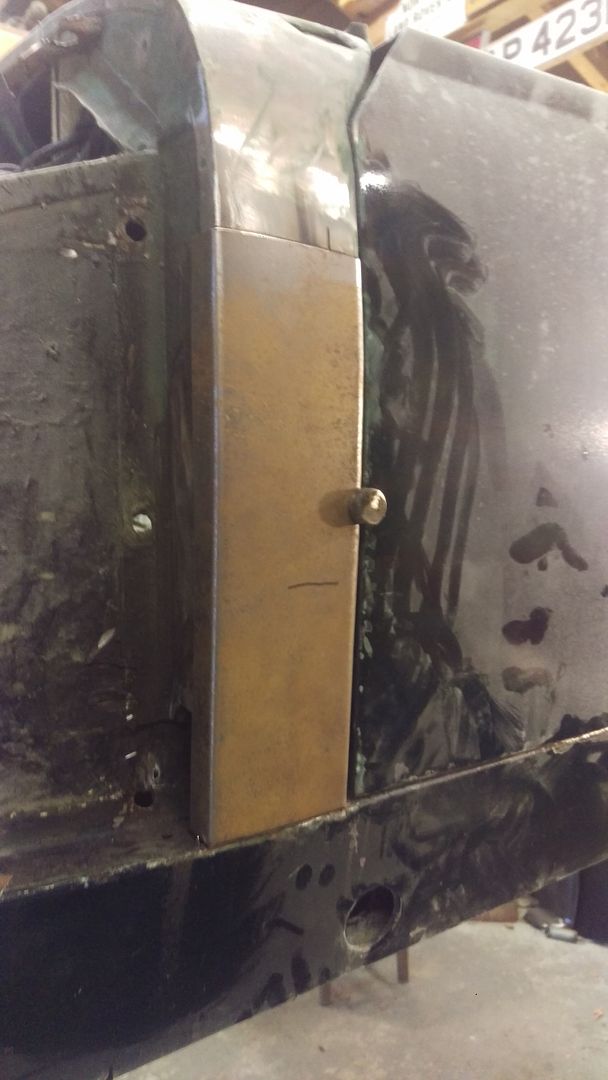 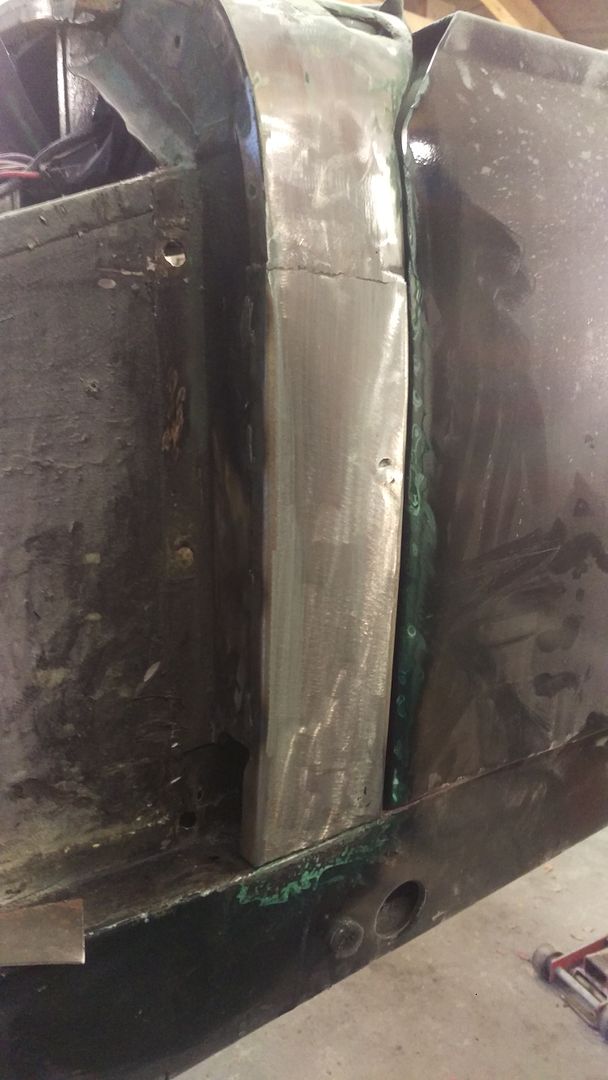 Further towards the back of the car more corrosion was found. Guess what? This was cut out and replaced with new metal. 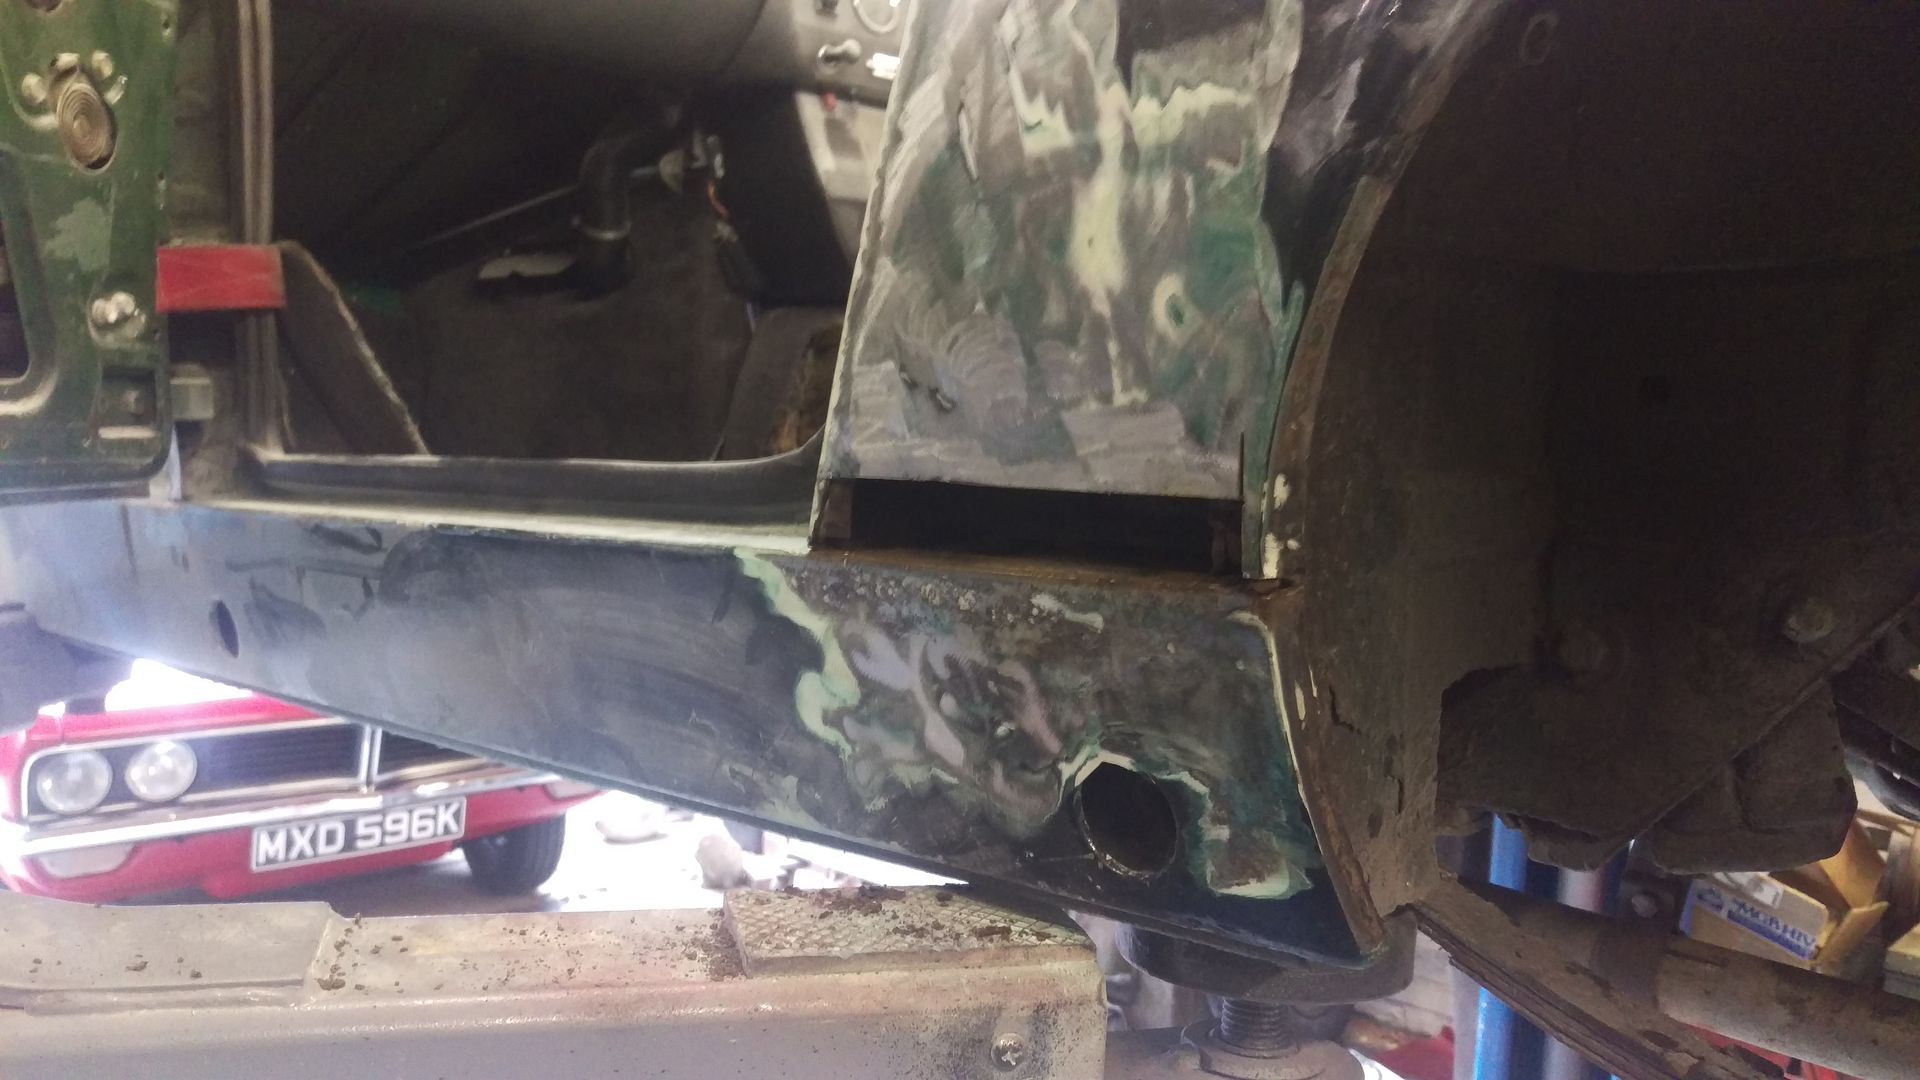 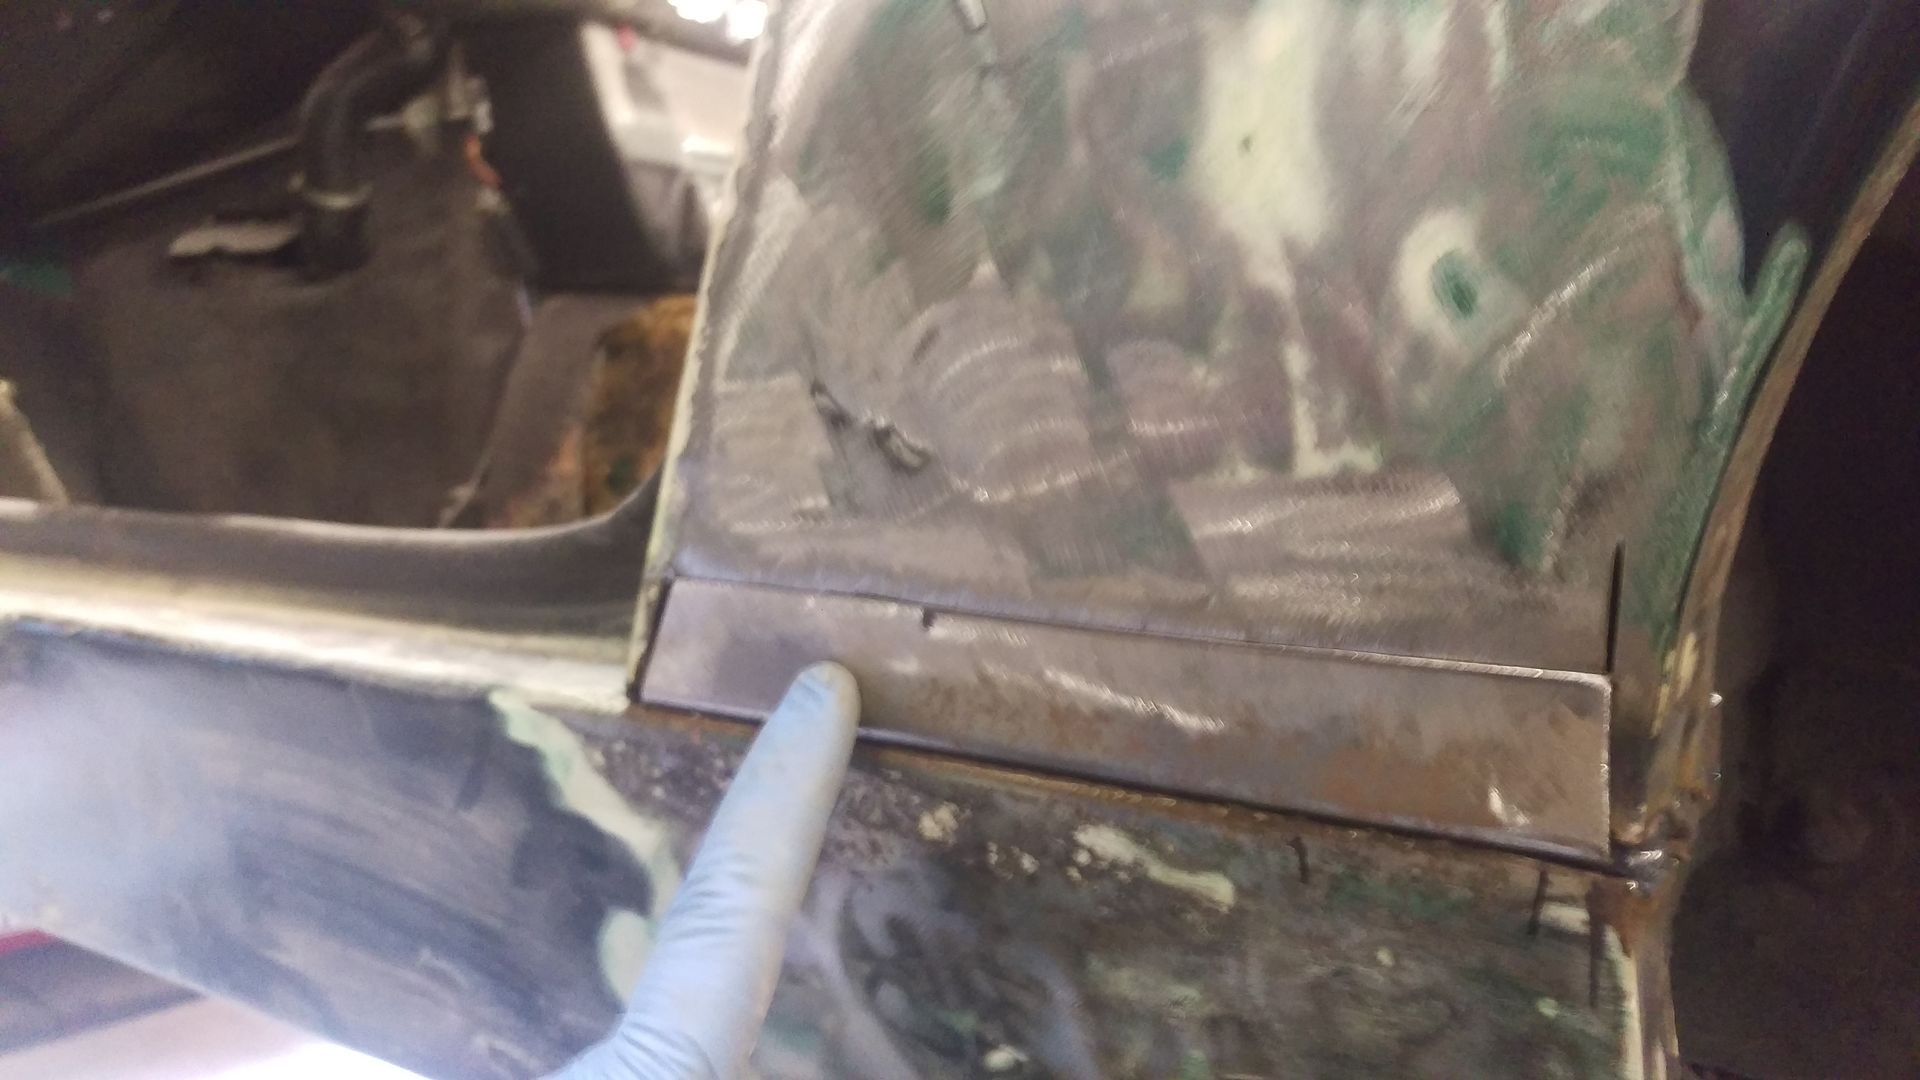 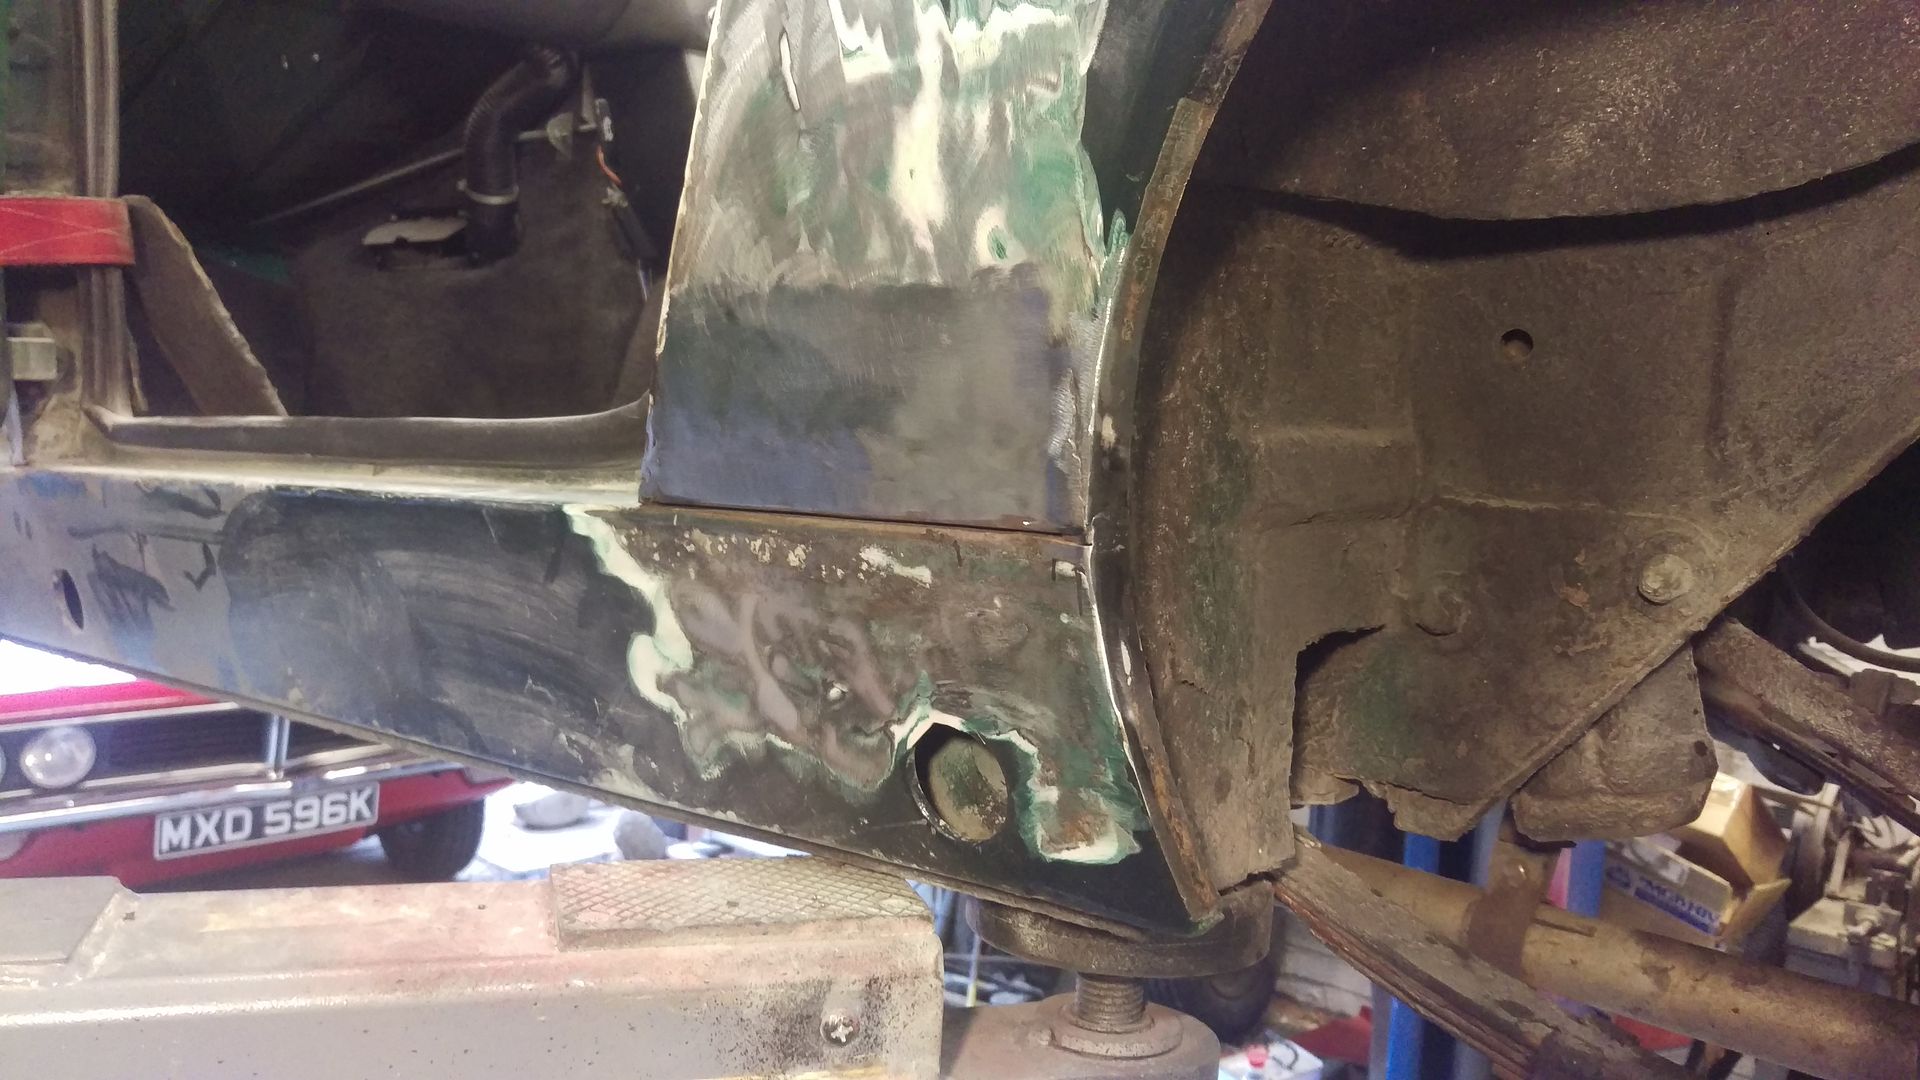 I noticed this 'old school repair which made me laugh. It seems to be a plate bolted and riveted on to the front wheel arch then blathered with thick camouflaging underseal. 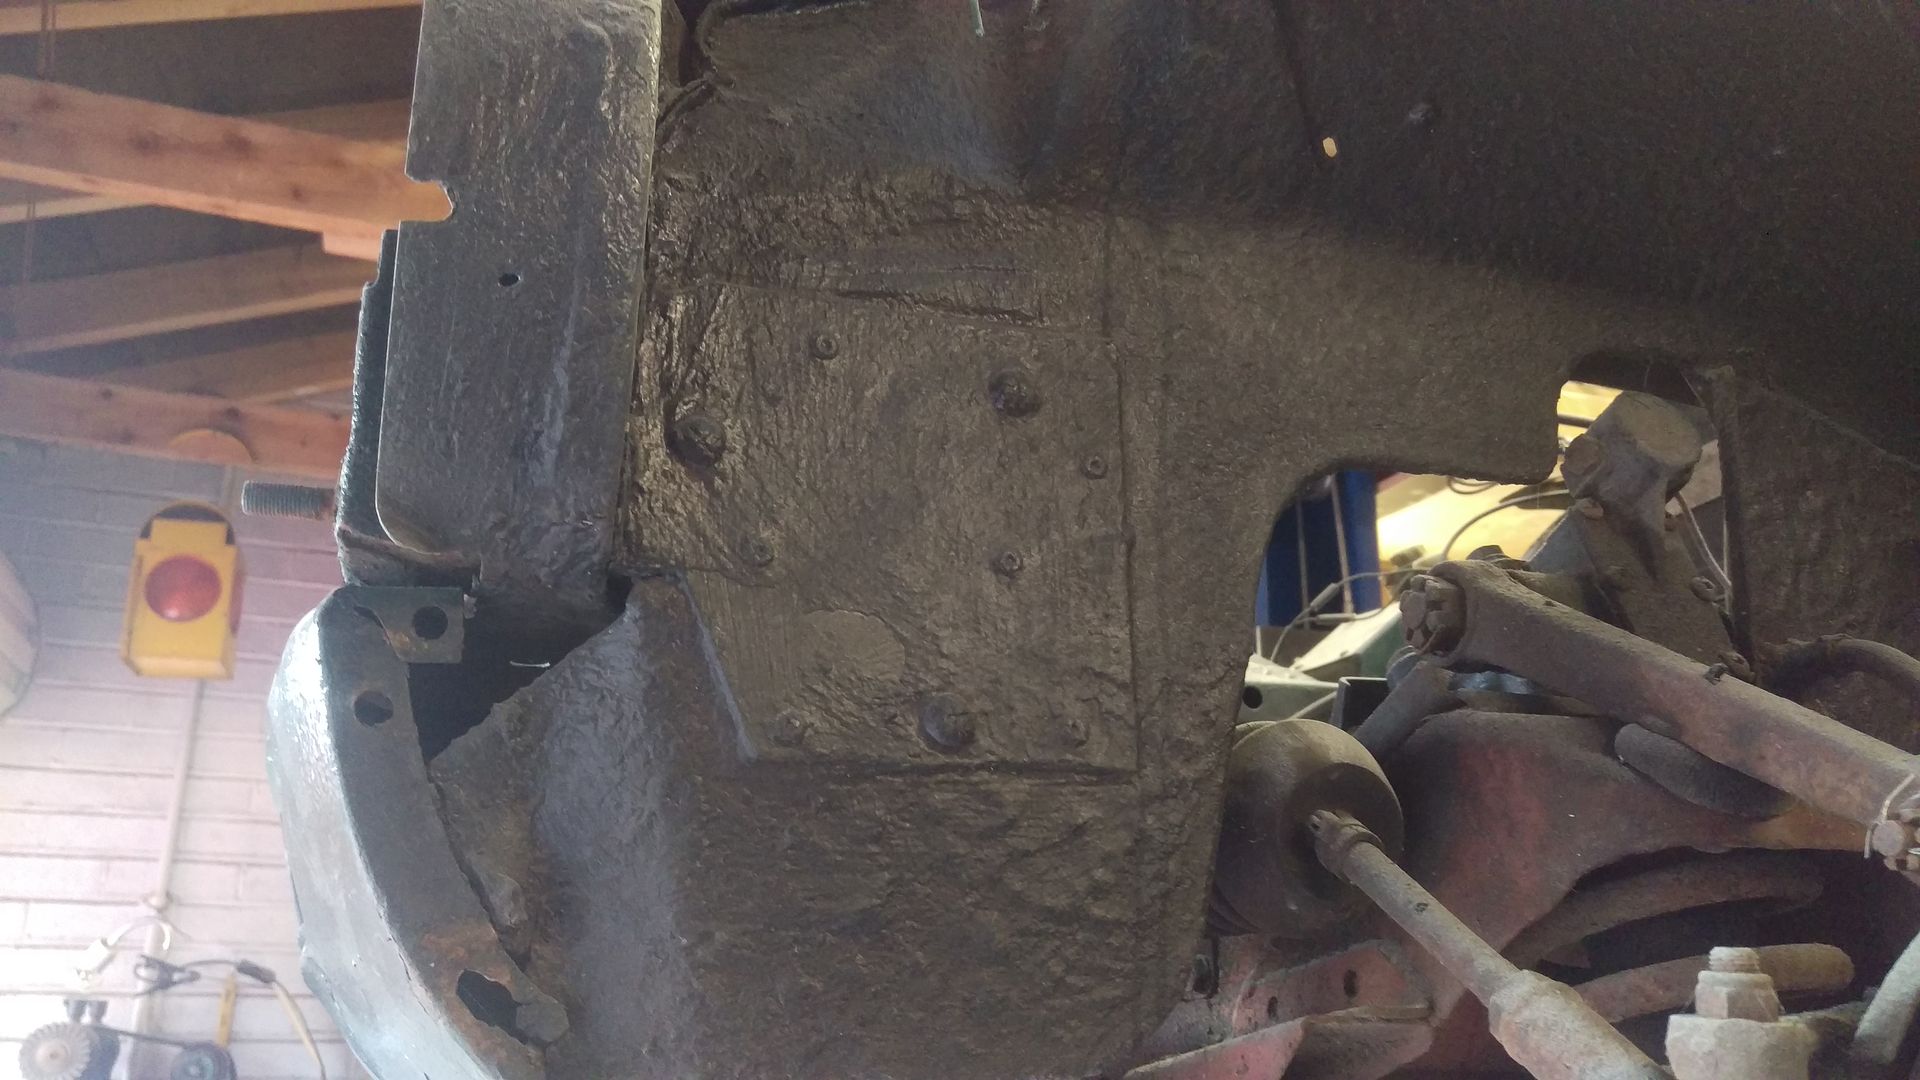 I will investigate this next time. |
| |
Last Edit: Nov 13, 2016 16:49:31 GMT by chrismc
Have a look at my restoration blog...www.redhouseclassics.com
|
|
|
|
|
Nov 13, 2016 16:50:13 GMT
|
|
Lovely job , makes a nice change to see one of these . I love seeing those old school bodges like that [ I'm guessing you don't !] , its almost as good as the newspaper and chicken wire in my mates capri !
|
| |
|
|
chrismc
Yorkshire and The Humber
www.redhouseclassics.com
Posts: 51
|
|
Nov 19, 2016 19:12:11 GMT
|
Thanks, Well after a day changing the rear suspension bushes and lowering the Midget back down to pre rubber bumper height I decided to crack on with the bodywork. The intention for this build was to turn an ugly duckling into a classic sports car with a very limited budget. The best way to do this cheaply is to remove the old rubber bumpers and run without them. Once the bumpers are removed there are several modifications needed to give the rear a pre '74 look. 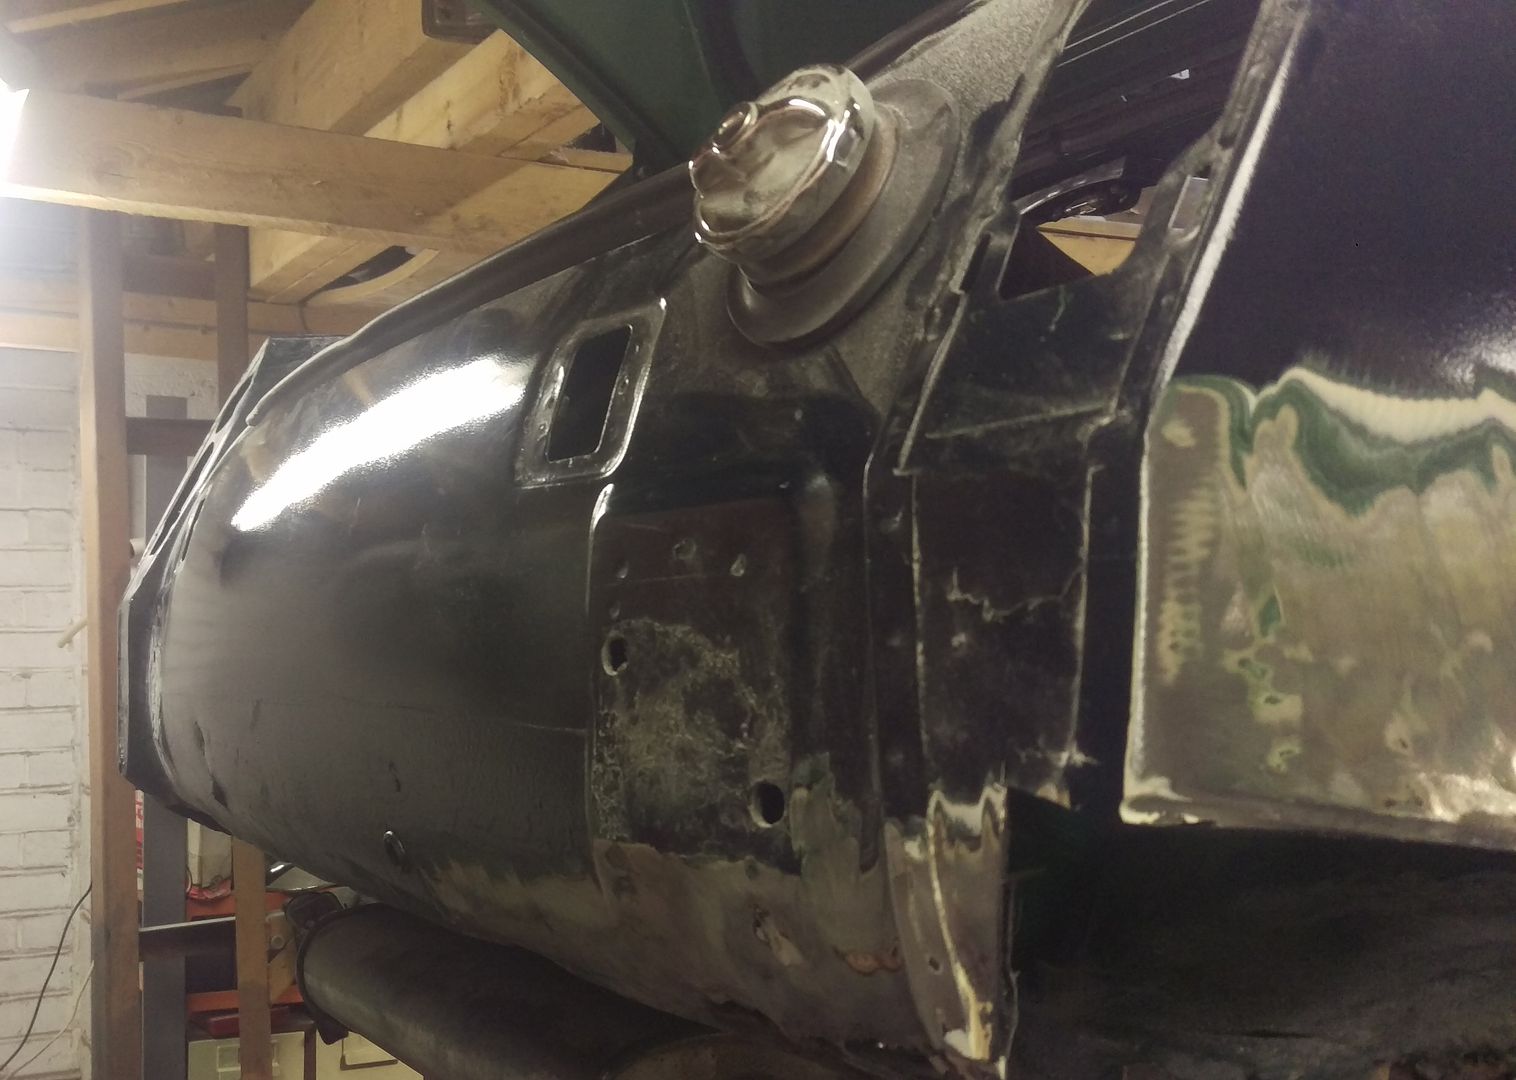 The flat area below the rear lights, which was modified for the rubber bumper models, needed to be returned to chrome bumper spec. As the lower edges of the rear valance and wings were rotten pre'74 repair panels were used. The lower section of the valance was cut out and the chassis trimmed... 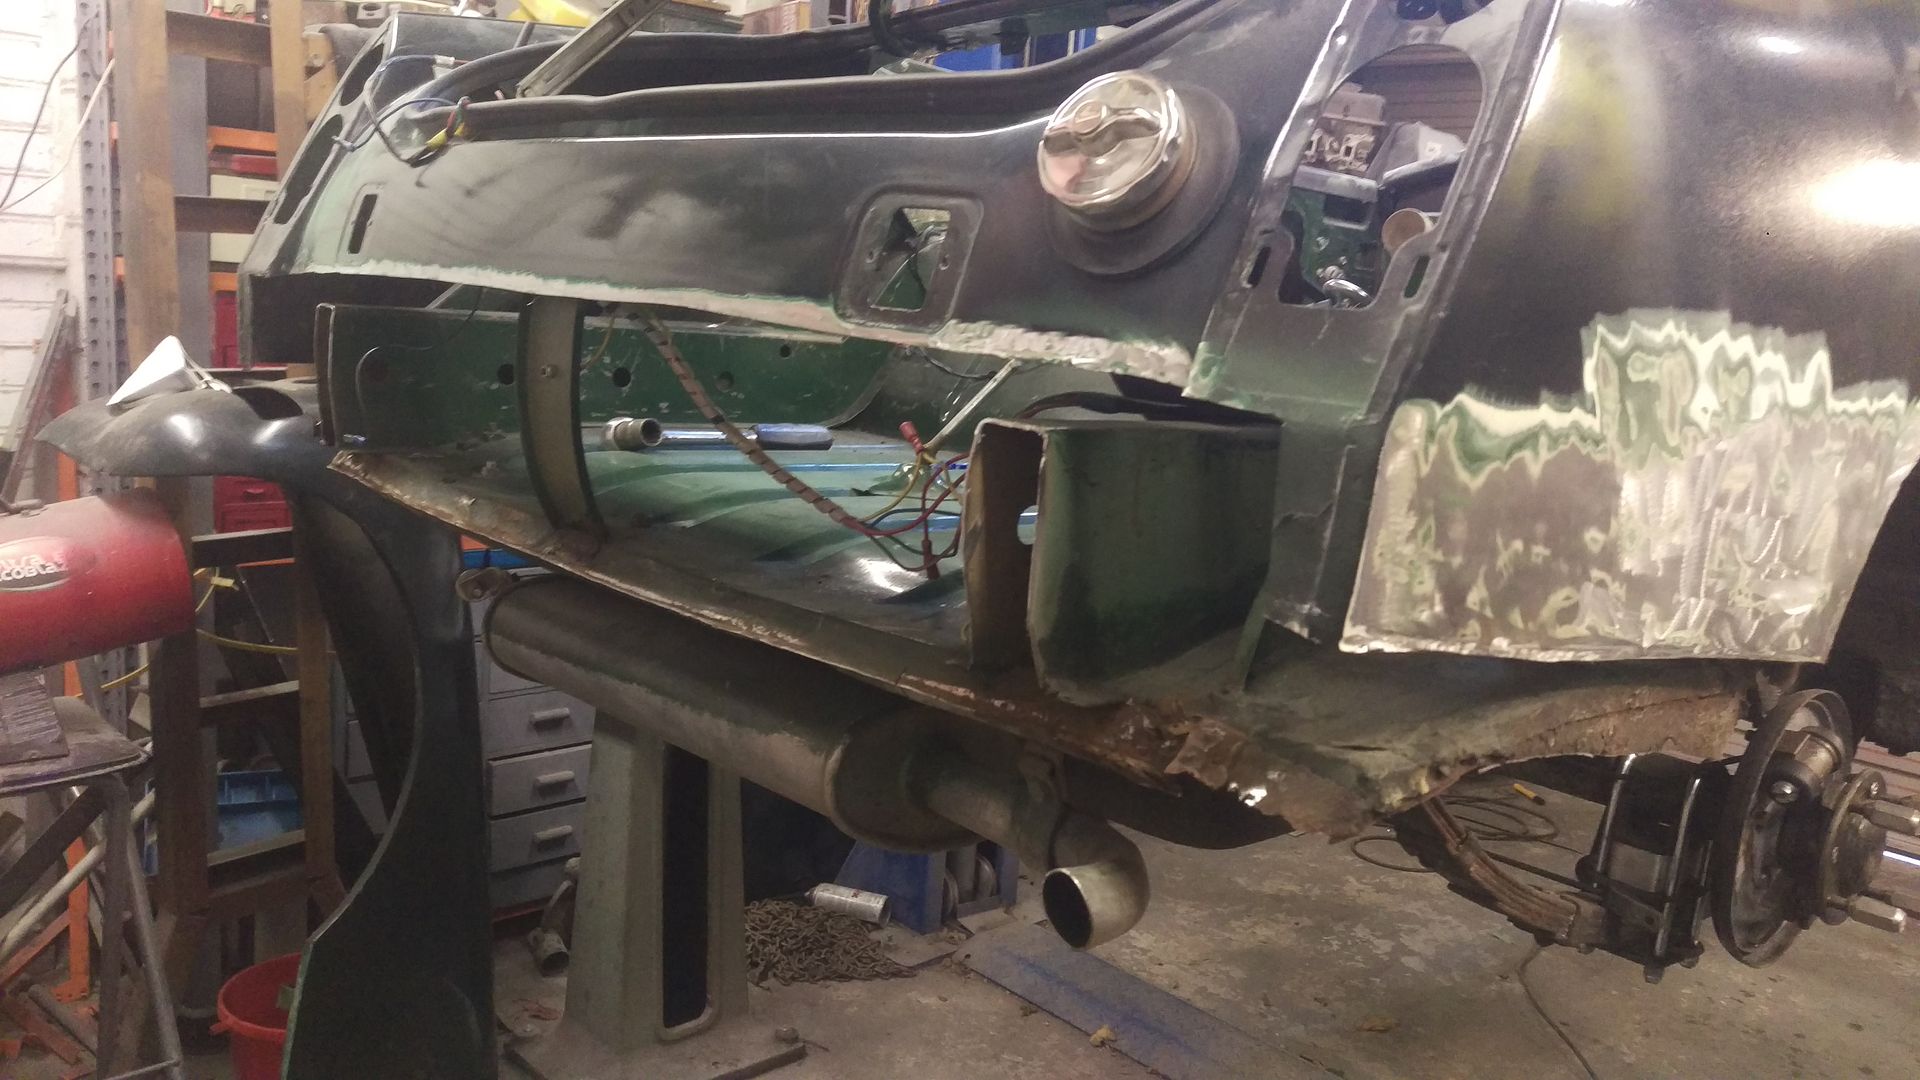 ...to fit the lower section of the new panel. 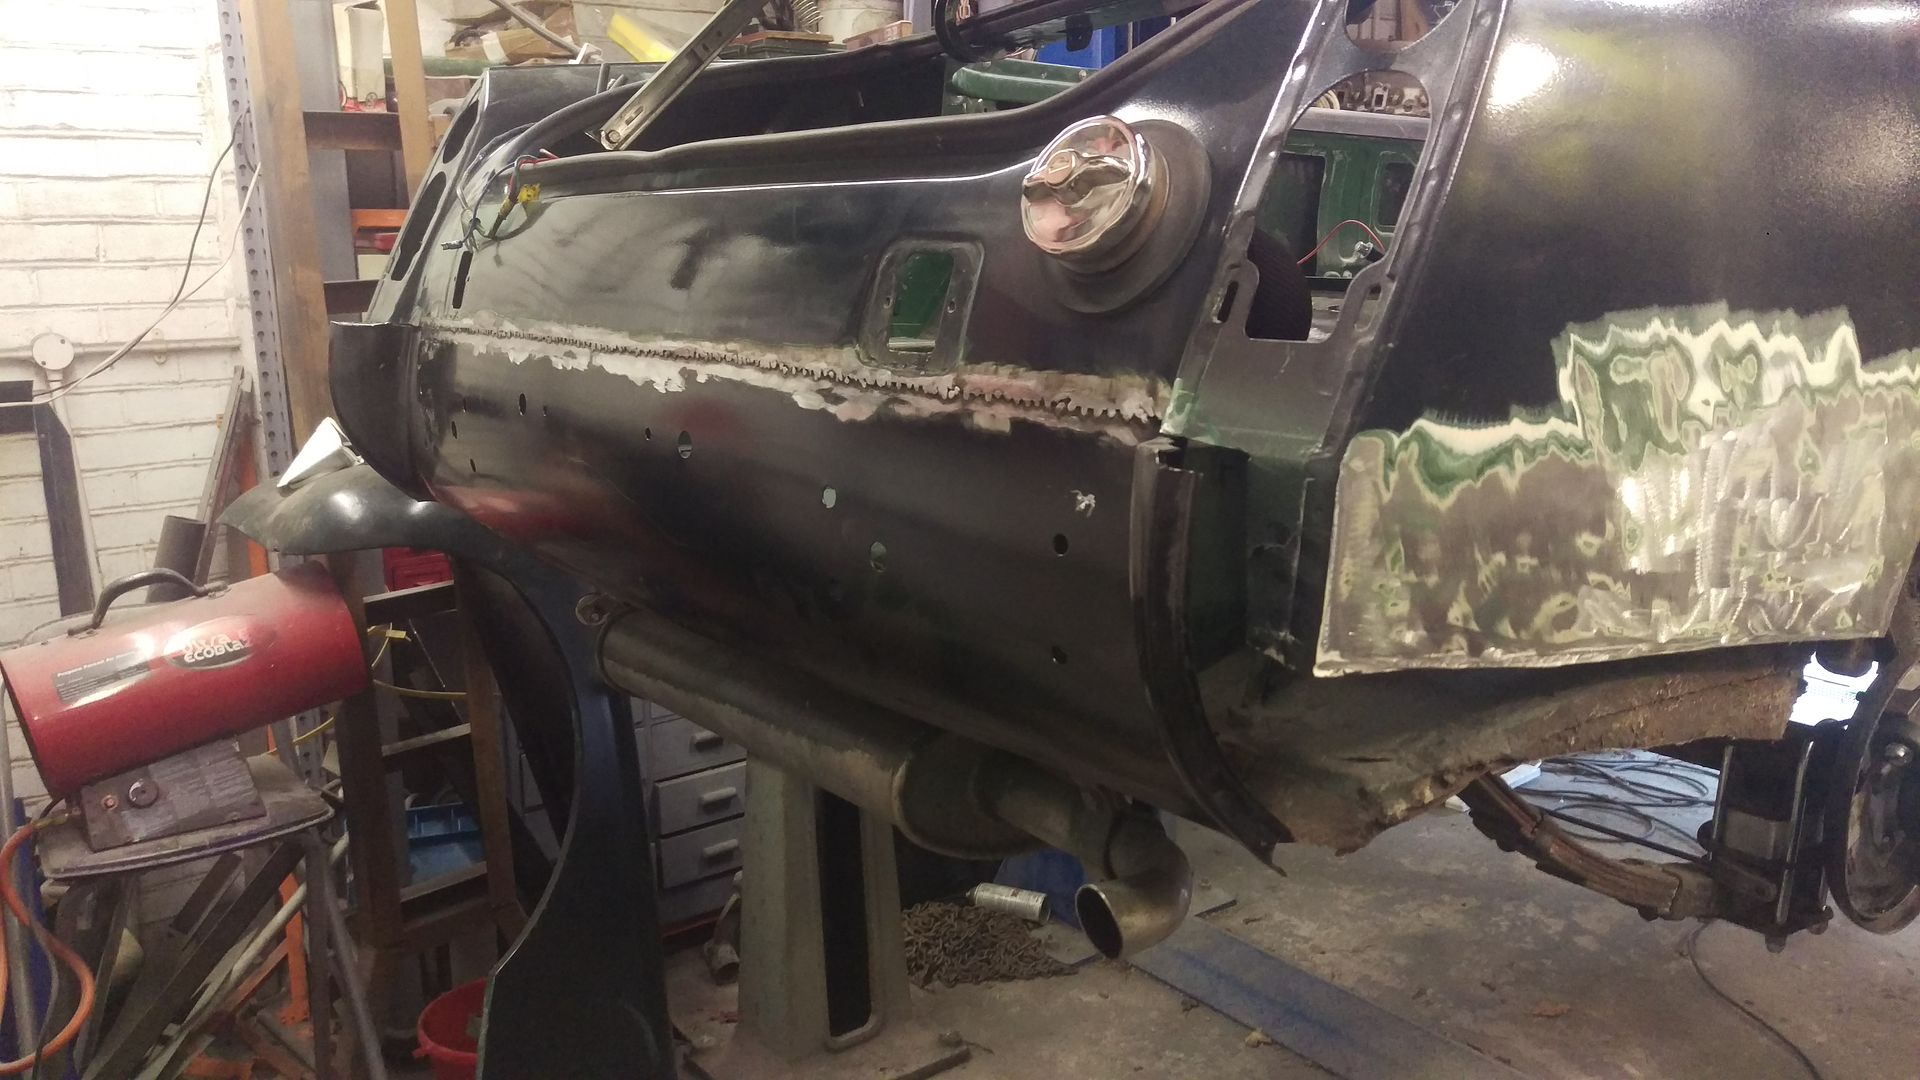 This took time as I had to weld slowly with a series of tack welds to make sure the panel did not warp with the heat. In retrospect I think I would just replace the whole panel next time. Anyway I'm happy with the results. 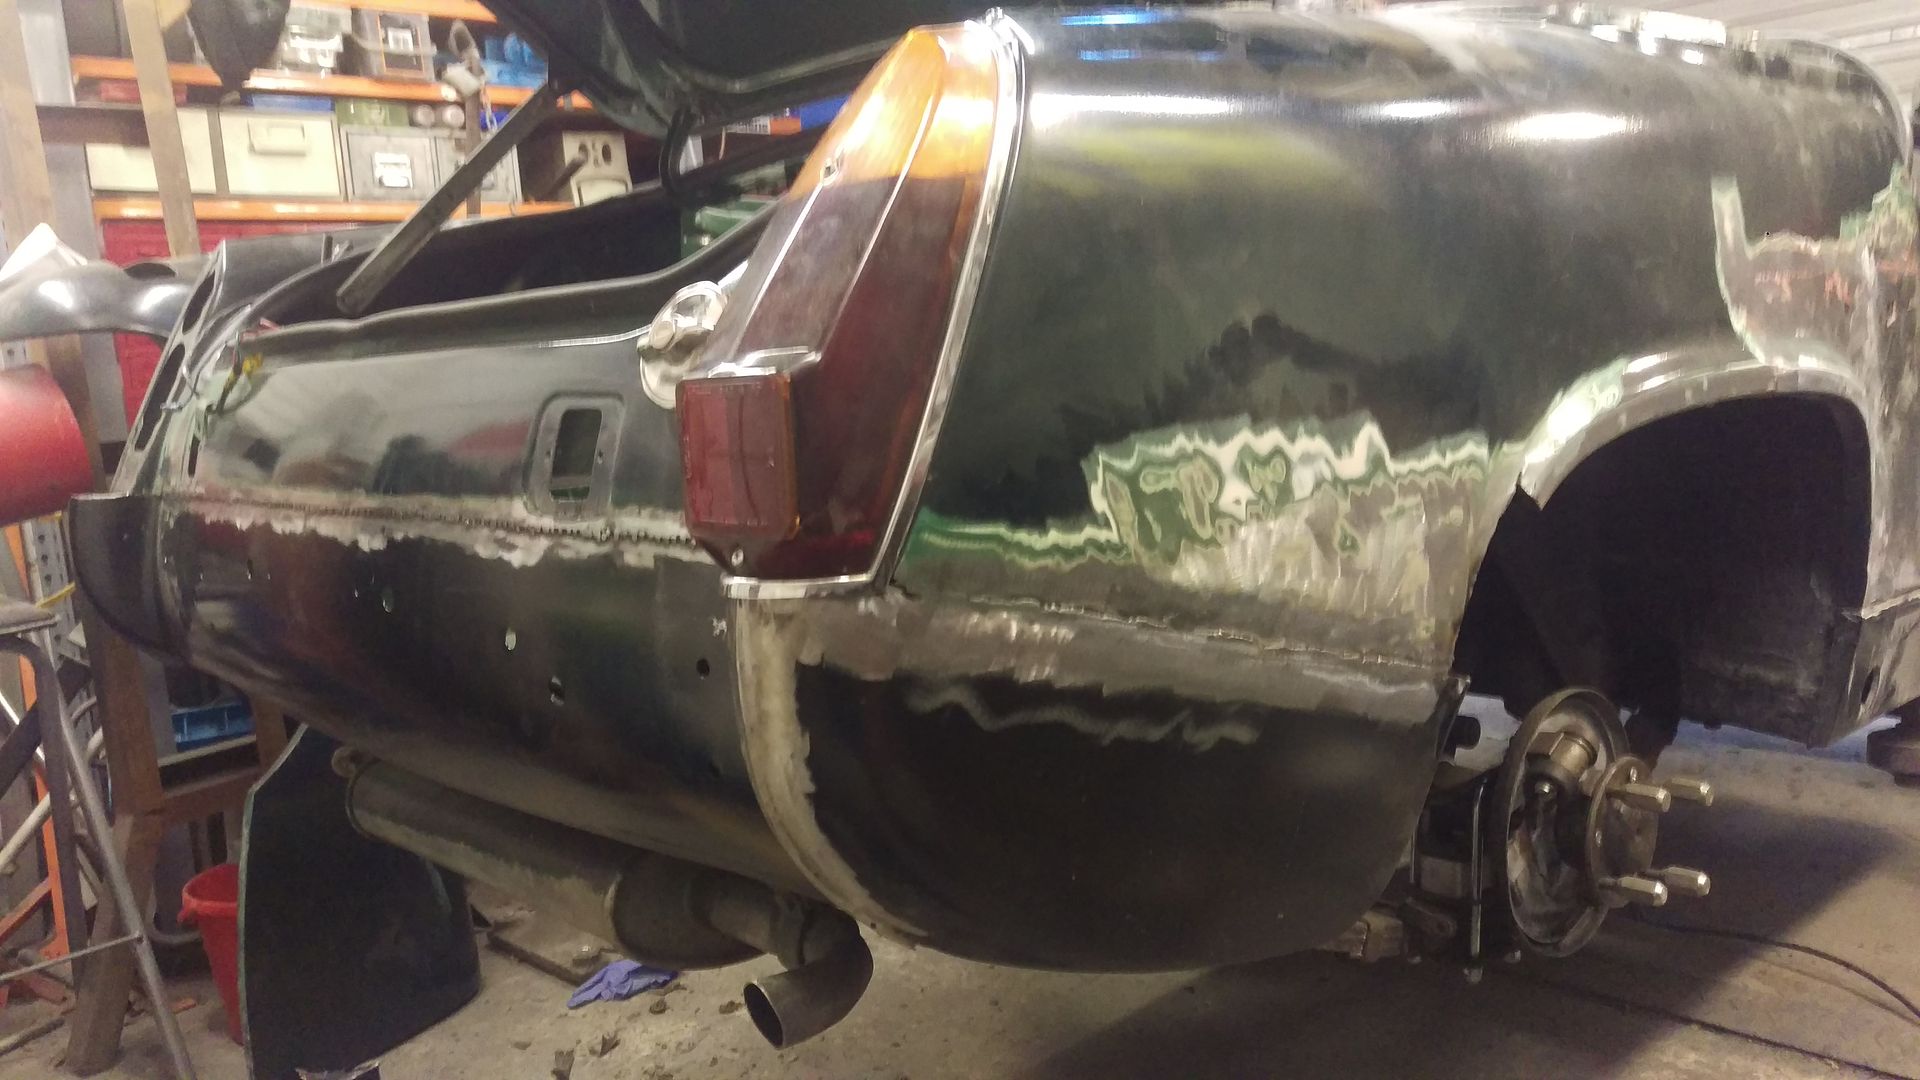 The other side looks like this. 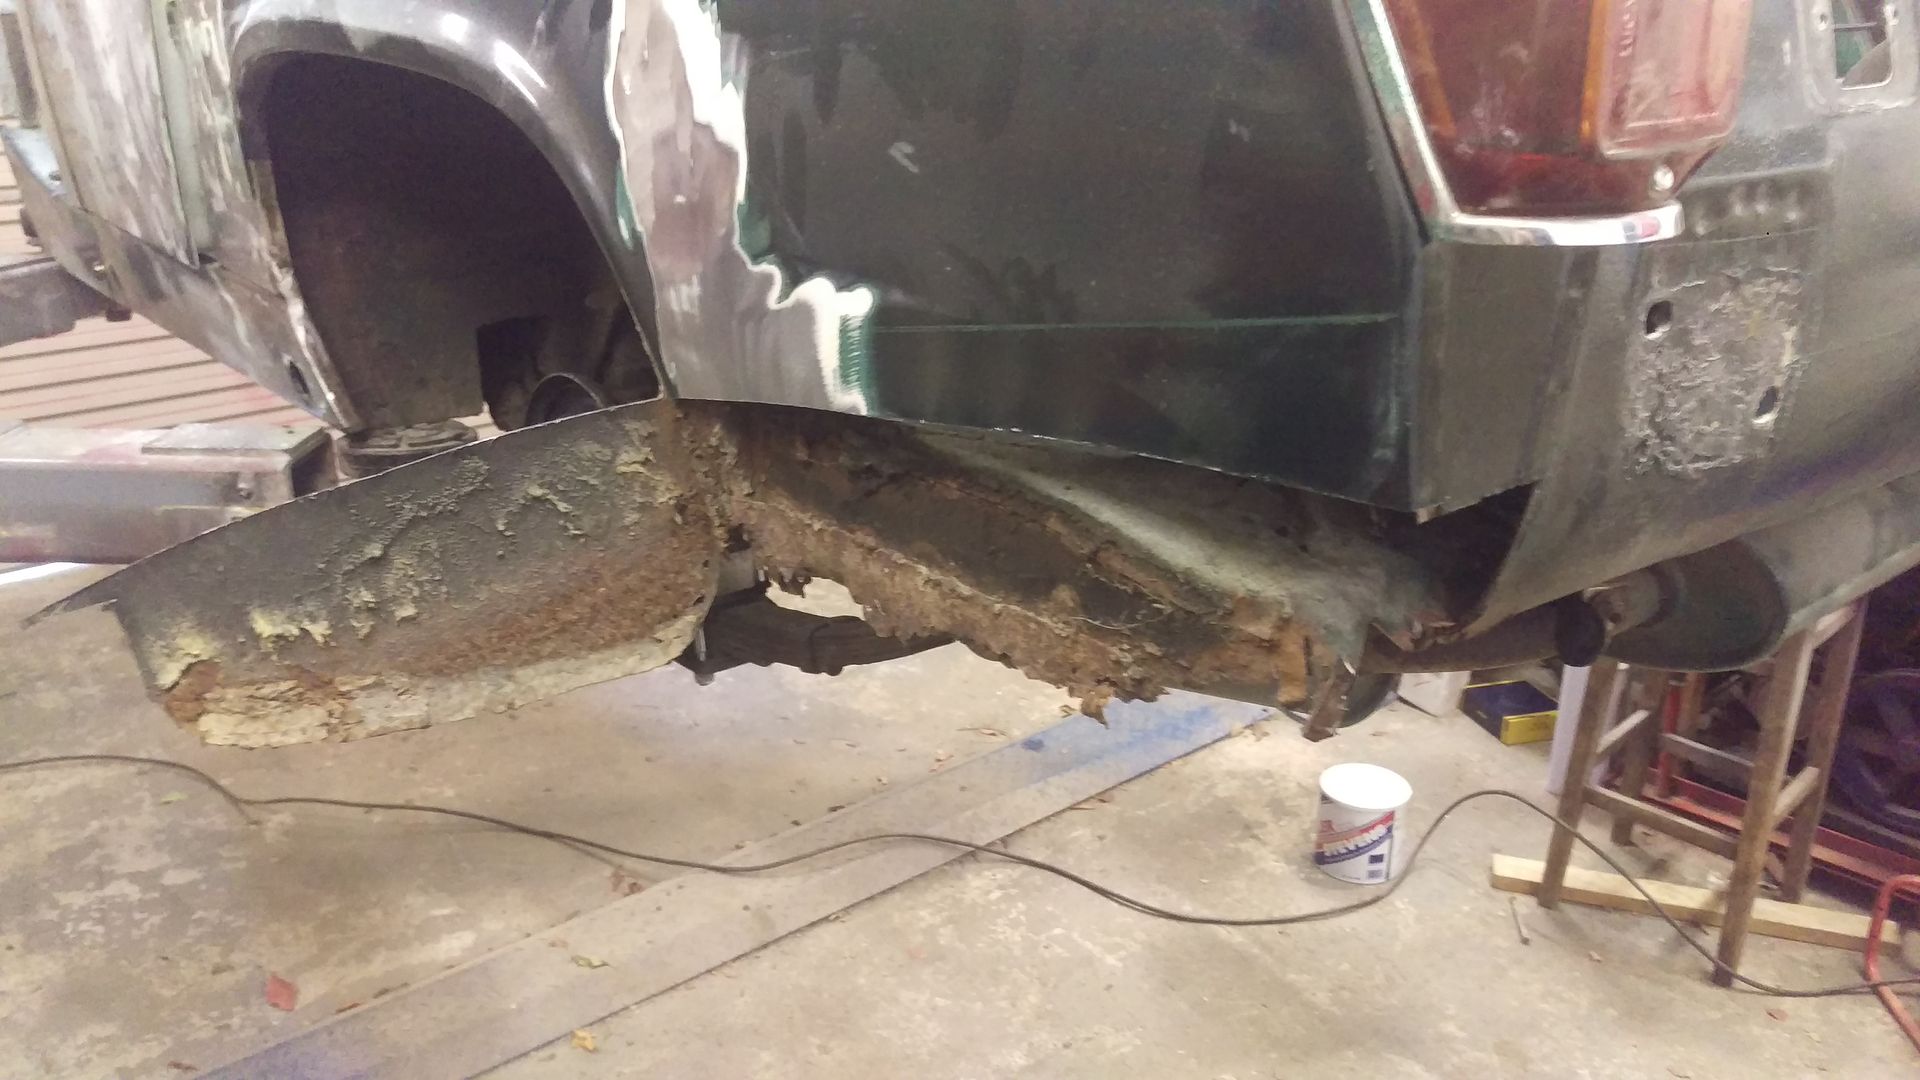 |
| |
Have a look at my restoration blog...www.redhouseclassics.com
|
|
chrismc
Yorkshire and The Humber
www.redhouseclassics.com
Posts: 51
|
|
|
|
Now the outer panels were in place I needed to make up new closure panels for the inside. 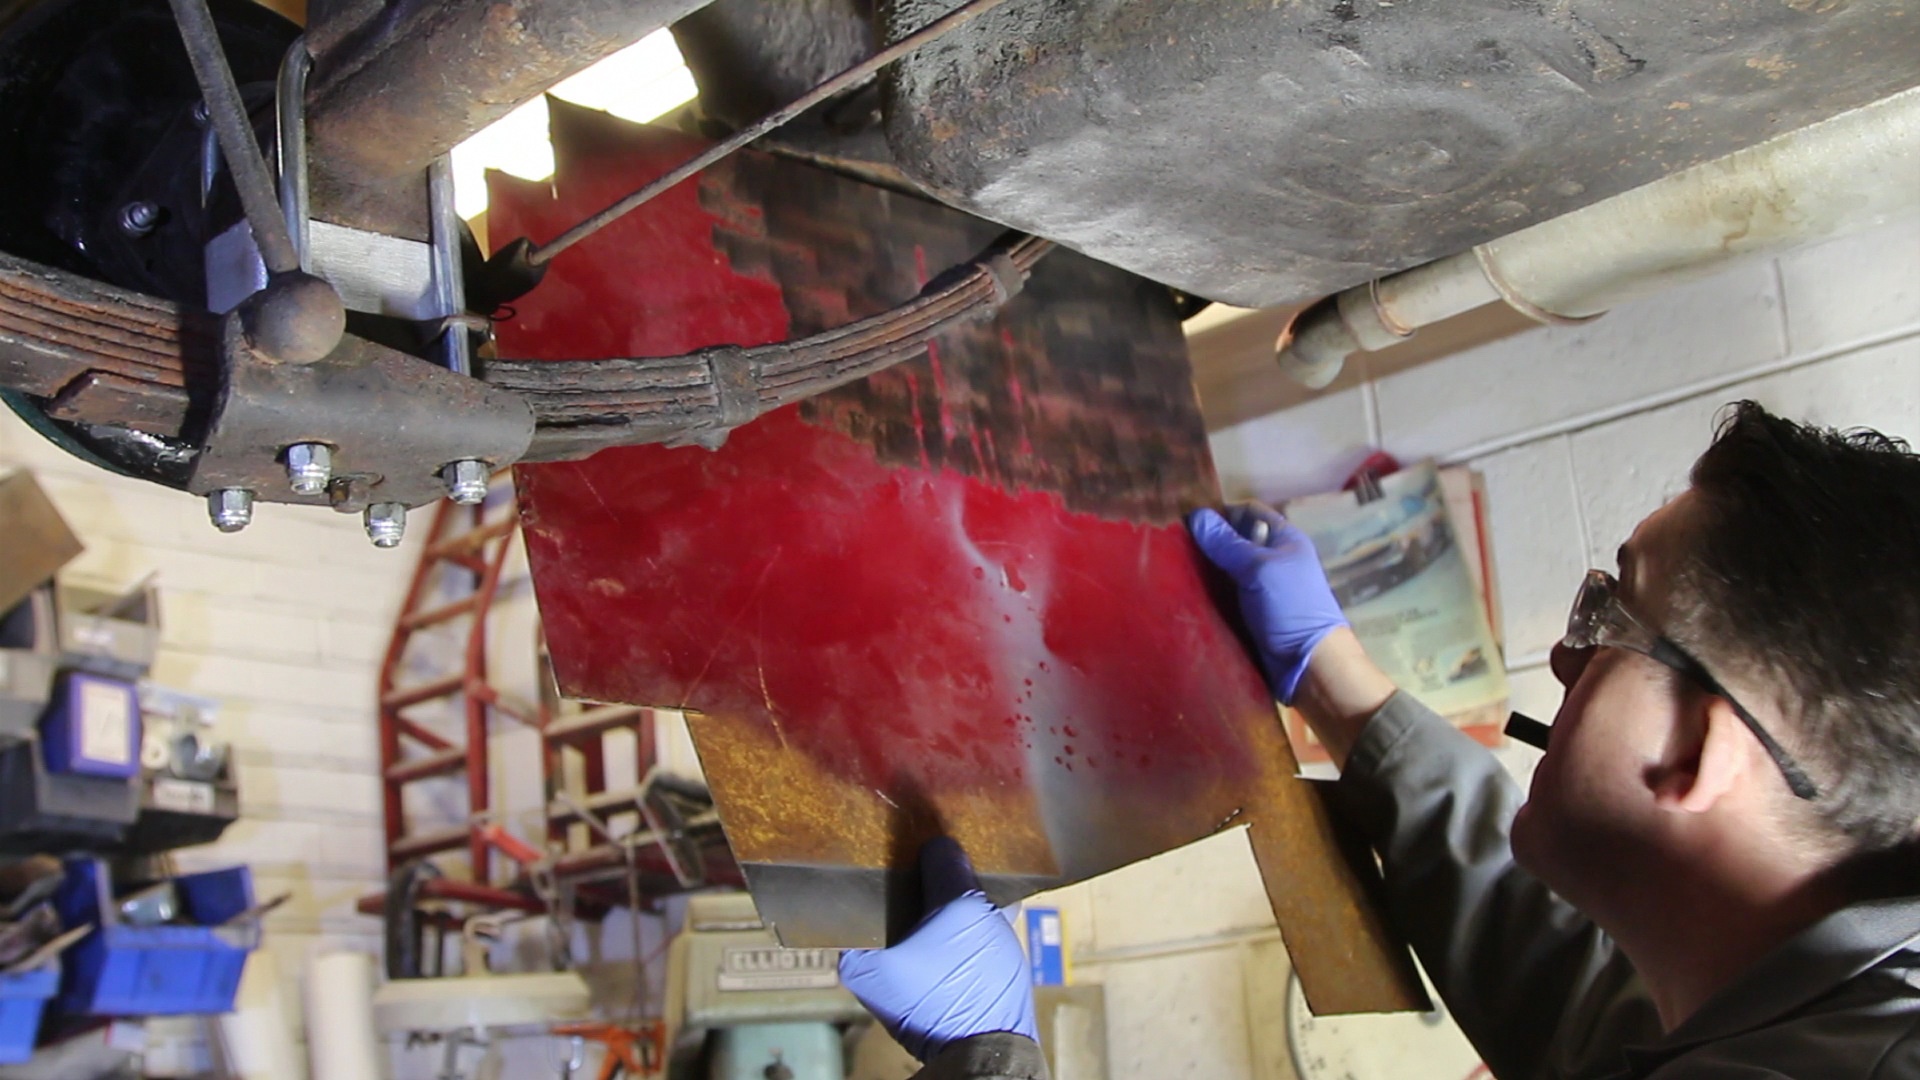 I started by making up a new panel behind the rear wheel. An old friend came round to film me working for a project he is working on so this week the quality of pics will be much better than usual. Don’t get used to it.. The sheet steel was offered up and marked up. This was then cut and shaped. 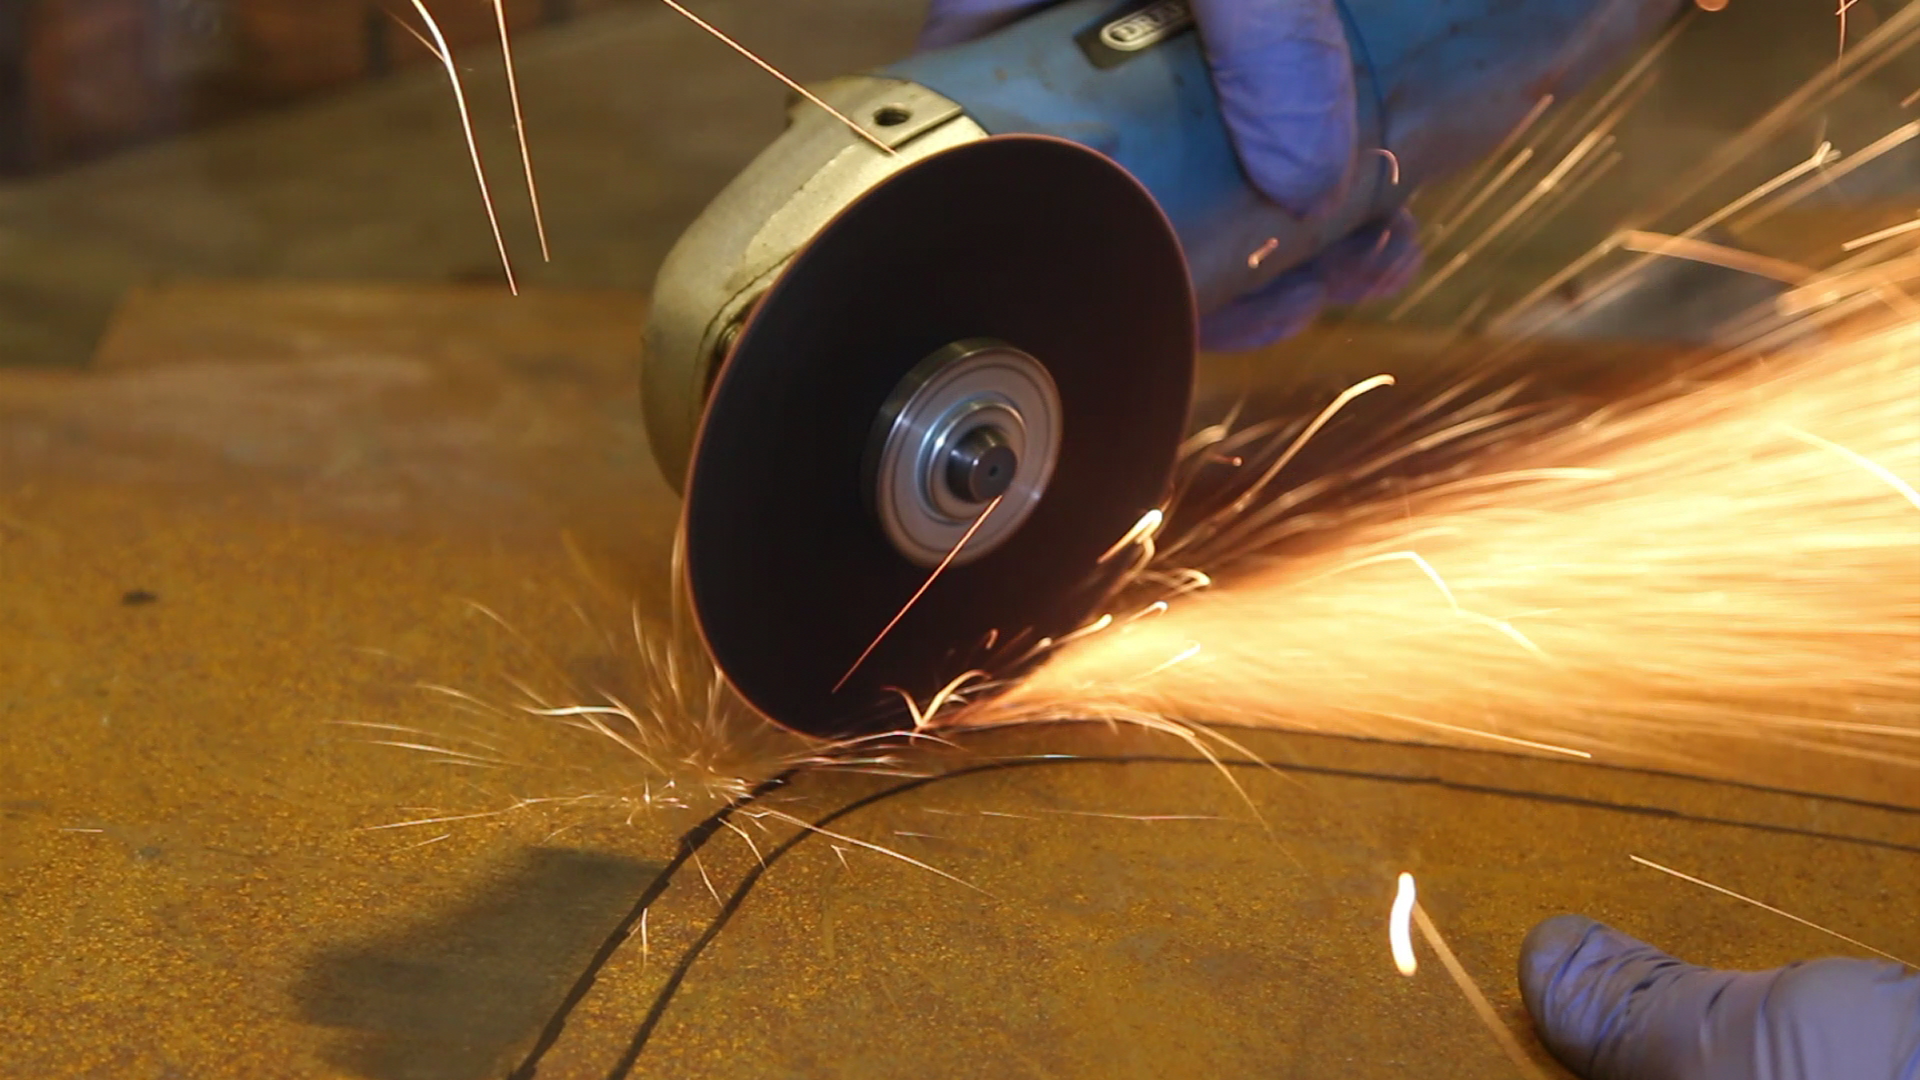 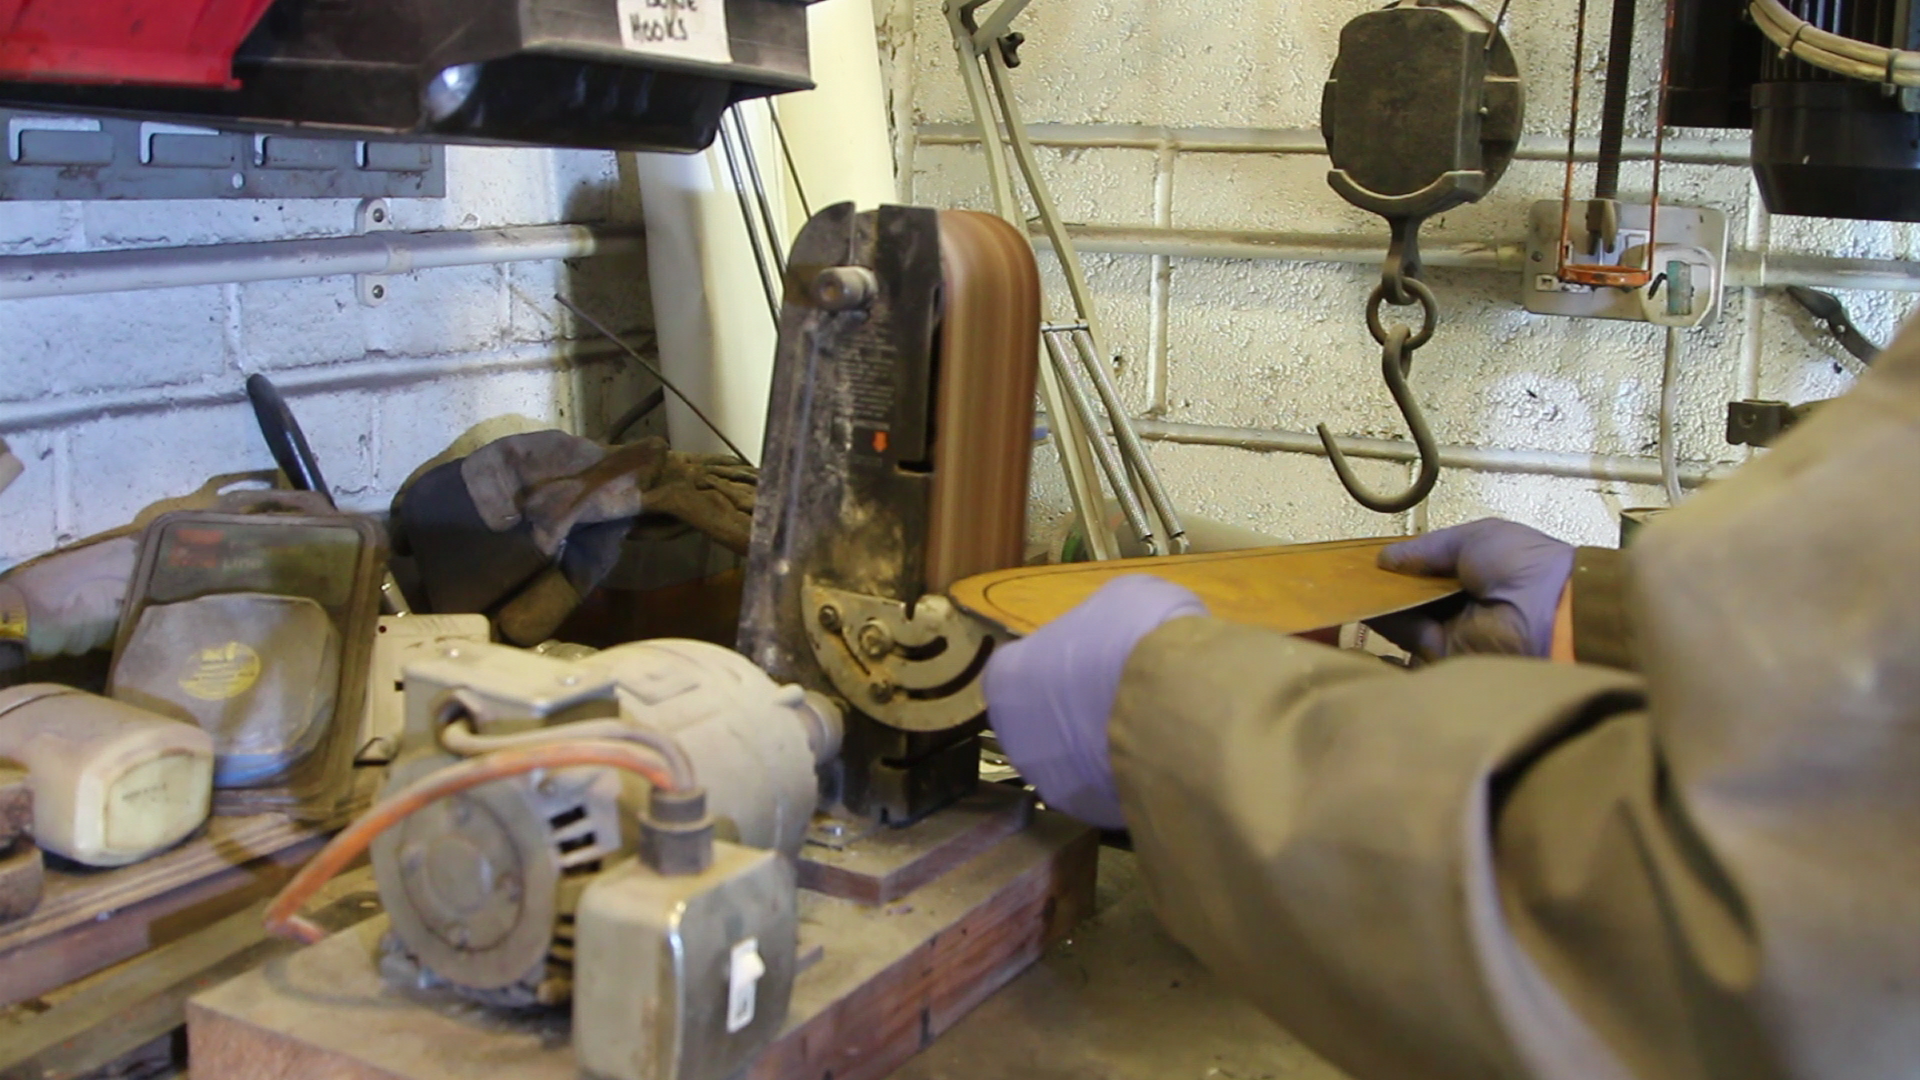 And again checked for size. 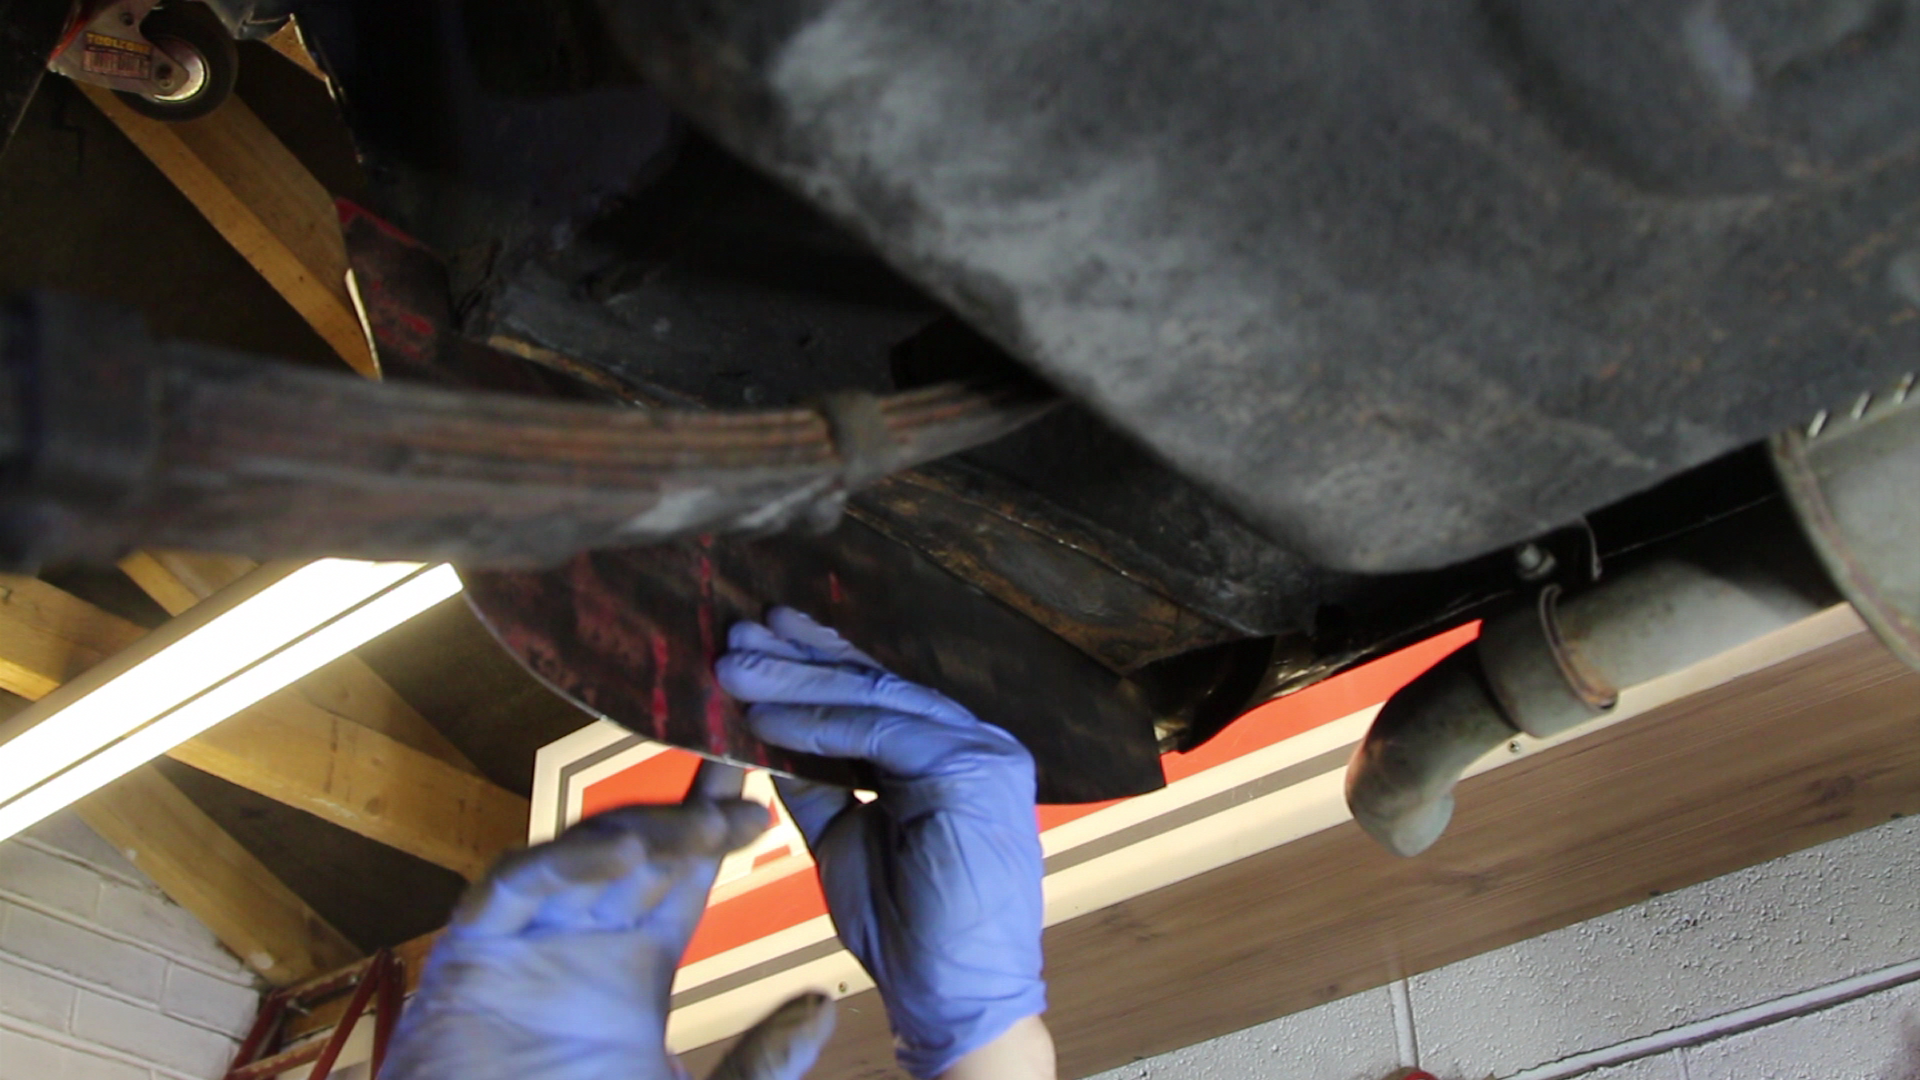 This panel needed a flange down the curved side so this was started using a pair of pliers… 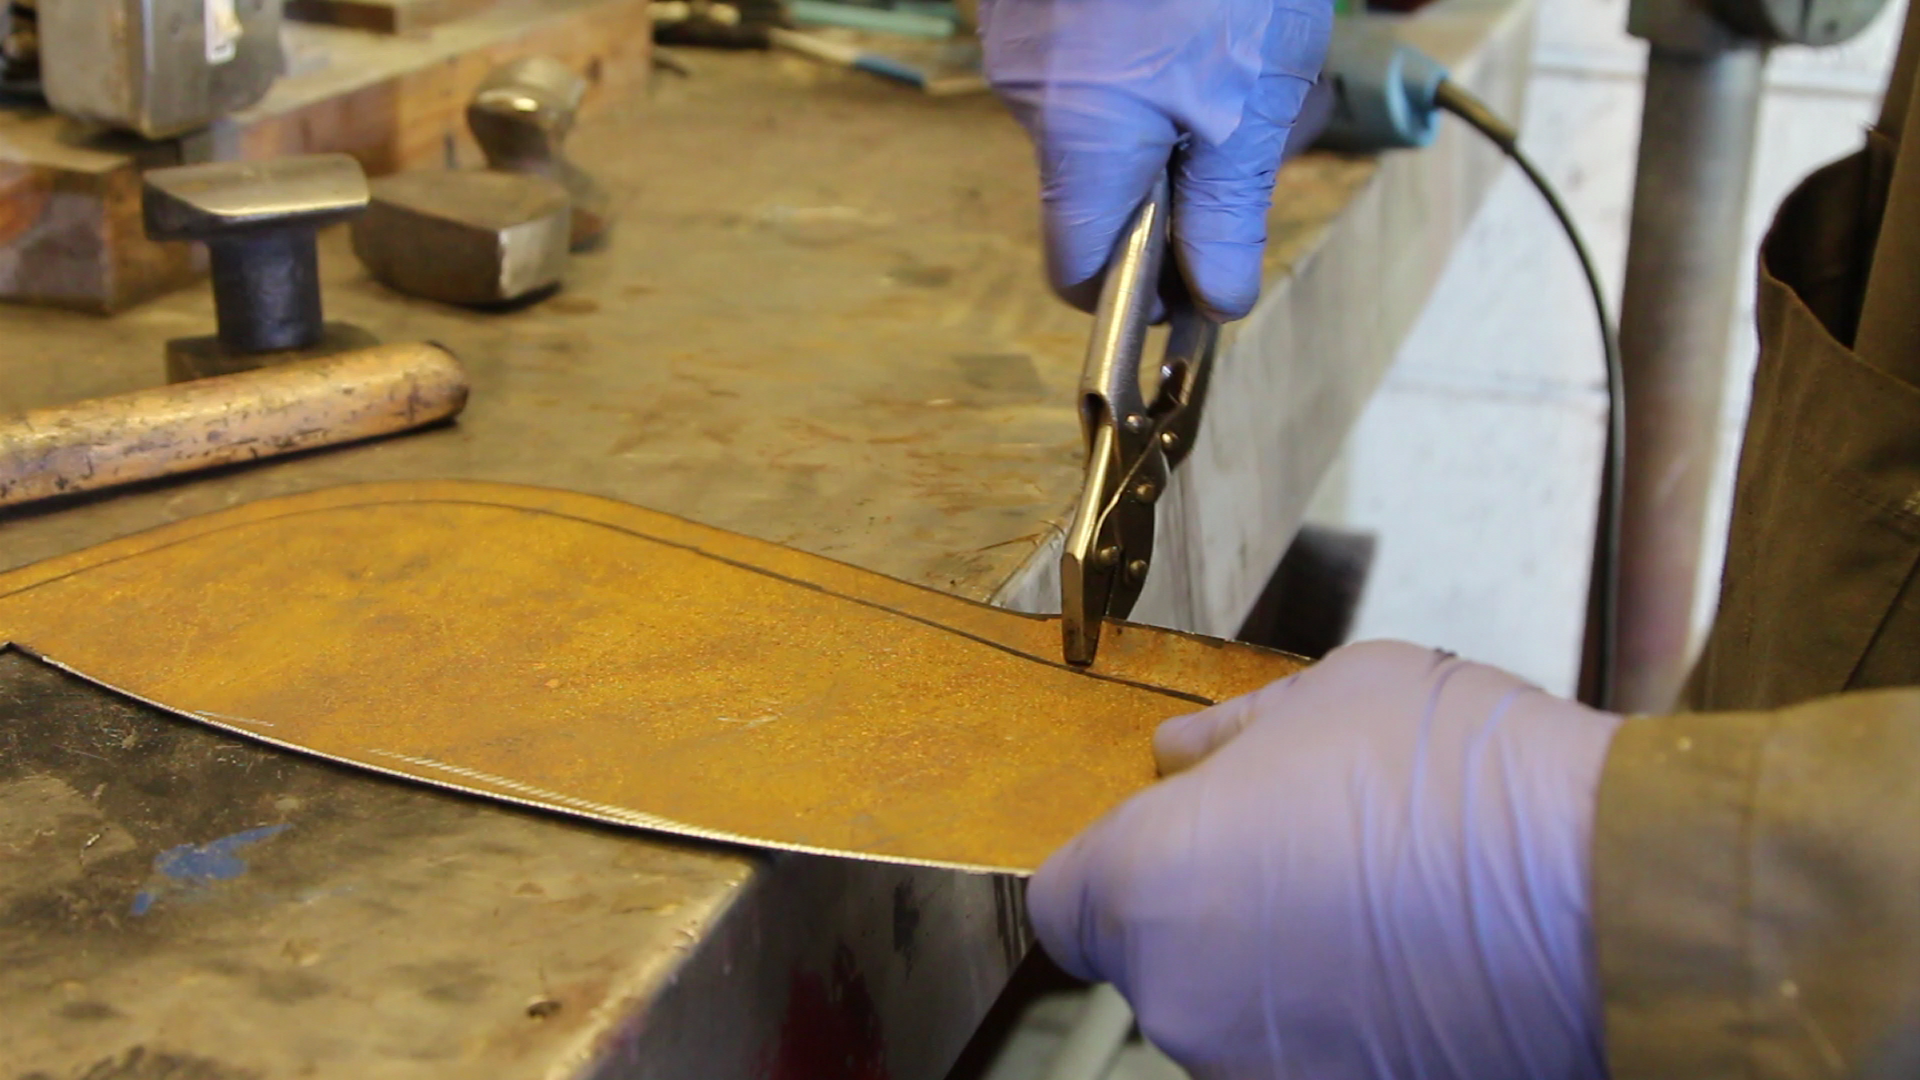 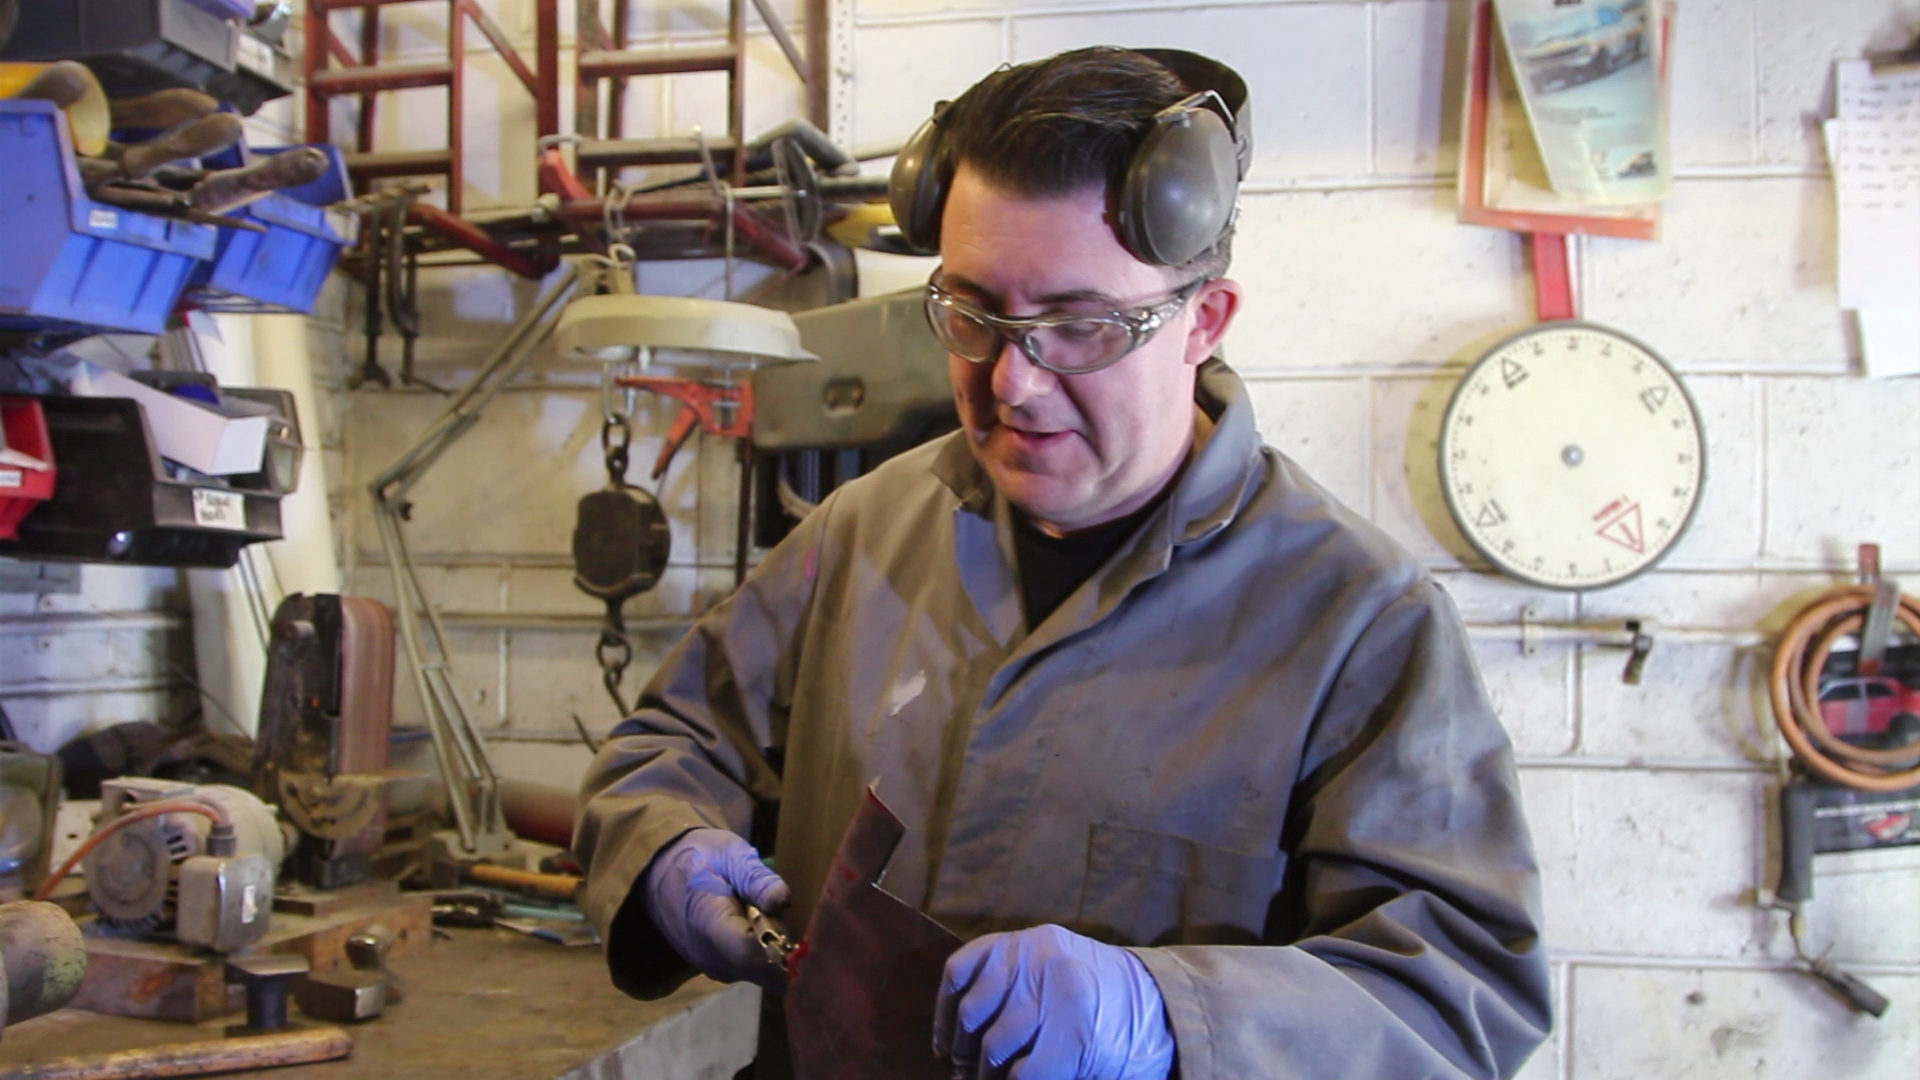 Which gives a rough puckered flange (sounds painful !)… 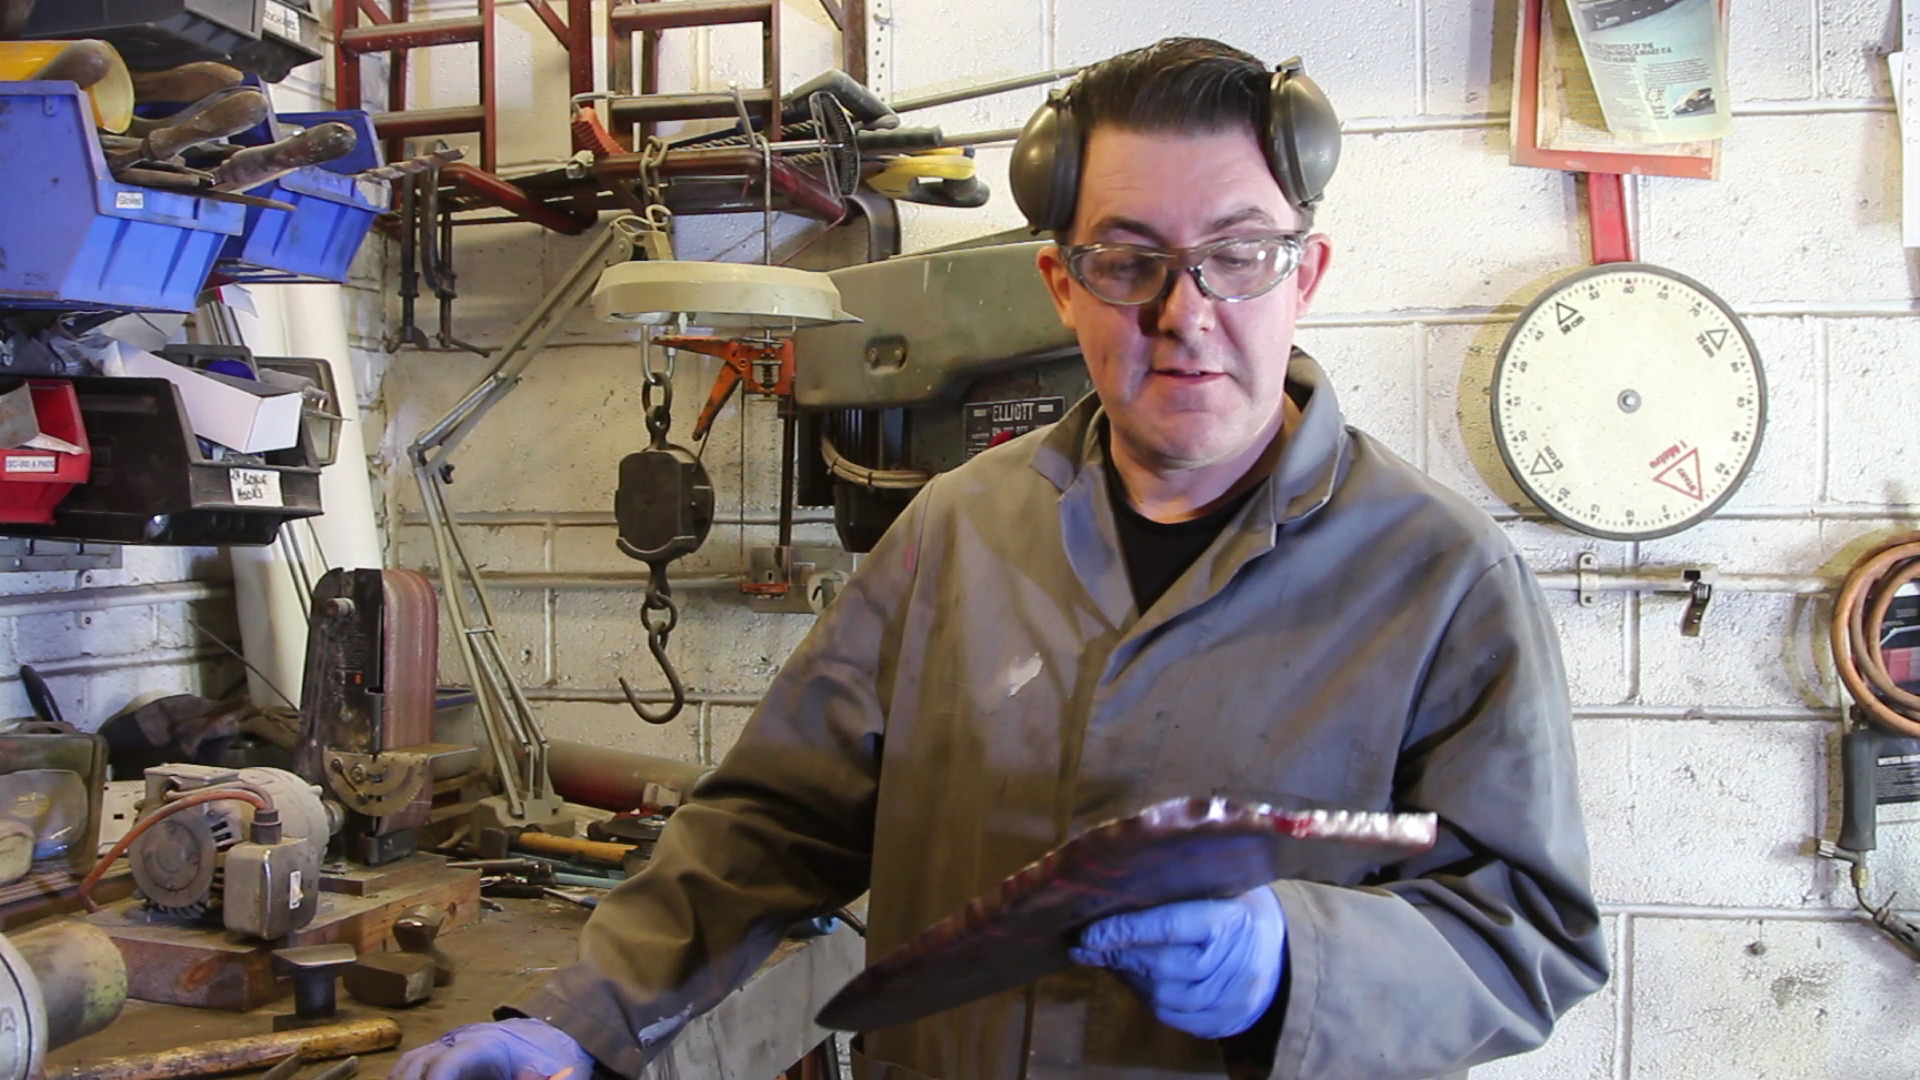 A hammer and dolly are then used to persuade the metal into shape. This takes a bit of persistence… 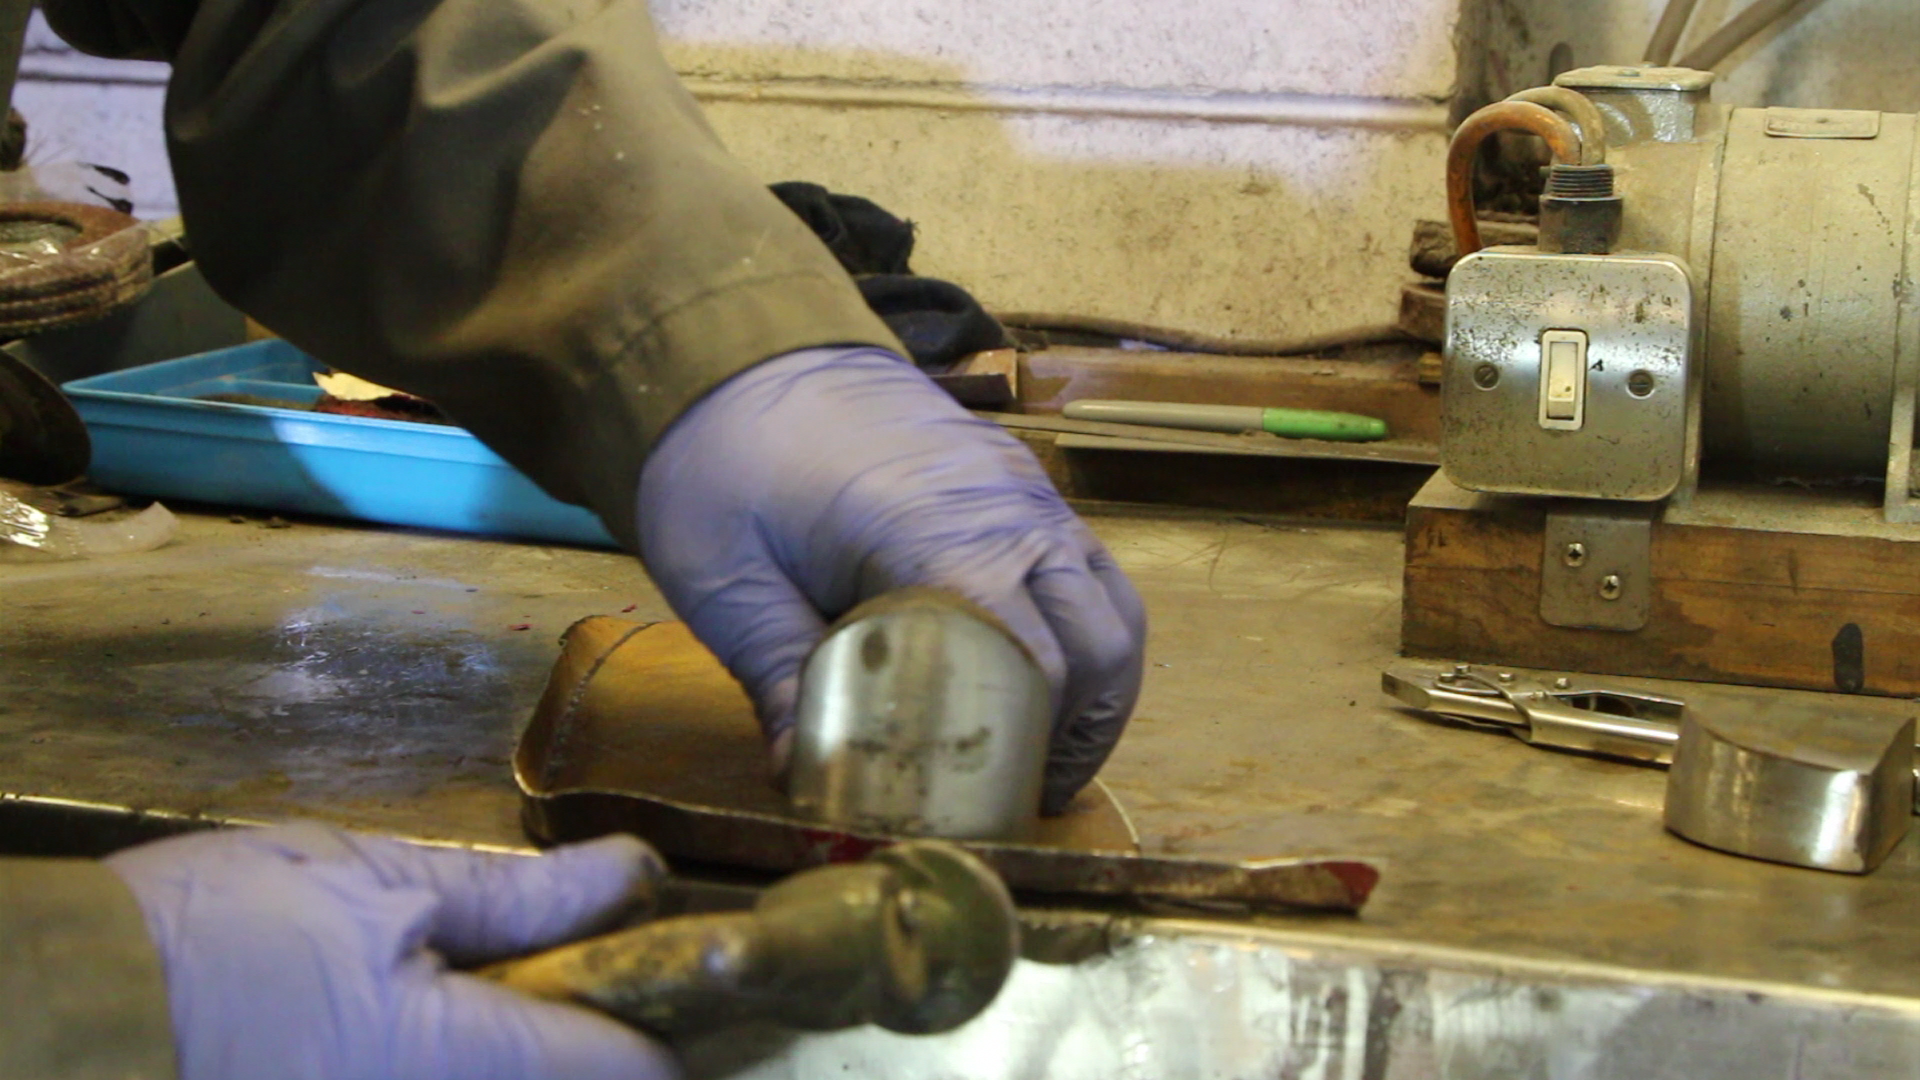 The finished panel looks like this. 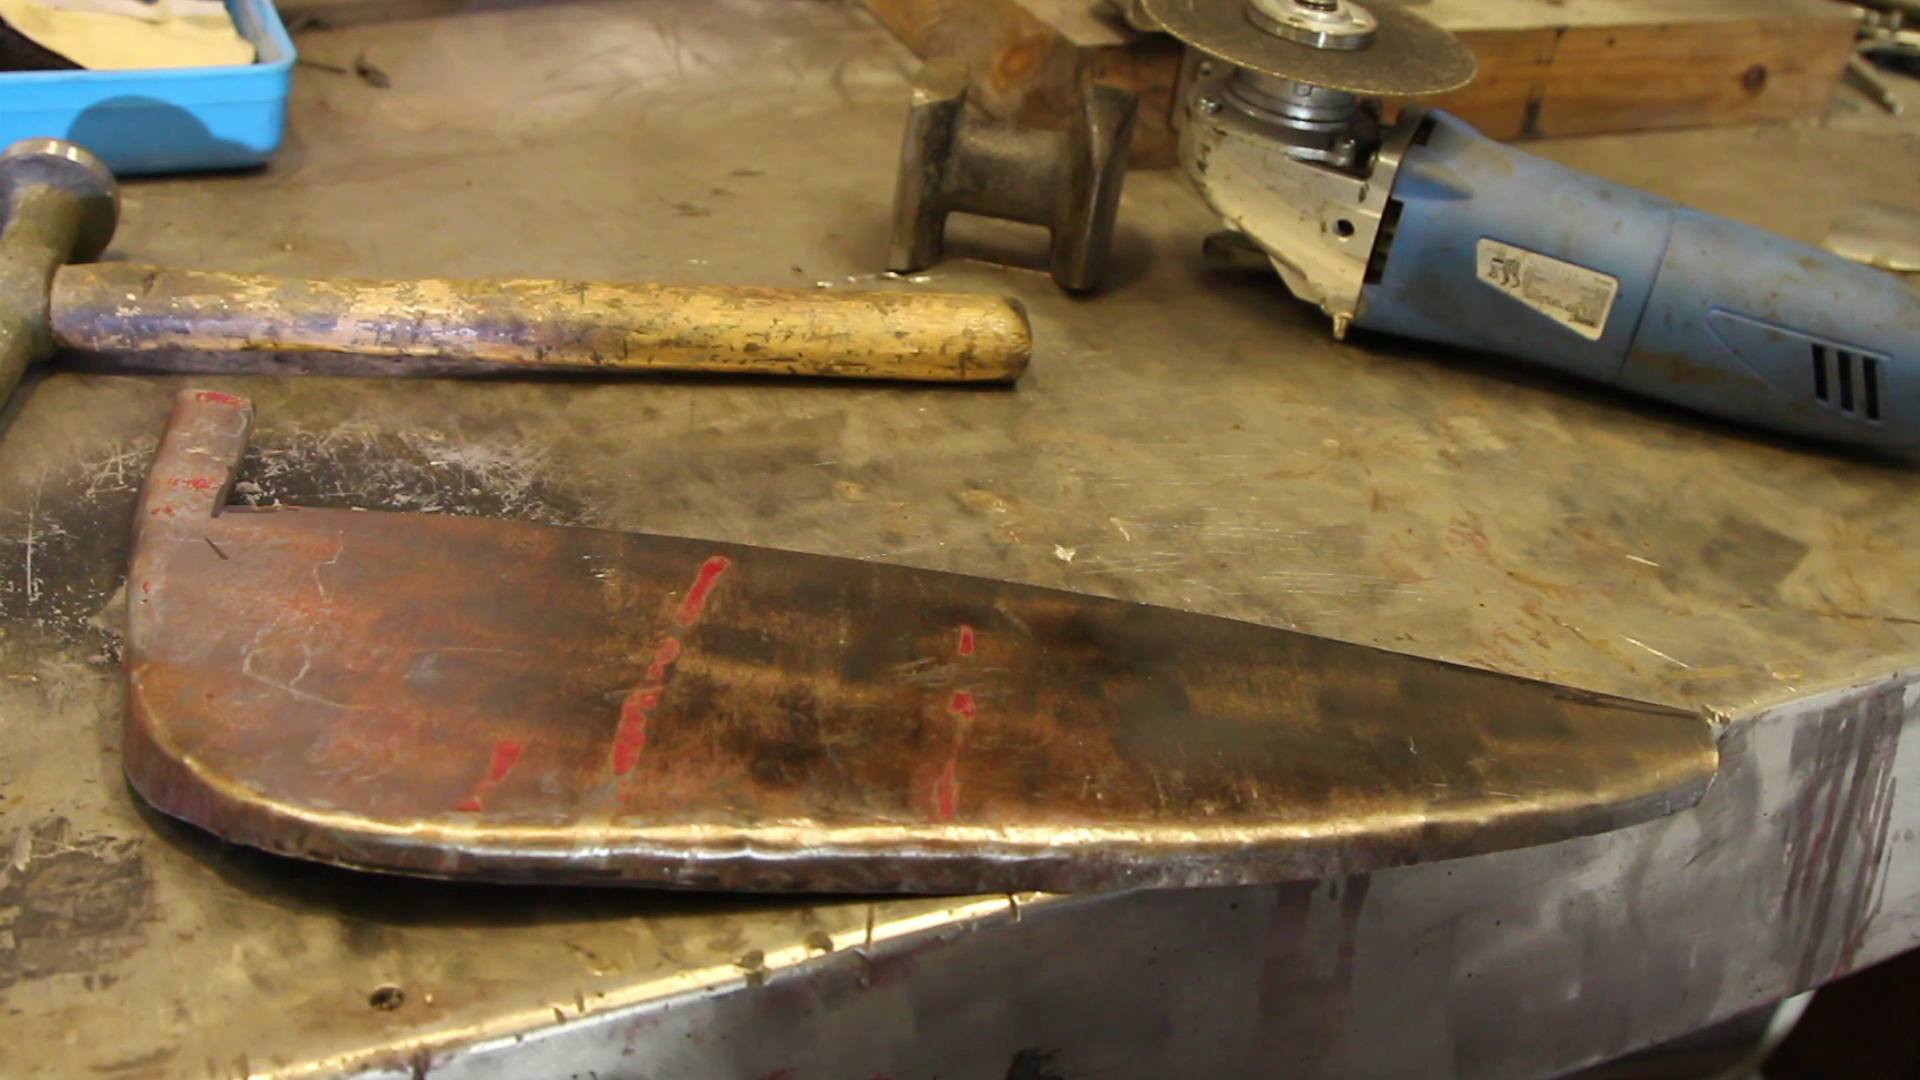 But you have to shine it up for the camera. 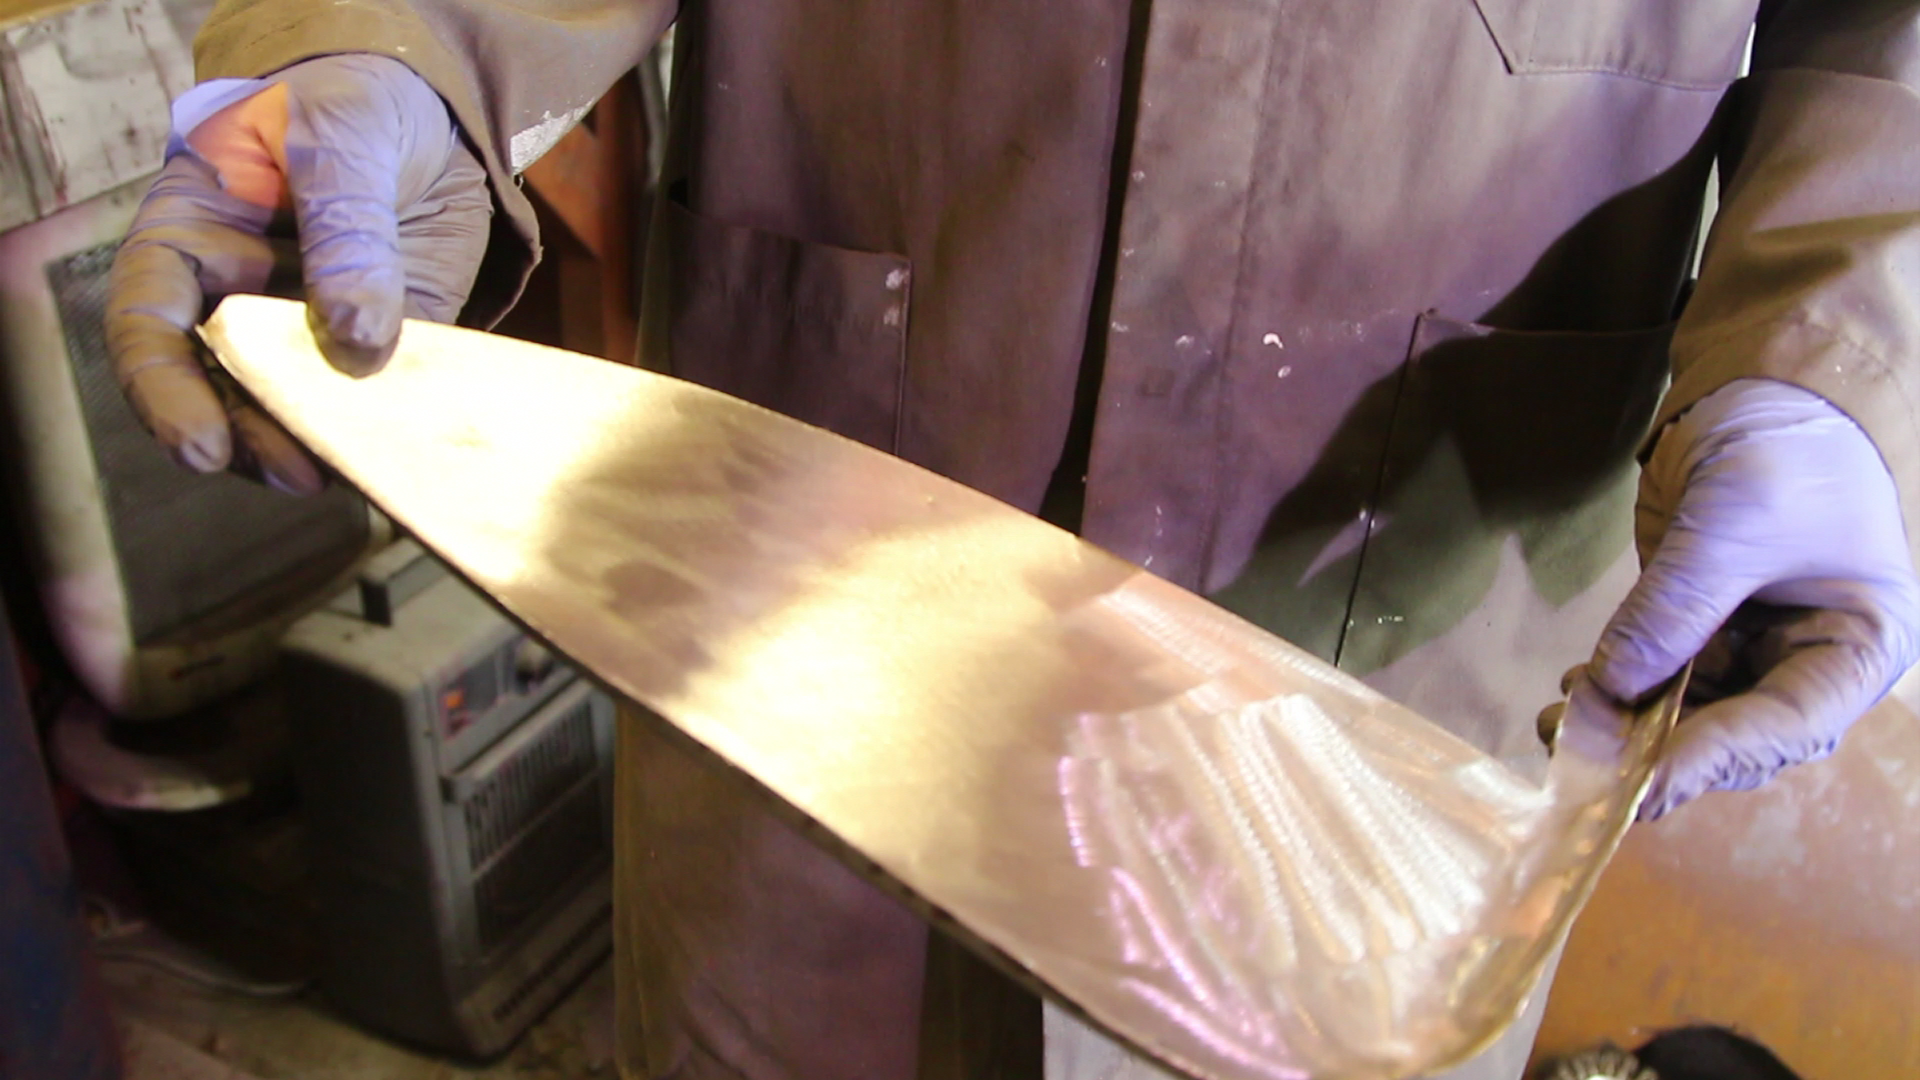 The panel was then offered up and welded in place. 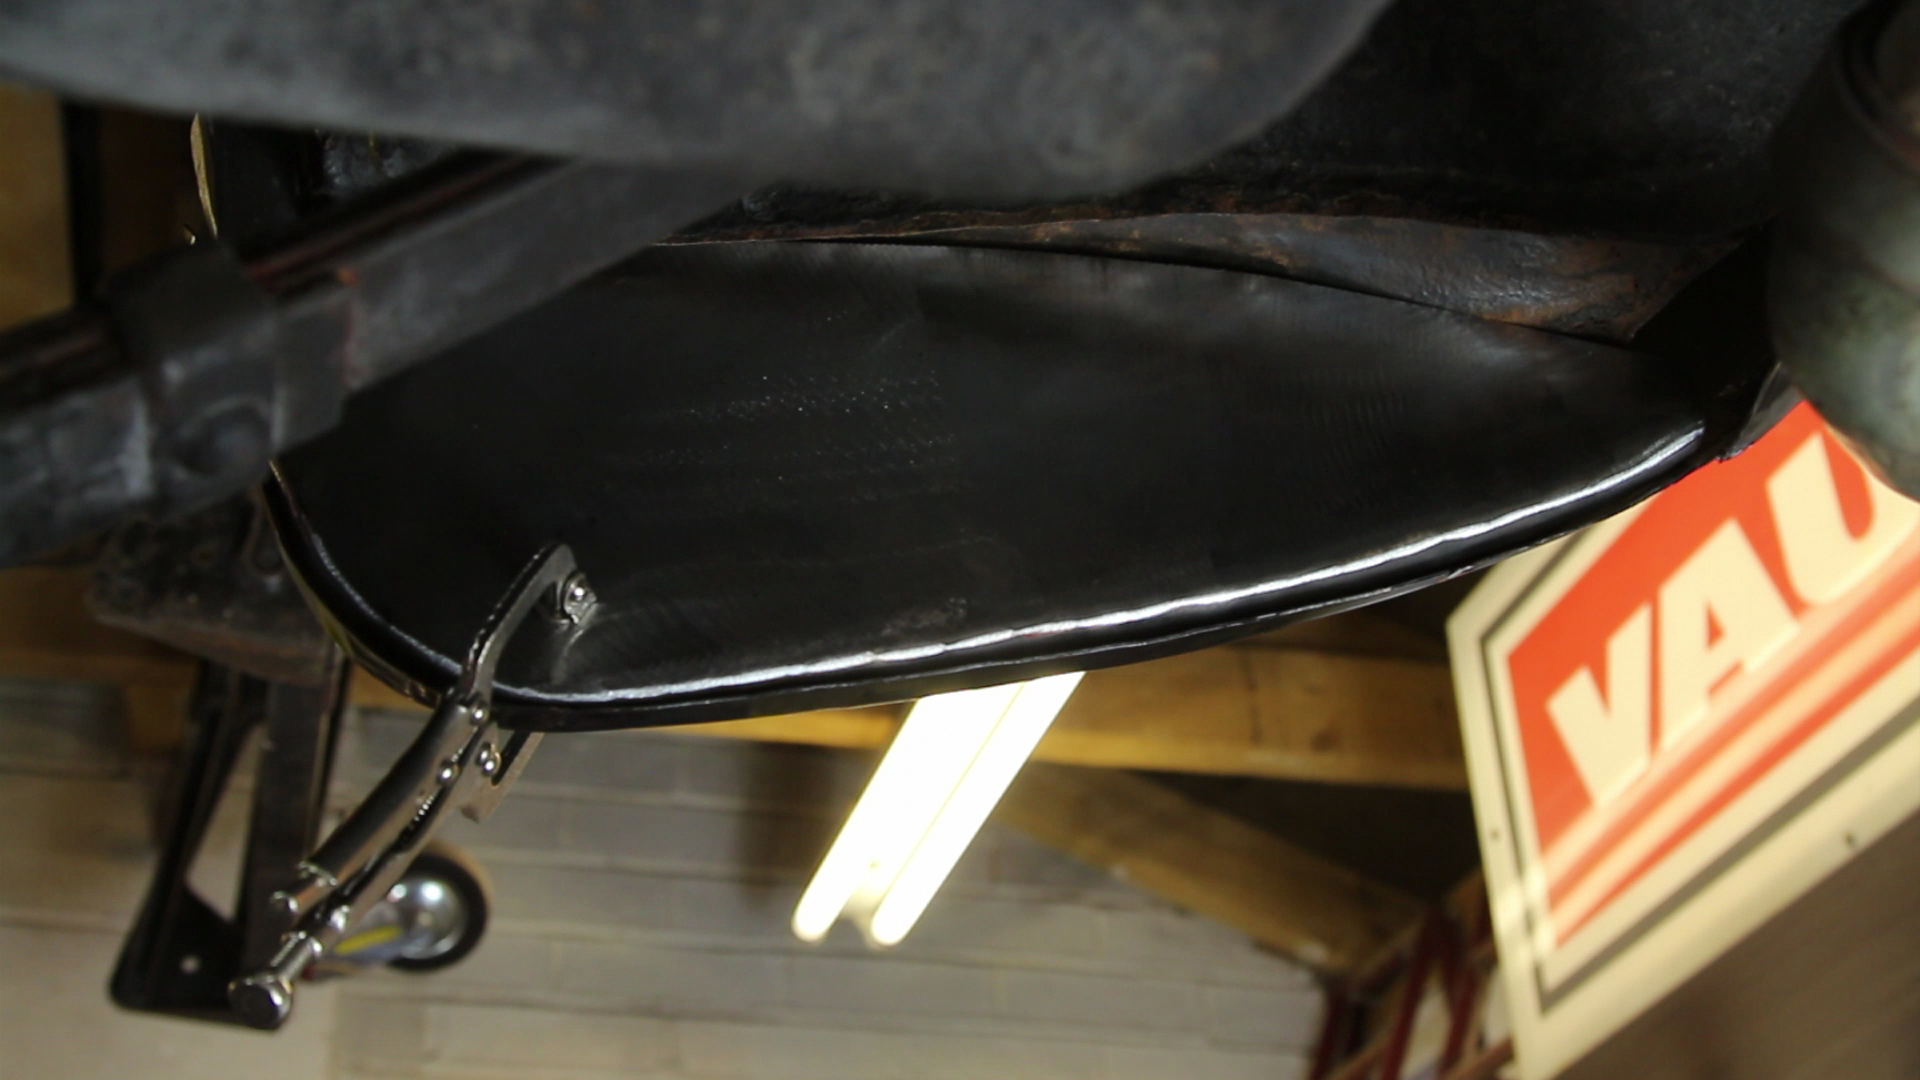 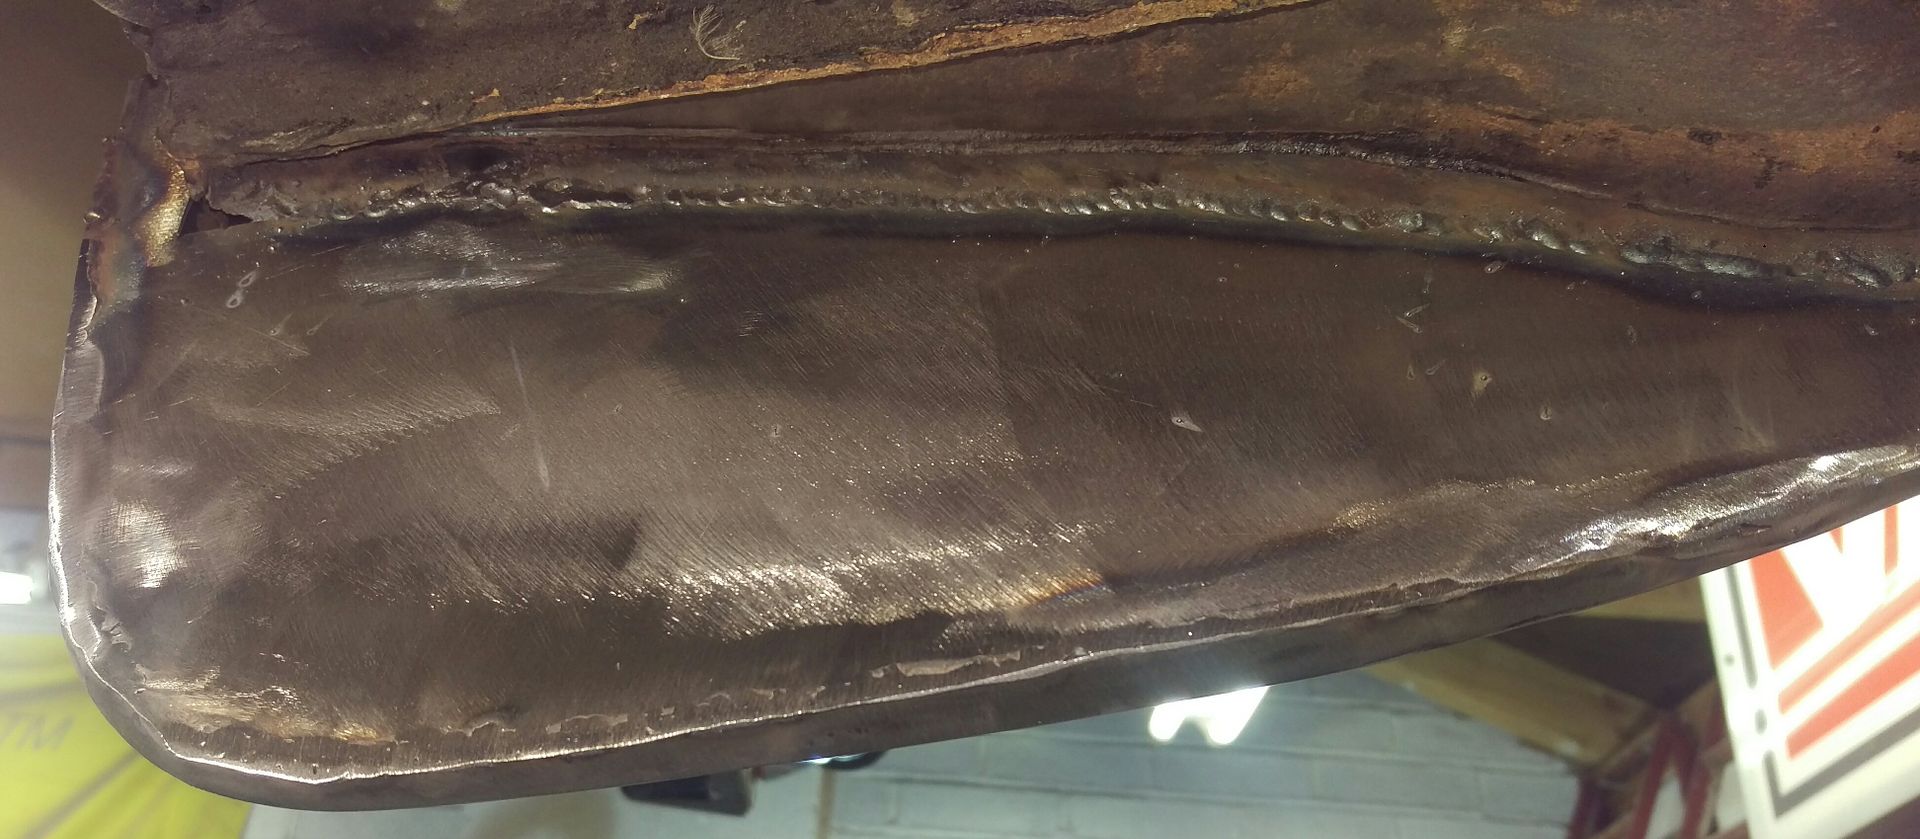 Now I know that the original panel had the flange the other way for ease of assembly in the factory but I prefer this way as you do not end up with a ledge for the mud to sit on. This panel is directly behind the rear wheel so has loads of stuff thrown at it. I’m a Realist not a Purist… The panel is then seam sealed using polyurethane sealant. 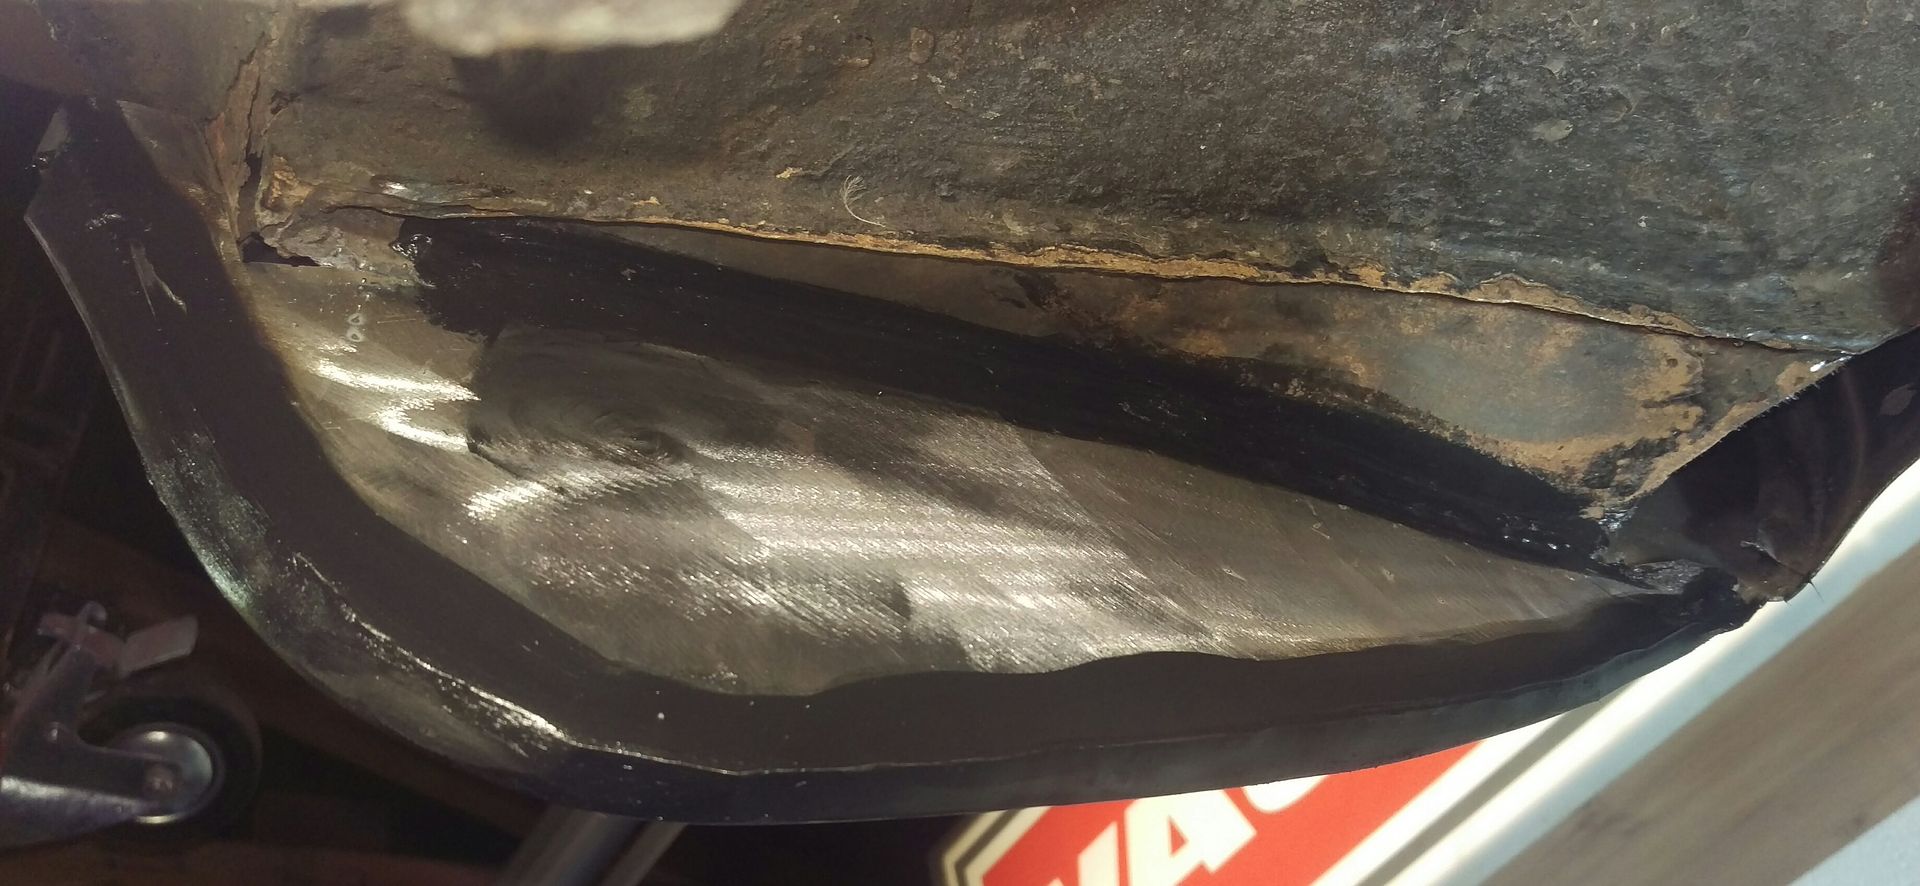 Remember this? Now looks like this. 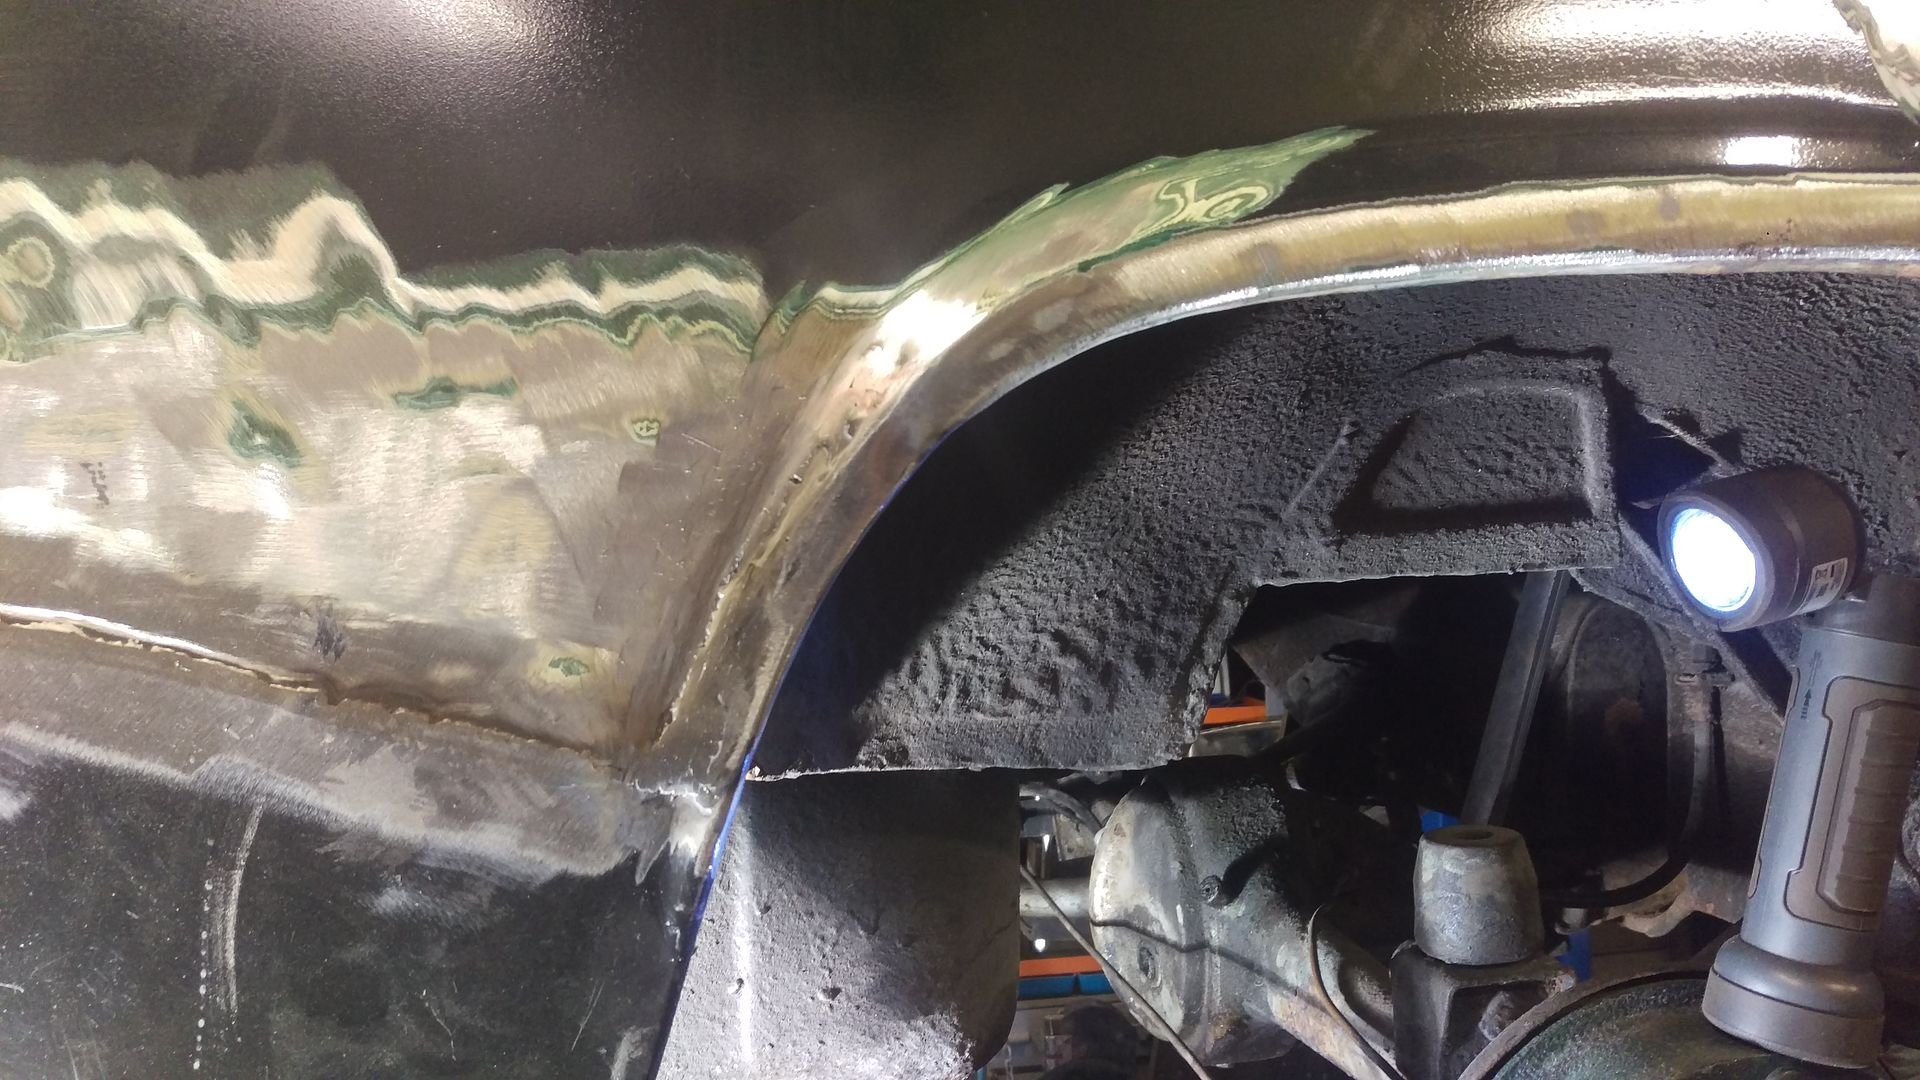 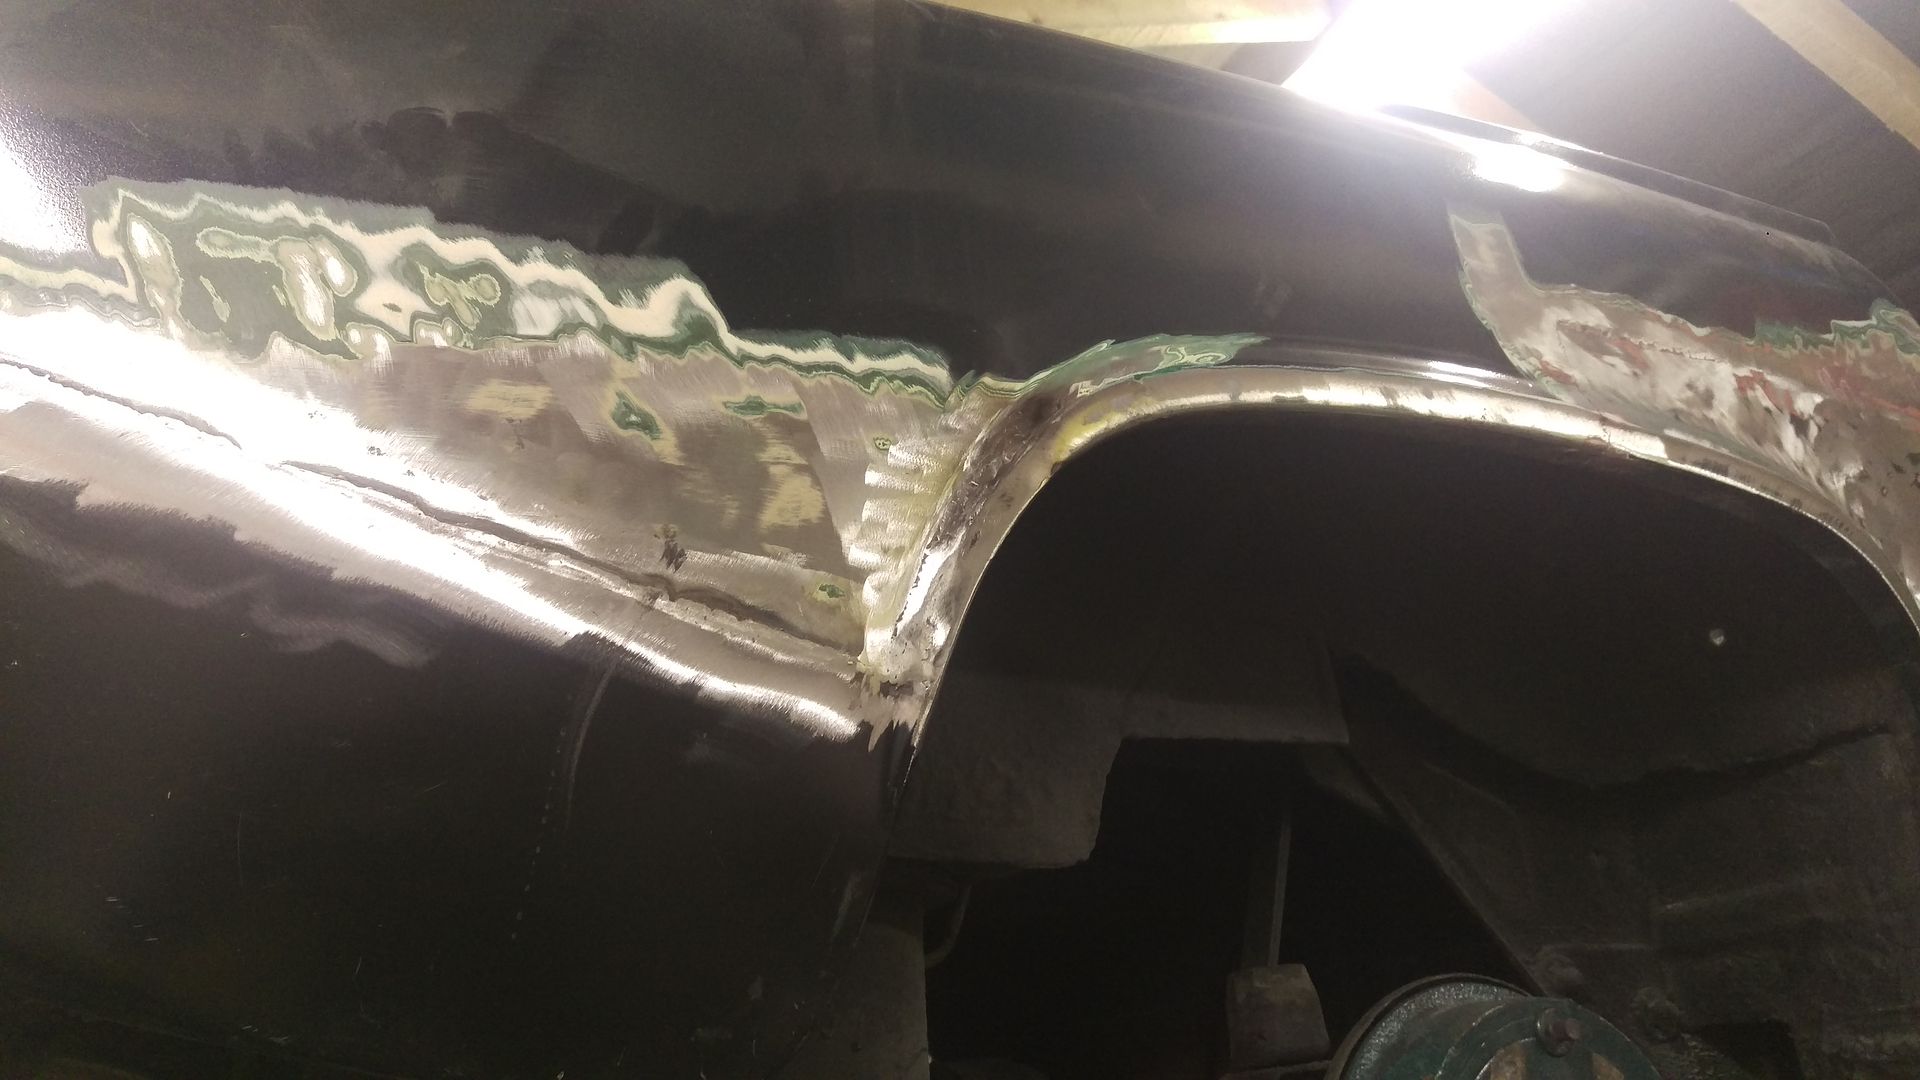 Whilst all this has been going on all the suspension bushes have been replaced, the brakes rebuilt and the car lowered to chrome bumper spec. Still plenty of bodywork to go but the restoration is progressing nicely. |
| |
Have a look at my restoration blog...www.redhouseclassics.com
|
|
|
|