|
|
|
Feb 20, 2017 13:15:28 GMT
|
Chapter 1: Intro I thought I'd start another thread on another unusual Japanese vehicle that I acquired over the years. In fact this probably makes a even rarer sight on the UK roads than the Maxima as, unlike the Nissan, this was never officially imported over. So without further ado I present you the Honda S-MX.  I actually bought this nearly 3 years ago from a nice chap on this forum (original ad here). It needed attention to the brakes and suspension drop links. With these sorted, I started using it to support my house refurbishment and associated haulage of various material and tools. However shortly after collecting its last load of wooden flooring, the steering rack started leaking oil. With a baby due imminently, and the house still requiring a large amount of work, I knew I wouldn't be able to find time to fix the van and so I attempted to offer it for repair, back on this forum ( ad). The little Honda generated absolutely zero interest, so true to my words on the ad, I decided to keep it until I have the chance to give it the attention it deserves. Fast forward 3 years, and another house in need of refurbishment brought the need for a van again. I intend to get the Honda van repaired, recommissioned and MOT'd within the next two months so that it can fulfil its daily duty as commuter and weekend work horse by the end of April. In the meantime I leave you with some pictures of the van in its current condition.  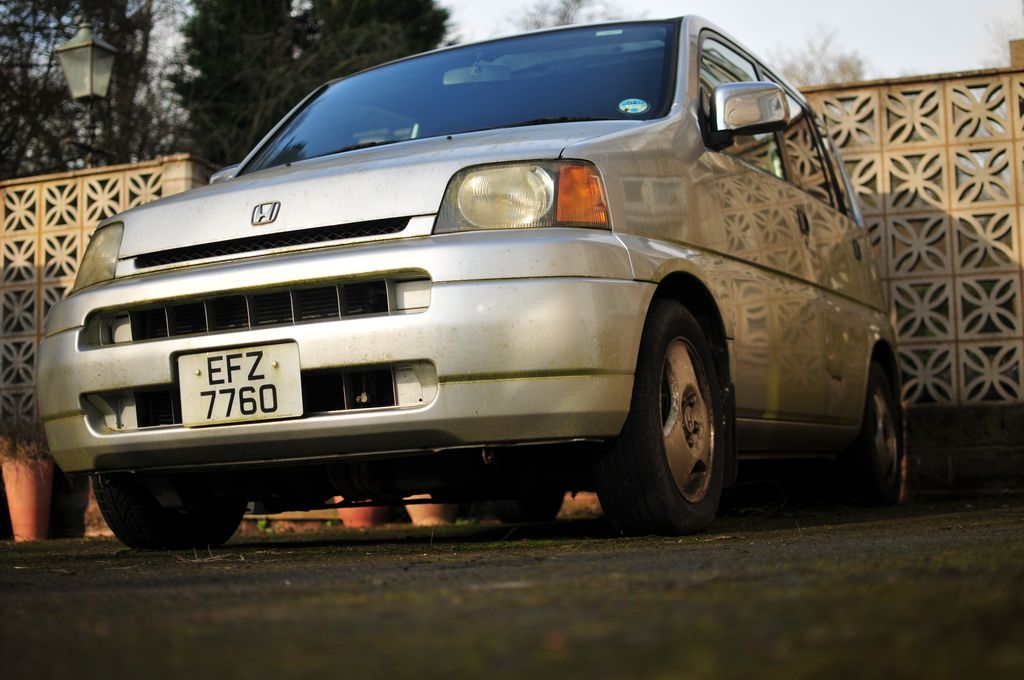 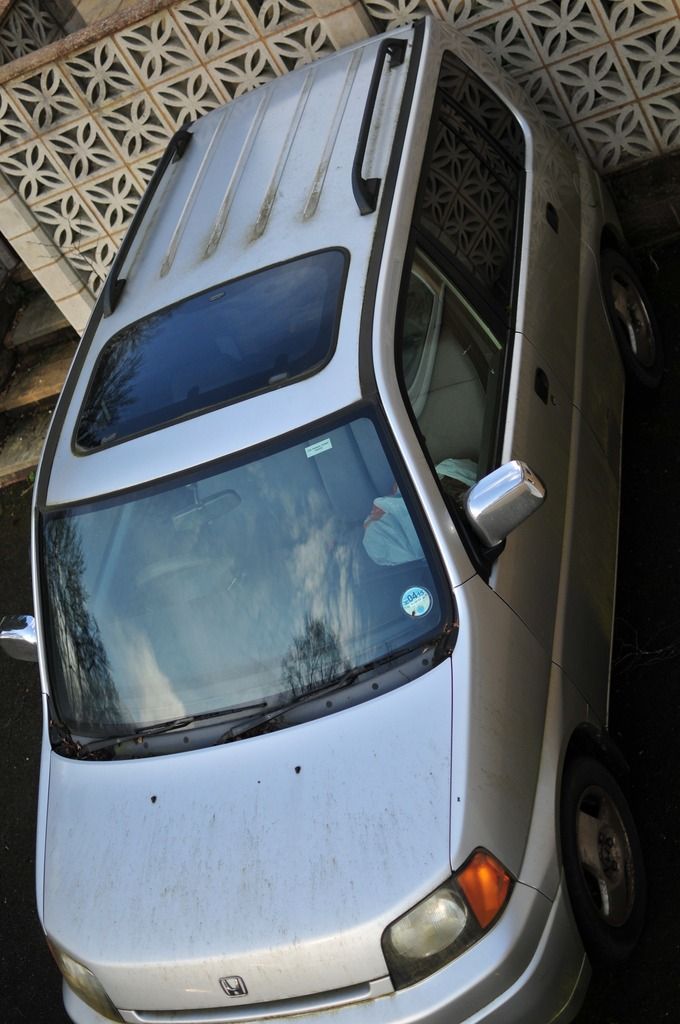 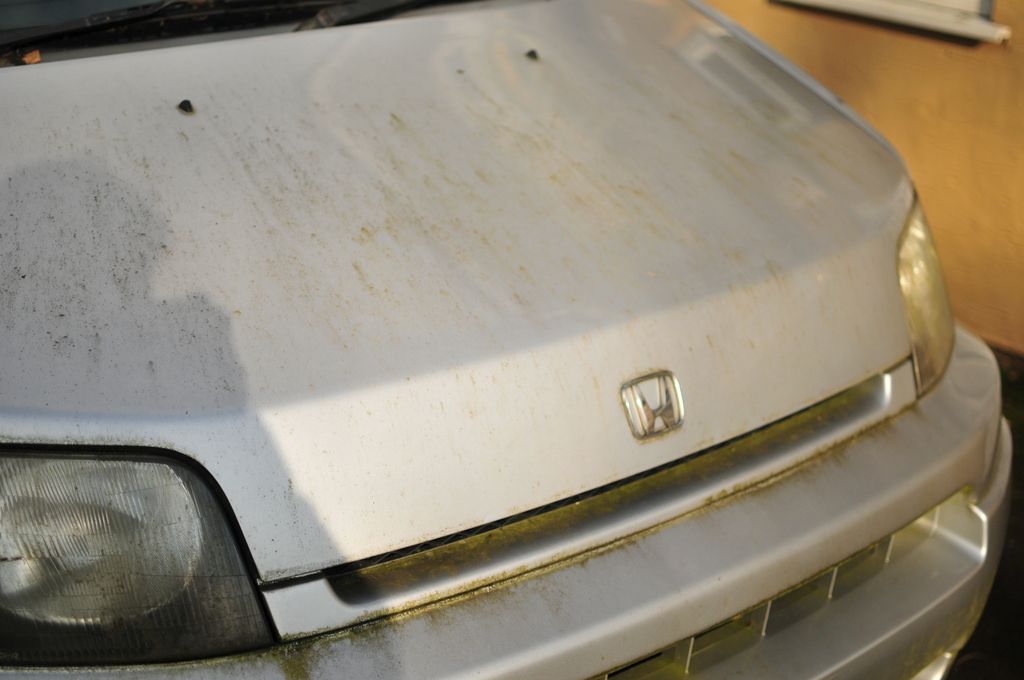 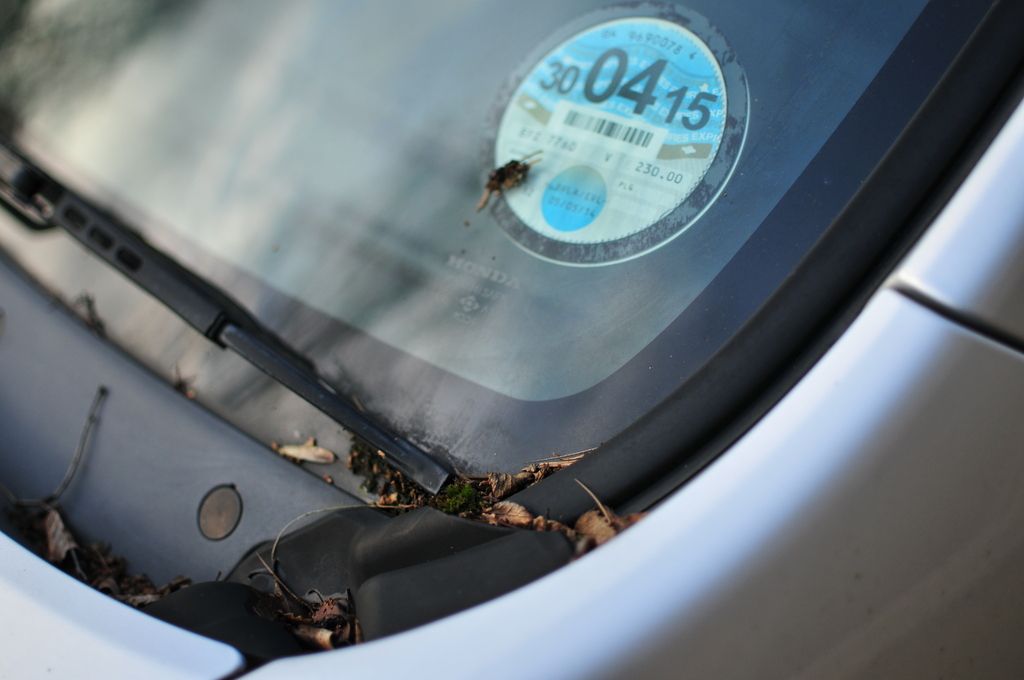 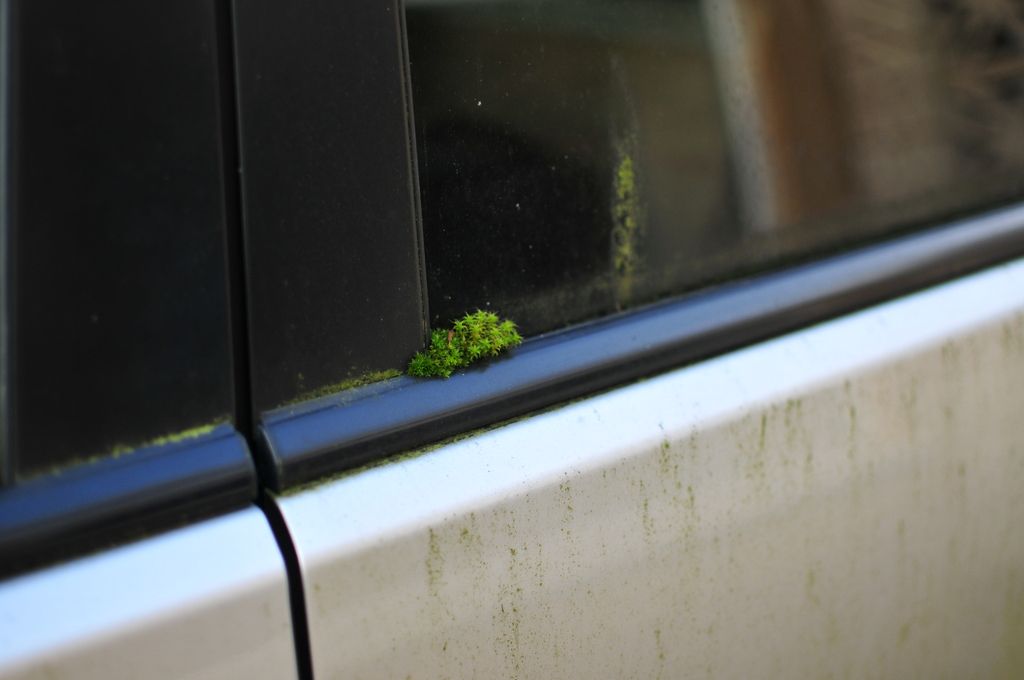 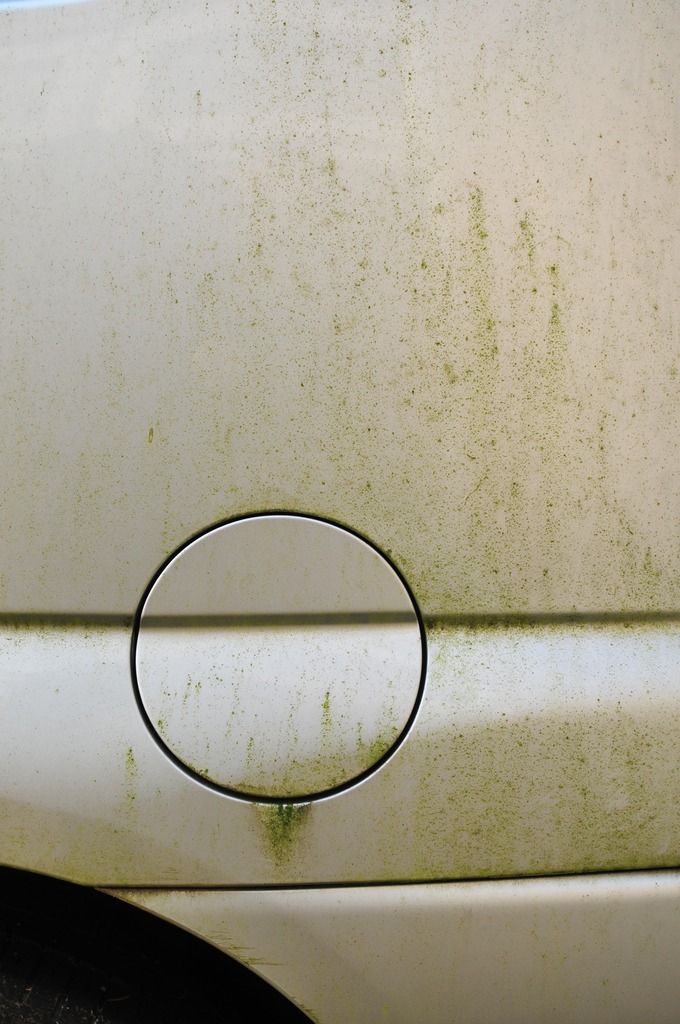 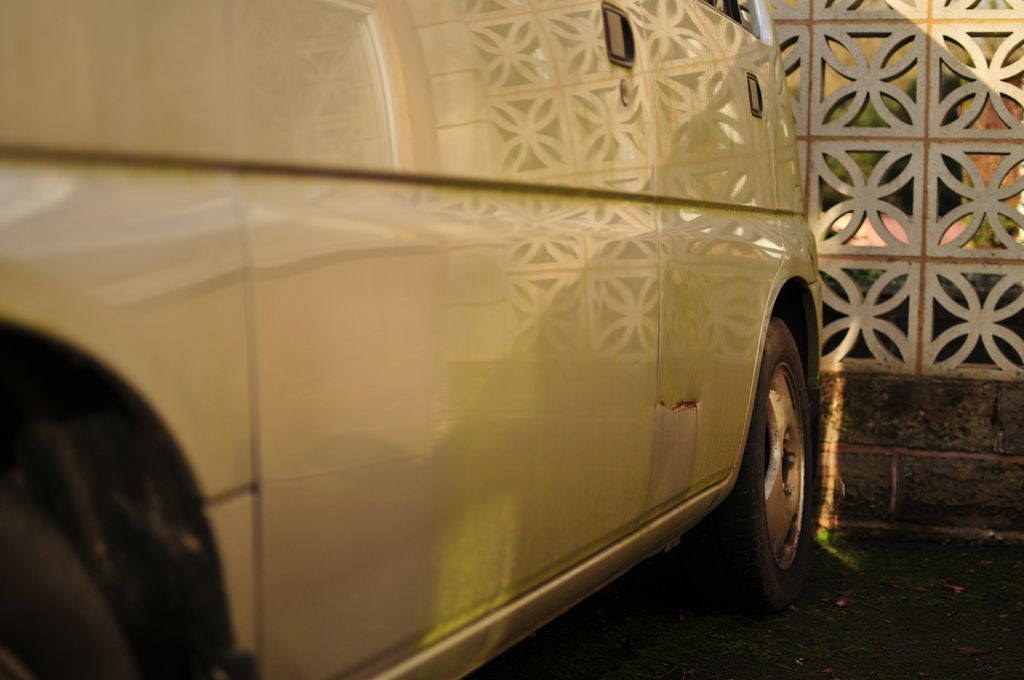 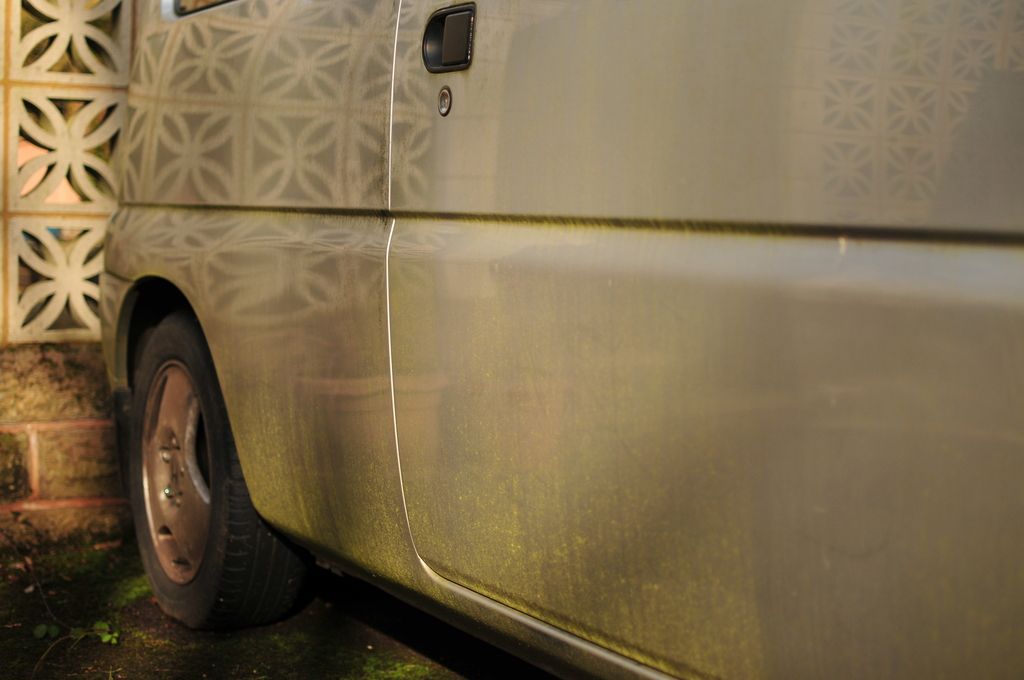 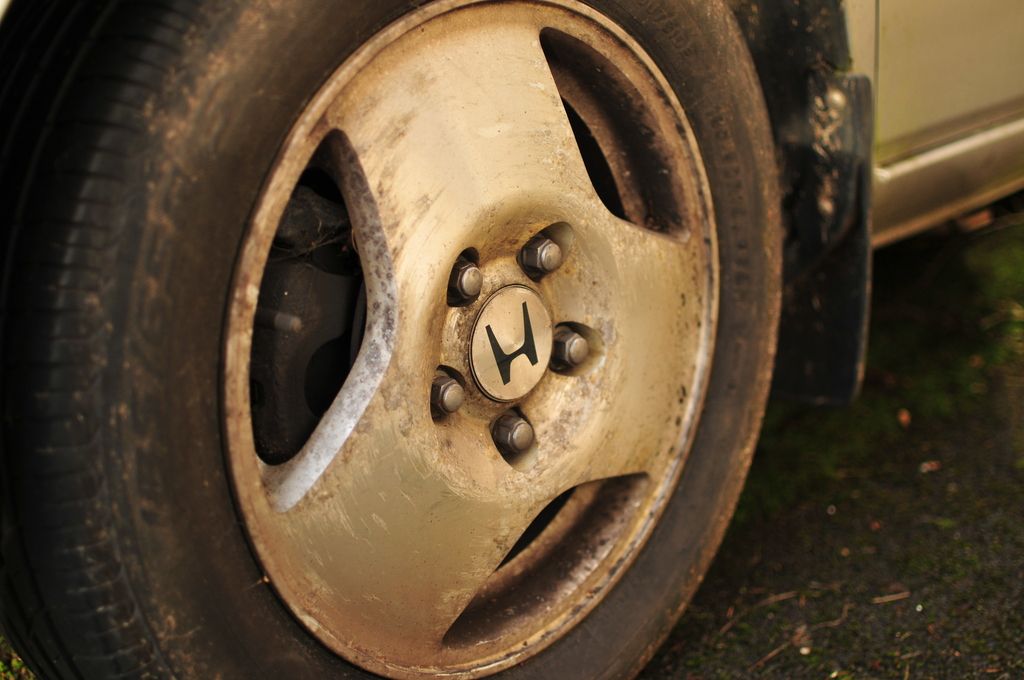 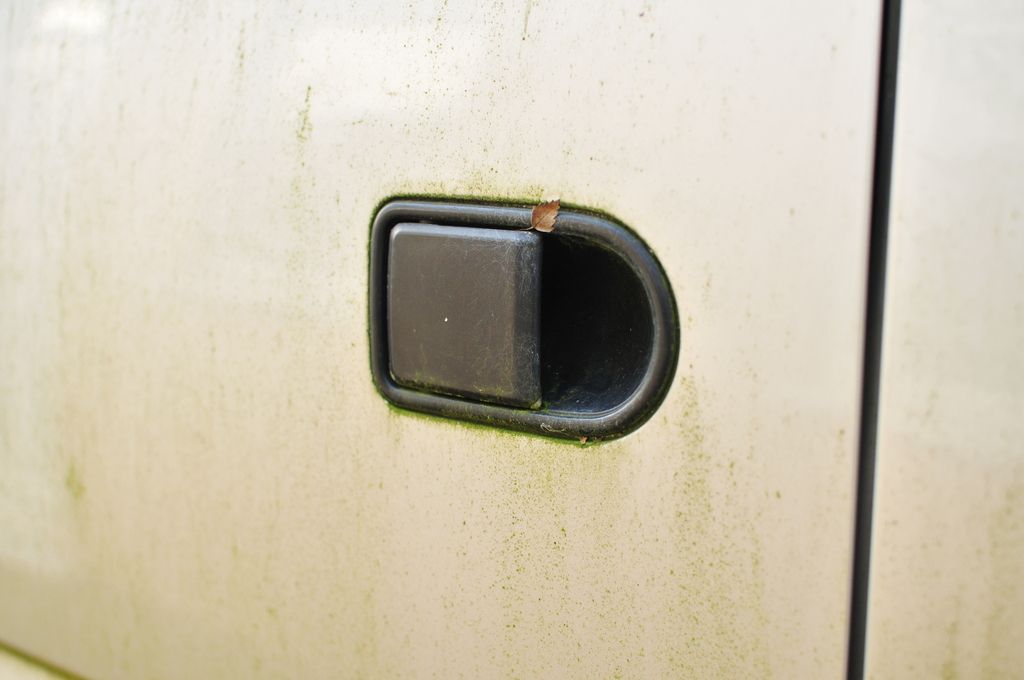 Thanks for looking, Nick. |
| |
|
|
|
|
|
|
|
Feb 20, 2017 13:28:10 GMT
|
Chapter 2: The big wash In a very similar way to the Maxima, I have done a very good job to leave this on the side for several years and forget about it. Years of outdoor storage slowly turned the silver van to green. So first step was to give the Honda a long awaited wash. I took the opportunity of a couple of hours to spare of the weekend and some good weather to do this: 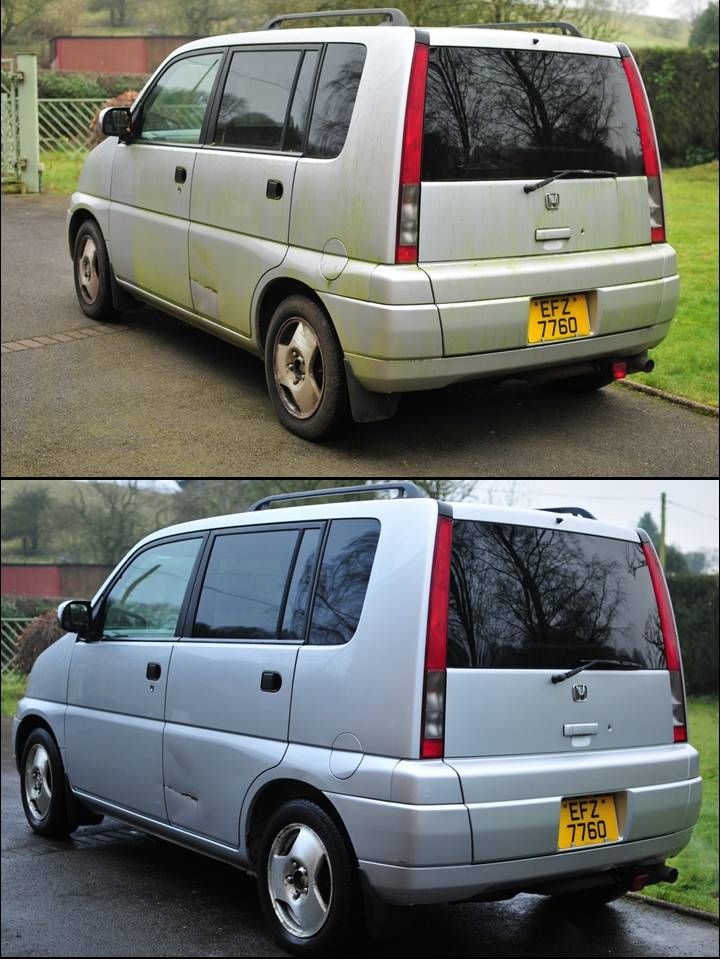 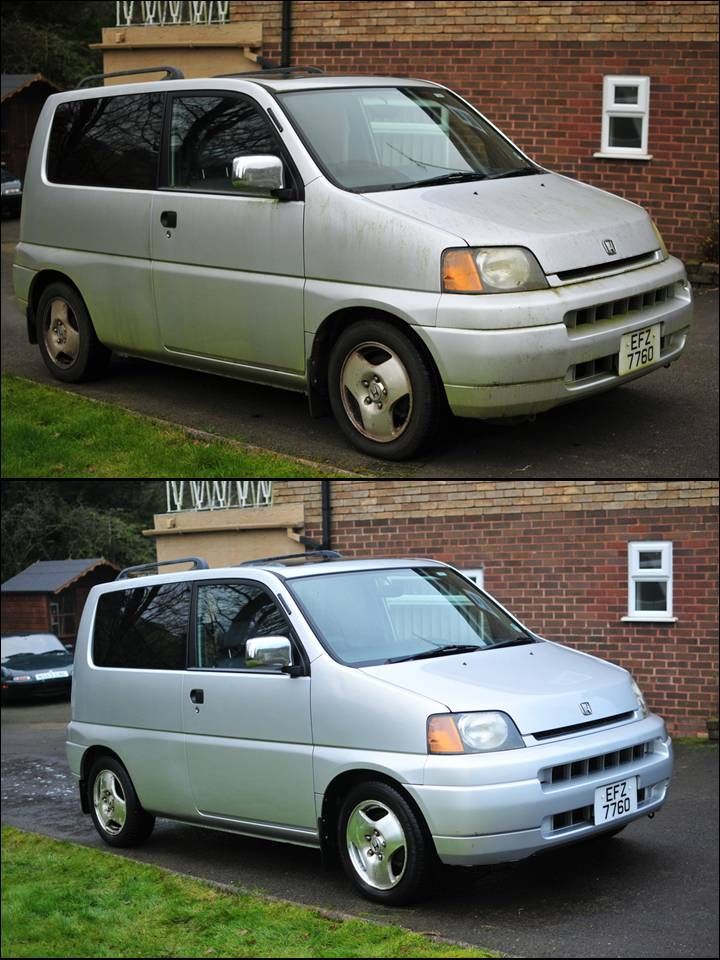 No wax or polish here, just some good old fashion soap and water (and a pressure washer). Washing the car instantly revealed some items for the to-do list: Surface rust on the bottom of the rear wheelarchs 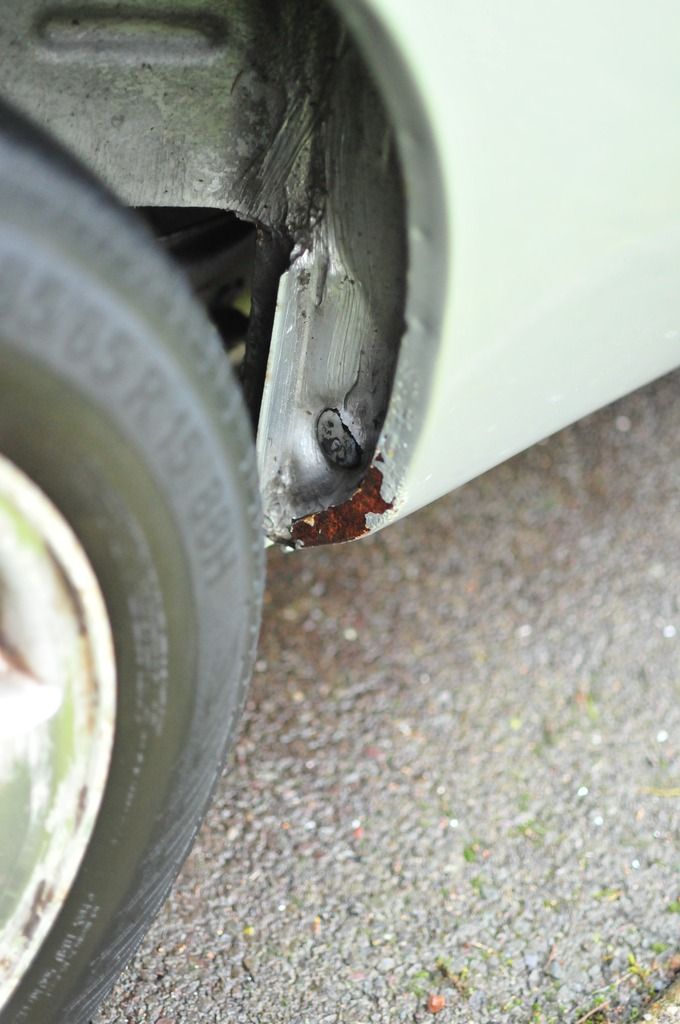 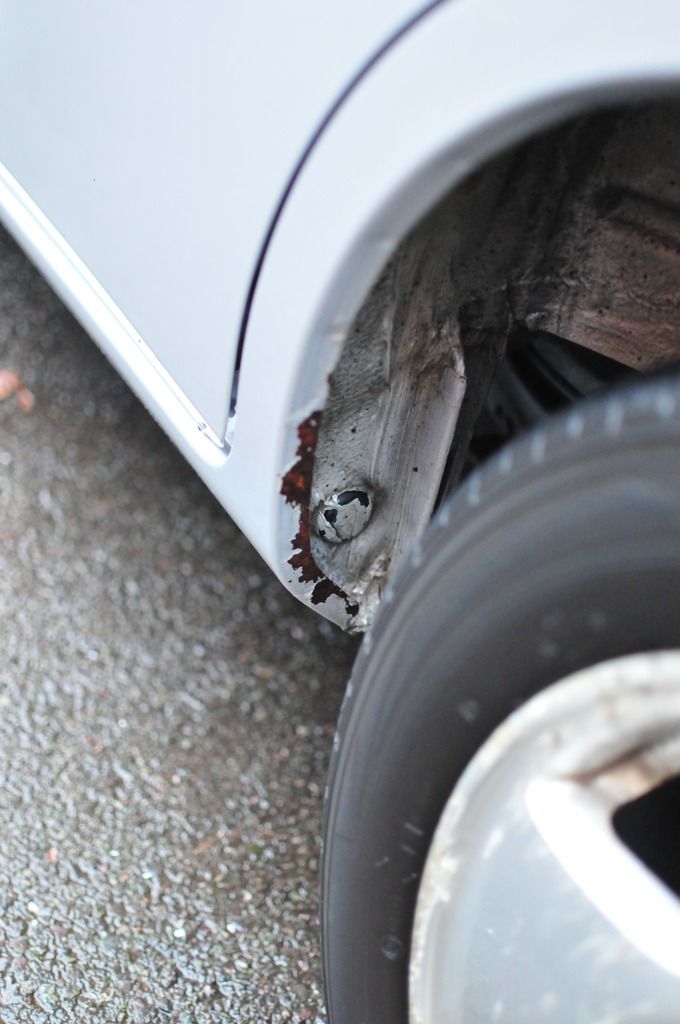 Paint came off the ns front wing under the pressure washer. (What's with Japanese silver paints, I had an MX-5 that use to have the same issue!) 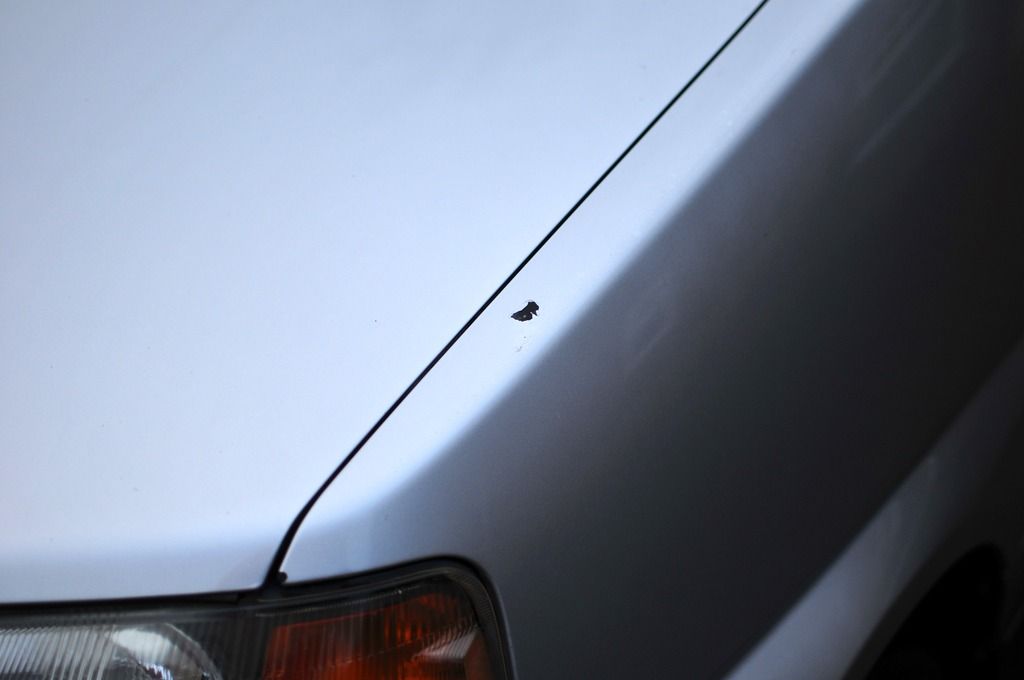 And finally, the realisation that I had been using the van as a mobile shed over the years, so I will have to clear this junk out. (anybody interested in some R75/MG ZT parts by any chance?) 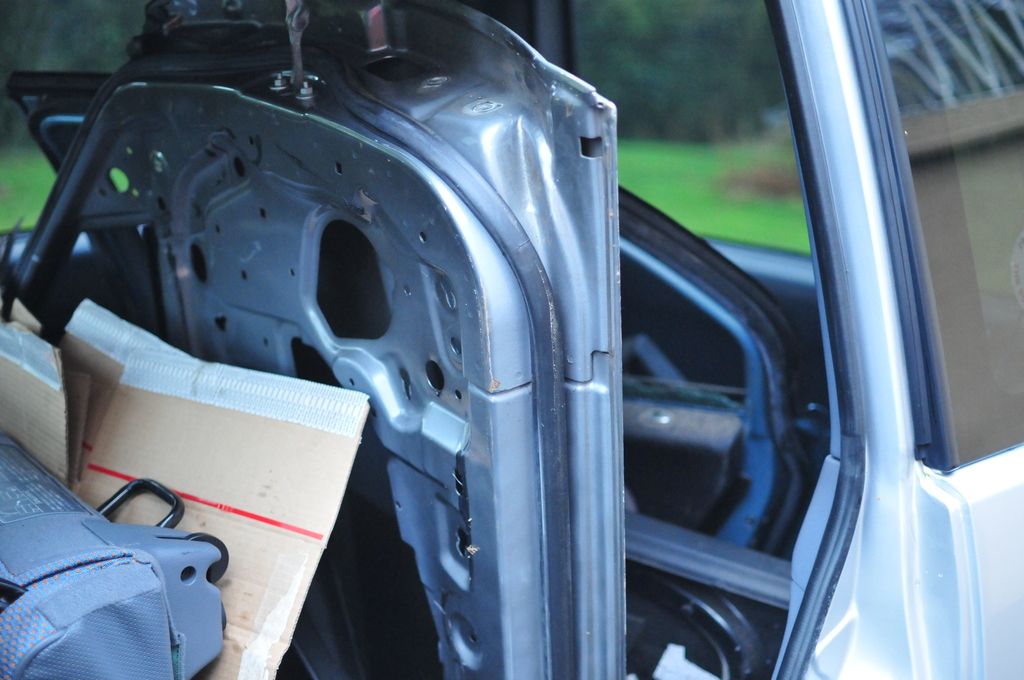 But for now the van is now being accommodated in the garage. Which, comes to think of it, is probably the first time ever that the little Honda is being stored indoor. 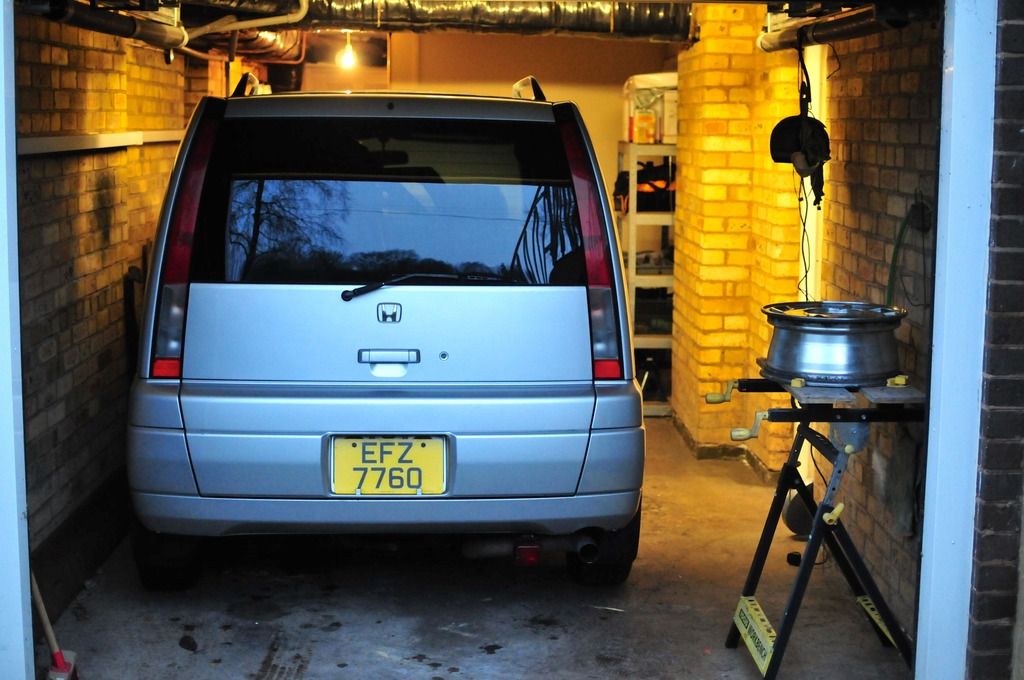 This leaves a noticeable space on the drive. 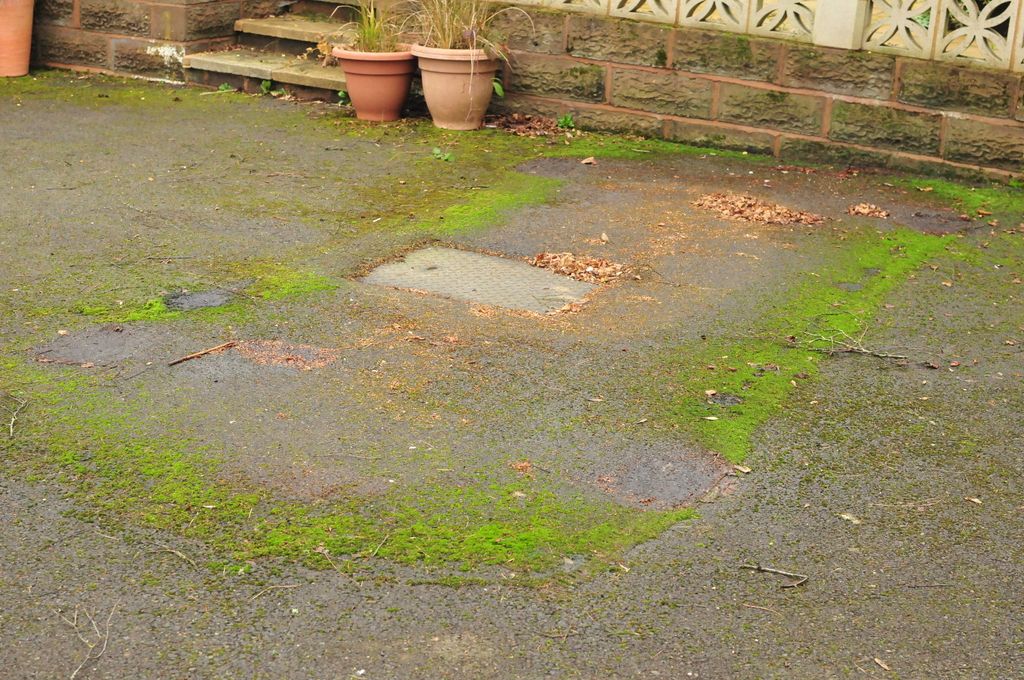 Next step is to give the van a close inspection and work out a plan of attack to get this back on the road within two months. Nick. |
| |
Last Edit: Feb 20, 2017 13:48:16 GMT by nick0303
|
|
Davey
Posted a lot
   Resident Tyre Nerd.
Posts: 2,348
|
|
Feb 20, 2017 15:22:01 GMT
|
|
What an awesome little van, love weird rare Japanese stuff, JDM YO!
Incoming PM regards the MG stuff.
|
| |
K11 Micra x3 - Mk3 astra - Seat Marbella - Mk6 Escort estate - B5 Passat - Alfa 156 estate - E36 compact
Mk2 MR2 T-bar - E46 328i - Skoda Superb - Fiat seicento - 6n2 Polo - 6n polo 1.6 - Mk1 GS300
EU8 civic type S - MG ZT cdti - R56 MINI Cooper S - Audi A3 8p - Jaguar XF (X250) - FN2 Civic Type R - Mk2 2.0i Ford Focus - Mercedes W212 E250
|
|
|
|
|
Feb 20, 2017 15:40:53 GMT
|
|
Shame I didn't see this as I would have been poking my piggy bank with the butter knife.......
|
| |
|
|
|
|
|
Feb 20, 2017 16:20:44 GMT
|
What an awesome little van, love weird rare Japanese stuff, JDM YO! Incoming PM regards the MG stuff. Cheers bud, PM replied RE. MGR parts. Shame I didn't see this as I would have been poking my piggy bank with the butter knife....... Somebody's loss is somebody else's gain as they say :-) |
| |
Last Edit: Feb 20, 2017 16:31:47 GMT by nick0303
|
|
sridgett
Part of things
  the only way is Dagenham
Posts: 434 
|
|
Feb 20, 2017 17:21:53 GMT
|
|
Cool little motor
|
| |
Mk3 capri, escort xr3i, mk2 fiesta,mk5 escort rs2000
|
|
|
|
|
Feb 20, 2017 19:13:03 GMT
|
|
What a bizzare setup with the doors! I love it haha Nice little eco system you had going on there as well
|
| |
|
|
Geordie
North East
Course I'm out of my mind...........it's dark and scary in there!!
Posts: 2,520
|
|
Feb 21, 2017 20:22:50 GMT
|
|
Cool. Bookmarked!
|
| |
CURRENT FLEET
'95 Rover 623SLi (65k miles)
'99 Renault Laguna Executive
'55 BMW 318i (52k miles) for sale
'06 Audi A6 (18 year old 'modern' daily)
|
|
|
|
|
|
|
Thanks for all the positive comments so far guys haha Nice little eco system you had going on there as well Yes, it was almost a small eden project on its own. It appears that I also have some residents in the van. I have been finding a few of those guys nested in the shutlines. Hopefully I won't be finding a nest as I progress. 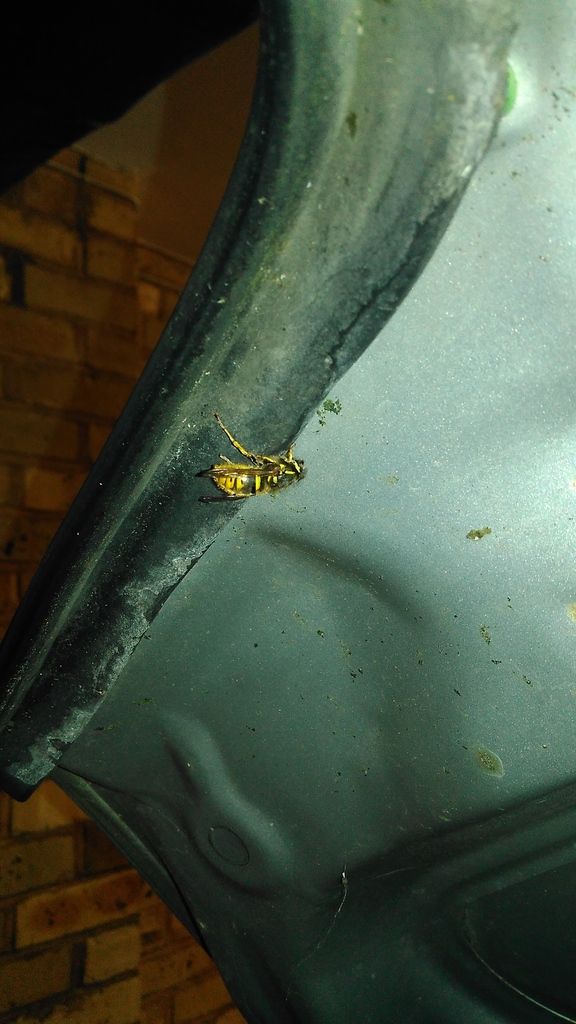 |
| |
Last Edit: Mar 13, 2017 10:14:22 GMT by nick0303
|
|
|
|
|
|
|
Chapter 3: A good steer After giving that car a long awaited wash 3 weeks ago, I put the car on axle stands to have a good look at the condition of the underbody. There were a few spots of surface rust doted around the lower part of the shell but nothing major. The most critical area was probably where the subframe bolts onto the shell, which was arguably the most advanced stage of corrosion, but luckily had not yet gone through. I have started treating those with wirebrush/rust inhibitor/zing primer/paint. This should take care of those rusty spots for the foreseeable future. I also threw some Dinitrol in for good measure. 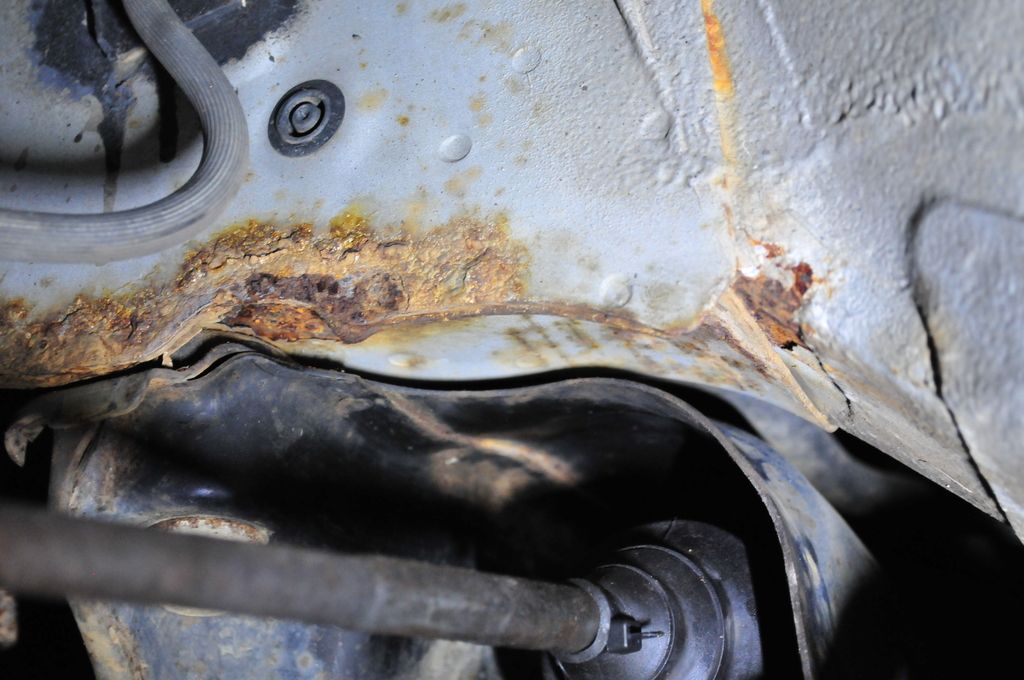 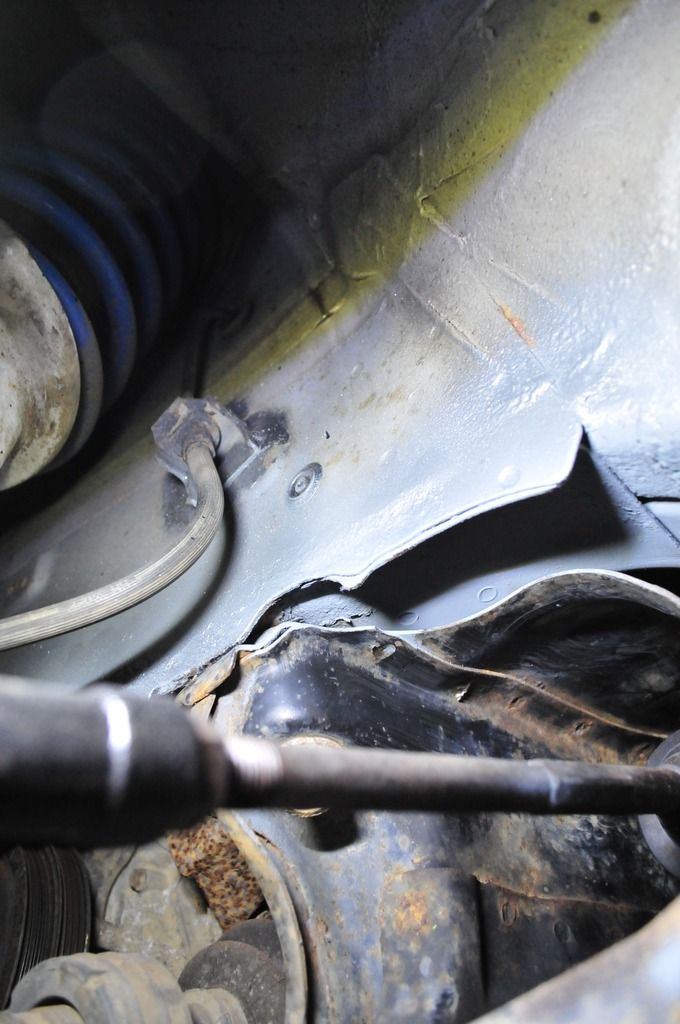 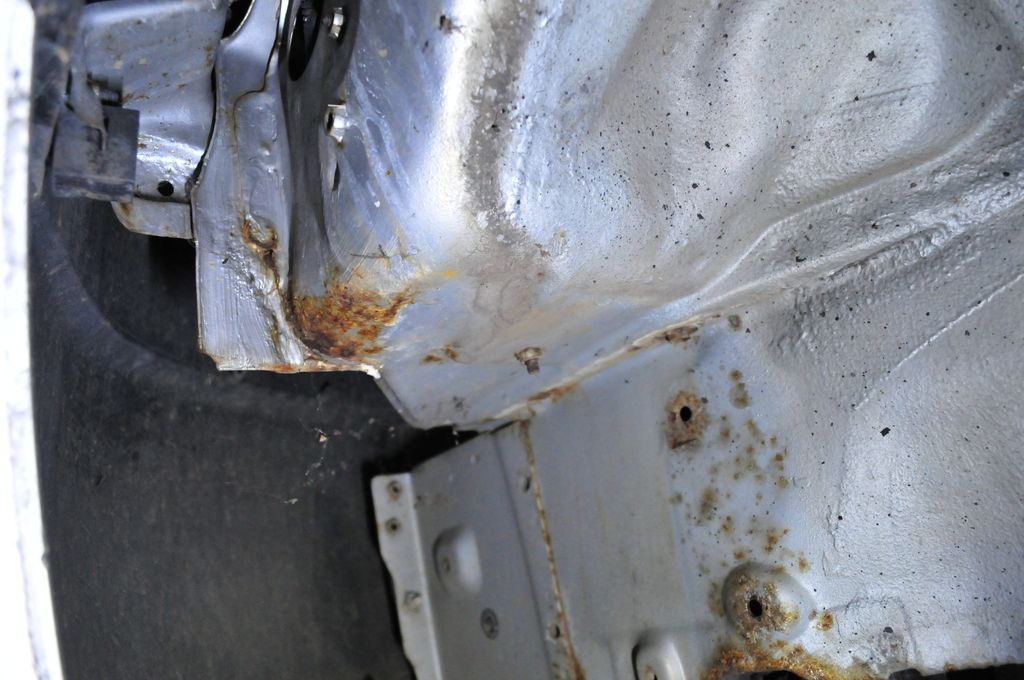 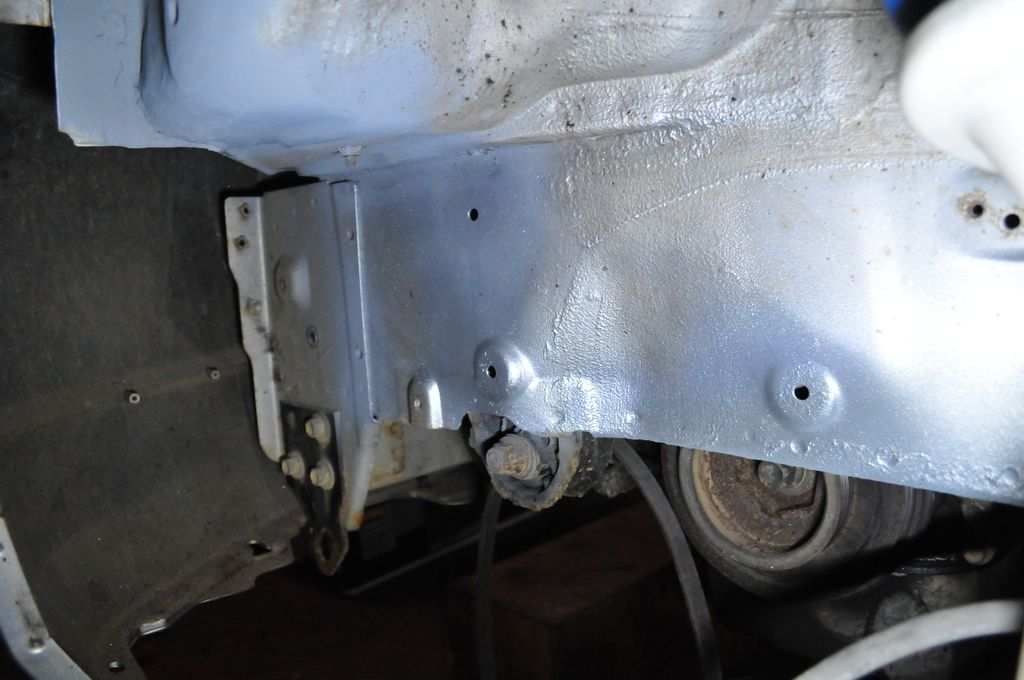 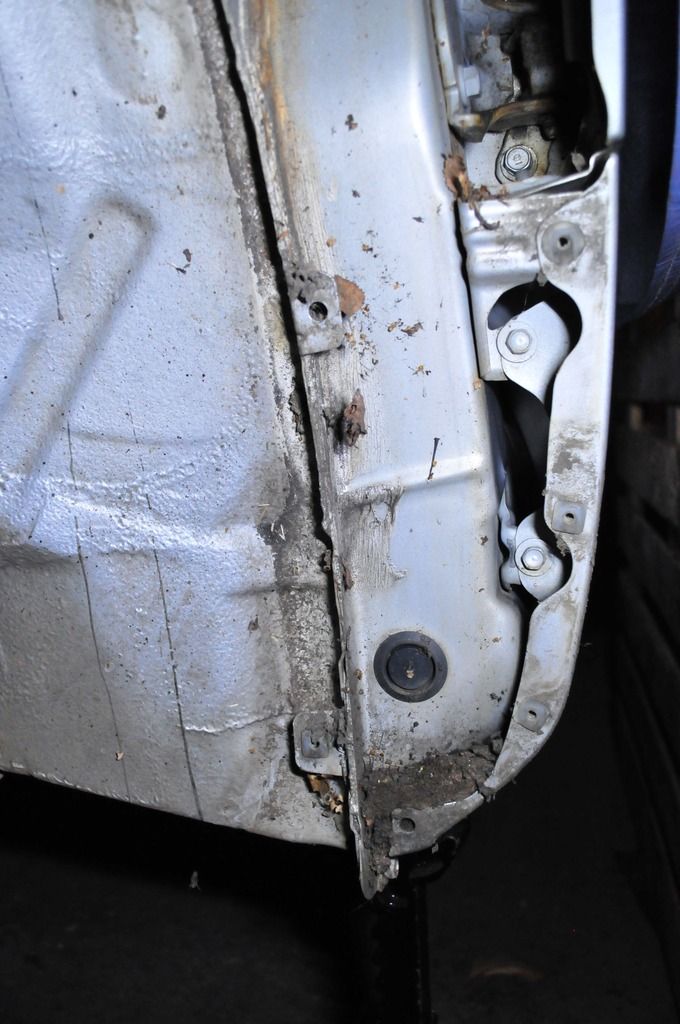 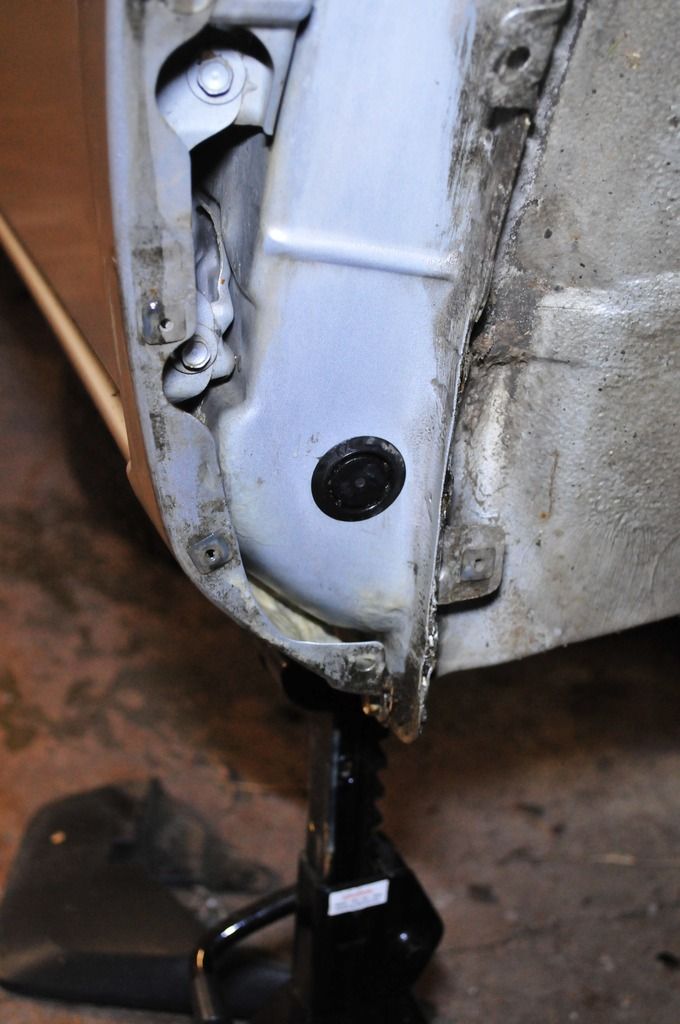 Bearing in mind that the vehicle is a 1997 vintage and was only imported to the UK in 2008, it looks like the metal protection used on those JDM products isn't the greatest. In comparison, my 1994 Maxima, which has been on the UK roads from day one, displays much less surface rust on the underside. So I will be looking at getting the underside of the little Honda rust-proofed coming the summer as I intend to use the car daily for the next couple of years. Looking in the engine compartment, surface rust was also visible, notably around the fixing holes and seams, but again there was nothing very serious and I rectified those fairly easily. Most notably I gave the inner wings and slam panel a bit of a refresh and and finished the work by spraying a copious amount of dinitrol on the either side of the inner wings and on the bulkhead. 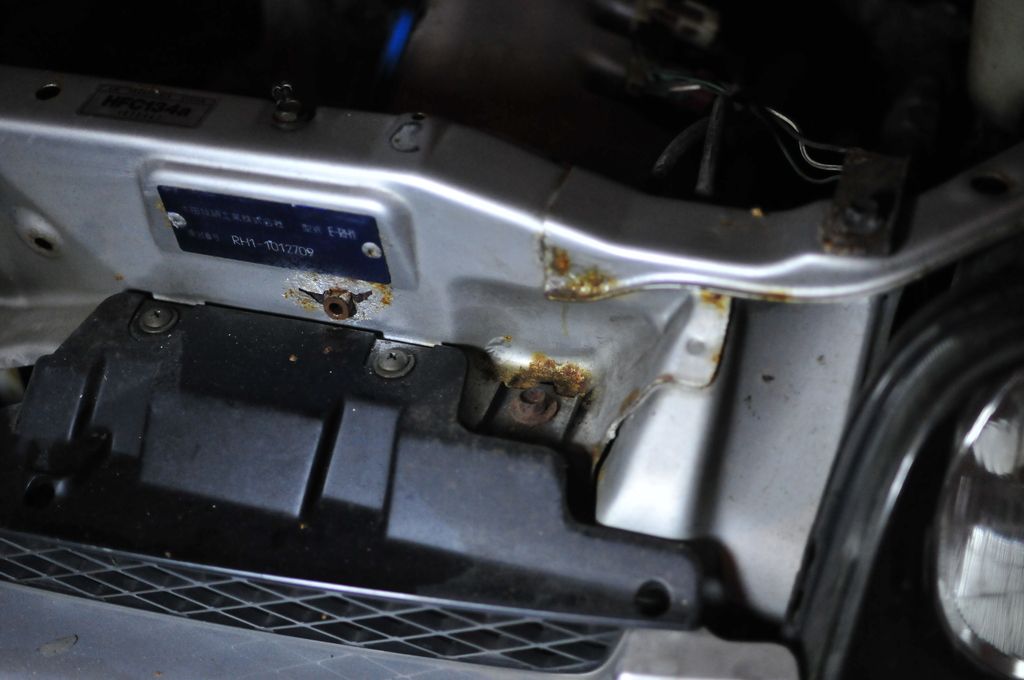 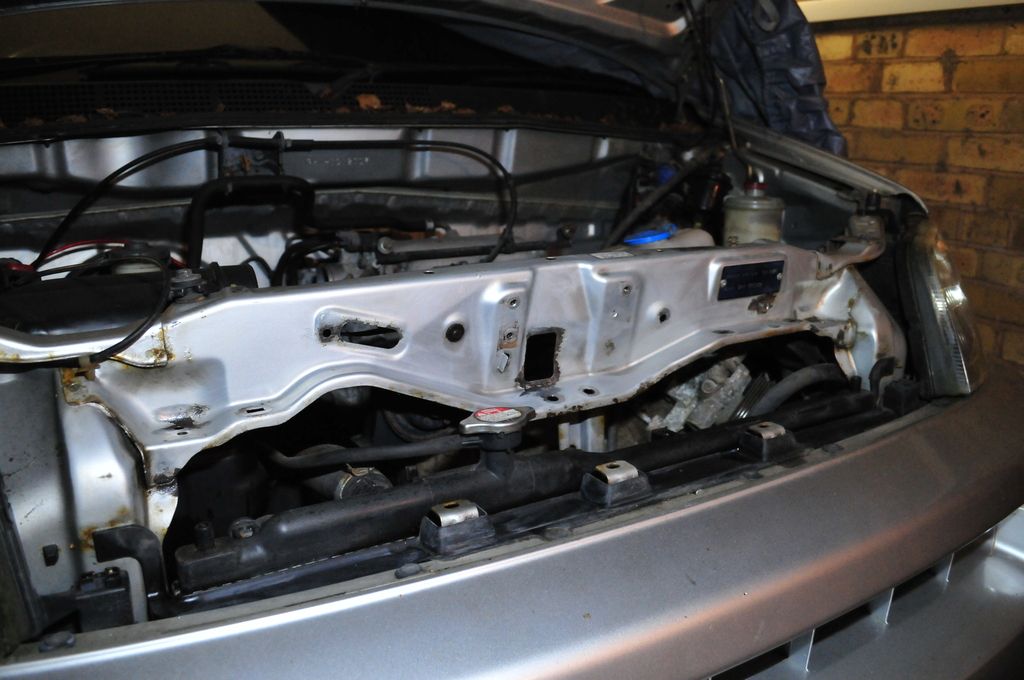 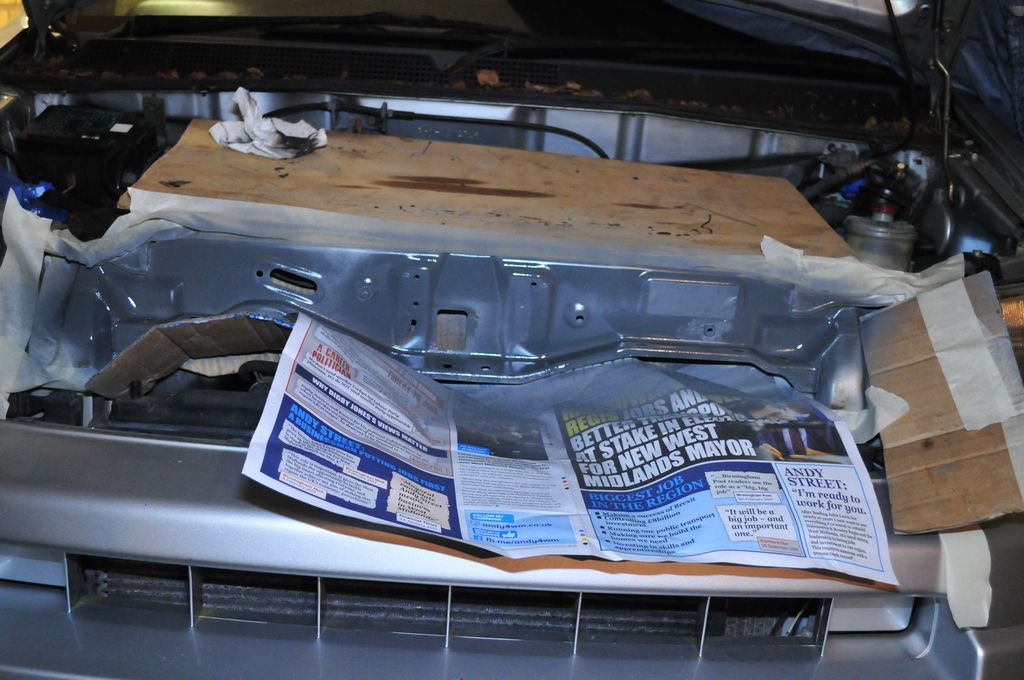 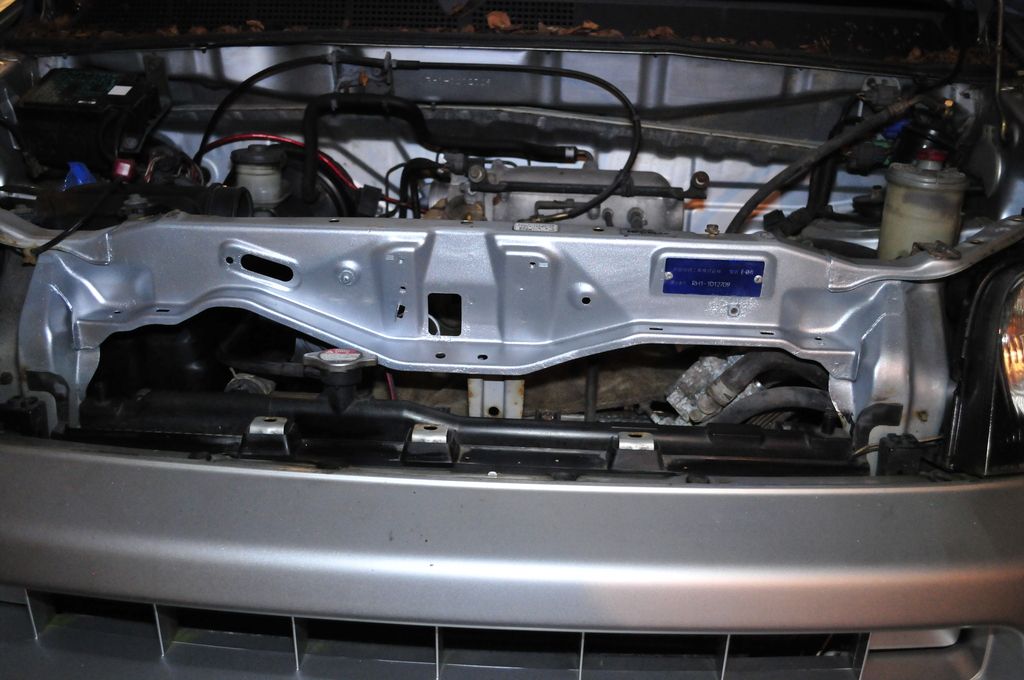 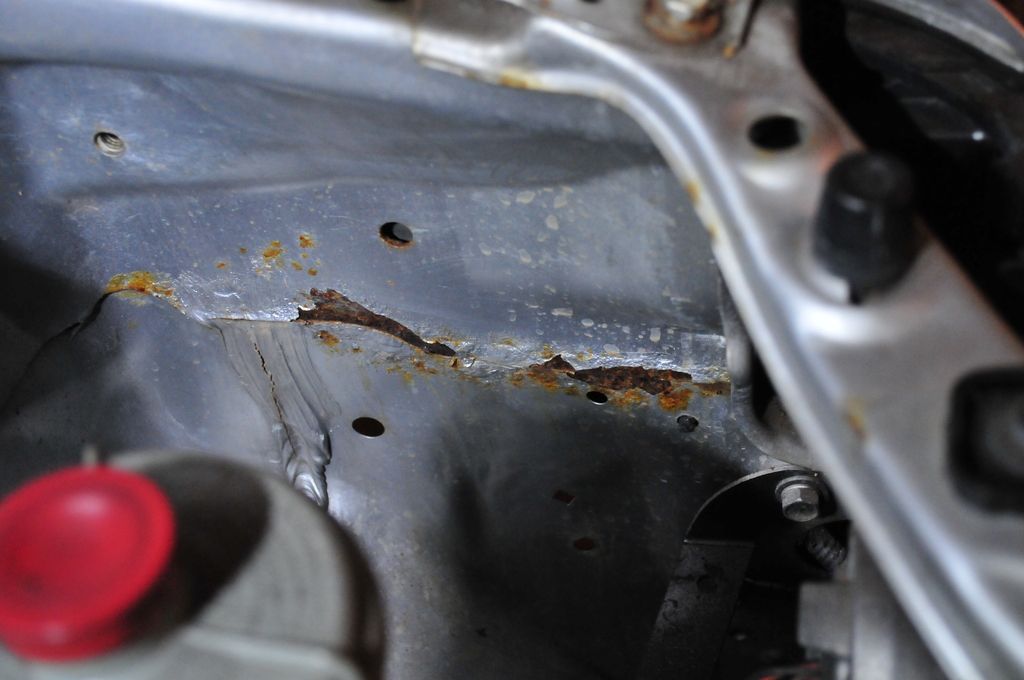 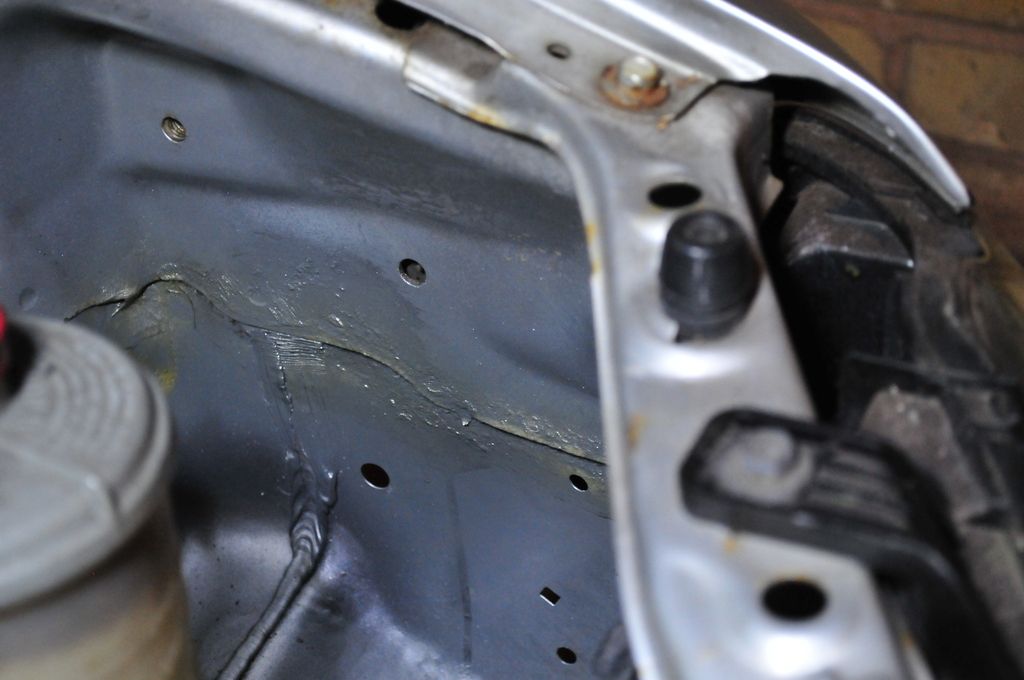 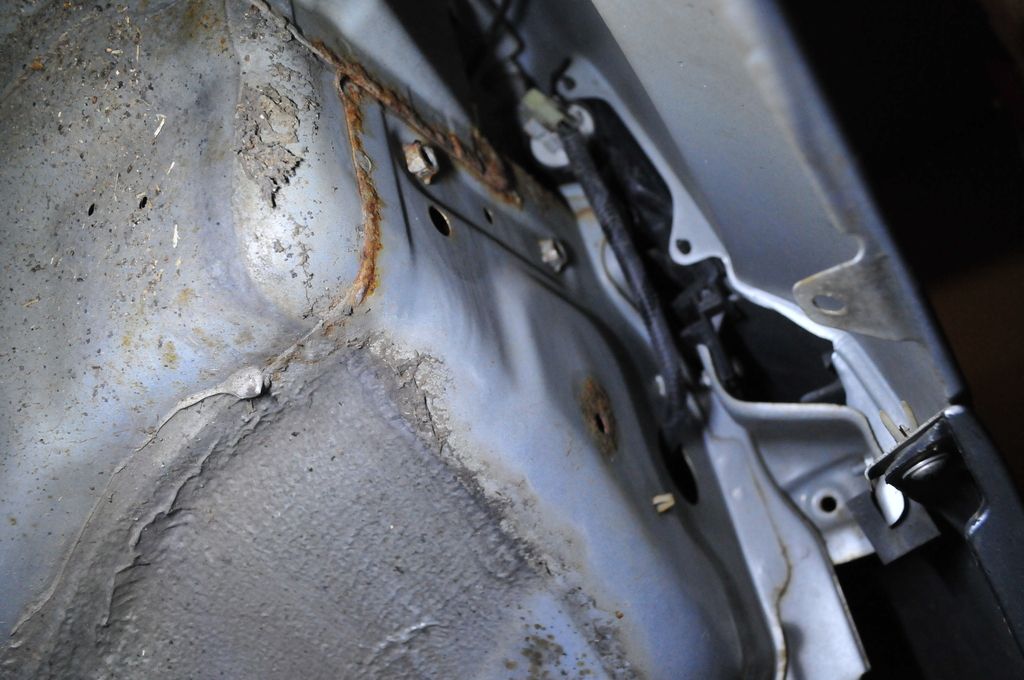 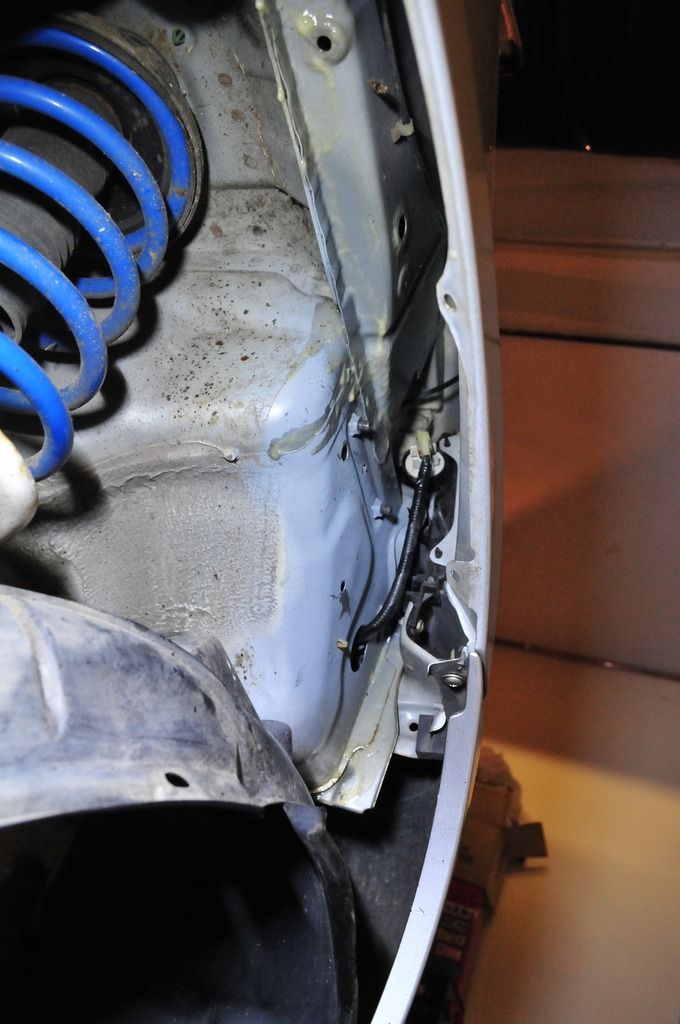 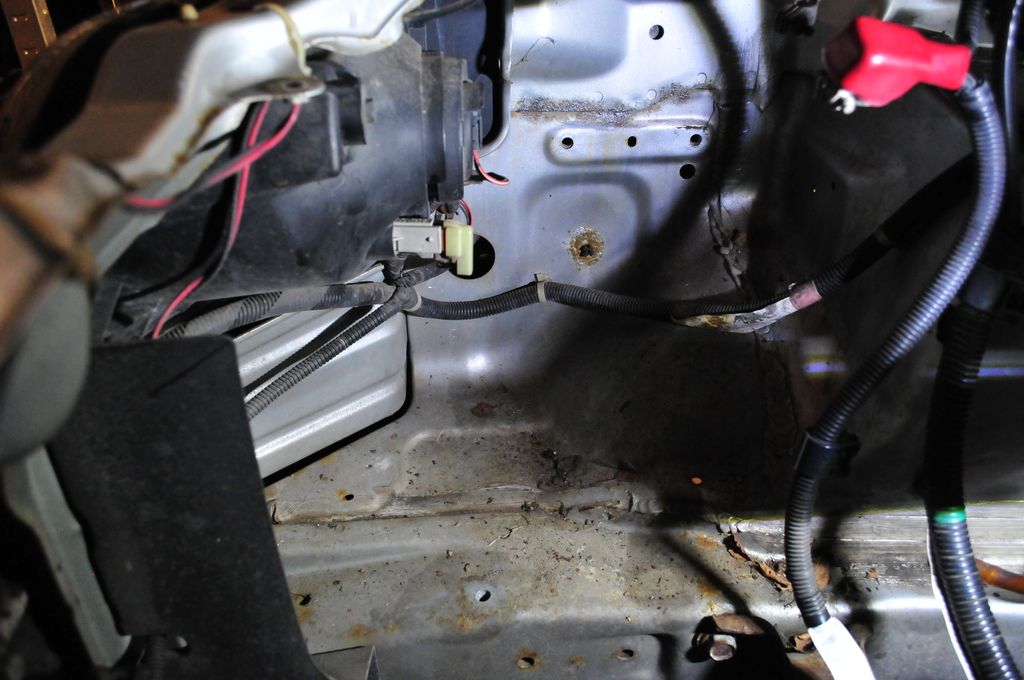 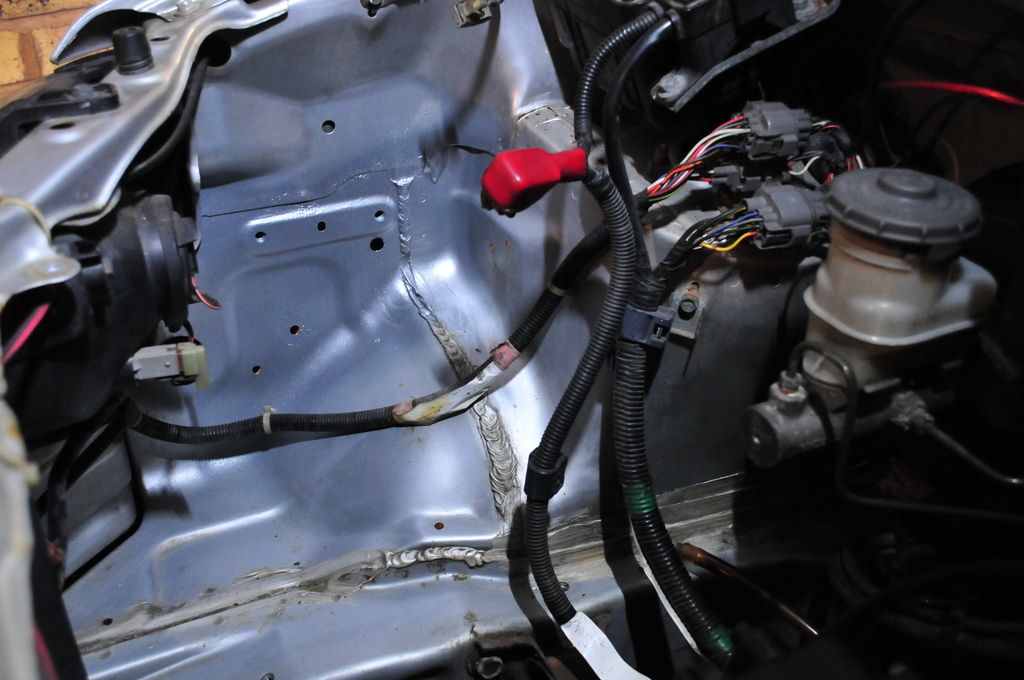 While tidying the engine bay, I started drawing a to do list, which I intend to complete whilst the Honda is up in the air in the garage: - Replace timing belt, tensioner and accessory belts (records show last change 7 years ago)
Replace water pump (might as well since I'm doing the above)
- Do an oil change (naturally)
- Attend to the various spot of rust dotted around the under side (which is mostly done at the time of writing this)
- Replace the lower engine mounts (those on there have definitely gone past their sell by date)
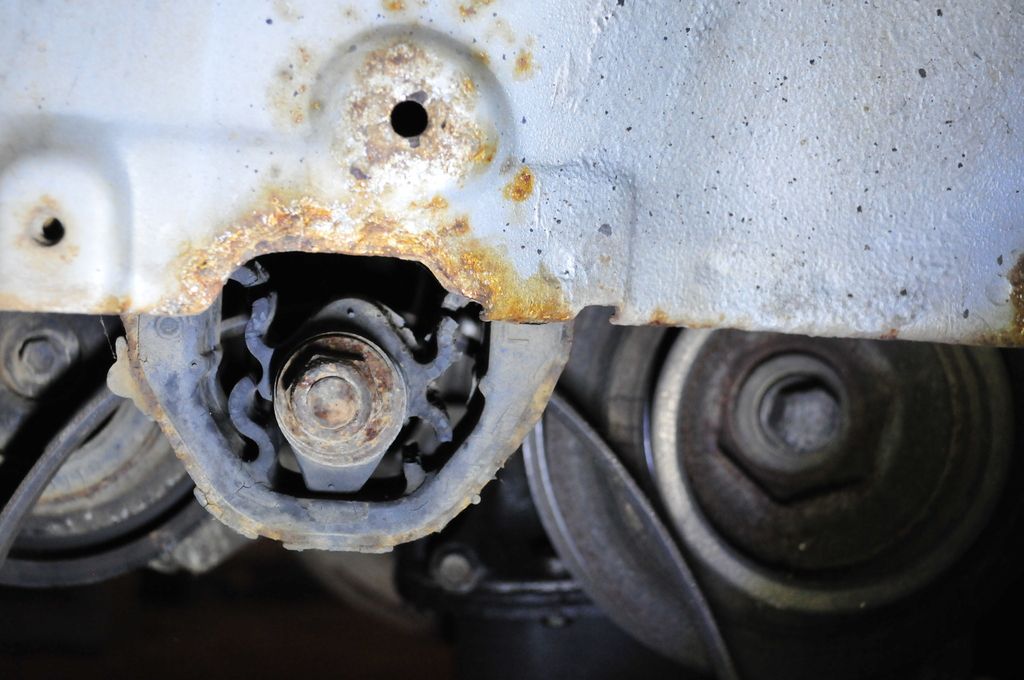 As well as the above items, I, of course, had to replace the steering rack, which is the reason why the car is where it is now). Talking of which, I went in dig out for storage the spare rack that I sourced of eBay many moons ago. It was really an opportunistic buy which I came across by chance. The rack was going cheap. I made the chap a lower offer nonetheless and got a deal. But as we just had moved in our new house and the rack was nicely packed, I put it aside as is still until it would become needed. Point being that I never really checked if the steering rack fitted the S-MX. 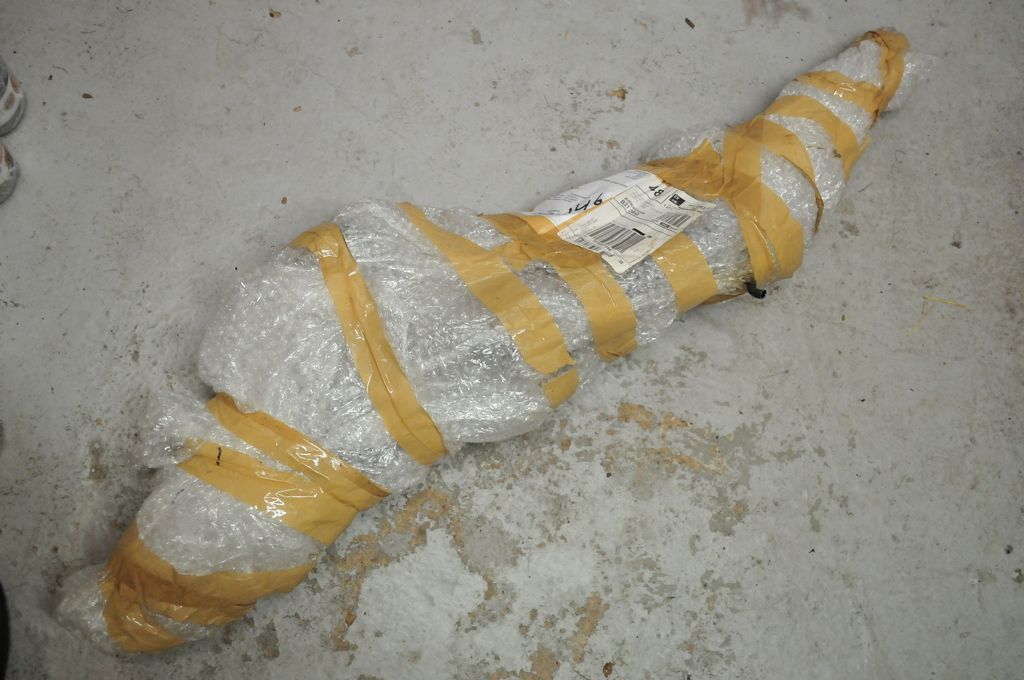 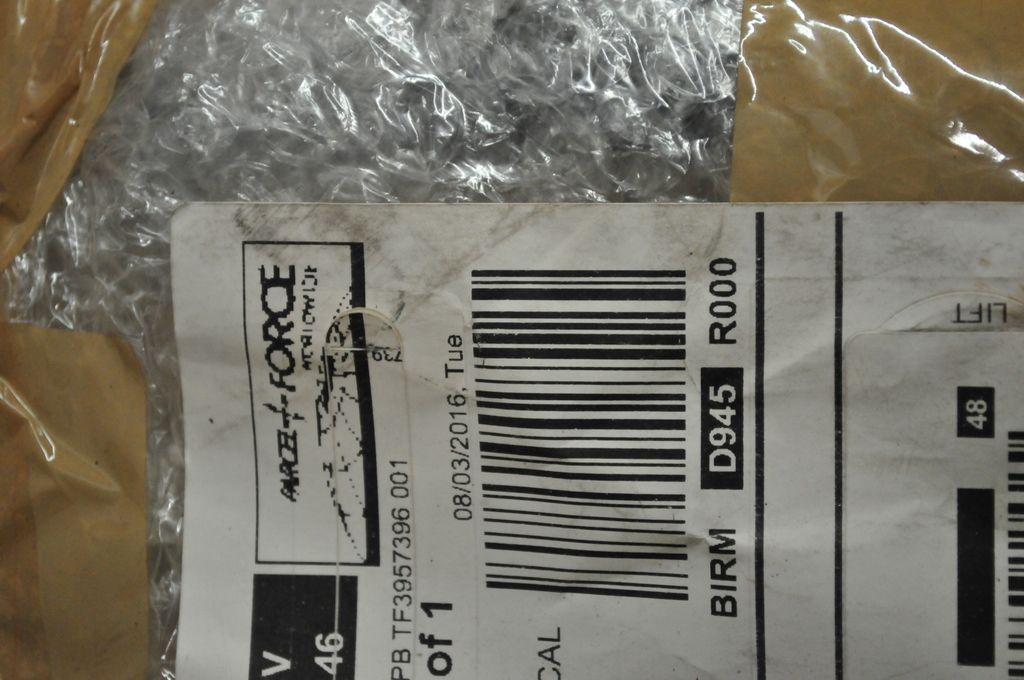 So the first step was to remove the existing rack and find out if the new one fitted. I was expecting the job to be a long winded one, with the removal of the subframe required. However after a further look and some advice from a member of the S-MX owner's club, it turned out to be a quicker job than expected, although still a convoluted one. The first step was to remove the bracing panel from the subframe (shown on the centre on the picture below). 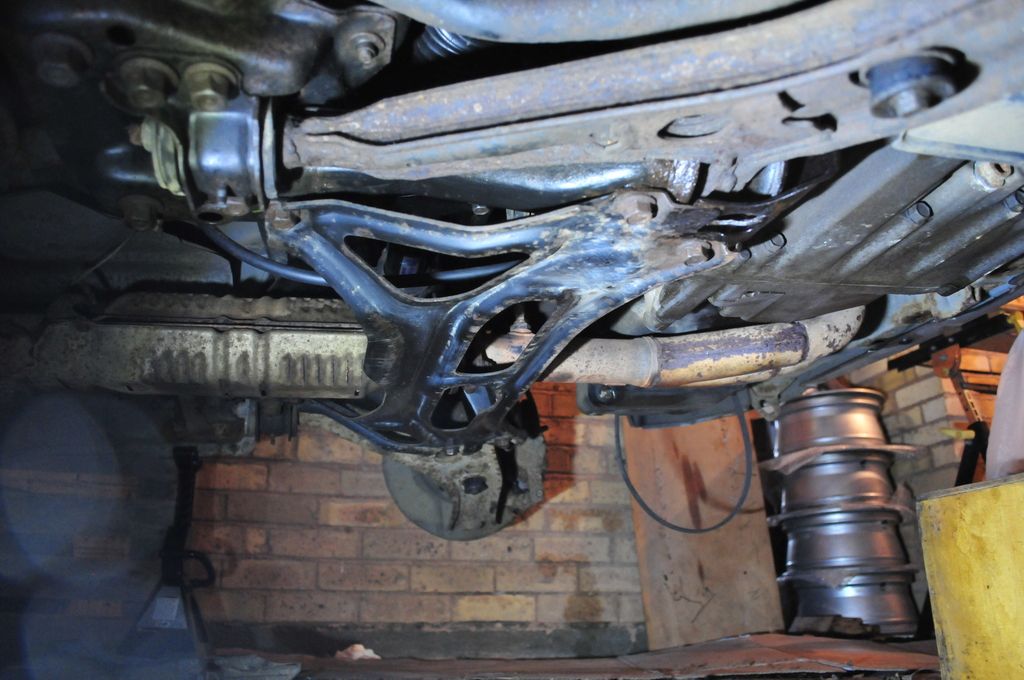 Then, the next task, and the most tedious one, was to disconnect the hydraulic connectors from the rack. Those are awkwardly located between the subframe and the shell. Those connectors can only really be accessed from the top with subframe in place and they are hard to reach. And if you do reach it with the spanner, it is near impossible to apply enough leverage to crack them off. So to undo them, I first needed to clear some access by removing the induction box and the battery tray. Then I used a stubby spanner, and a long wooden pole. I positioned the spanner on the connector as vertically as possible, align the pole at the top end of the spanner then hit the other end of the pole with a 4lb hammer. The connectors came loose after the second strike. WIN. 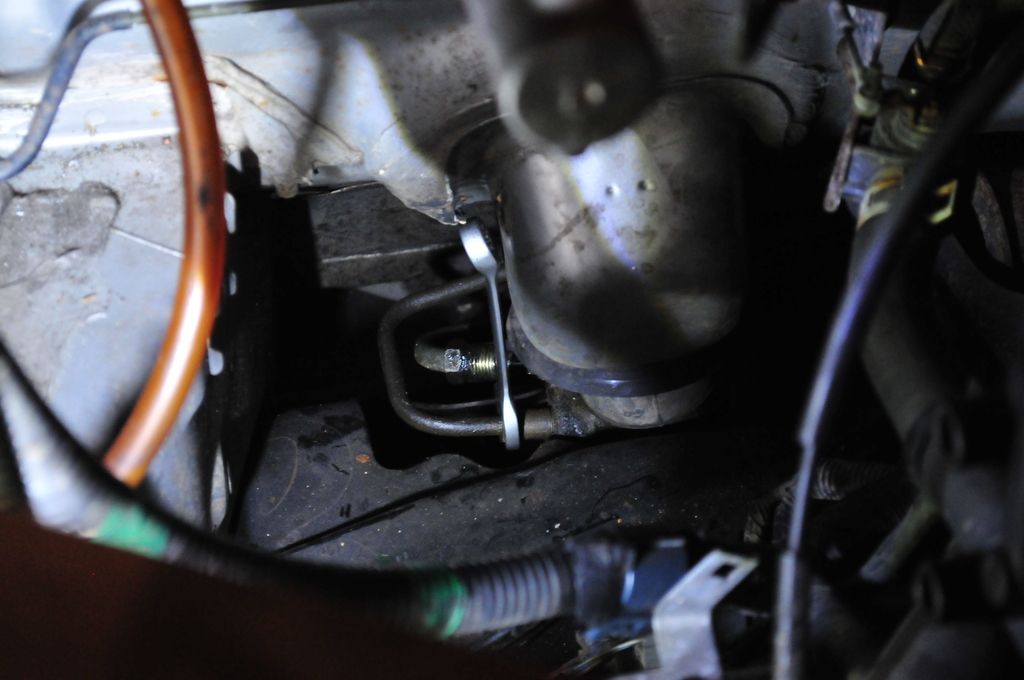 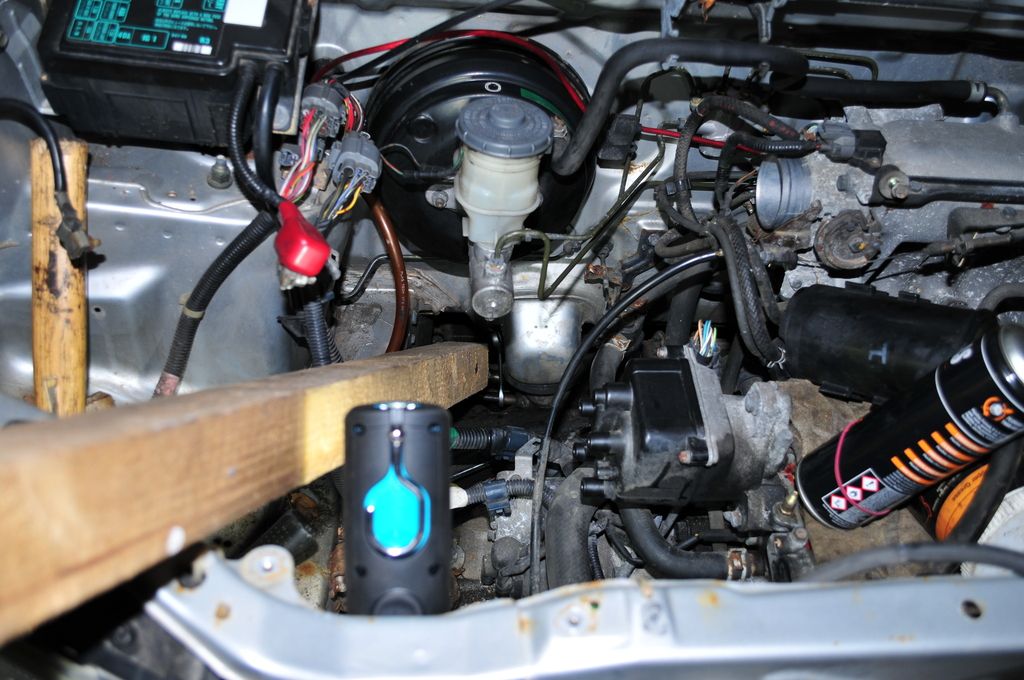 After that, all was left was to disconnect the rack from the steering column, then undo the mounting bracket holding the rack onto the subframe. The rack then comes loose, but I was not able to drop it off as the exhaust was getting in the way. Not wanting to start disconnecting the exhaust at this point, I decided to remove the steering arms and the UJ link from the rack, which allowed just enought movement to wiggle the rack out. Putting the two racks side by side, the good news was that they were identical. The not so good news was that the part numbers were different. 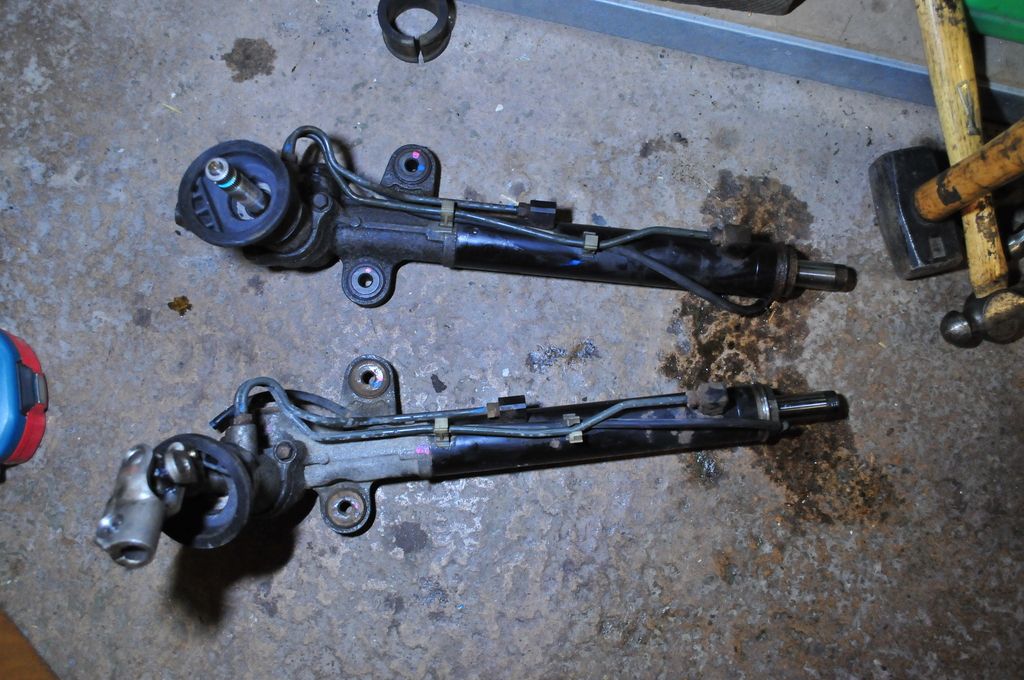 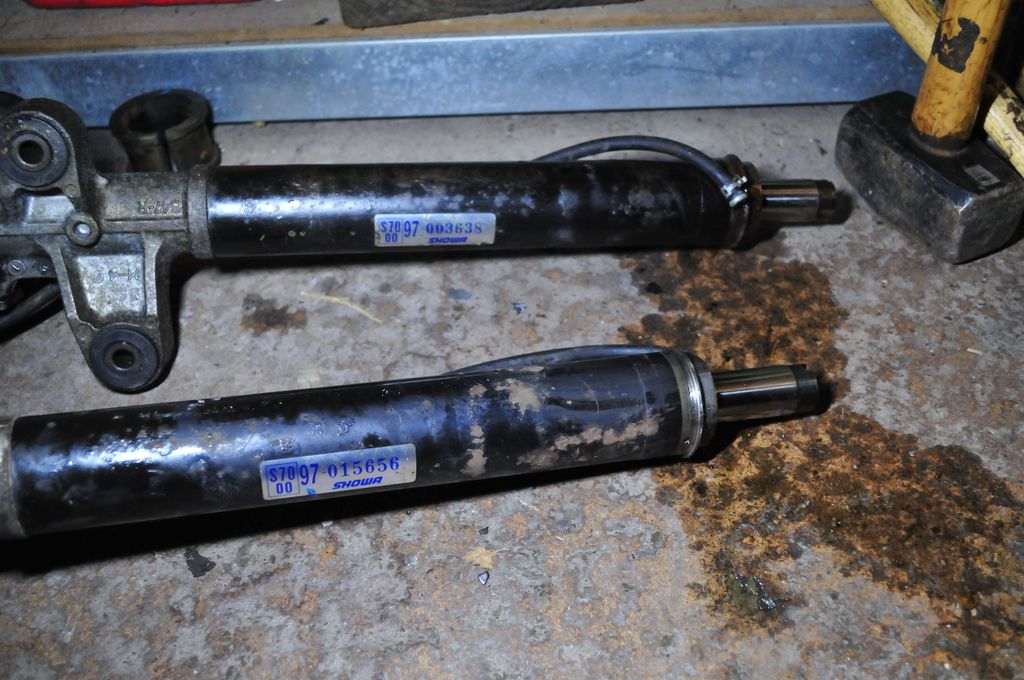 Checking with the S-MX owners club, I was told that the rack might have been off a Stepwagon, sharing the same underpinnings as the S-MX . Apparently, it is not uncommon for Honda to issue different part numbers for the exact same parts depending on the car. So that was enough to reassure me and proceed with fitting the replacement rack. The refitting of the rack required the help of my beautiful assistant (aka the wife) to guide the UJ onto the steering column in the cabin while I was positioning the rack from under the car. However some new track rod ends will be required before reconnecting the steering system. Unfortunately track rod ends for an S-MX are somewhat expensive (per side: £45 up to £60 for OE). However, while doing a bit of cross referencing on the Honda part numbers, I discovered that the Honda S2000 used the same components under, you guessed it, a different part number. But for some reason those can be found much cheaper. I paid just under £27 for a pair, including delivery. Another WIN then. Those part arrived with two days and joined the collection of Honda parts I have accumulated over the last 2 weeks. 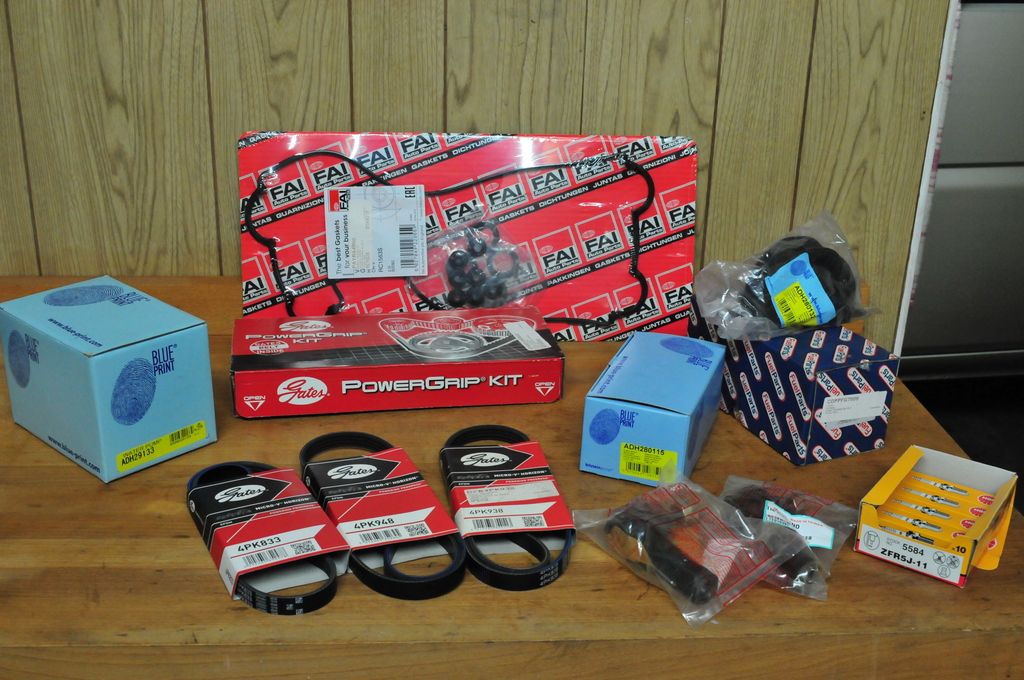 This is what £240 worth of Honda S-MX parts look like. A bit steep maybe but hopefully the car won't be needing for anything mechanically for the next few years, apart from oil changes and filters. The battery tray was showing advanced signs of surface rust, so I treated it to the aforementioned de-rusting treatment before fitting it back. 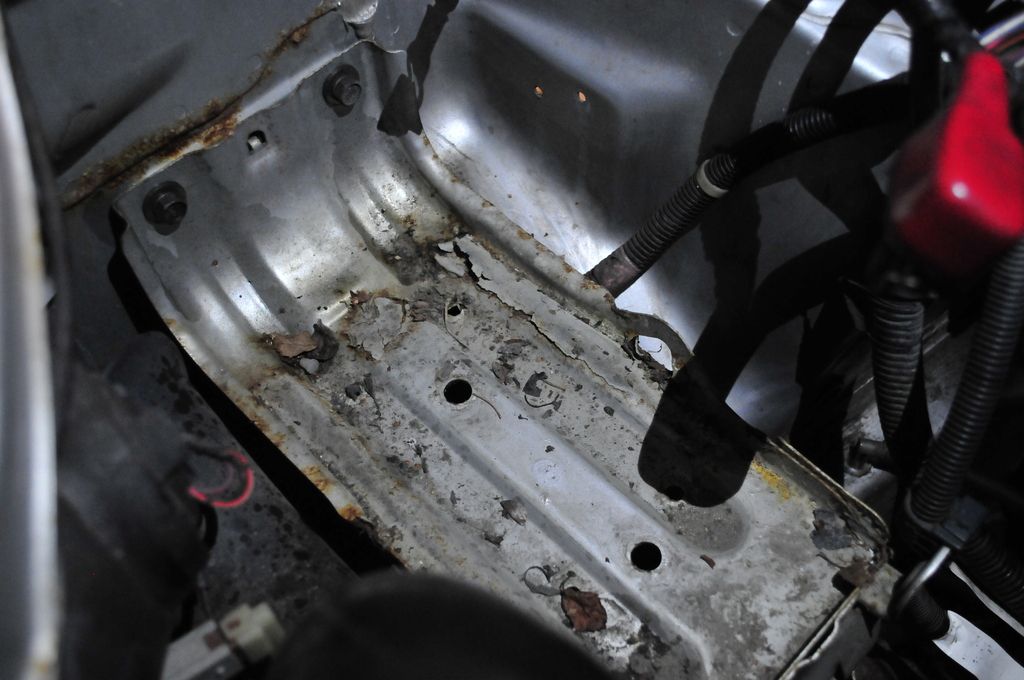 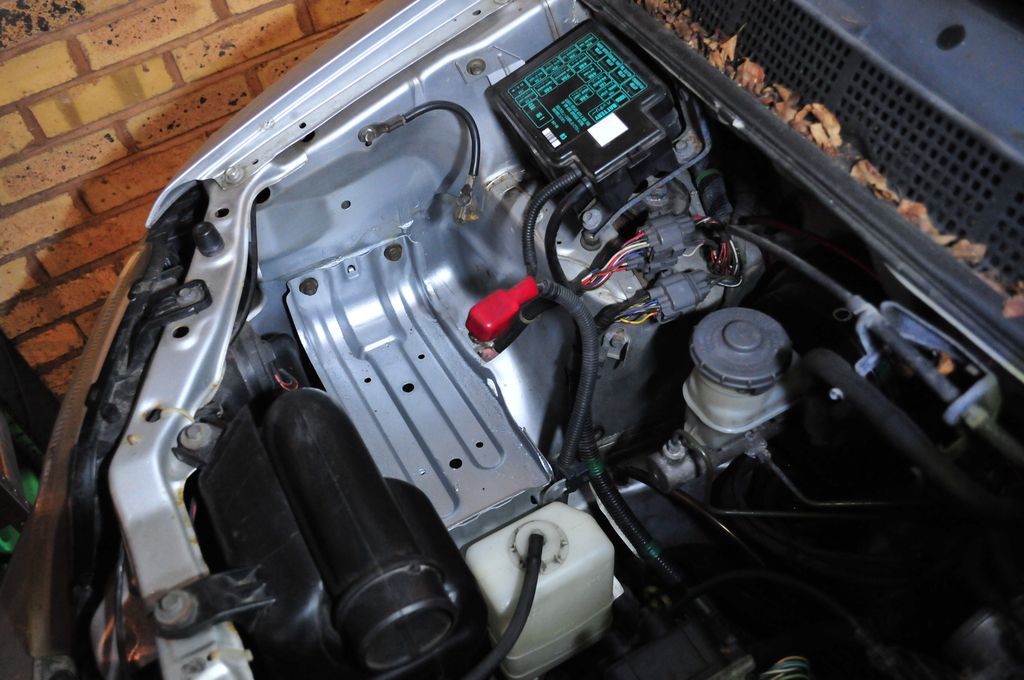 Finally I started doing the repair on the rusted rear wheelarches and completed the offside corner with some paint and lacquer, which blended pretty well with the rest of the panel but will need rubbing later on. 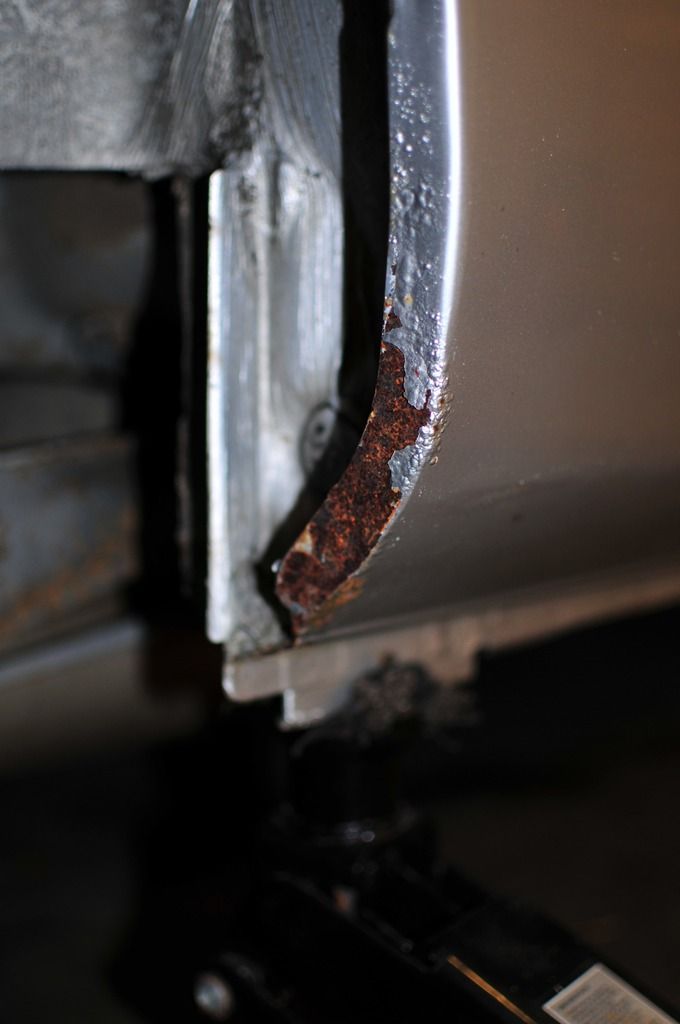 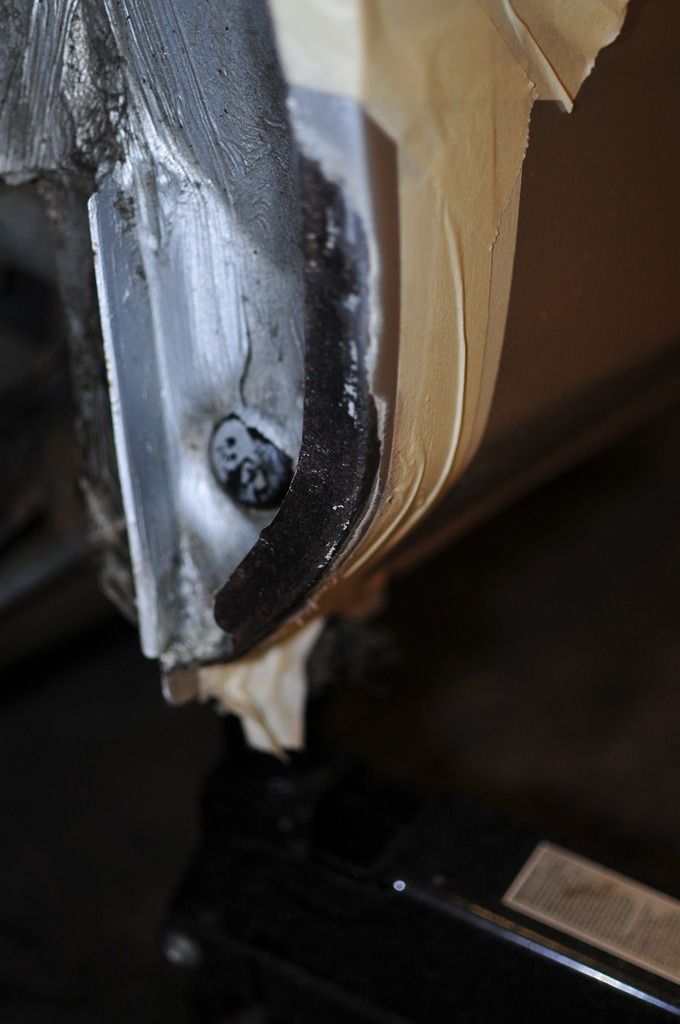 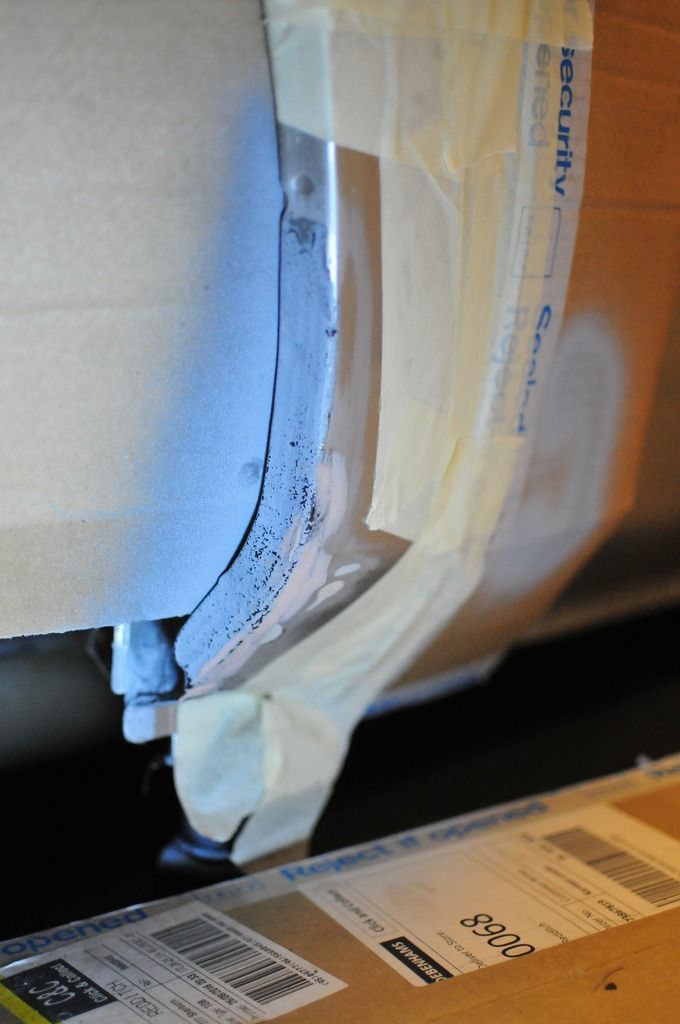 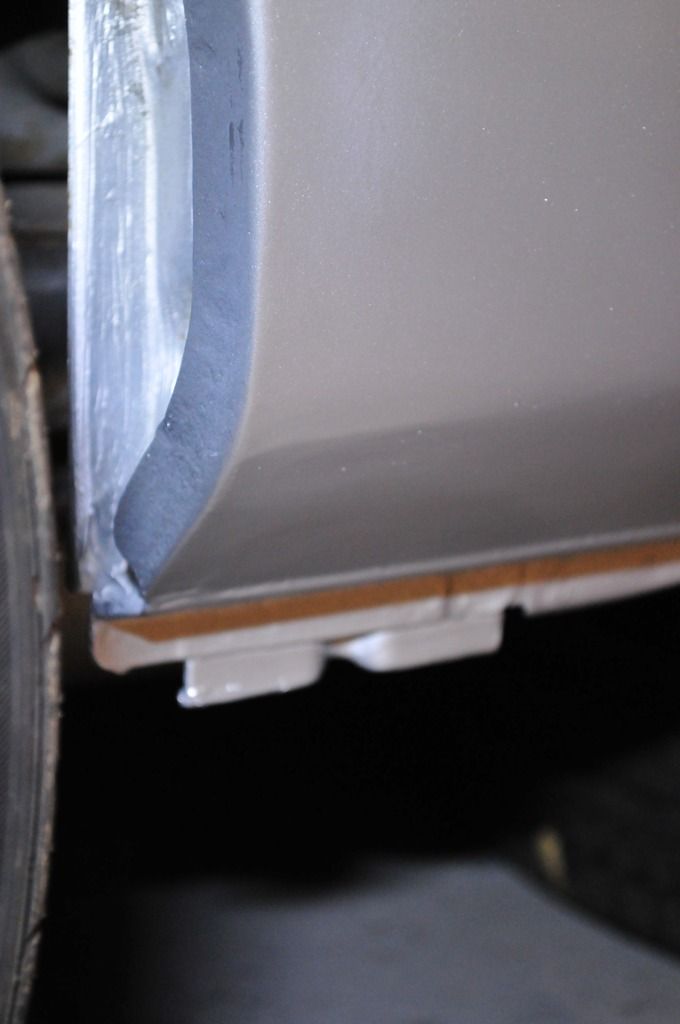 The rest of the rear wheel arch looks pretty clean and solid thankfully. 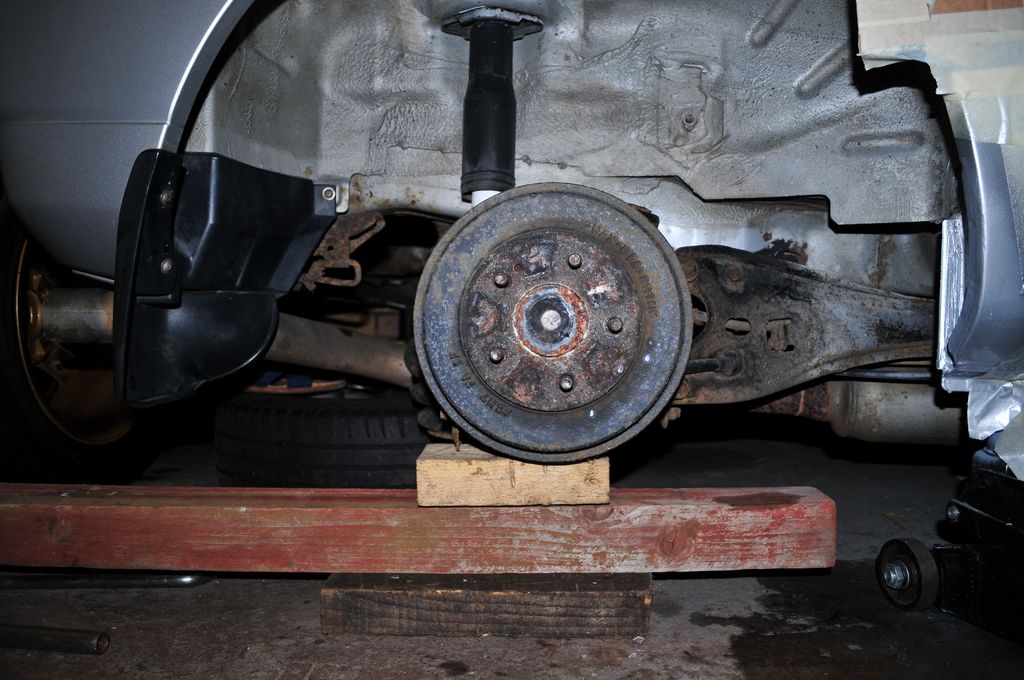 Next step is to do the timing belt and ancillaries, which I am hoping to complete over the coming week. |
| |
Last Edit: Mar 12, 2017 17:02:17 GMT by nick0303
|
|
|
|
|
|
|
|
|
|
I had a Mazda bongo and the paint pretty much fell off that, it was silver and was back to primer in places!
I think because of the Japanese mot and most vehicles being off the road by 10 years, they just don't paint them like the export models
|
| |
|
|
|
|
|
|
|
I think because of the Japanese mot and most vehicles being off the road by 10 years... On the plus side, this drives the grey export of those older models to the UK and Cyprus, so we get to drive those fantastic ,and sometimes quirky, machines. 😀 |
| |
Last Edit: Mar 12, 2017 9:48:25 GMT by nick0303
|
|
|
|
|
Mar 21, 2017 12:24:07 GMT
|
Chapter 4: Good timing
With the required components identified I went shopping and gathered £240 worth of parts for the Honda.
I thought I might as well go for the full Monty and do a major service while I am at it so I don't have to worry about it again over the next few years bear the routine oil changes.
So with that in mind, I went and fit:
- New timing belt and tensioner
- New water pump
- New PS, AC and alternator belts
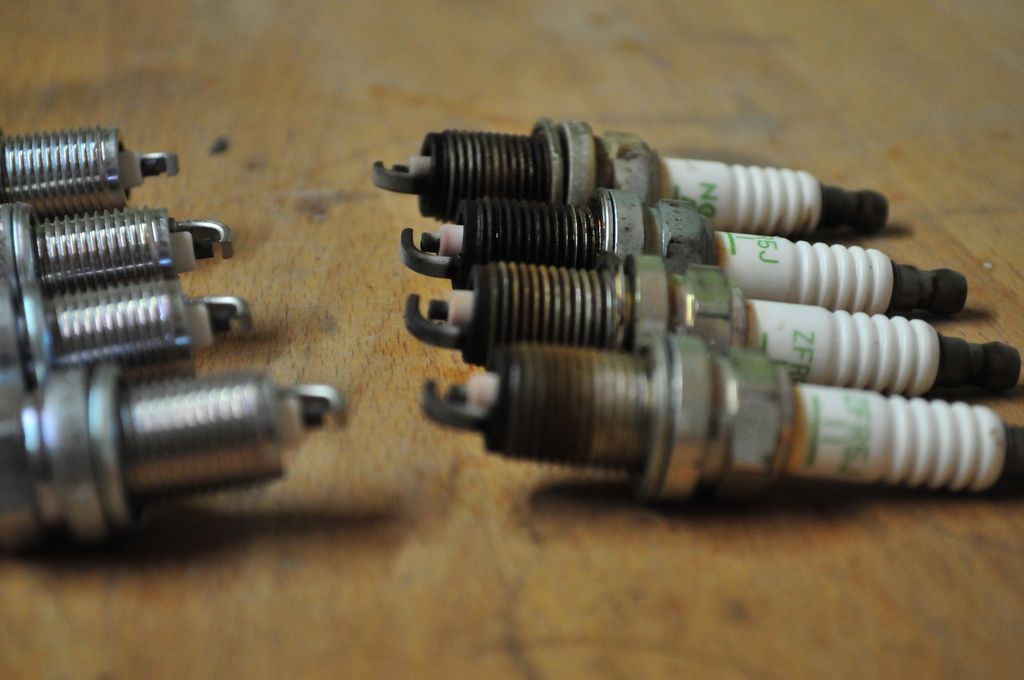
- New NGK R spark plugs
- New Rocker cover gasket kit
- New fuel filter
- New 5W30 Semi Synthetic oil (Honda's recommended spec apparently)
Air filter was replaced shortly before the car was taken of the road so it has had limited mileage and didn't look like it needed replacing. In the process, I also replaced the lower engine mounts which were not looking great.
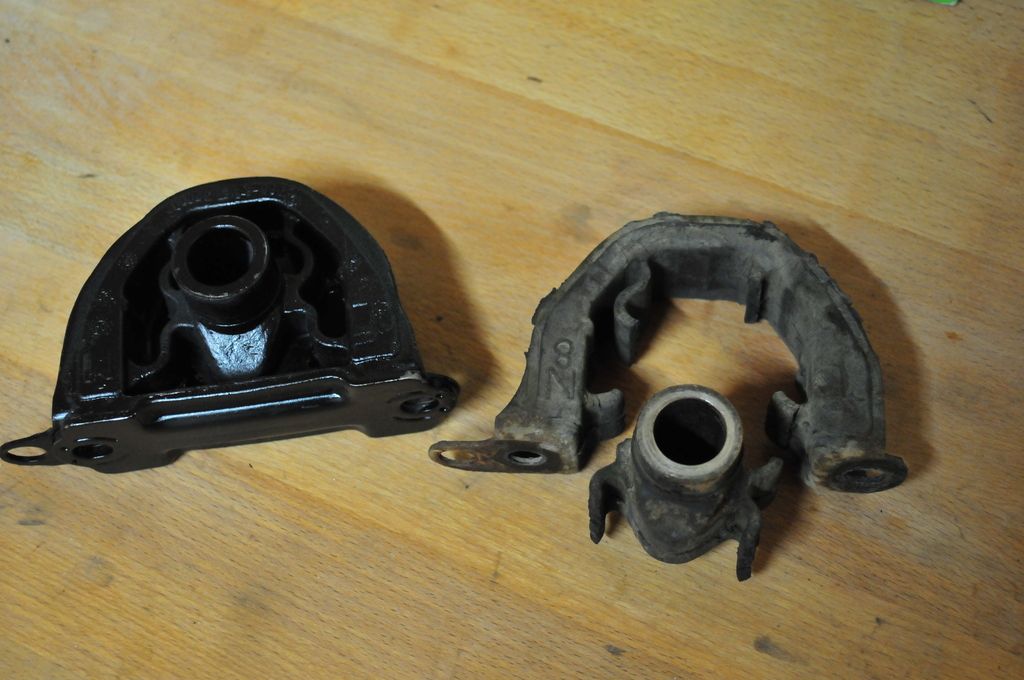
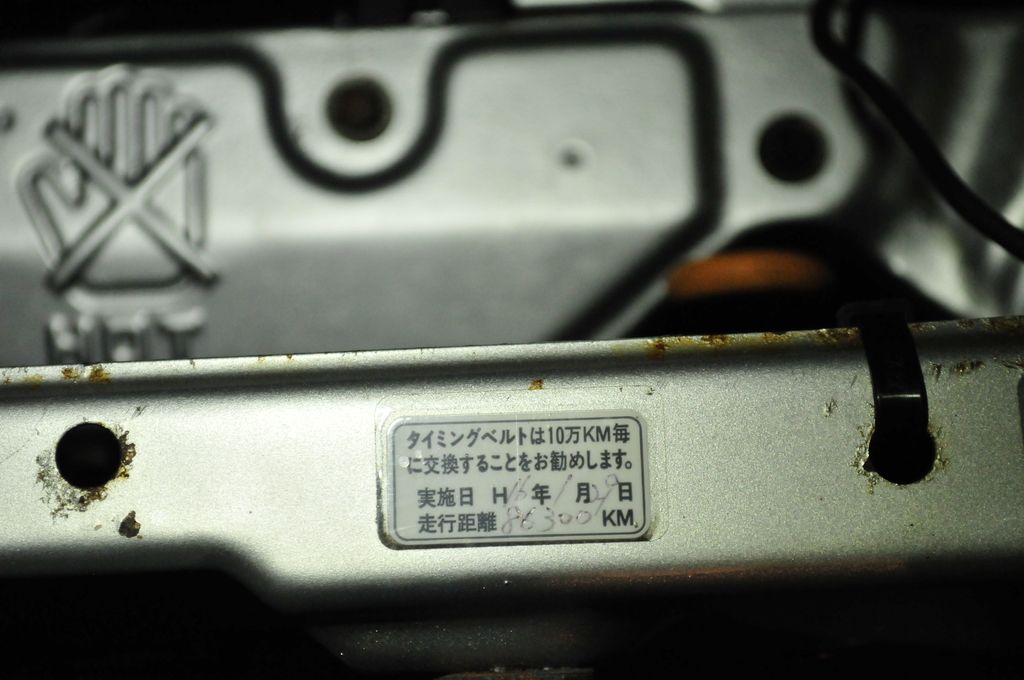
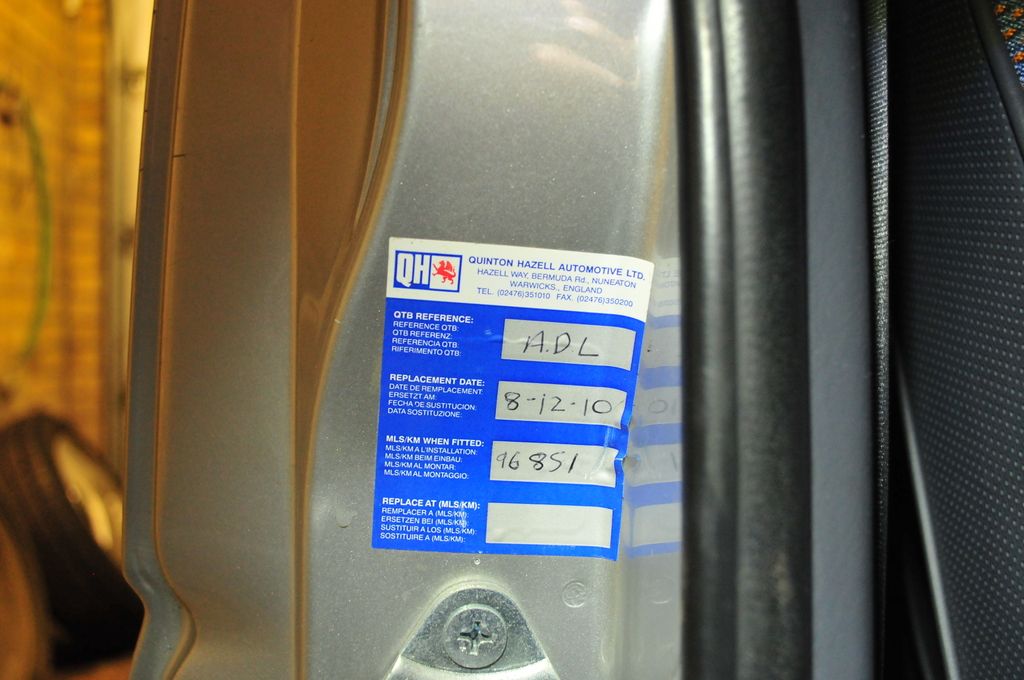
Looking at the stickers dotted around the car it appears that the timing belt had been replaced religiously every 6-7 years, with the first Japanese sticker showing a replacement in the Japanese year Heisei 2016, corresponding to 2004 in the Western Calendar. The next record indicates that the timing belt was also replaced in 2010, a mere 10,000km later.
With the timing belt covers off, the block looked free from any oil, indicating that that cranckshaft and camshaft seals were still good.
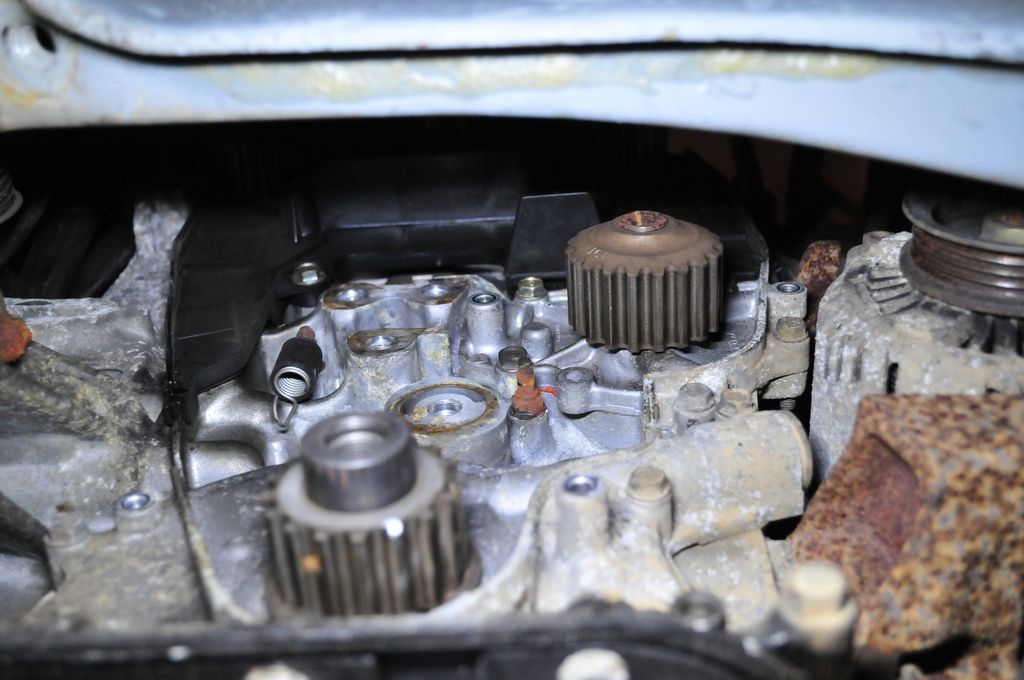
On the other hand, both the idler and the water pump were starting to show some wear with some noticeable partial rough turning. This would suggest that those would probably not have been replaced at the last timing belt change.
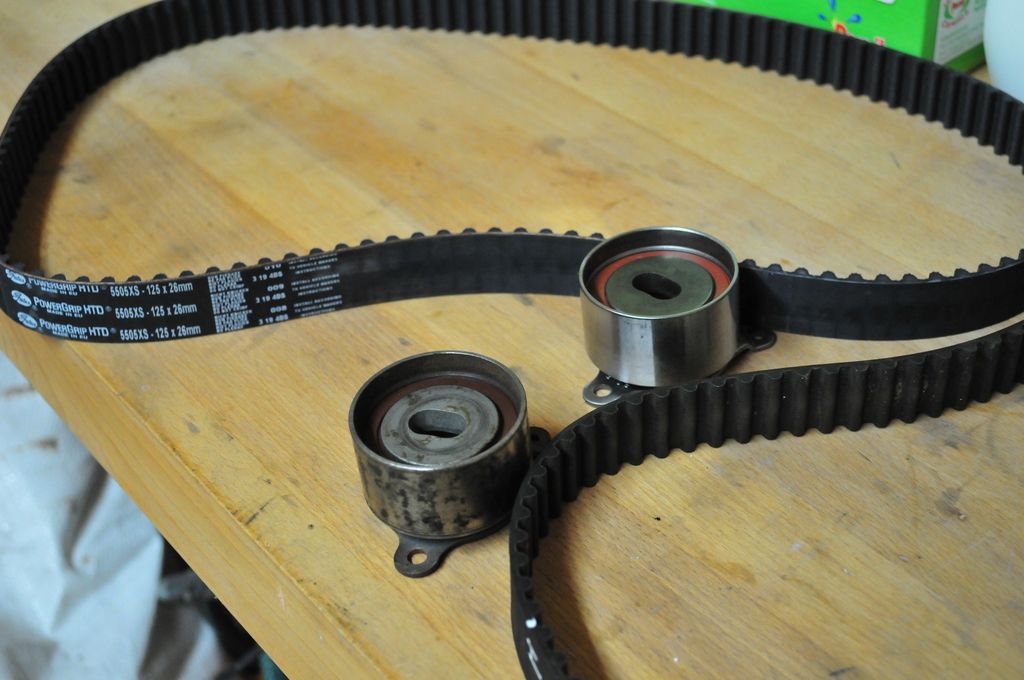
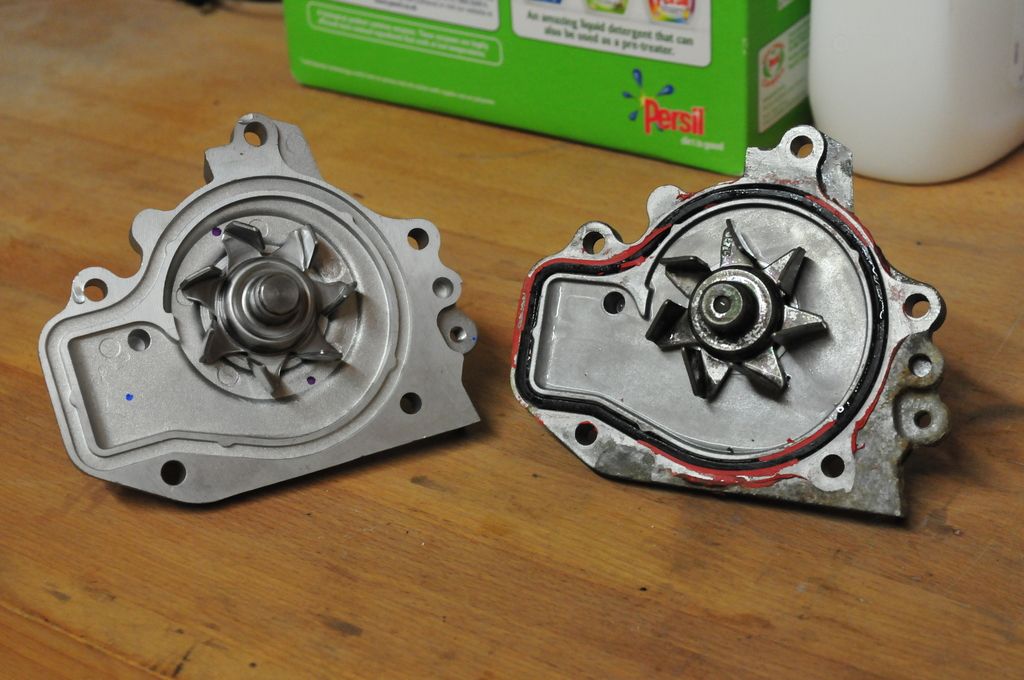
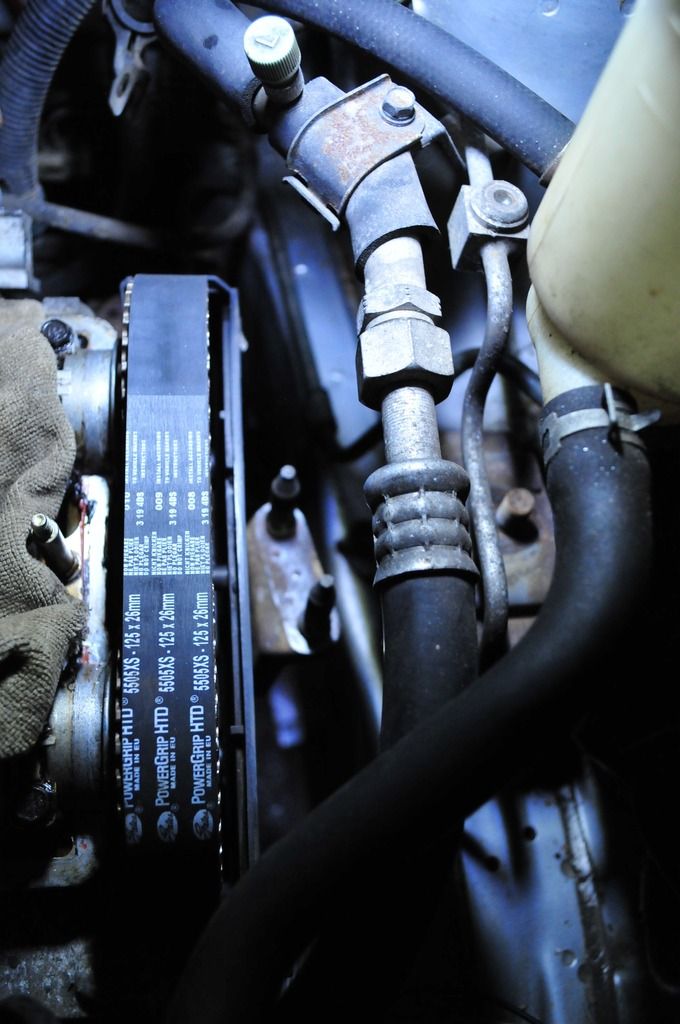
I had no experience in working on Honda's before. Overall I found it pretty well engineered to do work on the engine but access is very very tight, more so that other transverse-engine FWD I have worked on in the past. In fact I was glad to have my set of ratchet spanners to tackle some of the bolts. But in the end, the new timing belt went on, "fairly" easily.
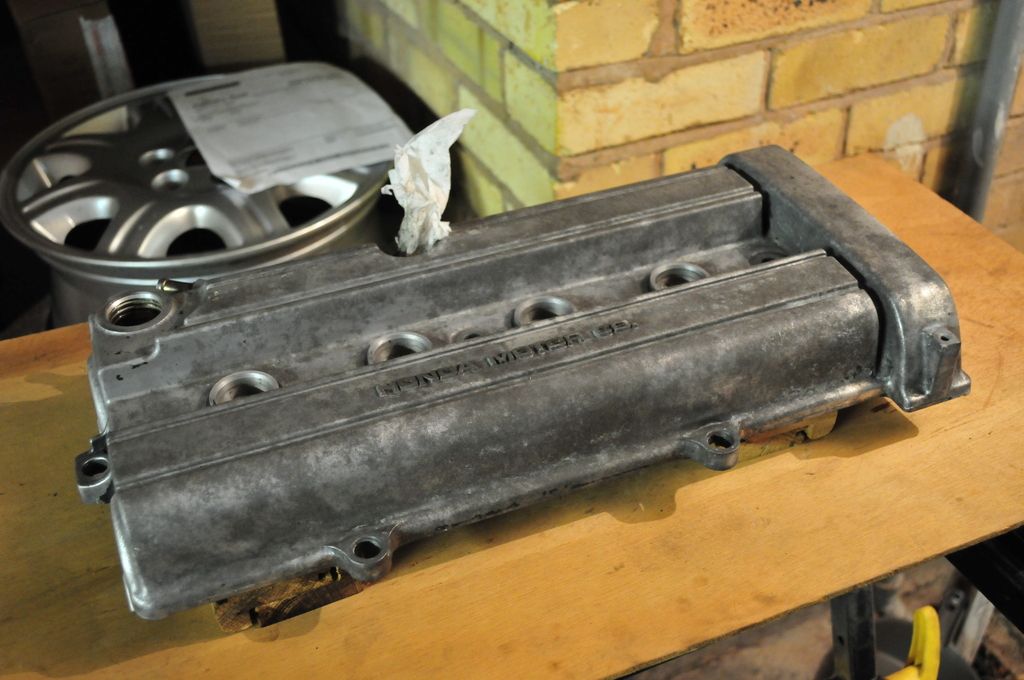
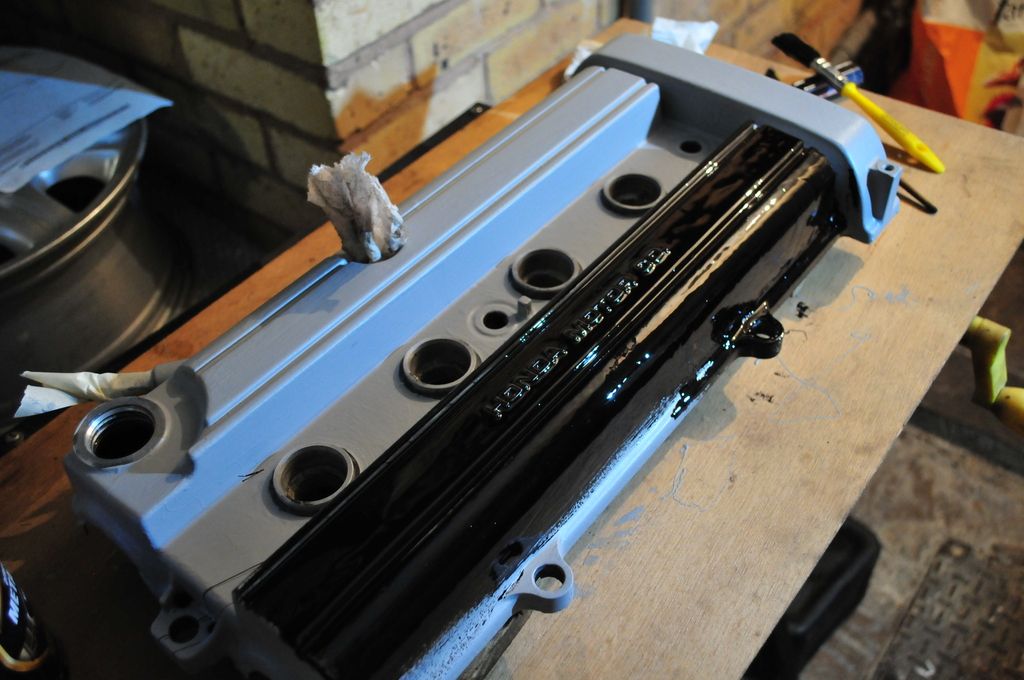
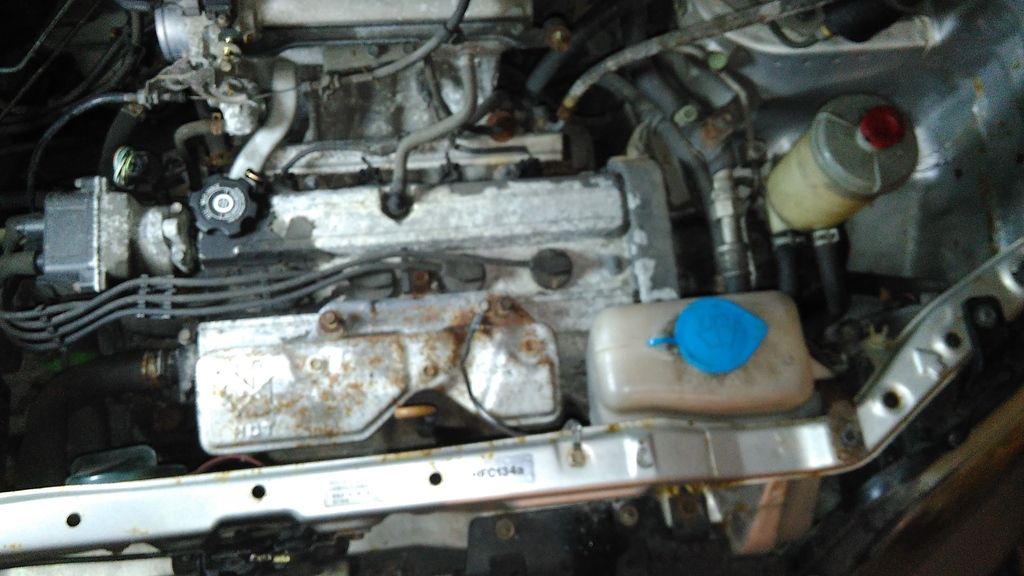
The rocker cover was not not looking very smart, with the original coating almost completely gone. So I decided to give it a refresh look before refitting. I stripped the remaining of the old paint off and used the Hammerite primer and paint that I had in the cupboard. The result looks decent enough and hopefully will last.
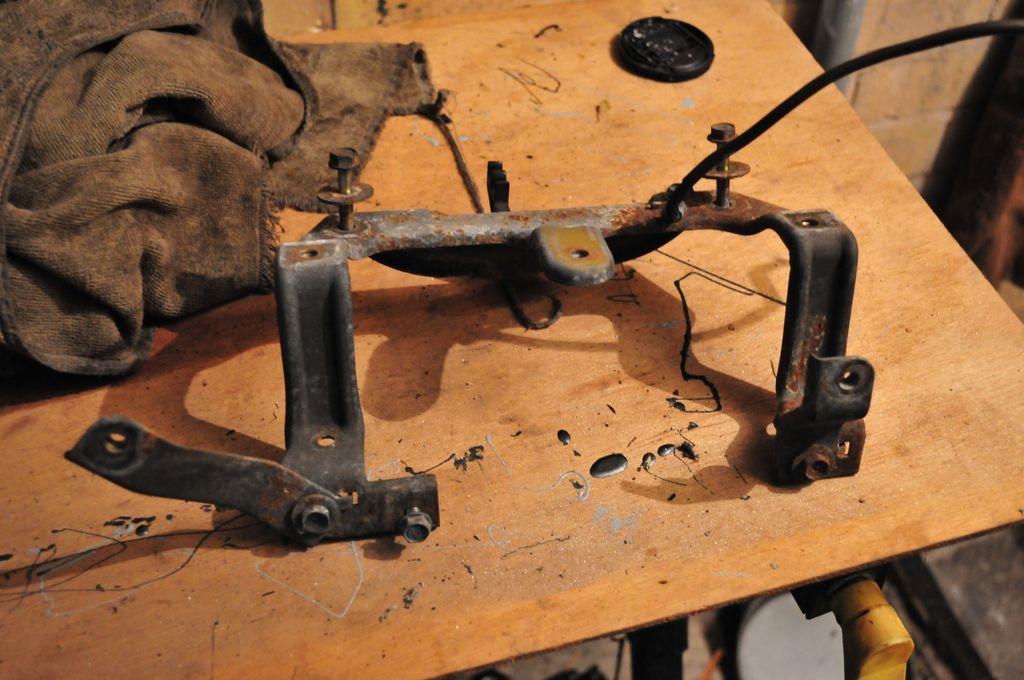
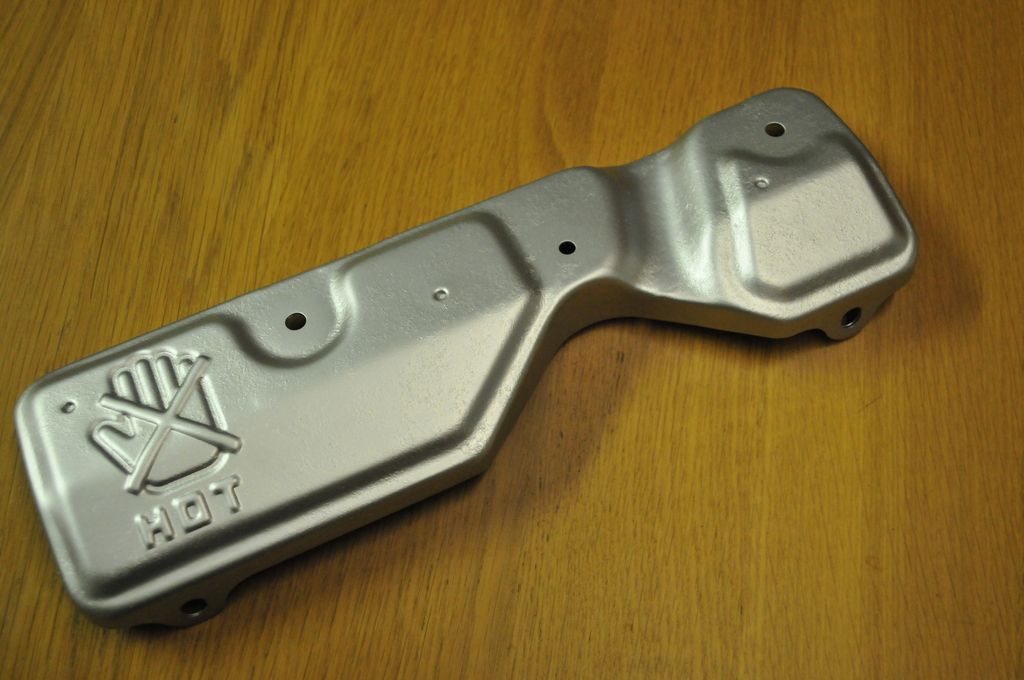
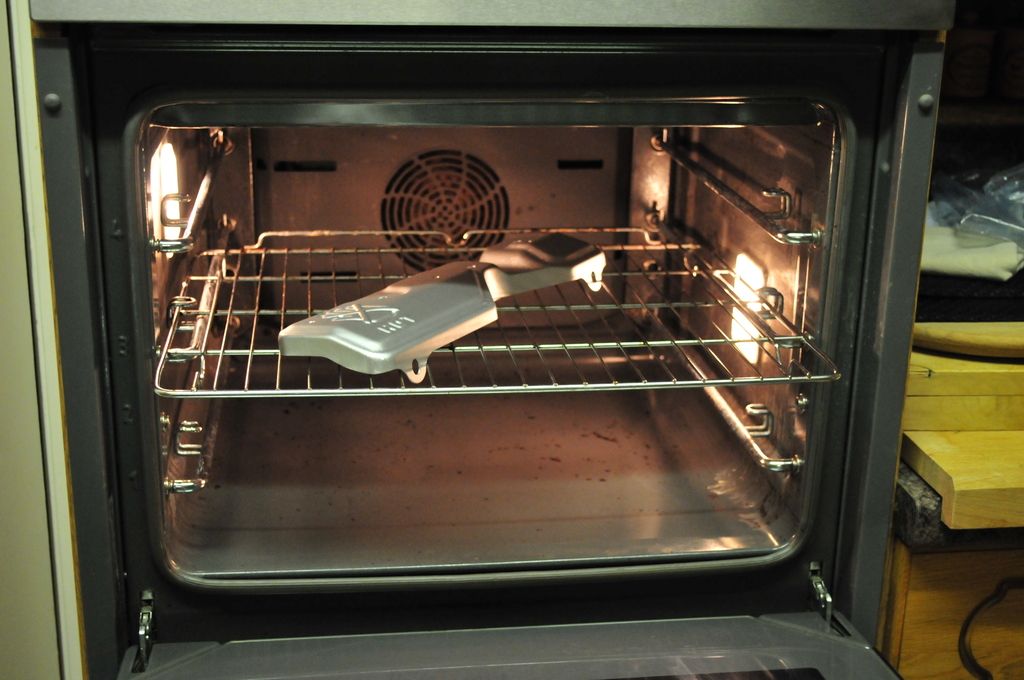
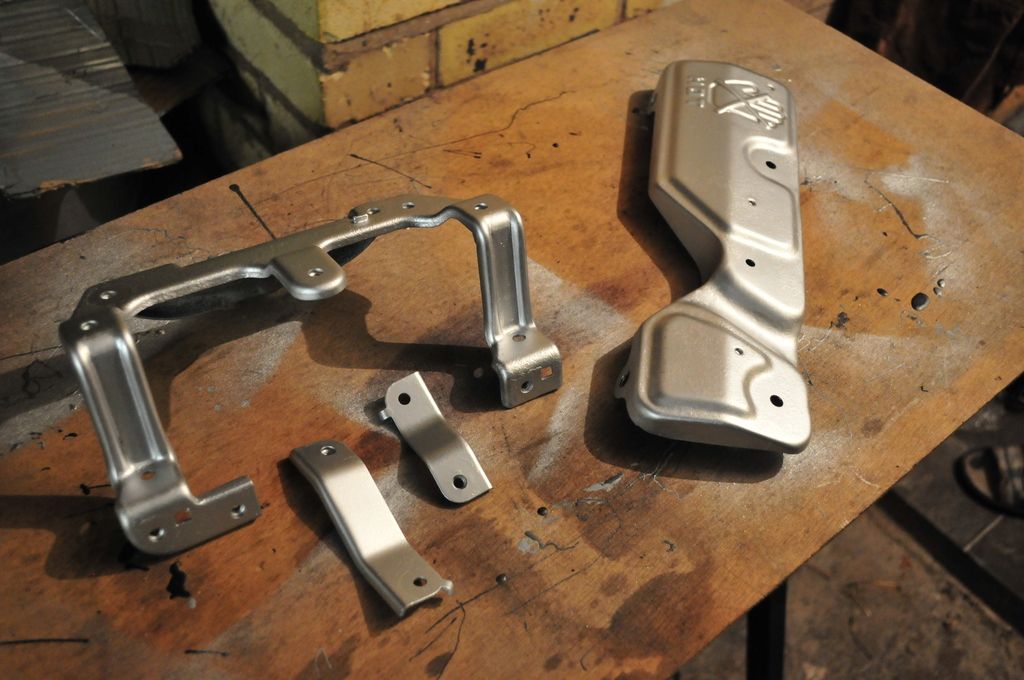
With a new shinny rocker cover, the adjacent manifold heatshield and associated brackets started to look dated, so I use the some high temperature spray paint for those, followed by the secret (not really) ingredient: a curing session is the oven. The results looks durable enough so will see how this pans out on the long term.
And there you have it, a fully serviced S-MX with a very presentable engine bay.
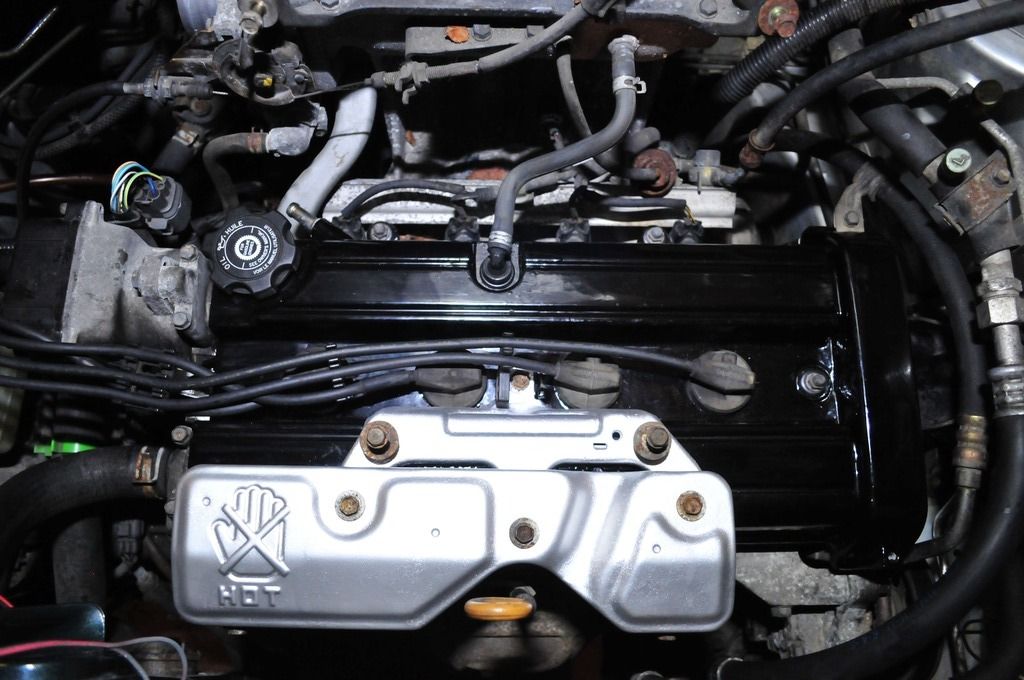
Next is to tidy up the body and give it some shine for Japfest, where it should join other S-MX on the owner's club stand.
With this in mind, I arranged a family day trip to Kent last Saturday to covertly collect some replacement doors. ;-)

|
| |
Last Edit: Mar 21, 2017 14:20:12 GMT by nick0303
|
|
|
|
|
Mar 21, 2017 13:28:26 GMT
|
|
Good Work! there is a little orange one a few doors down from me, I never noticed the doors being different side to side though. guess because you only see one side at a time.
This is the sort of recommissioning i want to be doing not laying on my back thinking what have i got into here and then 12 months later throwing in the towel as its beaten me
|
| |
|
|
|
|
|
Mar 21, 2017 17:56:10 GMT
|
Good Work! there is a little orange one a few doors down from me, I never noticed the doors being different side to side though. guess because you only see one side at a time. This is the sort of recommissioning i want to be doing not laying on my back thinking what have i got into here and then 12 months later throwing in the towel as its beaten me Thanks. Love the orange ones. The colour suits them so well. No project is too hard as long as you plan ahead, do a bit of research and give yourself plenty of time. In my case, I had never done a timing belt on a Honda and had no Haynes manual to refer to for torque settings etc... But as it is the case for most things these days, youtube came to the rescue. I found this series of 4 videos clearly detailed step by step operations and key torque settings to replace the timing belt on a B20b engine. Highly recommended to watch if your planning similar job. Nick. |
| |
|
|
|
|
|
Apr 12, 2017 12:47:59 GMT
|
Chapter 5: An open door. Since my last update last month, this project has been ticking in the background, and I have been working on making the van more presentable for Japfest. The wheel arches were found to be very presentable, with little or no surface rust to be reported. 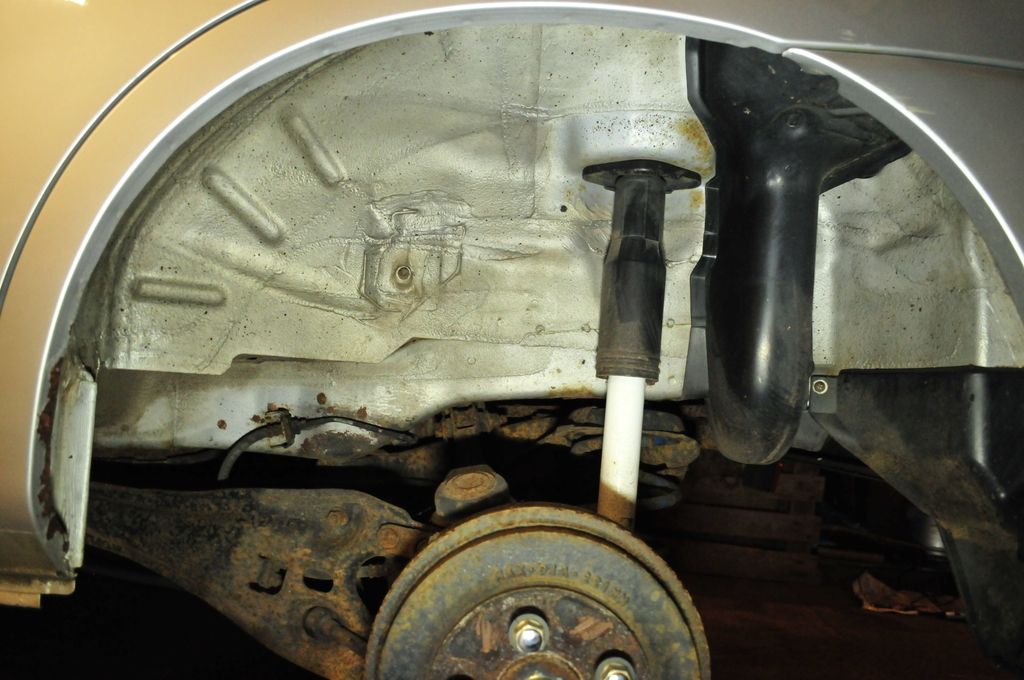 A moment of weariness did occur when I came around to remove the plastic cover for the fuel filler pipe. The previous project did throw some bad surprises in that area. However in this case, the cover did not appear to have trapped too much moisture or mud so the fuel filler pipe was actually okay up there. 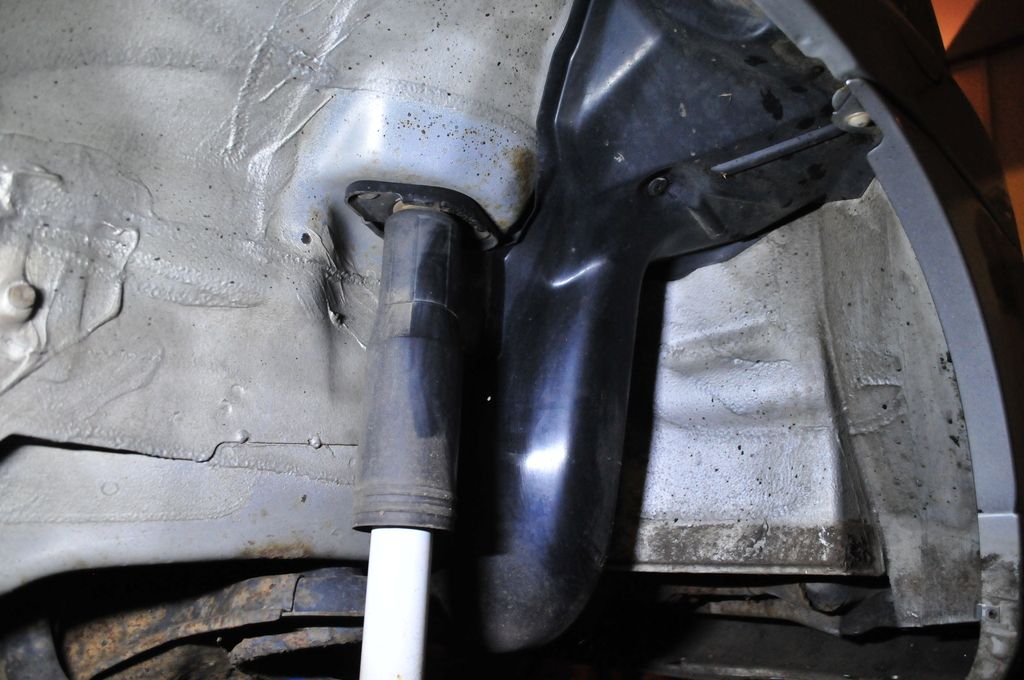 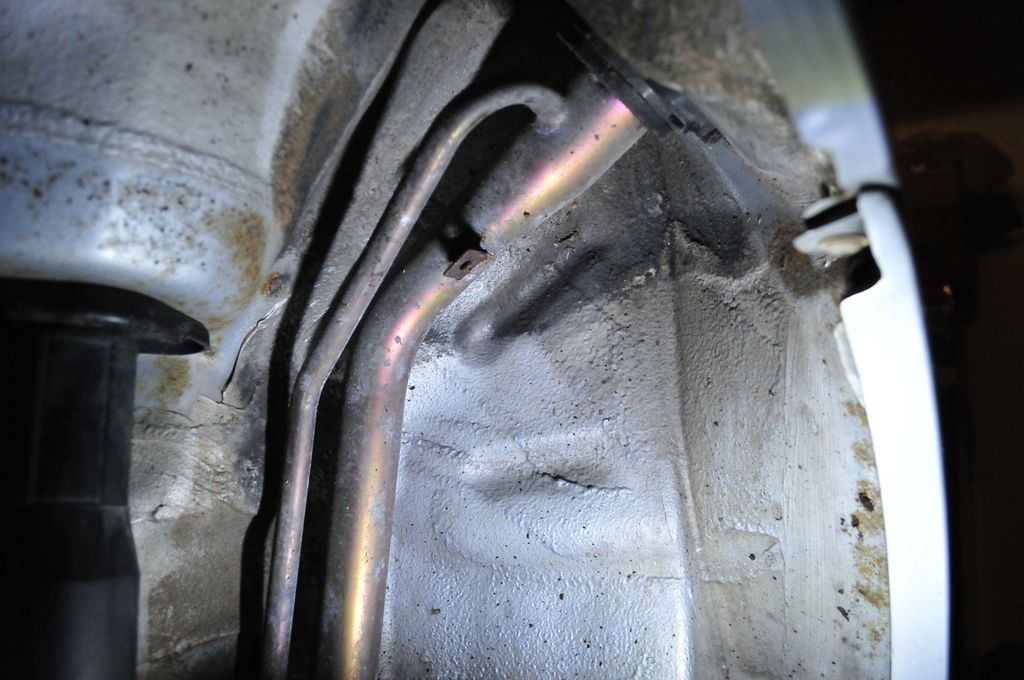 The only noticeable rust was highlighted during the first wash, and those were attended to with rust inhibitor, zinc galvanising primer before a local spray and lacquer. 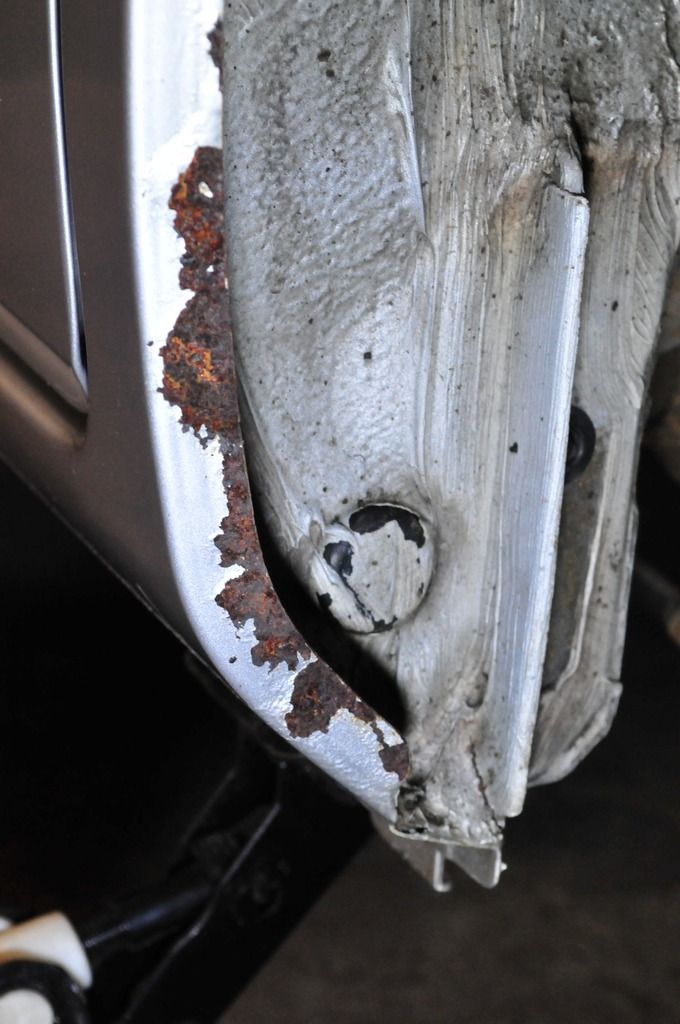 So with the wheel arches getting the all clear, it was time to tackle the damaged doors. 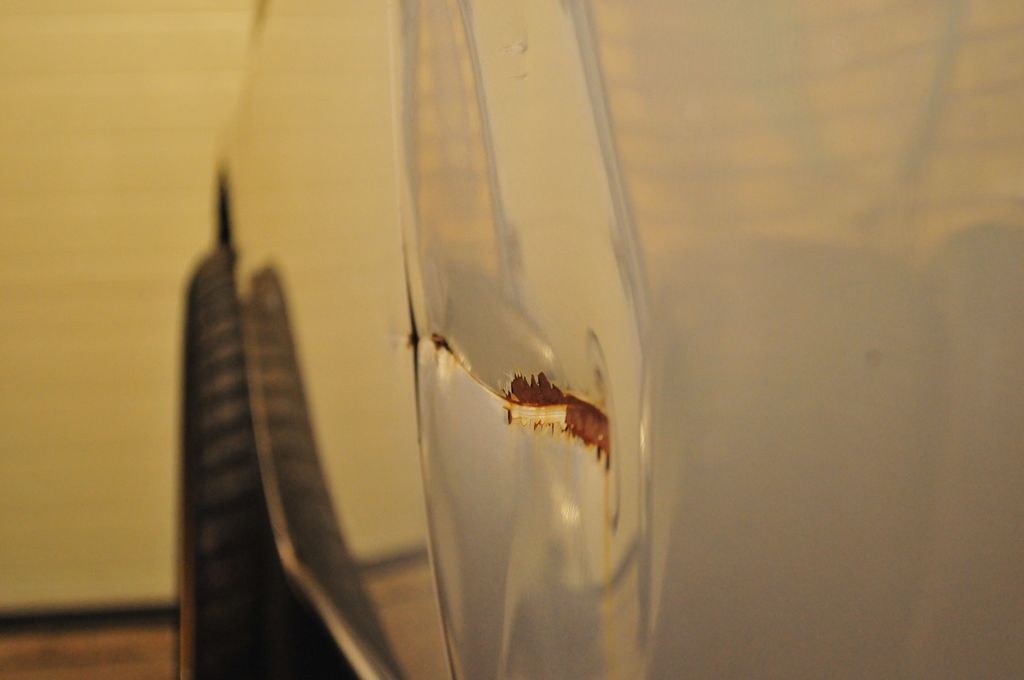 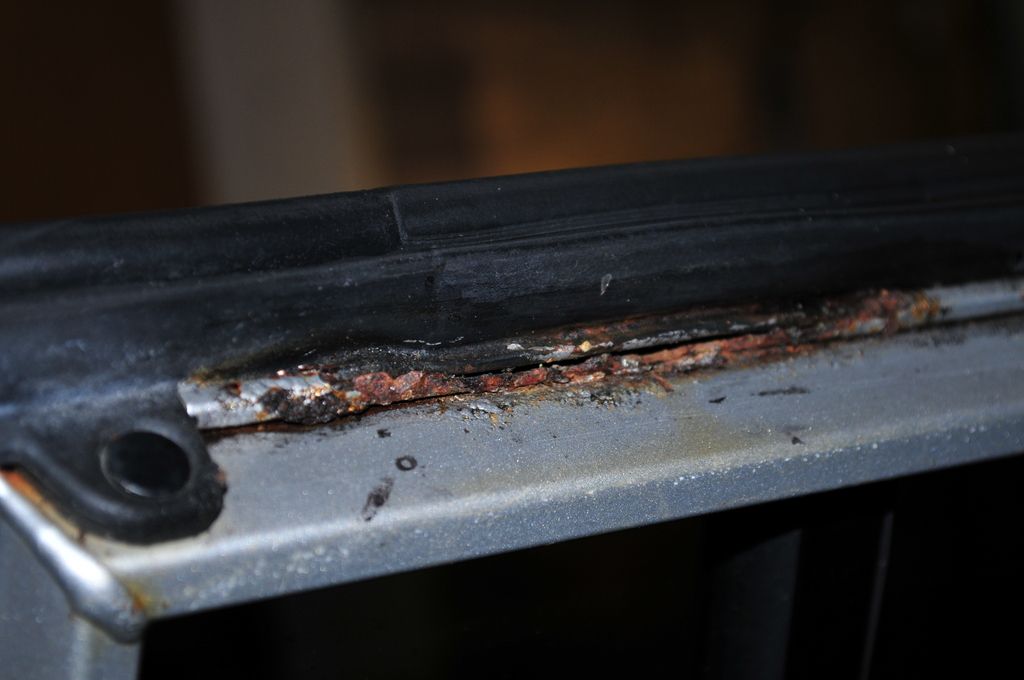 The rear door had the most damages, and with the door frame also starting to rust near the top seal, it wasn’t worth the effort trying to repair it. The original front door was in a much better shape, and rust free, so arguably the small damage could have been repaired quite easily. However, since I had located to very straight doors at £35.00 a pop, I felt it was still more cost effective to replaced the front one at the same time. So off came the doors. My attention was immediately drawn to the hinges area, where moisture appears to have been trapped between the hinge itself and the B-post, causing surface rust. So before refitting the replacement doors I applied more rust inhibitor, followed by a spread of copper grease. Hopefully this will be effective. I also took the opportunity to spray some Dinitrol inside the B-post through the hinge fixing holes. 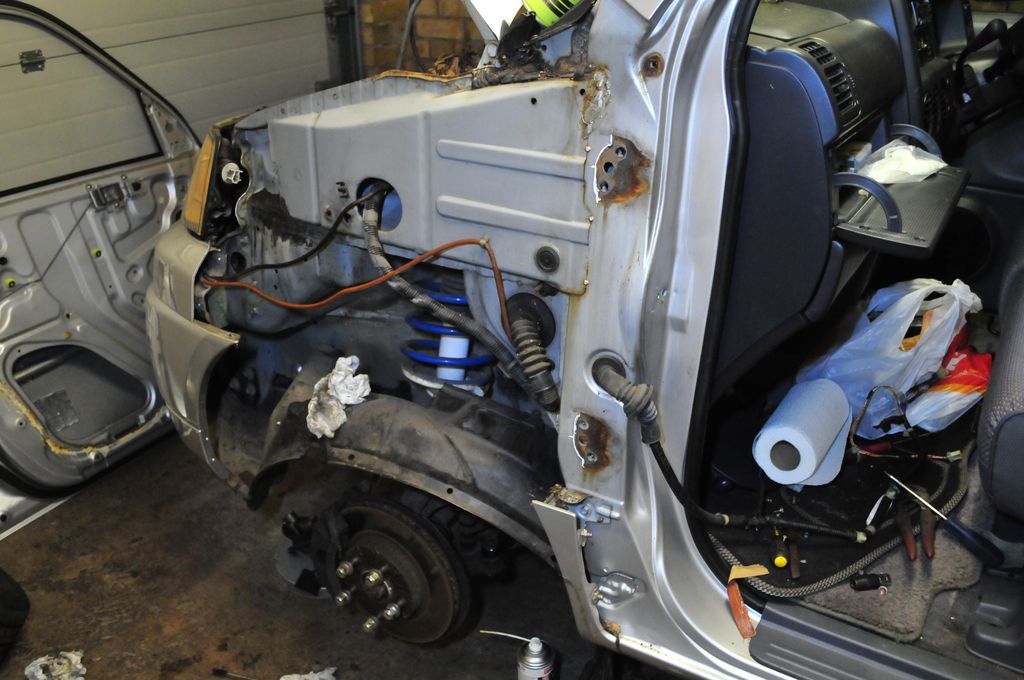 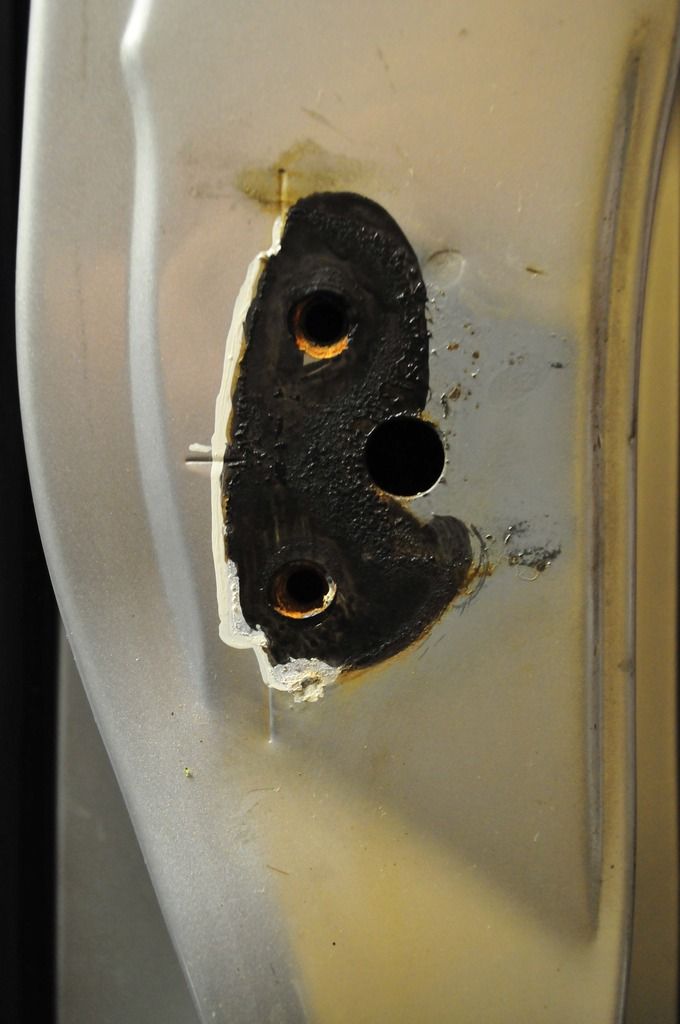 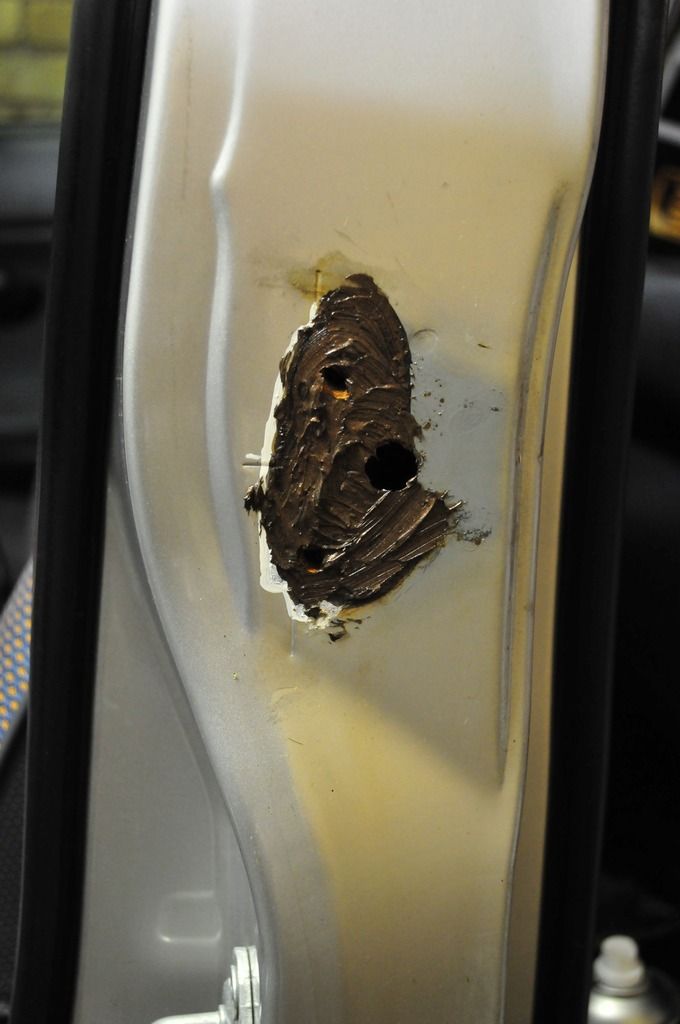 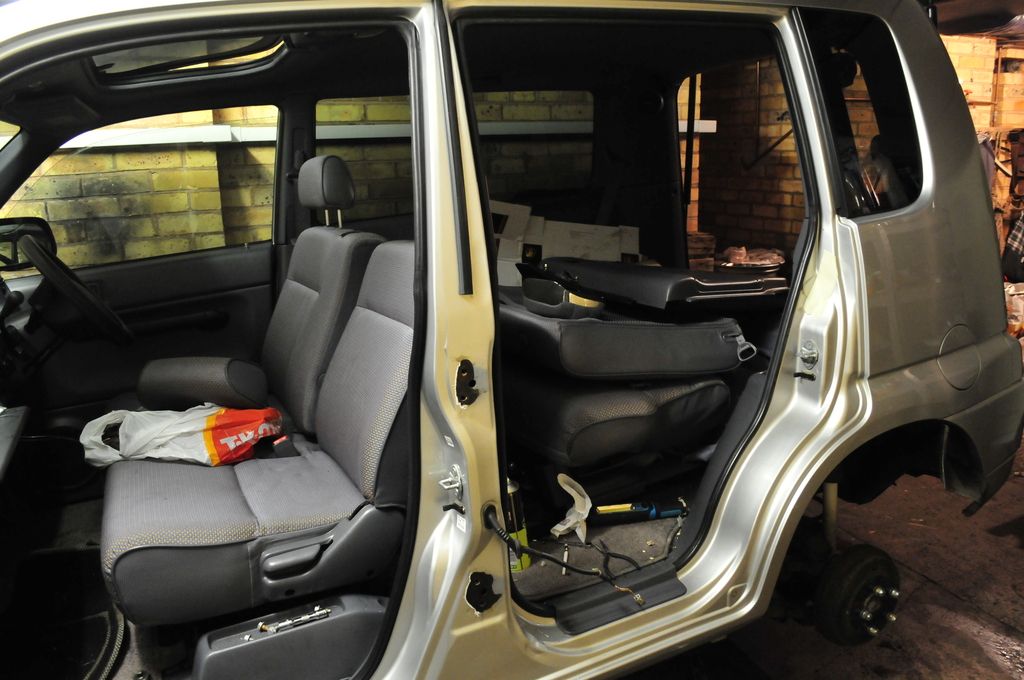 The removal of the front door required unbolting the front wing. With the wing off, I could do further rust treatment on the shotguns, removing all the remaining rust and spraying copious amount of Dinitrol in all the crannies I could find. 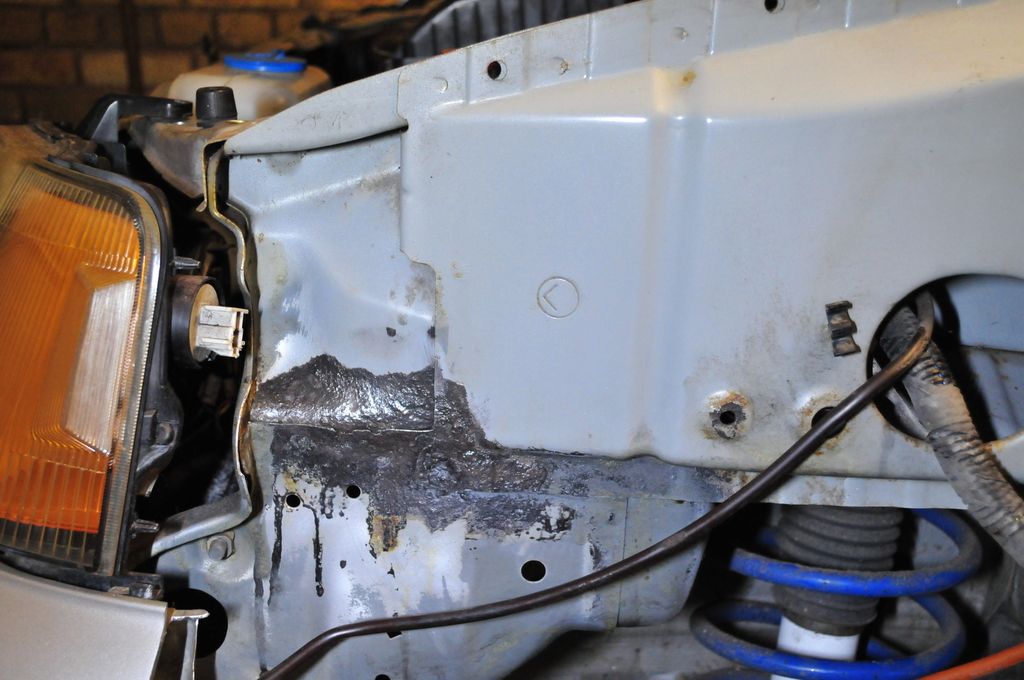 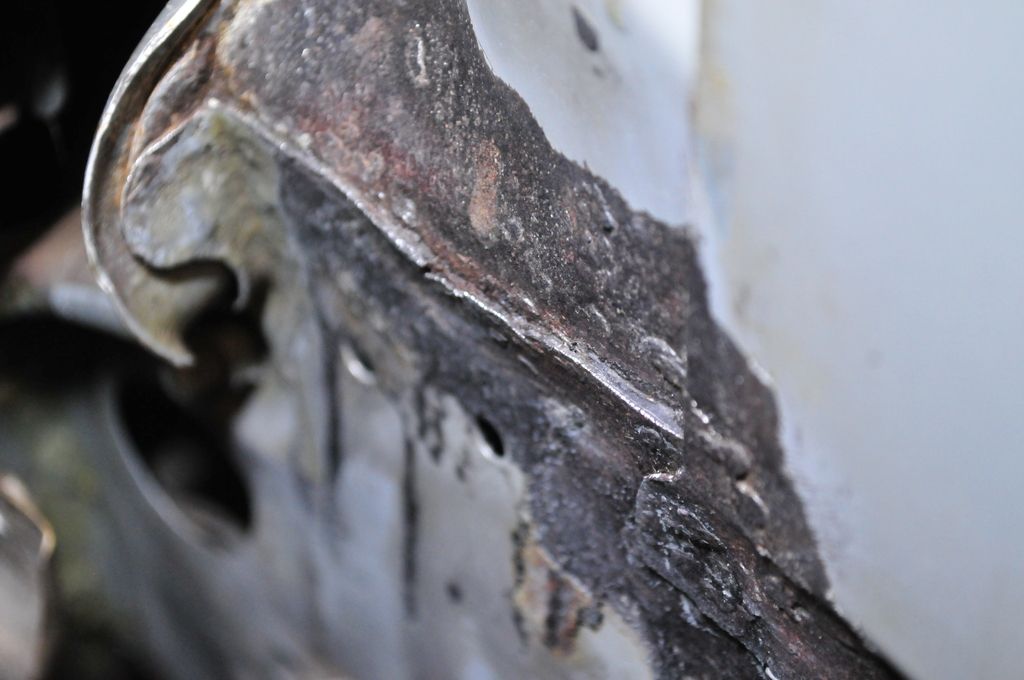 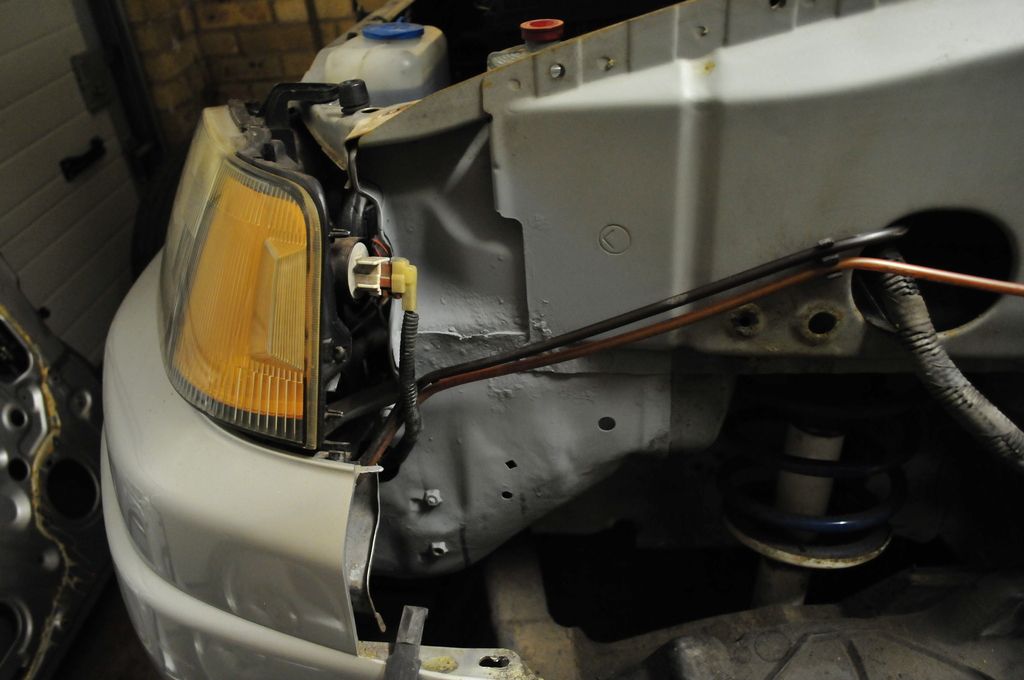 The paint on the removed wing had started to flake off, so I took it away to have it professionally painted while I was tackling the door swaps. Turning my attention to the replacement doors, I discovered that the rear door had started to rust near the top seal, but luckily no to the same extent as the original component. So off came the seal before get the rust under control. 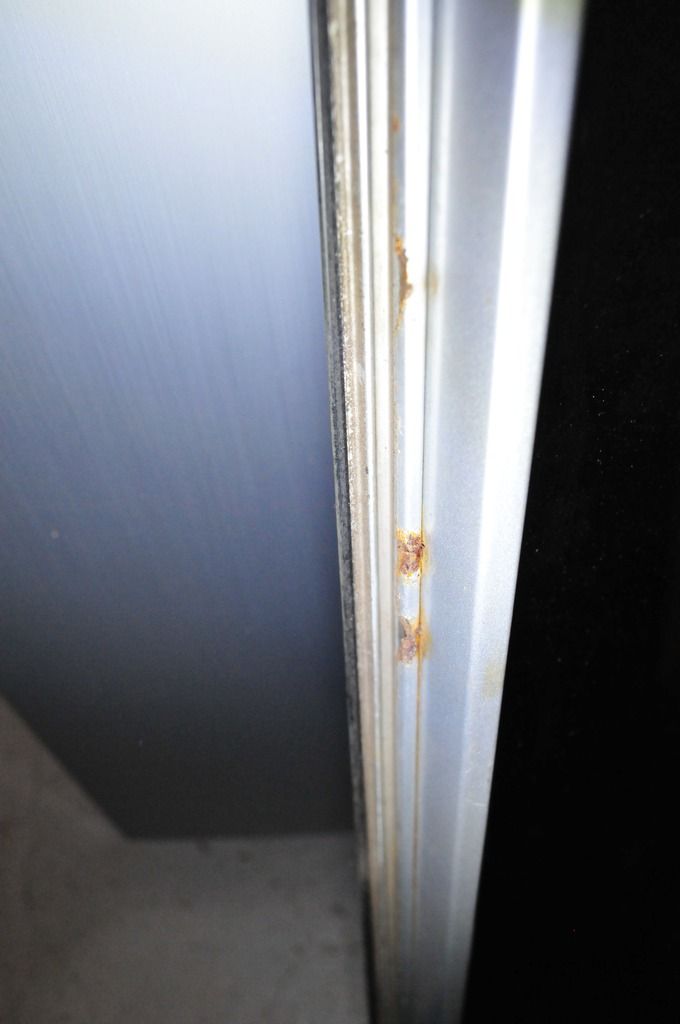 Both replacement doors were also treated to a copious amount of rust inhibitor and Dinitrol being applied at the bottom for good measure, only releasing the trigger on the Dinitrol when it literally started pouring down the bottom drains. 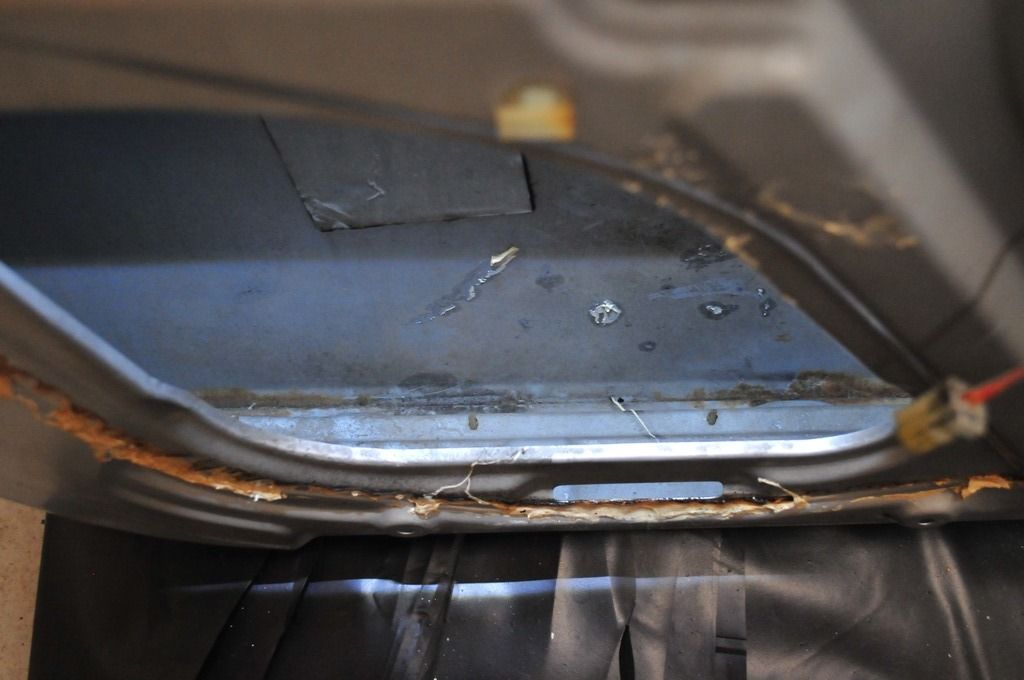 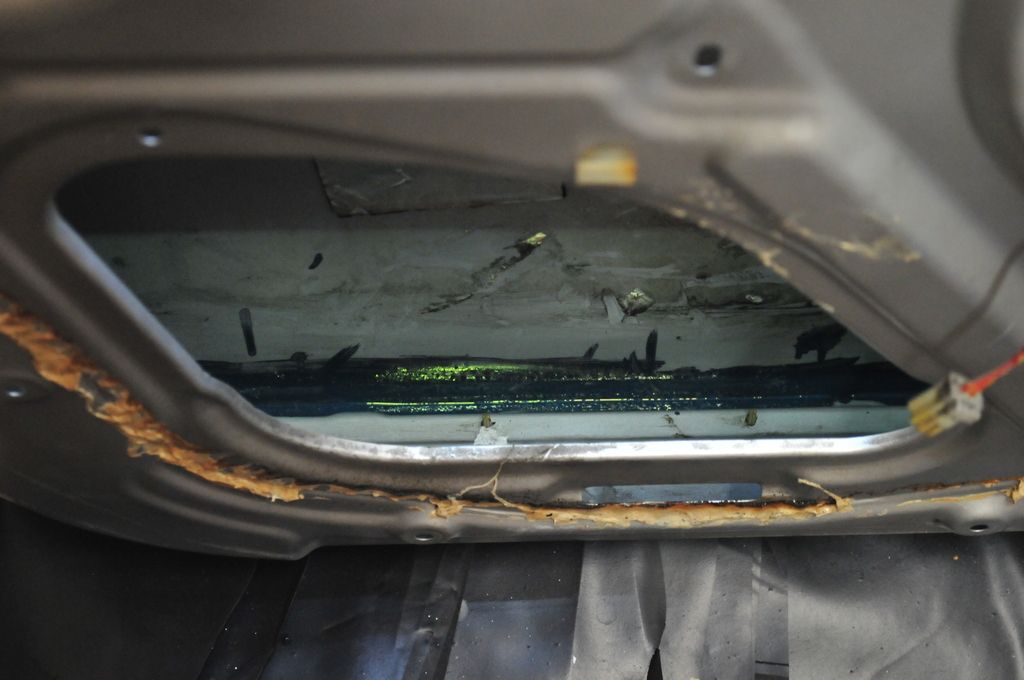 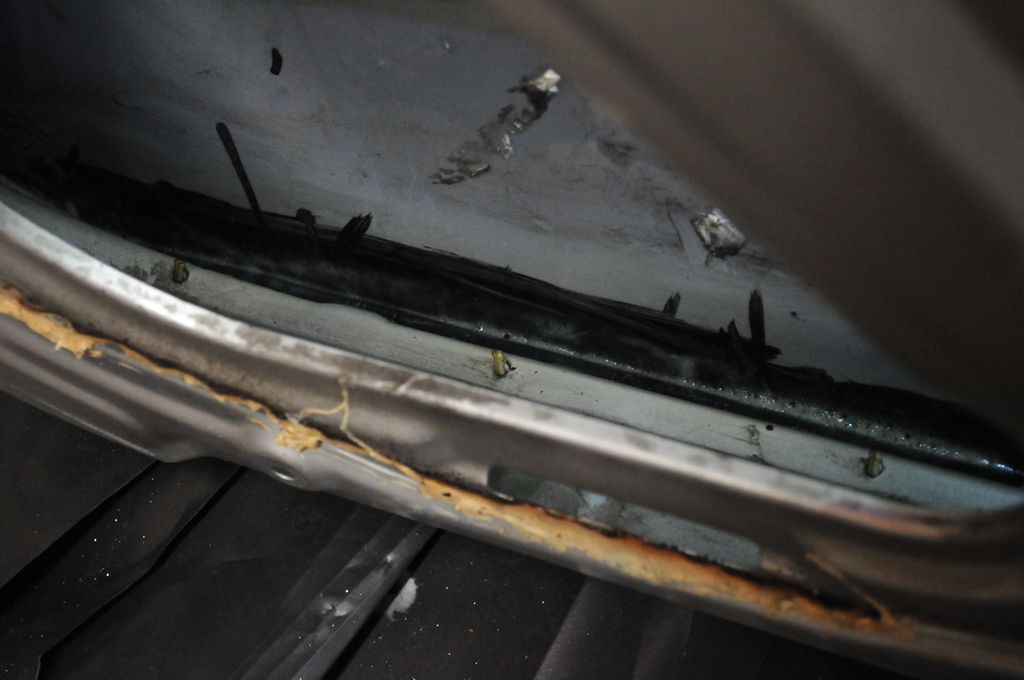 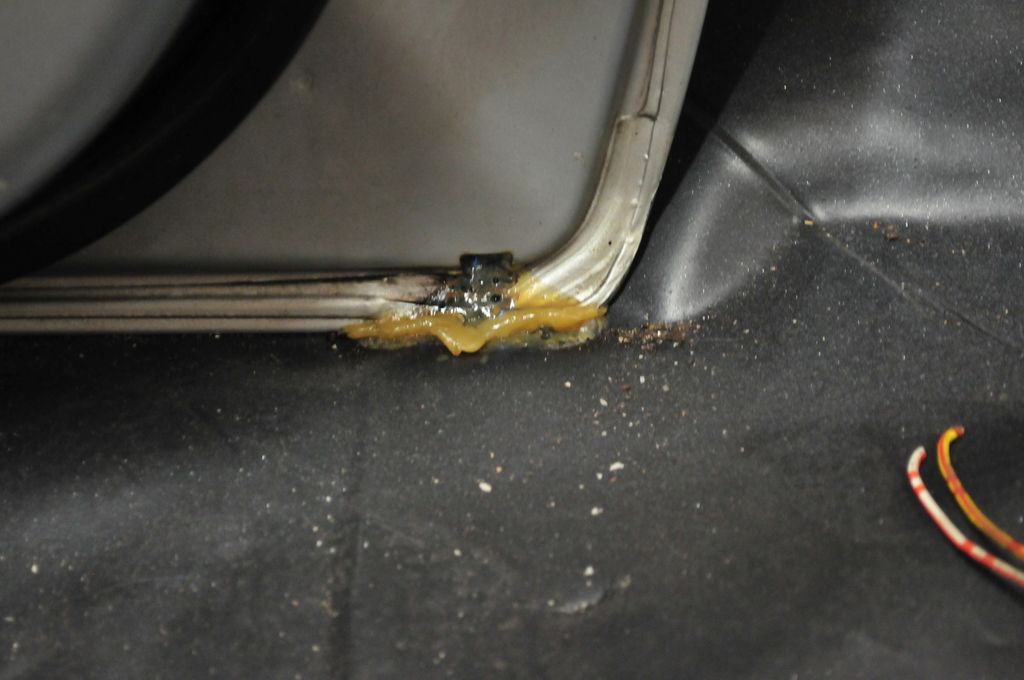 The doors came back on fairly easily, and I was able to bolt them back on without any assistance by latching them on to hold the rear of the panel while lifting the front to position the hinges on the B-post. Before removing the old doors, I had marked the positioning of the original hinges to help me with the panel gap setting. This turned out to be a very wise move, and the new doors were correctly set in no time. The wing came back freshly paint so I could eventually put the car back together. 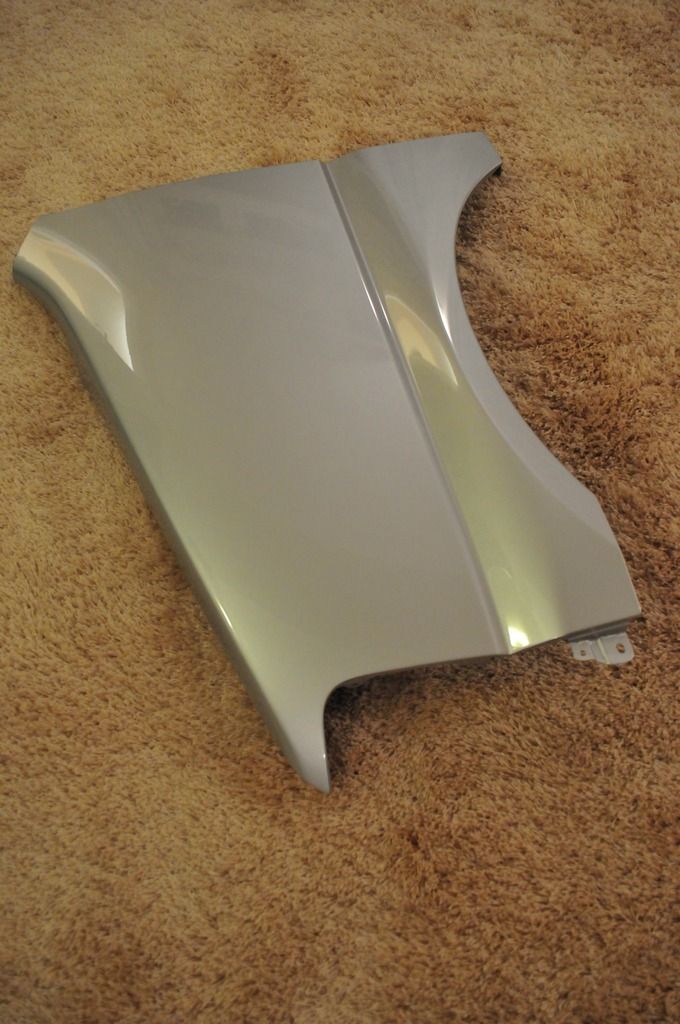 Finally, and probably the lengthiest job, was to remove the old double-sided tape from the door frames, from some wind deflector previously in place. 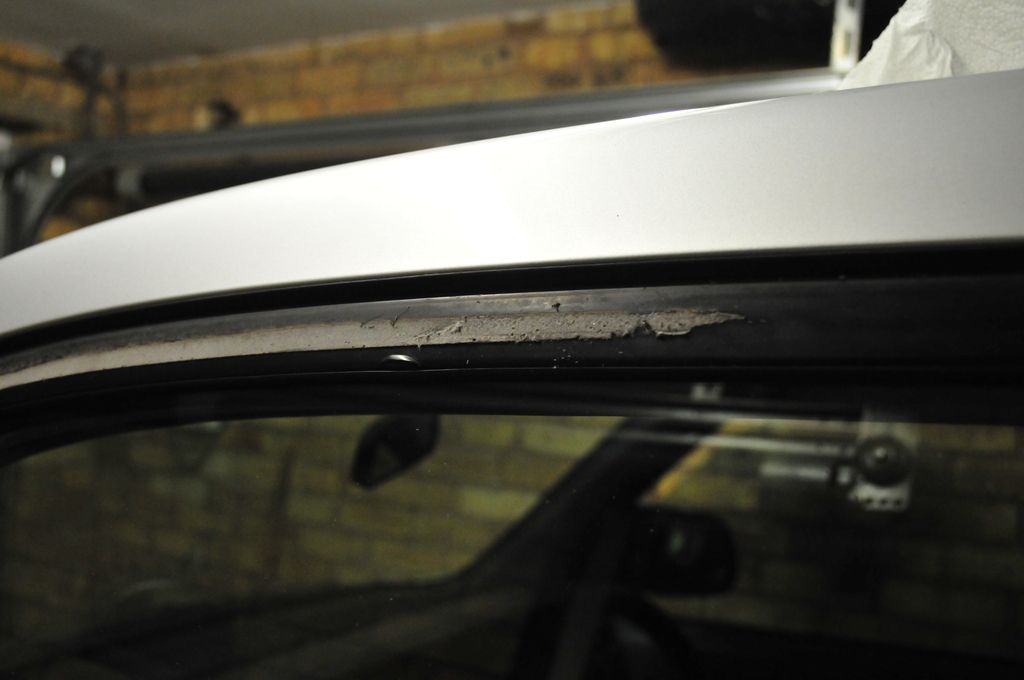 Those took me circa 1.5 hours per door, painstakingly removing the tape one mm at a time. I found that the “easiest” way to remove the hardened tape was to first wipe it with cellulose thinner to soften the glue, then rubbing the tape off the frame with the finger to prevent any damages. Unfortunately I had to take a couple of days rest between the 2 doors to allow the skin on my index finger to regenerate. I then gave the car a McGuire treatment including the preliminary clay to remove most to the remaining imperfection from the paint. I will take some proper pictures once the car has come out of the garage. The car is now ready for its MOT which is booked on Friday. So fingers are now firmly crossed. |
| |
Last Edit: Apr 12, 2017 12:57:08 GMT by nick0303
|
|
|
|
|
Apr 12, 2017 13:14:57 GMT
|
|
Good luck for Friday then!!
I used a 'toffee wheel' to remove the adhesive left from wind-deflectors on my old bongo, I know it's too late now but maybe useful information in the future!
Here is one in action.....
|
| |
|
|
|
|
|
Apr 12, 2017 13:35:37 GMT
|
|
love it, almost bought a capa couple of weeks ago.
|
| |
|
|
Paul
Posted a lot
  
Posts: 2,004
|
|
Apr 12, 2017 14:07:28 GMT
|
Good luck for Friday then!! I used a 'toffee wheel' to remove the adhesive left from wind-deflectors on my old bongo, I know it's too late now but maybe useful information in the future! Here is one in action..... I tried that...ended up staining the paint on my door so badly that machine polishing and T-cutting still hasn't cleared it. And that was on the lowest spin setting pausing regularly to stop heat buildup. I applied Nick's method to the other side - it took longer but caused no damage... |
| |
|
|
Curtis
Part of things
 
Posts: 622
|
|
Apr 12, 2017 14:28:42 GMT
|
|
I've always had a soft spot for the SM-X, its rare you see such level of detail you're going to on such an... under-rated car
|
| |
Driving:
Shitbox Honda S-MX |
|
|
|


