A month on, what's been happening?
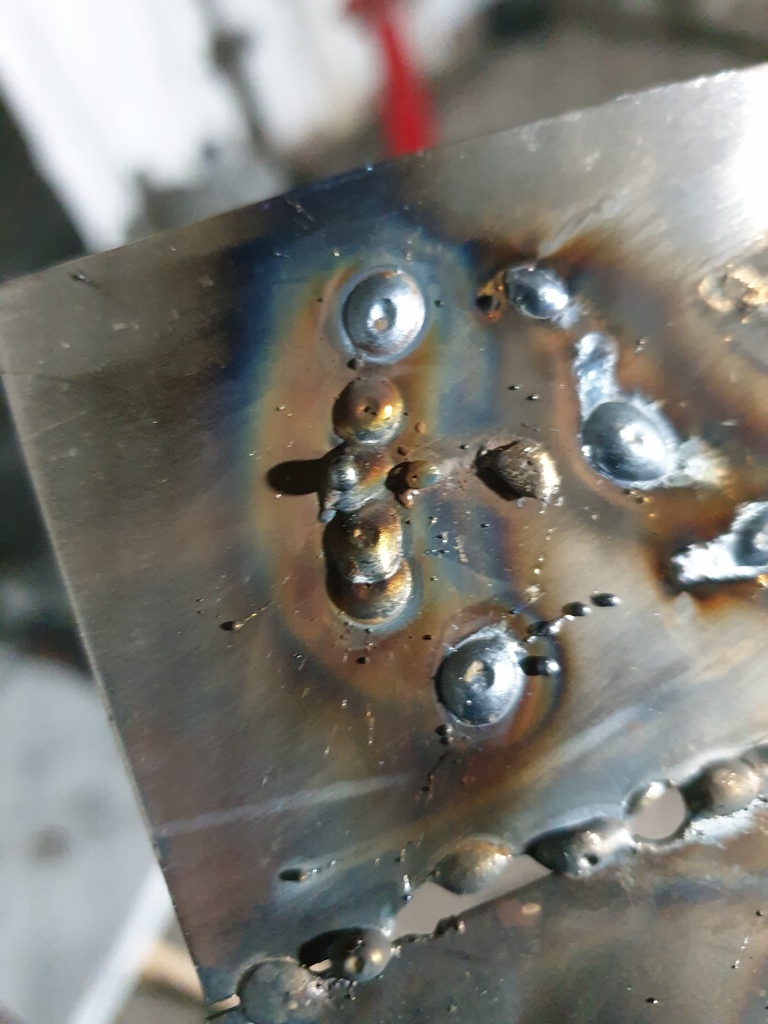
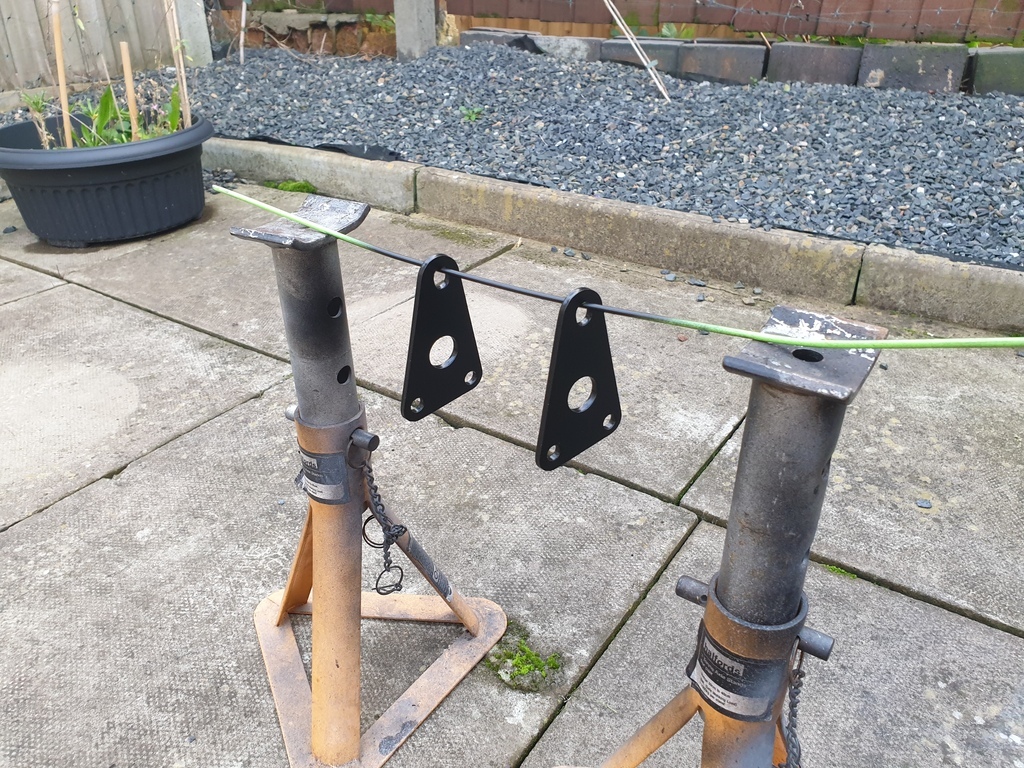
Some of the last engine brackets that hadn't been refurbed got a rub down, prime and paint
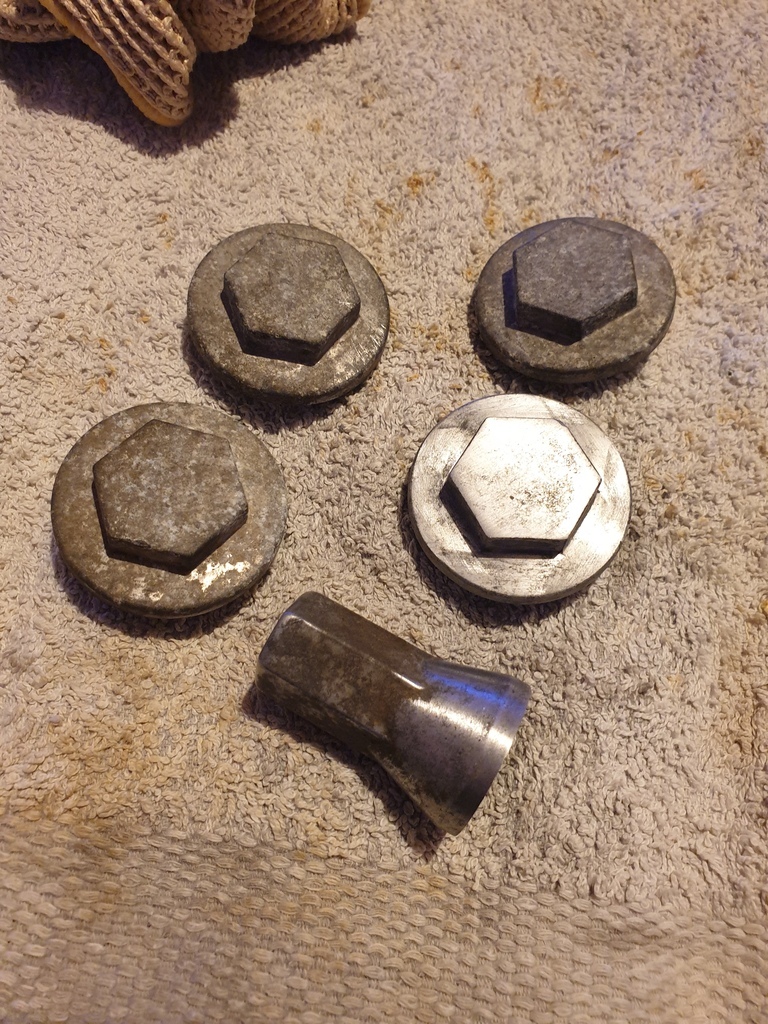
The new plugs for the crankshaft arrived so they went in with some loctite and were staked. Then took the opportunity to install the rods
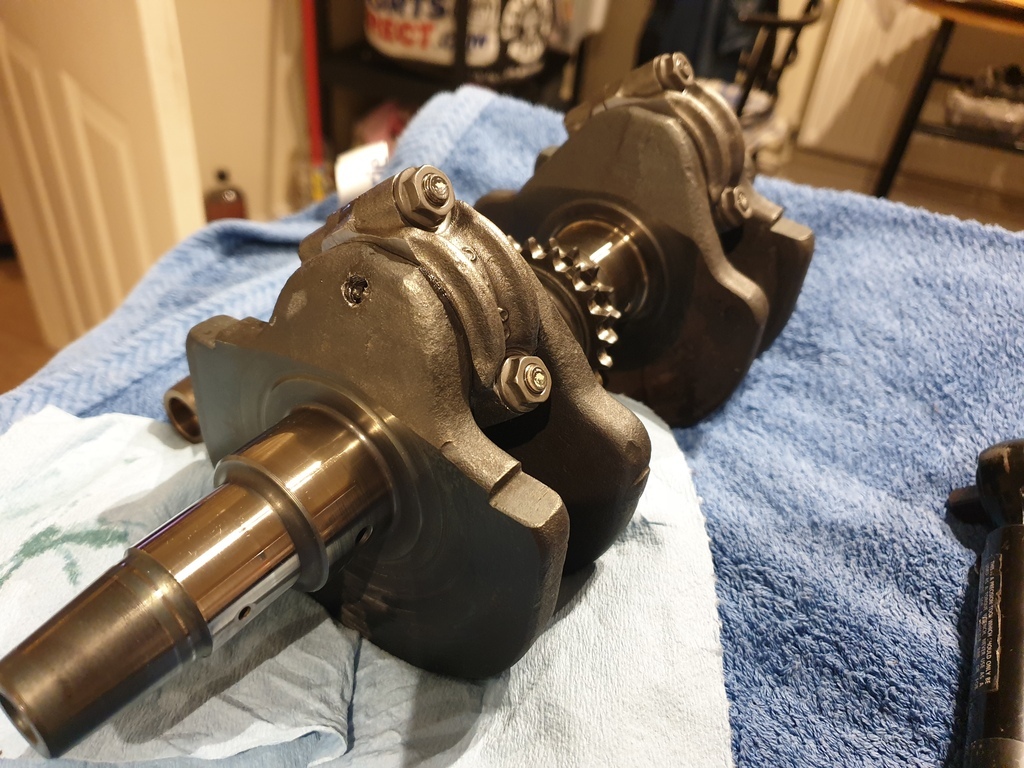
At this point I installed the crank along with the balancer weights into the upper crankcase
I had actually made quite a major mistake here which I didn't realise until later, more on that in a moment. I was stuck here for a bit as I'd forgotten to order one of the O rings that seal the oil feed to the centre main bearings from the lower crankcase so I tidied up the rocker arm adjustment and cam chain tensioner caps.

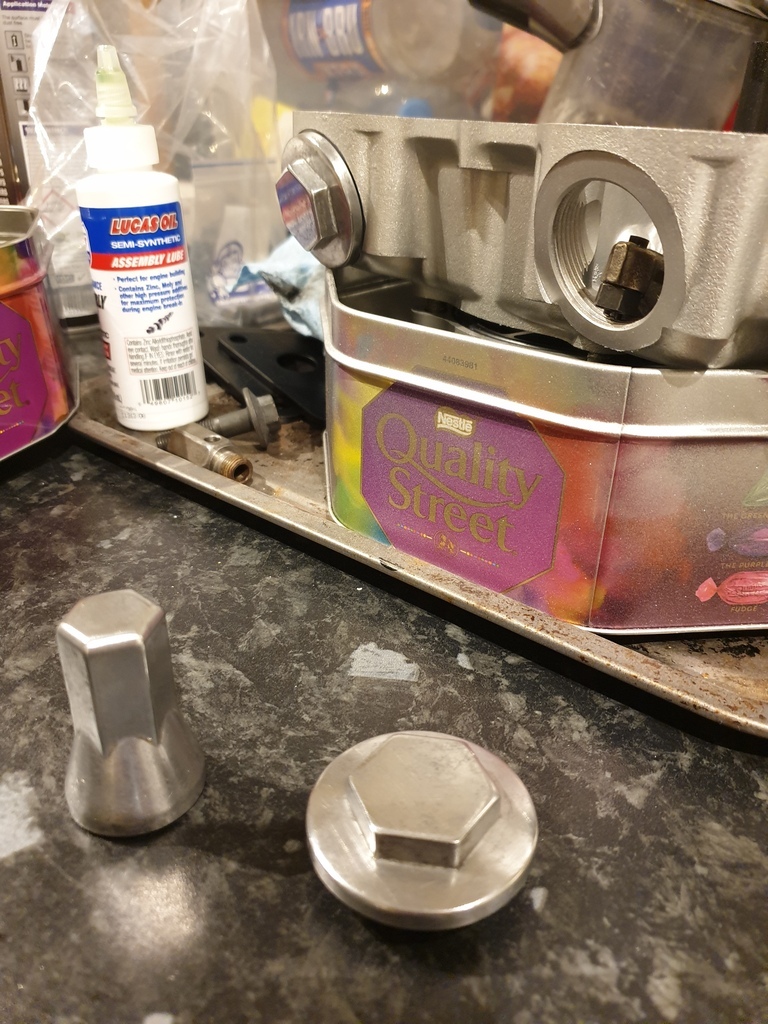
Didn't go crazy with them, bit of 240, then 480 grit wet and dry paper before a going over with the autosol. Blends in well enough with the painted bits.
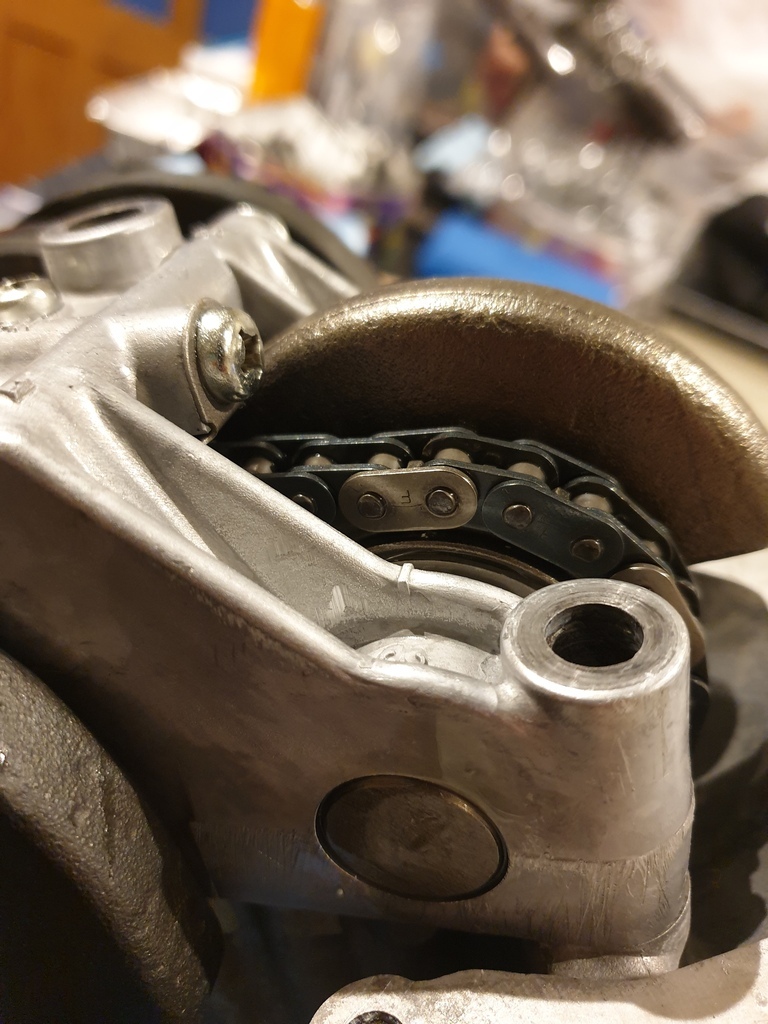
So the mistake I'd made with the engine assembly. The balancer weights have to be timed to each other by lining up a small marker hole on each sprocket with one of two bright links on the balancer chain. My balancer chain actually has four bright links but they have the same spacing.
I'd timed the weights to each other, the crank was set to the position as outlined in the manual, flywheel webs upwards, oil holes in the journals half obscured by the surface of the crankcase. What I'd neglected to do was check that I had the weights correctly timed to the crankshaft... I'd also put the chain on the "wrong" way round so it was tricky to see the marker hole and bright links as they were on opposite sides of the chain.
Took the balancer assy off, turned the chain around, re-timed the weights to each other, then aligned the bright links with the small markers cast in to the balancer assembly body
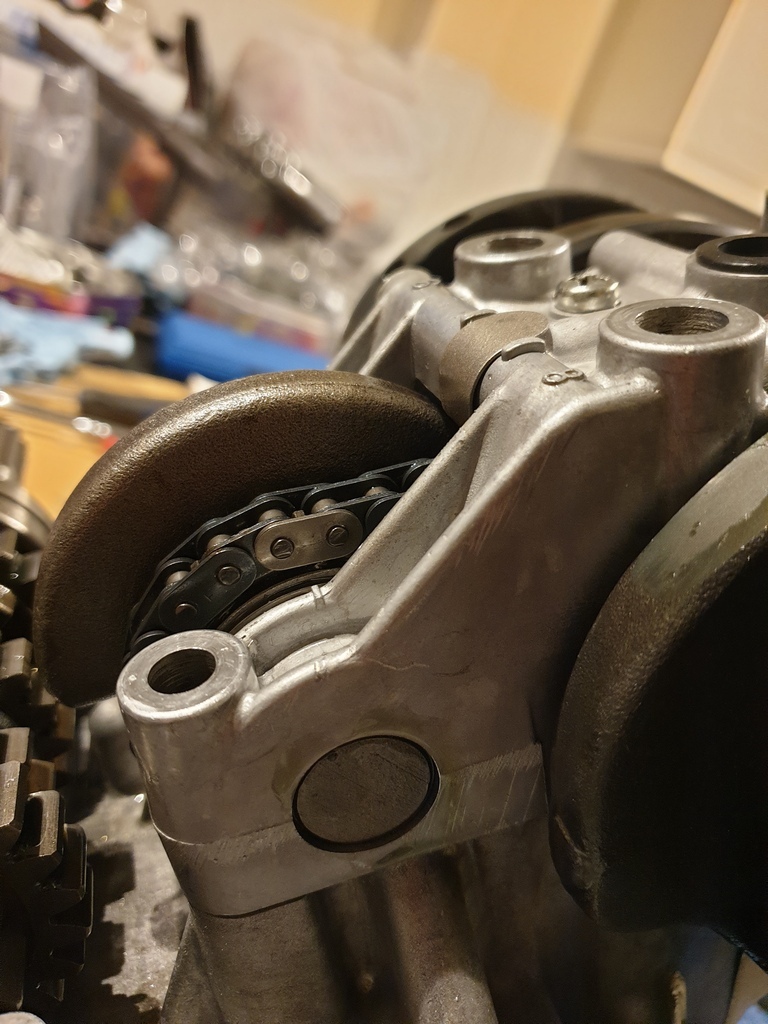
And finally refit to the crankcase. Glad I caught that now rather than after I'd build everything up!
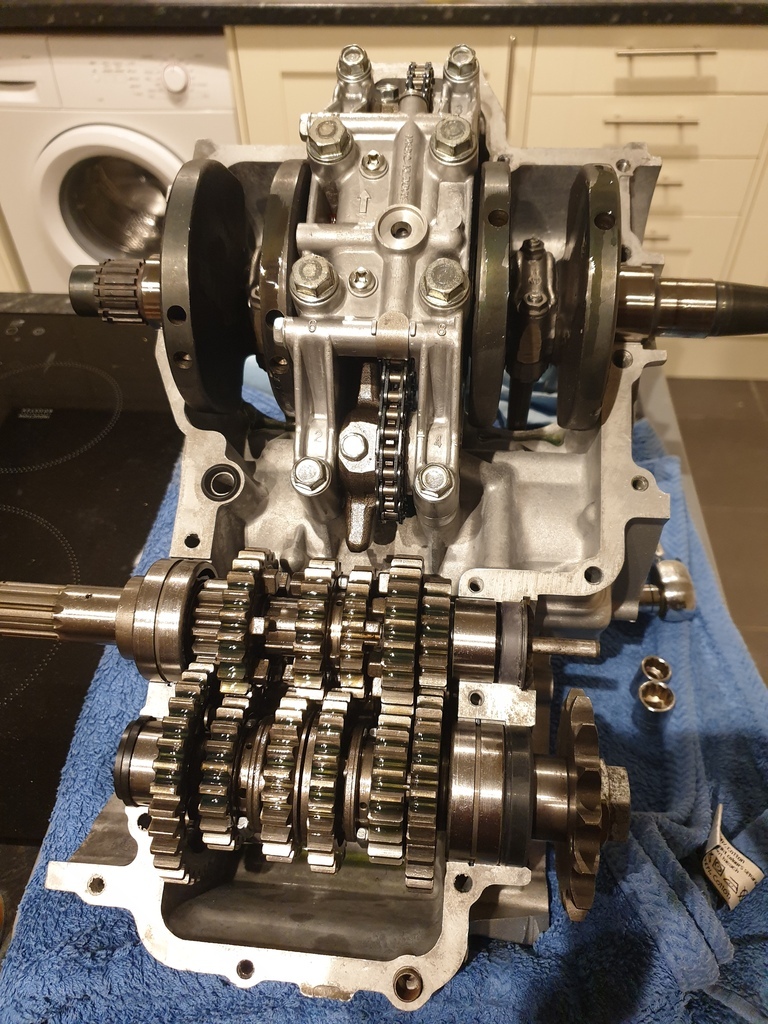
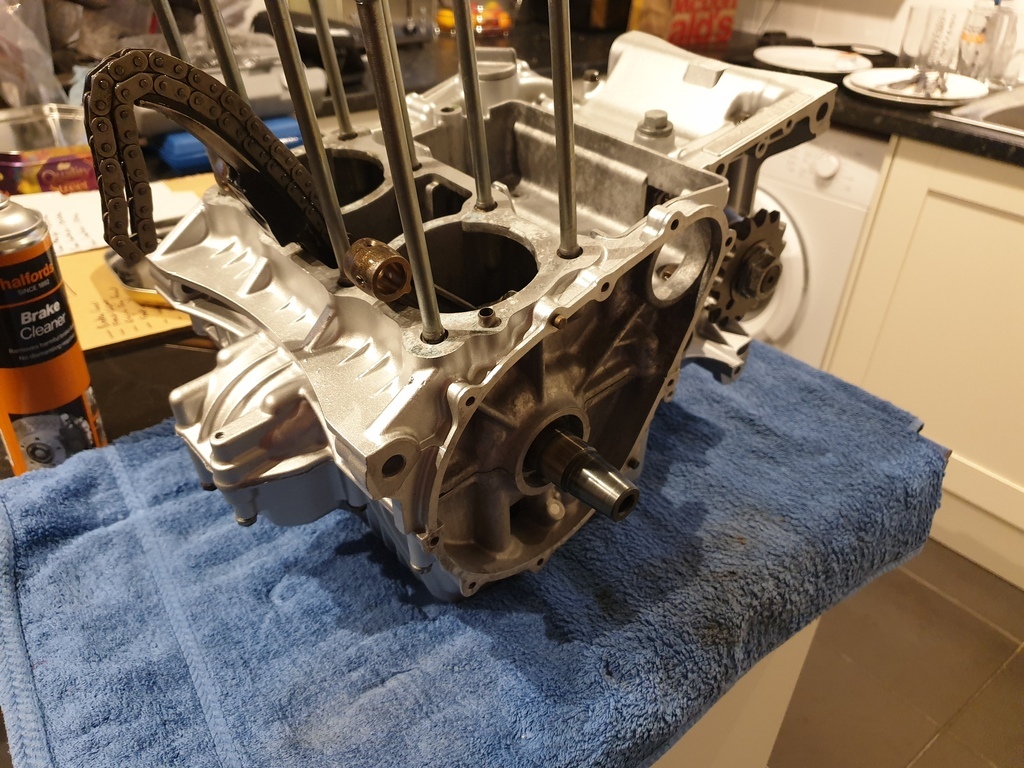
Not long after this, the missing O ring arrived and it was time to rejoin the crankcases. Not many photos as I was trying to make sure I hadn't missed anything else, but made sure the bearings had oil, cleaned the mating surfaces, applied a thin layer of Permatex ultra grey to the upper crankcase then lowered the other half on top. Went round torquing all the bolts and it looks somewhat more like an engine again
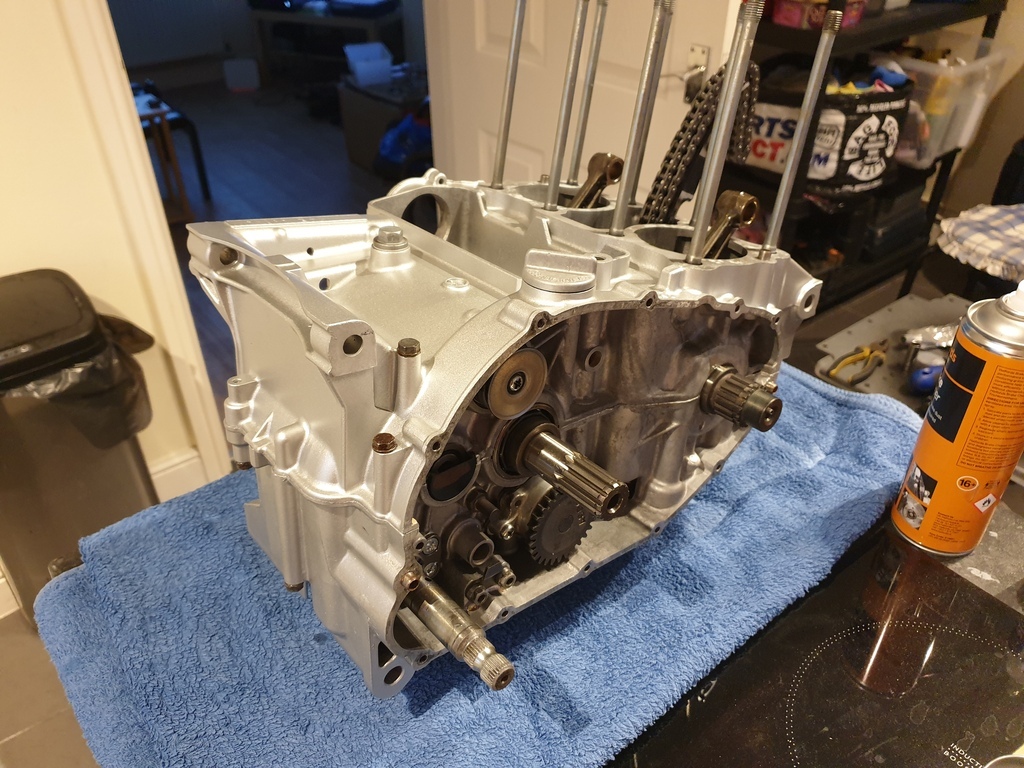
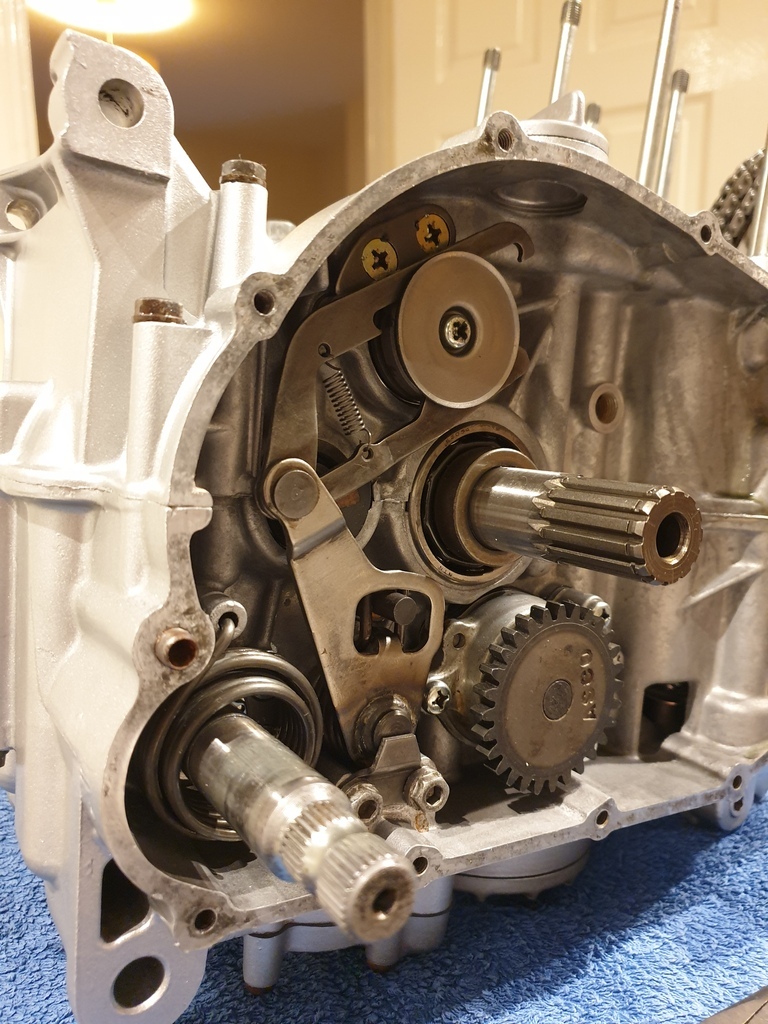
On the primary drive side, I slotted the gearchange shaft through and engaged it with the shift drum, fitting it's retaining plate afterwards. I've also tried to fit the kickstart spring but it's currently proving a bit of a curse word! I think I need some better needlenose pliers
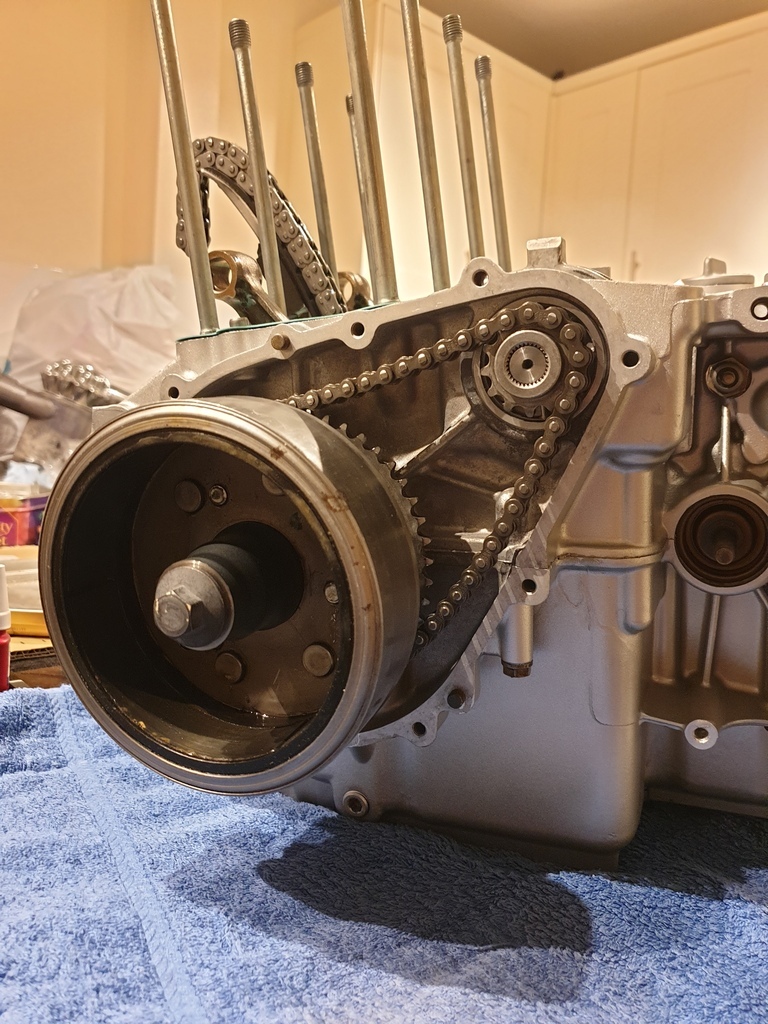
On the alternator side, the rotor is on along with the starter clutch. The starter chain needed a bit of cleaning up, one link was a little gummed up but I think it's serviceable for now. The starter motor is just placed there for the moment, it doesn't seem to turn freely by hand so I might have to look into that.
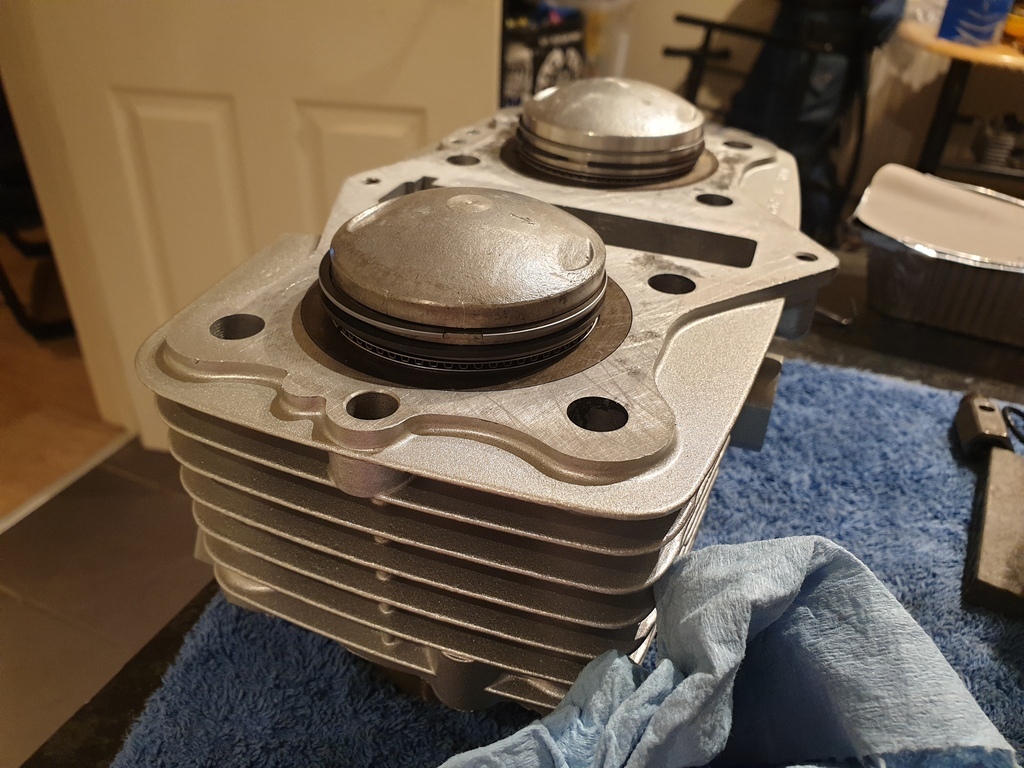
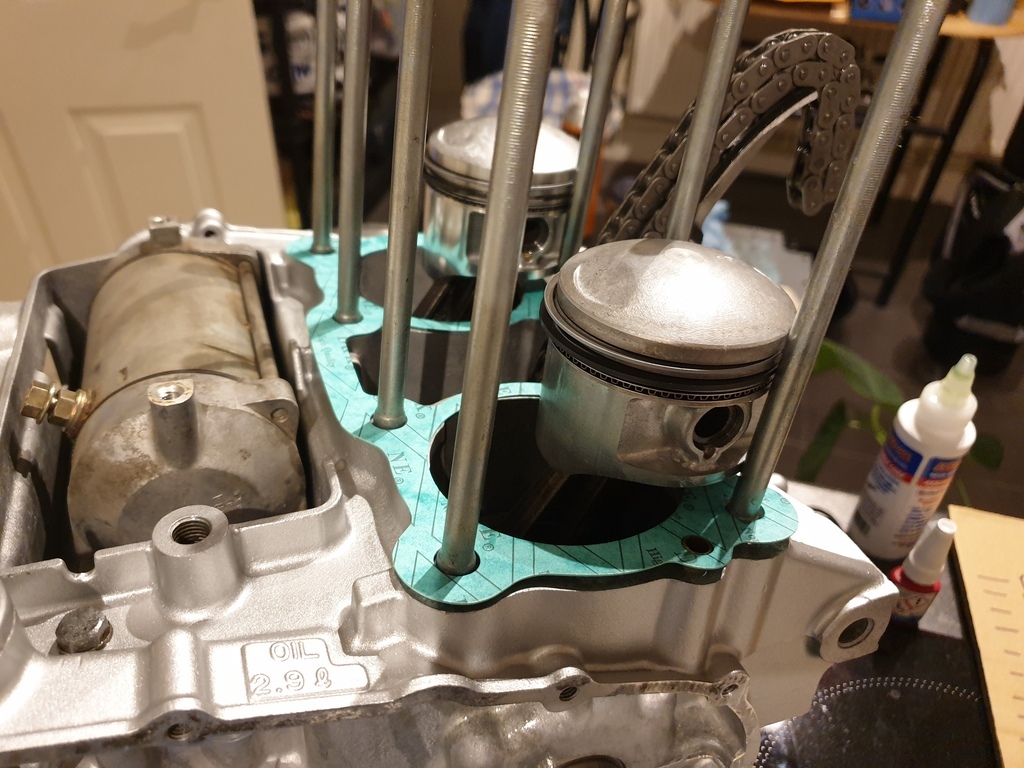
Pistons went on next, oiled up the little ends, piston bores and new gudgeon pins and it all went together nicely. Circlips weren't particularly difficult to fit either, though I still stuffed some rags into the open crankcase just in case one decided to try and drop down there!
I'll try and get the cylinder barrels on next, also waiting on a new ball bearing for the oil pressure relief valve, once that's rebuilt and fitted (as well as the aforementioned kickstart spring) the primary drive chain, sprockets and clutch can go on also
Some of the last engine brackets that hadn't been refurbed got a rub down, prime and paint
The new plugs for the crankshaft arrived so they went in with some loctite and were staked. Then took the opportunity to install the rods
At this point I installed the crank along with the balancer weights into the upper crankcase
I had actually made quite a major mistake here which I didn't realise until later, more on that in a moment. I was stuck here for a bit as I'd forgotten to order one of the O rings that seal the oil feed to the centre main bearings from the lower crankcase so I tidied up the rocker arm adjustment and cam chain tensioner caps.
Didn't go crazy with them, bit of 240, then 480 grit wet and dry paper before a going over with the autosol. Blends in well enough with the painted bits.
So the mistake I'd made with the engine assembly. The balancer weights have to be timed to each other by lining up a small marker hole on each sprocket with one of two bright links on the balancer chain. My balancer chain actually has four bright links but they have the same spacing.
I'd timed the weights to each other, the crank was set to the position as outlined in the manual, flywheel webs upwards, oil holes in the journals half obscured by the surface of the crankcase. What I'd neglected to do was check that I had the weights correctly timed to the crankshaft... I'd also put the chain on the "wrong" way round so it was tricky to see the marker hole and bright links as they were on opposite sides of the chain.
Took the balancer assy off, turned the chain around, re-timed the weights to each other, then aligned the bright links with the small markers cast in to the balancer assembly body
And finally refit to the crankcase. Glad I caught that now rather than after I'd build everything up!
Not long after this, the missing O ring arrived and it was time to rejoin the crankcases. Not many photos as I was trying to make sure I hadn't missed anything else, but made sure the bearings had oil, cleaned the mating surfaces, applied a thin layer of Permatex ultra grey to the upper crankcase then lowered the other half on top. Went round torquing all the bolts and it looks somewhat more like an engine again

On the primary drive side, I slotted the gearchange shaft through and engaged it with the shift drum, fitting it's retaining plate afterwards. I've also tried to fit the kickstart spring but it's currently proving a bit of a curse word! I think I need some better needlenose pliers
On the alternator side, the rotor is on along with the starter clutch. The starter chain needed a bit of cleaning up, one link was a little gummed up but I think it's serviceable for now. The starter motor is just placed there for the moment, it doesn't seem to turn freely by hand so I might have to look into that.
Pistons went on next, oiled up the little ends, piston bores and new gudgeon pins and it all went together nicely. Circlips weren't particularly difficult to fit either, though I still stuffed some rags into the open crankcase just in case one decided to try and drop down there!
I'll try and get the cylinder barrels on next, also waiting on a new ball bearing for the oil pressure relief valve, once that's rebuilt and fitted (as well as the aforementioned kickstart spring) the primary drive chain, sprockets and clutch can go on also

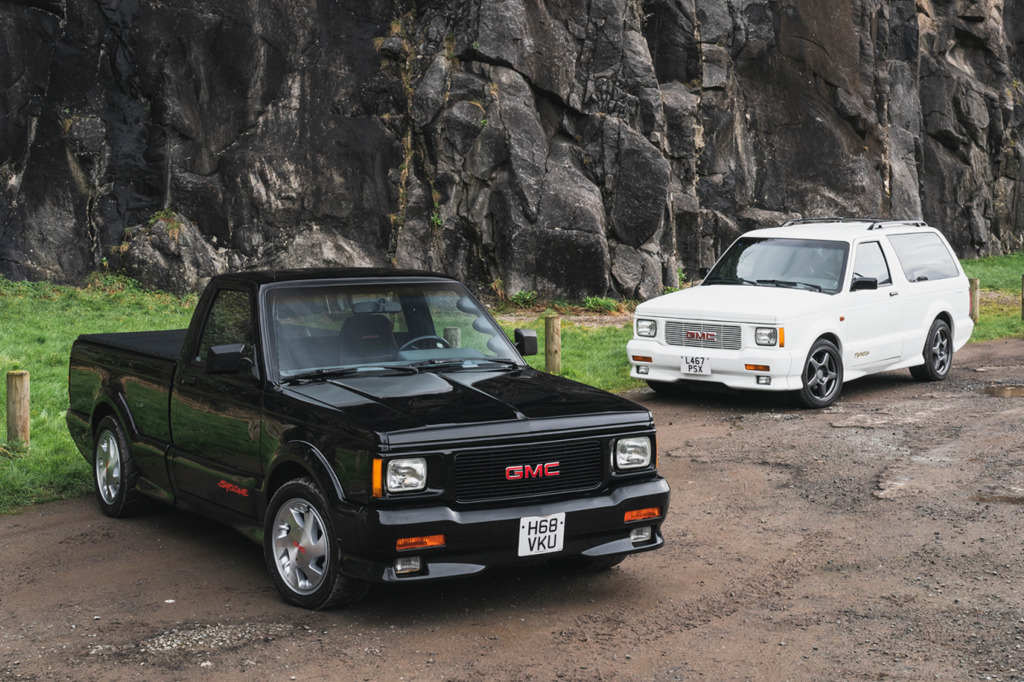
 I can bet these days to do something similar would involve a very expensive conversation with the bespoke department of your chosen manufacturer


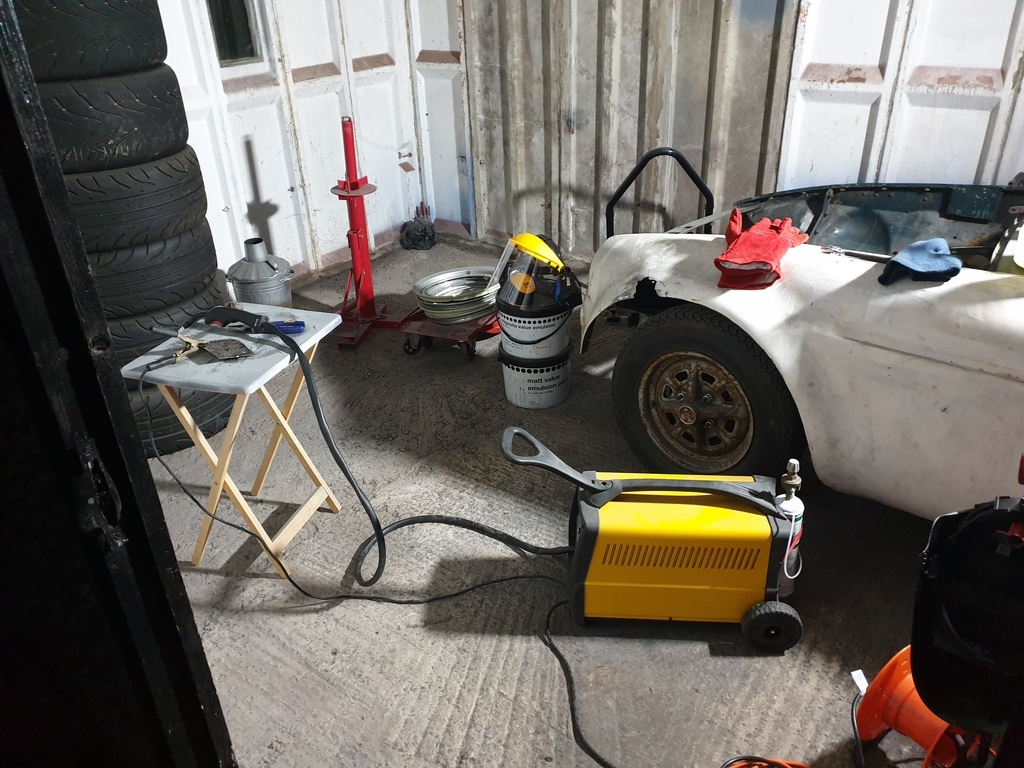
 I'm on a bit of a motivation boost at the moment so trying to keep some sort of progress going, yes I don't see the value in continuing with the little disposable bottles at the moment, especially as theres a fair bit of rust to contend with!