“What’s been happening in bus land” I hear you cry.
You did ask didn’t you? I hope so because if you didn’t ask it means I’m hearing things.
bstardchild already thinks I’m crazy. Hearing things isn’t going to make my position any better. So let’s just assume that you did ask and answer the question that you may not of asked…
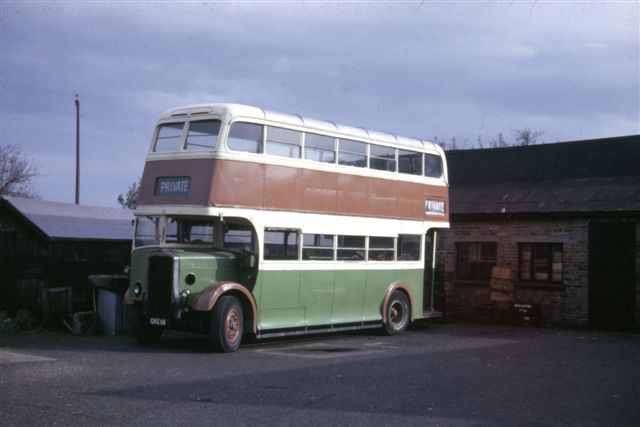
Well, Southeastern Coach Works have been cracking on. The ceilings in the saloons have been painted.

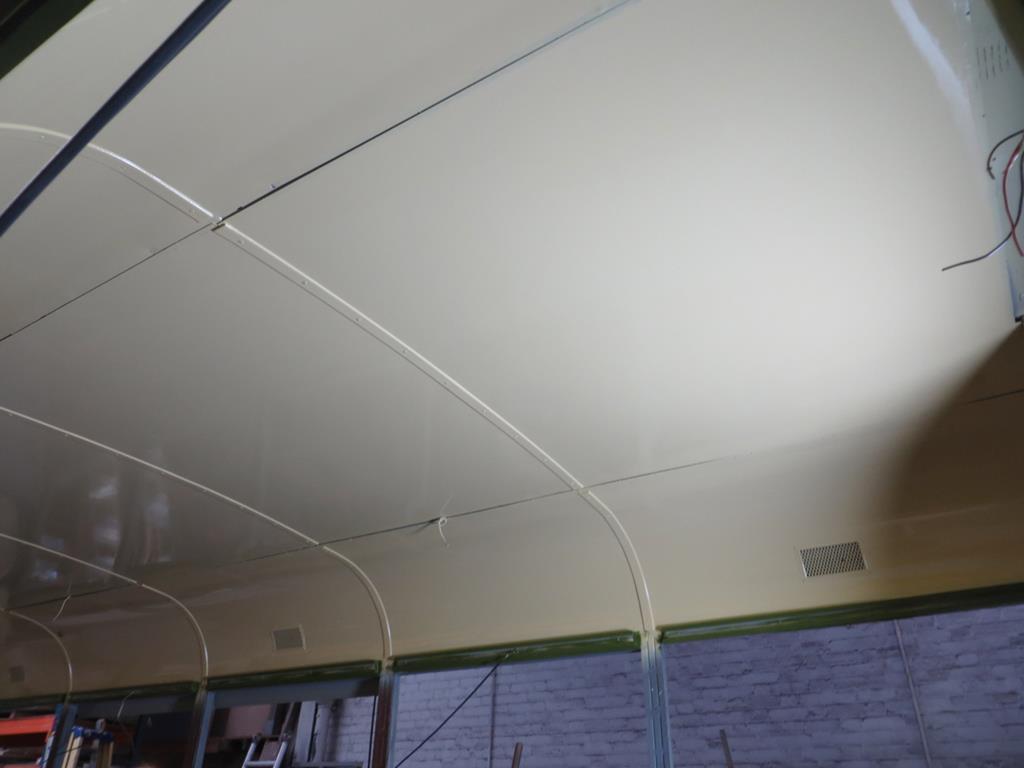
The stair case is now green and looks really nice.

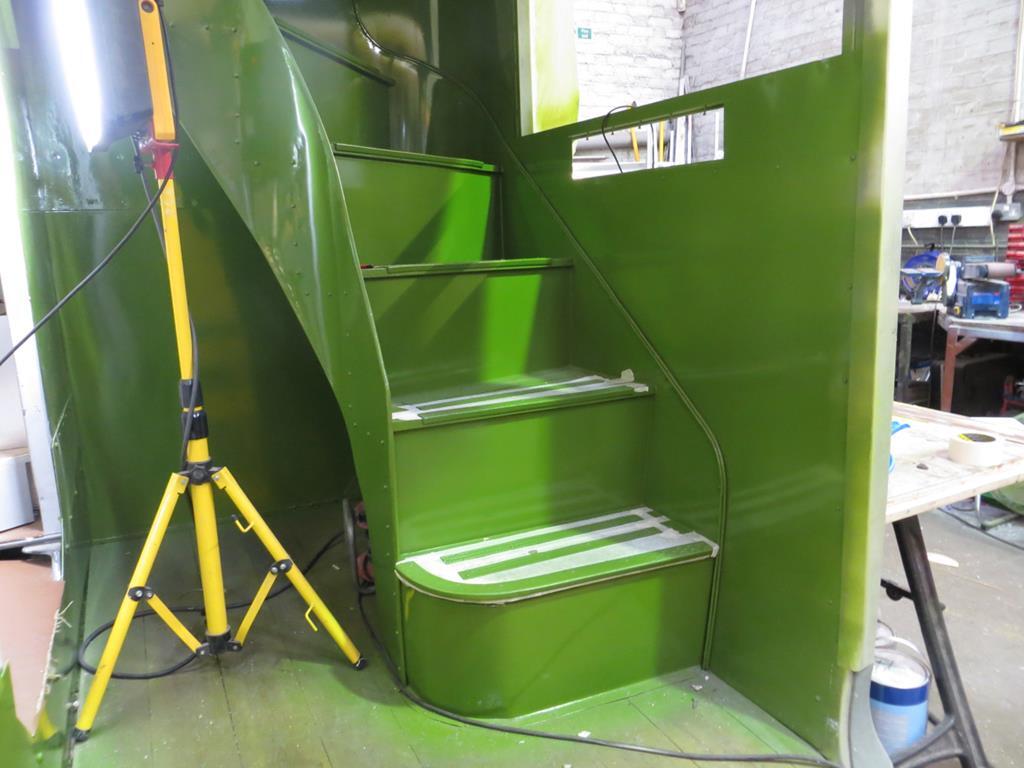
Looks like it came out of Weymann’s factory yesterday rather than 80 years ago.
And the Lino is down in the lower saloon.

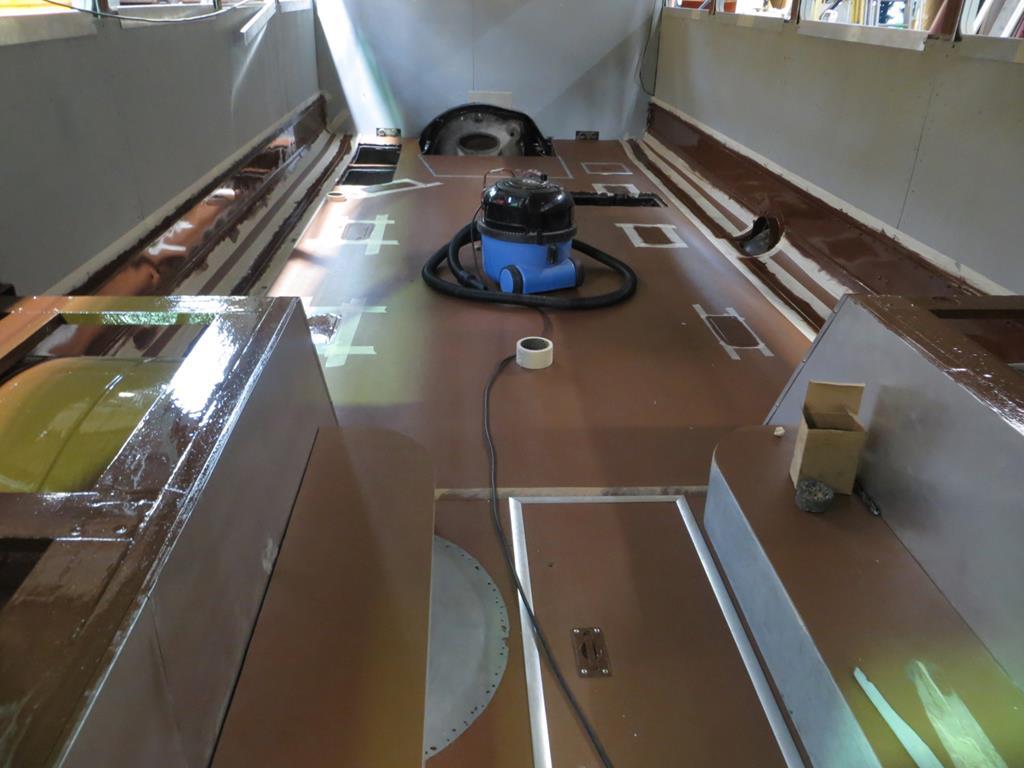
It might be down in the upper saloon too. I didn’t want to tramp my dirty shoes up to have a look.
The rear wheel tubs have been painted too. I can’t help but imagine seats on them and sitting there having a ride like I did when I was a kid. (Having a ride on something a little more modern that is, I’m not so old to have been on a 1939 bus.)
Do you remember me saying that one pair of rear brake shoes needed the phosphor bronze bushes replacing? Well they aren’t back yet so this week we were working on the fronts.
Wheel off to start with.

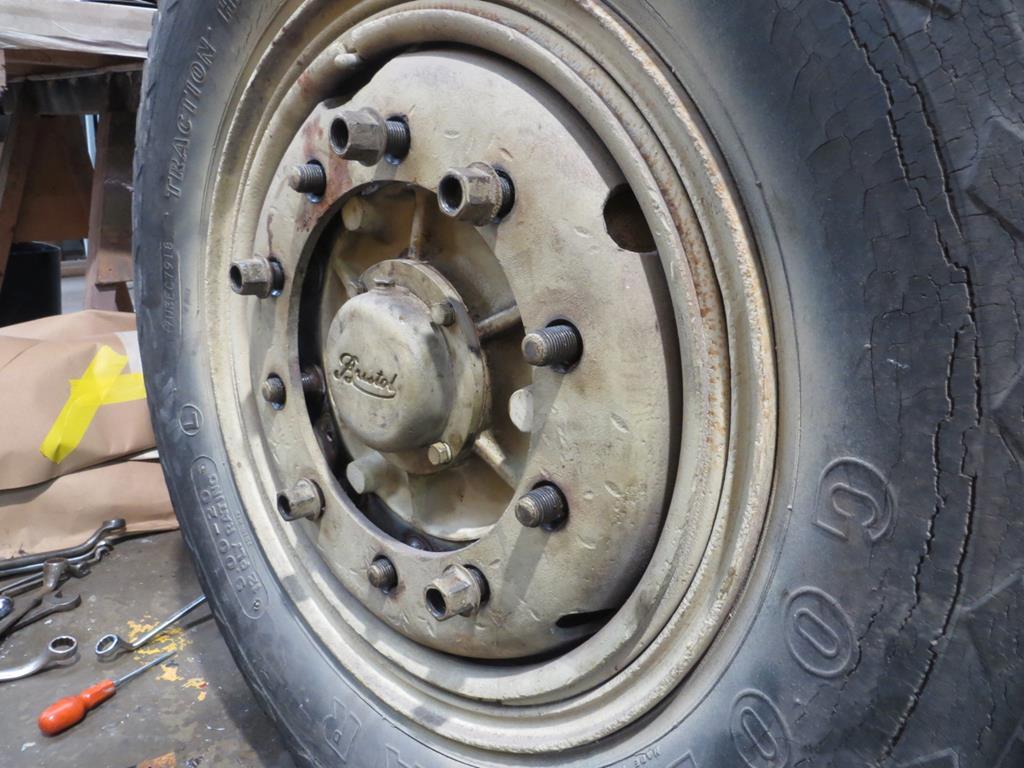
Yeah, the tyre is knackered. The rears have been replaced already but as it’s been towed with the front off the ground the tyres are still the old ones.
Just in case you are wondering, yes, a commercial wheel is feckin’ heavy. Maybe we should fill the tyres with helium then they’d float around the workshop.
Behind the centre cap is the “big nut” that holds it all together.

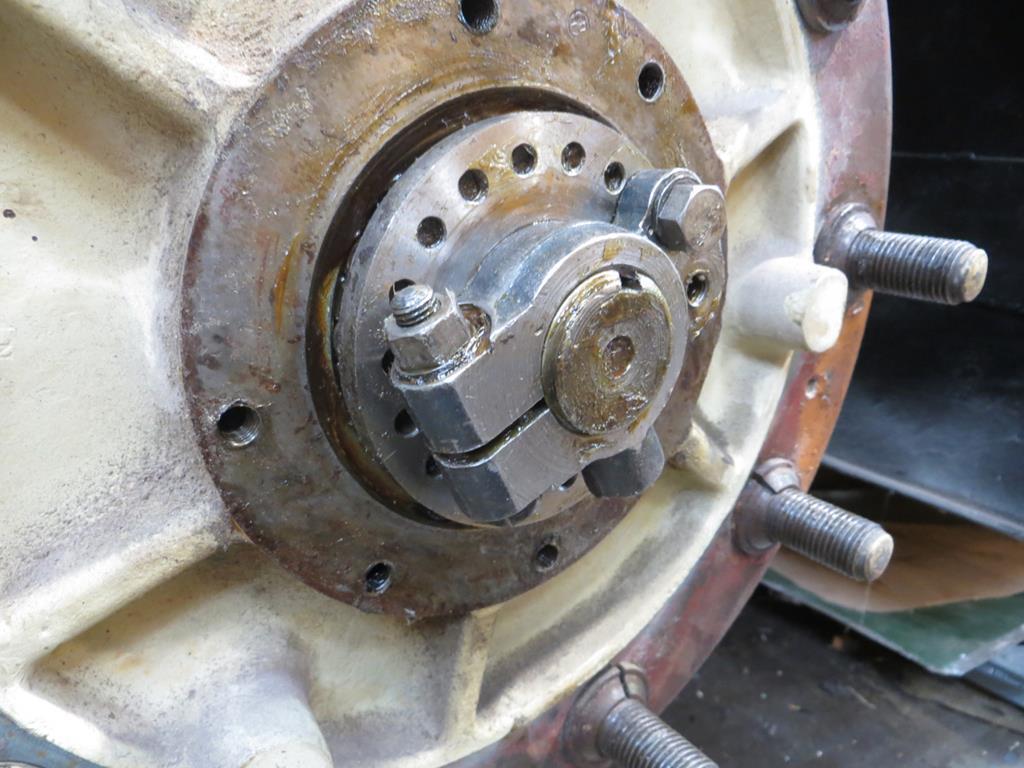
You were expecting a castle nut and split pin weren’t you?. Nope! There is a bolt that nips it onto the stub axle and if that’s not enough there is also a bolt that attaches into that plate with all the holes in it. The plate is keyed to the stub axle so it can’t rotate.
The rear wheel bearings were two roller bearings with a ball bearing to control the end float. Well on the front…

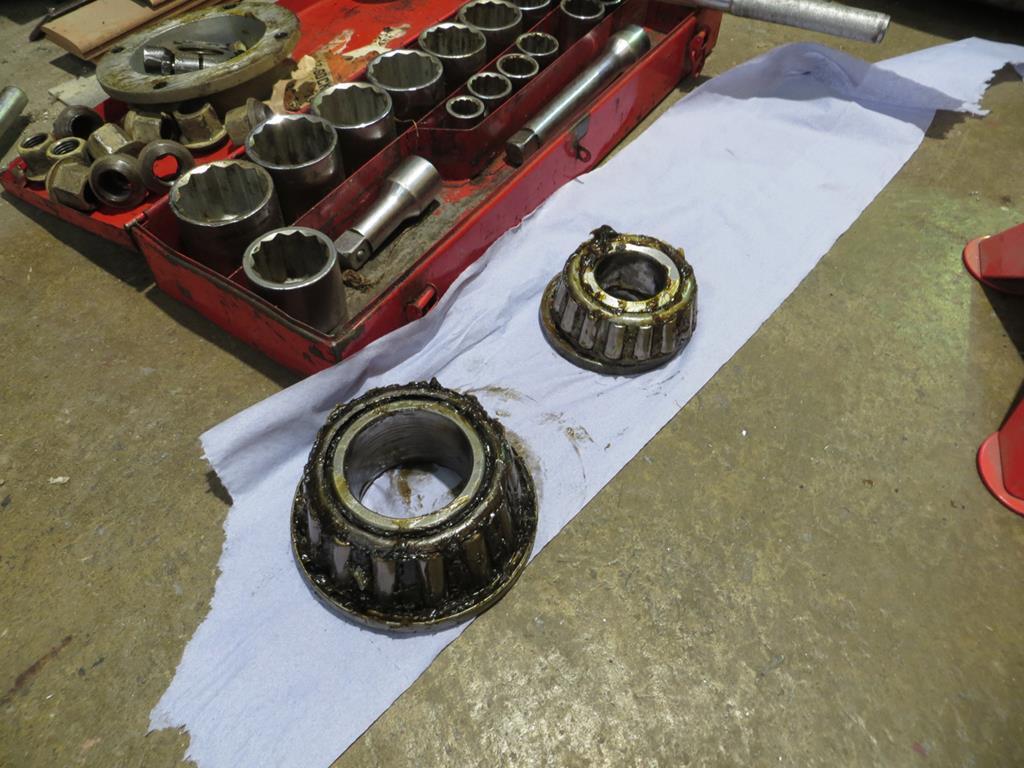
…Taper bearings. How modern!
Behind the drum the brakes are the same as the rear but rotated round a bit. And smaller.

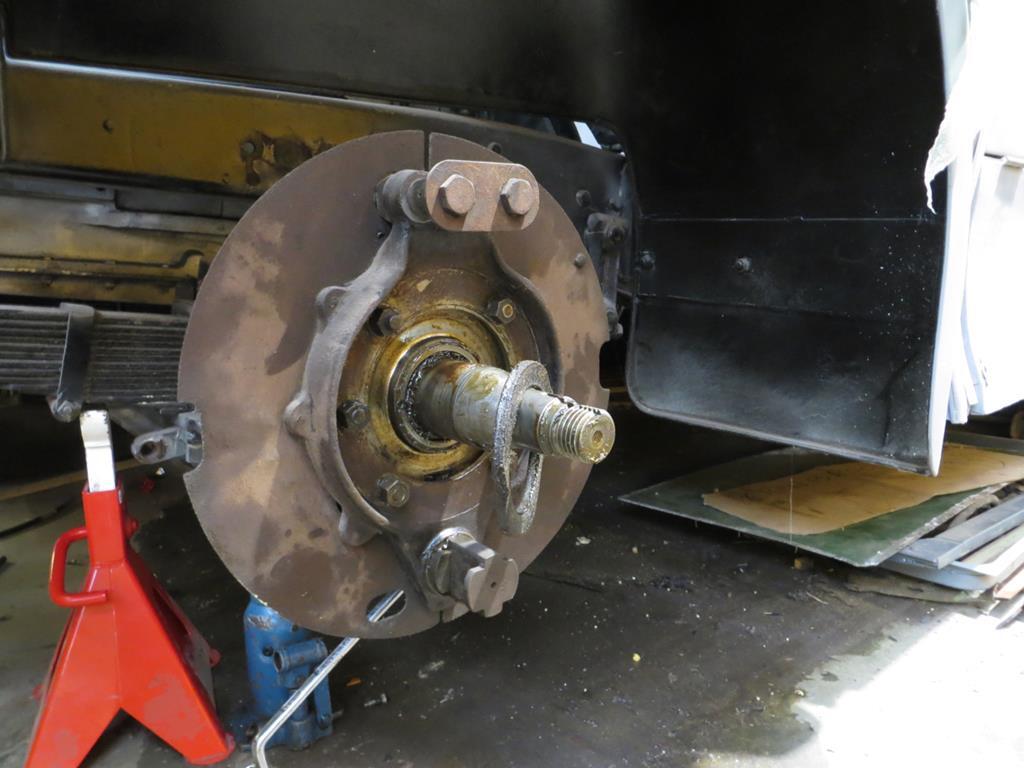
That round thing hanging over the stub axle is the rear grease seal.
It’s a felt ring that sits in the back plate. Behind the back bearing is a polished metal ring that presses against it. Ian has got some new felt seals which you’ll see in a later picture.
I’m not sure where I’d go for a felt grease seal for an 80 year old bus. I doubt if Halfords stock them.
Anyway, down at the bottom is the brake operating cam. We took it off to check it over and lubricate it.

And I took a snap so you all can have a look.
While we are on the subject of taking snaps, I got a photo of the brake adjusters that I described in the last exciting instalment.

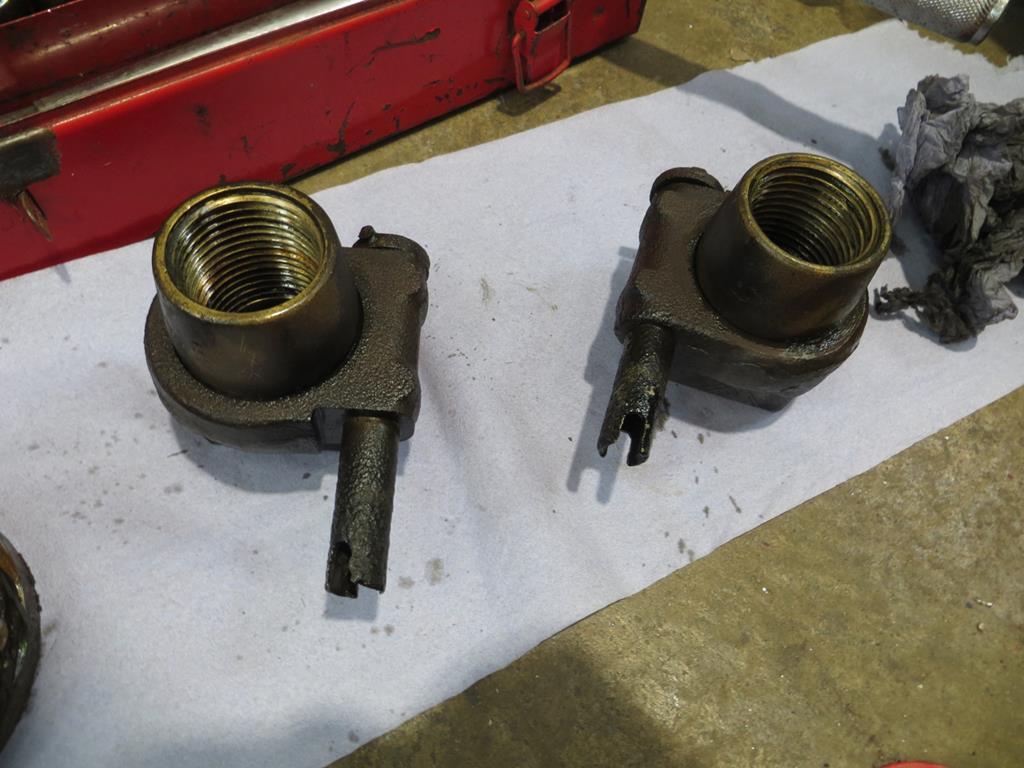
The big thread screws on the end of the shoe and the sticky out bit with the slot in the end is the adjuster. Turning it unscrews the the adjuster off the shoe. I only realised today that there is a click stop built into them. Each revolution of the adjuster it clicks into a detent to stop it adjusting its self.
So here you go…

Shoes fitted, adjusters at the bottom, bright white felt grease seal in the back plate. It won’t be bright white for long!
Now, when we were discussing the rear brakes I said that there would normally be an actuator on the axle but that on this old girl there wasn’t.
Be prepared for a lesson in brakes, 1939 styleee.
Here’s a drawin’ what I ‘as coloured in wiv me crayons.

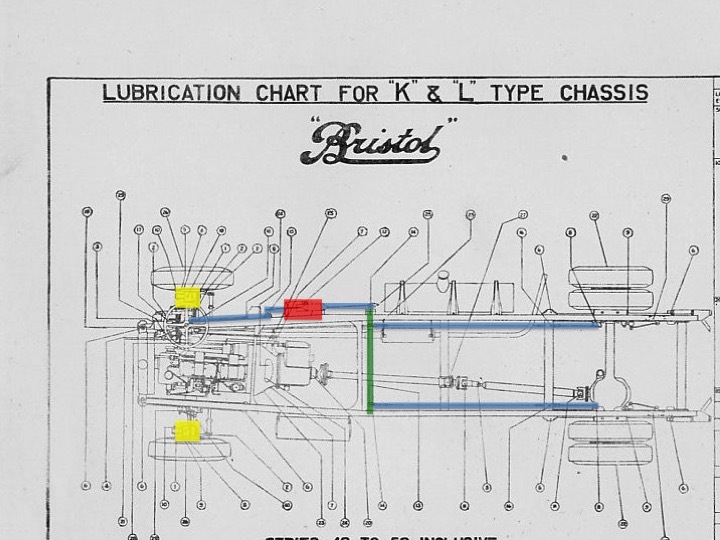
When the driver presses on the brake pedal, which is conveniently located in the cab, he pulls on a rod which is heading towards the back of the bus. (The blue shaded bit.)
Before long it meets the brake cross shaft (green) which transfers the linkage over to the left side. Then two rods (not actually true) run the length of the bus and hook onto the actuating levers on the rear axle.
In fact there aren’t actually rods between the cross shaft and the rear drums. There are two steel ribbons. Yes really!
So there is a direct mechanical linkage between the pedal and the rear brakes. To give the driver a fighting chance of stopping this thing there is the red blob which is a vacuum servo. When the driver presses the brakes the servo meters some vacuum into a large chamber with a plunger in it that hauls on the brake linkage as it passes through.
There is a vacuum tank on the chassis which is, er, (What’s the opposite of “topped up”? Emptied?) … which is emptied by a vacuum pump, known as an exhauster, on the engine.
So, the front brakes? Well there is no mechanical linkage to them. There is a ‘servo’ actuator (yellow blob) on each wheel which gets the same metered vacuum as the rear brake assist. That’s what applies the front brakes.
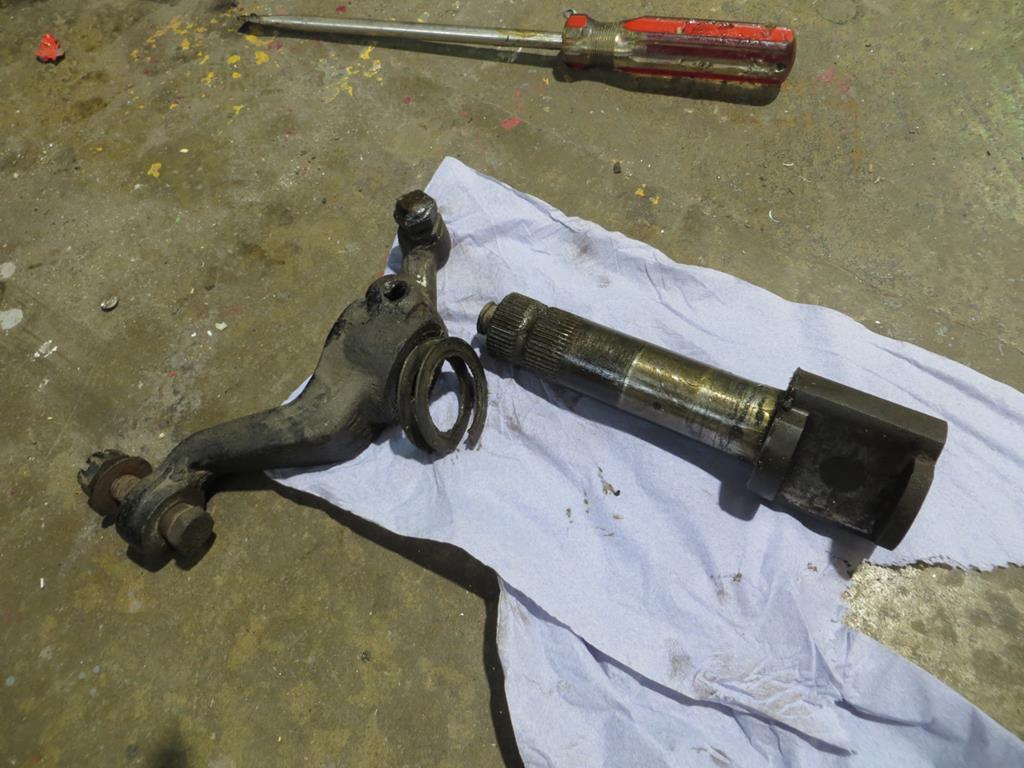
Here is the actuator on the workshop floor.

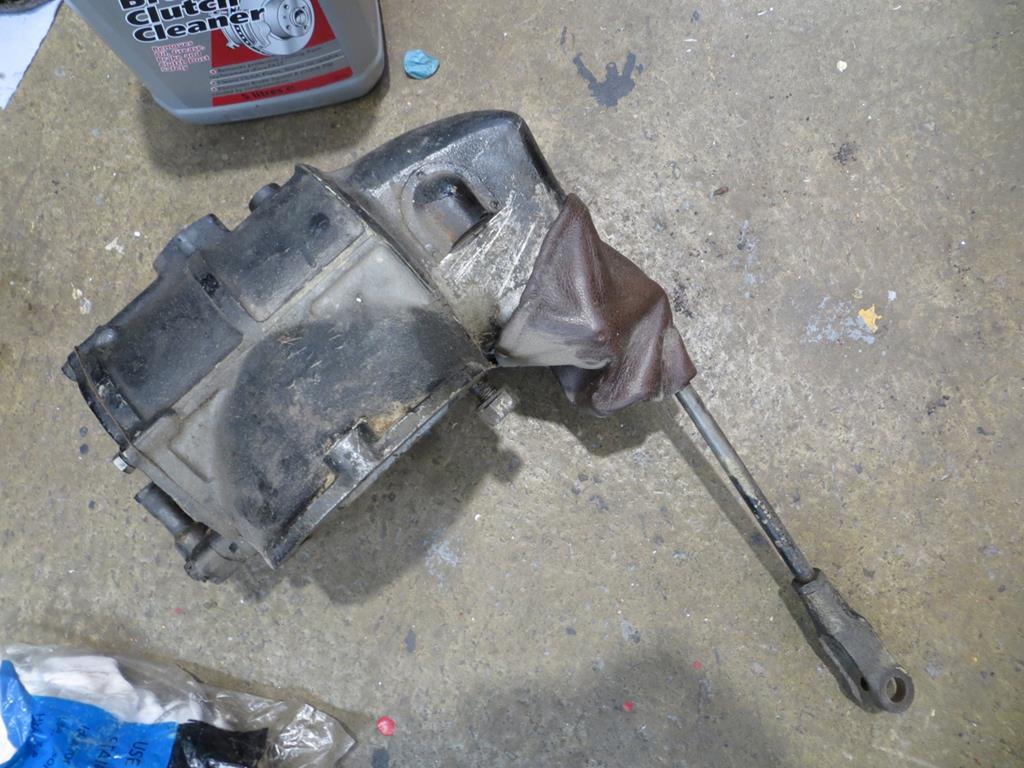
No use on the floor. It has a home on the top of the king pin.
Kind of like this.

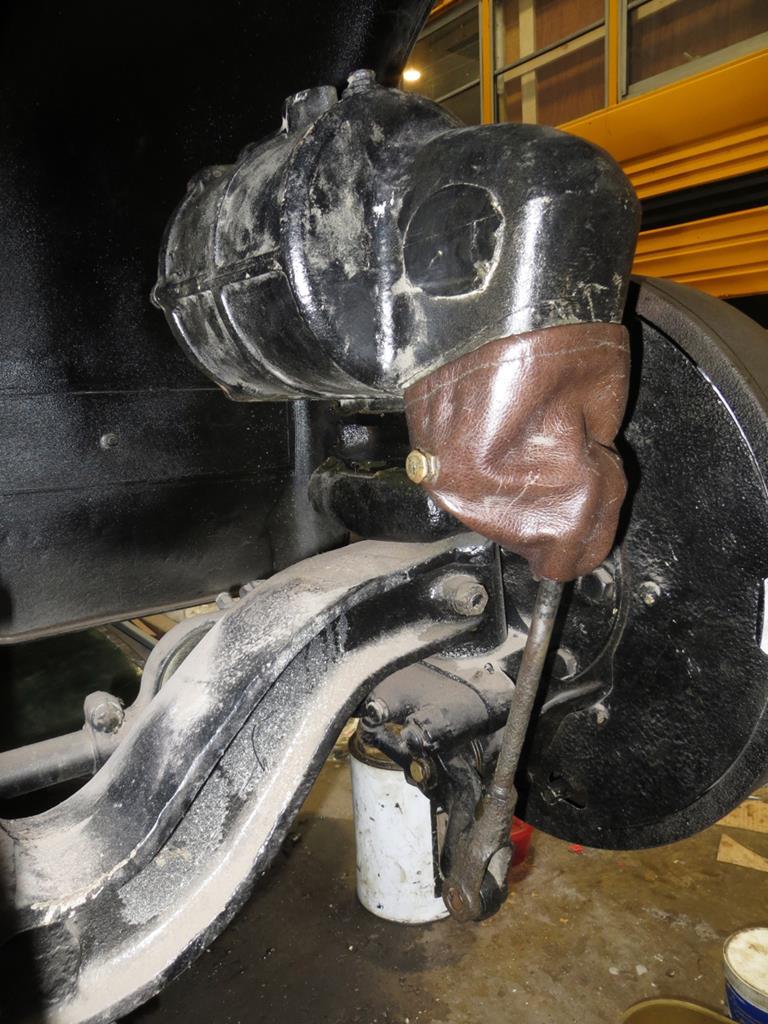
The sharp eyed of you might notice we hadn’t put the bottom linkage bolt in in that photo.
Apparently the actuators have been overhauled but we couldn’t move them. To be fair there is a lot of mechanical advantage and pushing the output arm up would be hard work at the best of times. We popped the leather boot off and levered the actuator arm with a large screwdriver. That got them moving and so we oiled the leather seals too.
I pushed the plunger back and stuck my thumb over the vacuum pipe. It held the plunger back so the seals must be in good condition.
Interestingly, working on the bus has been really easy so far. Everything is bigger and heavier and tighter than a car but nothing has been awkward to get to. But the bolts that hold the brake actuators over the king pins are horrid. Ian has a theory that the axle would have been originally designed without front brakes (eek!) and that would explain the slightly messy fitment.
That leads me to think that the K and L type chassis are in the transitional period between mechanical brakes on the rear only and the compressed air over hydraulic system that I think was on the later Bristol Lodekka. I’ll have to confirm that bit about the Lodekka. I have a manual somewhere, I’ll take a look.
And then we did the other side…
Finally take a look at this.

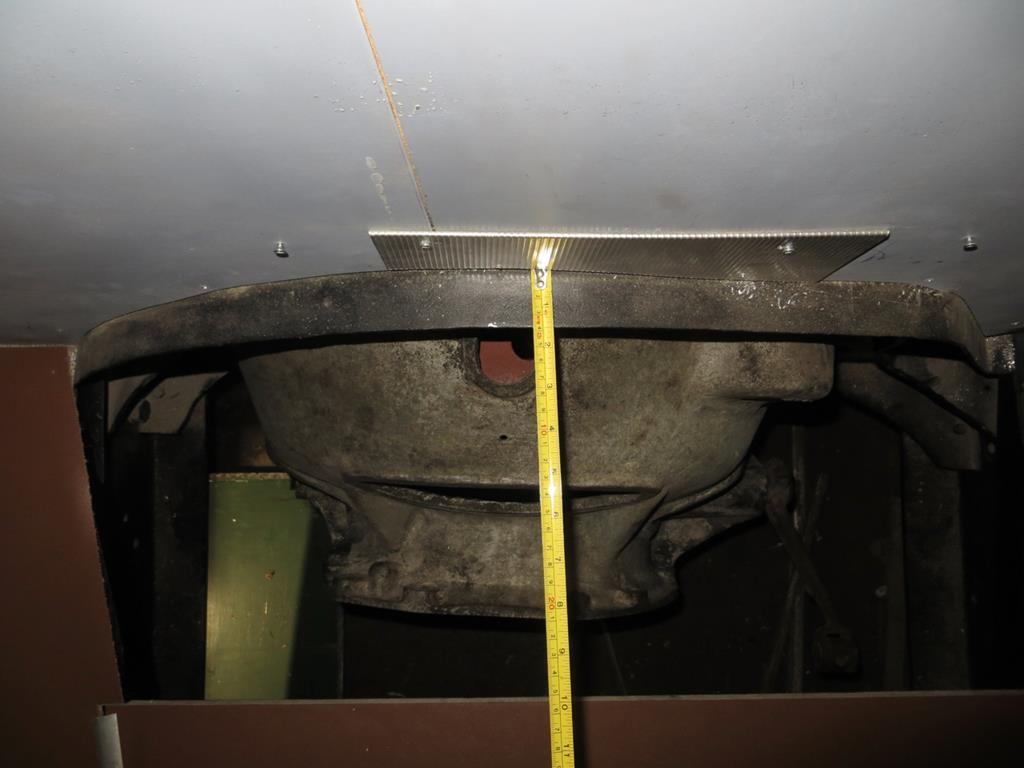
You are looking down onto the clutch bell housing through the floor of the bus. Notice how it appears that the bell housing is a bit squint in the bus. It appears as if the engine and gearbox would be pointing towards the left rear wheel slightly. This is because the engine and gearbox are pointing towards the left rear wheel slightly. Remember the diff is hard against the left spring to get a flat floor over the axle. Clever isn’t it. This interesting engineering solution is nothing compared to some buses. If you want some off beat mechanical thinking, look at bus design!
Anyway, the gearbox is elsewhere (probably Maidstone) but would live under the floor. The bell housing protrudes slightly into the saloon and the hole you are looking through should have a cast aluminium cover over it.
Trouble is… The cover is missing. Ok, so that’s easy. Borrow one from another bus and make a pattern from it.
Well here’s the thing. Weymann bodies rarely went onto Bristol chassis. Bristol chassis typically got Eastern Coach Works bodies. Weymann bodies usually went on other chassis. Apparently there isn’t another K5G with a Weymann body to copy. Not that anybody knows about anyway. Another reason the old bus needs saving.
James