|
|
|
|
|
Afternoon all! I have this up elsewhere, but thought it may be interest to purveyors of the blue forum too.... Currently got this in for a bit of a conversion and thought some of you might be interested, as it's a little bit different. I had a brief phone call from my mate in France a couple of months back to discuss the feasibility of this idea and this van was the outcome..... 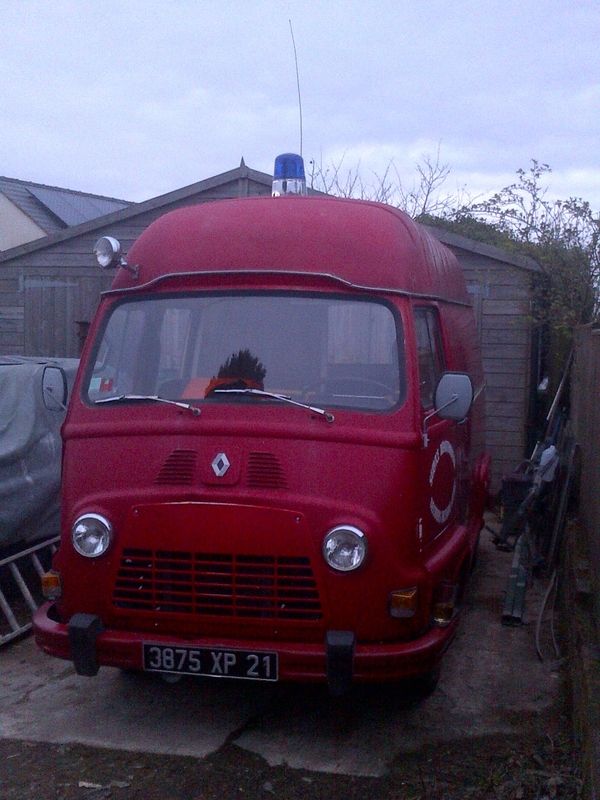 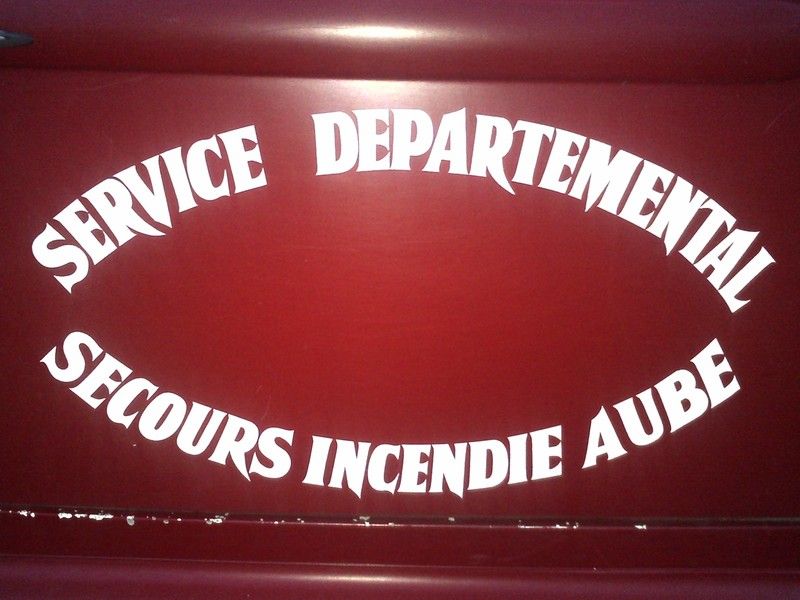 It's a Renault Estafette which came straight from the fire service just outside of Annecy. It's in remarkably good condition for a 40year old French van, which is great news for me as I only have a few weeks to turn it into a mobile bar.... Plan is, serving hatch, insulate, panel out, add water and electrics, fit fridges, cupboards, bar, lights etc and then a lick of paint. It's certainly a bit of a quirky little curse word, nowhere near as nicely proportioned as an HY van, but a far better height for creating something that you'll potentially be stood up in the back of for hours on end. It's powered by a typically woeful one litre petrol lump, which probably accounts for its good overall condition - I'm sure it was simply too slow for attending fires, so it just sat languishing in the shed! It was fully kitted out when it arrived, with hoses, standpipes, lights, siren and ladders on the most enormous roof rack I've ever seen. It's all been stripped out and work has begun on the alterations. First job was to sort the hatch, as all other dimensions stem from this. Annoyingly, the gutter line was too low from inside to be a workable height so I had to cut up higher into the fibreglass roof section... 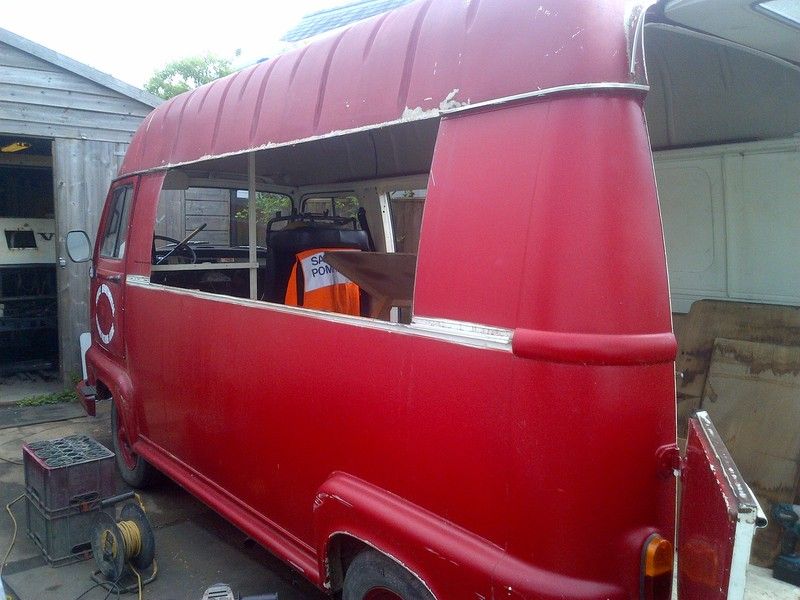  Things became a little floppy at this point, so a new return edge was fibreglassed back into the roof and some internal bracing was added to the opening. The front cut line ran through the pressing in the side panel, so that needed sorting. This was a cut and shut of the side panel to (hopefully) give a more factory look to the finished article.  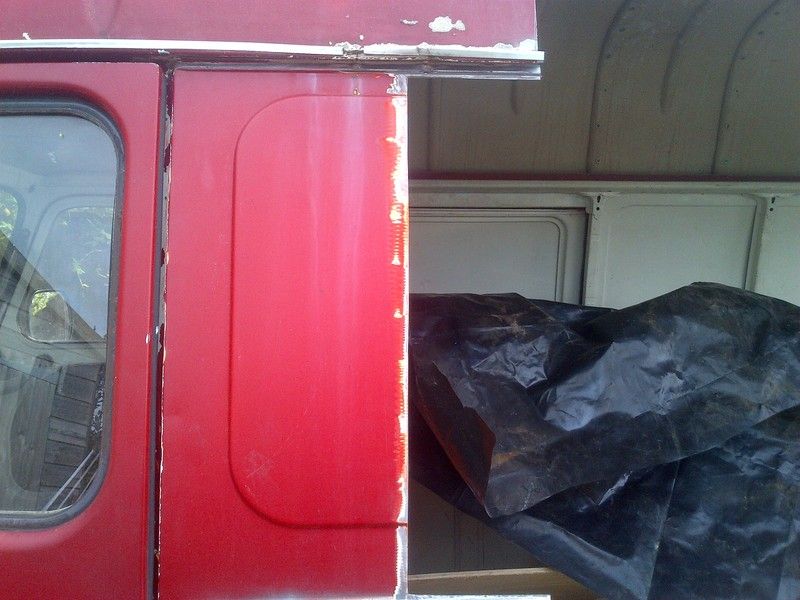 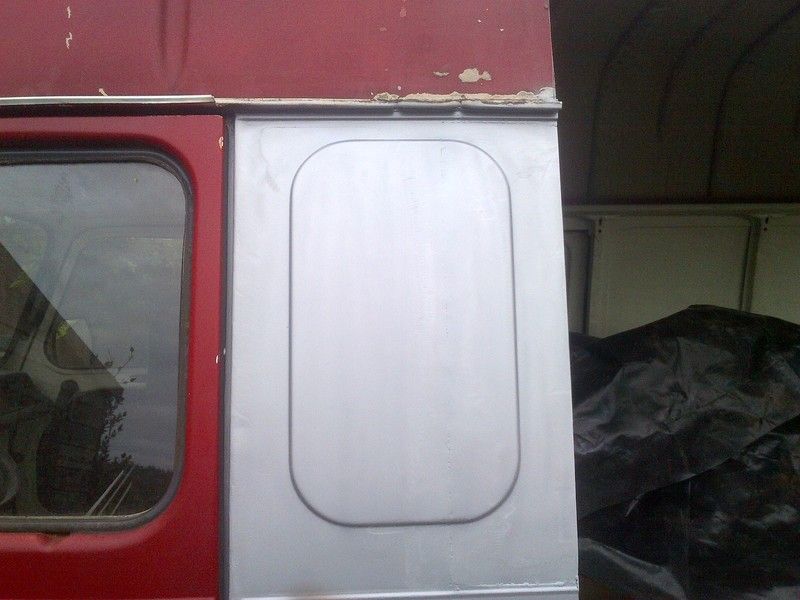 The hatch is taking a bit of time to get right at the moment. The other converted Estafettes we’ve seen have had pretty crude openings cut in, but the aim is for something that sits better with the van. The issue with this is that the side panel is curved and then the roofline steps in a little and then curves slightly differently. I’m currently making up the curved framework, but the light gauge steel doesn’t like too much heat and has a tendency to shrink back too much, so it’s taking a bit of fettling as I go. This sort of thing…… 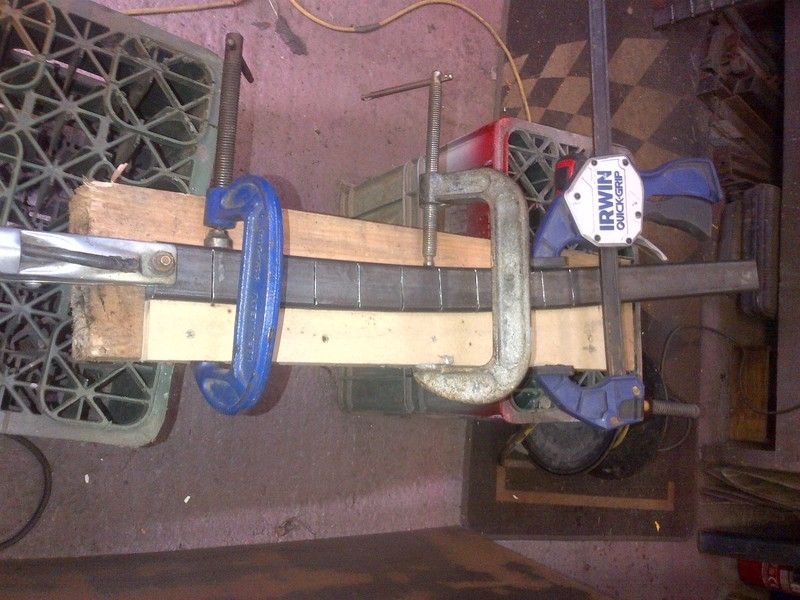 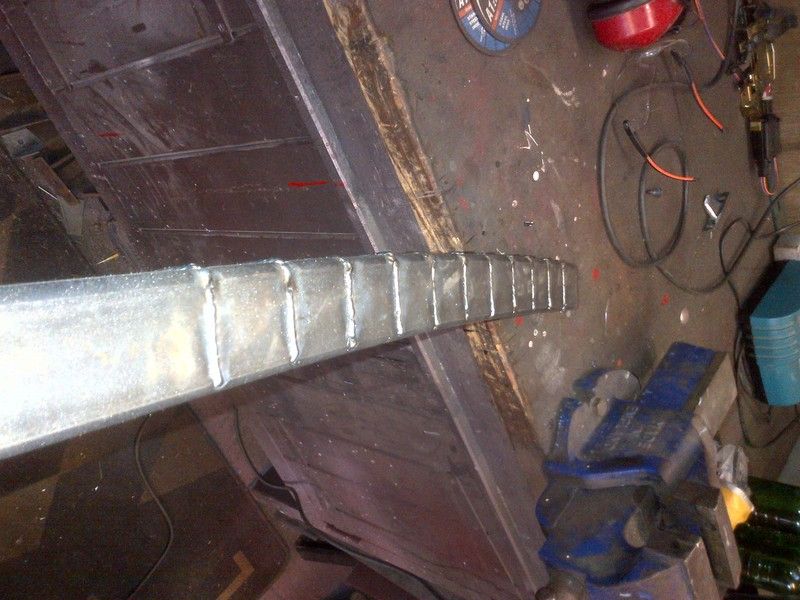 I’ll get cracking on and do another update once I’ve got something more interesting to report, if anyone is interested! Cheers, Joe. |
| |
Last Edit: Jul 24, 2015 15:35:46 GMT by Deleted
|
|
|
|
|
|
|
|
|
Managed to snatch a good few hours this week, to try and push the van on a bit and get it closer to being weather tight again. Feels like I’ve got quite a bit done, but as usual, it doesn’t look like much! Last time I left things, I was making up the curved sections for the hatch and framework. I got these knocked up and then cracked on with sorting the opening in the van, so I could then make sure the hatch was built to fit! I re-used the original top rail, which I’d cut out when I took the hatch opening into the roof line, and set this in position, then built the rest of the framework up to meet it. This meant that all I had to do then was fold up some small sections to join the upper and lower sections of the rain guttering and weld them in. There are some areas of damage to the guttering, from the huge roof rack that was on previously, so I’m also picking up these repairs as I work my way round. With the opening now sorted, bar a bit of finishing on the inside, I then built up the hatch framework. I built the lower section up in the workshop and then the top section on the van. This may seem a bit of an odd way to go, but I couldn’t come up with an easier way of doing it single handed as the hatch would be a nightmare to position and fix in on my own.  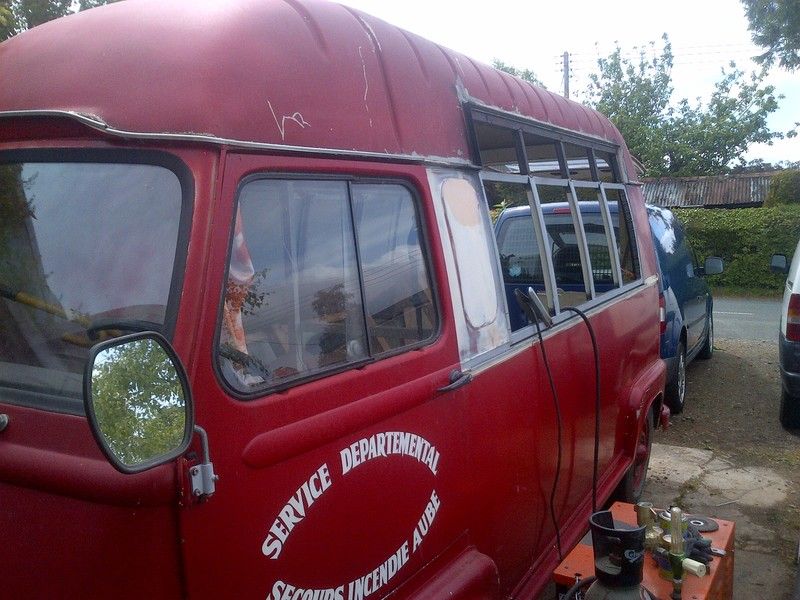 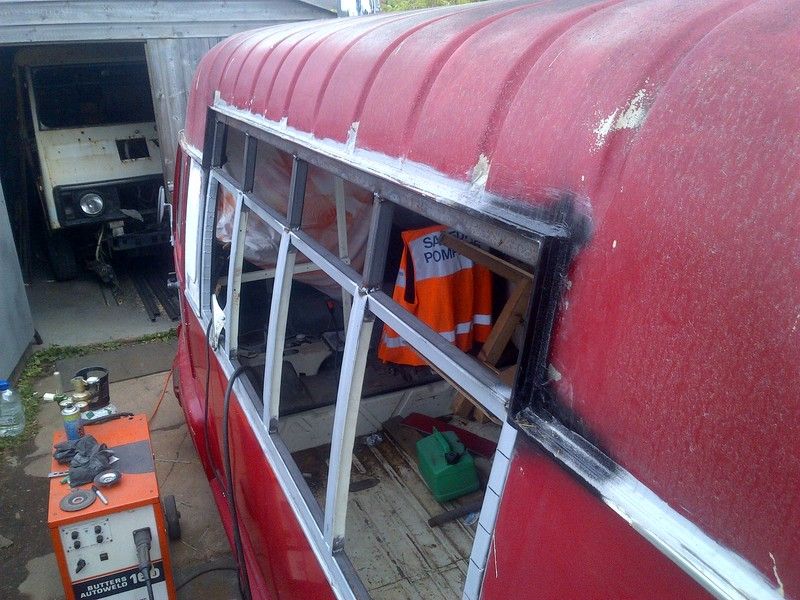 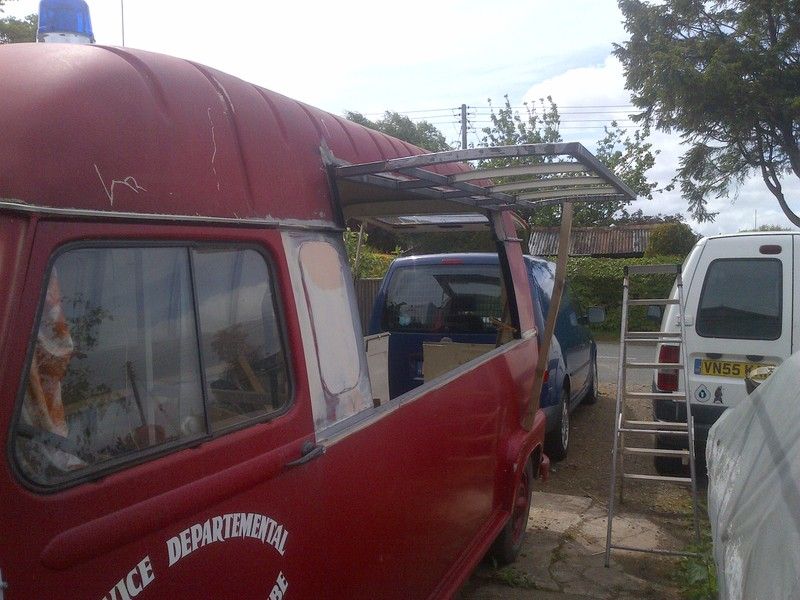 Seemed to turn out ok! Next job was to get it skinned up, so back into the workshop… Pretty straightforward bit of sheet work, only little extra bit of work was running a swage down the length, where the two different curves of the van profile meet. I didn’t have any steel heavy enough to knock up a folder for a full sheet length, so I clamped on the biggest stuff I had and then ran down it with a hammer and piece of heavy flat bar to knock the crease in….. 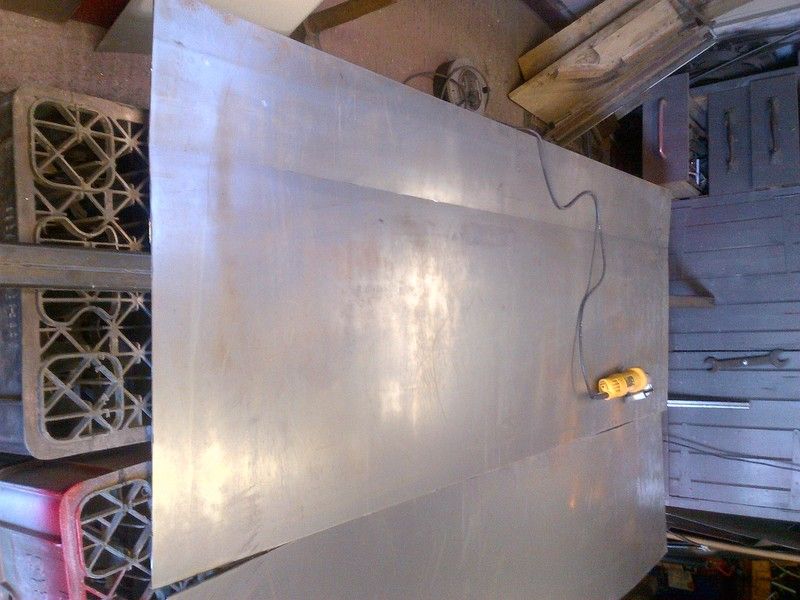 As access was going to be a bit awkward on the van, I folded the return edge for the top section before fitting, like so…  The plan is to bond the panel onto the framework and then add some small spot welds on the return edges once it’s bonded. Hopefully this will keep the face free from distortion that I would get if I welded the panel into place. Next step was to prep the frame and then, very precariously, lift the panel into place and clamp down. That leaves us here…. 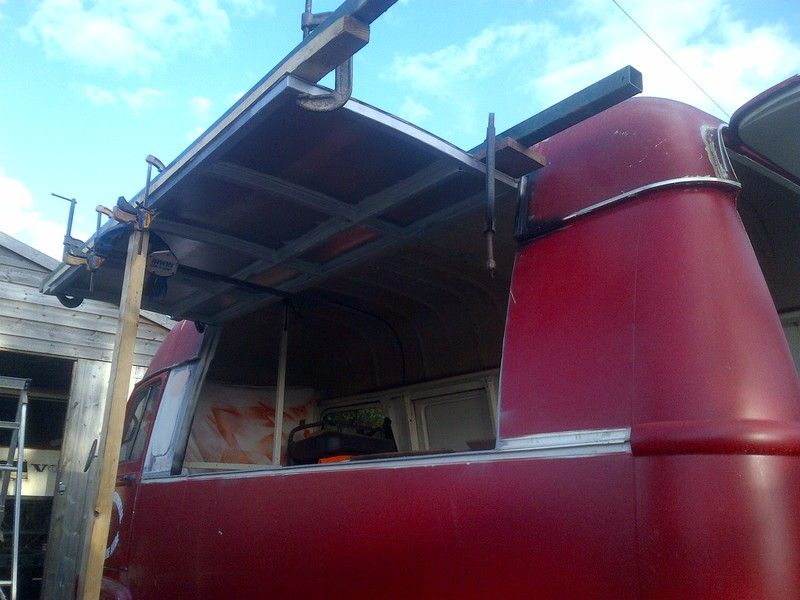 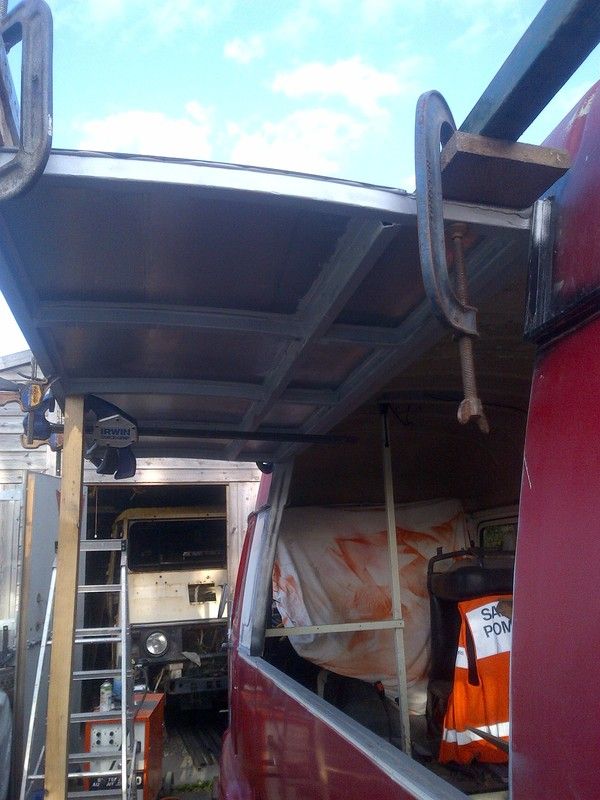 Once it’s fully cured I’ll trim the excess and fold the return edge down and get it welded into place. Served the first beer through the hatch to celebrate! 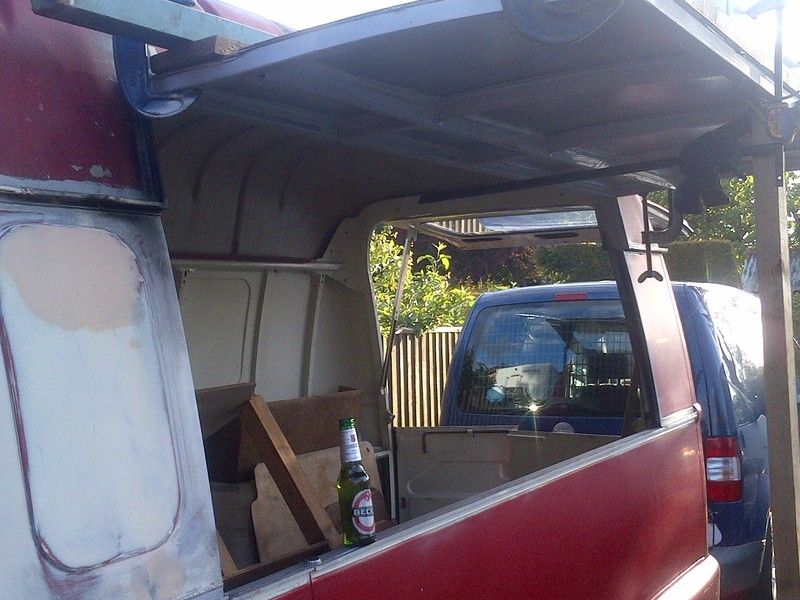 More soon…… |
| |
|
|
|
|
|
|
|
Took the clamps off this evening, and tidied up the edges a little, cleaned all the surface rust off from all the bloody rain and hit it with a bit of paint I had in the gun. Not looking too bad...  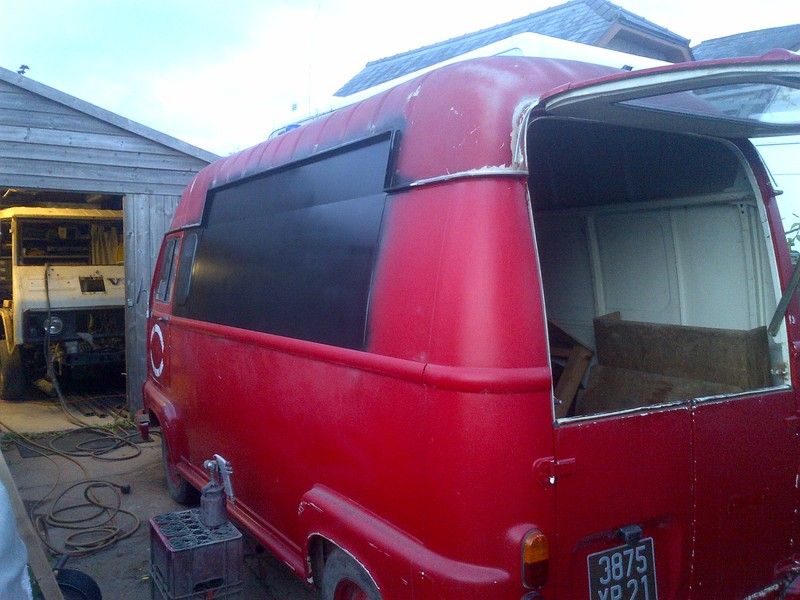 Joe |
| |
|
|
|
|
|
|
|
Right then, time for another instalment – time is rapidly ticking by, so I need to get my skates on! The hatch seems to have taken me an absolute age and still isn’t totally sorted yet – i need to sort a way of making it weather tight, staying open on its own and sort a decent latch system for it yet. I decided to crack on and get the waistline trim sectioned up and put back on. The trim actually clips on to the seam down the centre line, but someone had cut a ruddy great hole in the van and scuppered that; it needed a bit of fettling. First off, I cut the trim into three pieces and closed off the cut ends. The two short sections then just clipped back into place. The long one needed a bit more, as there was nothing to fix it to. To get round this, I cut a strip of steel and fixed that into the back of the moulding and then welded this to the bottom of the hatch. This sort of thing... 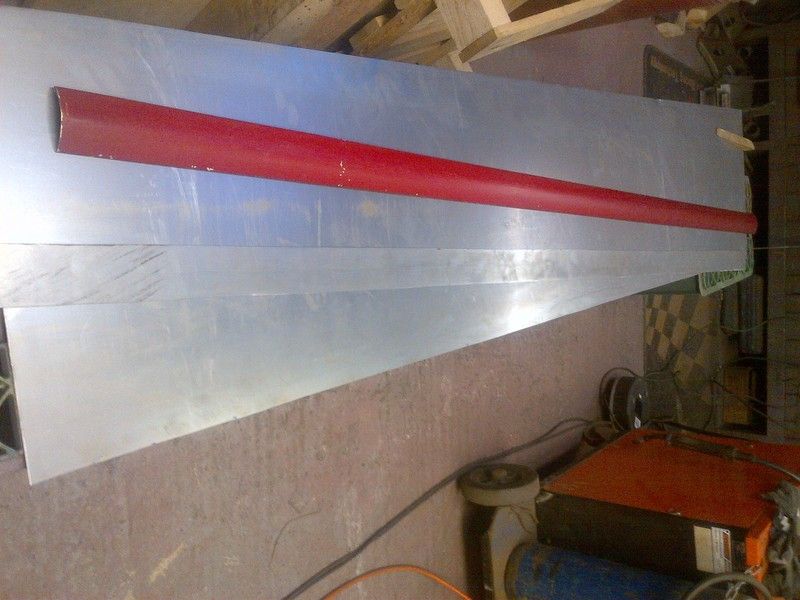  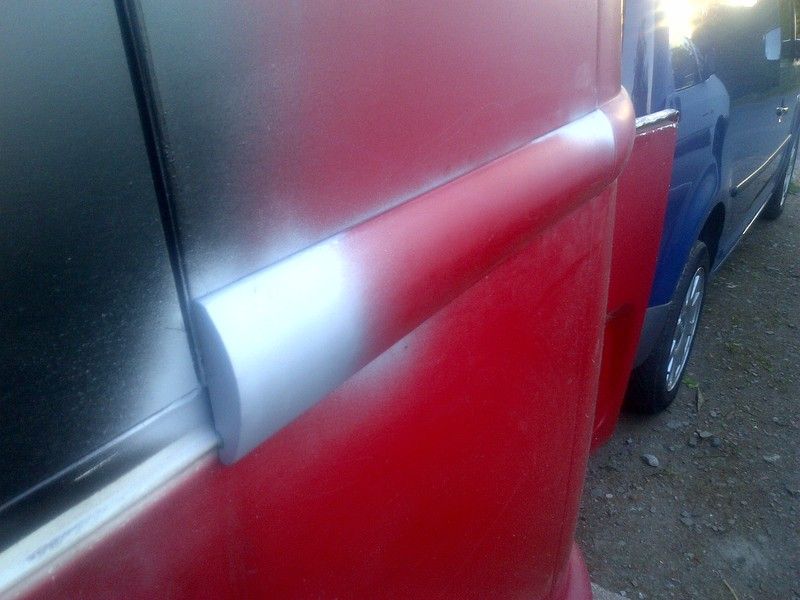 Then this weekend my mate Al came over to lend a hand – it’s his van. It was great to have an extra pair of hands and some banter as we tackled some other jobs. We got cracking on sorting the insulation and it turned out pretty well. The roof was a little fiddly, but we got there in the end. It’s just 25mm polystyrene, but it made a noticeable difference inside the van as we progressed with it and the sun blazed down on us. Came together pretty well.... 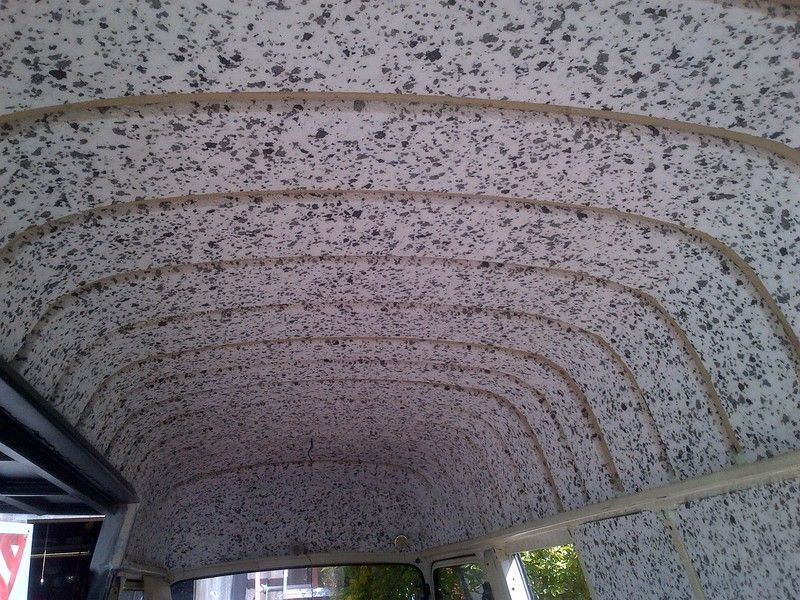 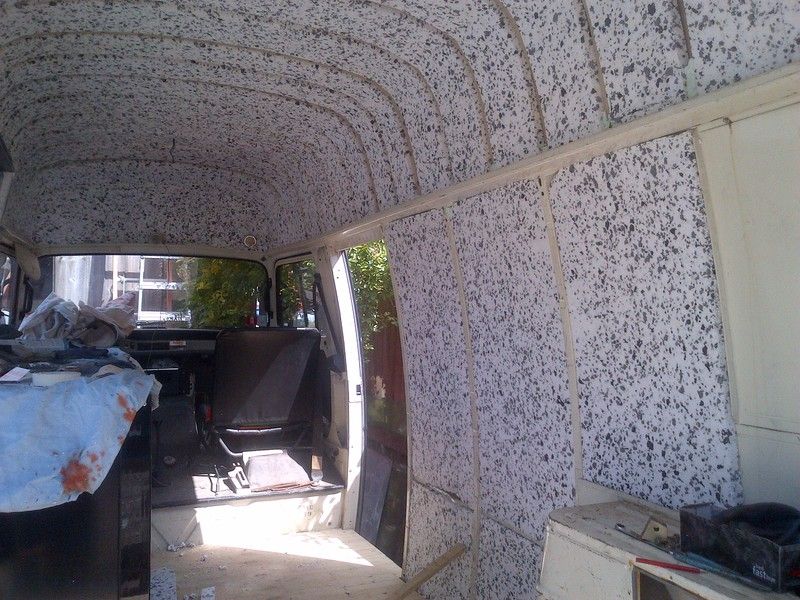  So that’s about it for now; panelling out and finishing the hatch next! Cheers for stopping by. |
| |
|
|
|
|
|
|
|
|
Ooh yeah, I like this a lot! Bookmarked :-)
|
| |
Al.
|
|
|
|
|
|
|
Great to see an alternative to an HY (although I do like HY's...), and great attention to detail  |
| |
Ich habe kein Geld!
|
|
|
|
|
|
|
|
Cheers guys,
yeah - you've got to love an HY, but even in France they're getting hard to find in decent nick for sensible money.
I'd love a Peugeot J7 to muck about with too....
Need to get my Volvo finished first though!
|
| |
|
|
jabbo
Posted a lot
   soy un perdedor
Posts: 1,151
|
|
|
|
|
Good to see another Estafette on here! You're putting me to shame with your work rate. Will definitely keep an eye on this.
|
| |
|
|
omega
Posted a lot
  
Posts: 1,060
|
|
|
|
|
looks very nice
|
| |
|
|
|
|
|
|
|
Good to see another Estafette on here! You're putting me to shame with your work rate. Will definitely keep an eye on this. Haha, the joy of deadlines! It's booked out for a wedding in July! And this is an abridged version of events - It's probably taken me a month to get this far, on and off. I knew I'd seen one on here somewhere before, nice to track it down again! The proportions of the low roof ones like yours are much better than these high tops. |
| |
Last Edit: Jun 9, 2015 21:13:06 GMT by Deleted
|
|
|
|
|
|
|
|
|
Love it!! looking forward to the progress of this  |
| |
'90 Audi B3 Coupe 2.3 Auto [gone]
'92 Audi S4 Avant 2.2 AAN Turbo Auto [gone]
'93 Audi 80 Avant 1.9TDi [gone]
'96 Audi A4 Avant 2.6 Quattro [gone]
'97 VW T4 1.9td LWB [gone]
'03 Skoda Octavia 1.9TDi [gone]
'05 VW T5 Shuttle LWB 1.9TDi
'15 VW Caddy Maxi Kombi 1.6TDi
|
|
Speedle
Posted a lot
   Need a Country Rock band in the Hampshire Area? https://www.facebook.com/DirtRoadDiaryUK
Posts: 2,221
|
|
|
|
Superb build quality on show here sir, most impressive! It's all the little bits of detail that are really going to make this a cut above the rest  |
| |
|
|
|
|
|
Jun 10, 2015 10:18:14 GMT
|
Wow great progress. Bookmarked  . |
| |
|
|
|
|
|
Jun 10, 2015 13:26:02 GMT
|
|
Ace project, it's not a van i'm familiar but I really like it. Love the finish that you're managing to achieve as well, looks spot on.
|
| |
|
|
|
|
|
|
|
Morning all. Time for another, frankly lacklustre, update on progress to date. It’s been a slightly disappointing week really, as the flexible plywood i’ve got on order didn’t turn up when promised. I need this to panel out the roof, as normal ply soaked right through still wasn’t complant enough to follow the tight curves of the profile. This had a knock on effect with other parts of the build that couldn’t be done. However, stuff has been turning up all week, so the pace should start to pick up once the ply is here! The fridge was actually one of the first things to turn up and has been sat in my front room for long enough, so this has now made its way into the van in order to address a couple of issues.... The height of the fridge (and therefore the whole bar top) is actually about 100mm higher than the height of the hatch opening in the side of the van. This was no surprise, as I knew from the outset about the fridge dimensions, but it did mean a little extra work to the hatch area was in order. With the floor in place the fridge was set in place and a length of angle was tacked into place to set the bar height. This was then fixed up with some legs, to create the new home for the fridge. With this in place the hatch could be measured up for tweaking..... 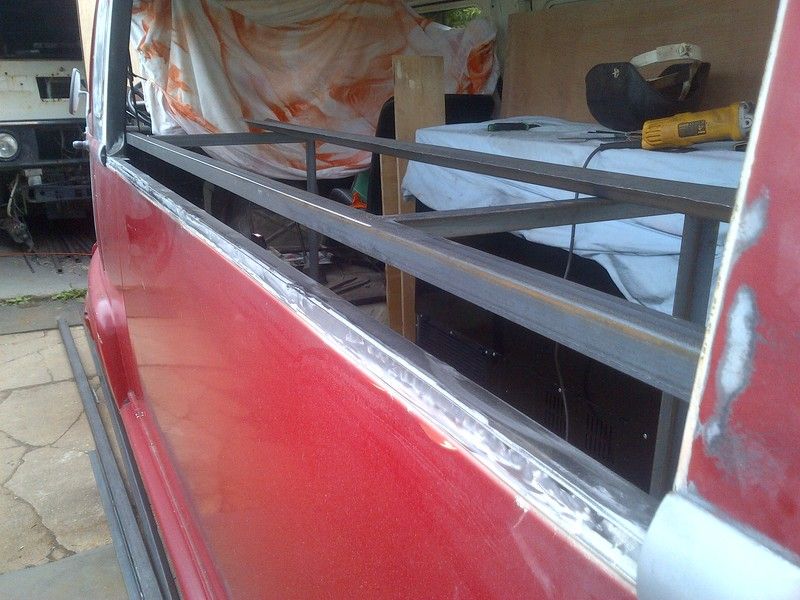 The frame was measured up and then transferred to sheet. I really wanted to fold this up out of one length, so it was time to clamp it up and break out the big Stilsons.....  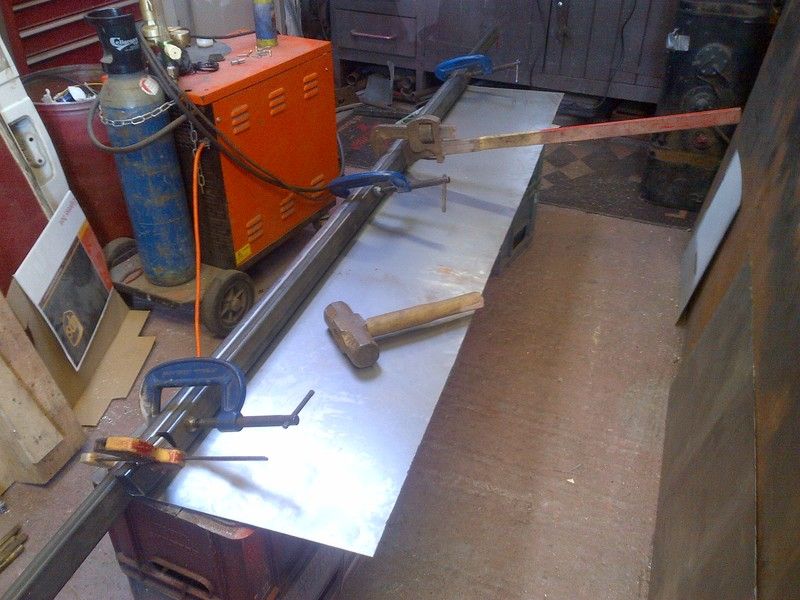 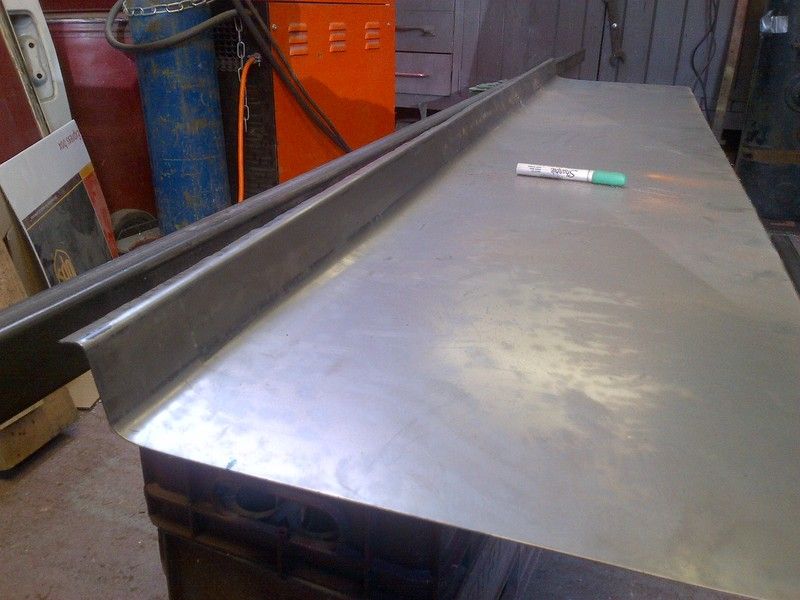 Not too bad. Then a bit more...... 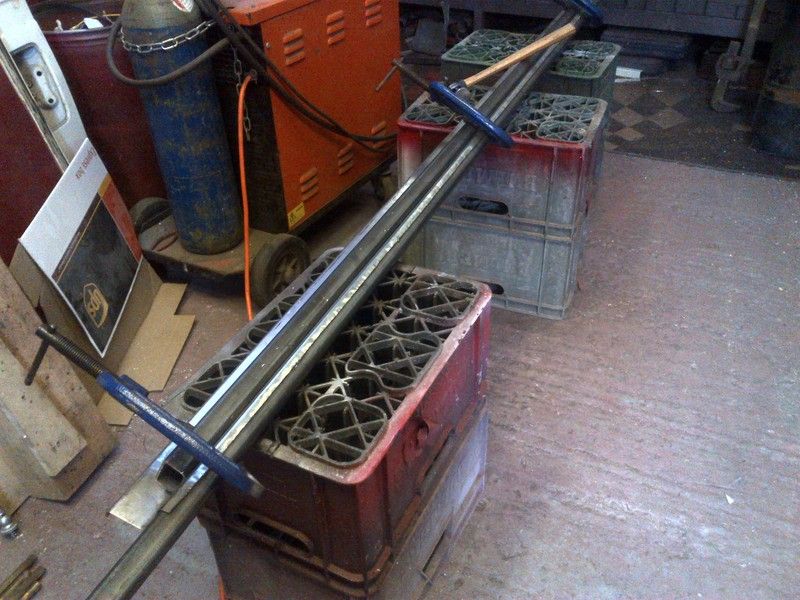 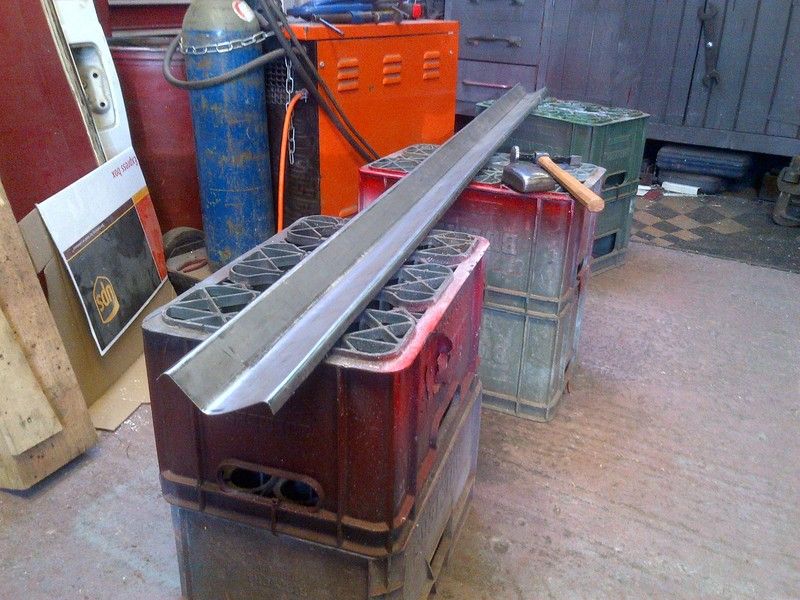 Fairly pleased with how it came out, given the length of it. A bit of dollying up and a few holes punched out for welding and it was a case of just plug welding it in place...  I also cracked on with the weather seal support and a few other bits, but I won’t bore you with pictures of those; well, not yet anyway. In other news, I started putting some ply into the interior..... 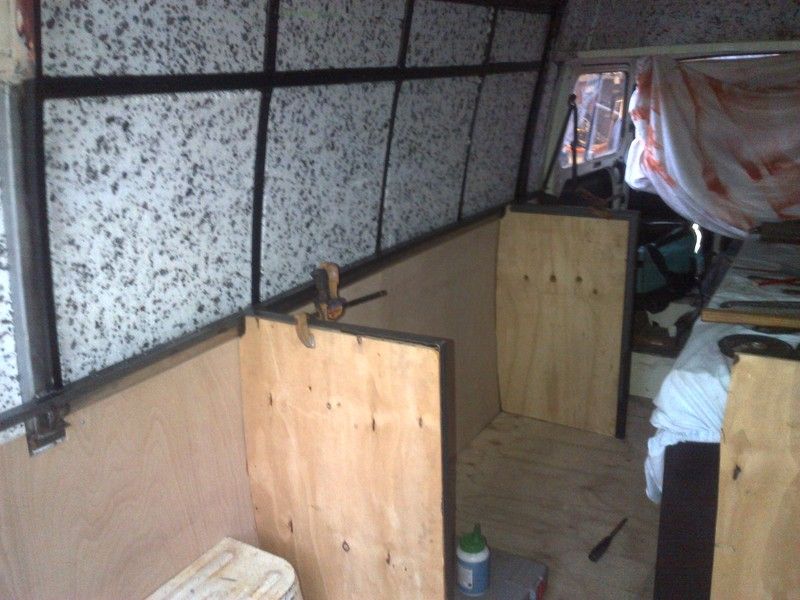 Hopefully, this week will bring some real progress and result in a more meaningful update! Cheers, Joe. |
| |
|
|
|
|
|
|
|
|
Some superb fabrication going on; thanks for the update. Love the Stilson trick.
How on earth did you get the poly to curve round the ceiling without cracking into a million bits?
|
| |
|
|
|
|
|
|
|
|
Cheers!
The sheet folding is a bit of a faff, but it's a simple way to do long sections as long as you go steady!
The insulation almost goes in without breaking! Luckily, it's a really tight fit and the shape of the roof means it all stays put even though it's a bit broken! It snapped in two places on each curve, but we just kept forcing it into place and it seemed to turn out really well!
Joe
|
| |
|
|
|
|
|
|
|
|
Thanks Woody,
I had a look at a Bay that had the same conversion as the silver-grey one you posted - it struck me as an odd way to do things. It left everything massively open to the elements and struck me as the base vehicle being more important than the actual usability of the end product.
I was planning on trying to match the roof profile in the top section of the hatch, and run the gutter line straight through, but the guys I'm building it for weren't feeling it so it's going to stay as it is. I think it should look ok once the whole thing has had a lick of paint.
|
| |
|
|
logicaluk
Posted a lot
   Every days a school day round here
Posts: 1,373
|
|
Jun 15, 2015 21:48:11 GMT
|
|
Very nice fab work, nice to see somthing different.
Bookmarked
Dan
|
| |
|
|
|
|
|
Jun 17, 2015 21:02:59 GMT
|
Well, I’m pretty chuffed this evening.... Had a call from the timber yard earlier to say my plywood had arrived. I’d ordered up some flexi ply after my failed attempt to curve some normal ply around the inside of the roof. They had already got me some in, but the grain was the wrong way, so it wouldn’t curve the way I needed it to. This time it looked much more promising... 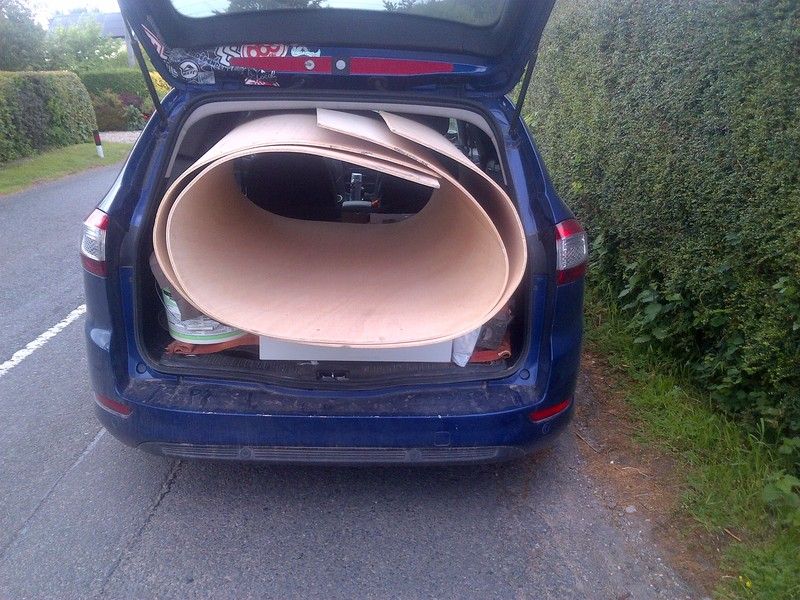 Yep, that’s two 8mm 8x4s rolled up in the back. I’ve never used this stuff before, so I was pretty keen to see how it was going to turn out. Lots of careful measuring and a few bits of trimming and the first sheet popped into place like a charm... 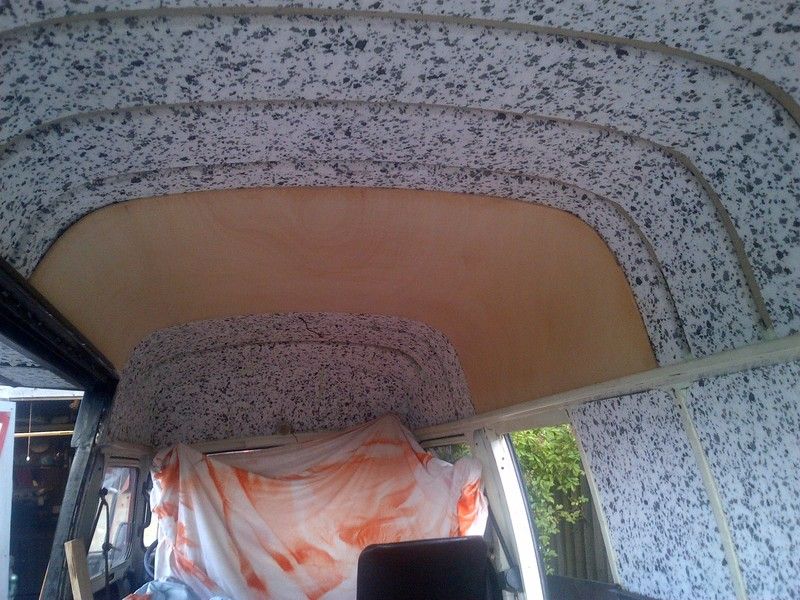 The second piece took a little more fettling to get it sitting right – the roof tapers just a little towards the back, so it was a little bit of a compromise between getting it to sit flat at the rear and still match up at the front with the other sheet. Pretty happy with how it turned out. I’ve got it propped up in the centre at the moment; as it’s got some expanding foam under it to try and held keep it in place down the line. 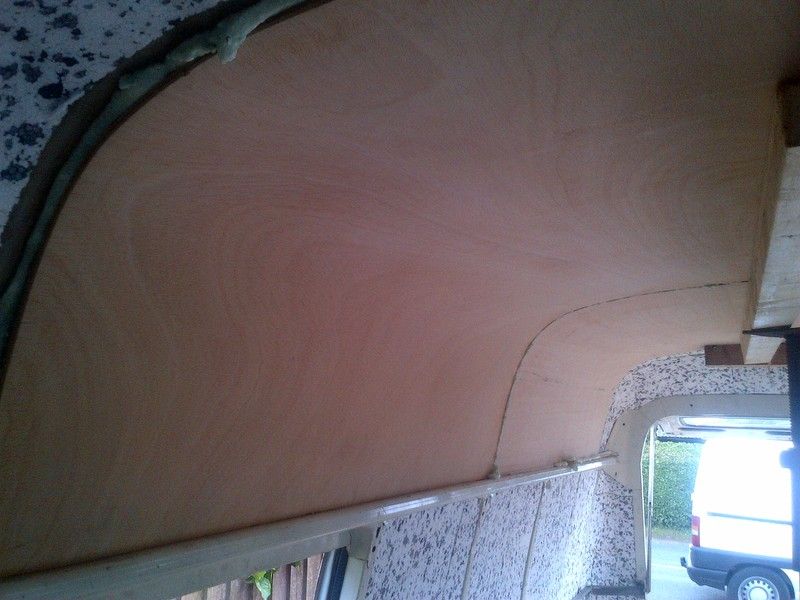  Either end of the roof is going to have storage built in, so I’ll get that framed up next and then clad the remaining bits of roof after that. I think I’ll have to do it in small pie cut pieces though, as it’s all compound curves, but it won’t be all that visible when it’s complete so it should be ok. More soon – thanks for stopping by! |
| |
|
|
|
|


