Darkspeed
Club Retro Rides Member
Posts: 4,874
Club RR Member Number: 39
|
|
Oct 17, 2024 13:18:42 GMT
|
Tuesday at work An early start to get to Oulton Park - all on me lonesome I get the Clio off the trailer and into the pit garage 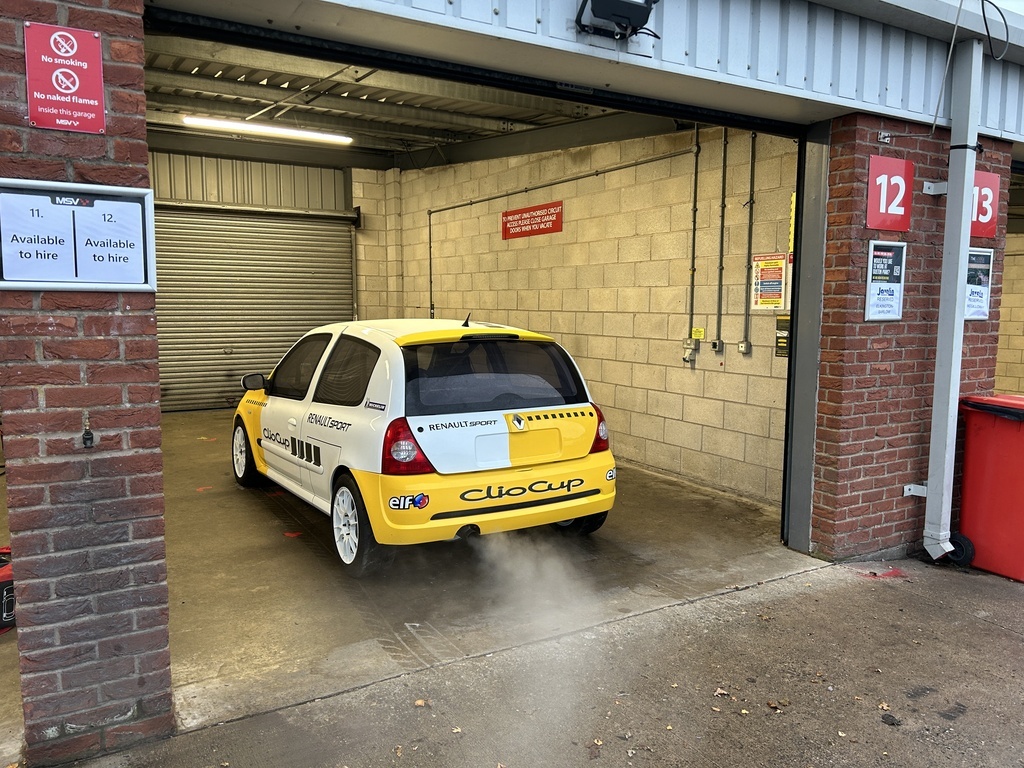 I get signed on and have the Clio noise checked - still on my own. 9.00am is sighting laps and I jump in the car ready to go, it does not start ! I pull the van around to the front and give it a jump. Starts fine, all good, I go get in line. Whilst in line to the track my boss turns up and says hello - tell him that I think the battery is on the way out - see if we can get some charge it in during these couple of laps. Off I go and all seems fine... until I start coming down to Lodge and the car seem low on power - I get over Deer leap and on to the Pit straight and something is definitely not right - I get to Cascades and coast off circuit down to Foster's to a halt - Dead. About one and tenth of a lap. Waited for the tow of shame. Back at the garage a quick check with a meter shows the alternator is not charging. A few moments later - the battery is off and on charge, and the alt is on the floor 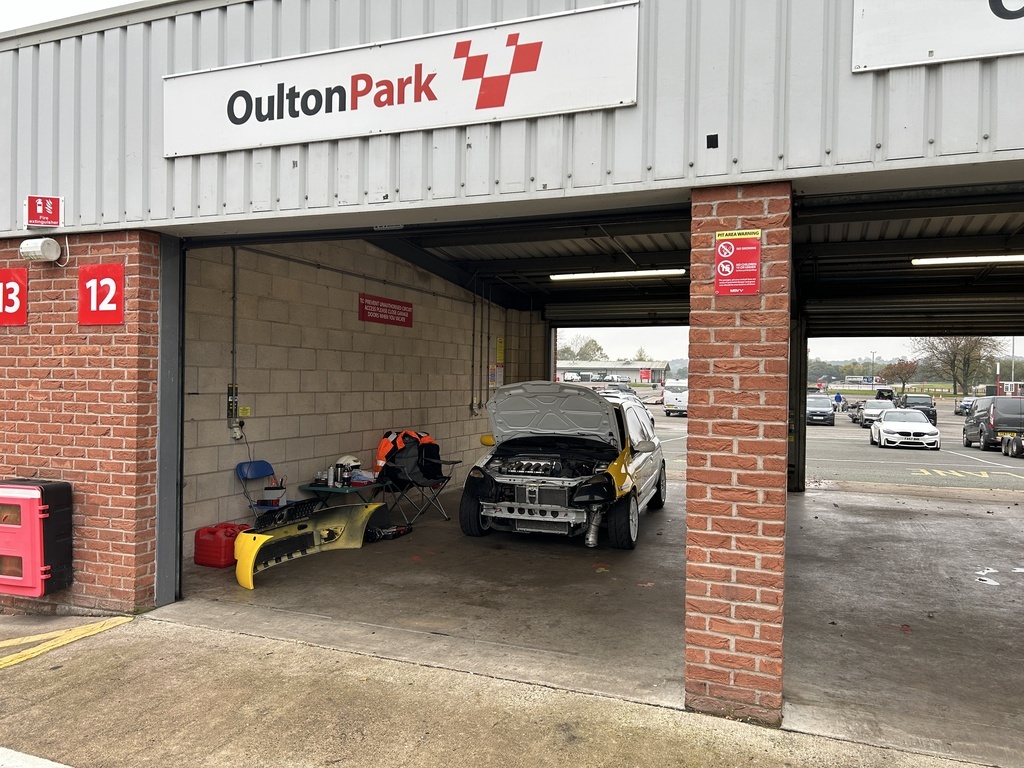 A quick call to my lad and he locates a 172 alt on the shelf at Euro car parts in Chester - My colleague who has just arrived is sent on a collection mission. I settle down on the pit wall to watch some of the other participants. 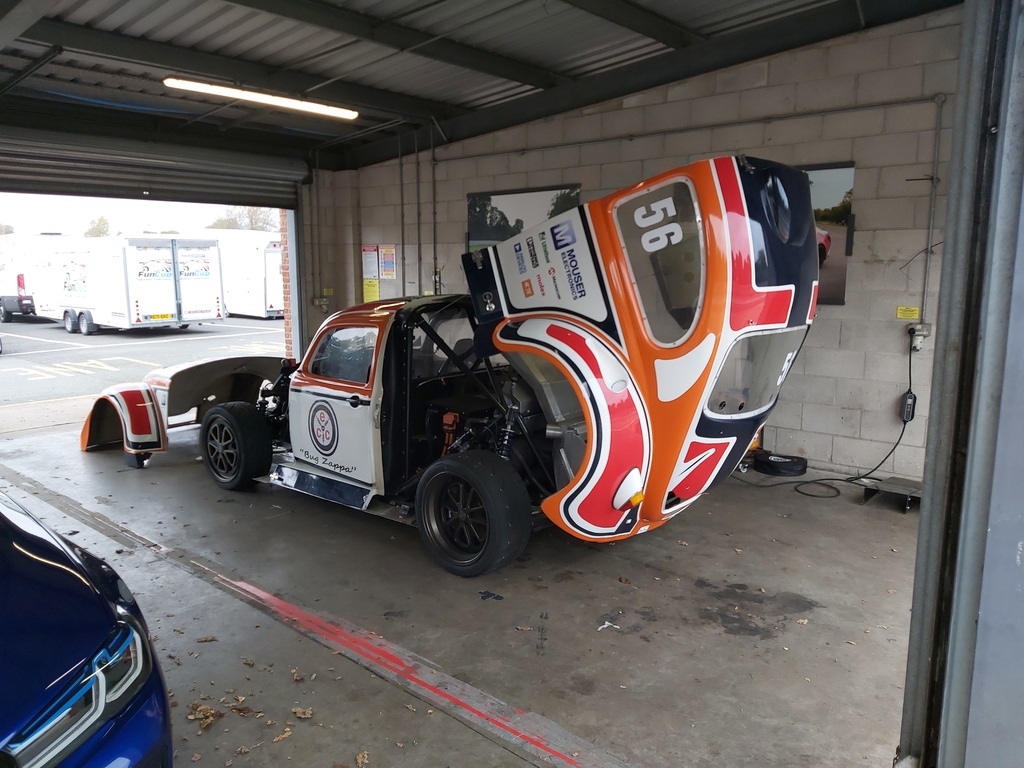 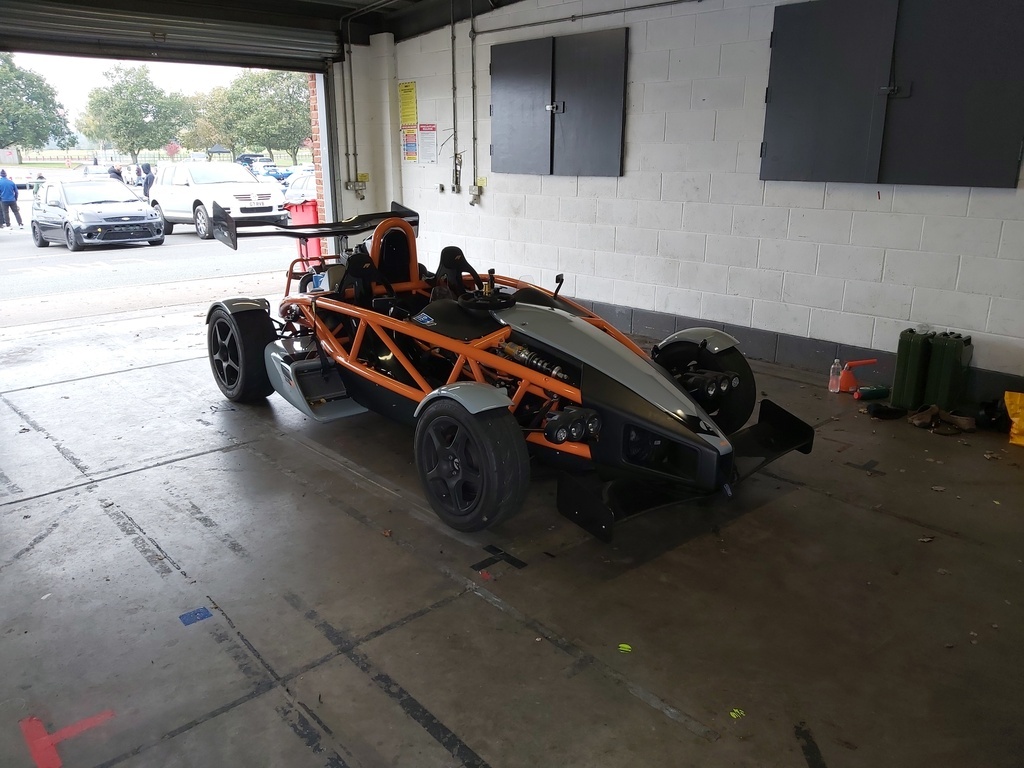 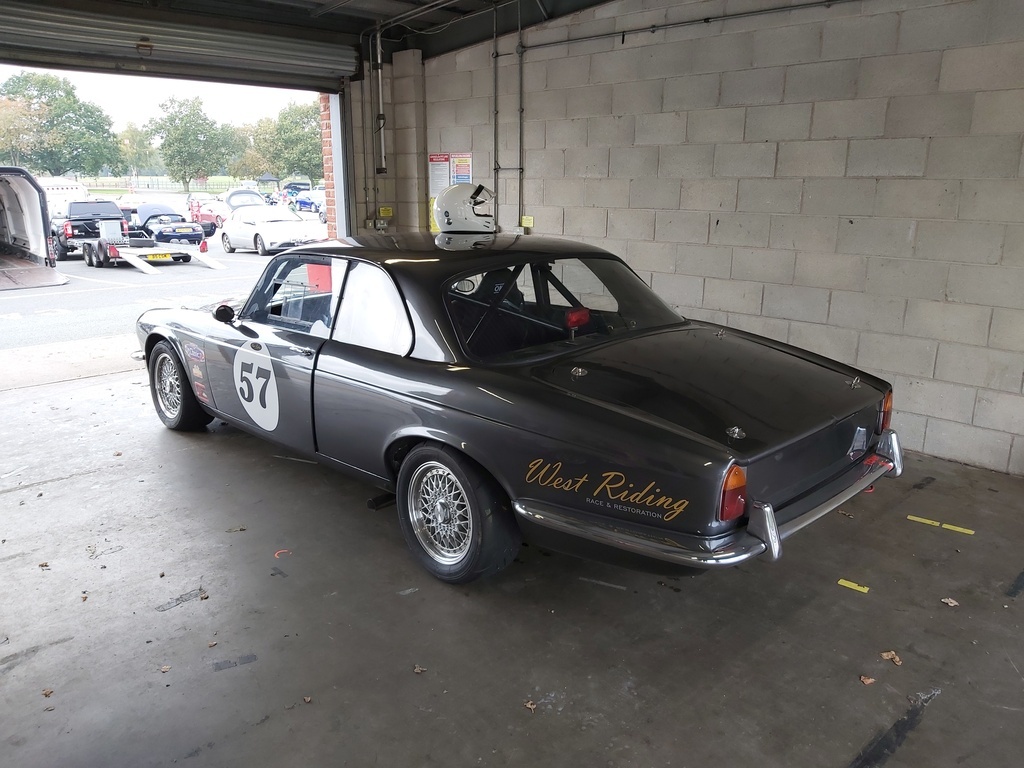 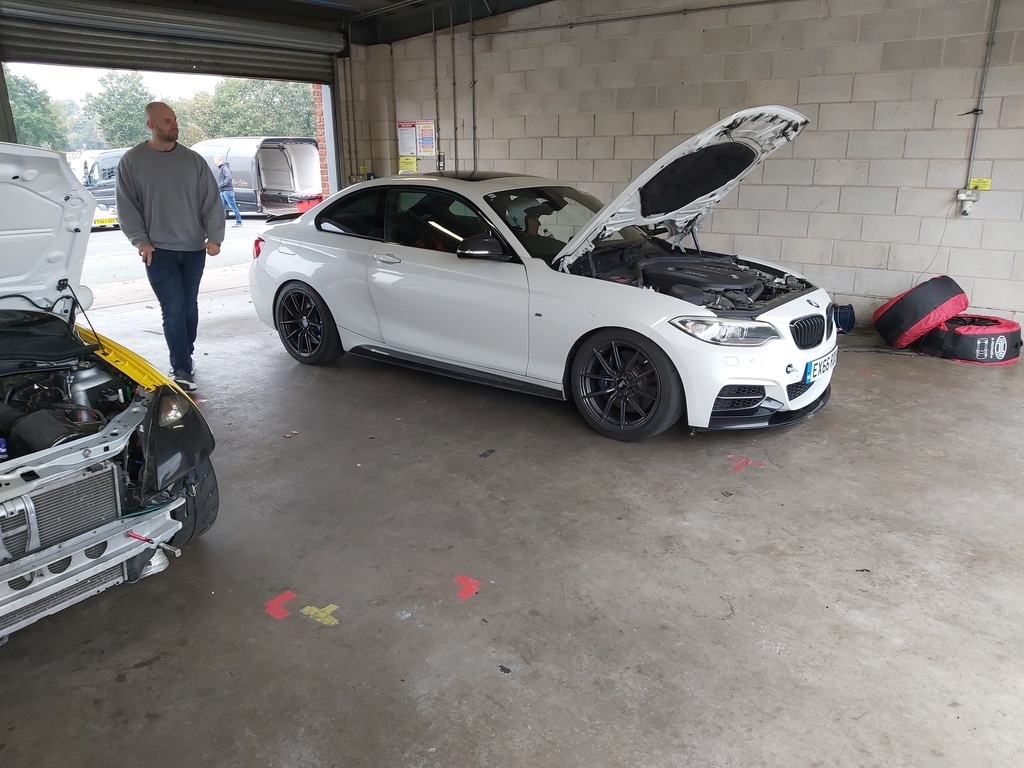 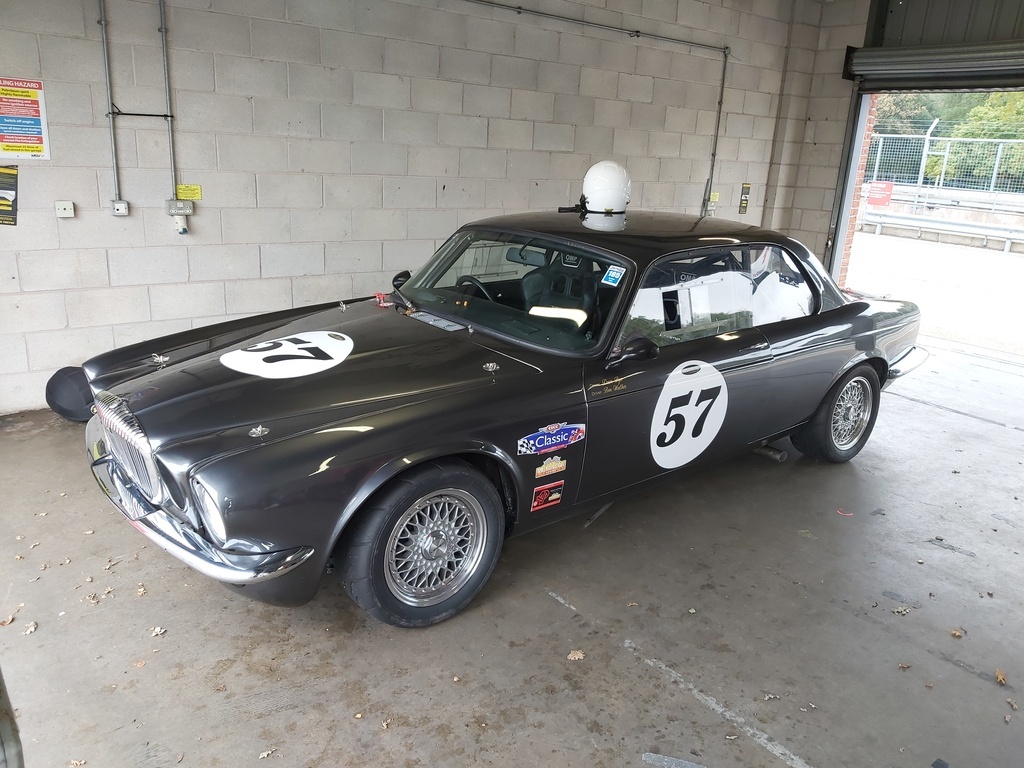 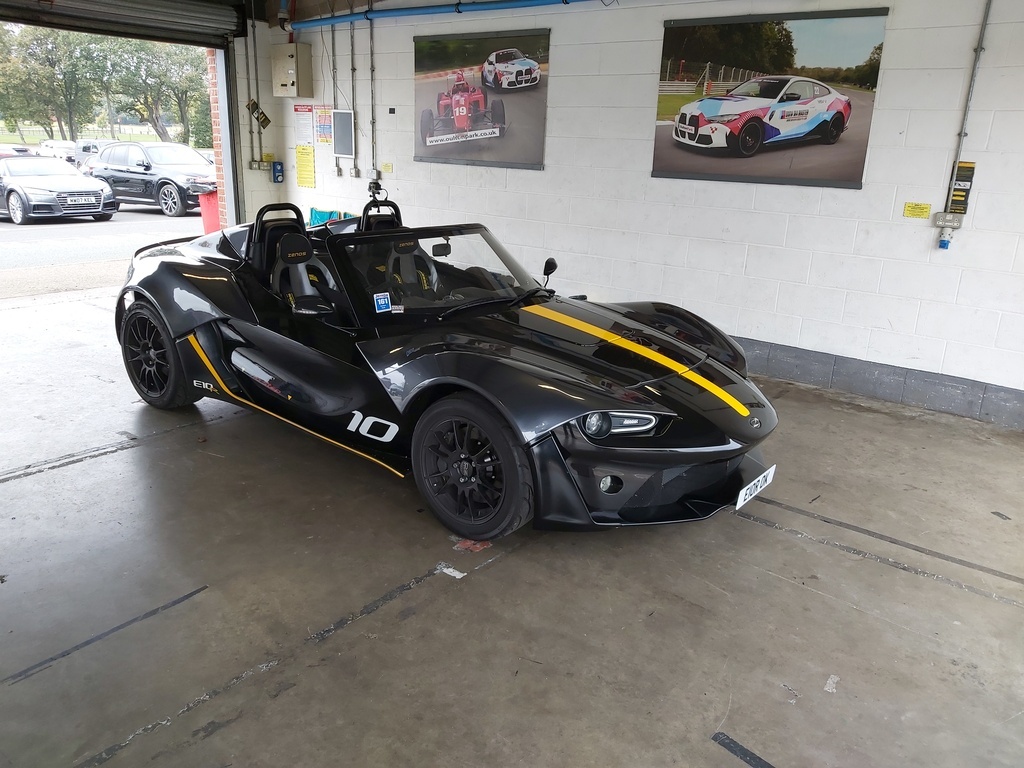 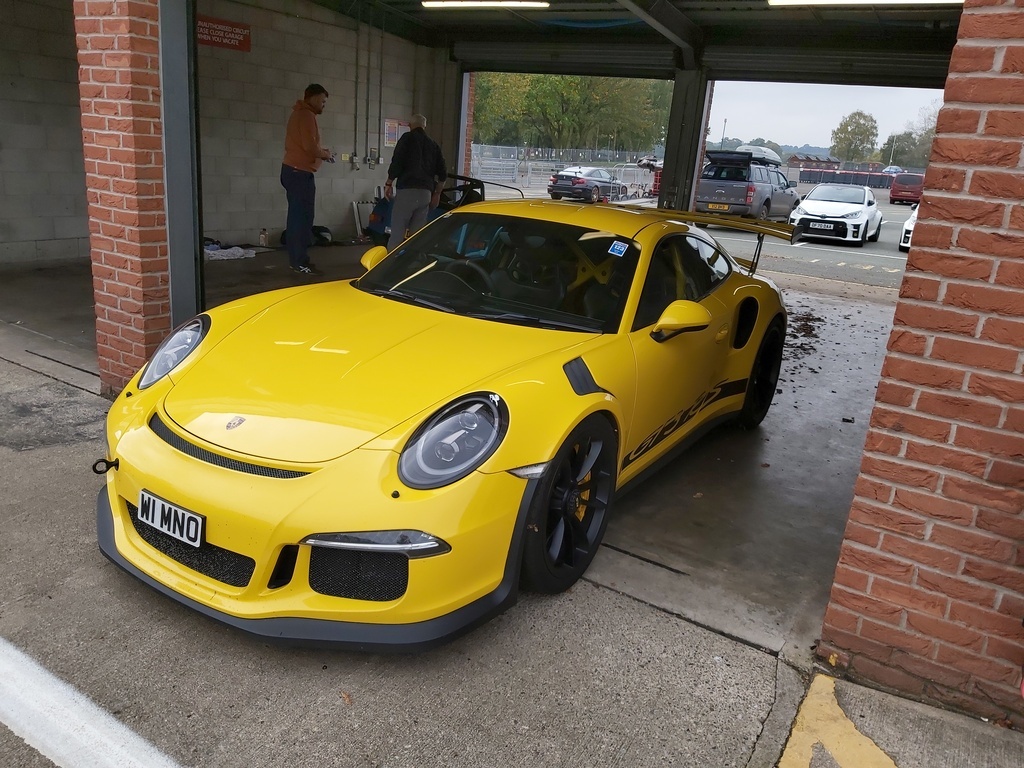 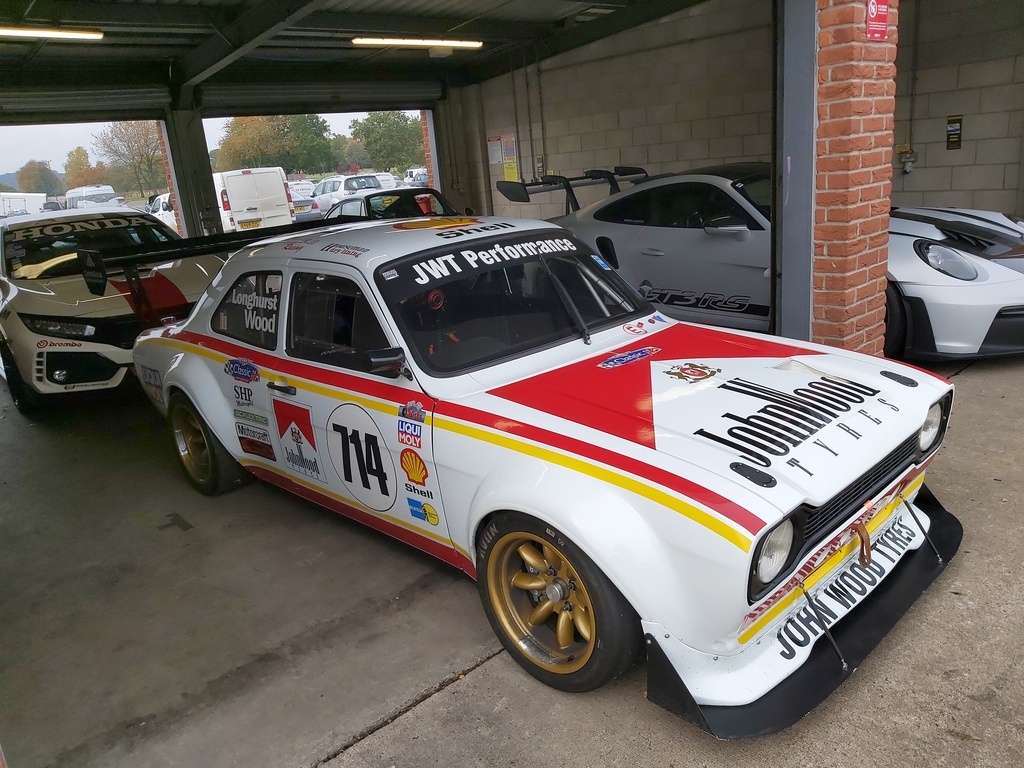 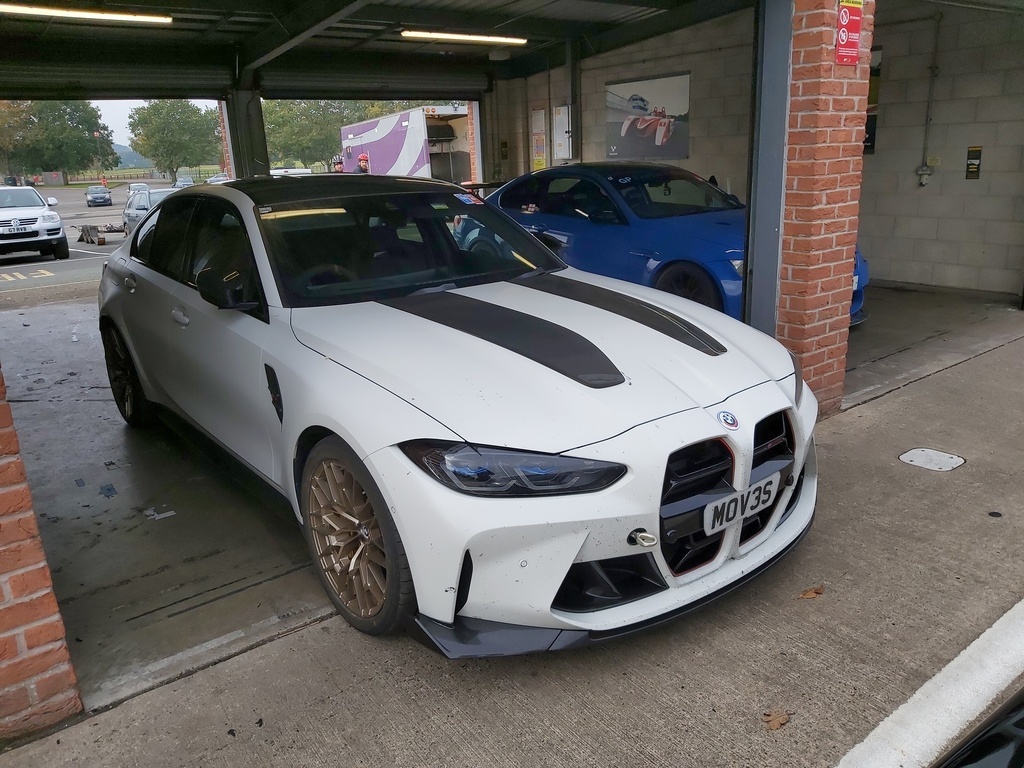 To my complete surprise the alt was the correct one and with a few minutes before lunch we managed to get a quick lap in with the Alt giving a full fat 14.5V to the system. Happy days - From then on it did not miss a beat for the rest of the afternoon. 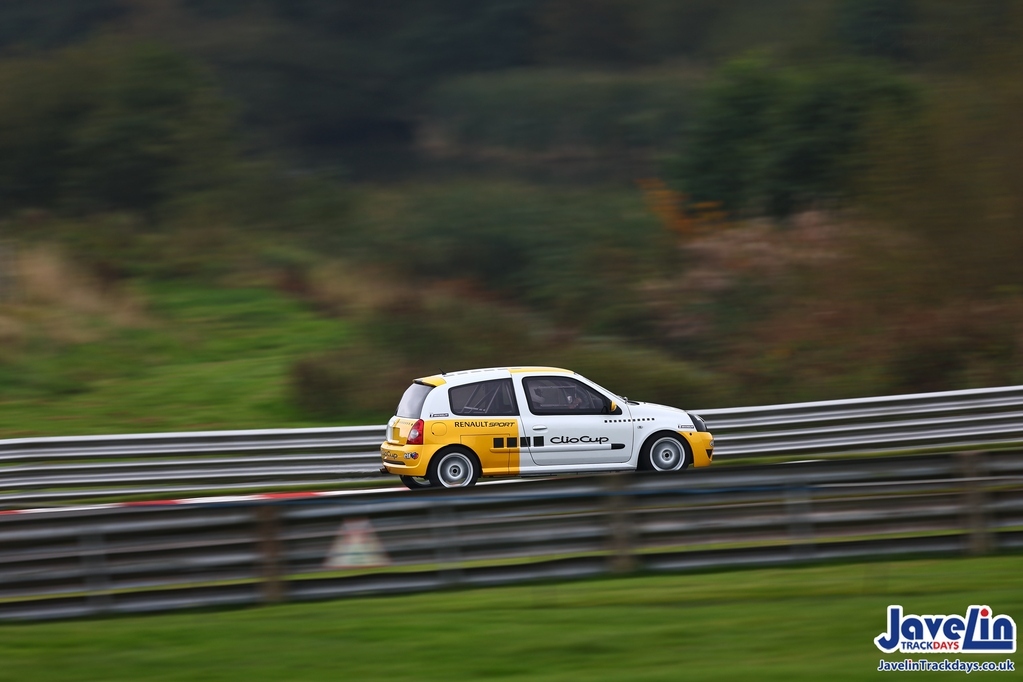   The shifter needs a look at its some sort of special quick thing from Pure Motorsport - as are lots of bits on the car - but to me its a bit vague and caused me a few moments. Throttle pedal position is also a bit low and makes heel toe awkward. That engine though F4R ? I cannot fault - On a lap I doubt I had it below 5K - the shift light seemed permanently on due to the close ratios and short diff, and in top was on all time - which was annoying - however it did not miss a beat and loves to rev. Must admit to being very tempted to chuck in the Pug and look for a low mileage 182. Lunch over - better get back to work.
|
| |
Last Edit: Nov 5, 2024 19:54:08 GMT by Darkspeed
|
|
|
|
Darkspeed
Club Retro Rides Member
Posts: 4,874
Club RR Member Number: 39
|
|
Oct 17, 2024 20:31:14 GMT
|
Got a little bit done on the Gem. Managed to find a couple of hours to knock a bit of the ugly off the chassis. 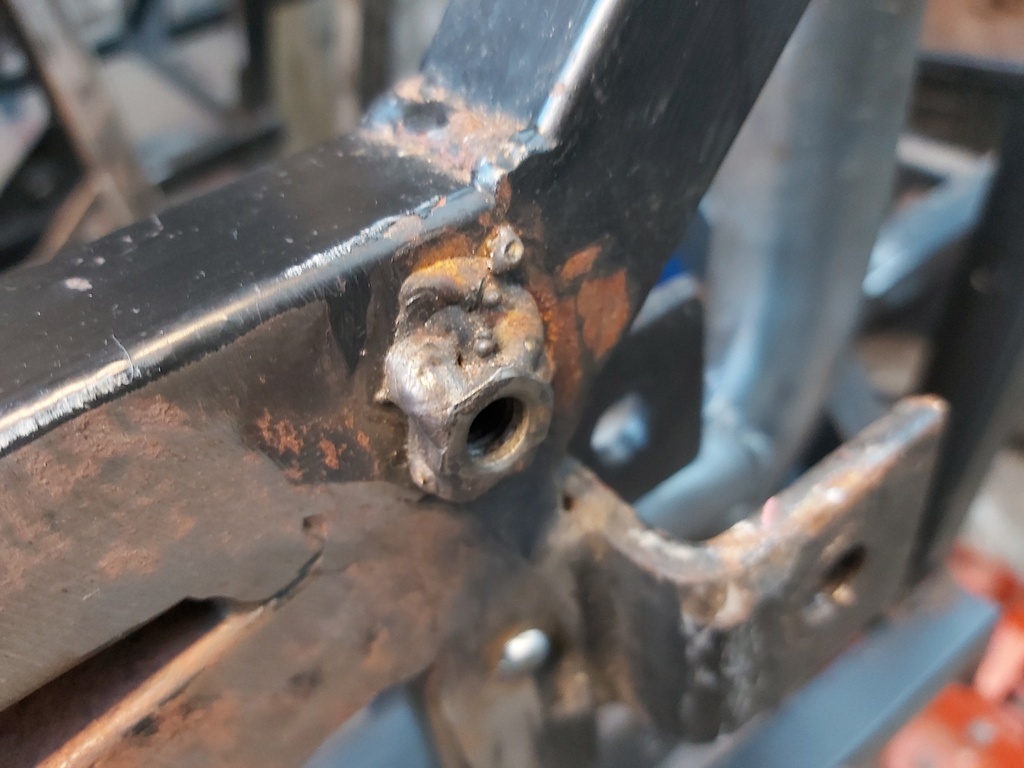 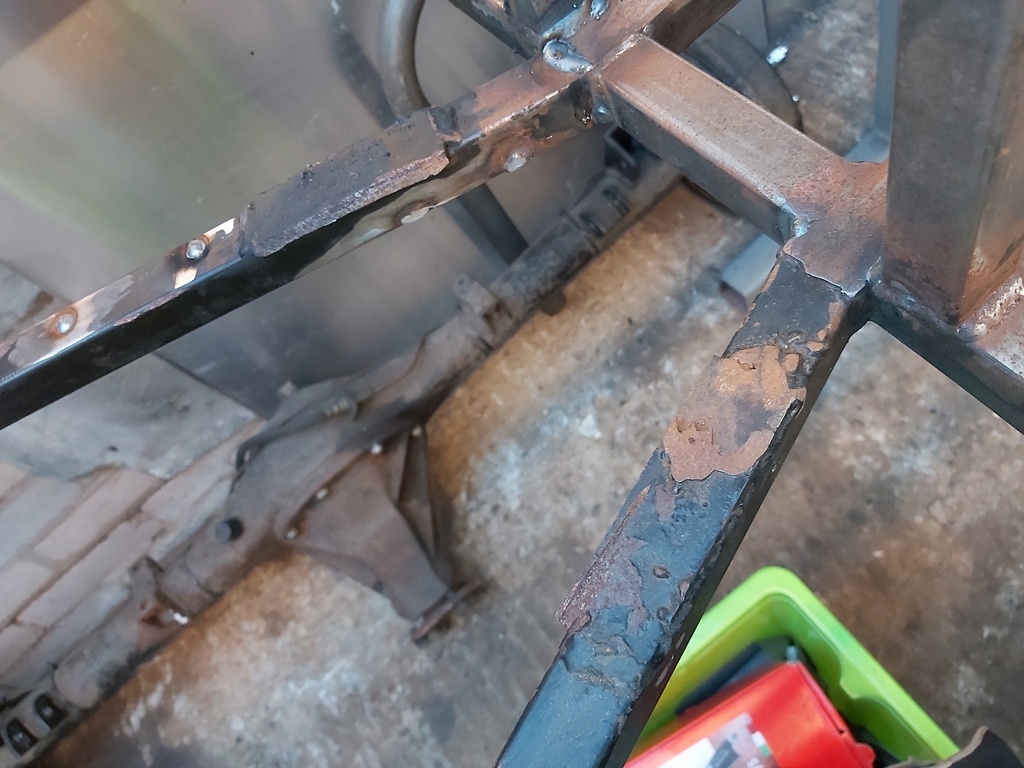 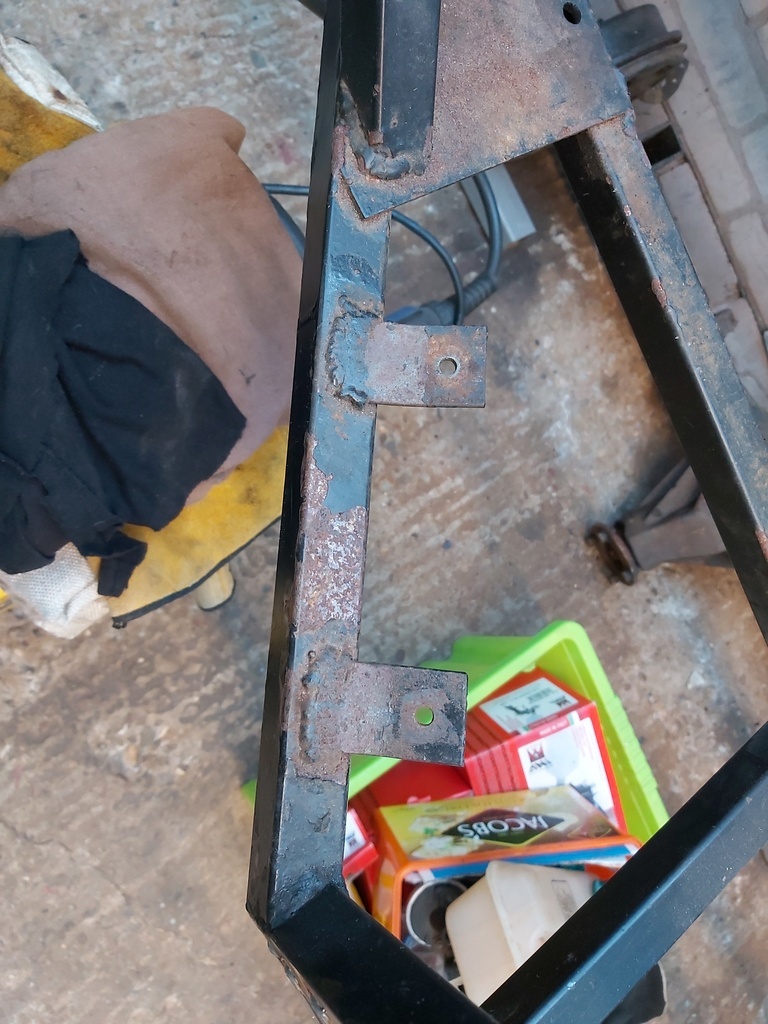 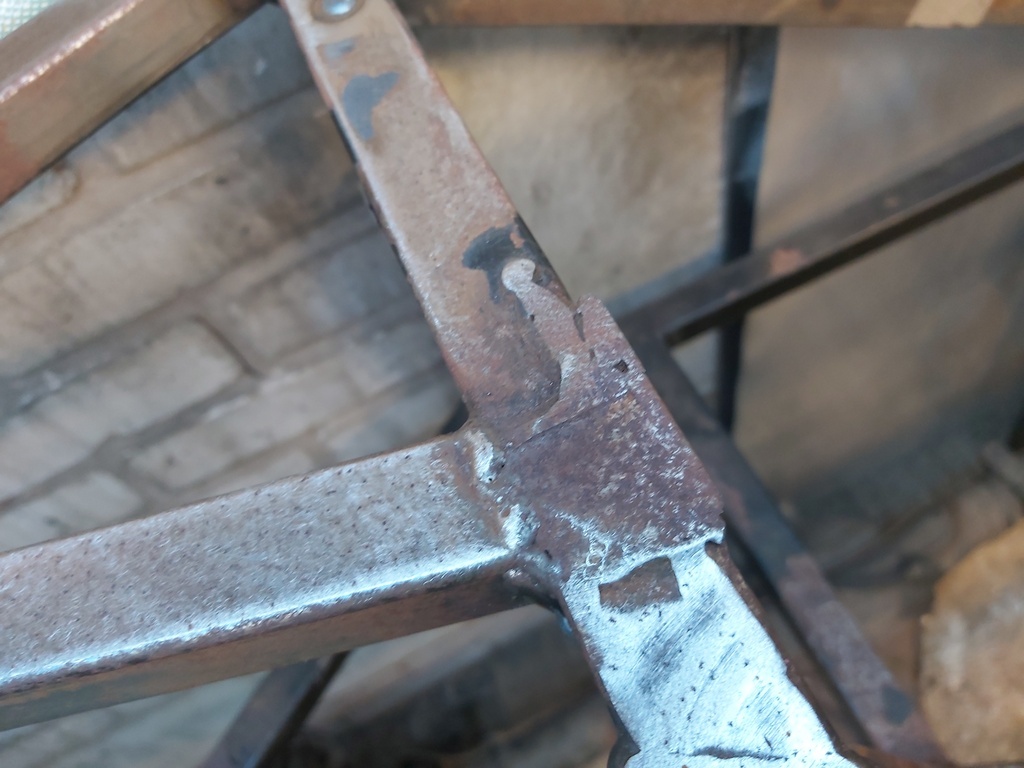 Only managed 3 of the 4 I had identified so the nut may get chopped out tomorrow - I did however find a 4th being the left overs of a bracket removed prior. 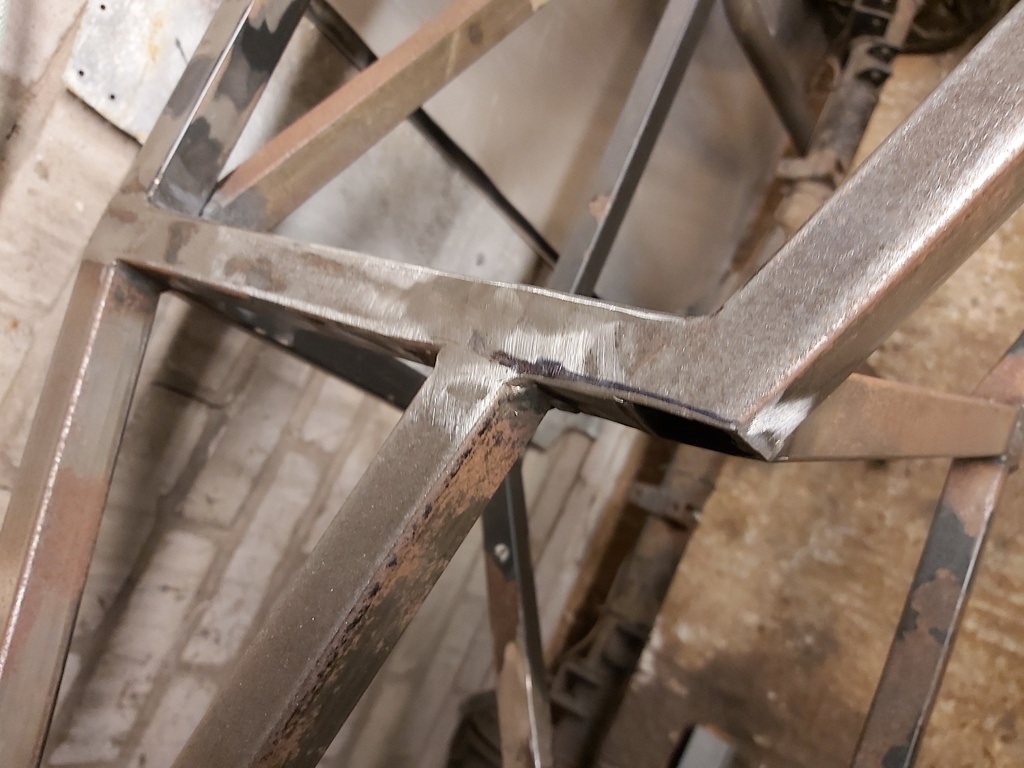 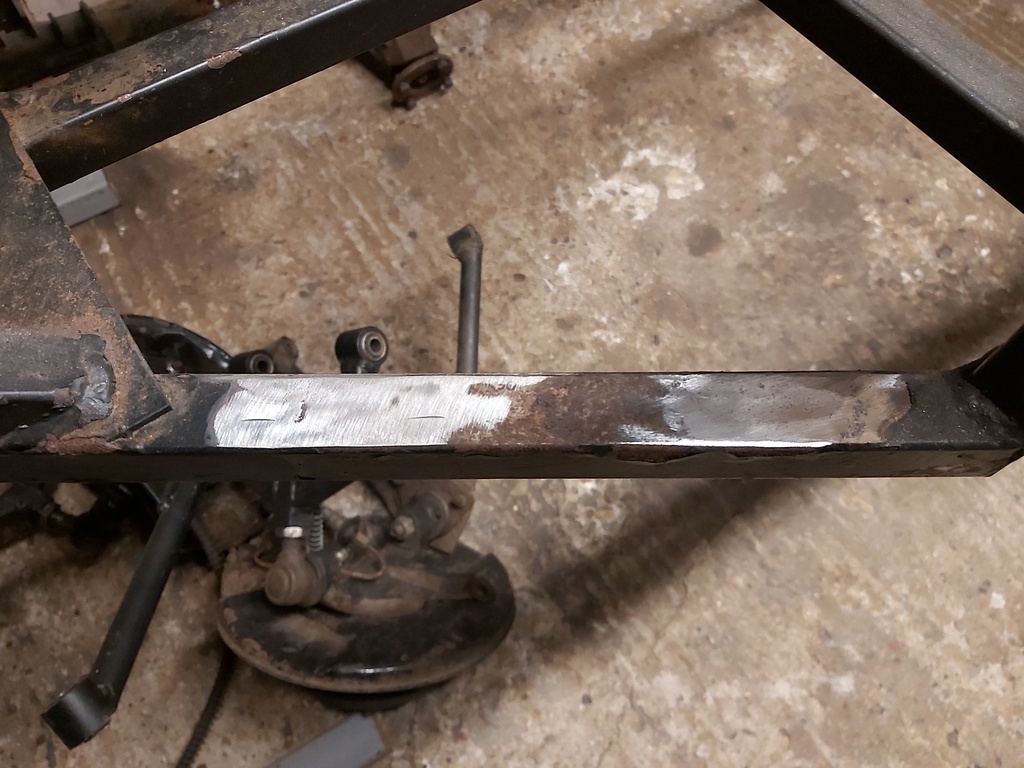 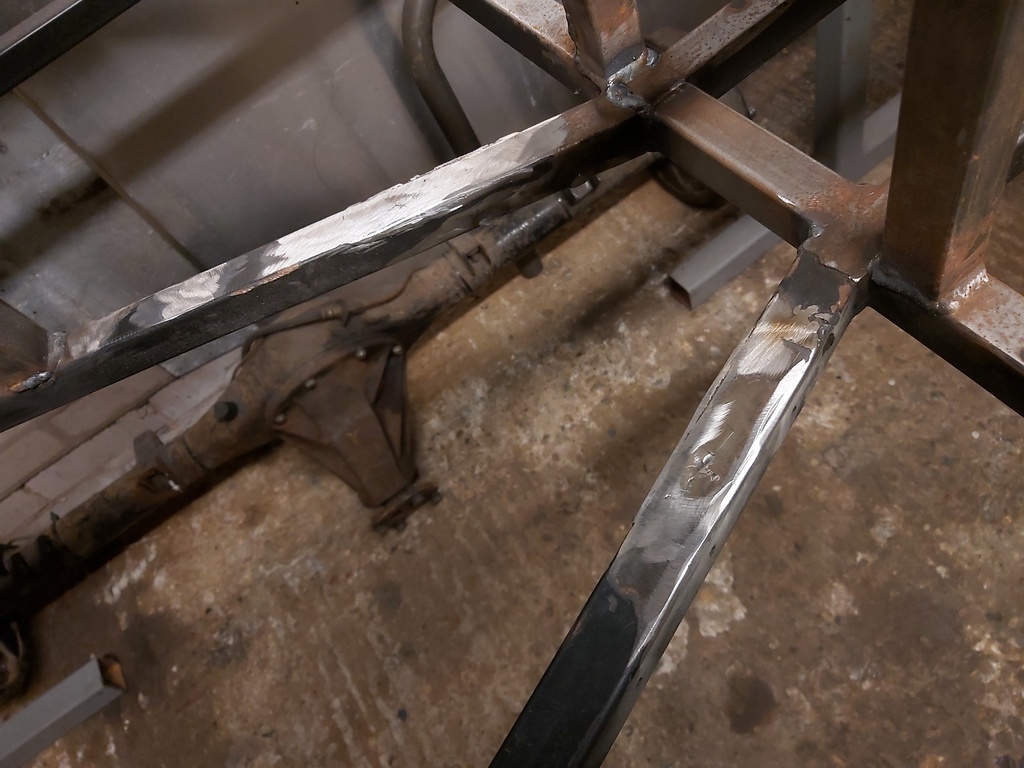 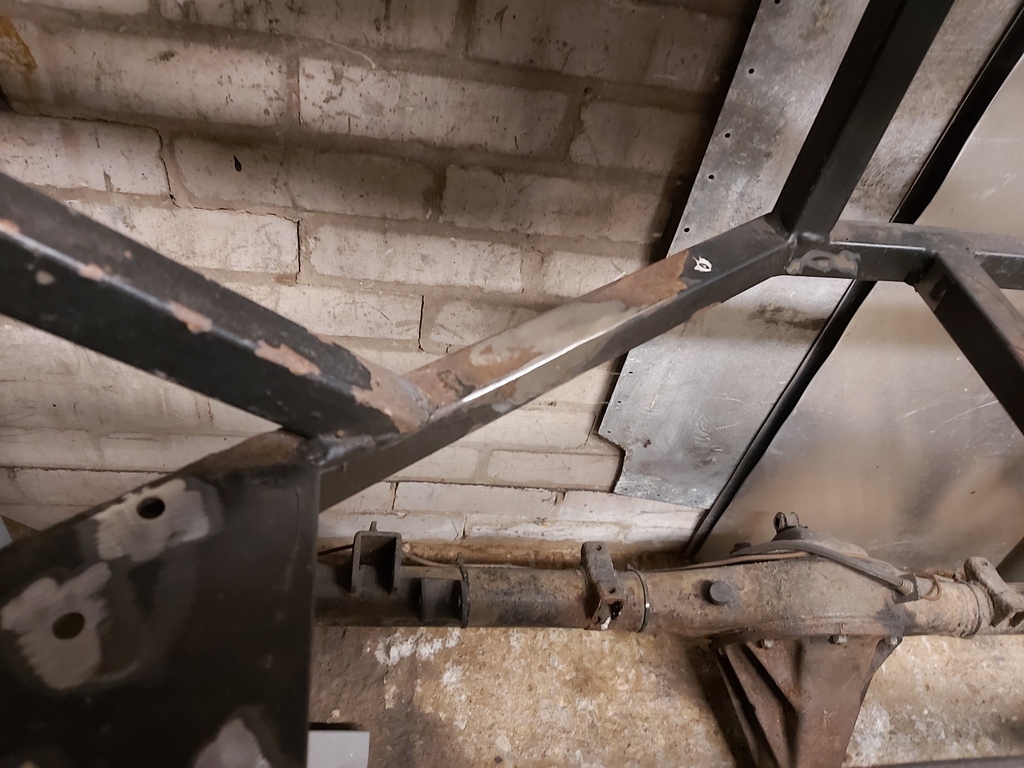 Jobs on the list are. Remove the angle and replace with 3mm strip seat mounts Remove the cross tube that gets in the way of having seats flat on the floor Add the tubes to join the lower chassis halves Add a new cross tube similar distance forward as a Westfield Add a front diagonal Add a rear diagonal Add centre tunnel diagonals Engine bay diagonals Build another bias pedal box Build a round tube rod end Panhard Sort out the engine mounts Grind off tops of rivet welds Get the rivet ends out of the tubes. Loads of other stuff.... |
| |
|
|
|
|
|
Oct 18, 2024 12:07:36 GMT
|
|
That's why I said bolt in crossmembers - unbolt to store the beams somewhere?
|
| |
|
|
Darkspeed
Club Retro Rides Member
Posts: 4,874
Club RR Member Number: 39
|
|
Oct 18, 2024 17:14:51 GMT
|
That's why I said bolt in crossmembers - unbolt to store the beams somewhere? The storage after use is not a problem, fixed or removeable sections would not matter. The problem that I have is that to be useful it would need to be 4 foot x 10 foot, and I work - read as - do all my welding and fabrication - in a 7 foot x 12 foot space. Most of the time its a lot less space than that! Typically, if I have not already done something to make my life easier - it's because it probably wouldn't. |
| |
|
|
Darkspeed
Club Retro Rides Member
Posts: 4,874
Club RR Member Number: 39
|
|
Oct 19, 2024 20:40:46 GMT
|
As it was a reasonable day I got stuck into next doors Hyundai - with a repair to the OSR suspension area which was an advisory on this years MOT Its also the area for the jacking point so I put the jack under it and ......... quickly lowered it again and looked for another area to jack . Tap tap with the hammer - and it is much worse than the NSR was a couple of years ago.. 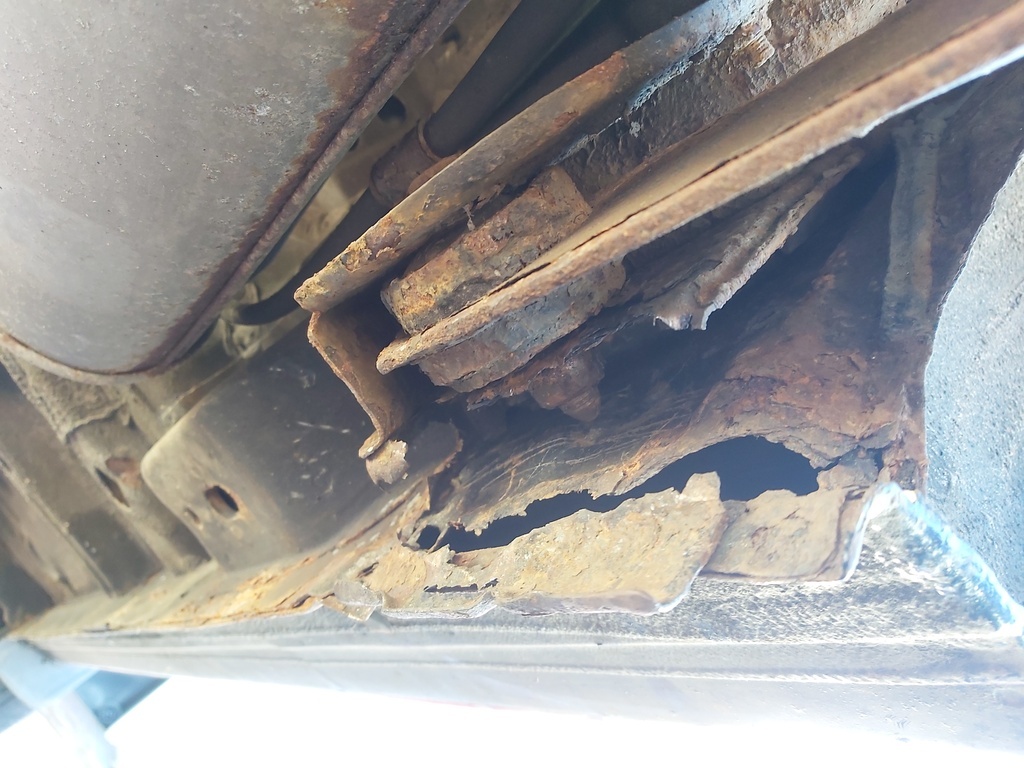 OFFS that's going to be a job After stage one clean up and removal of a few parts. 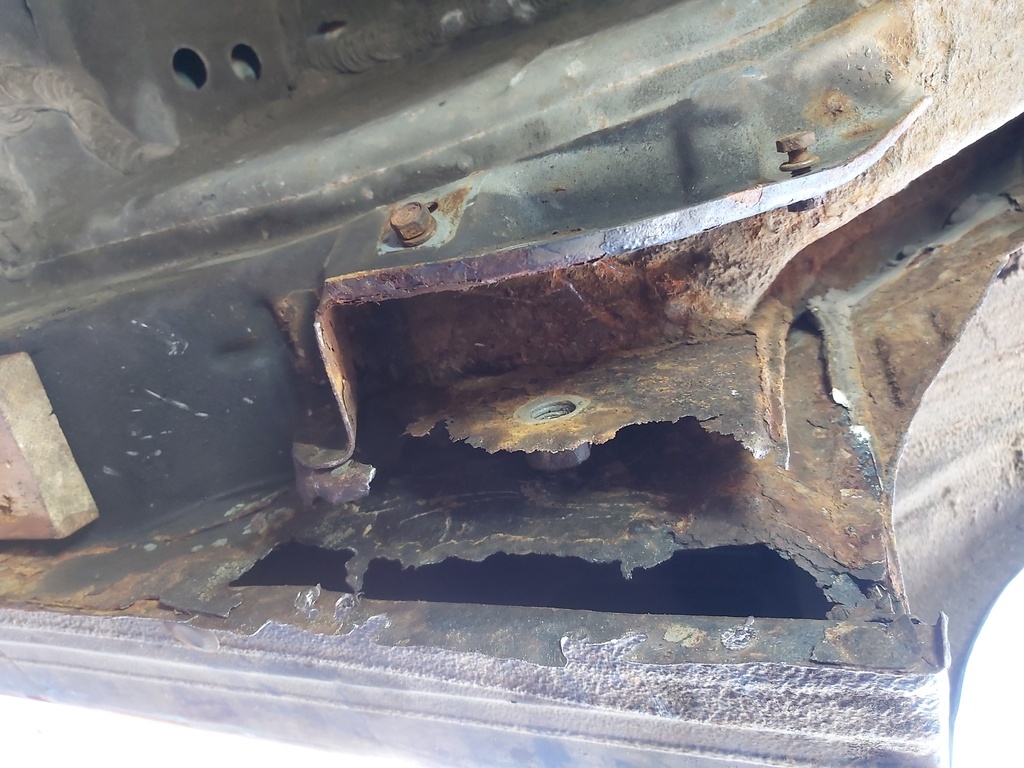 Hmmm there is quite a bit of steel missing from there - that's going to be a bit of a pain. I did chop out a lot of the rot and give it a once over with the power file so its now ready for welding in some replacement steel but its going to be a job. On the upside - In the office on Friday the Boss indicated that we would be giving the Clio of fettle and look to get another track day in before the end of the year.  |
| |
Last Edit: Oct 19, 2024 20:42:30 GMT by Darkspeed
|
|
teaboy
Posted a lot
   Make tea, not war.
Posts: 2,121
|
|
Oct 19, 2024 20:46:13 GMT
|
|
That looks a nasty job, Andrew.
|
| |
|
|
Darkspeed
Club Retro Rides Member
Posts: 4,874
Club RR Member Number: 39
|
|
Oct 19, 2024 21:37:52 GMT
|
That looks a nasty job, Andrew. It will be a bit of a challenge to sort that's for sure... Before tackling that I was having a look at the Red Gem with the tape measure. 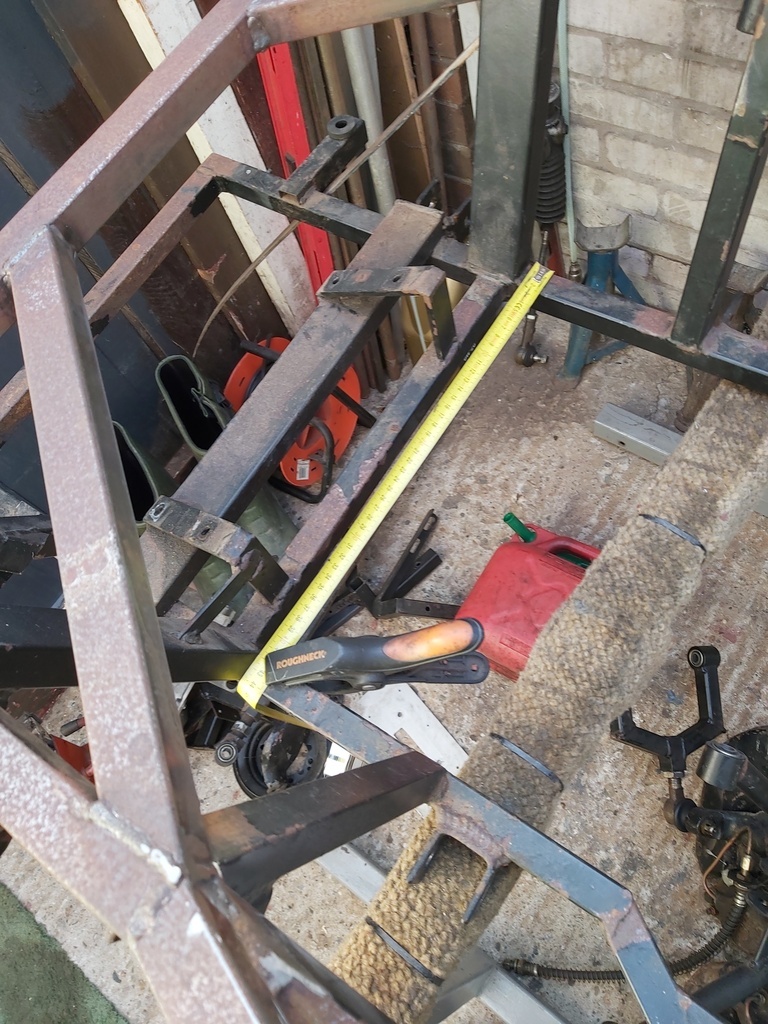 Which was 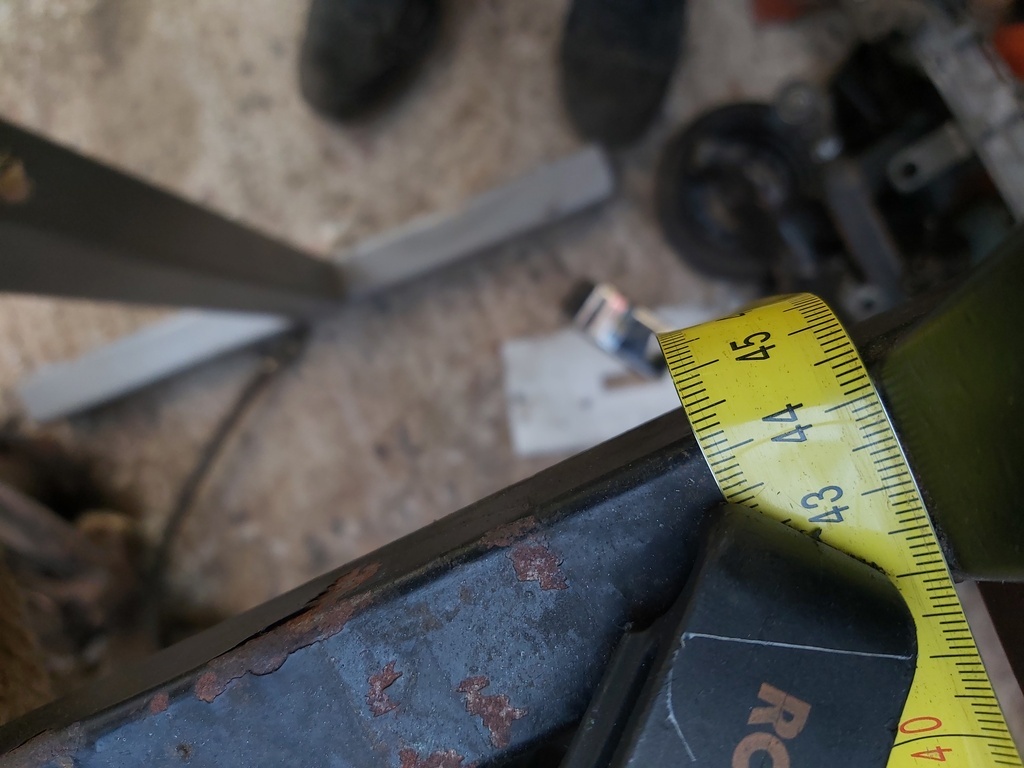 And then measured here 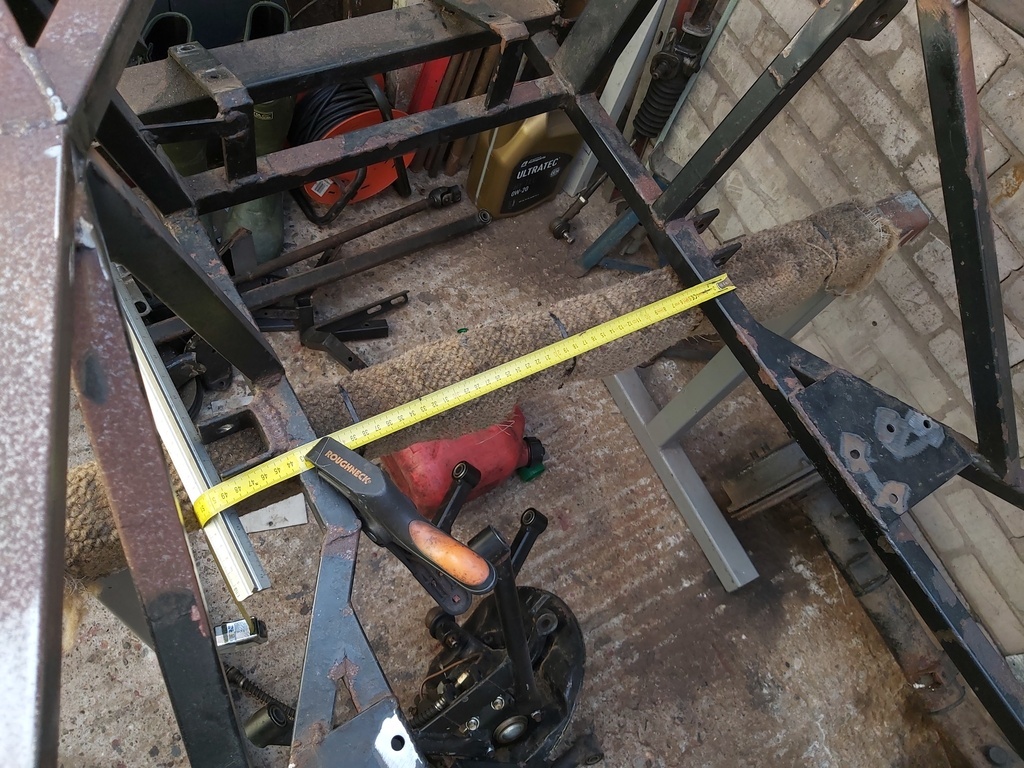 Which was 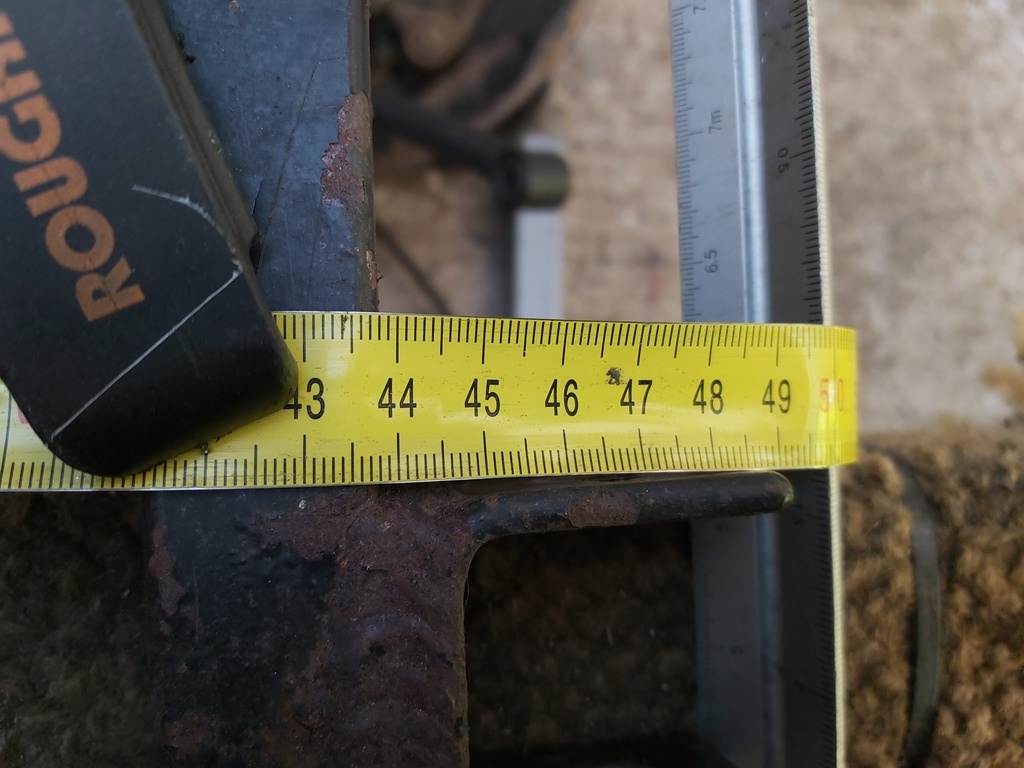 Which explains 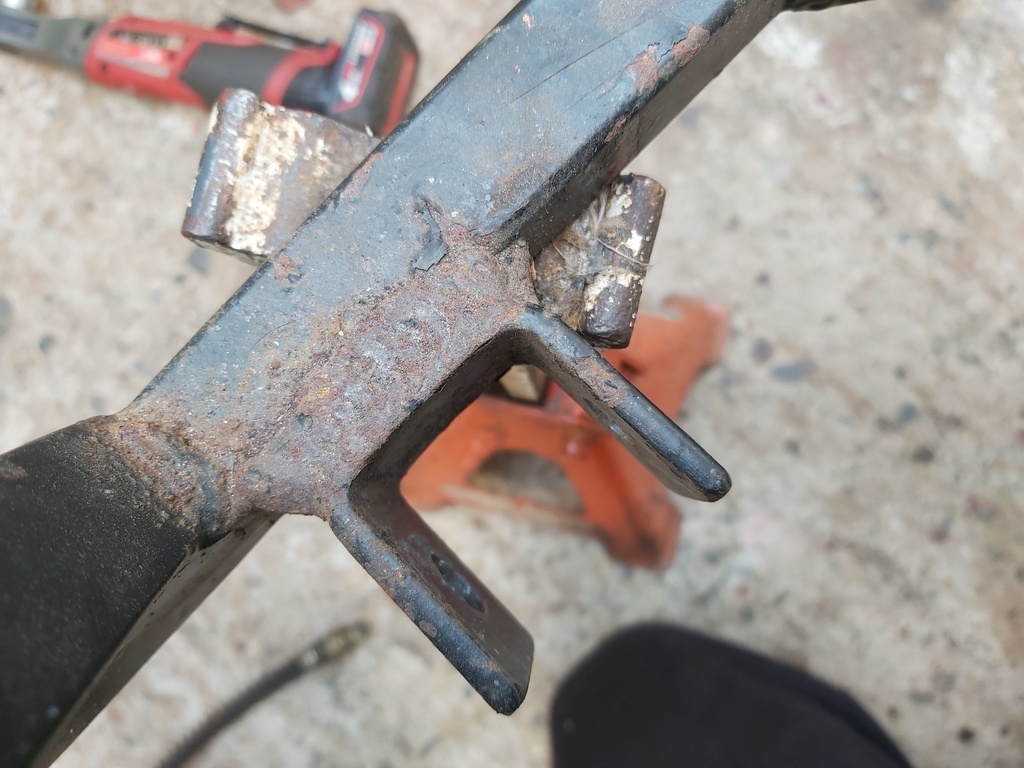 So I will be doing what the  knob jockeys should have done when they made this F*&k up and be chopping it all out and putting it straight as well as chopping and moving lots of other bits about. I'm a bit cross and I paid peanuts for this chassis not the amount that the original purchaser paid. |
| |
|
|
Darkspeed
Club Retro Rides Member
Posts: 4,874
Club RR Member Number: 39
|
|
Oct 19, 2024 21:59:58 GMT
|
And as well as those - I mowed both the front and back lawns Made an adapter to fix my old Dunlop tyre inflator 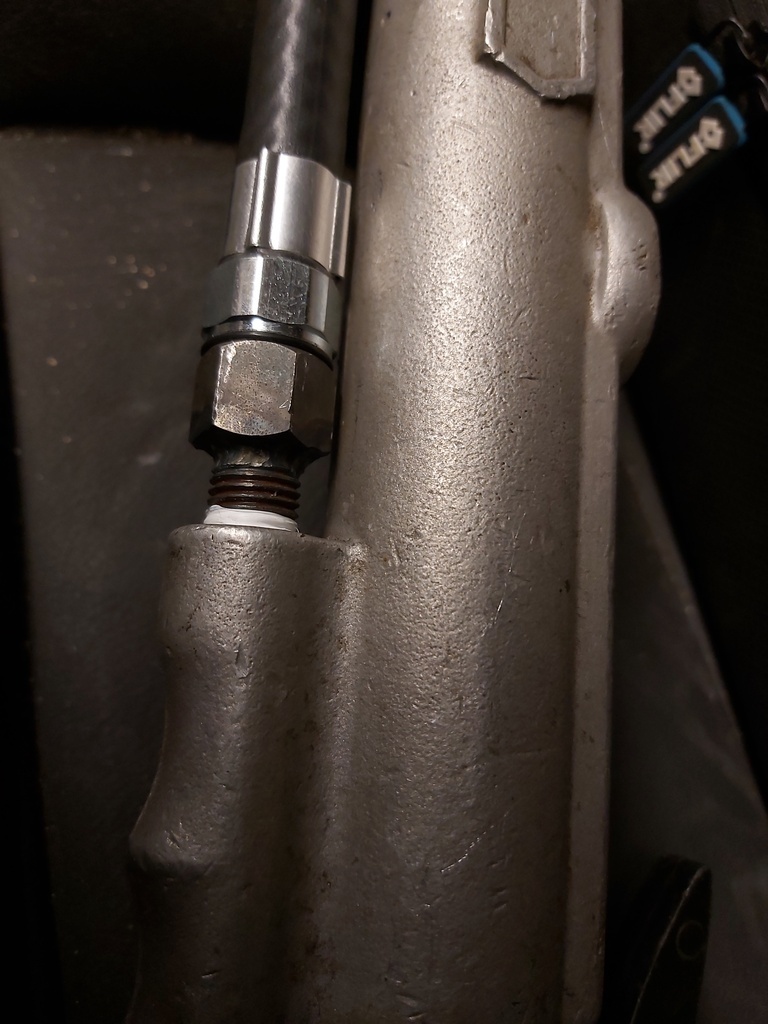 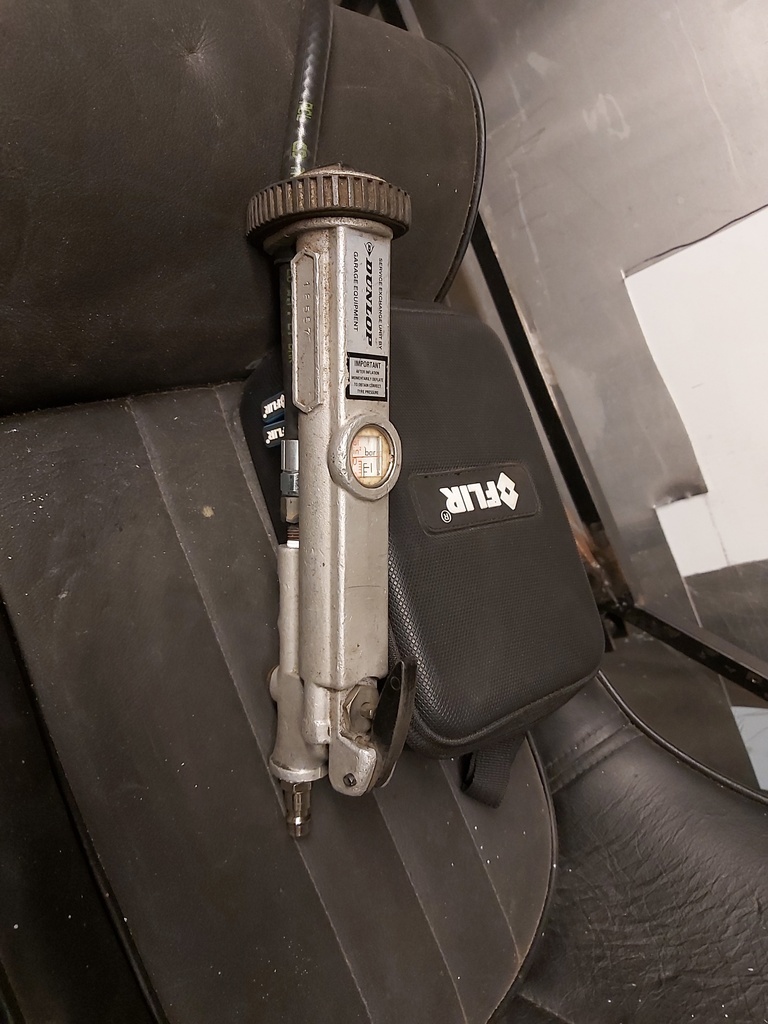 Also made some nuts captive on some plates for G15 repairs, and sorted out some sleeves which will get welded into a new replacement crossmember section tomorrow 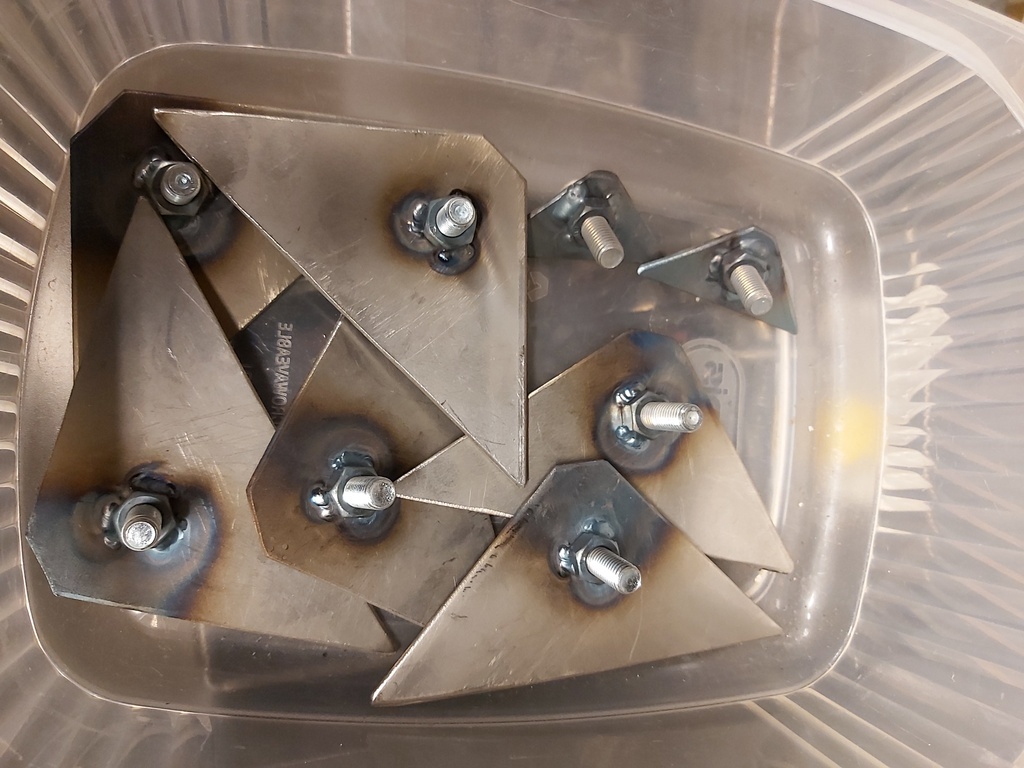 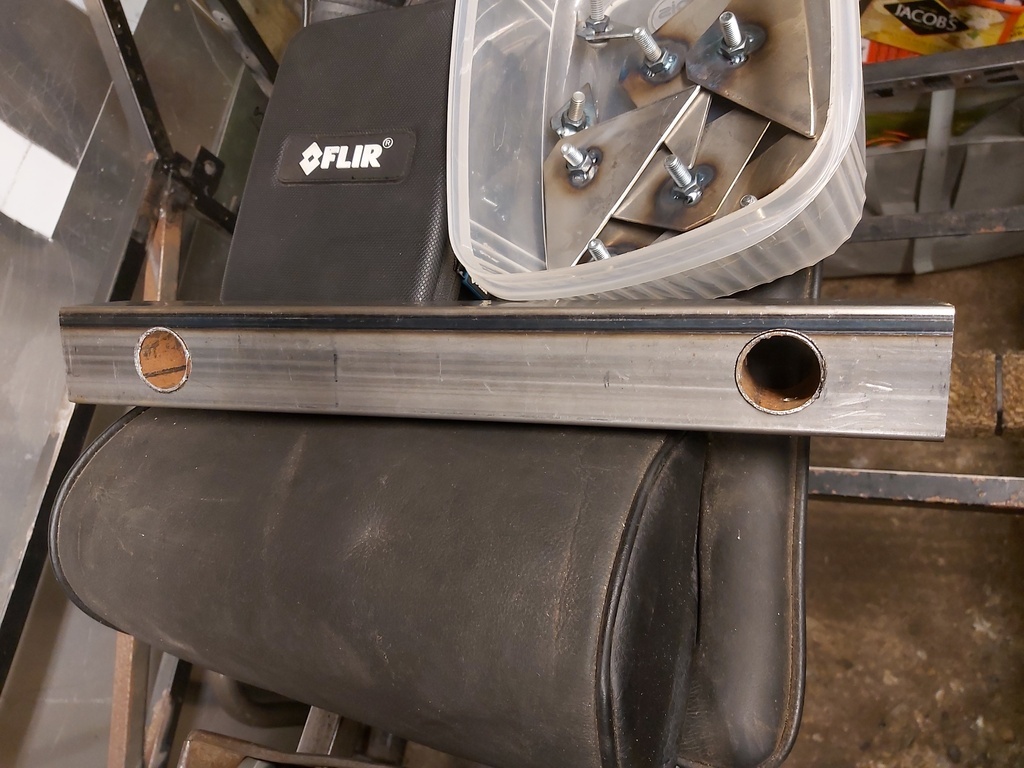 I ache - which is not helped by feeling a bit under par from a Covid booster on Friday. |
| |
|
|
Darkspeed
Club Retro Rides Member
Posts: 4,874
Club RR Member Number: 39
|
|
Oct 21, 2024 20:24:24 GMT
|
Knocked some more ugly off the chassis. So from the list Remove the angle and replace with 3mm strip seat mounts Remove the cross tube that gets in the way of having seats flat on the floorAdd the tubes to join the lower chassis halvesAdd a new cross tube similar distance forward as a WestfieldAdd a front diagonal Add a rear diagonal Add centre tunnel diagonals Engine bay diagonals Build another bias pedal box Build a round tube rod end Panhard Sort out the engine mounts Grind off tops of rivet welds Get the rivet ends out of the tubes. 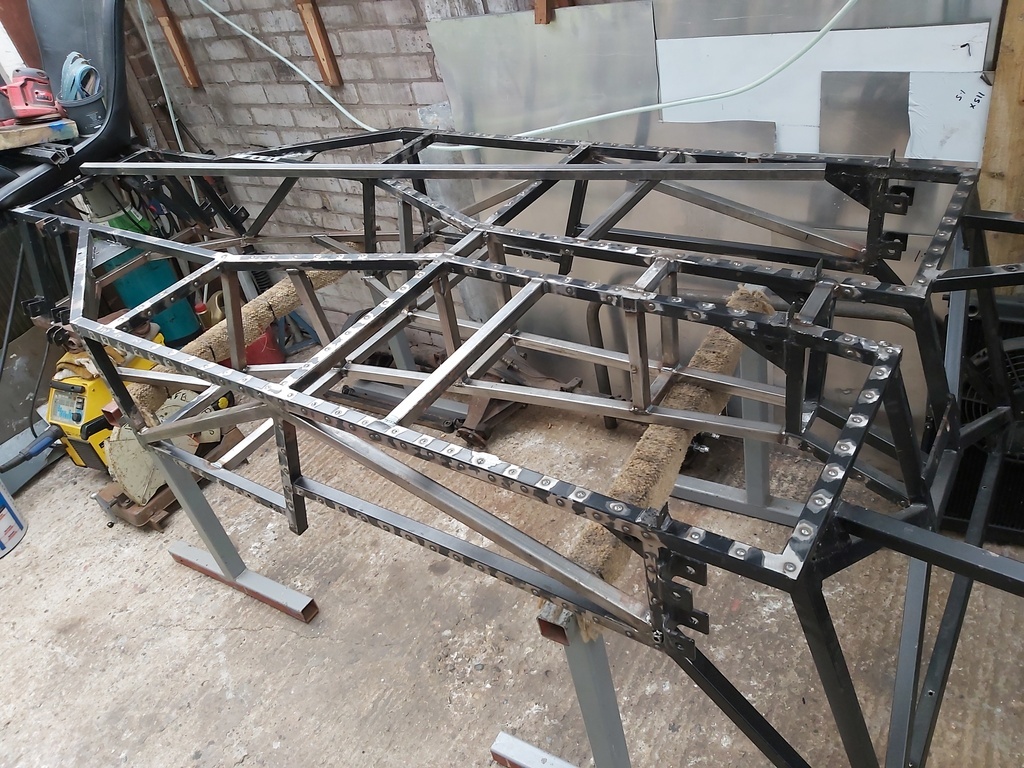 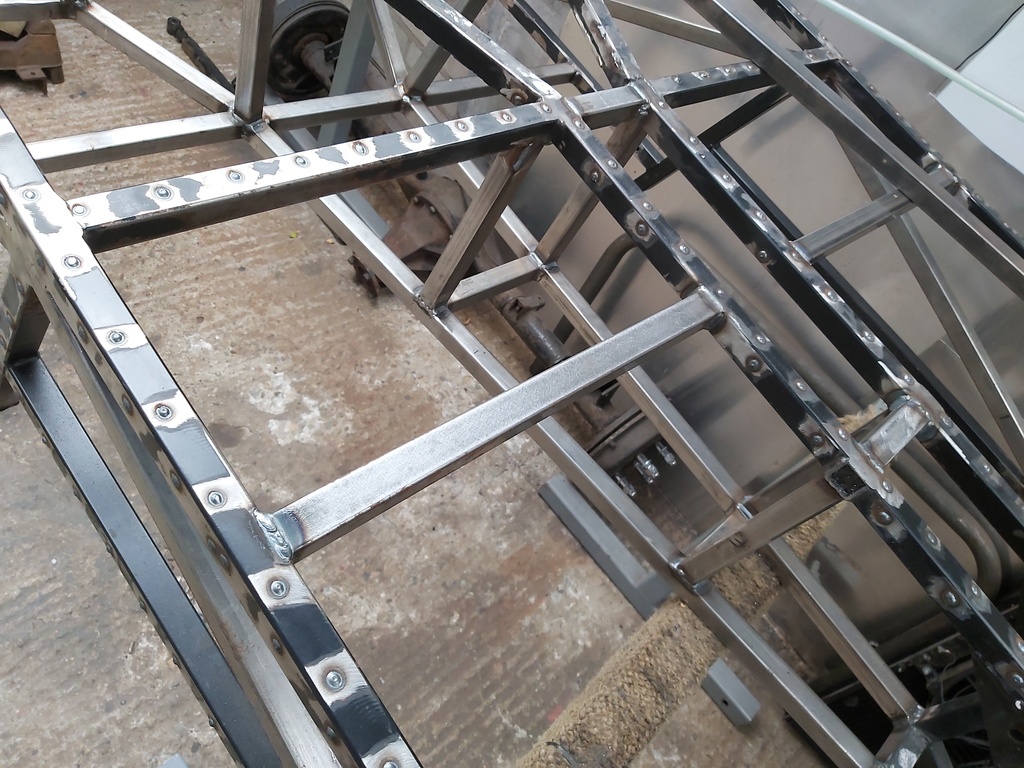 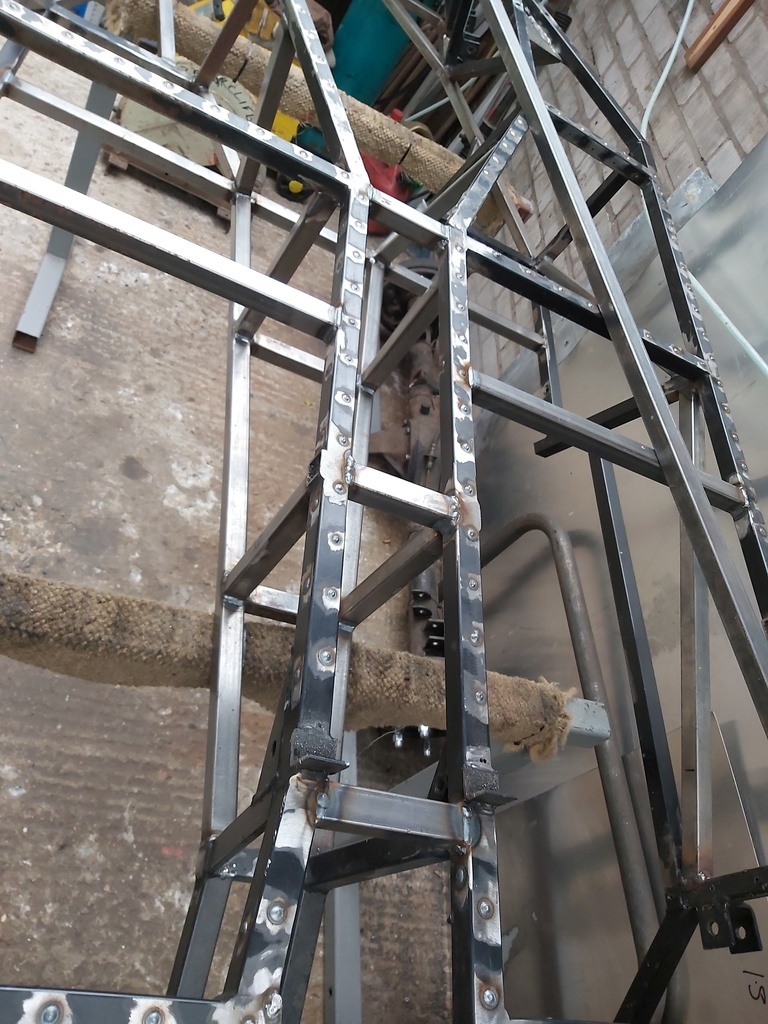 Clamped a tube in down the centre to check a few dimensions 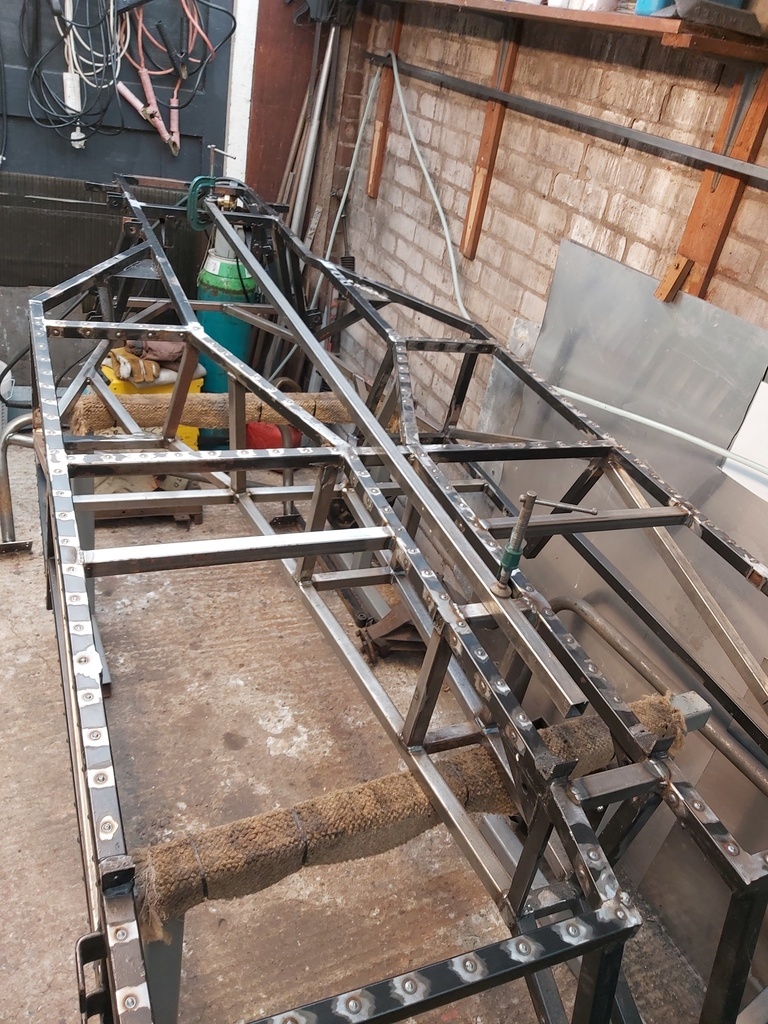 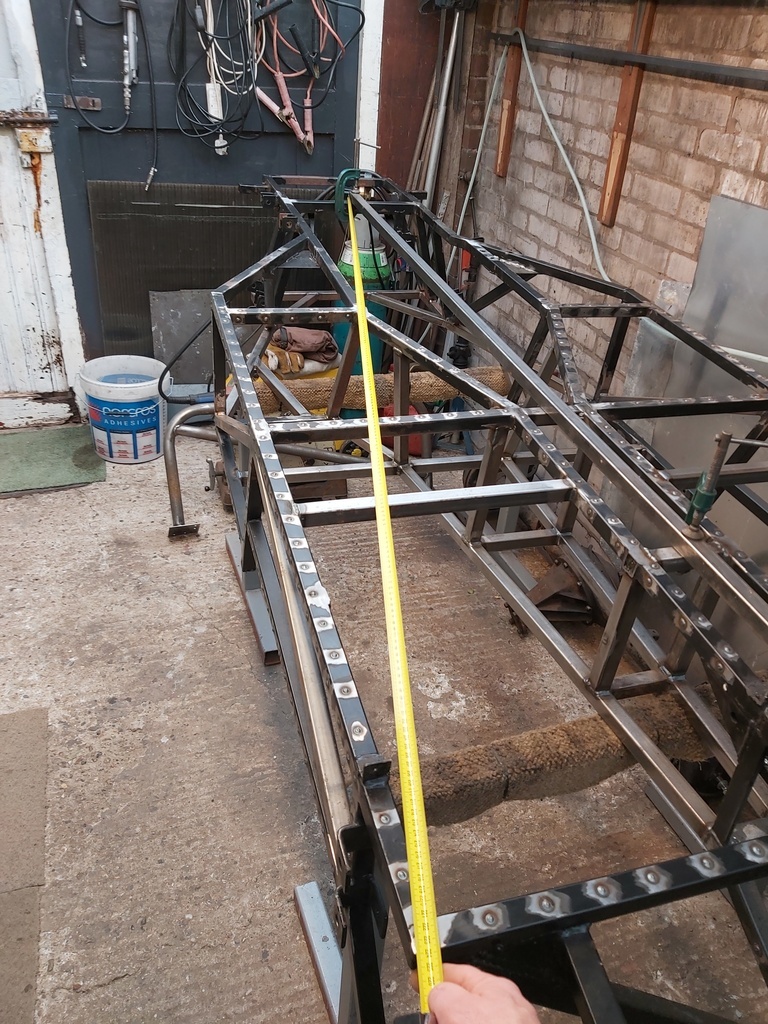 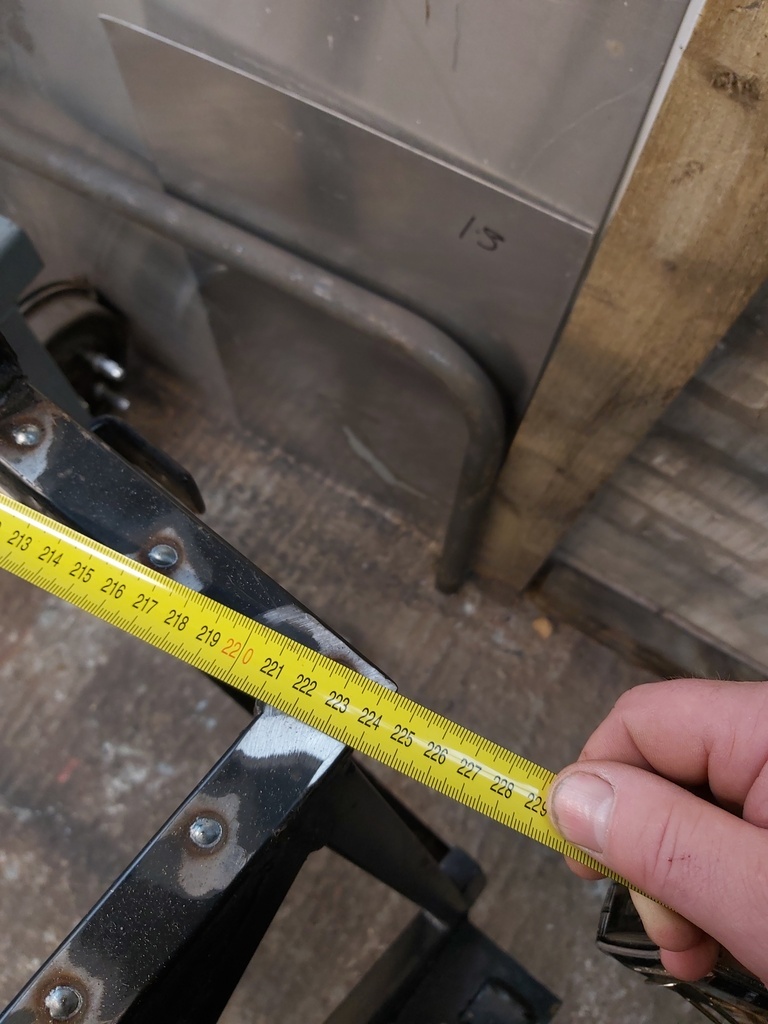 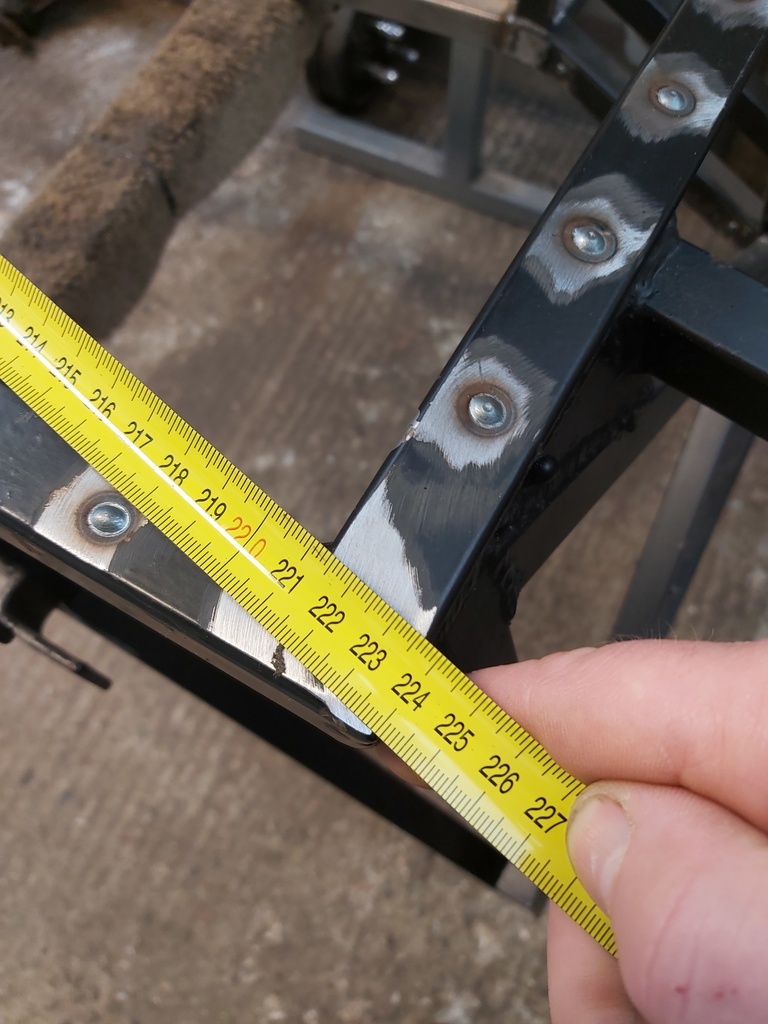 That's not bad - And when checking similar to the centre of the bolt holes for the trailing links its pretty good +/- 1mm and thats what I will be doing on the rest of the dimensions. Also got on with the Hyundai - actually further on than this but this was stage one of rot replacement. 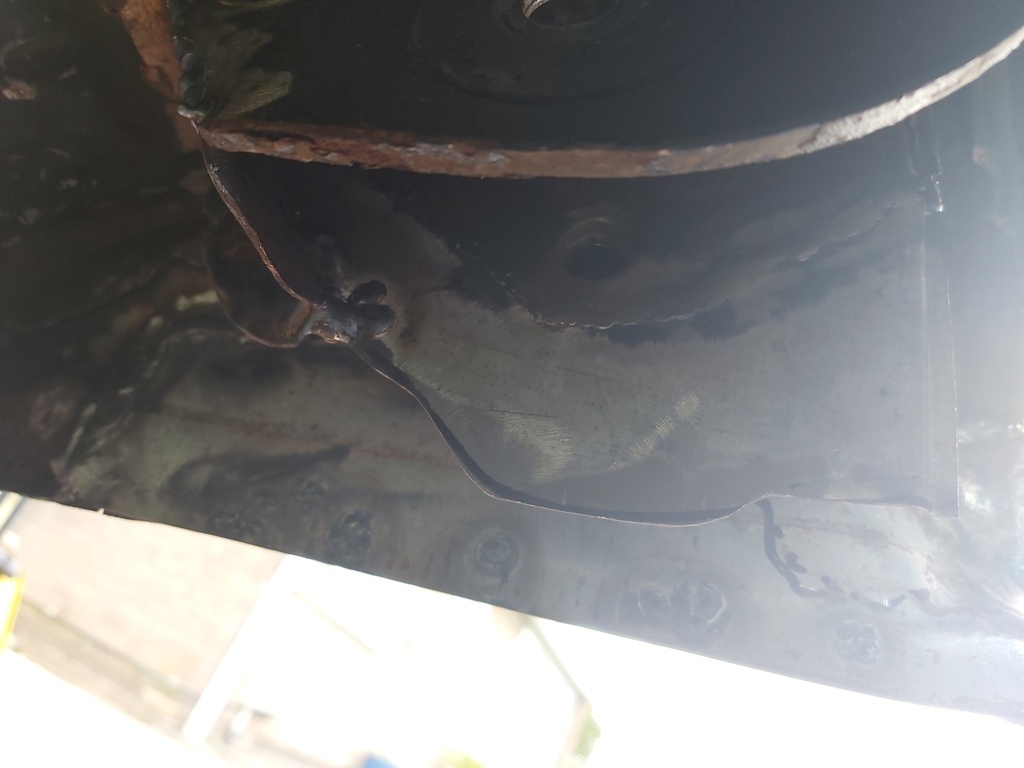 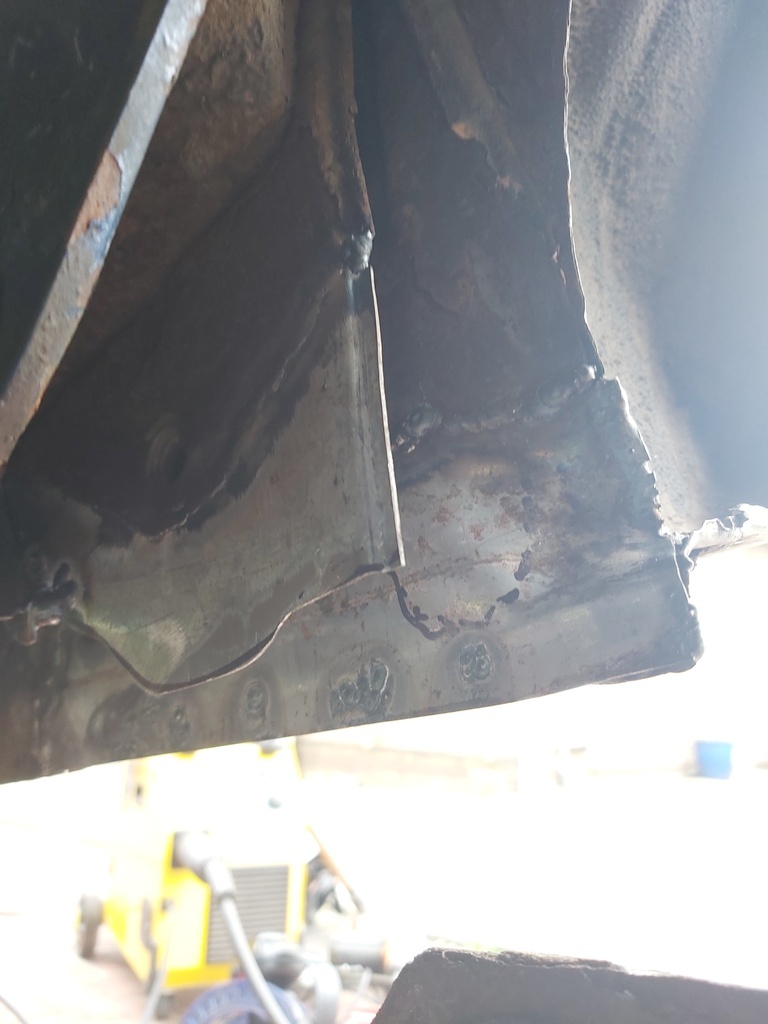 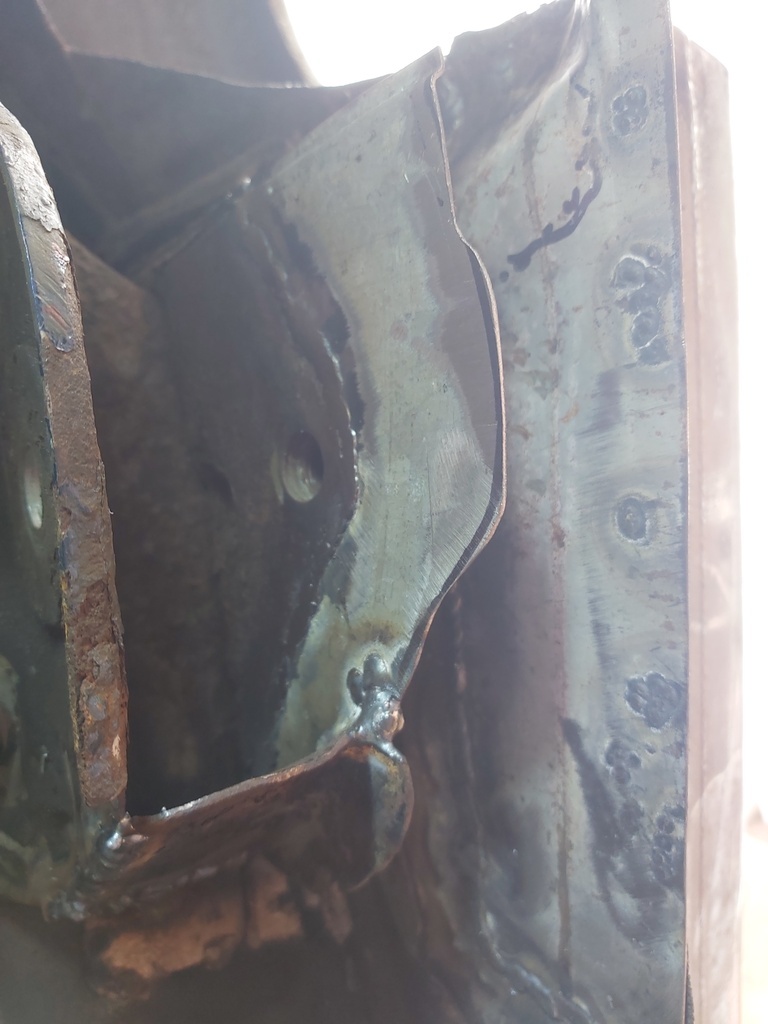 Just needs a drop of paint on it.
|
| |
Last Edit: Oct 21, 2024 20:26:16 GMT by Darkspeed
|
|
teaboy
Posted a lot
   Make tea, not war.
Posts: 2,121
|
|
Oct 21, 2024 21:09:00 GMT
|
Nice one, Andrew. I wish my neighbour would weld my car for me...  |
| |
|
|
|
|
Darkspeed
Club Retro Rides Member
Posts: 4,874
Club RR Member Number: 39
|
|
|
|
Nice one, Andrew. I wish my neighbour would weld my car for me...  After laying under this car for about a week of days and evenings a couple of hours here and a couple of whole days there, I have completed the structural repairs. Mr. teaboy I stand - but only just - in awe, and wonder that you continue to work on the Bimmer the way that you do. This bloody thing tested my resolve that's for sure. This 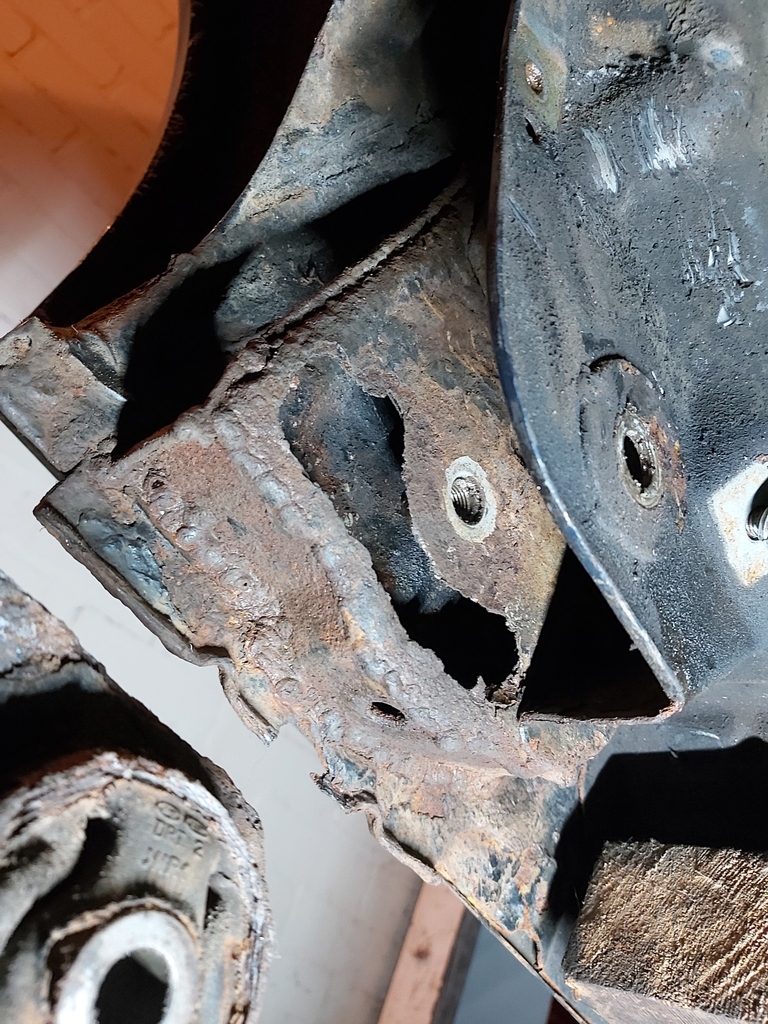 Became 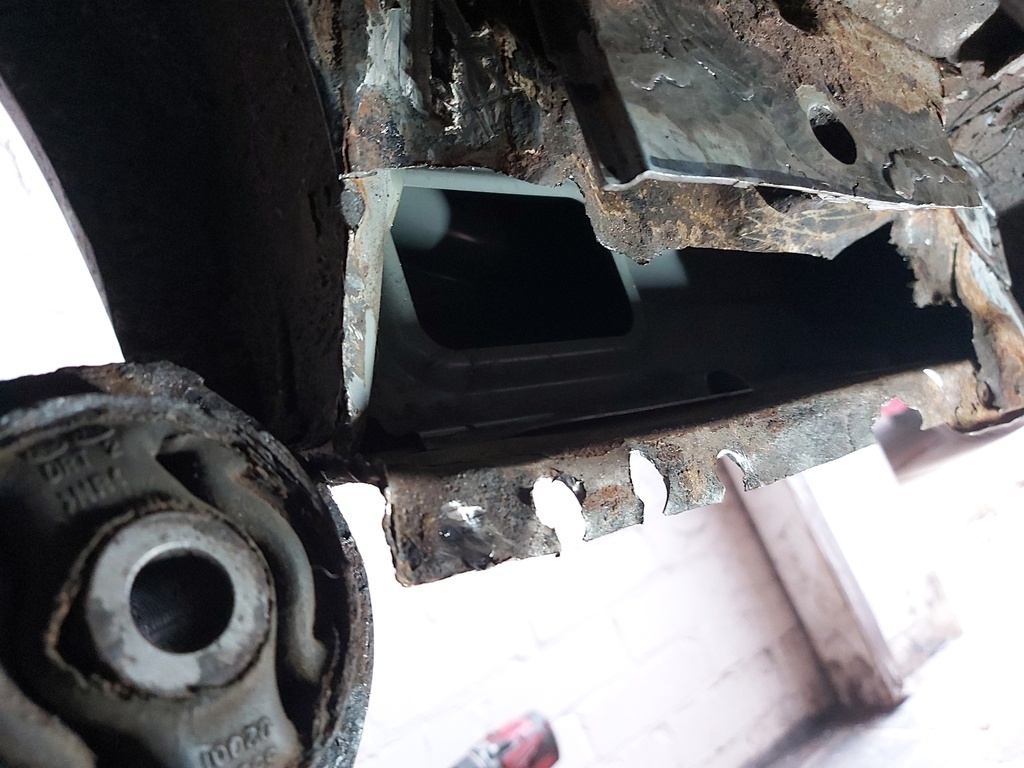 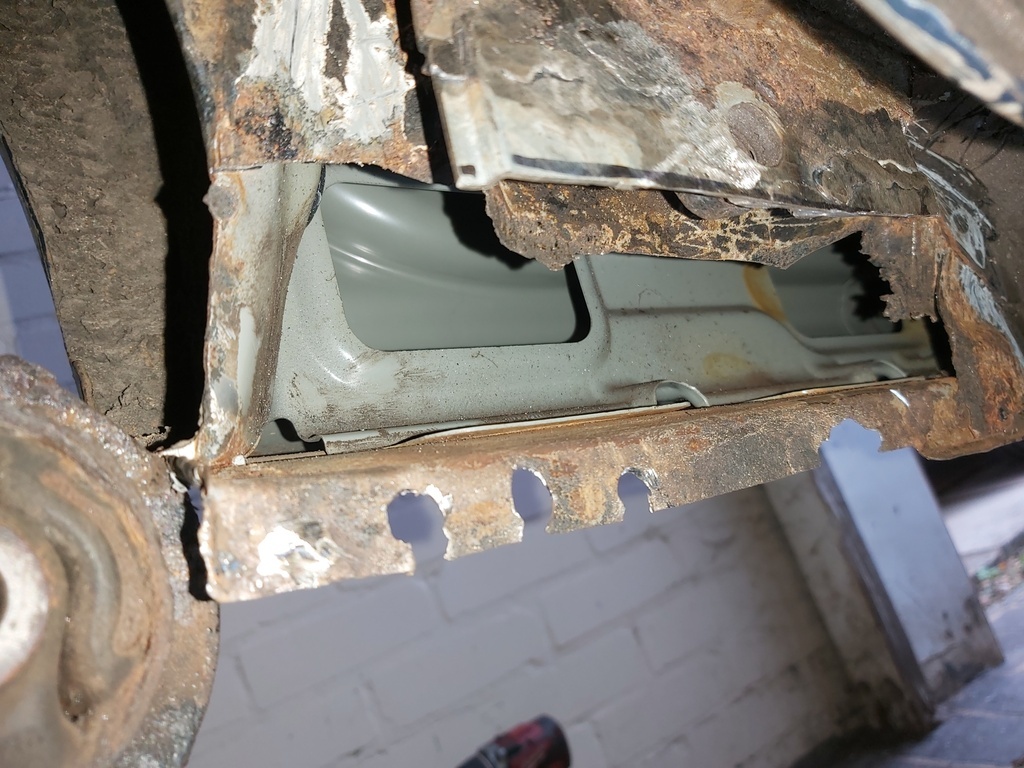 How the heck does it rot so specifically - the sill were as new in that area ! After further cleaning and trimming I made a repair panel and butt welded it in. 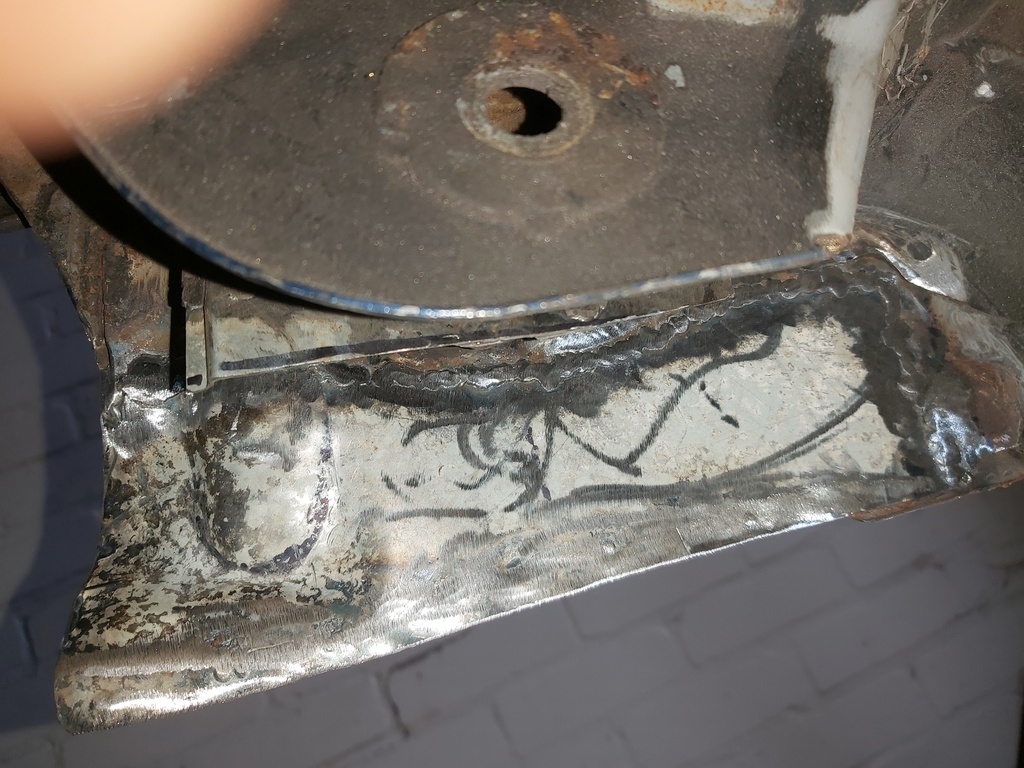 Then made further repair sections and Butt welded them in as well until it was all done and painted in Zinga - sorry no stage by stage pictures as I just wanted this done and over with. 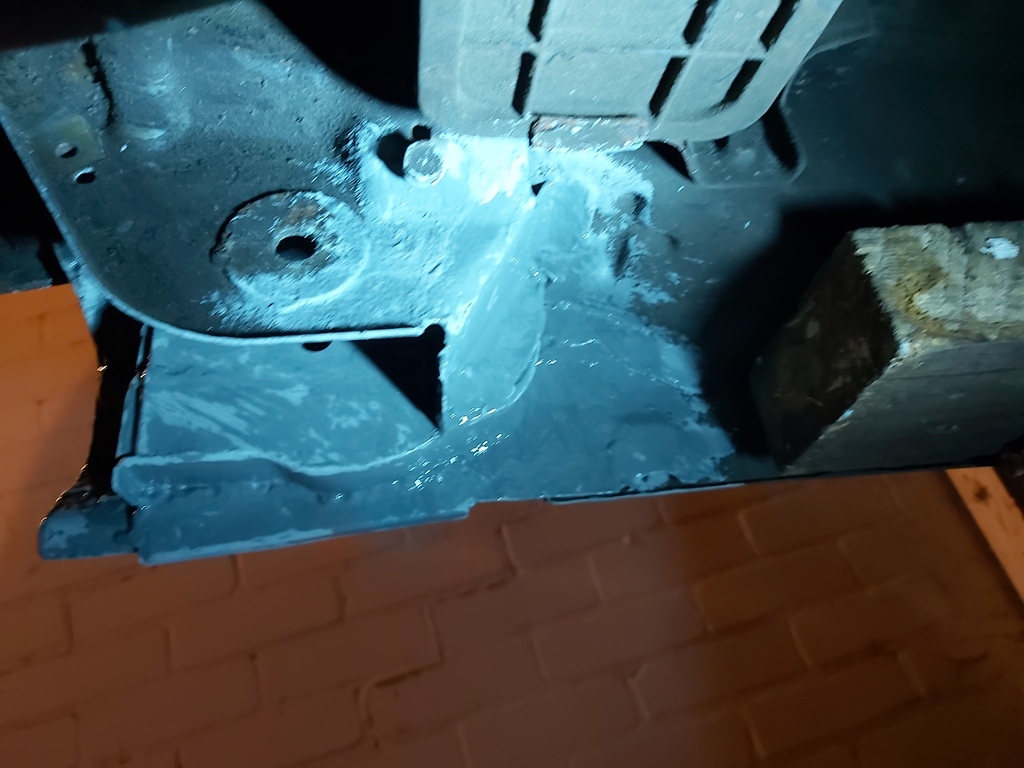 My thoughts of getting a bit of classic tin as project to play with have vanished in a puff of Hyundai seam sealer. It will get a spray over with further protective layers after the MOT. What with this and the work on PHX that's a good week I am behind on the Red Gem works.... Thinking I may treat myself to a cordless power file. I did complete the other side as well 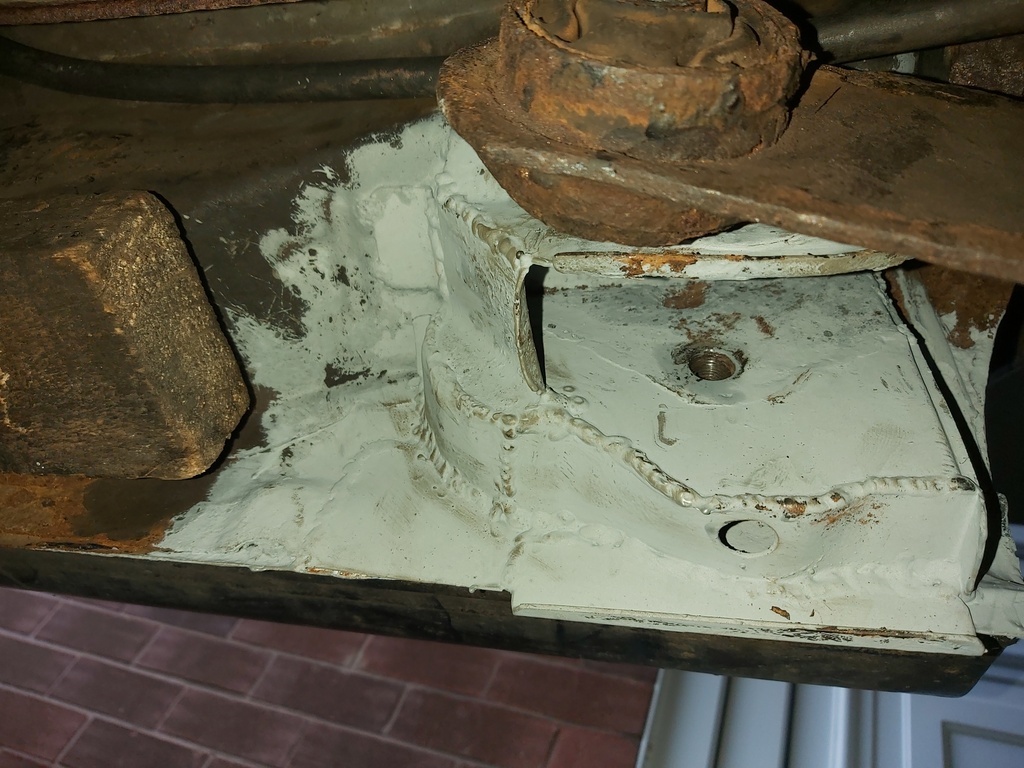 Hopefully be good for a few years. |
| |
Last Edit: Nov 3, 2024 21:04:02 GMT by Darkspeed
|
|
|
|
|
|
|
|
great work on that chassis restoration. why is it so shonky? were the elva kits sold as a pile of square tube that you had to assemble as part of the "kit car" ? or is that factory welding ?
p.s spotted bug zappa in your photos, twin tesla motored "fun cup" beetle. 800 hp (eek)
|
| |
|
|
Darkspeed
Club Retro Rides Member
Posts: 4,874
Club RR Member Number: 39
|
|
|
|
great work on that chassis restoration. why is it so shonky? were the elva kits sold as a pile of square tube that you had to assemble as part of the "kit car" ? or is that factory welding ? p.s spotted bug zappa in your photos, twin tesla motored "fun cup" beetle. 800 hp (eek) That's a factory chassis. Why is it so shonky? - Well, based on my experience of these three cars, and observations of others on the web, is that these kits are very much manufactured to a budget. The body, chassis and ancillaries are supplied by the cheapest possible subcontractor, and therefore they resemble exactly what was paid for them. On top of that the builders of these sorts of cars seldom have any sort of real mechanical engineering knowledge or ability - They end up looking alright, and they still go very well, but..... Some of the additional brackets are builder spec' - reinforcing my comment above. Many of these kit builds confirming the saying "a little bit of of knowledge is a dangerous thing" I had not noticed that the "Fun Cup" Beetle thing was an electric and 800BHP !! - The standard ones were quick enough. |
| |
Last Edit: Nov 5, 2024 20:40:43 GMT by Darkspeed
|
|
Darkspeed
Club Retro Rides Member
Posts: 4,874
Club RR Member Number: 39
|
|
|
|
The bloody Amica failed its MOT this thing is really testing me - Bottom arm on the N/S 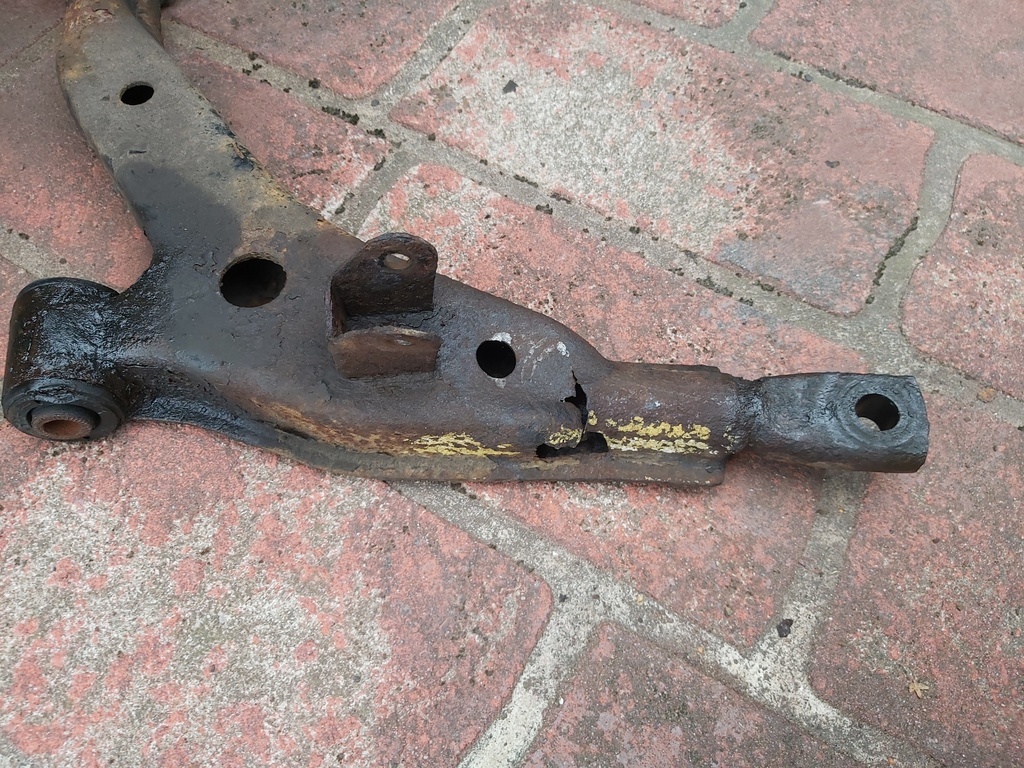 Which I would like to say was a simple slot in job to replace. It was not, but thankfully neither was it impossible. With that done I turned to the other failure - pin holes in the subframe. This was after turning a carbide burr on them to find good metal. 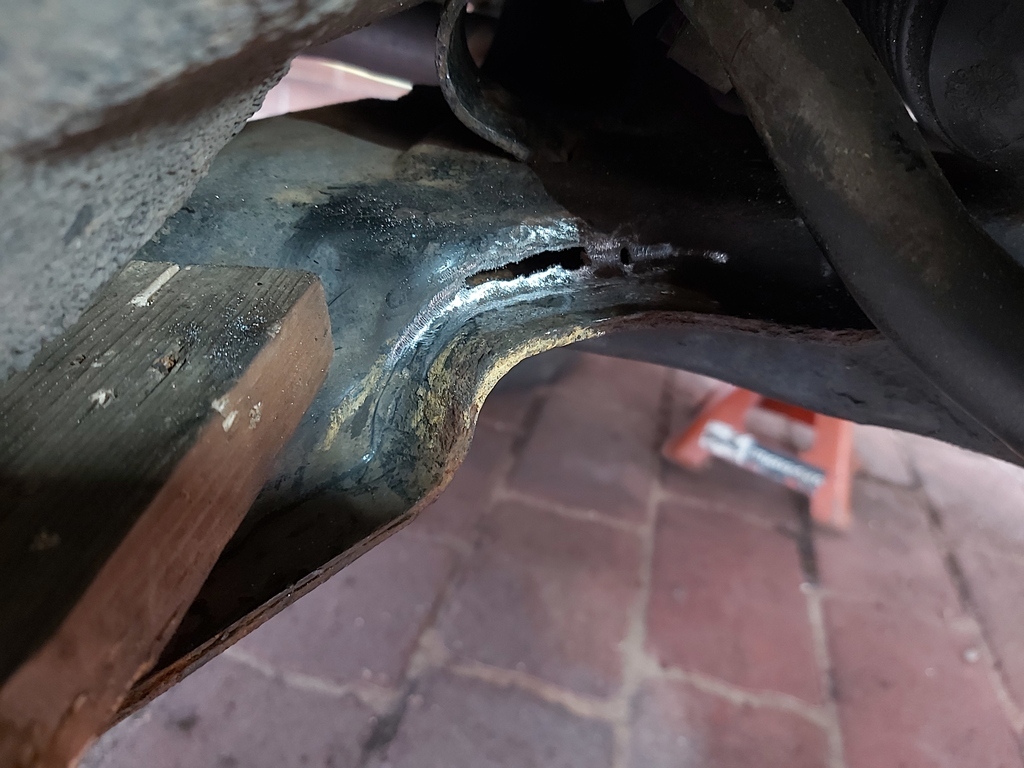 If only that was the end of the matter - Nope - When I moved the bottom arm out of the way to get some access it uncovered yet another hole in the subframe.... I just got on and fixed it so no further pictures of repaired rust. Hopefully that's it now, back for the retest on Tuesday. With that out of the way I can get back to the Gem. |
| |
Last Edit: Nov 10, 2024 8:37:22 GMT by Darkspeed
|
|
Darkspeed
Club Retro Rides Member
Posts: 4,874
Club RR Member Number: 39
|
|
|
|
So I did get back onto the Gem - Figured a bit more triangulation was due and also had wanted to make a bit of a feature. 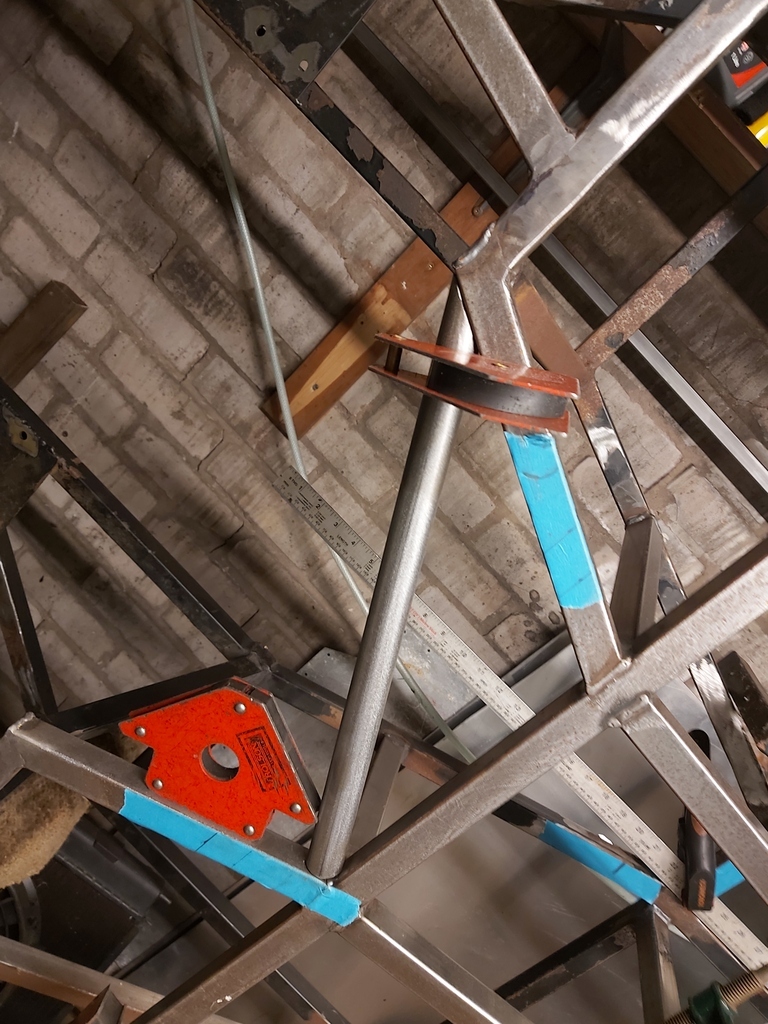 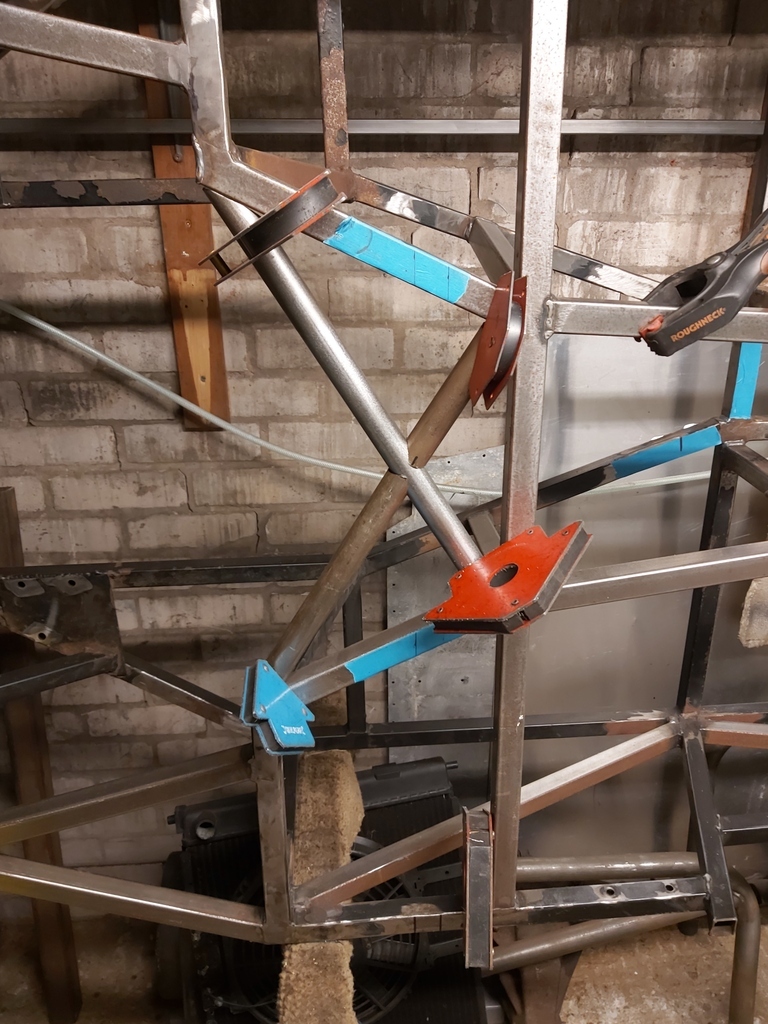 I am going to throw a fair few number of tubes into this chassis. Looking at the lower chassis I had the feeling it was a bit more open than it should be 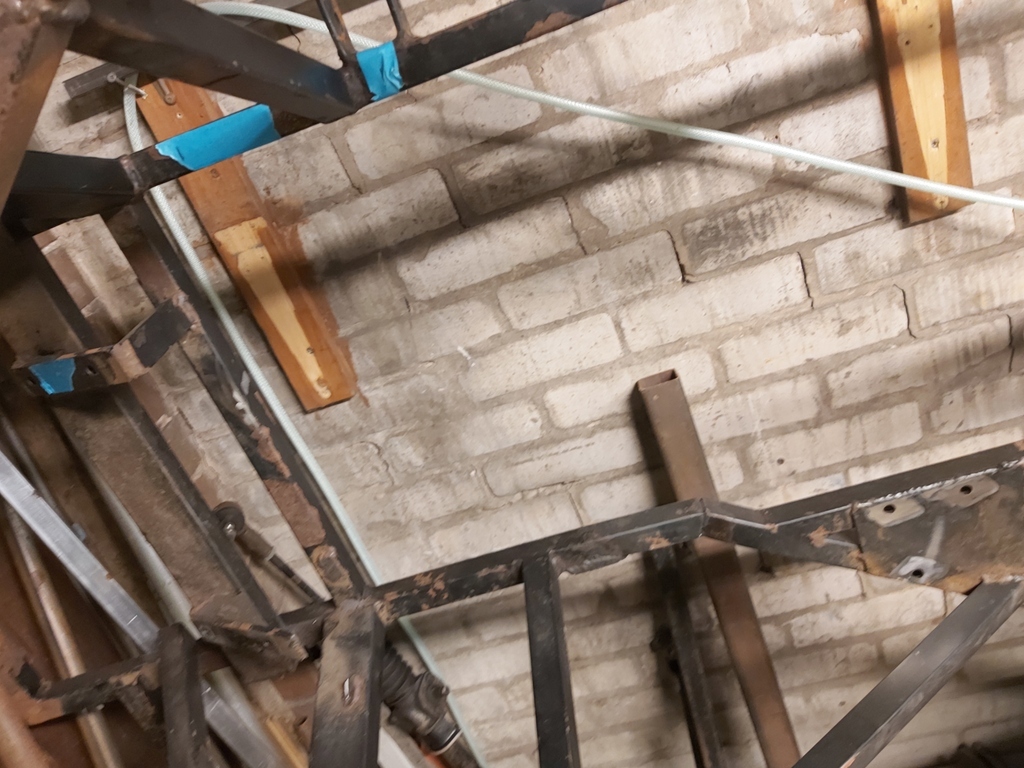 So I looked up the chassis on the Blue Gem and went back far enough to make sure it was not a tube I had added - Nope, it was a factory tube on the Blue Gem as was the diagonal. More missing from the "Strong" chassis. 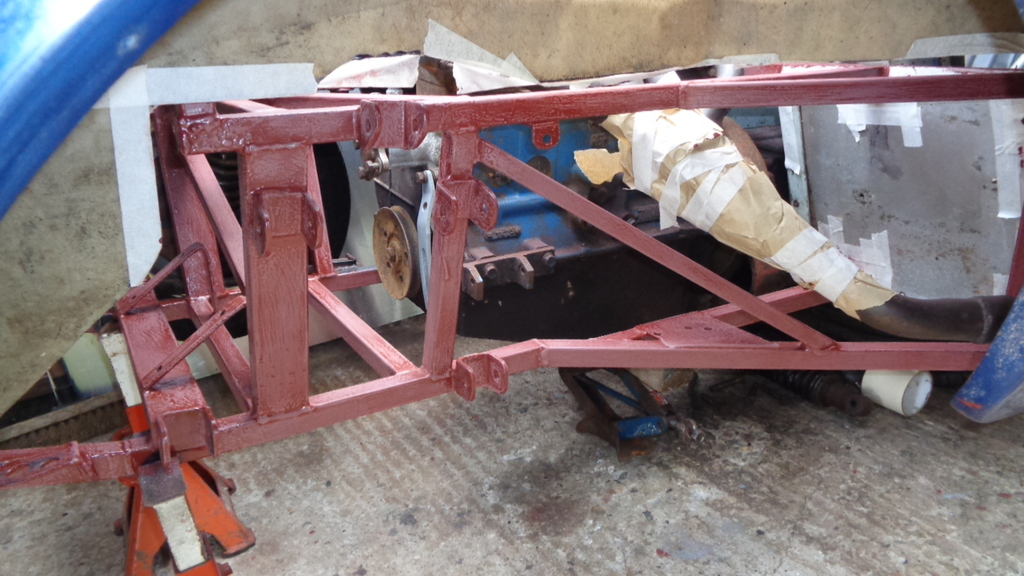 Its probably going to be a bit on the tight side with the V8 as the oil filter will probably hit that tube, but as remote filter take offs are available - that tube is going back in as it the diagonal and the same sort of additional lower triangulation I fitted on the Blue Gem. Like this to meet that currently missing tube. 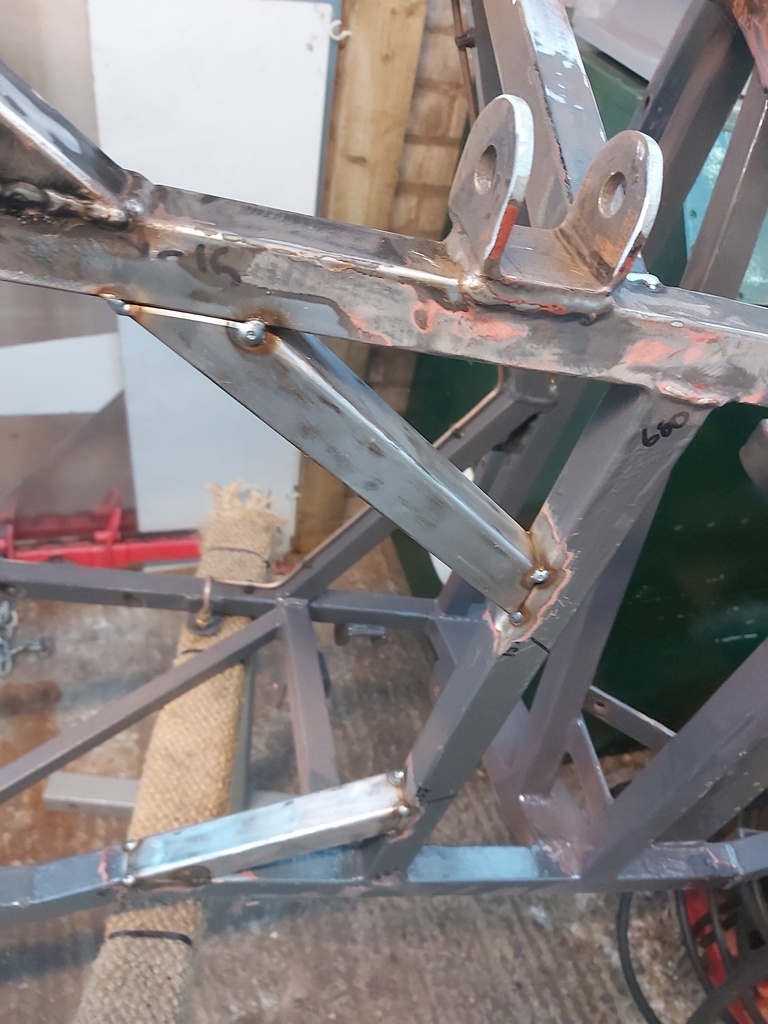 Talking of the Blue Gem I have ordered some new slightly shorter engine mounts that will drop the engine 12mm or so. May see if I can get those fitted tomorrow. |
| |
|
|
Darkspeed
Club Retro Rides Member
Posts: 4,874
Club RR Member Number: 39
|
|
Nov 10, 2024 21:40:12 GMT
|
Tacked in the "x" feature this afternoon 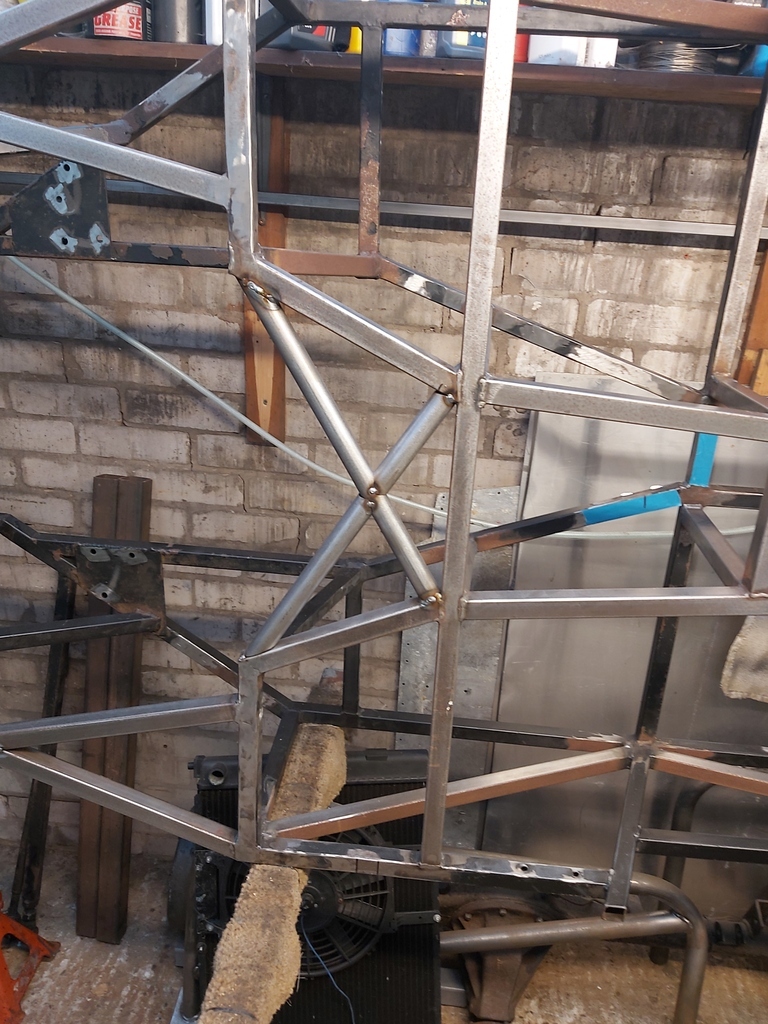 My lad thinks that this immediately gives the chassis a more "aggressive" appearance - Not sure about aggressive but it certainly adds something. I did consider adding the additional lateral tube and the extra triangulations as per Gem 2, but instead decided to follow the tubular triangulations path instead. 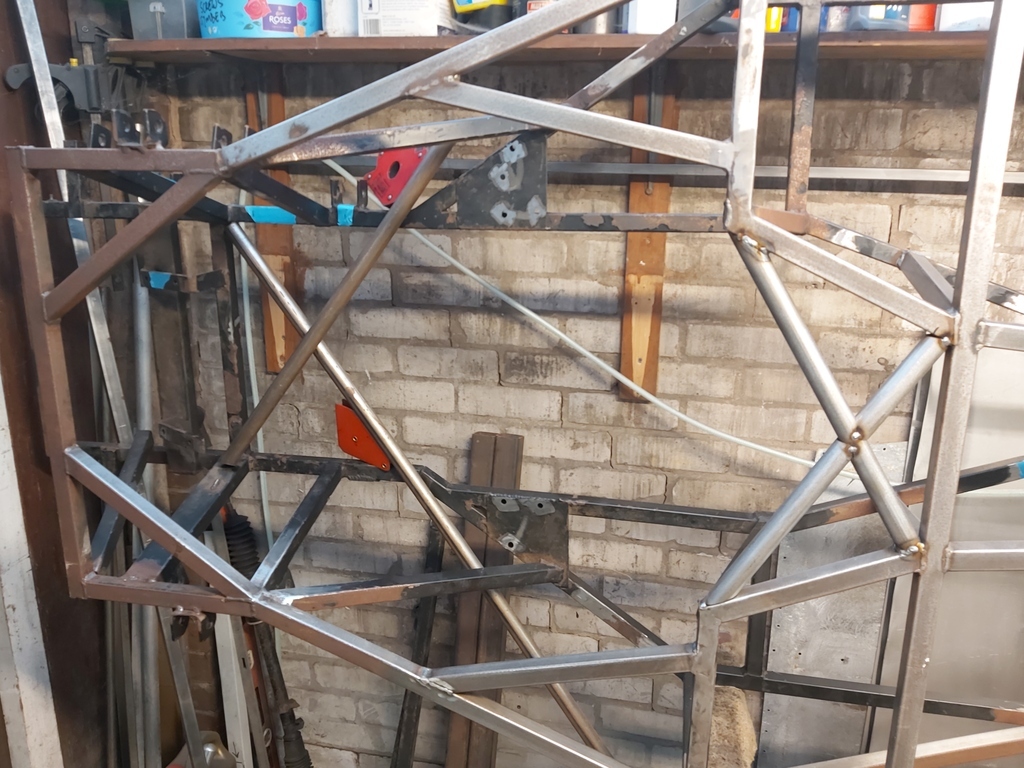 It took some effort to straighten the n/s lower chassis tube and have it parallel to the o/s tube 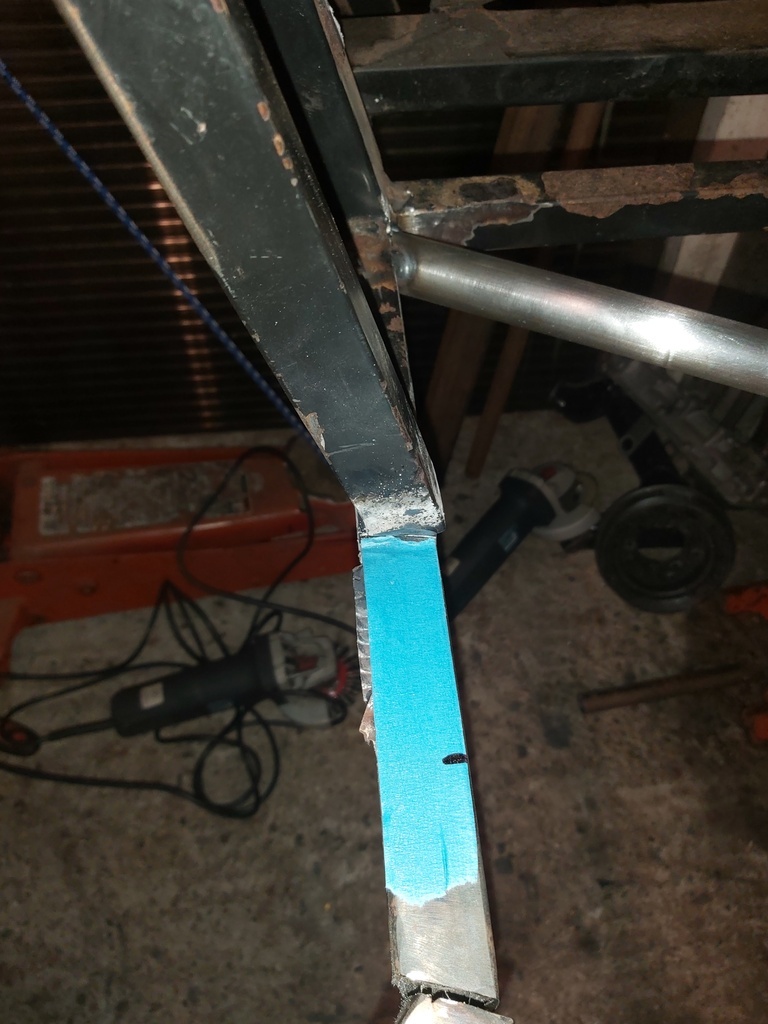 I like the cross braced look with the tubes even if it is quite a lot more work to carry out. Another tubular X will form the bracing at the very front of the chassis where the radiator mounts. |
| |
|
|
Darkspeed
Club Retro Rides Member
Posts: 4,874
Club RR Member Number: 39
|
|
Nov 14, 2024 22:12:07 GMT
|
Grabbed a couple of hours to make a bit of progress on the chassis. Started with grinding off that nasty captive bolt from somewhere toward the top of the page, followed that by taking the top off some of the welded up rivet holes. It was then on to finishing the the lower front "X" brace. 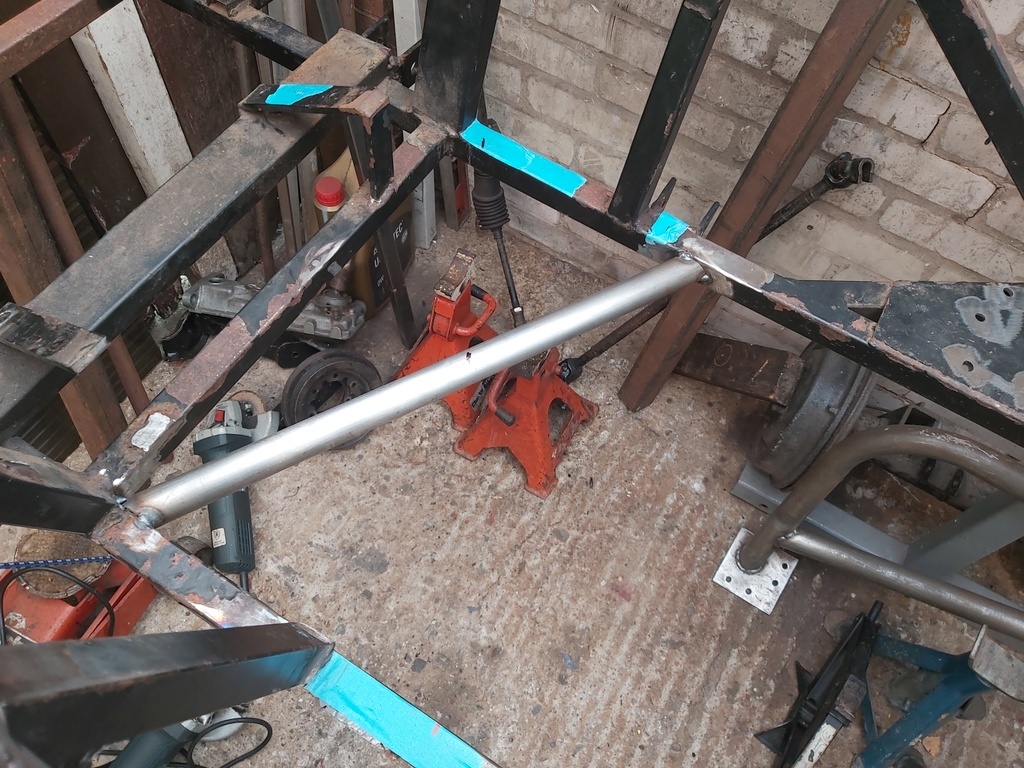 The gaps required to get the lower chassis rail in its correct position for the suspension bracket 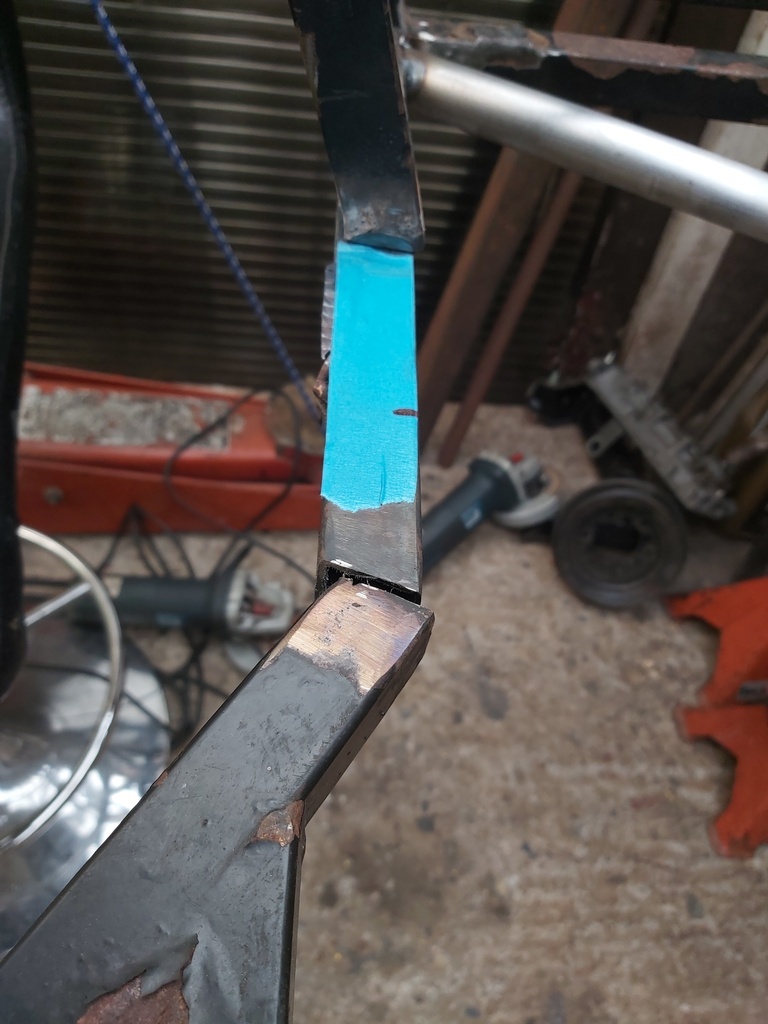 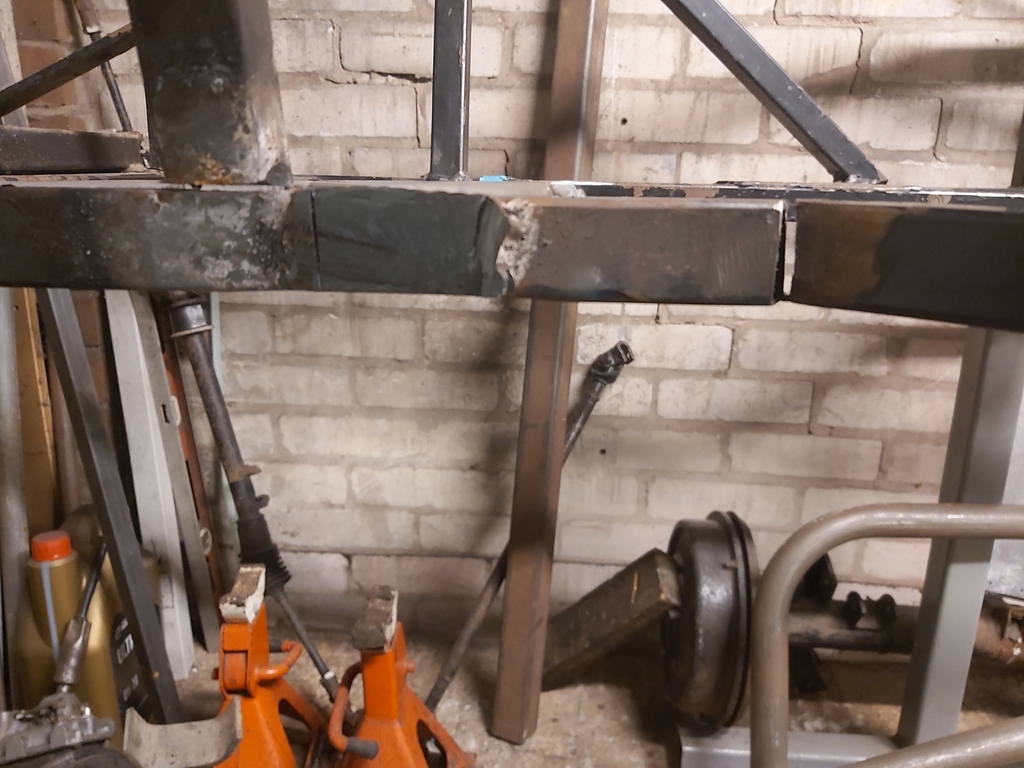 The notched cross tubes in place and holding the chassis tube parallel. 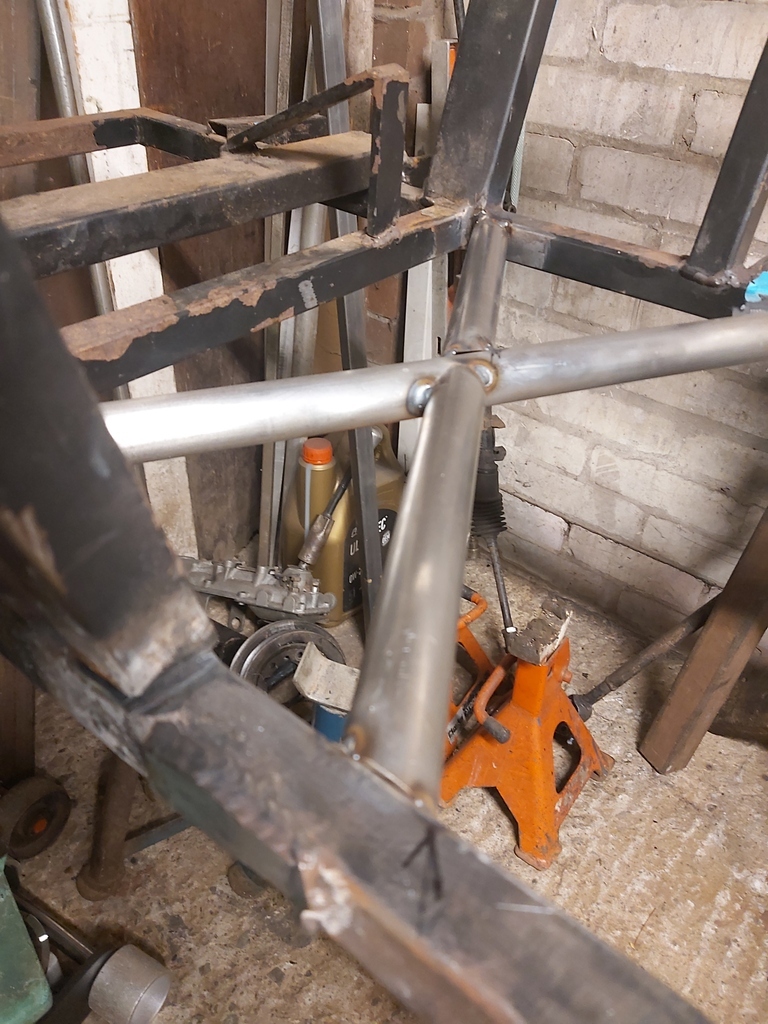 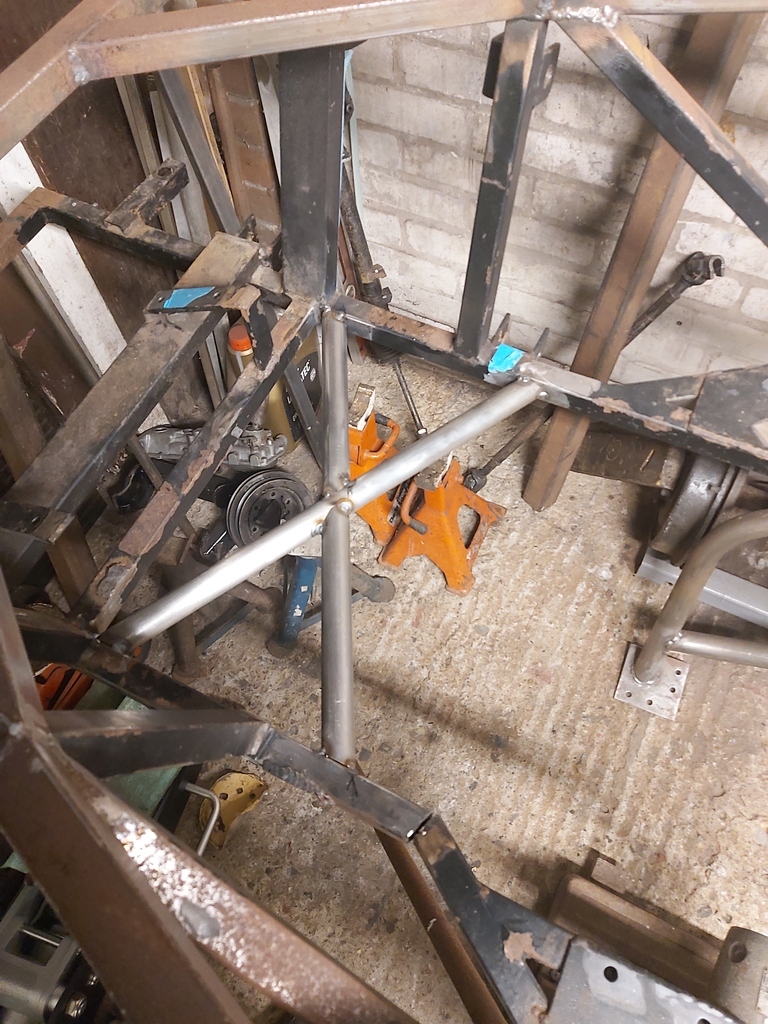 The suspension brackets will align with the end of the brace when welded back on. Looking a bit more "purposeful"  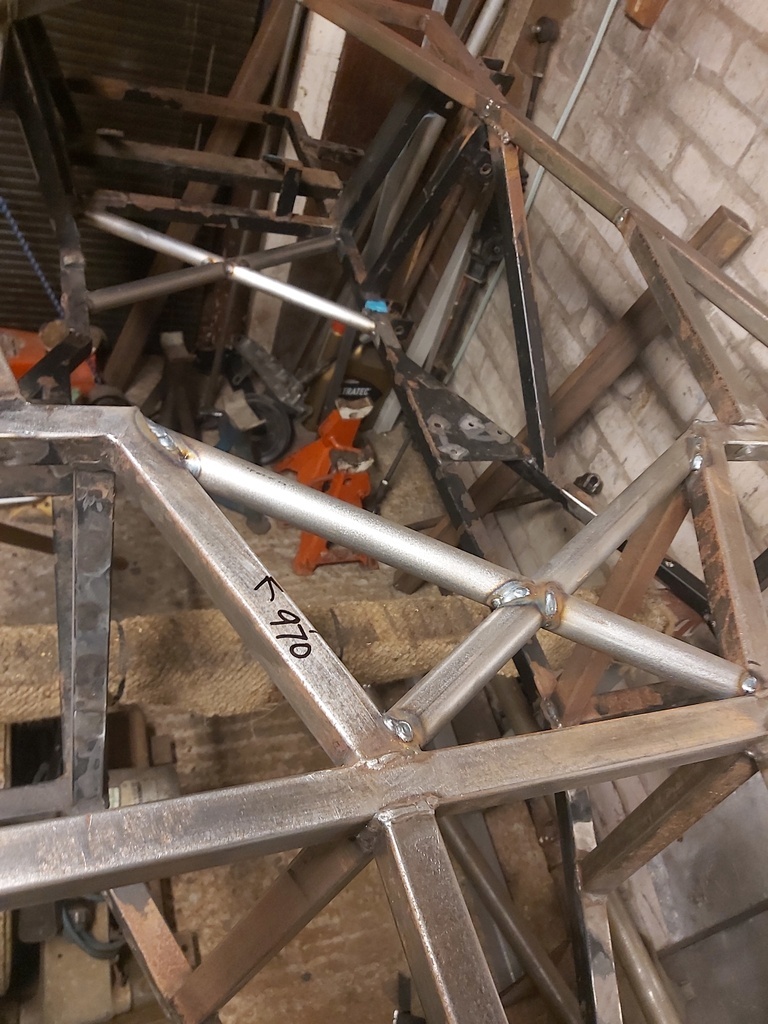 Next job is dropping a couple of engine side diagonals and crossing a few more items off the list such as the seat mount strips. I need have a look at the tube stock situation and remind myself what I used on the Panhard for the Blue Gem. Paint on the bare steel will also be needed now that the dew point temps are going to be allowing condensation to form. |
| |
|
|
|
|
|
Nov 15, 2024 18:04:34 GMT
|
|
thanks for the infos. its good to watch you make them good (better than original)
|
| |
|
|
Darkspeed
Club Retro Rides Member
Posts: 4,874
Club RR Member Number: 39
|
|
Nov 16, 2024 21:38:35 GMT
|
thanks for the infos. its good to watch you make them good (better than original) Cheers - It's getting there. A diagonal was added that will also be supporting the engine lower frame whilst I cut off the original diagonal and replace it. 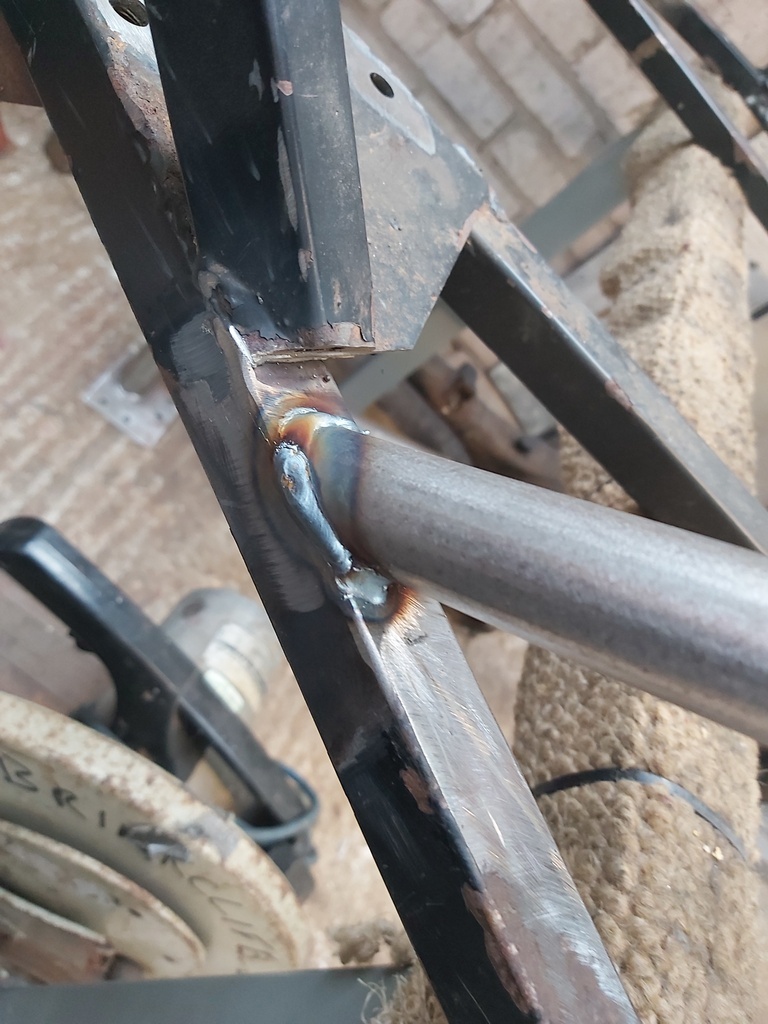 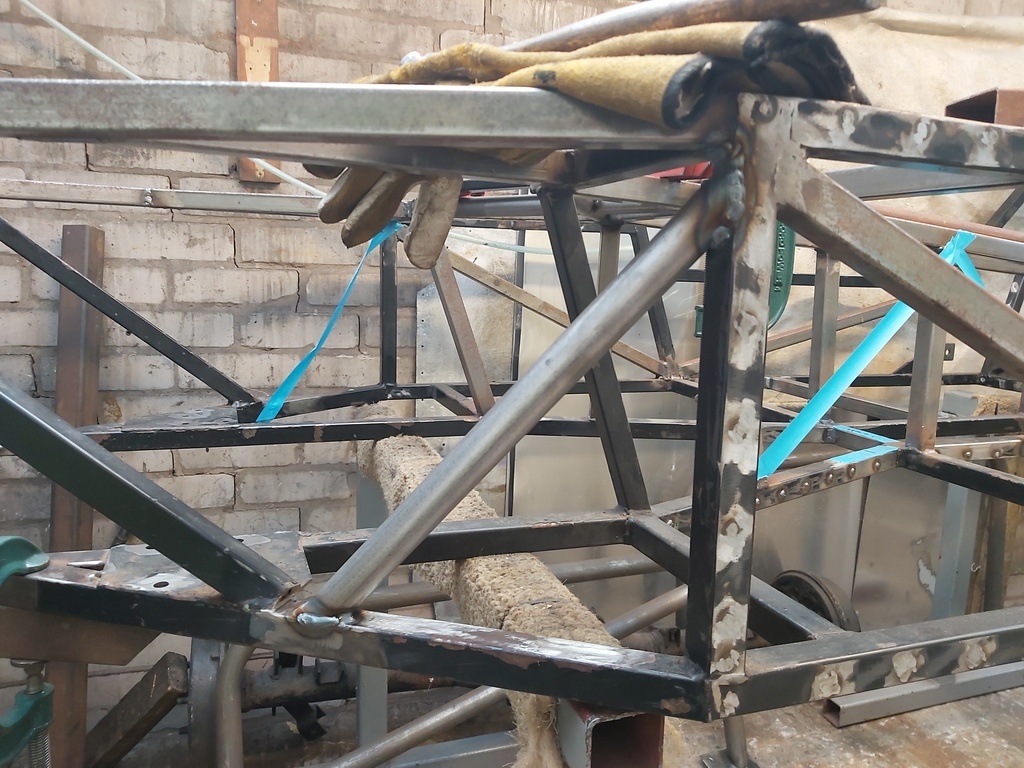 Started joining that lower rail where I needed to chop it to reposition it. 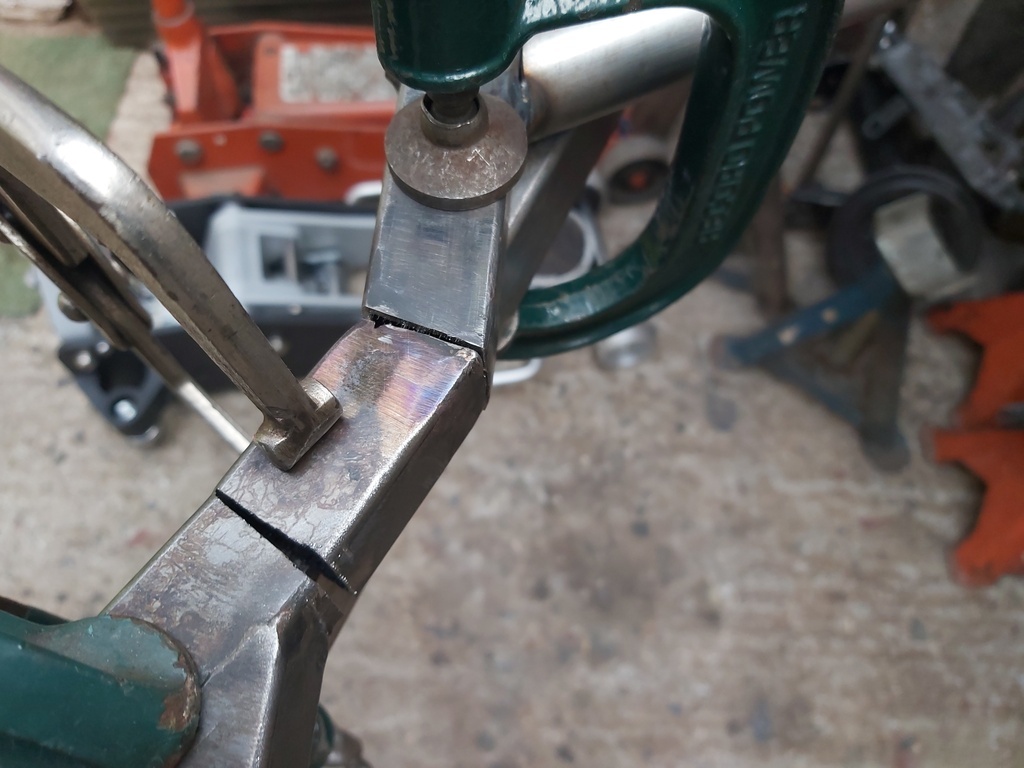 And strengthening fillets 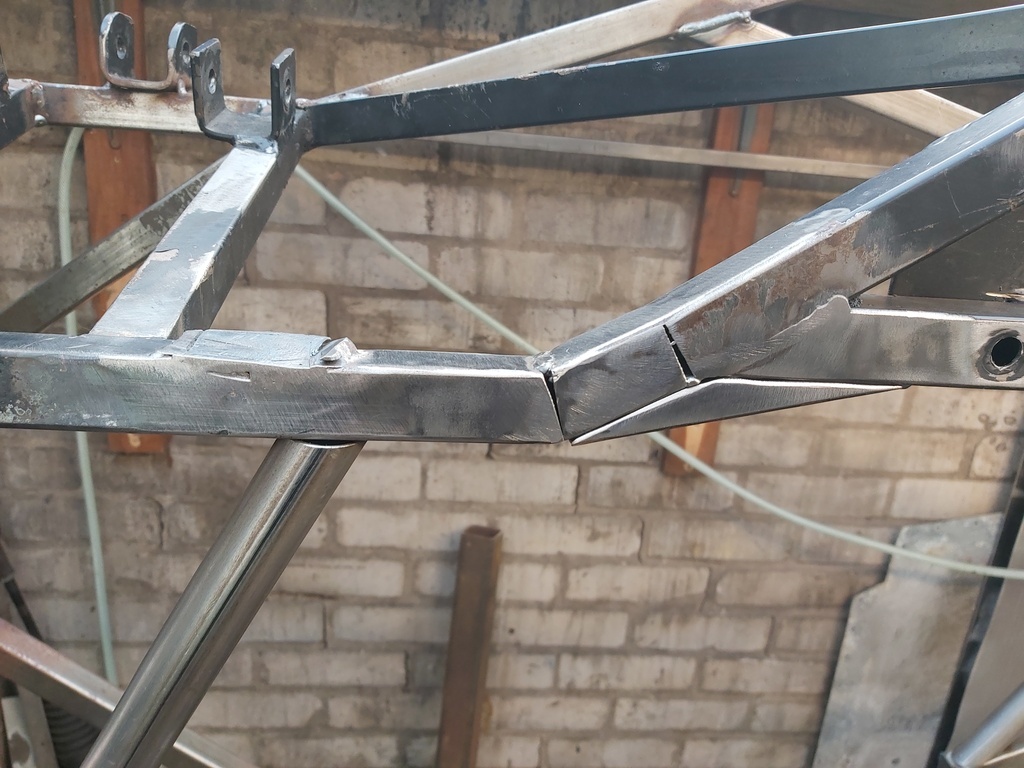 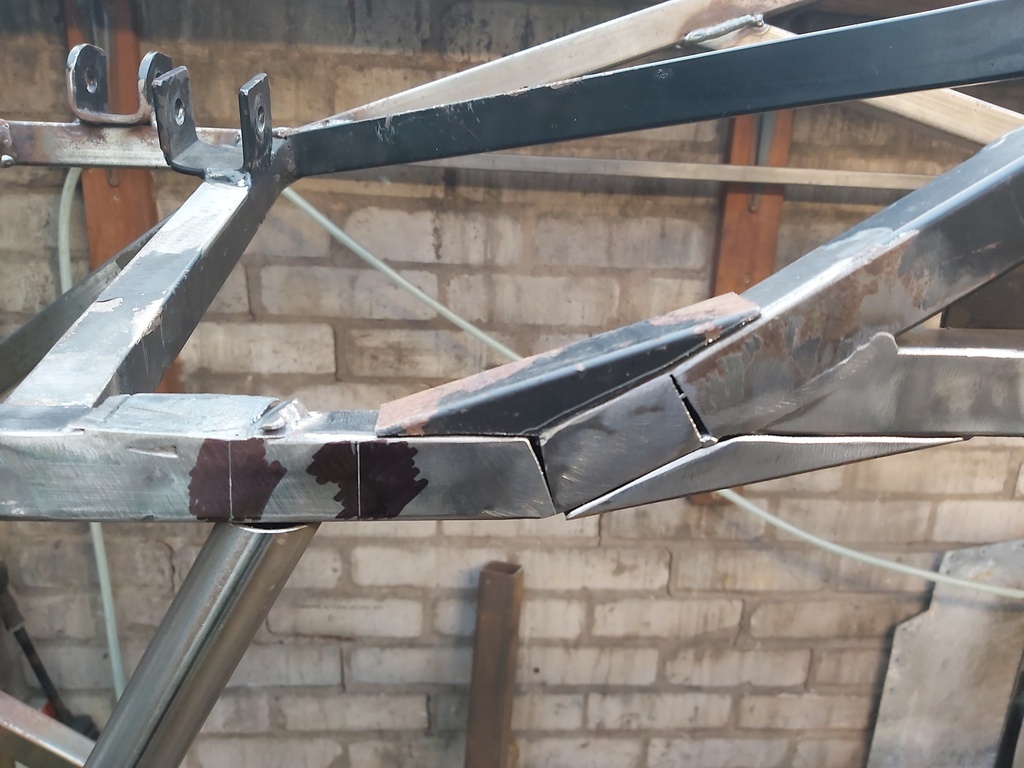 welded 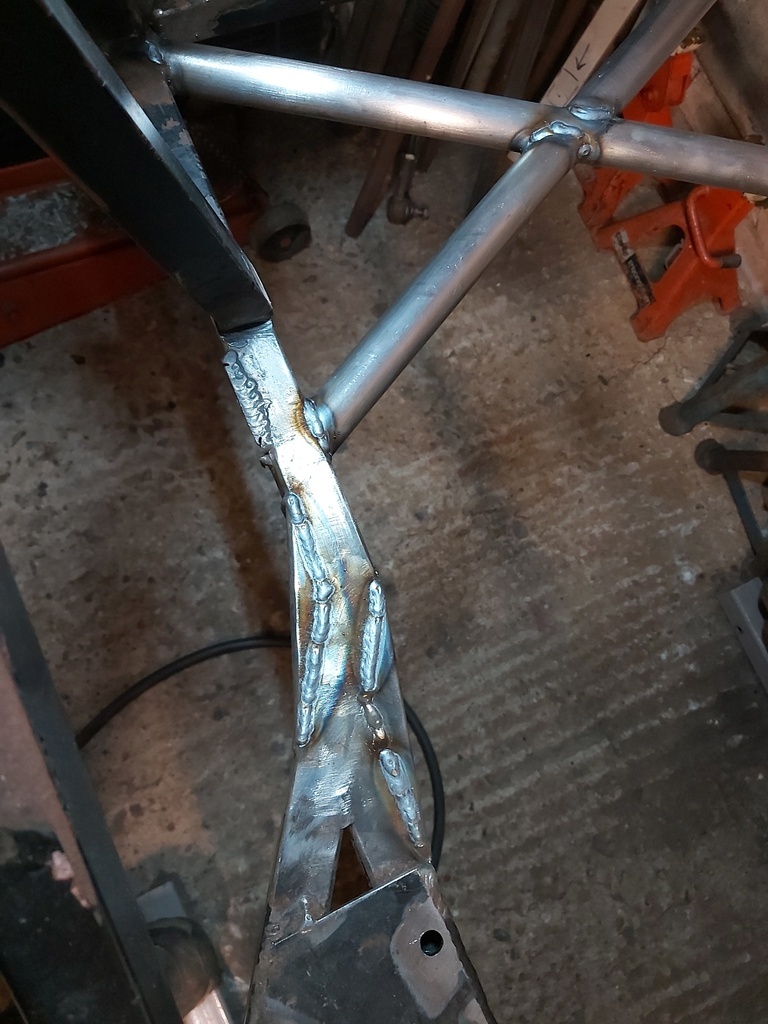 Positioning of seat support strips 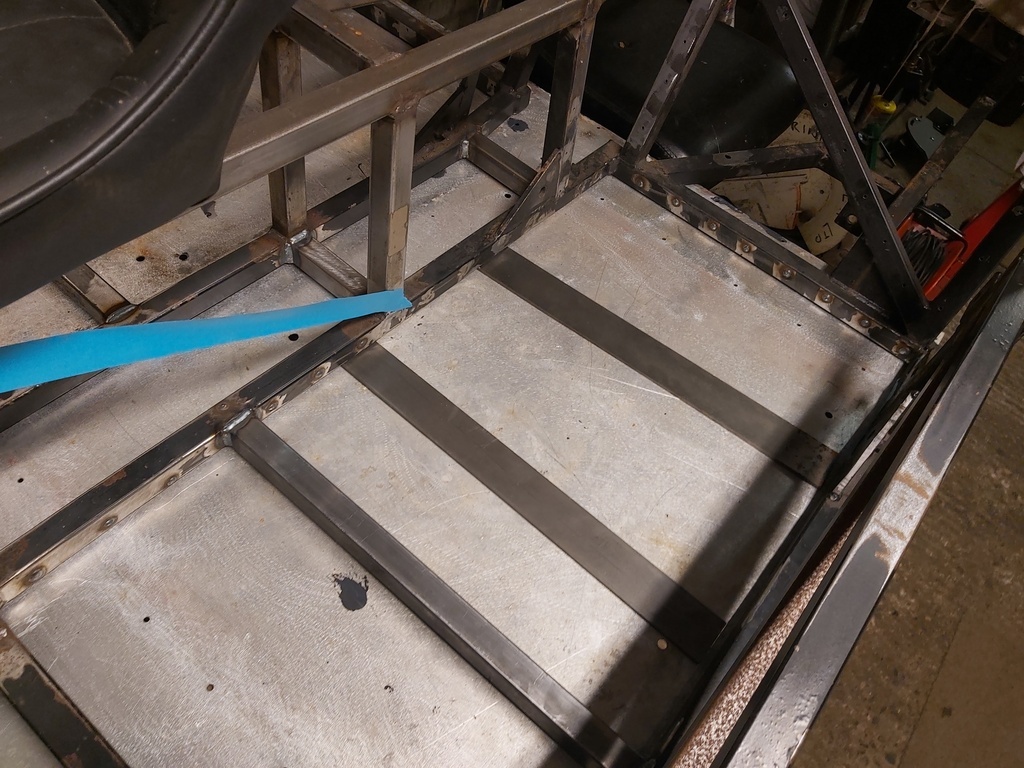 Tacked in 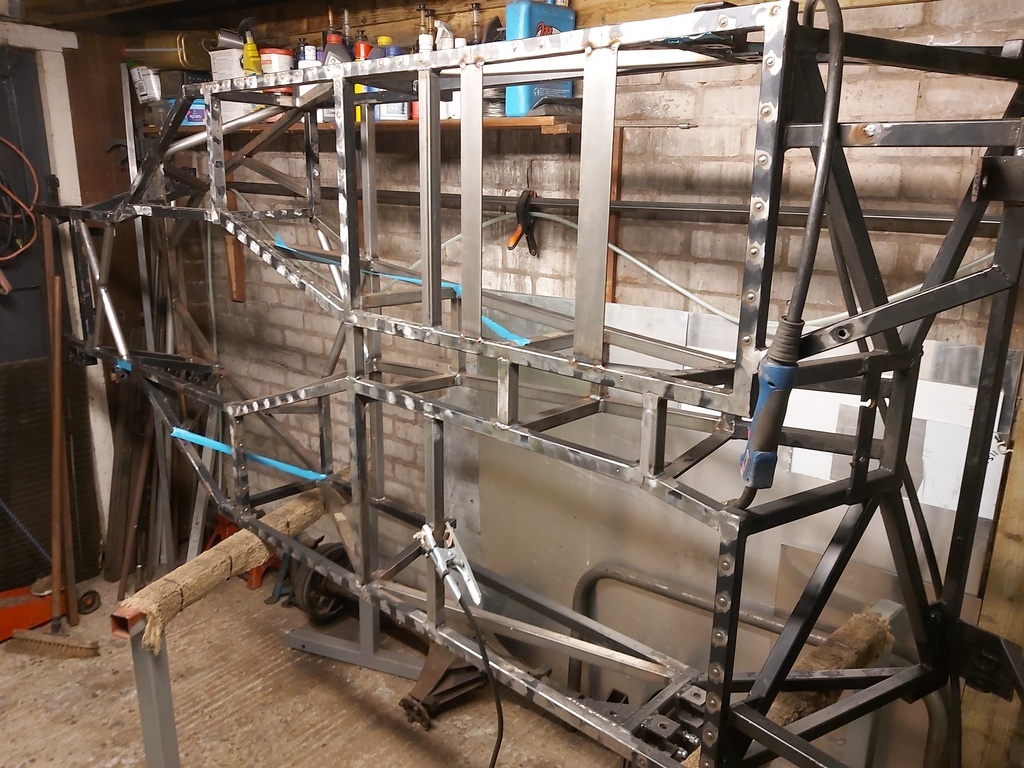 Tomorrow I will get these and the other side fully welded in - I may also manage to get the O/S diagonal welded in and a couple of diagonals welded into the central spine. |
| |
|
|


 knob jockeys should have done when they made this F*&k up and be chopping it all out and putting it straight as well as chopping and moving lots of other bits about. I'm a bit cross and I paid peanuts for this chassis not the amount that the original purchaser paid.


