|
|
|
Sept 29, 2024 17:51:46 GMT
|
There's no surprises in this update as I've made mention of most of whats happening next. The van has now been moved to the other side of the garage to allow access to the final arch to be replaced, this one. 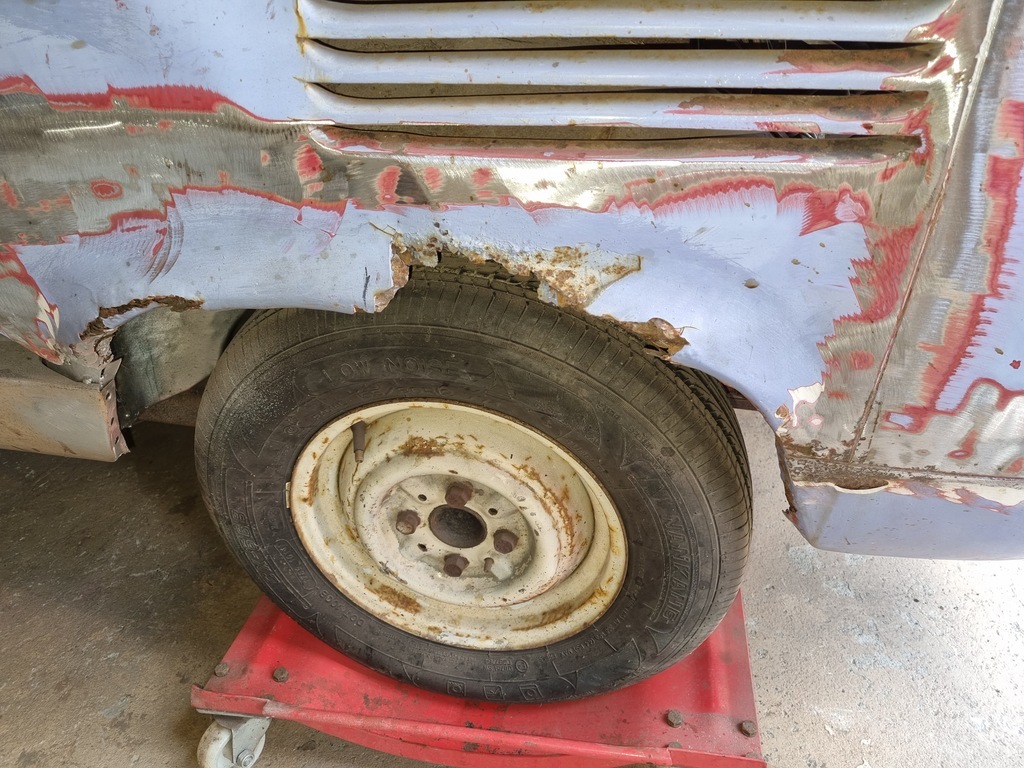 Not only has it rusted through and been repaired multiple times, it has also suffered accident damage. The previous owner told me all about this as it occurred shortly before the van was parked up. They reversed into a low bollard causing the dent in the bumper, then grazed as wall as they were pulling away, removing a chunk of filler and creasing the panel at the same time. 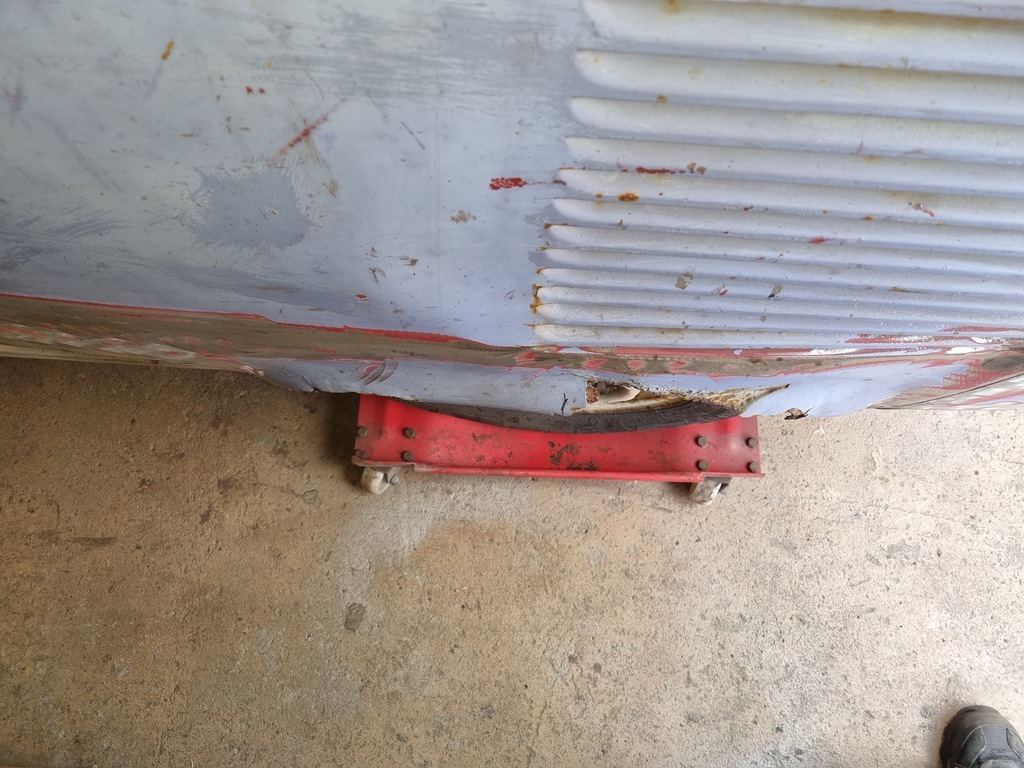 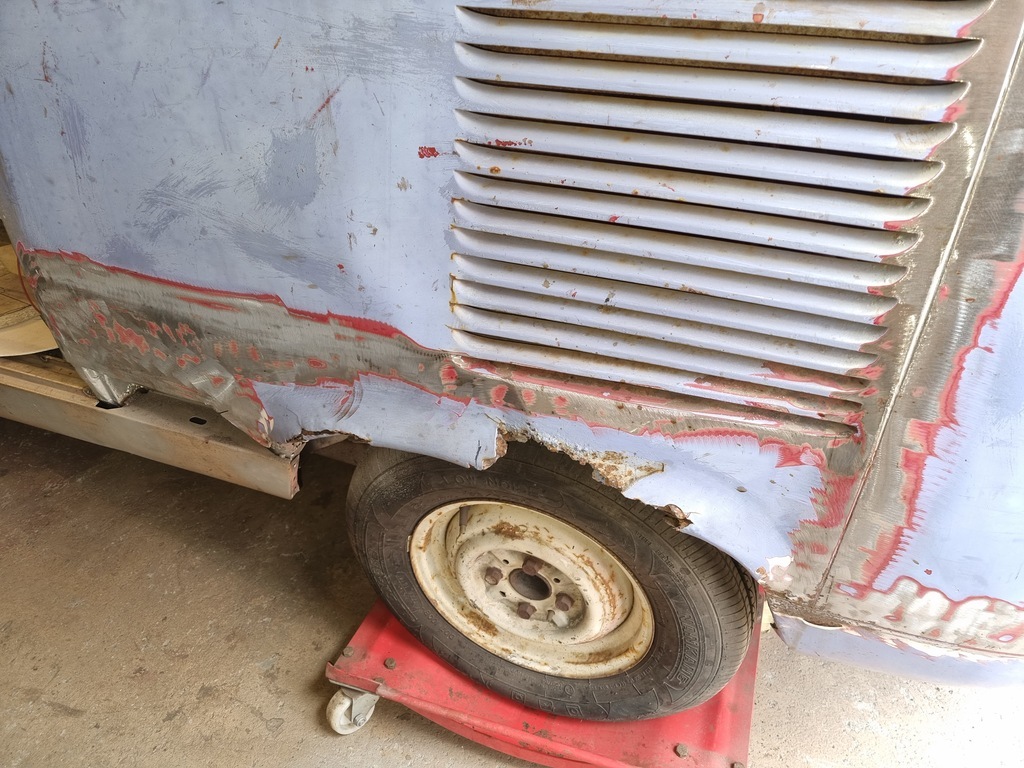 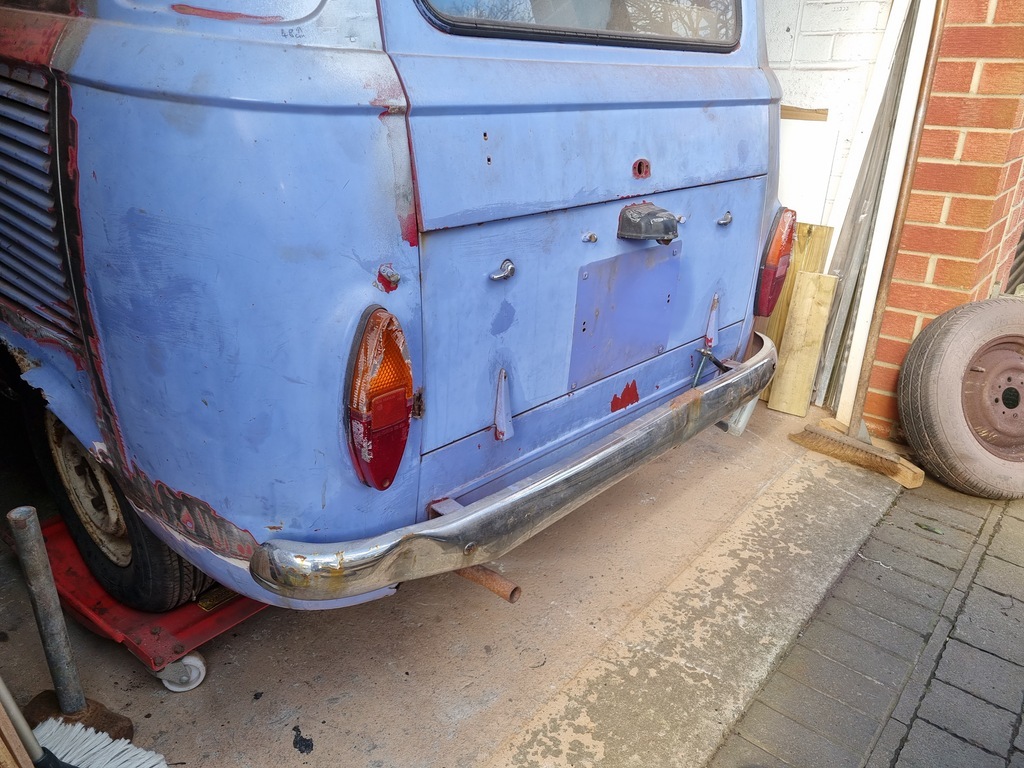 As I knew it was a full restoration it didn't bother me at the time especially given the areas significantly worse. However having repeatedly tried, and failed to weld onto fiat metal in the last few years this has now become a scource of many a sleepless night. There is a tell tale in the corner of the tailgate as to just how out of shape the van has been knocked 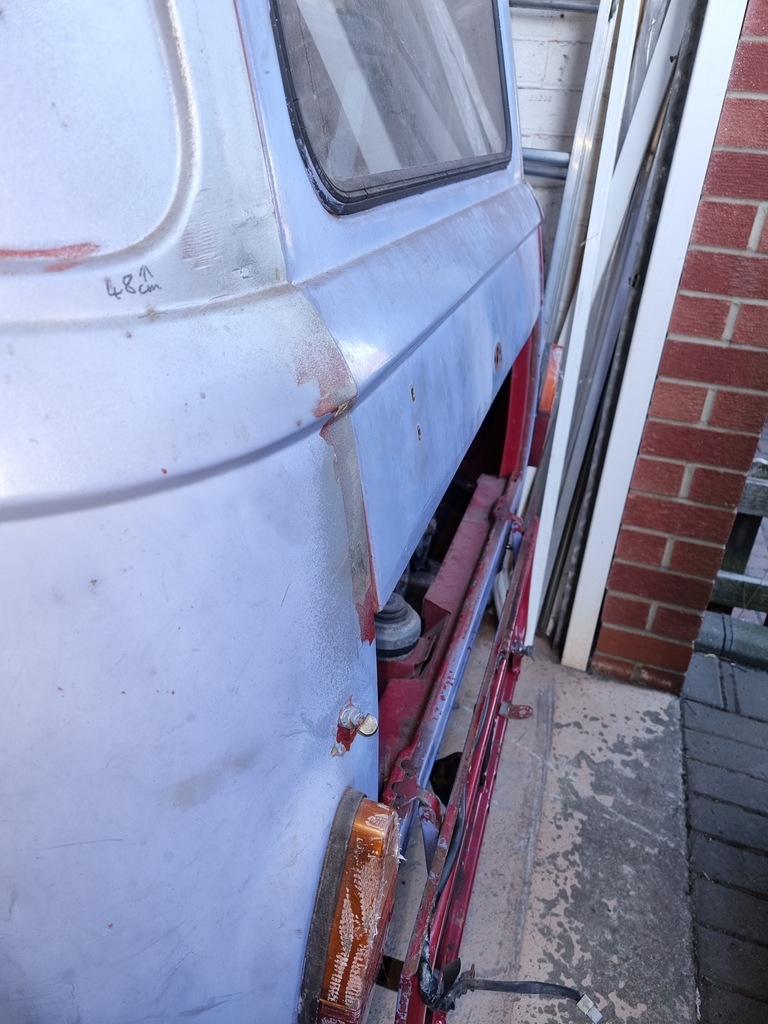 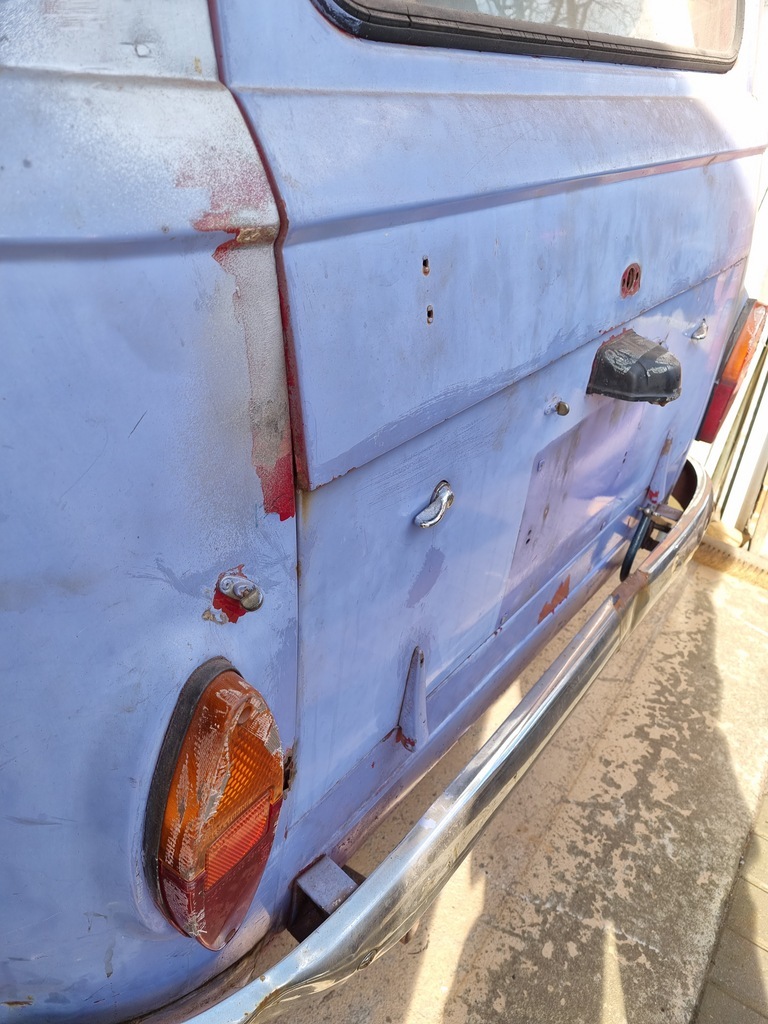 The tailgate sits flush for about 85% of its perimeter but this one corner sits proud. It caused all sorts of issues when I did the roof but I decided to leave it and push on. I've said all along that the nearside was the better side in terms of rust and I stand by it. Where this side is rusty, the otherside was none existent. I had harboured high hopes for the lower corner, thinking some of it might be salvageable. 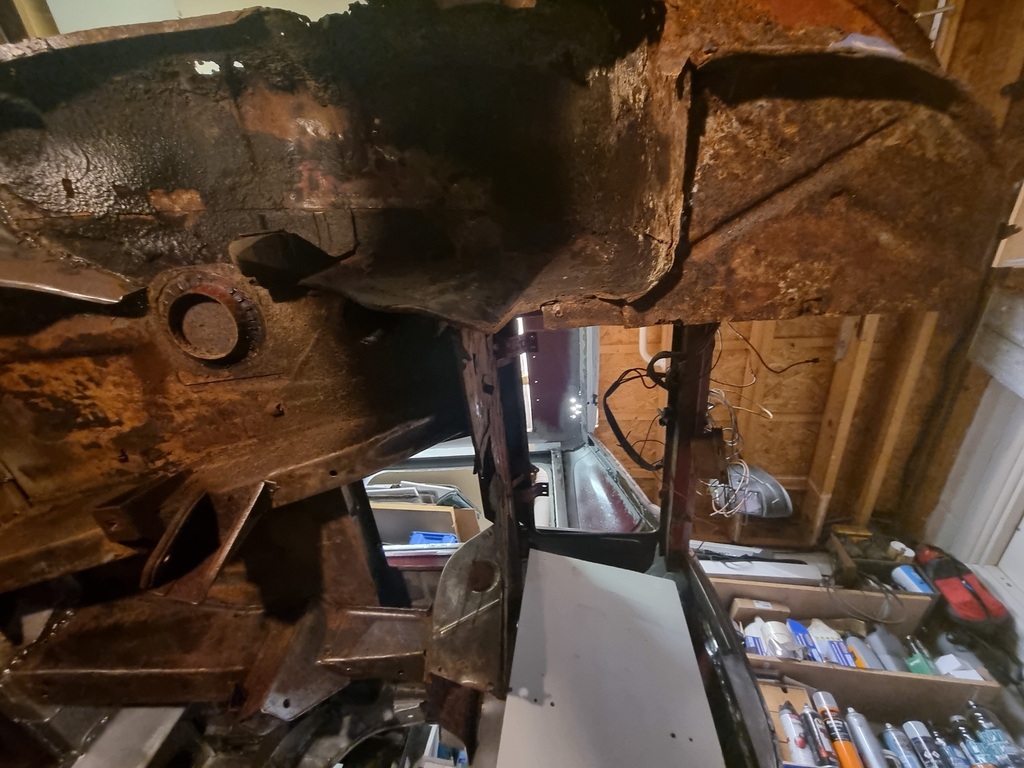 Rusty, but complete. |
| |
|
|
|
|
|
|
|
Sept 29, 2024 18:06:23 GMT
|
All hopes quickly dashed once I'd cracked it open like an egg 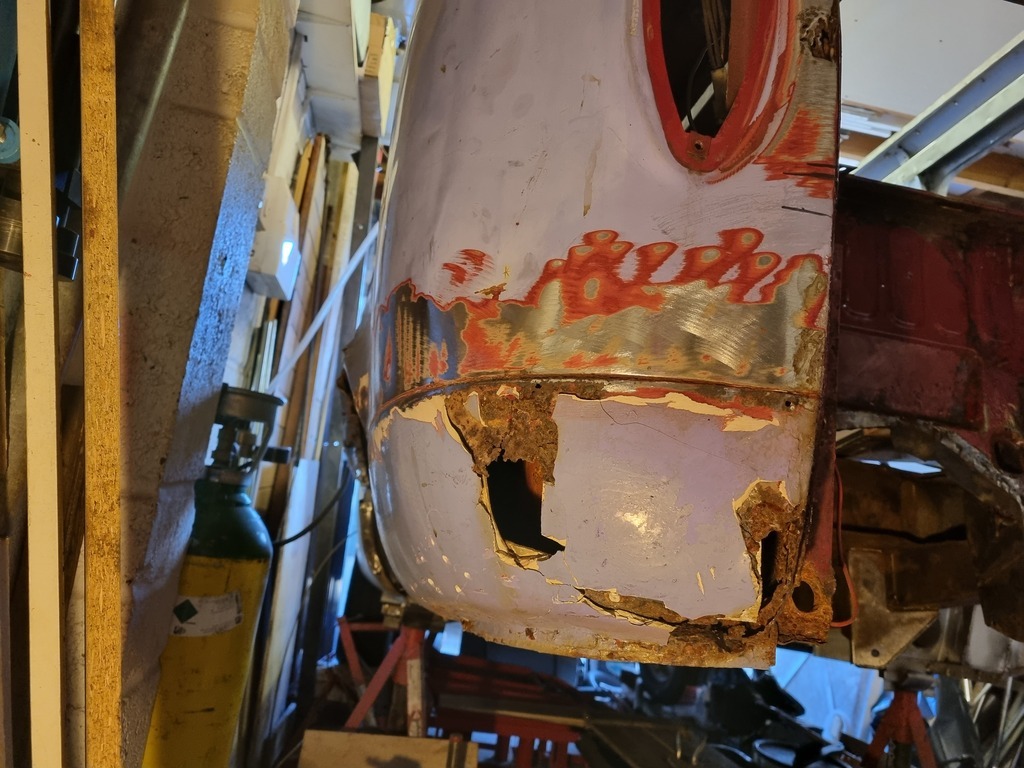 And then peeled it. Like an egg 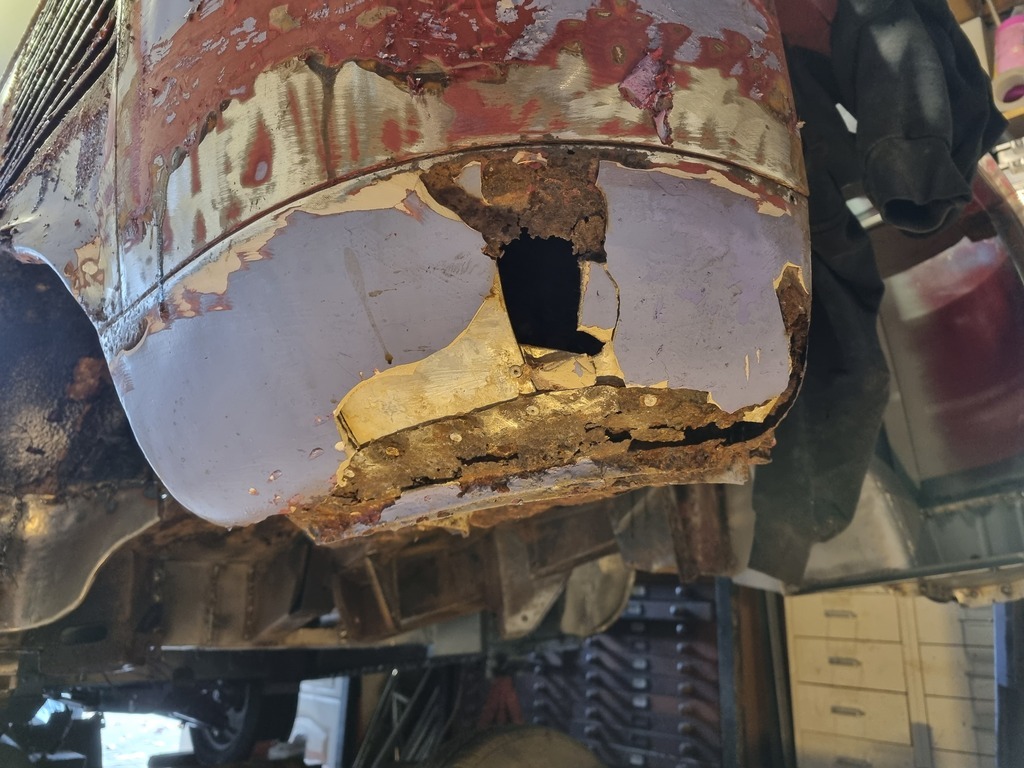 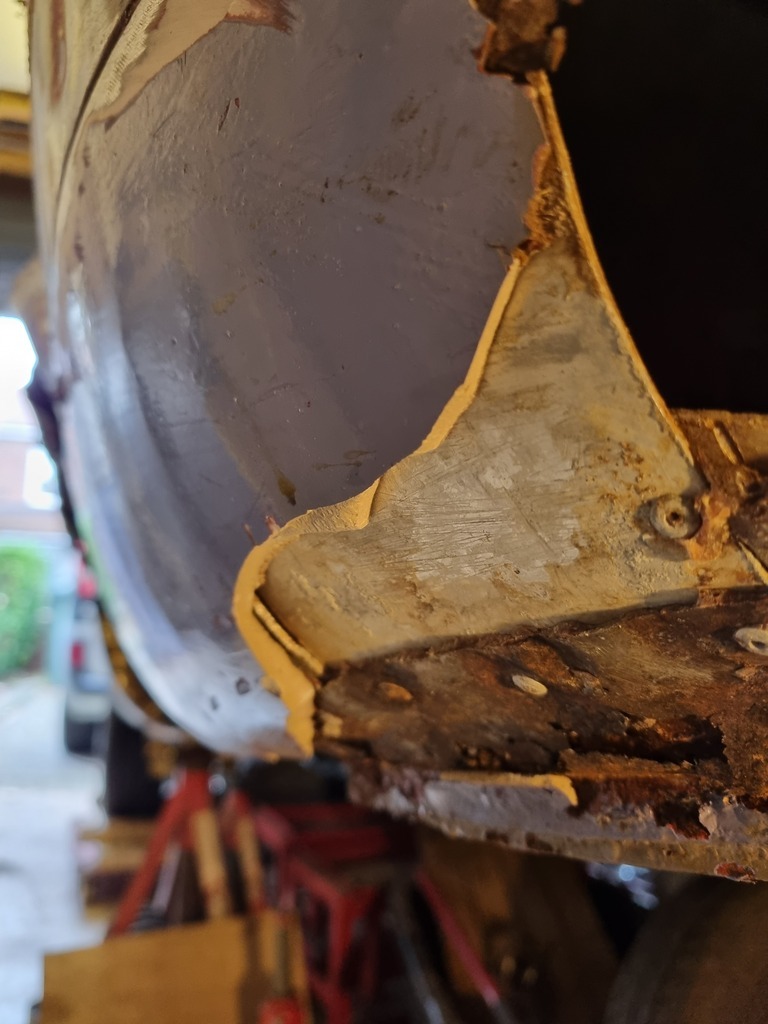 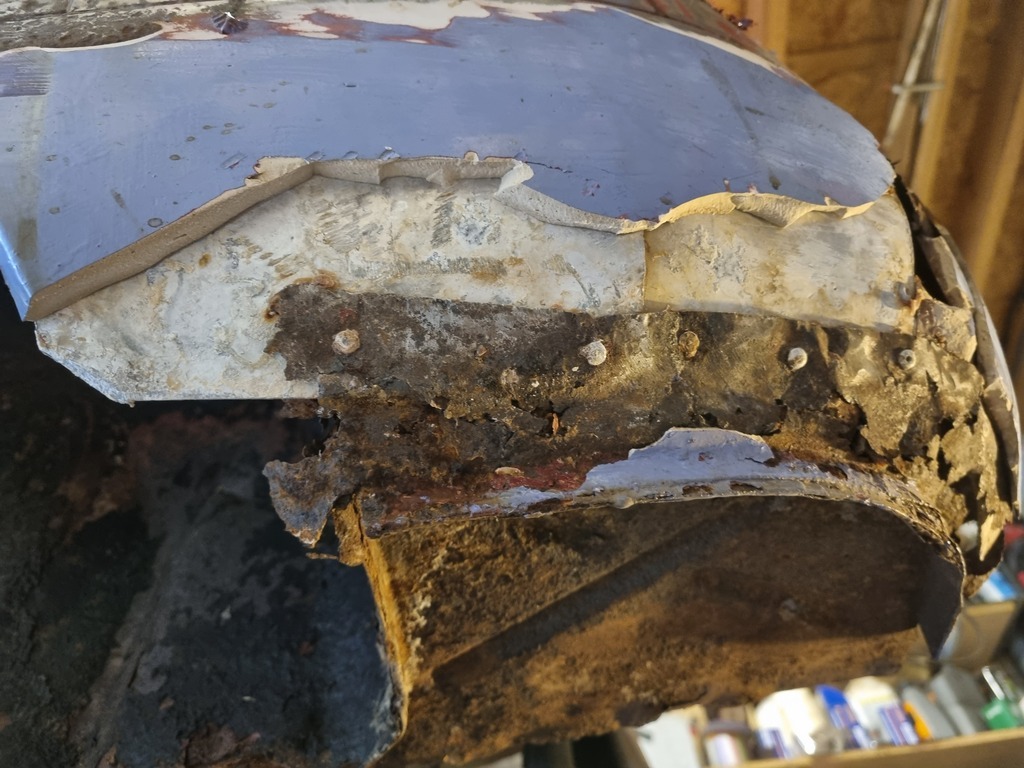 A random bit of "shell" 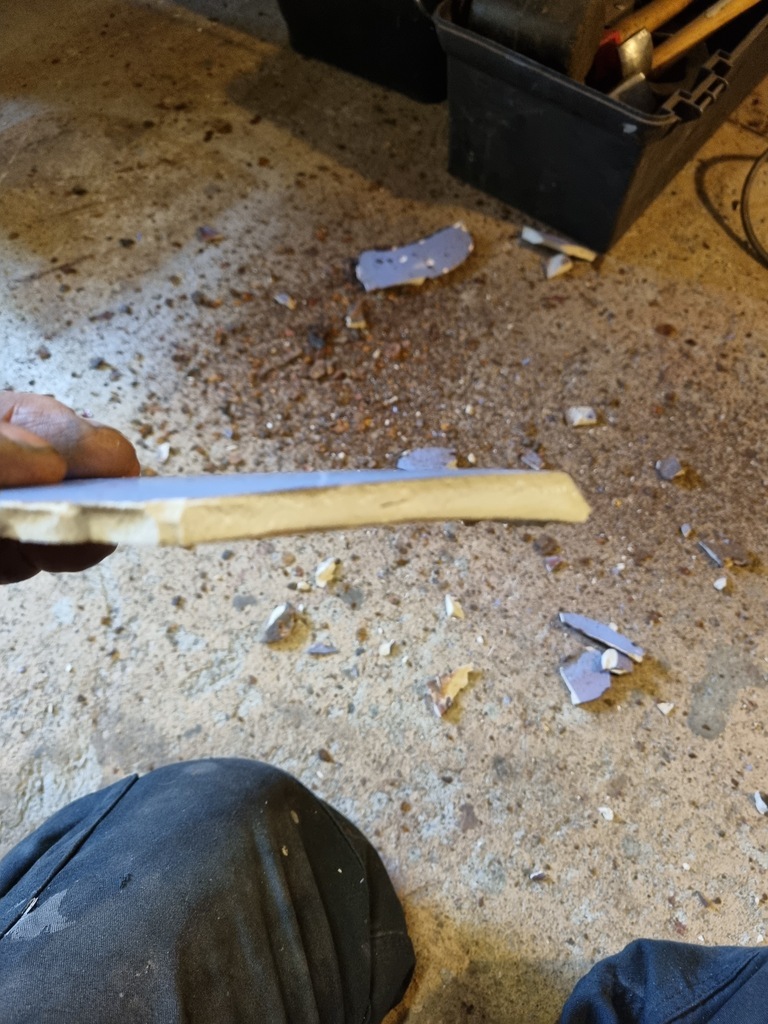 Part of me does have some admiration for whoever done this, it has taken some skill to get this much filler looking like it did. It's short lived when I realise that you only build this level of skill with a lot of practice. Still with out these repairs this van would have been scrapped a decade ago (and the rest). I need to save the lourves as I don't have a plan to accurately recreate them and although they're buckled they don't have a lot of rust 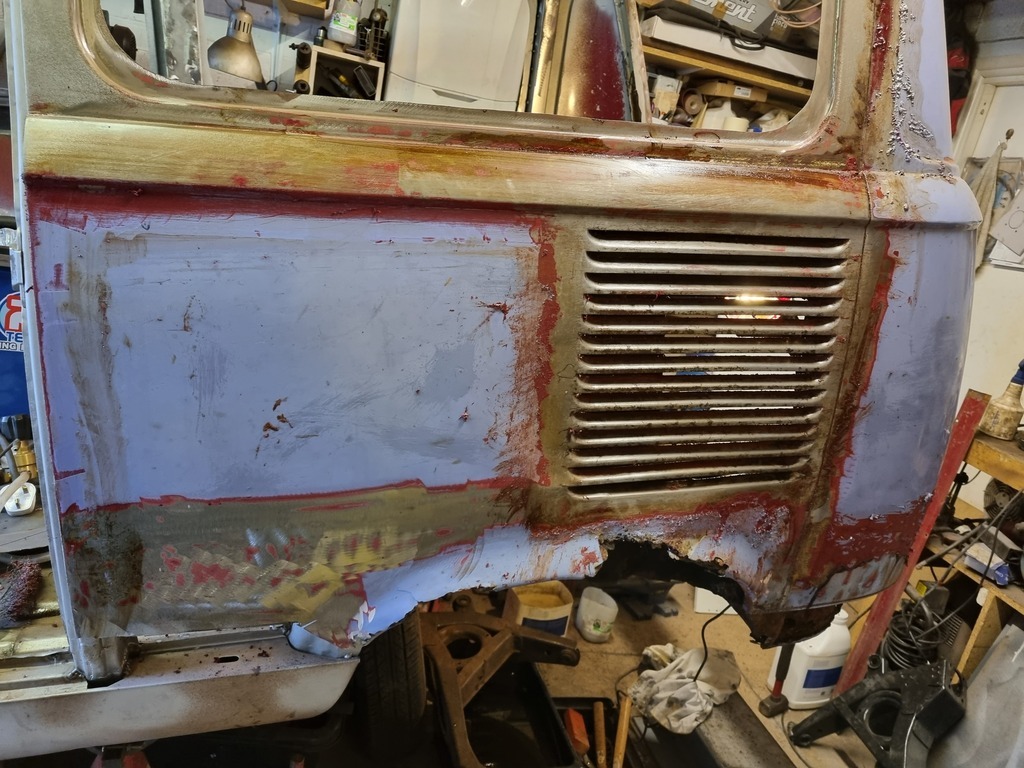 So off comes the whole panel 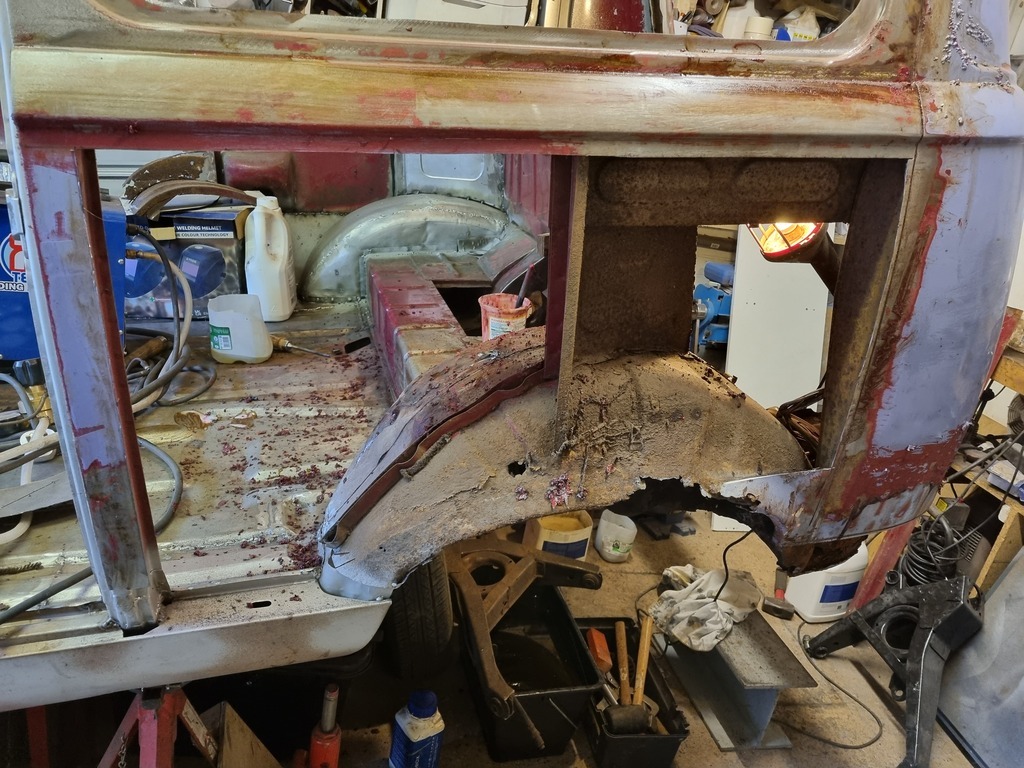 I now have access to everything I need to look at properly. I had hoped to save most of the inner arch amd wheel well as the other side was a real pain 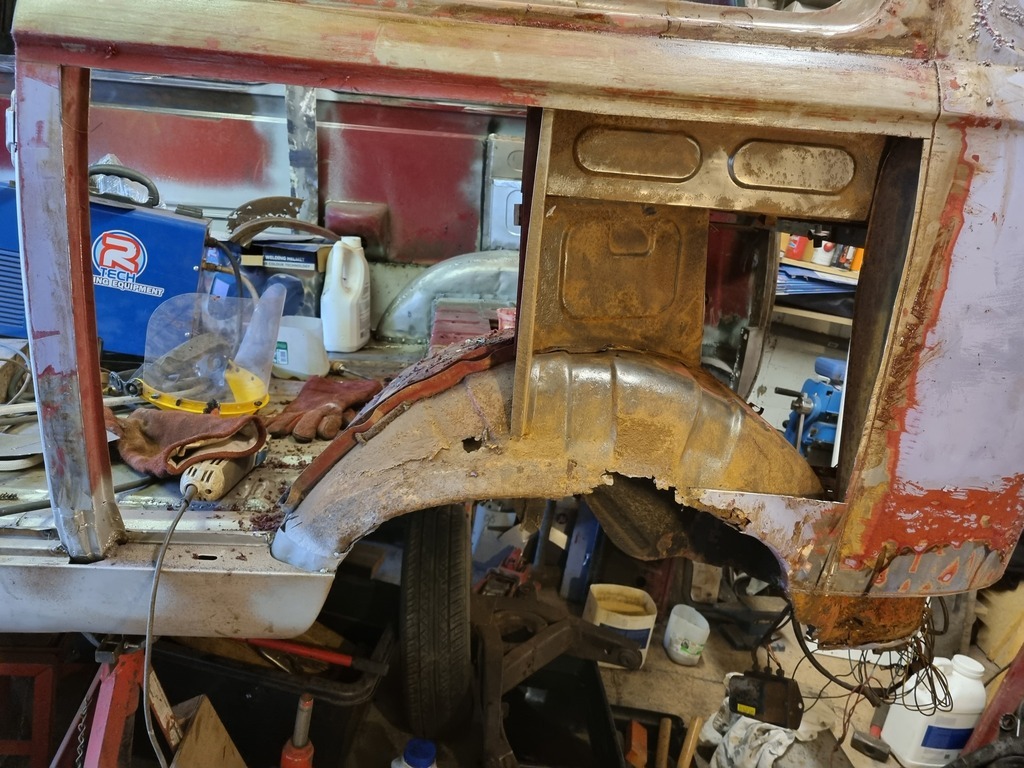 Nope, not happening I had also hoped to save the bulk head ends 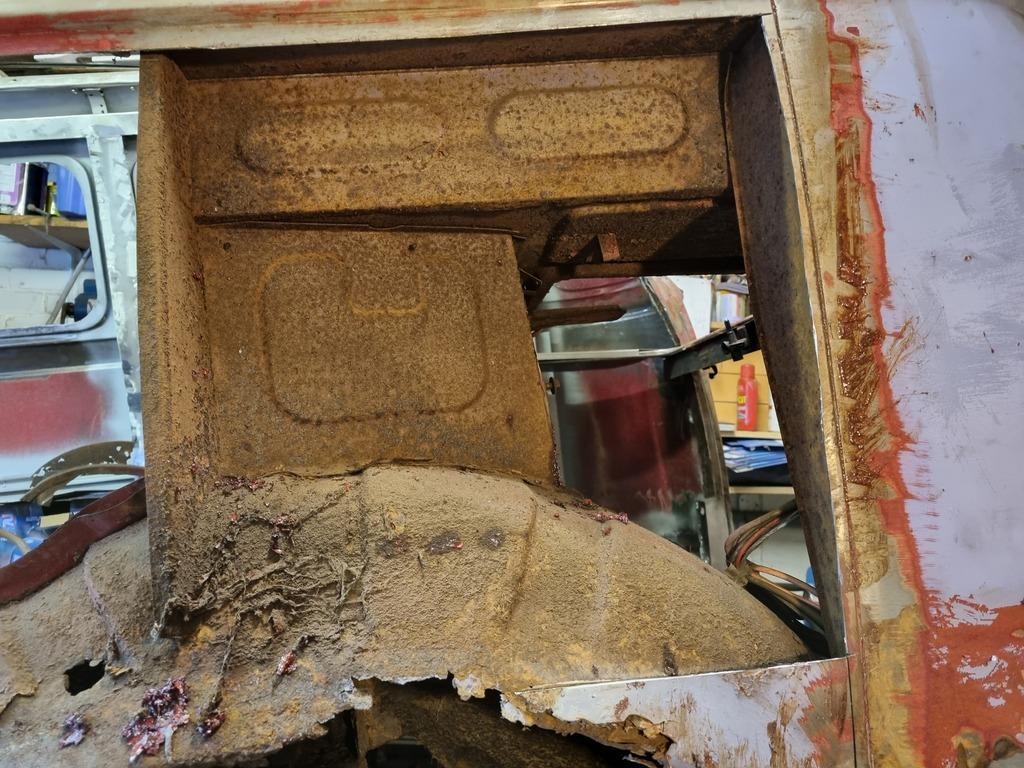 These are pitted and whilst I could save them...... Surely some of the lower corner and battery tray is useable 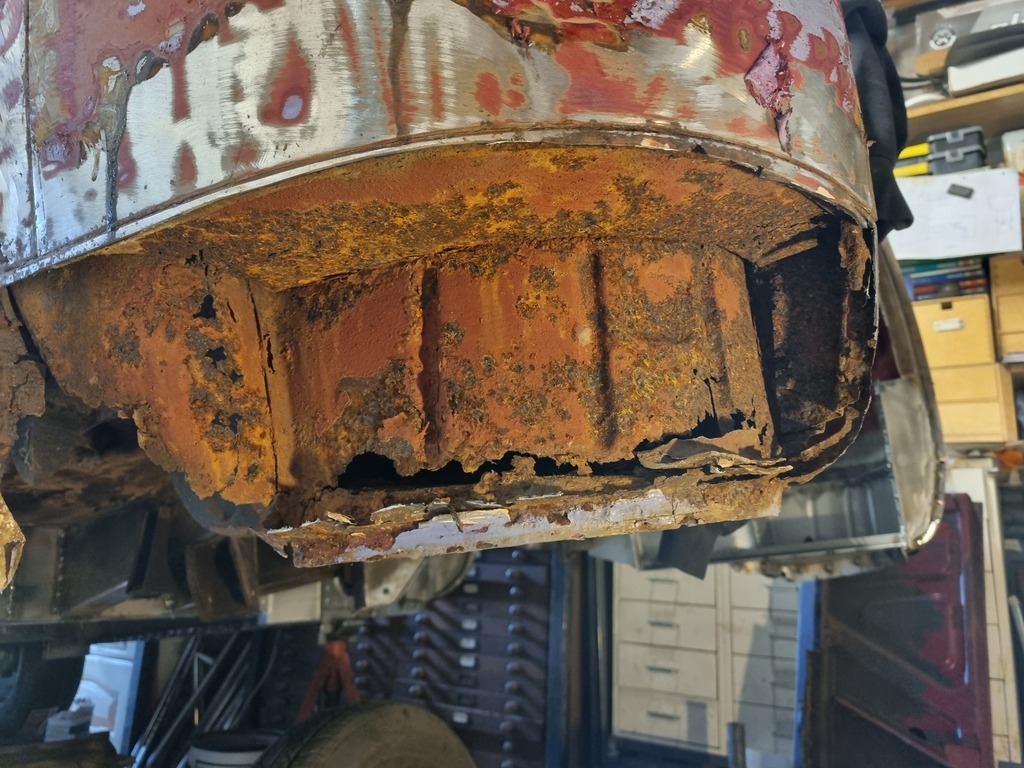 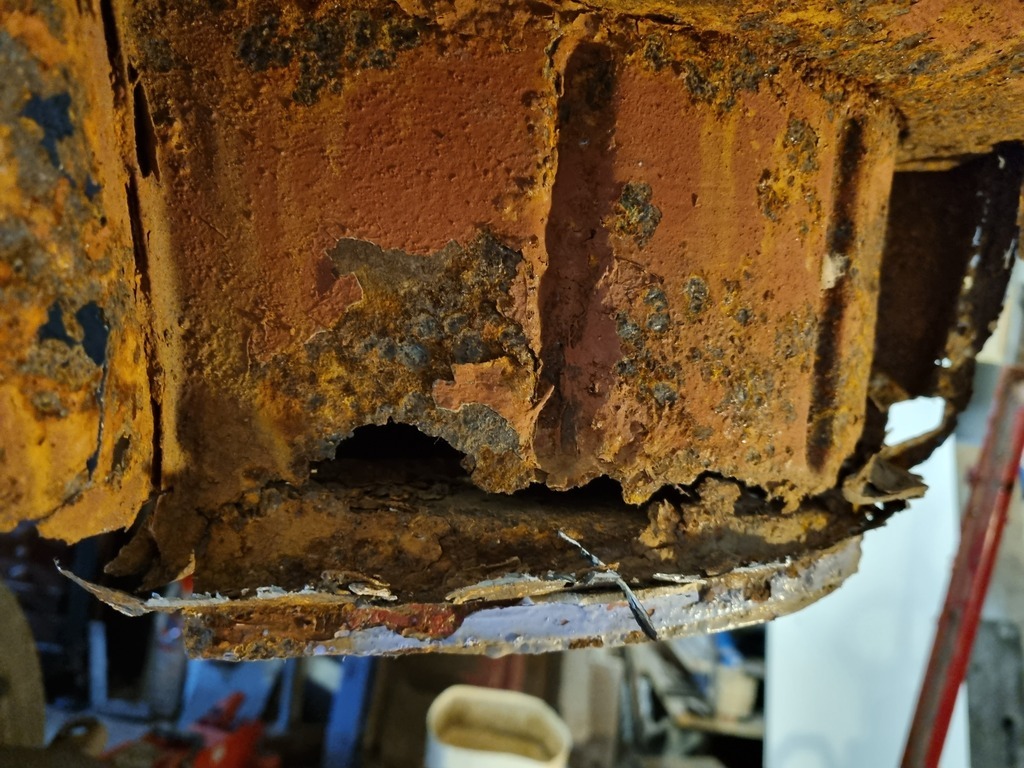 Well thats going to be a big hole. 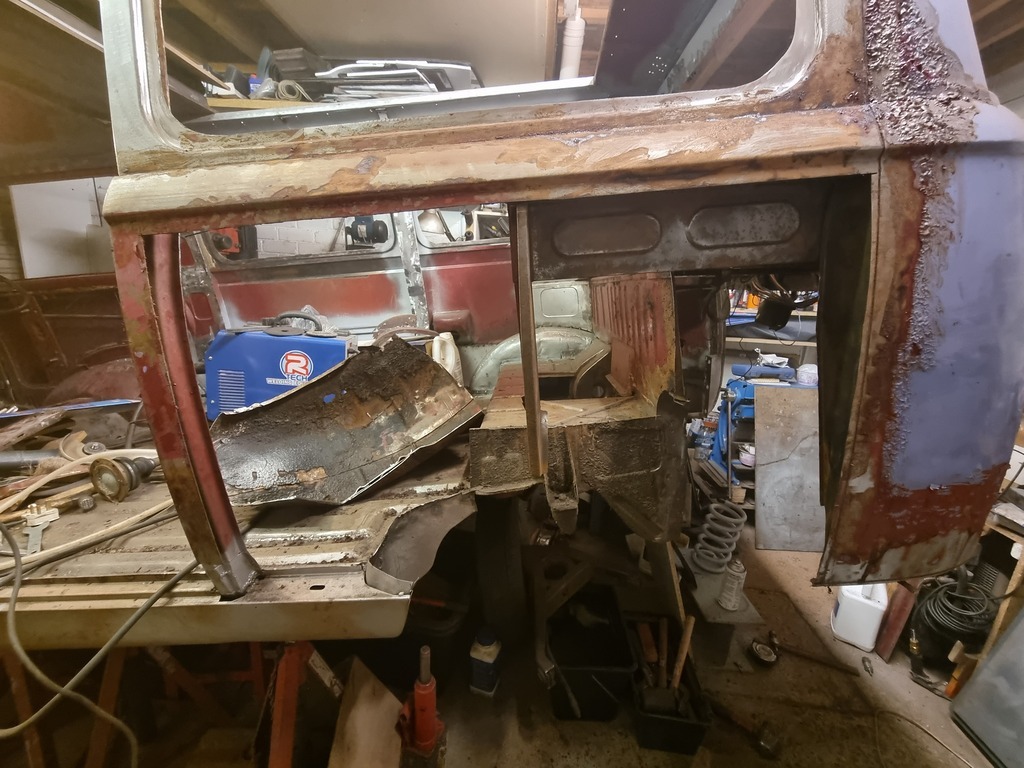 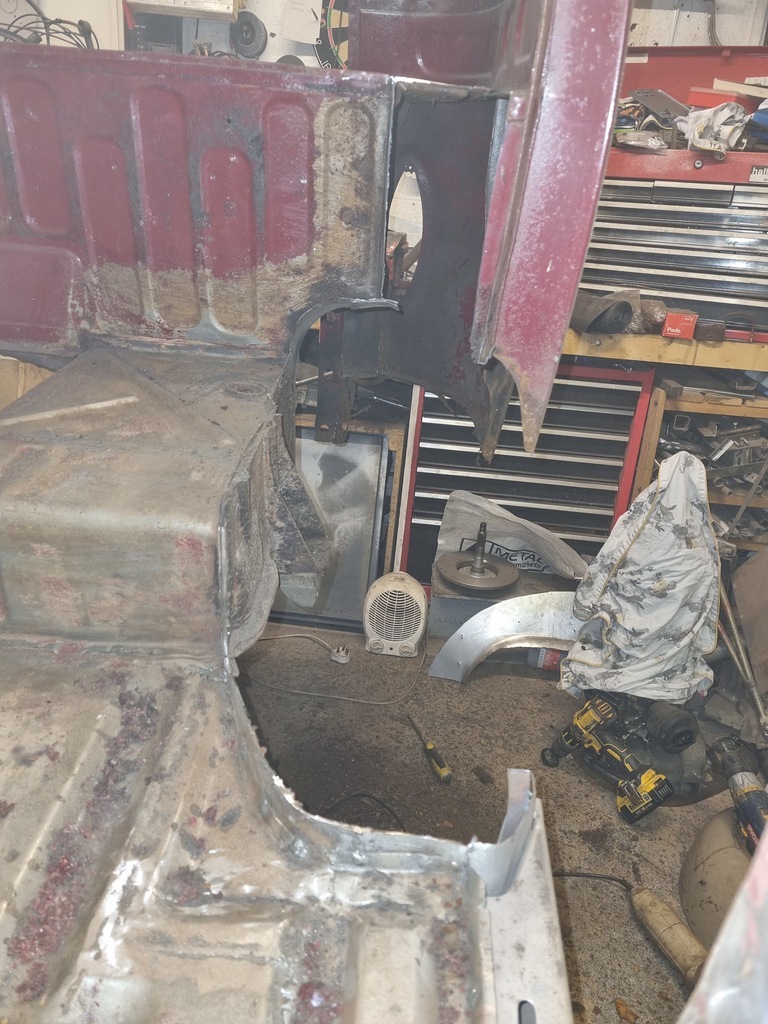 And it's not done growing yet. |
| |
|
|
glenanderson
Club Retro Rides Member
Posts: 4,340
Club RR Member Number: 64
|
|
Sept 29, 2024 18:28:10 GMT
|
|
😱
Dear lord!
|
| |
My worst worry about dying is my wife selling my stuff for what I told her it cost...
|
|
|
|
|
Sept 29, 2024 20:57:57 GMT
|
|
Woah! Damn.
|
| |
|
|
teaboy
Posted a lot
   Make tea, not war.
Posts: 2,121
|
|
Sept 29, 2024 21:23:07 GMT
|
|
That’s really bad.
Having said that, I have absolutely no doubt that you can fix it.
Every time I look at the wheel arch panel you did on the other side I am amazed at how good a job you did.
|
| |
|
|
|
|
|
Sept 30, 2024 22:05:56 GMT
|
|
|
| |
1967 Triumph Vitesse convertible (old friend)
1996 Audi A6 2.5 TDI Avant (still durability testing)
1972 GT6 Mk3 (Restored after loong rest & getting the hang of being a car again)
|
|
|
|
|
|
|
|
You have bigly brave pills. Most would run away (well, me).
|
| |
Proton Jumbuck-deceased :-(
2005 Kia Sorento the parts hauling heap
V8 Humber Hawk
1948 Standard12 pickup SOLD
1953 Pop build (wifey's BIVA build).
|
|
|
|
|
|
|
You have bigly brave pills. Most would run away (well, me). Yeah….. I’ve brought a couple of real basket cases back from the brink but this is on another level. More a jagged outline than a vehicle! Great skills and impressive tenacity!🙂 |
| |
1967 Triumph Vitesse convertible (old friend)
1996 Audi A6 2.5 TDI Avant (still durability testing)
1972 GT6 Mk3 (Restored after loong rest & getting the hang of being a car again)
|
|
|
|
|
|
|
|
|
Lots of encouragement, all very much appreciated. I think it's important to mention that I spend very little time thinking about the finished van and focus mainly on one or two small areas at a time. Fix enough small problems and you eventually end up fixing a big one. Like this area. Having already done one side I figured there was no point in dissecting this side carefully and went in hard 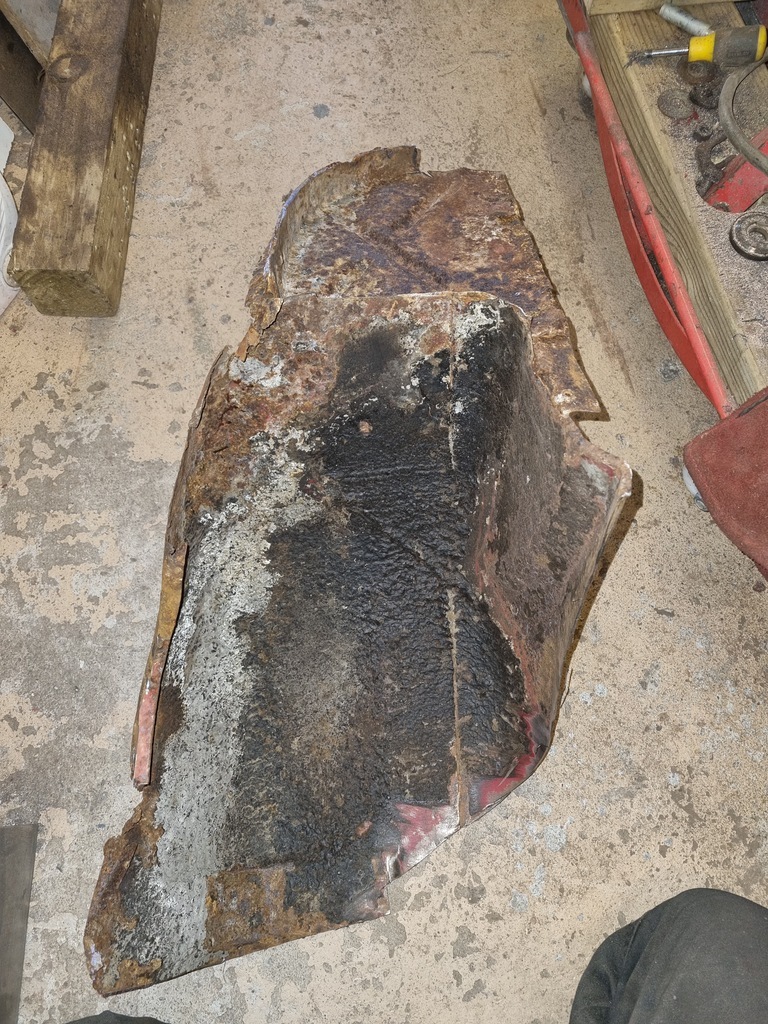 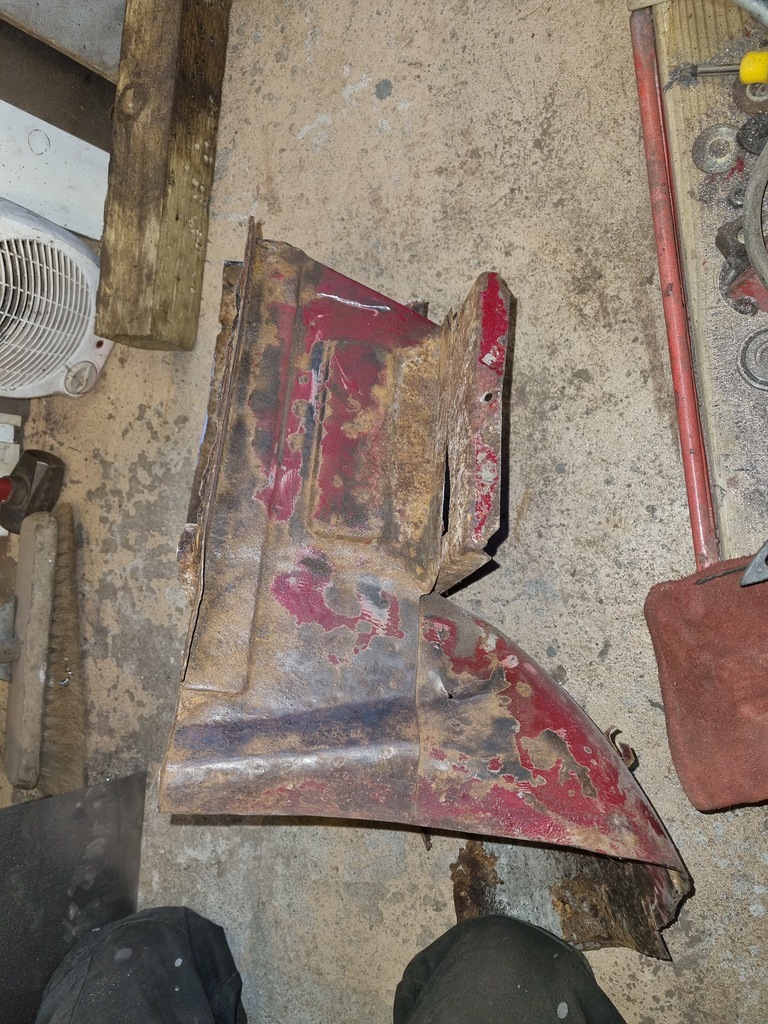 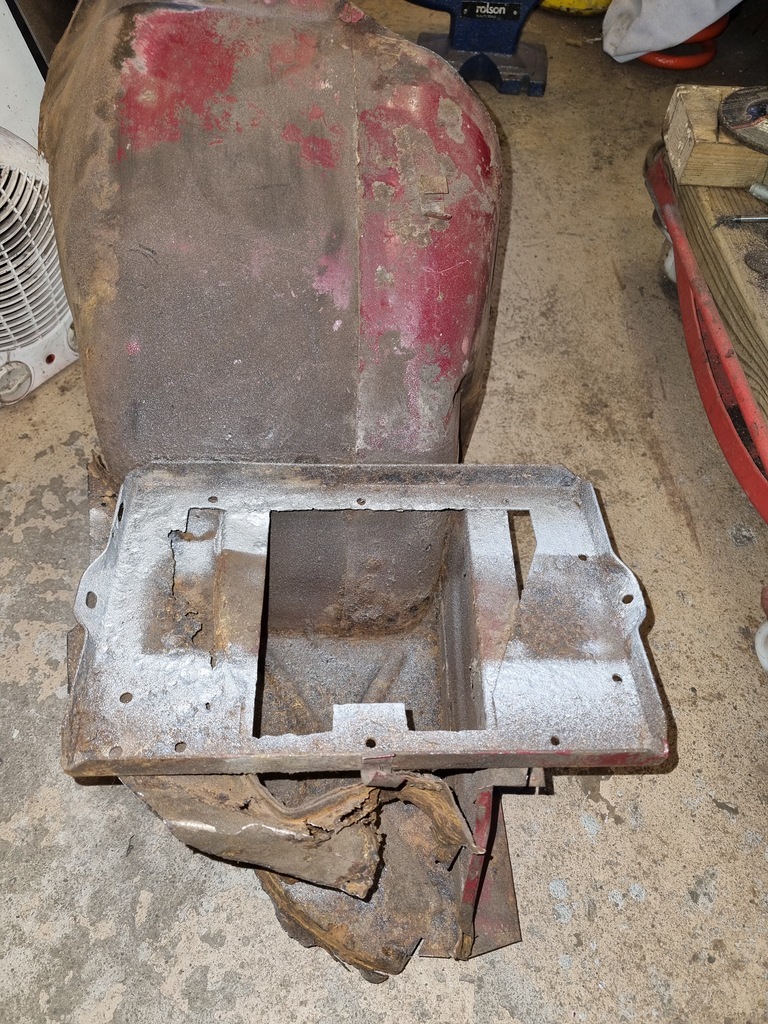 Thats halve a wheel well, inner arch, Inner and outer rear corner, And the battery tray Most of this is fairly solid and there are sections I could have patched and made good. But honestly it's a hard argument to make when one side is all new metal. The area I really needed to do is this 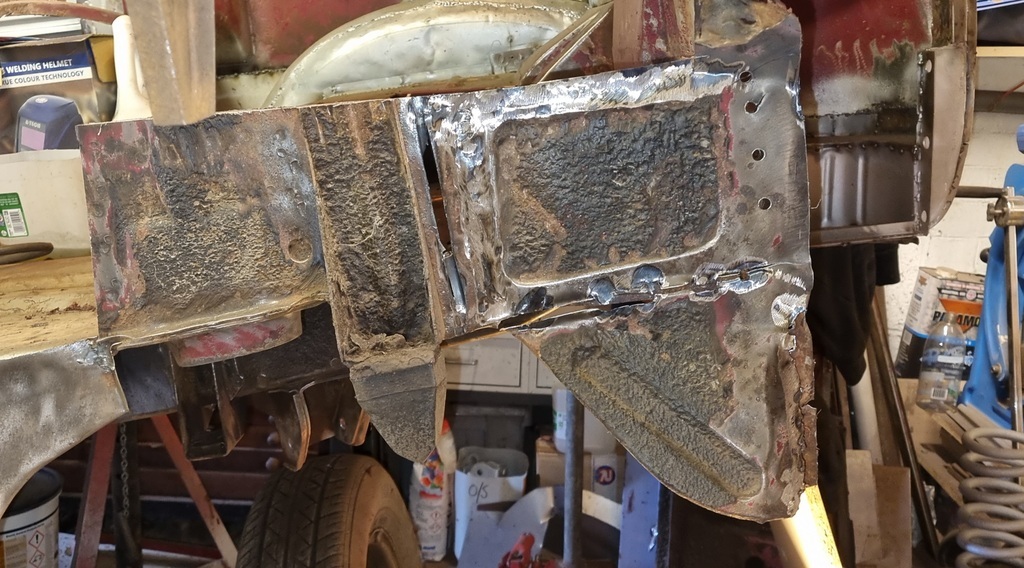 This is the closing plate over the spring, shock and bump stop mount and is then reinforced with a 1.5mm plate. 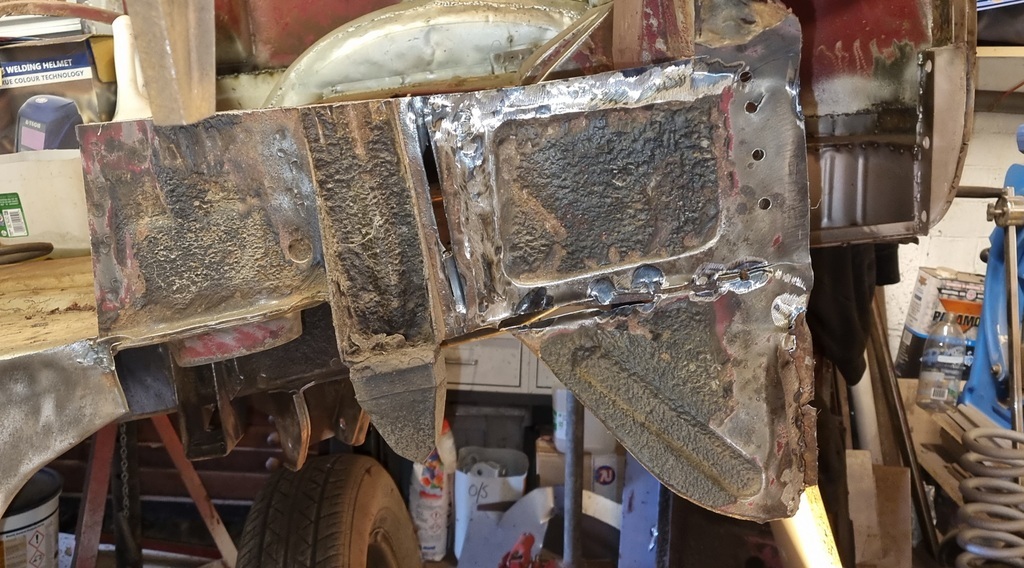 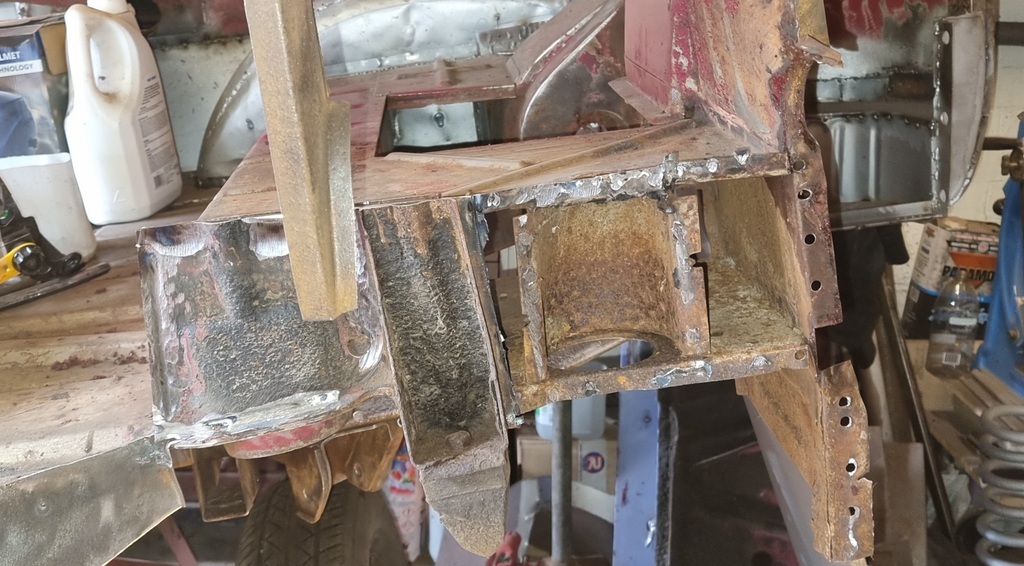 The strengthening plate is actually still in reasonable condition but the closing plate in the middle of the sandwich is shot 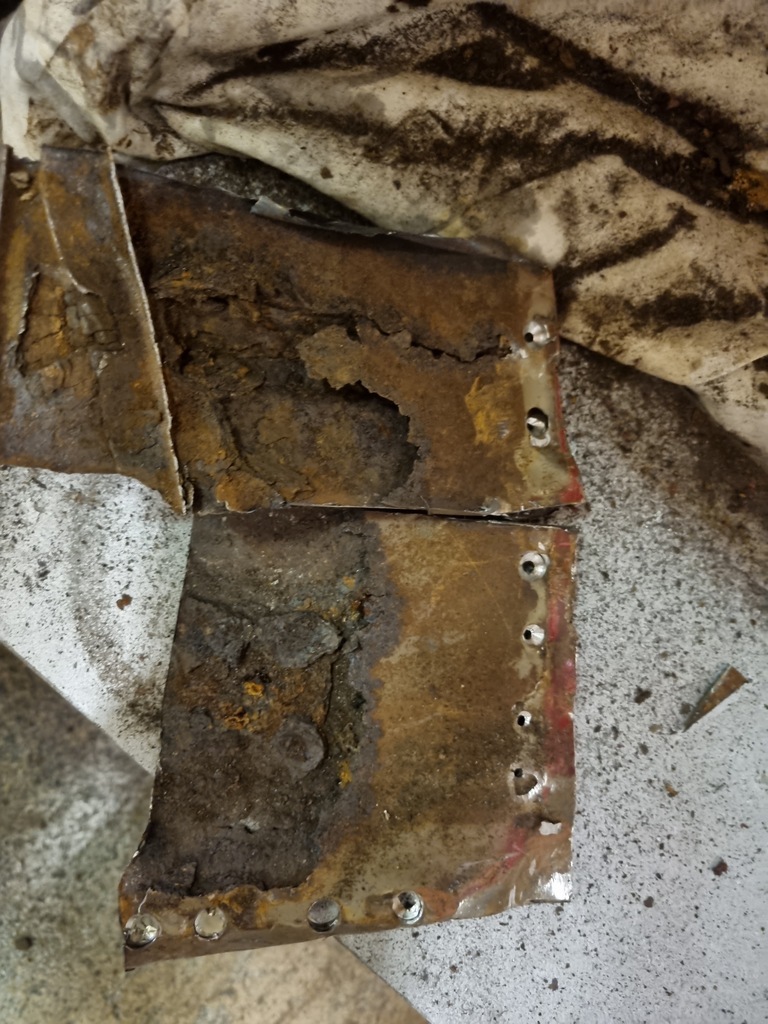 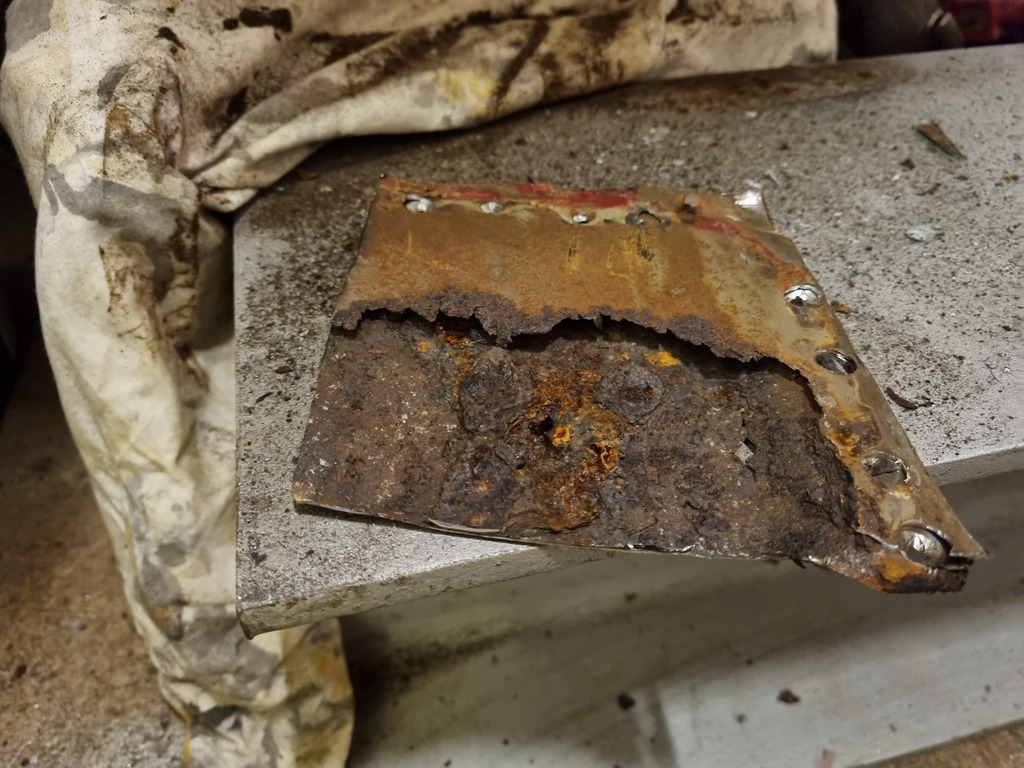 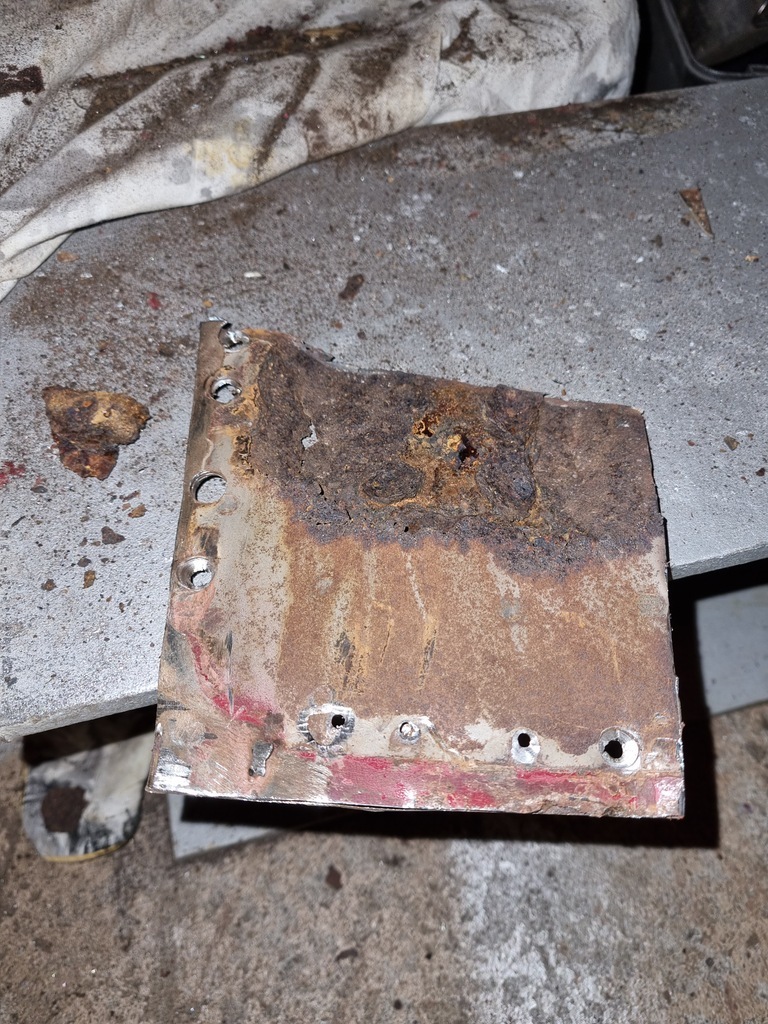 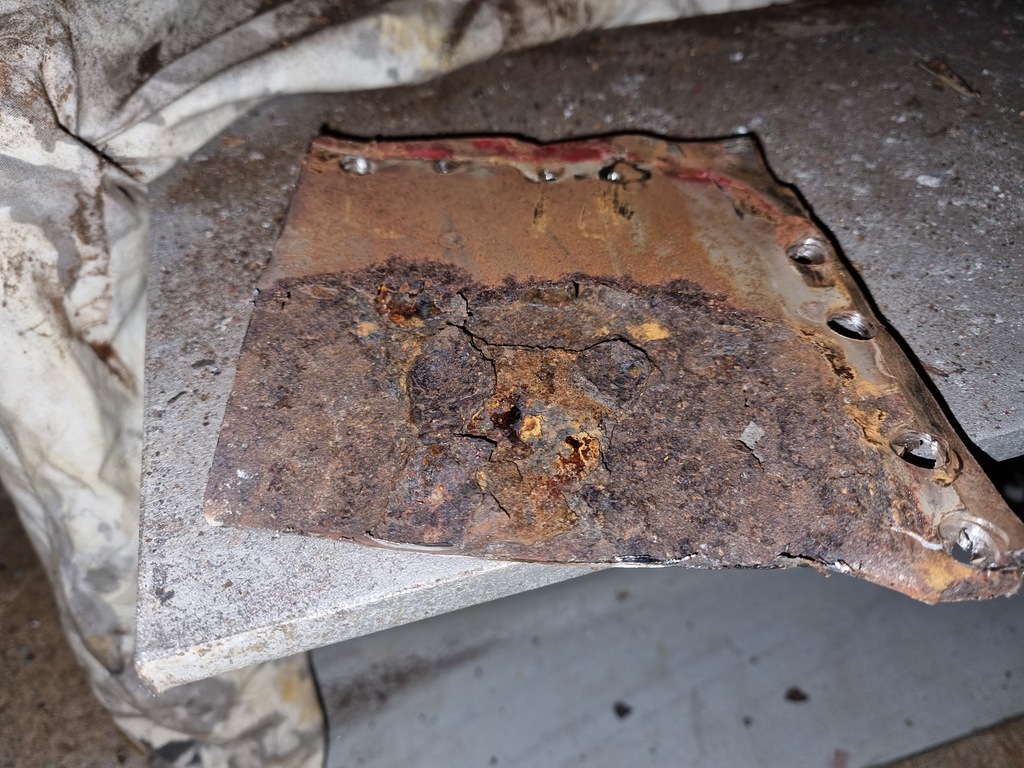 It did however reveal some of the cleanest and healthiest metal on the whole van. 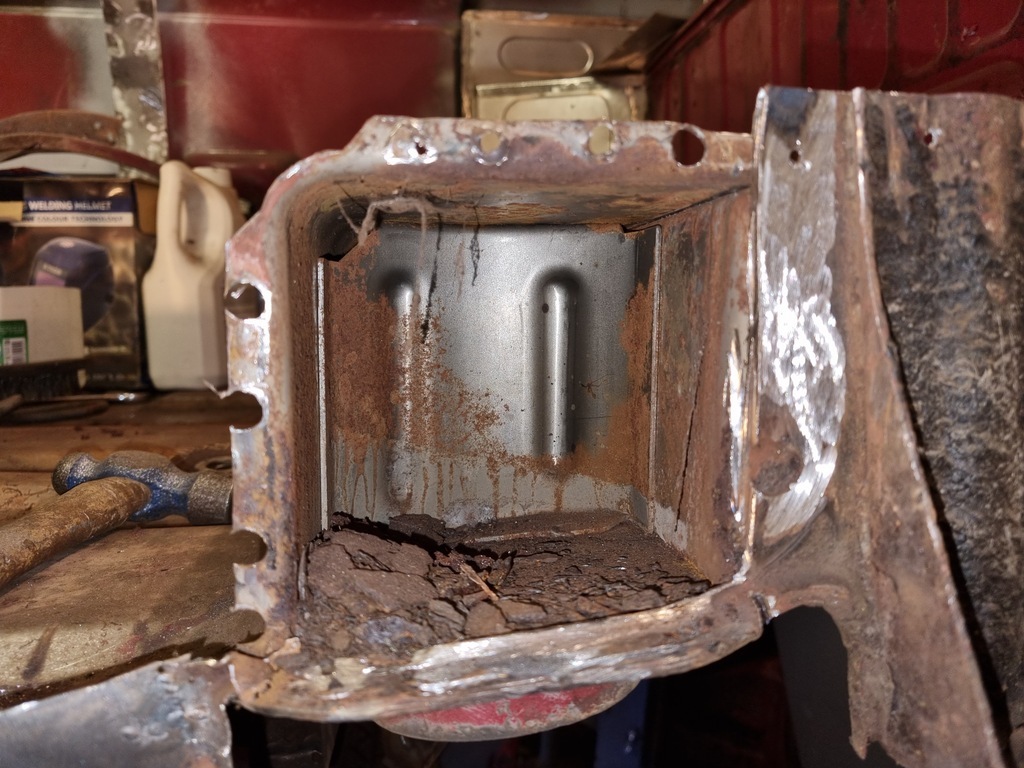 A good clean up and we can start rebuilding 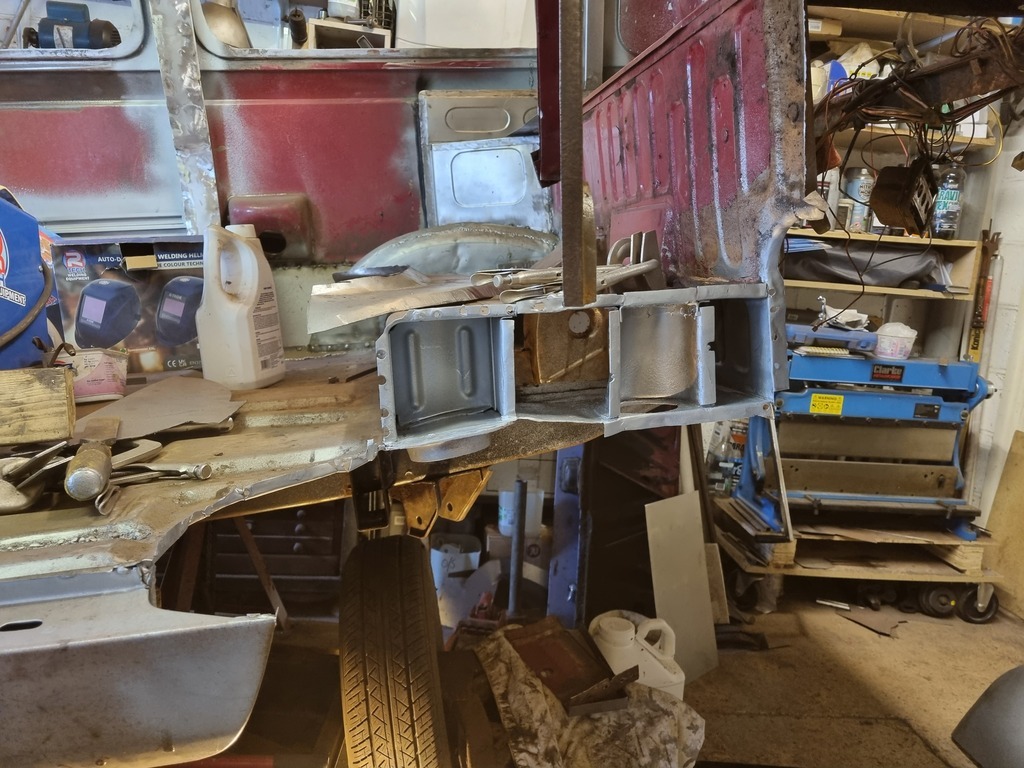 Check out my onlyflange page for similar content. |
| |
|
|
|
|
|
|
|
|
|
|
great work , this is the equivalent of tally ho on youtube lol
|
| |
|
|
|
|
|
|
|
Check out my onlyflange page for similar content. Impressive work no doubt. I trust that the onlyflange charge will show up as hardcore porn on my credit card statement so my wife doesn’t suspect I am looking at vintage Fiat pictures again. |
| |
Last Edit: Oct 7, 2024 15:52:49 GMT by Tylerman
More vintage bikes than cars
1959 Fiat 500 Nuovo America
|
|
|
|
|
|
|
|
Tylerman,
Naturally we wouldn't want anybody thinking it's as unnatural as this.
|
| |
|
|
|
|
|
Oct 15, 2024 19:53:41 GMT
|
When I did the floor and sills I also did the closing panel and part of the inner arch liner. I had poor access and could only reach it from inside the van. As a result it needed redone 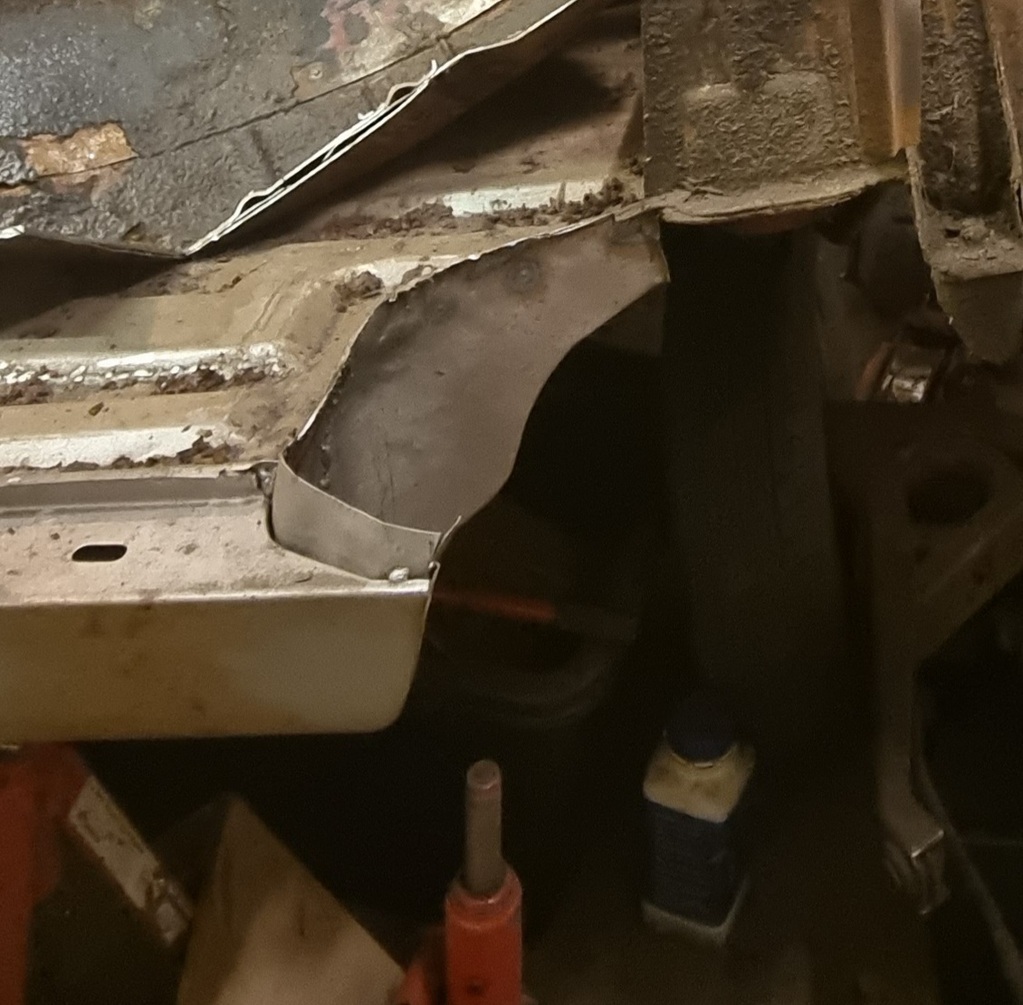 I knew when I did a lot of this I might not be happy when I came to do the arch repair 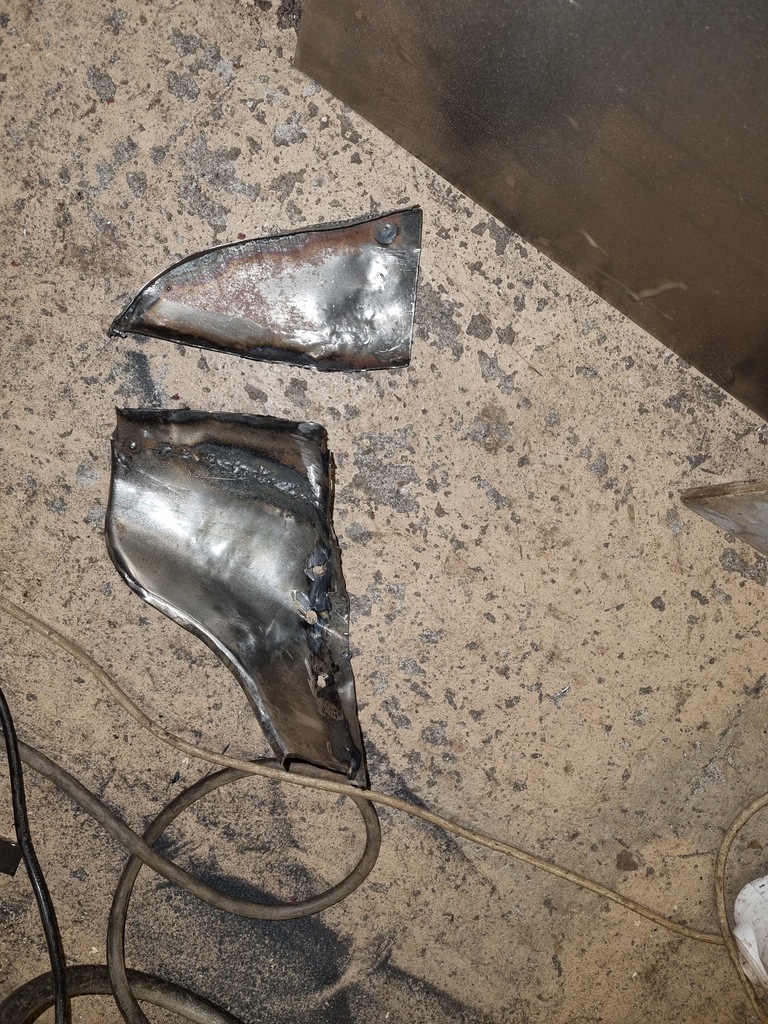 It was pretty poor and would have been a nightmare to weld, fortunately I new actually welded it to the outer sill. 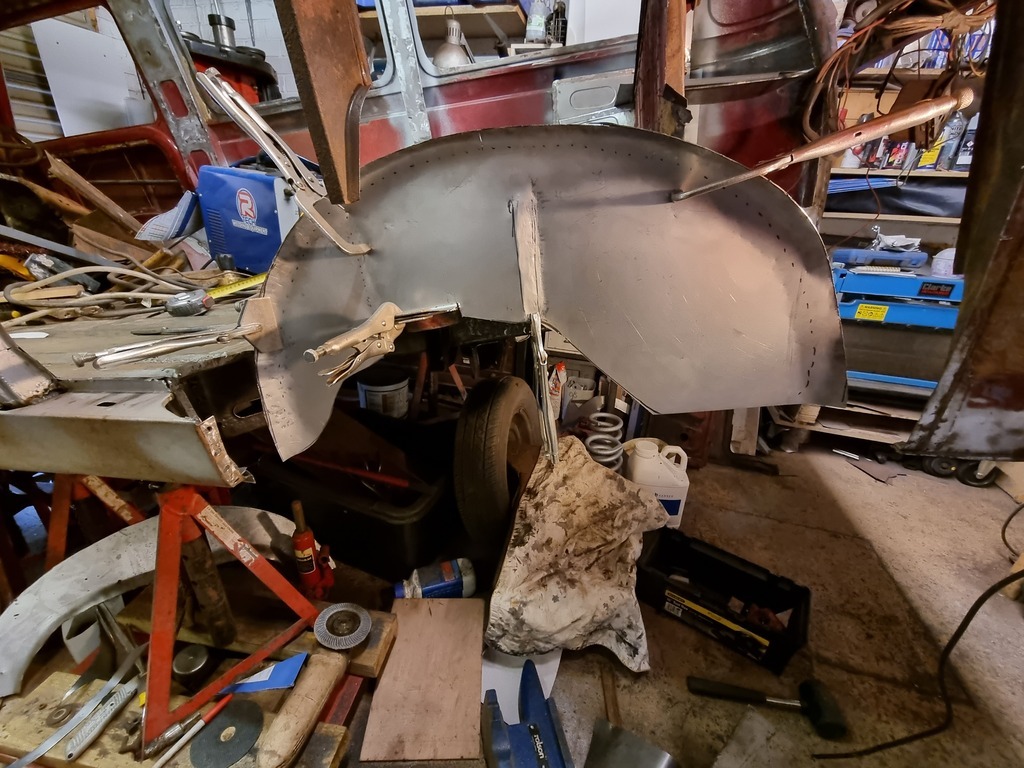 The arch liner on this side is a simpler panel so I attempted to do the far side in one panel 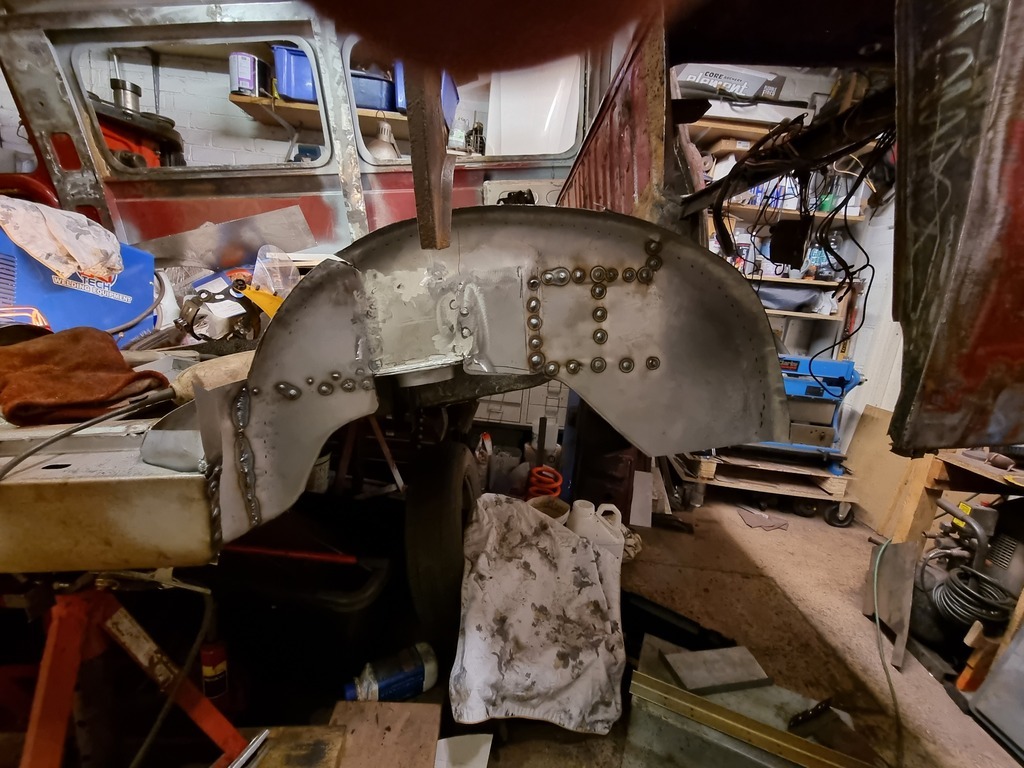 And the new sill closing panel 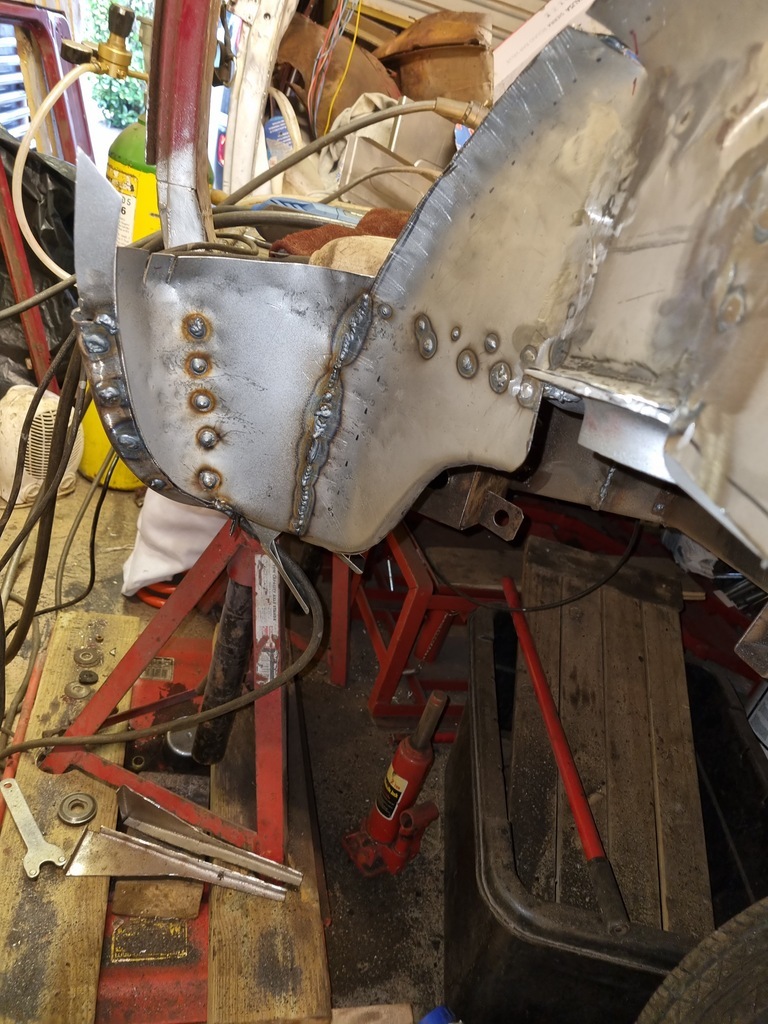 A rough attempt to line up the back end 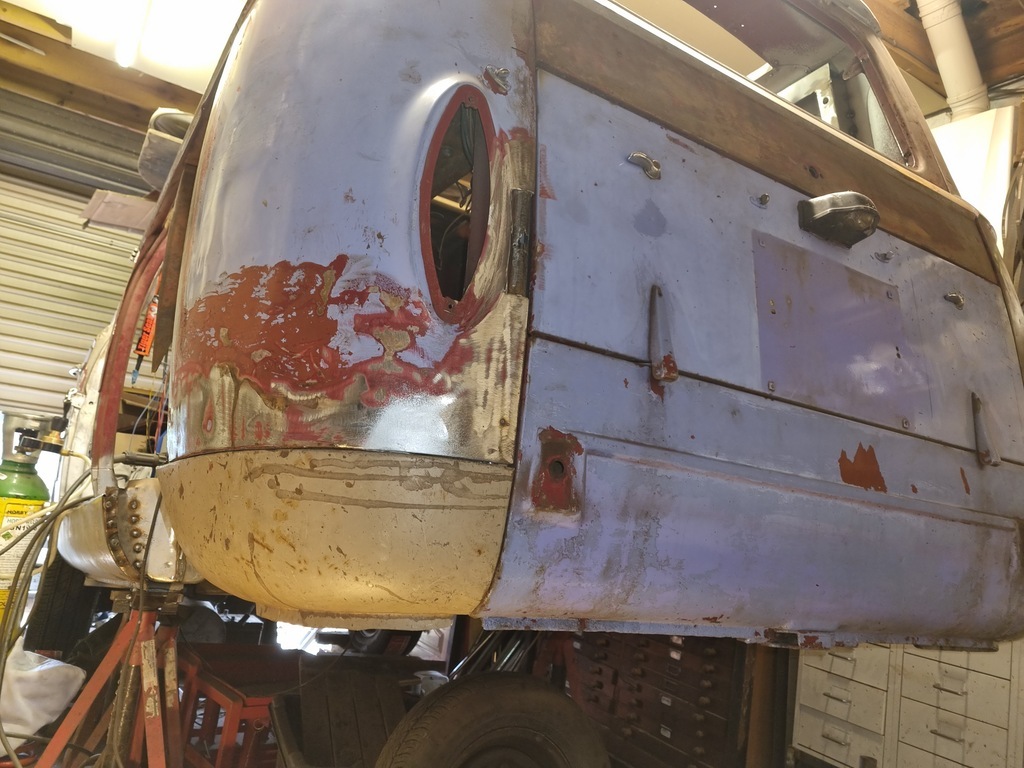 And a loose fit of the trip hazzards second born 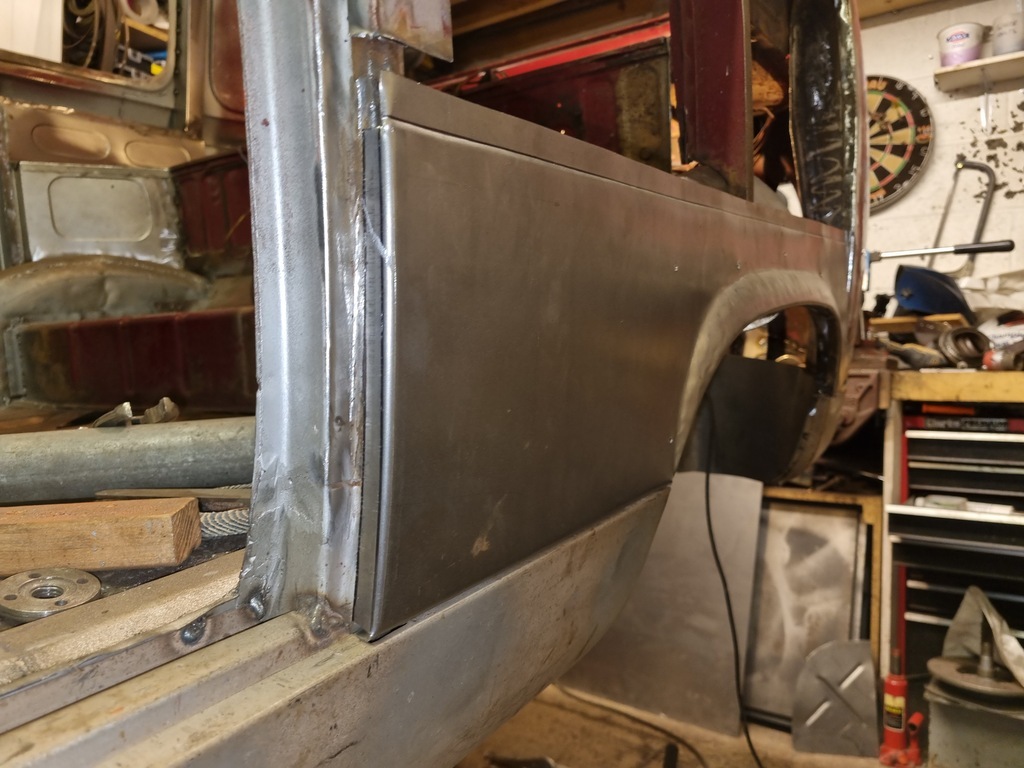 And then I can start building in from the outside 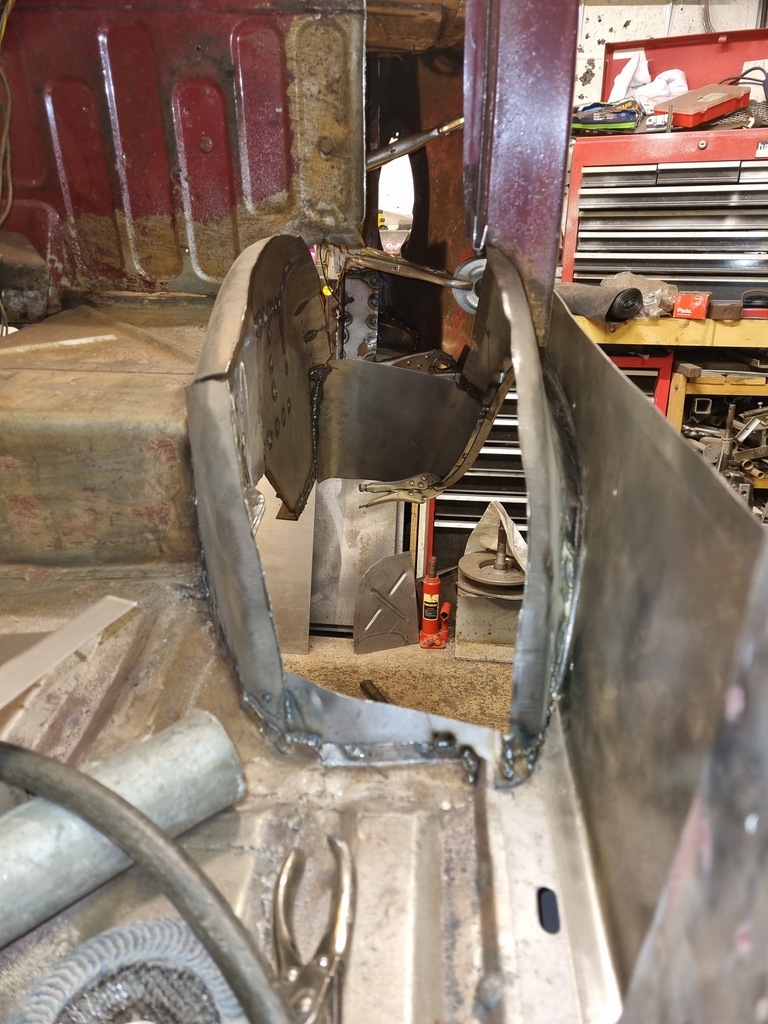 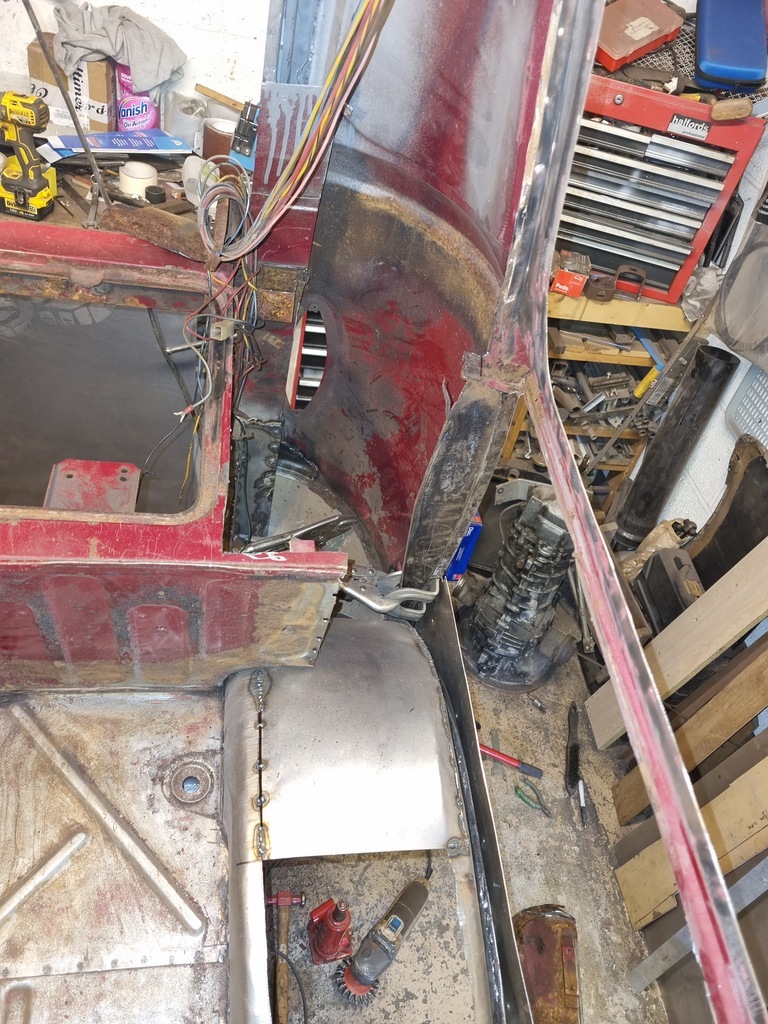 Once I have a liner tacked in I can remove the sections of the shelf area 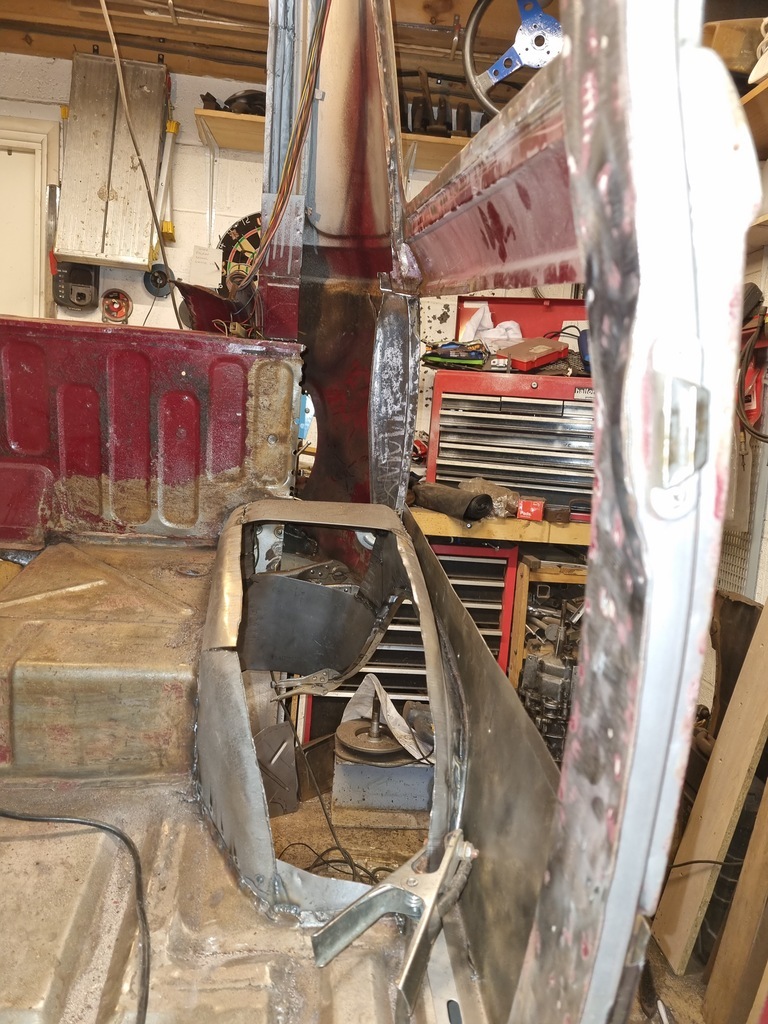  Yes I know that hole was big enough to begin with. Now I have the vast majority cut out and a plan to replace it the scrap can go out 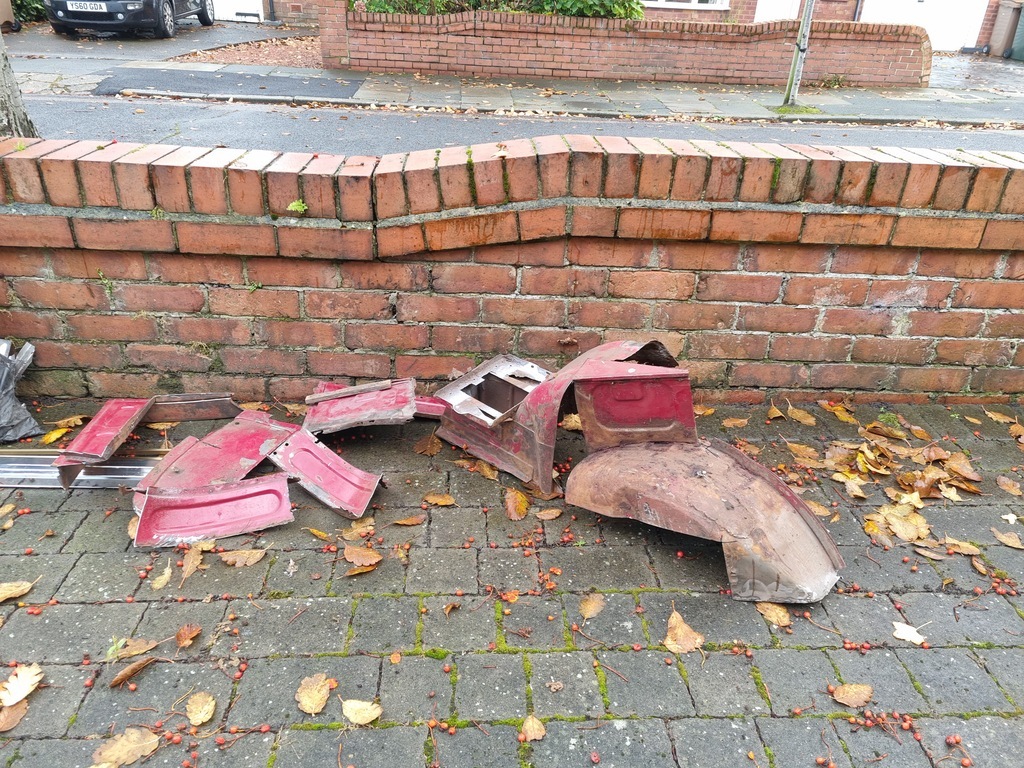 It looks brutal and I never intended to go this far but a closer examination reveals that it was shot so better to replace than repair. 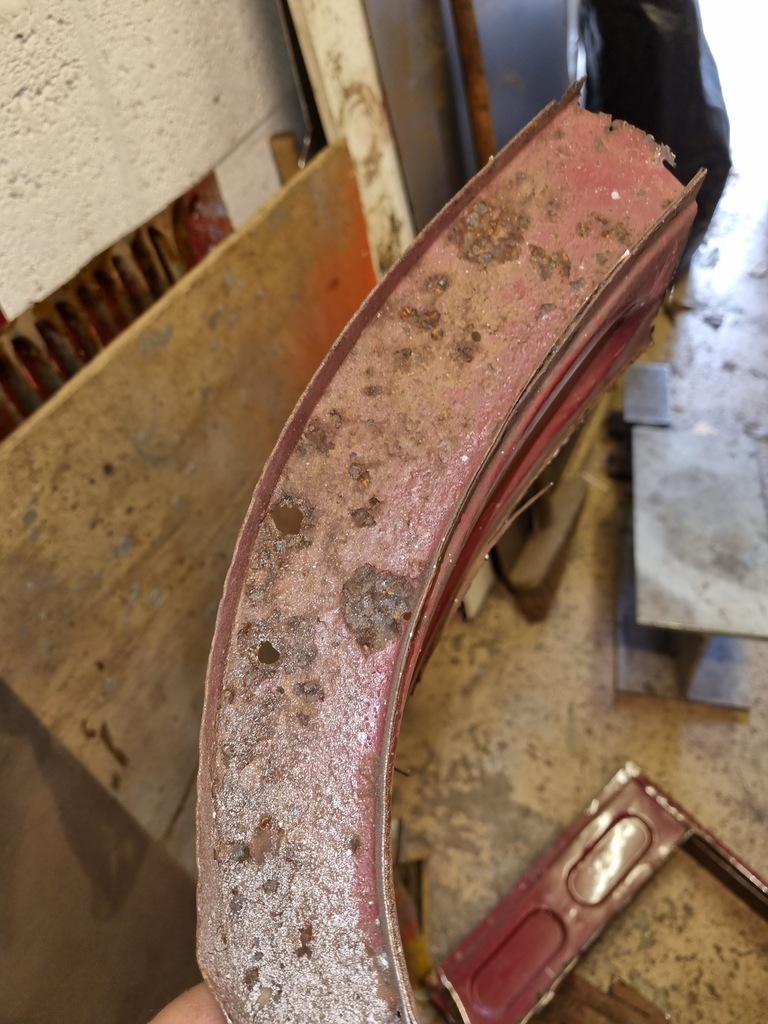 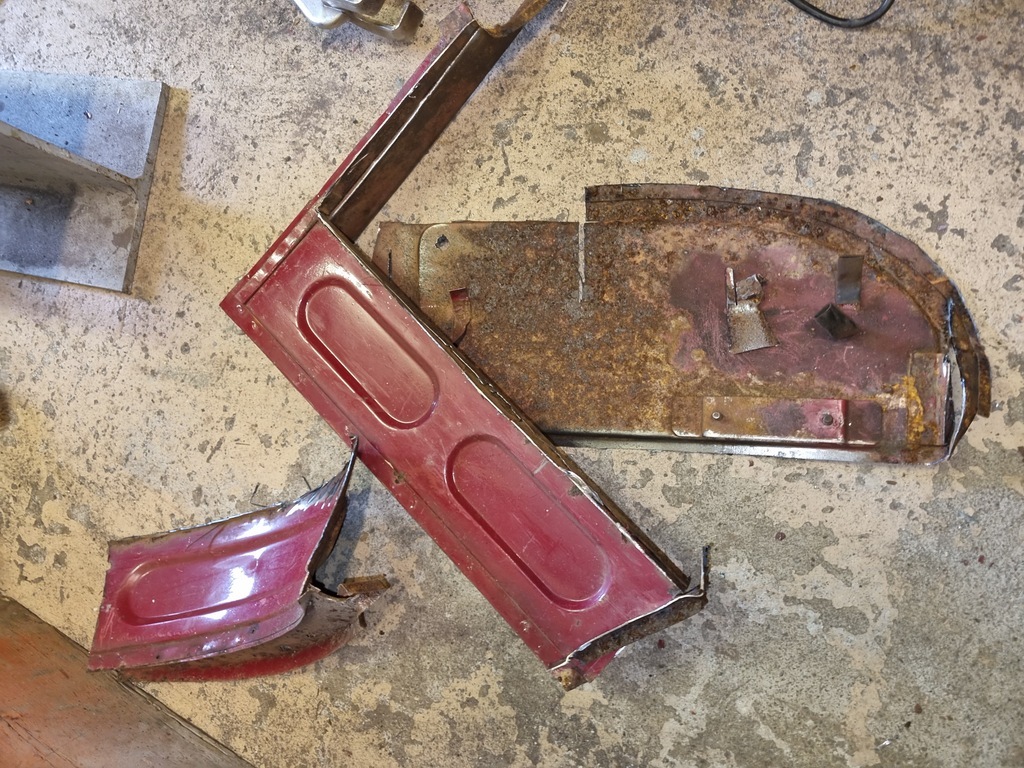 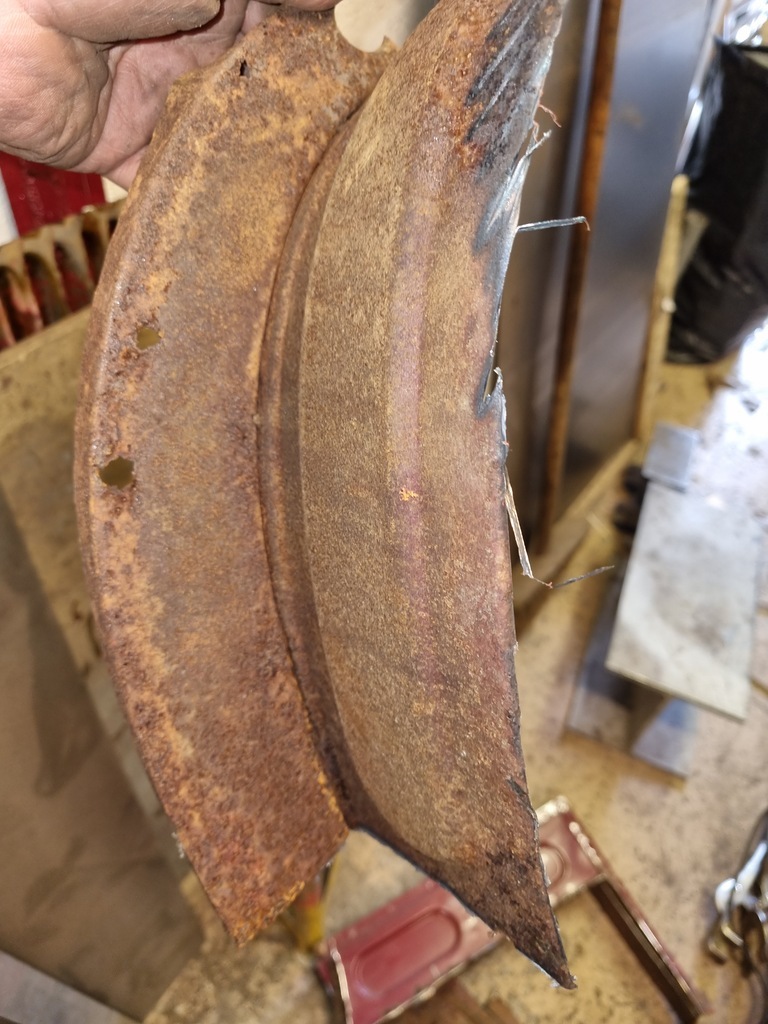 I still have half an eye on potential engine upgrades so scrimping on areas than could use additional strength may as well be done now. And on that subject the older 19mm antiroll bar bushes are shot and very expensive (£30 each) A cheaper alternative is order a late model 22mm bar and four bushes from Slovenia for half the cost. 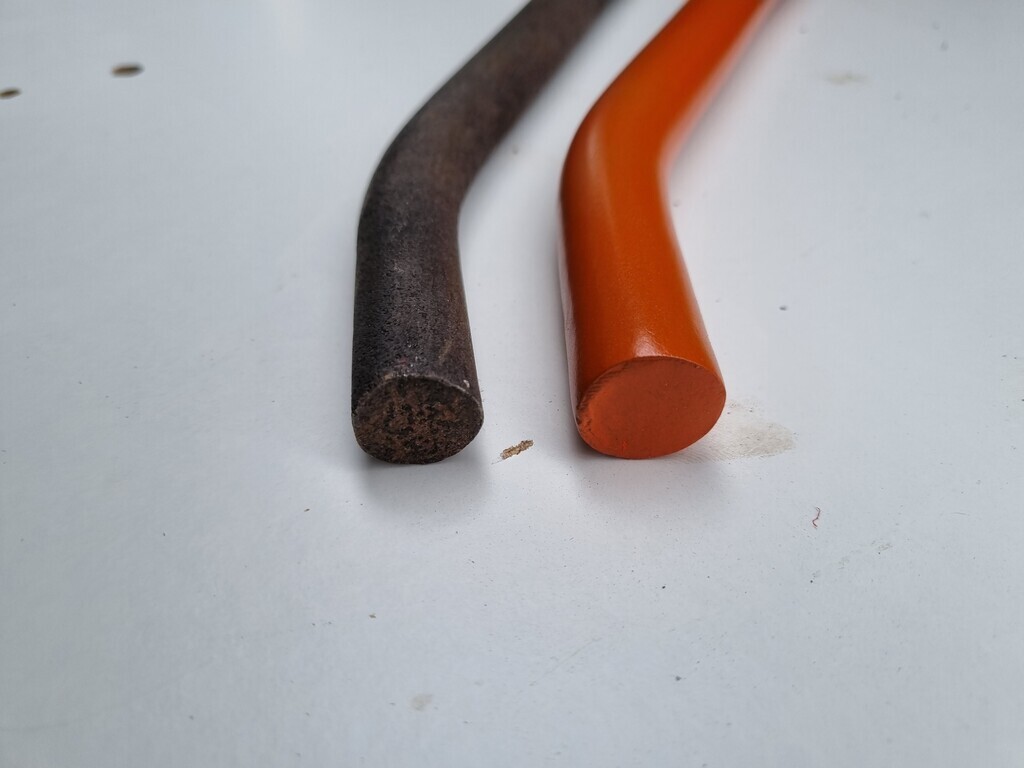 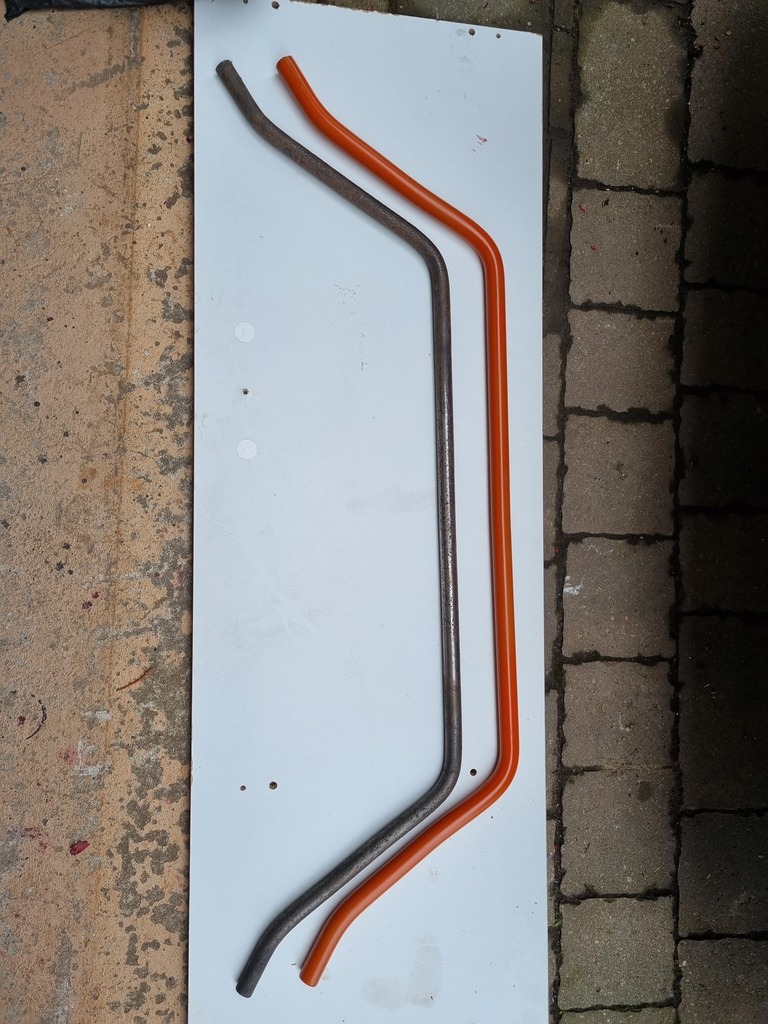 |
| |
|
|
|
|
|
|
|
Progress continues at a reasonable pace and as the inner arch gains strength, attention turns to the extremities of the surrounding bodywork. The localised nature of some of the rust spots continues to impress 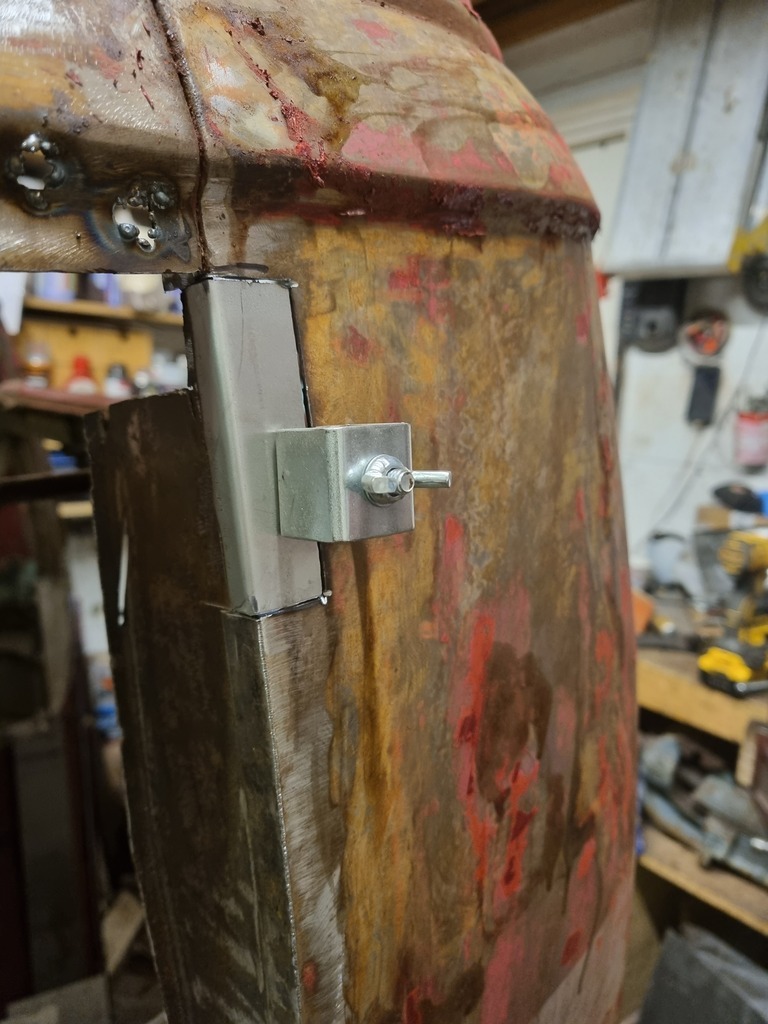 What started as a minor rust repair quickly grew to a whole panel seam 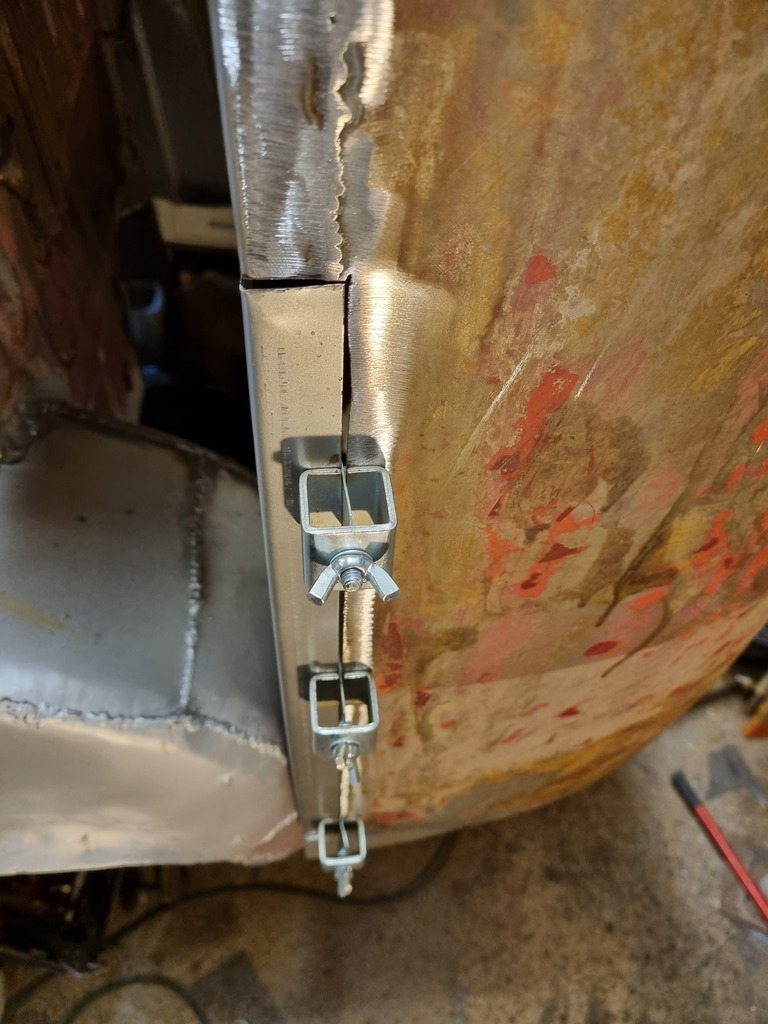 This is in fact a triple seam and I suspected the middle sheet was rusted 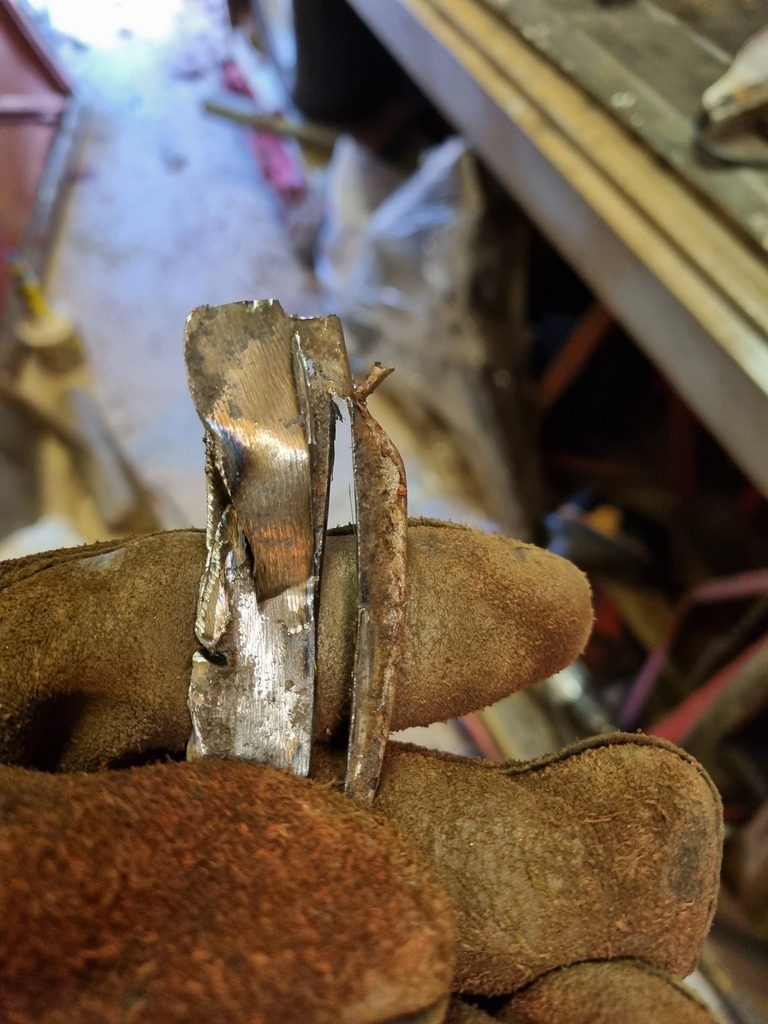 It took some digging out but 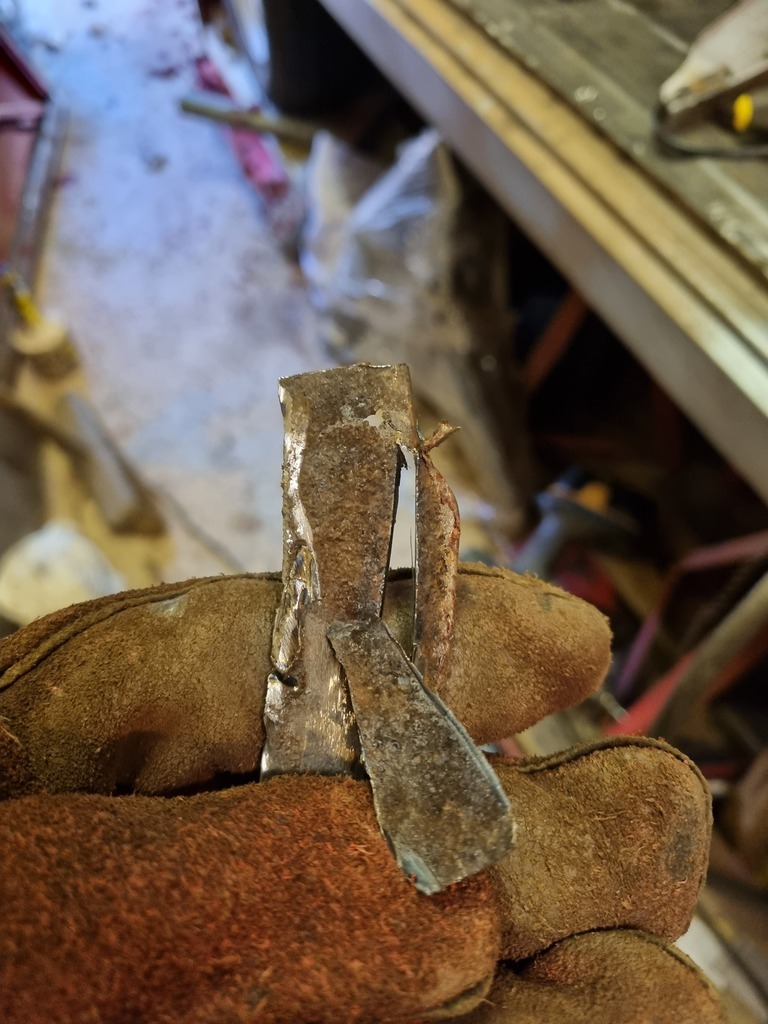 The section next to it had more localised pitting, exactly the same as the otherside 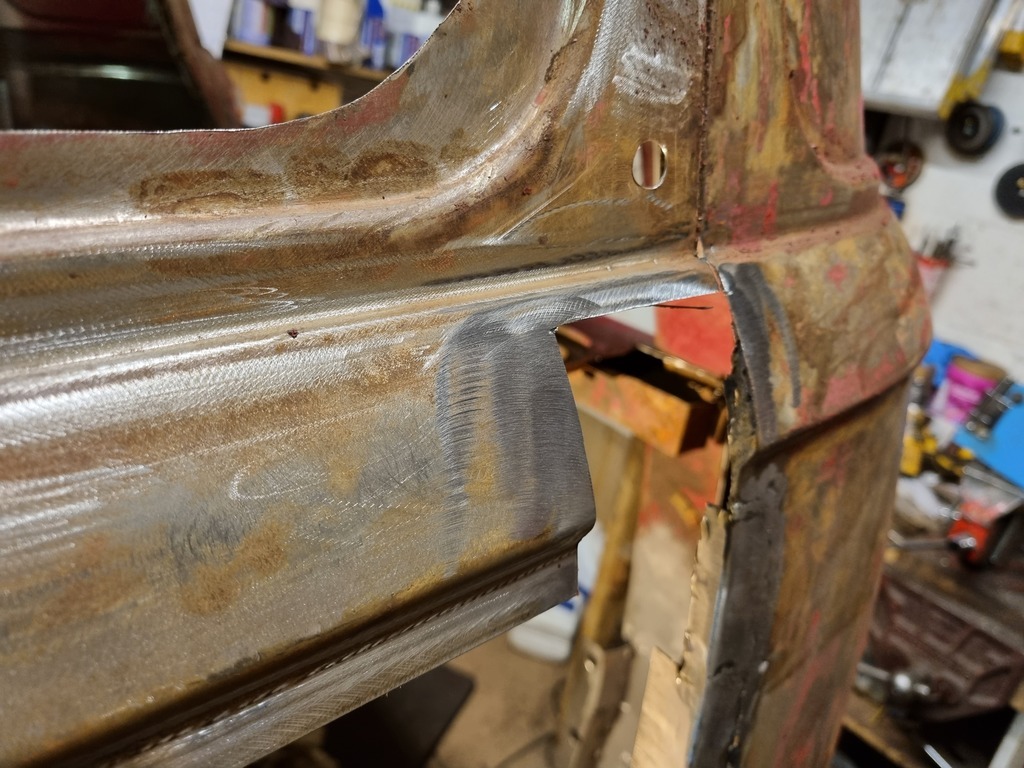 Another example of how handy the three in one metal machine is 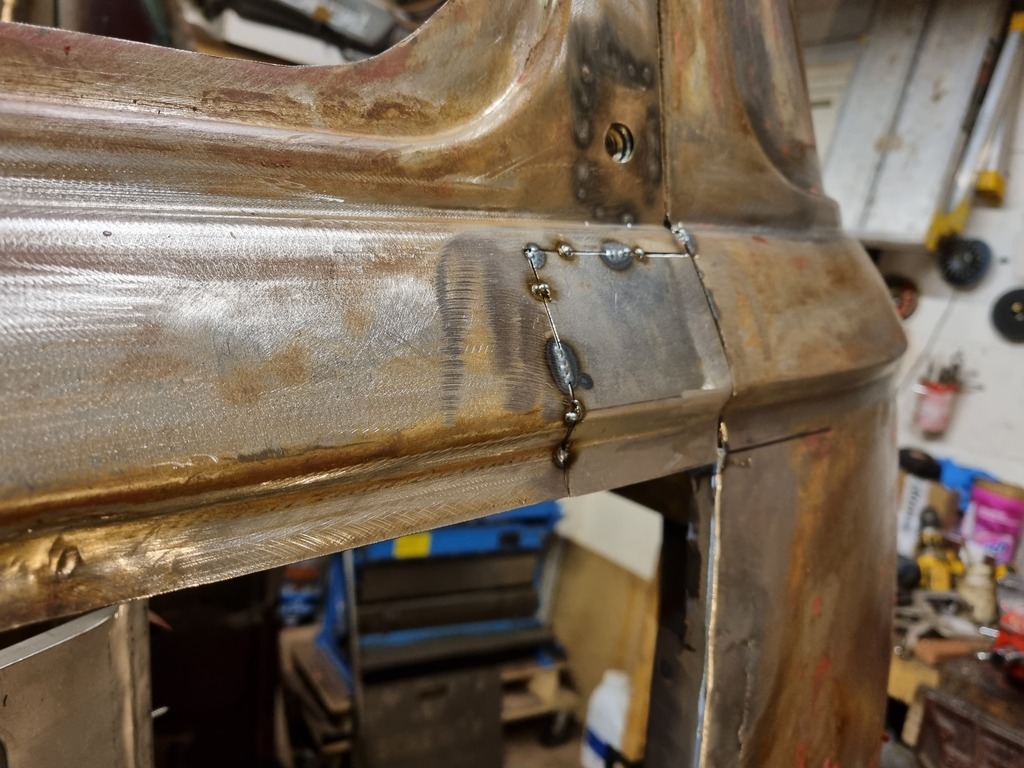 Neat folds and curves with no hammer marks I started to prep the other parts ready fo re assembly this included the last of the new old stock panels bought from Italy three years ago. Off with the transit primer 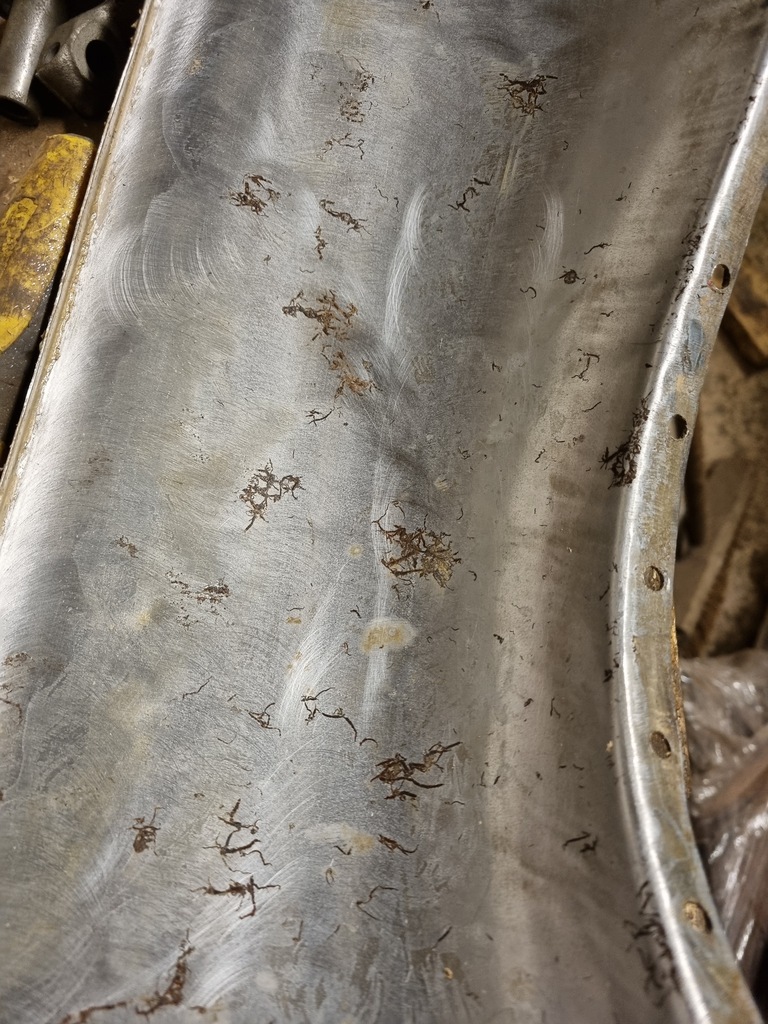 There was no sign of these worms on the surface. Into a deox bath that had been used to do the rear springs and a quick wire brush 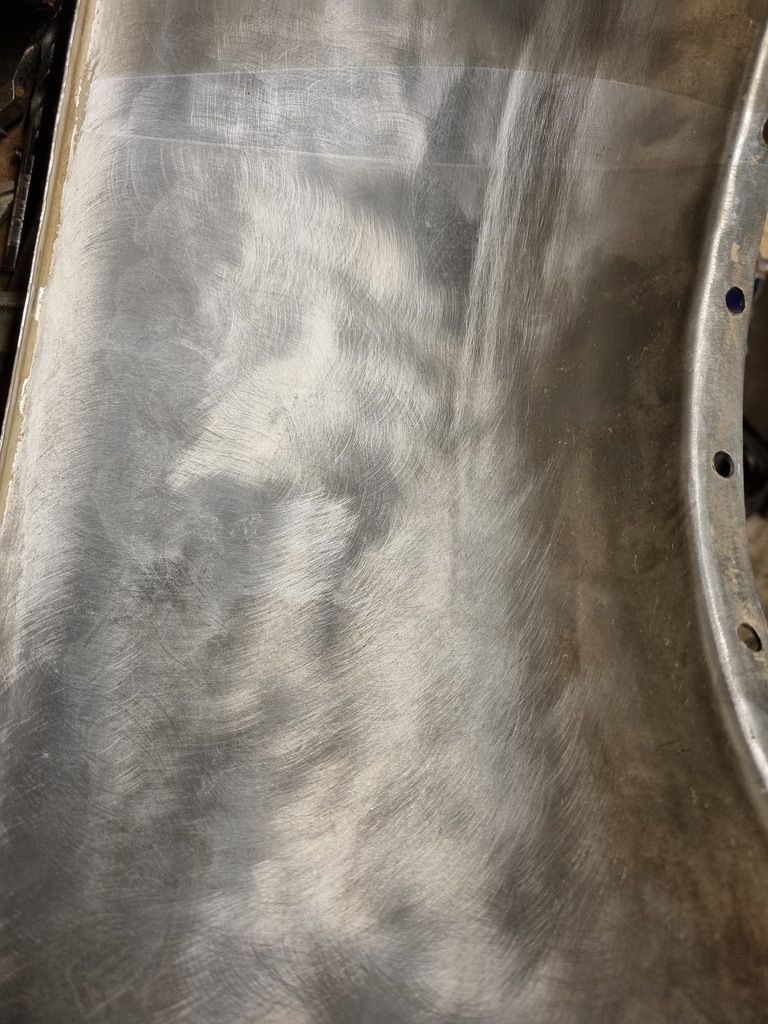 Then protection 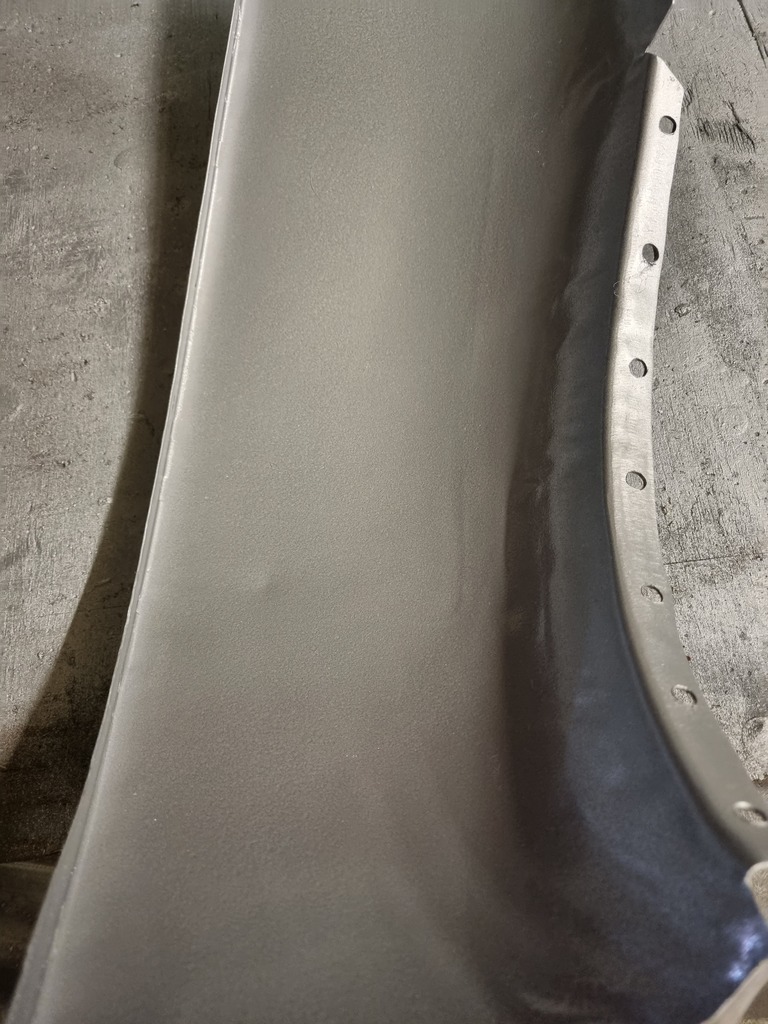 I needed to save the lourves and had hoped to straighten the panel and save that too but I decided to just replace the damaged section as I suspect it woukd have been a nightmare to straighten only to warp when the mig hit it. I would have done the whole thing but I doubt I could have done a convincing job on the lourves, so they were caked in paint stripper and put in a bag for a few days 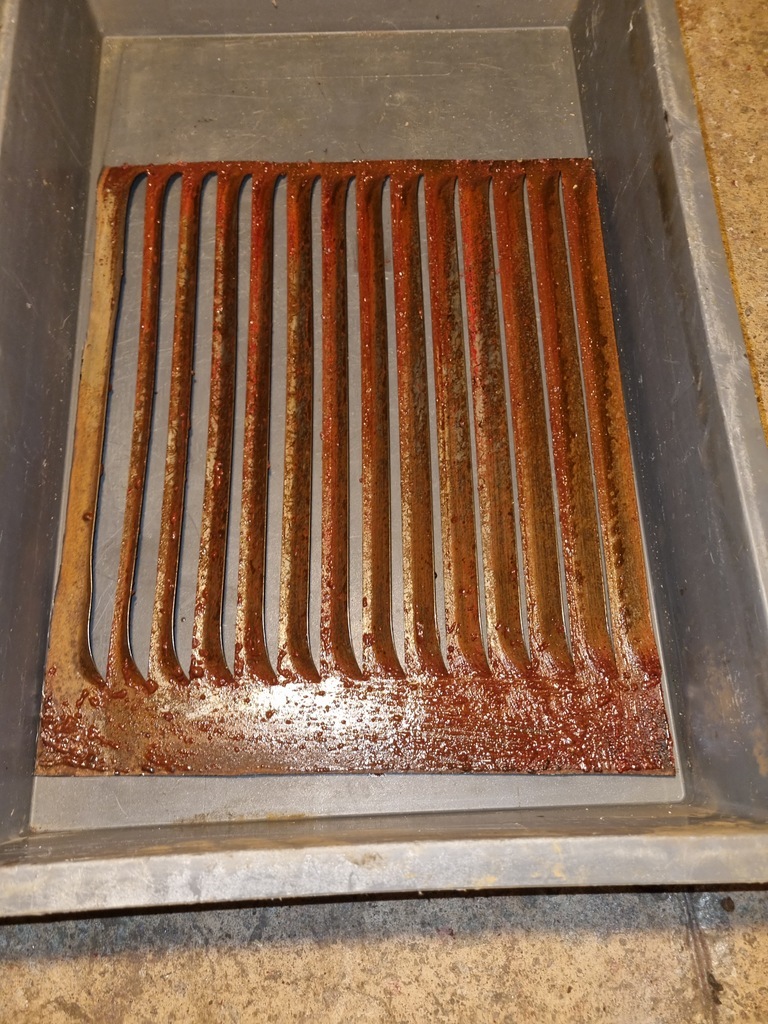 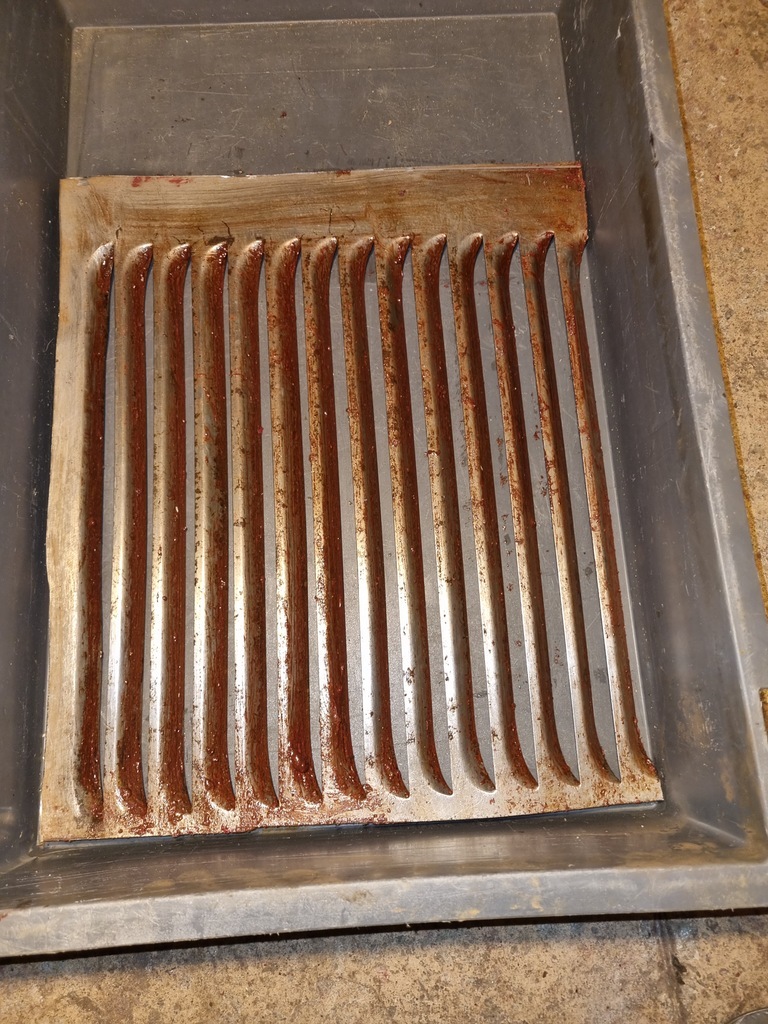 Then into the remains of the deox. The rust was pretty stubborn and took several rounds of wire brush and deox before I was happy enough to weld a preformed flange to keep the shape and also form the new seam 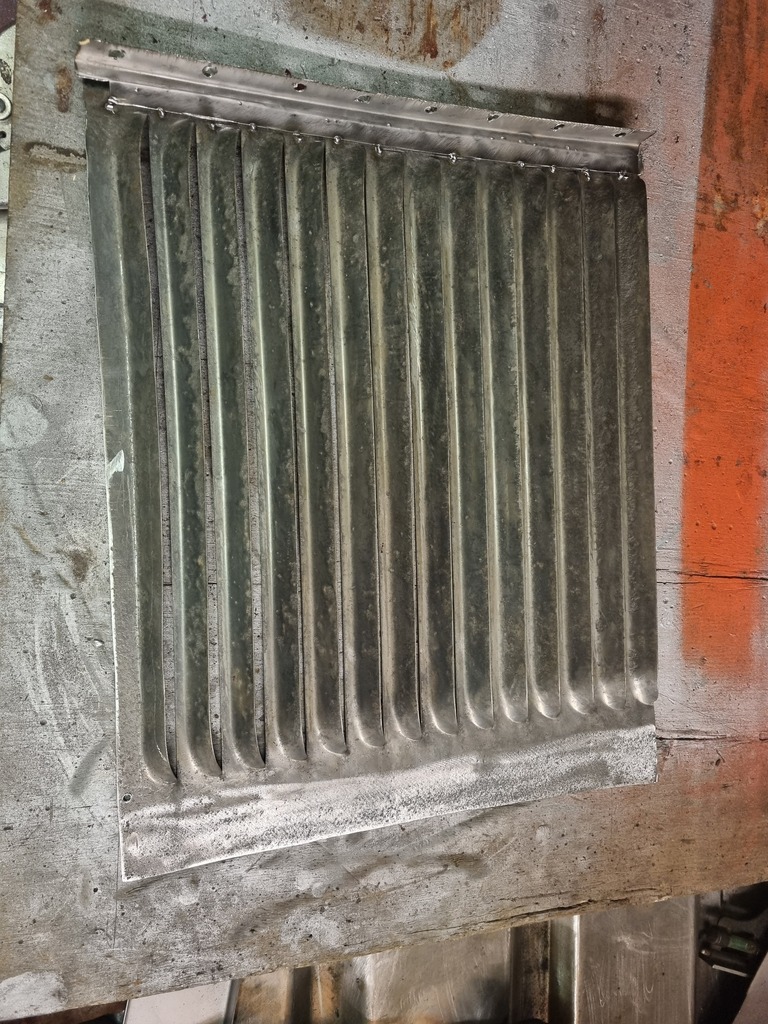 And then into zinc rich primer 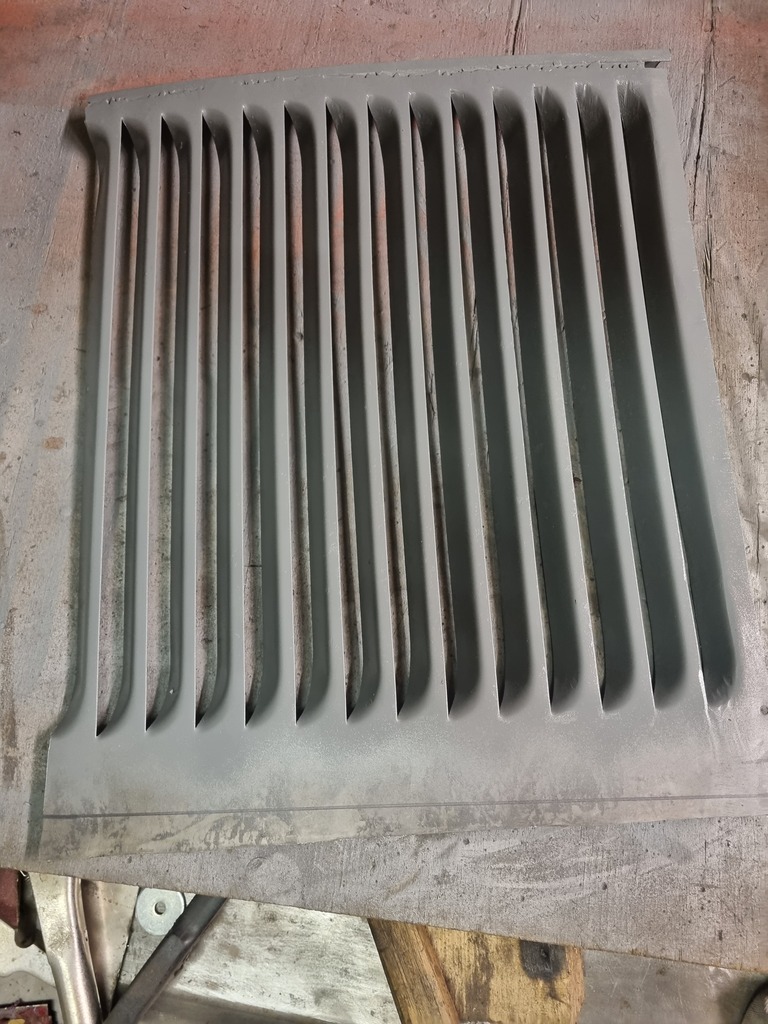 And then a trial fit. 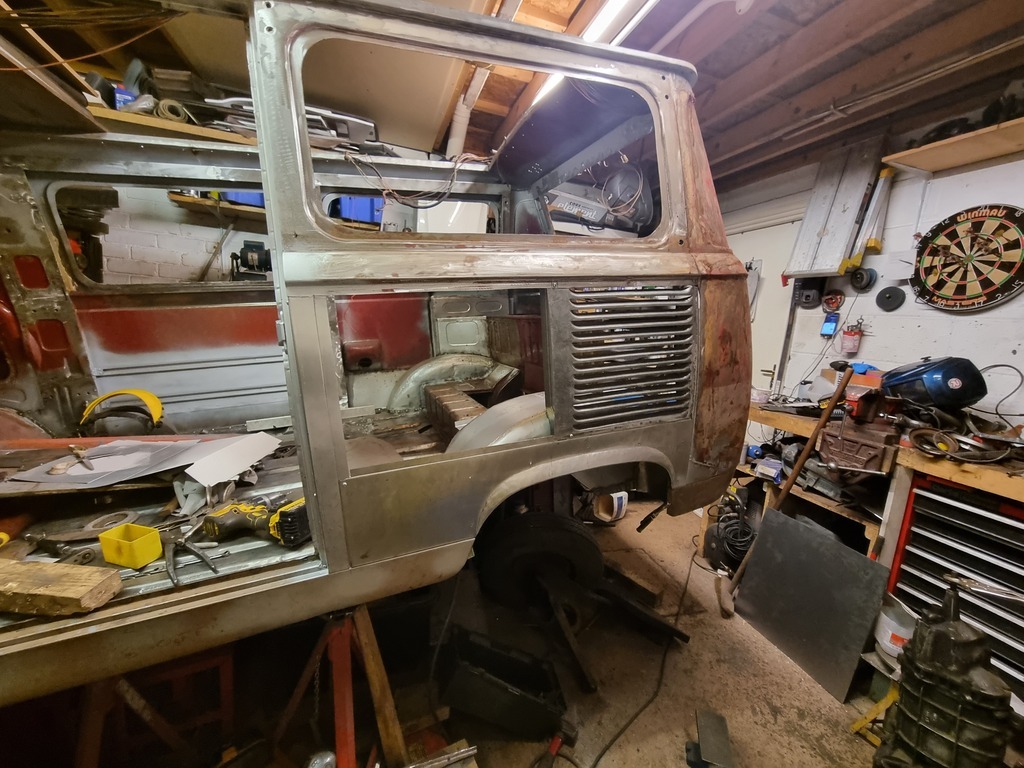 Reasonably happy with the fit though the patchwork nature of this panel isn't ideal at least I know it can't be any worse than the others. For now welding continues on the arch and bumpstop mount before I'll weld this panel up fully and that only leaves the tailgate and surround before bodywork can commence. |
| |
|
|
|
|
|
|
|
|
Popping in to offer respect for saving that. I've recently admitted defeat by a rusty thing that's only rusty underneath. Your thread started with rust in the roof.
|
| |
|
|


